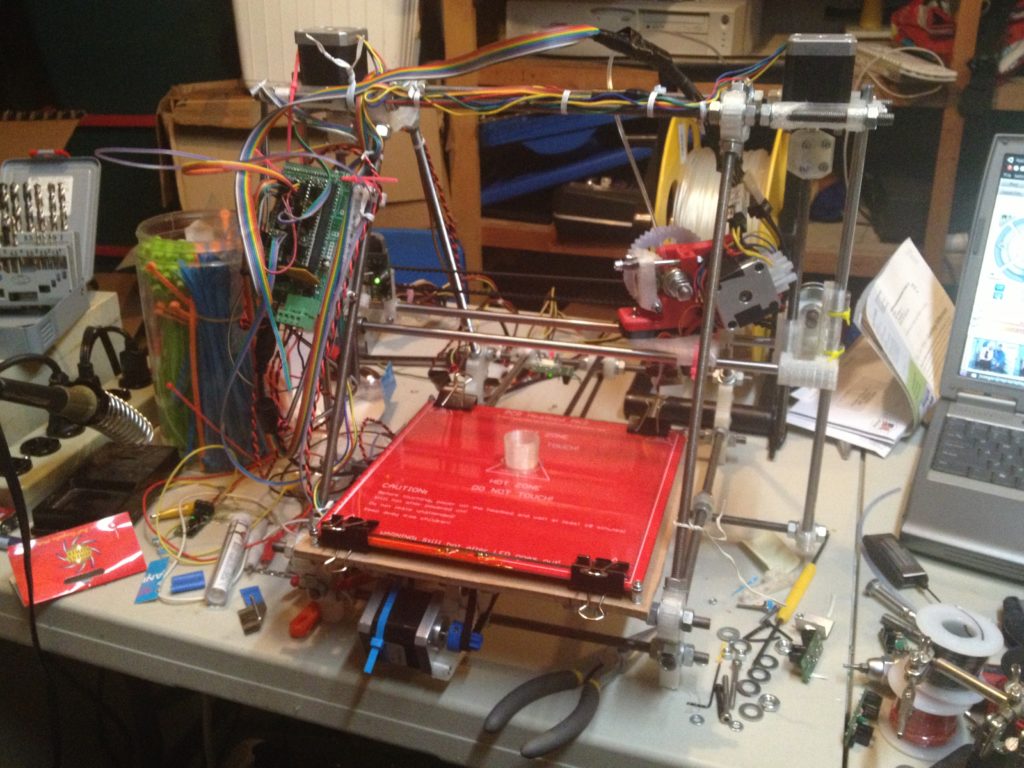
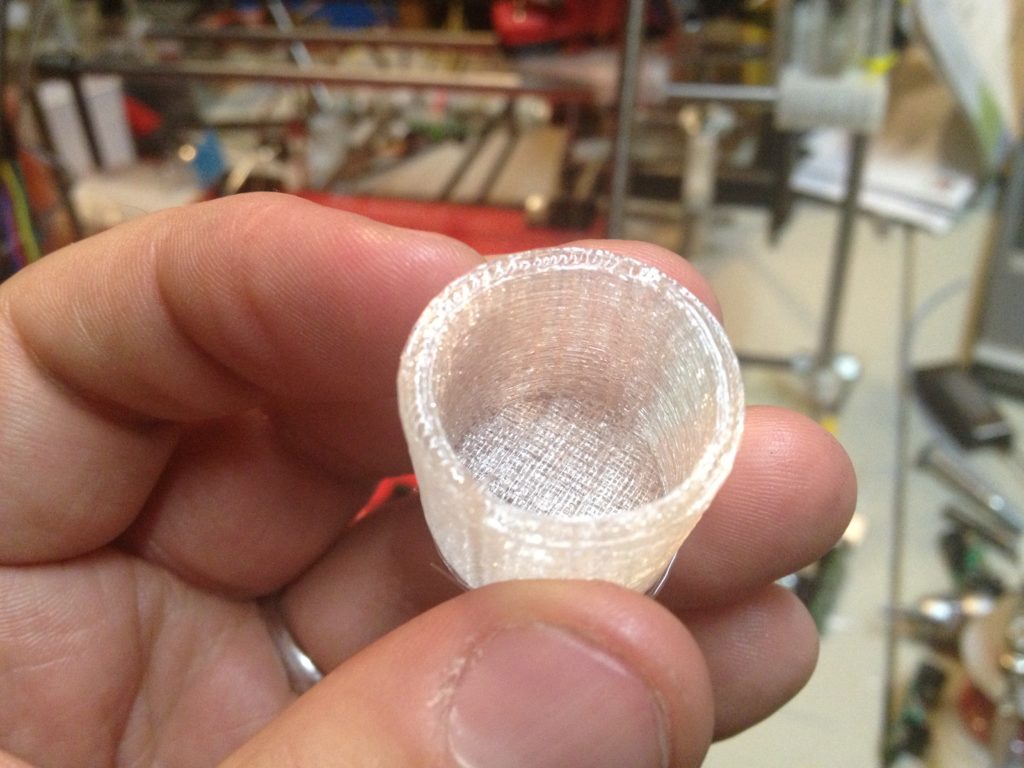
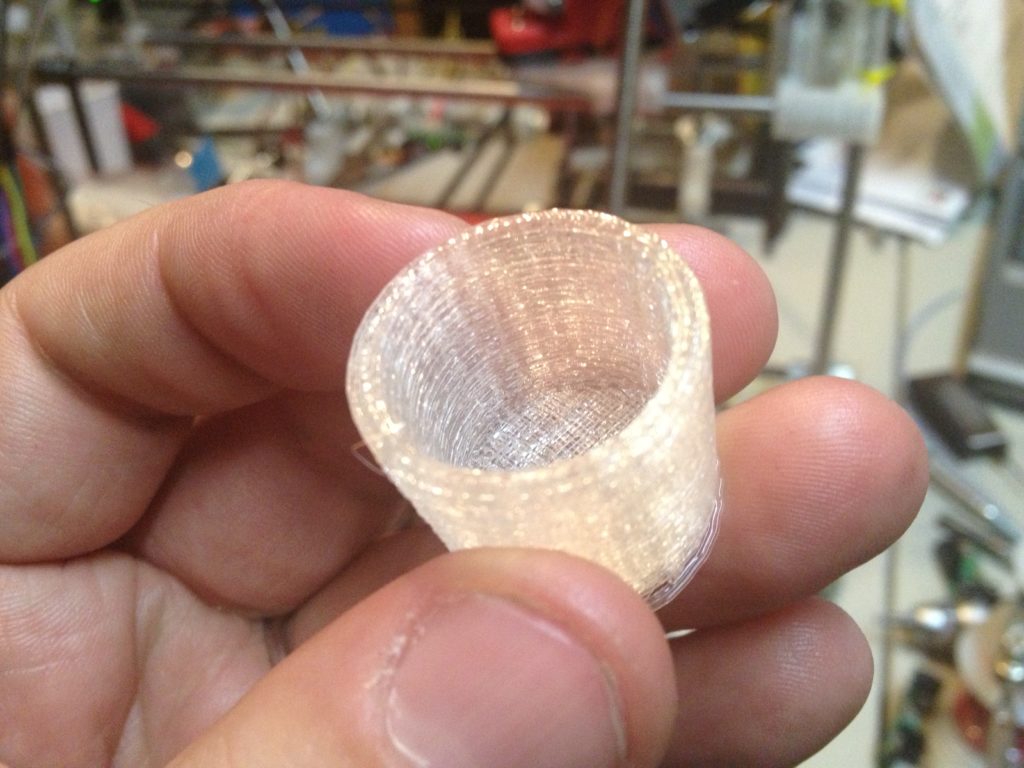
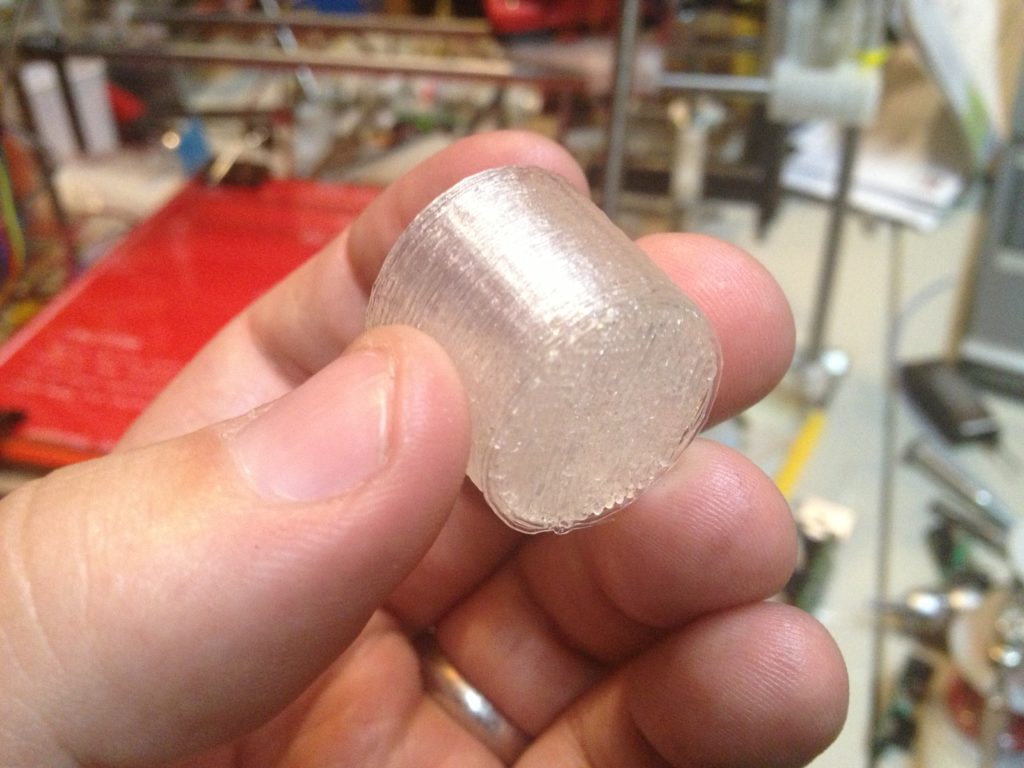
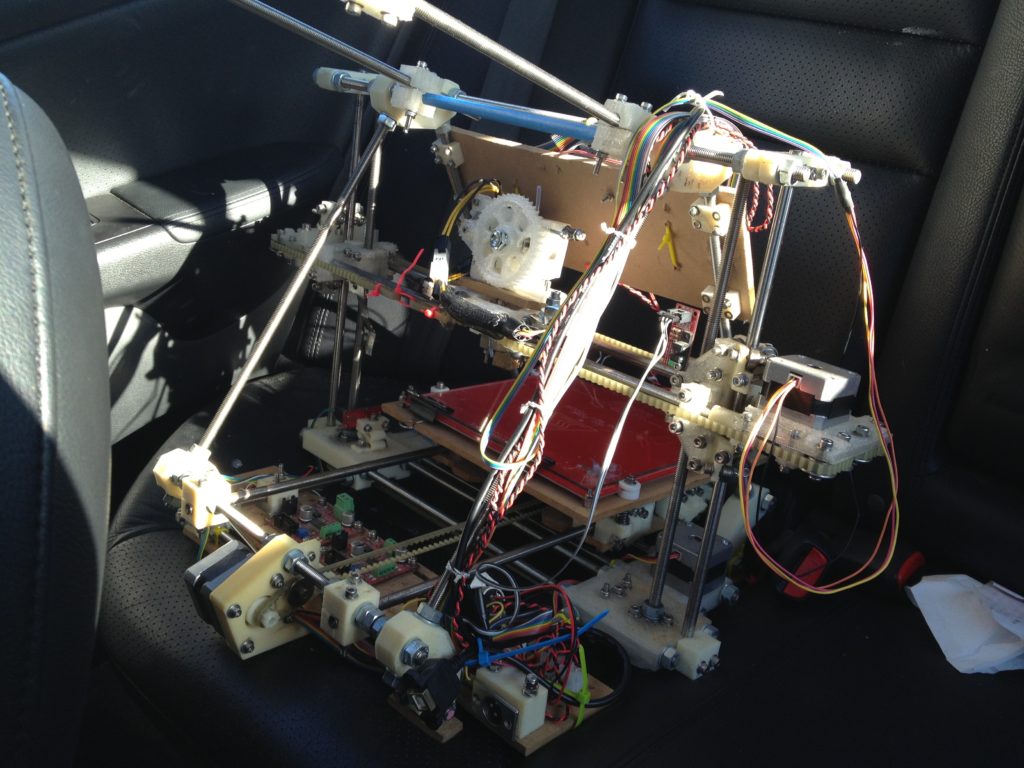
Archive for the ‘MyRepRap’ Category

Don’t make carriages out of PLA – Four, no, 39 months.. part 17 of ?

Tuesday, March 18th, 2014

Last post, I had us caught up to January 23rd 2013. Let’s keep going. Today is March 18th, 2014. Just over a year behind.

So I was working on the child RepRap that MY RepRap had built, so I could give it to the Museum of Science. During the last post I’d done its first print and the traditional minimug toast. Now I had to get the endstops working.

This was my first Prusa Mendel (IT2) build, so I didn’t know how the endstops would go on (in the original Sells Mendel the optical endstop mounts were all integrated into the build, but on the Prusa Mendel you have a lot of “flexibility”). I decided that I still wanted to use opto-endstops (vs mechanical ones), but that made it more difficult to figure out where the endstop flags should go (and I don’t like the idea of using glue for anything).

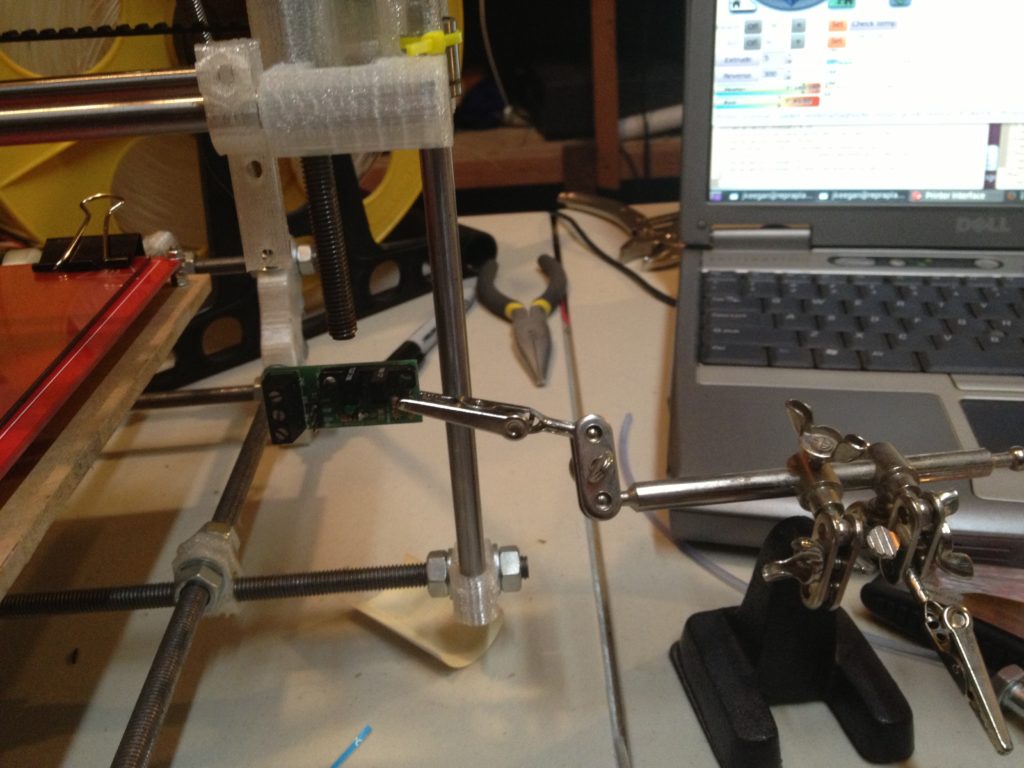
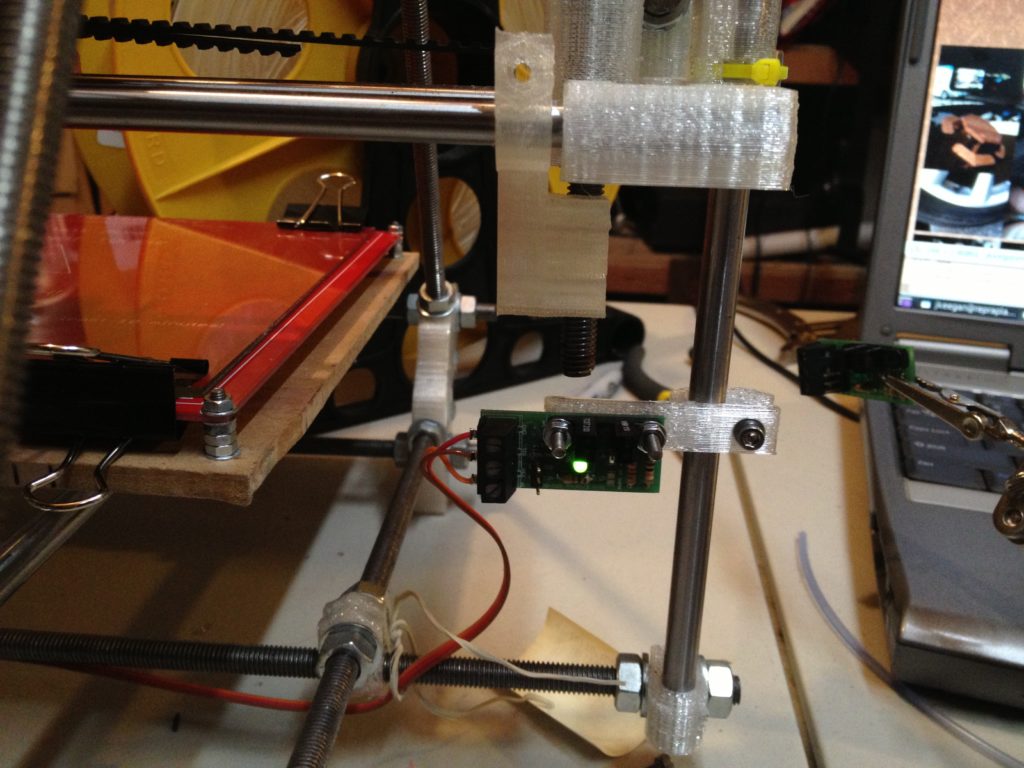
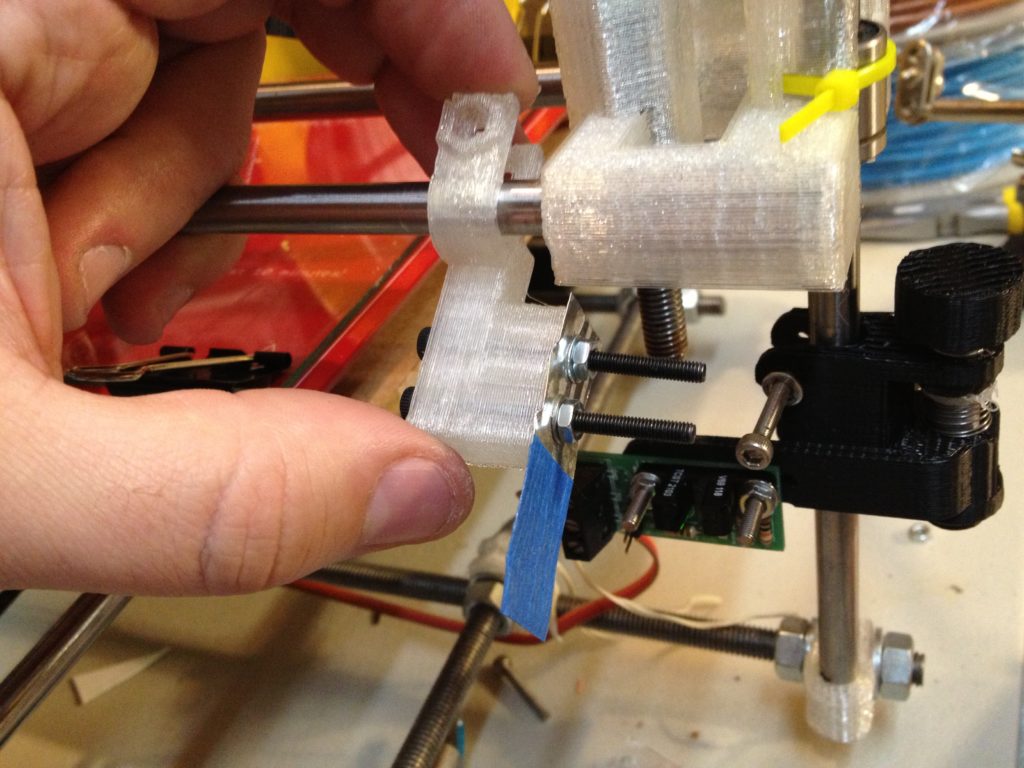
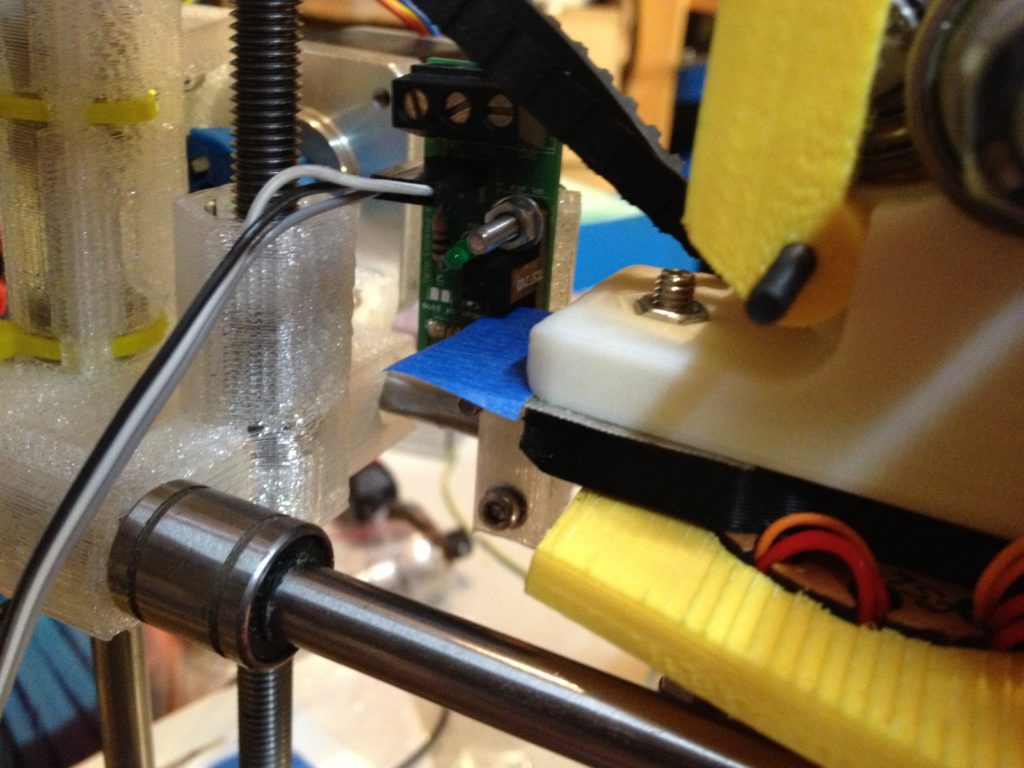
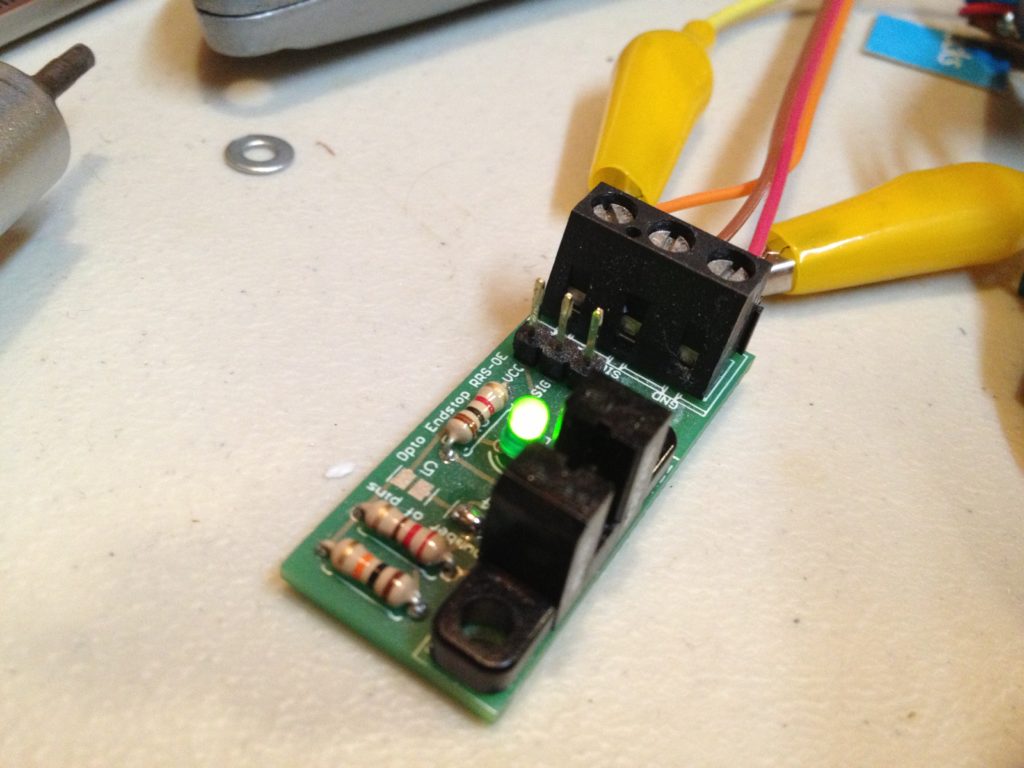
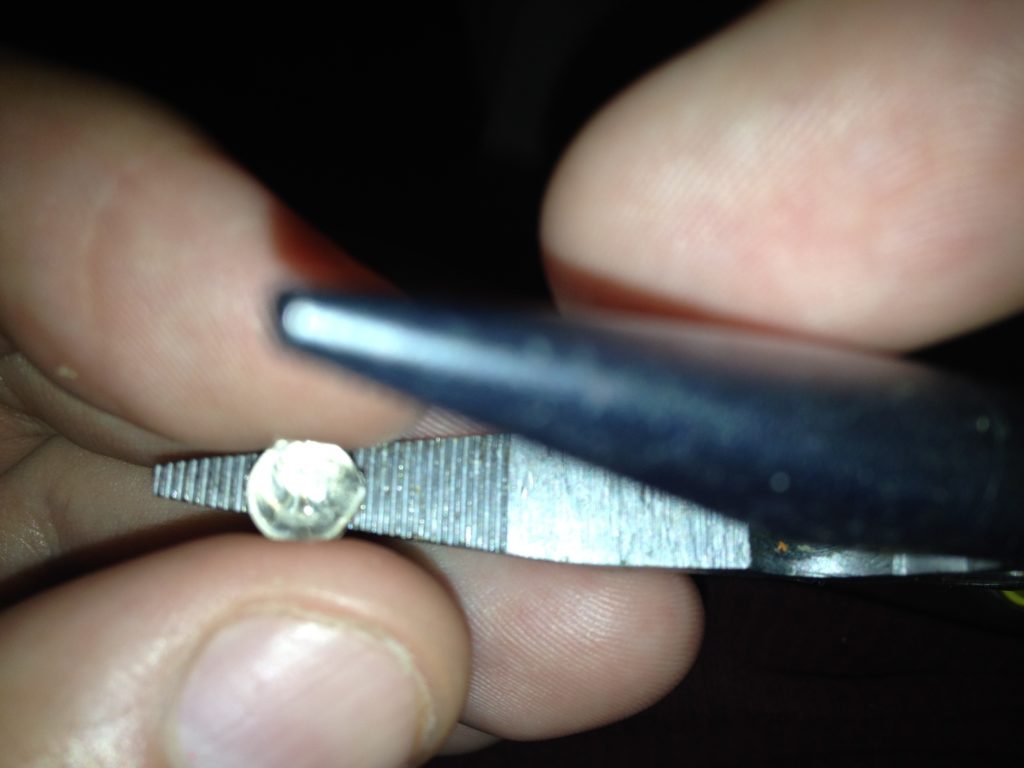
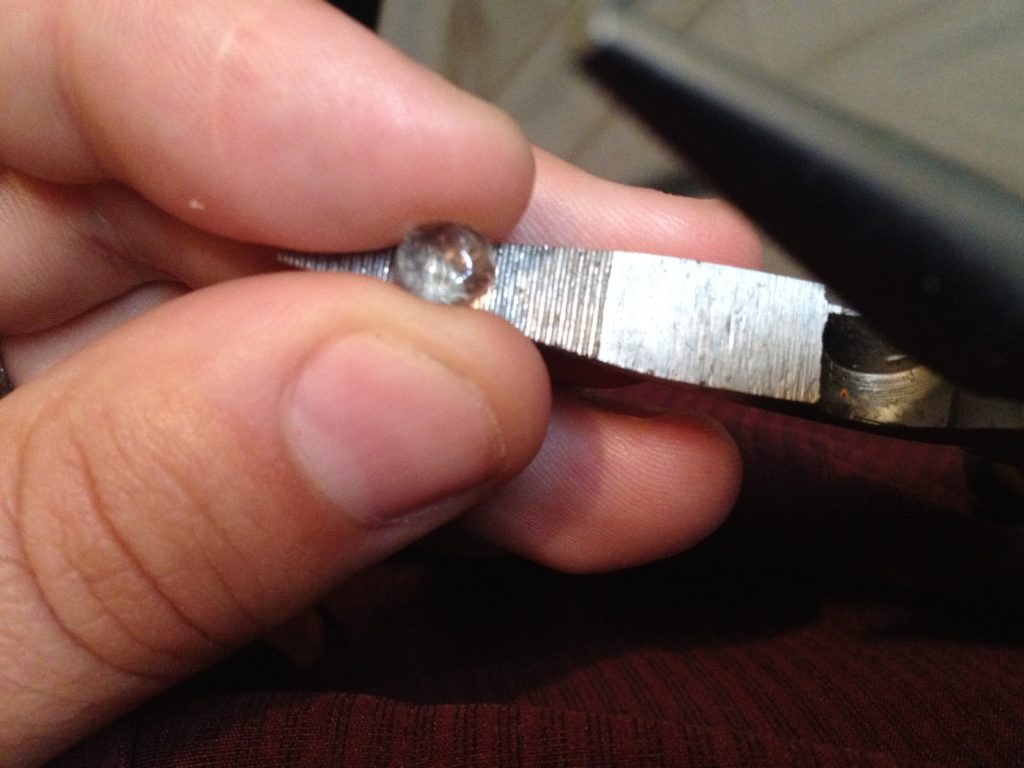
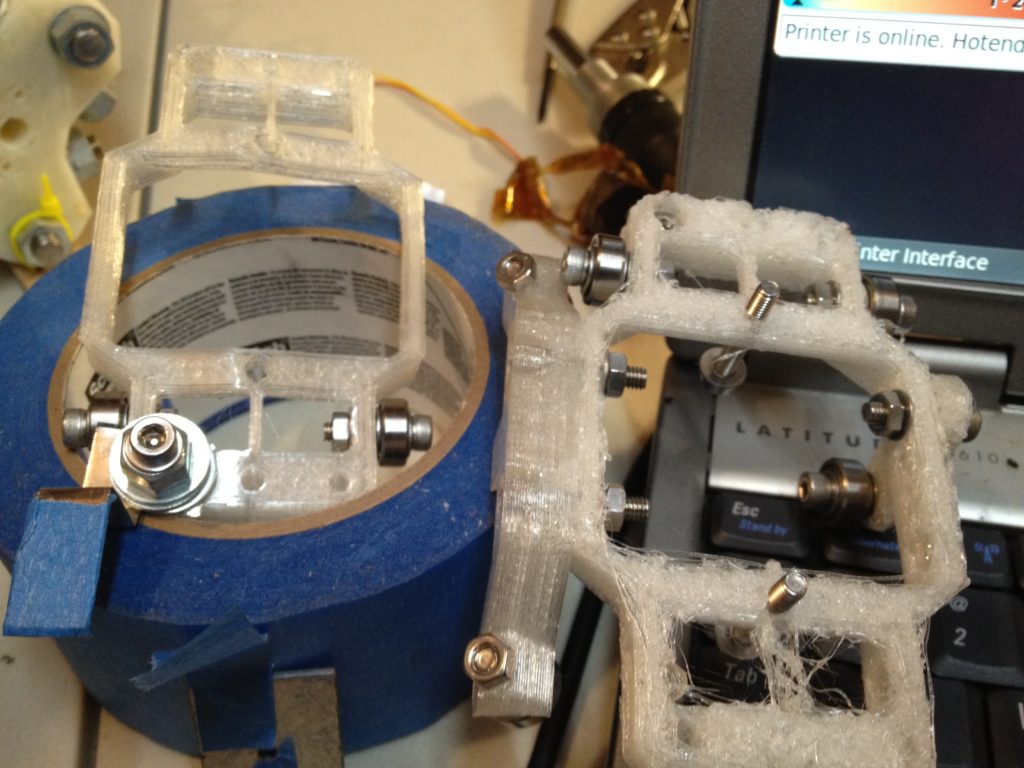
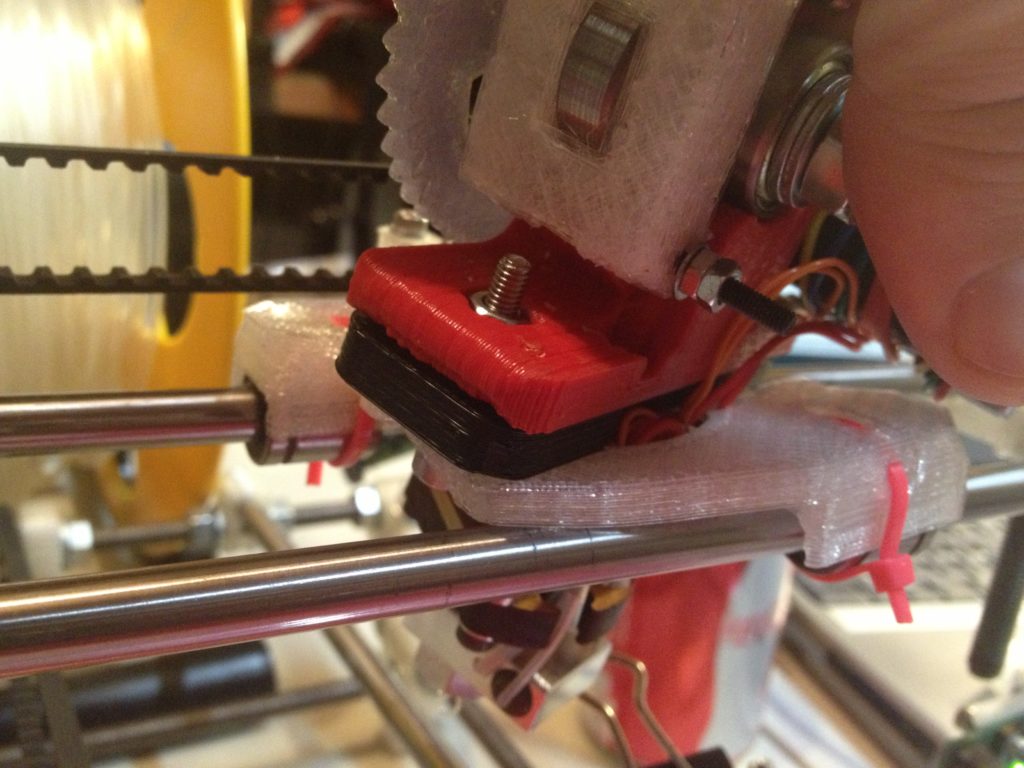
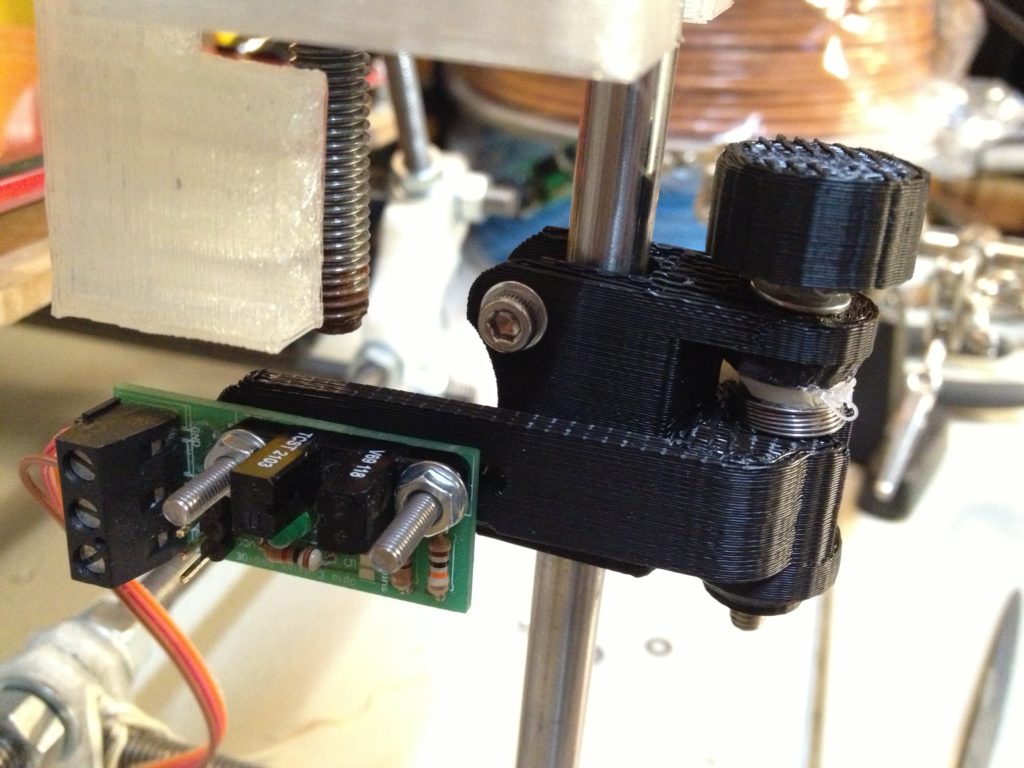
For the Z axis, I wanted to design a small opto-flag holder for Z (adapted from the endstop holder for Z). I set up the opto-endstop in a helping hands aligator clip to help measure what the piece should look like, and put the original z-endstop-holder (that I was adapting) on the X axis:

IMG_1638

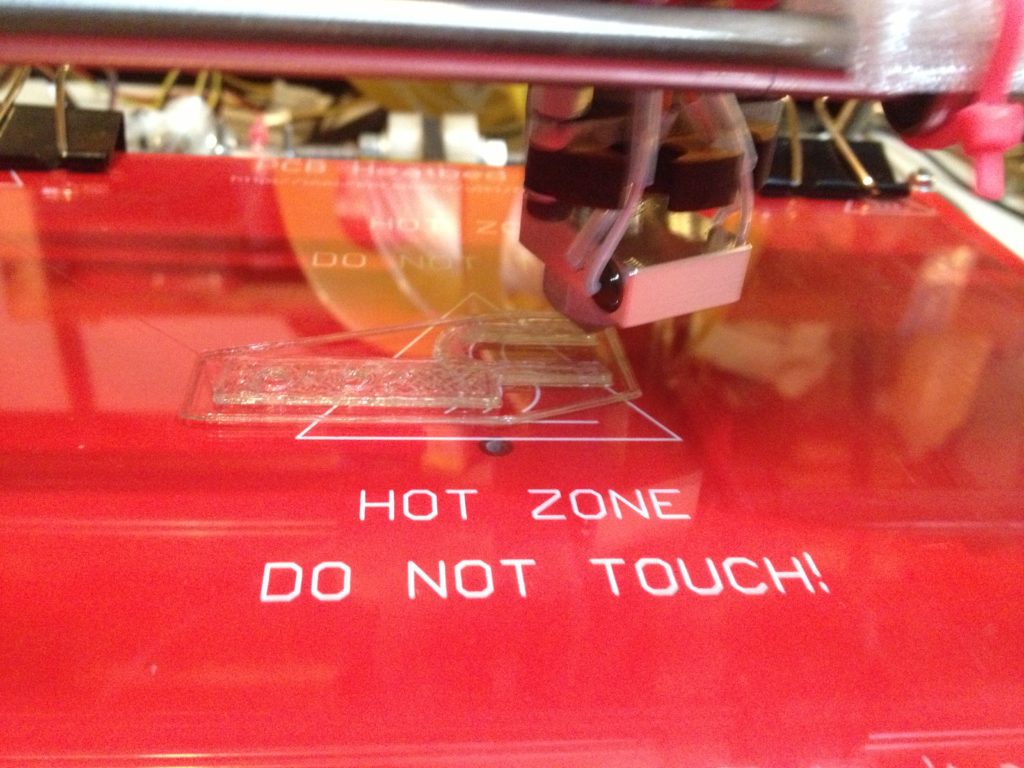
I measured it, designed what I wanted, and printed it on the Museum of Science’s RepRap (it printed its first enhancement part).

IMG_1627

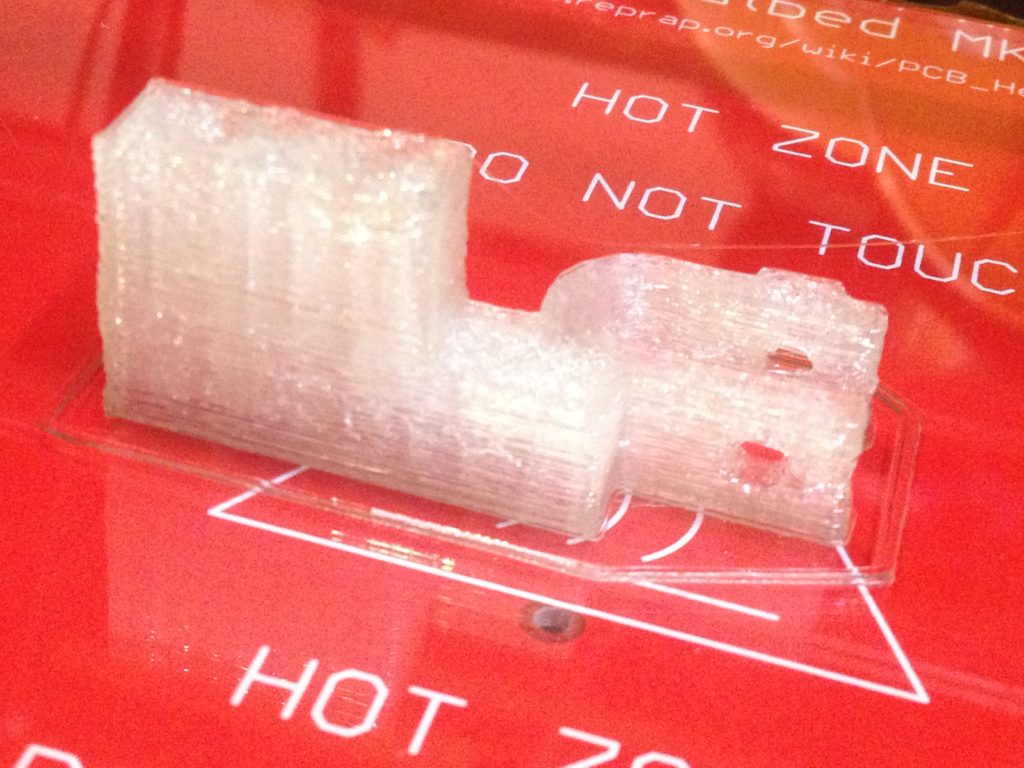
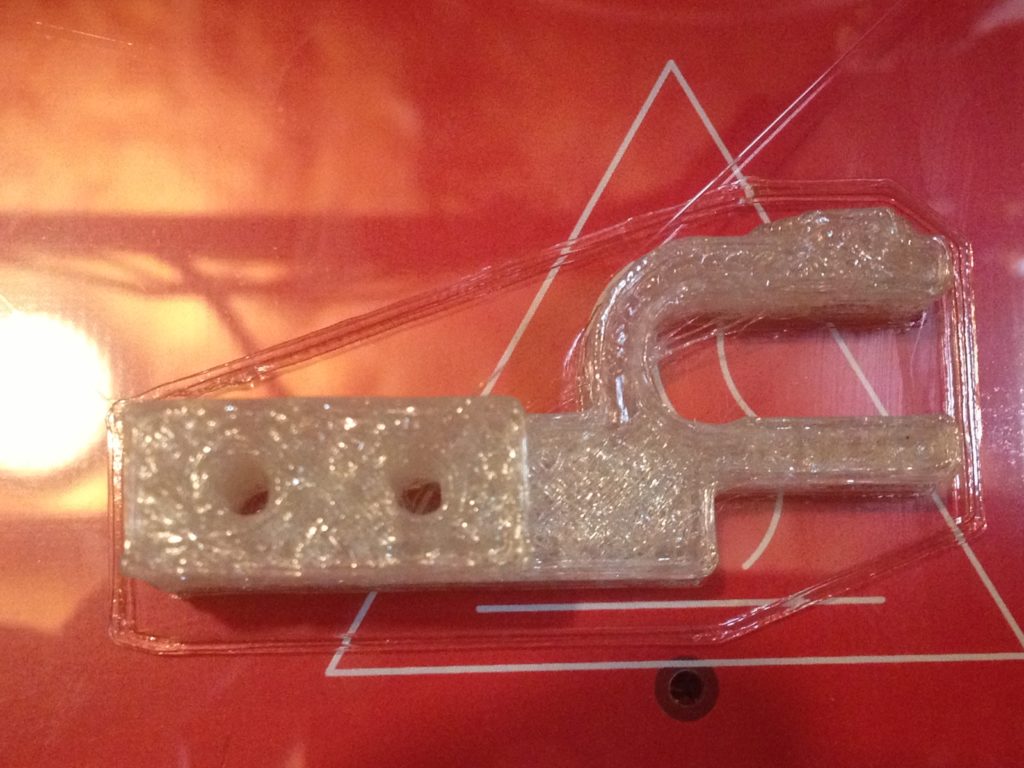
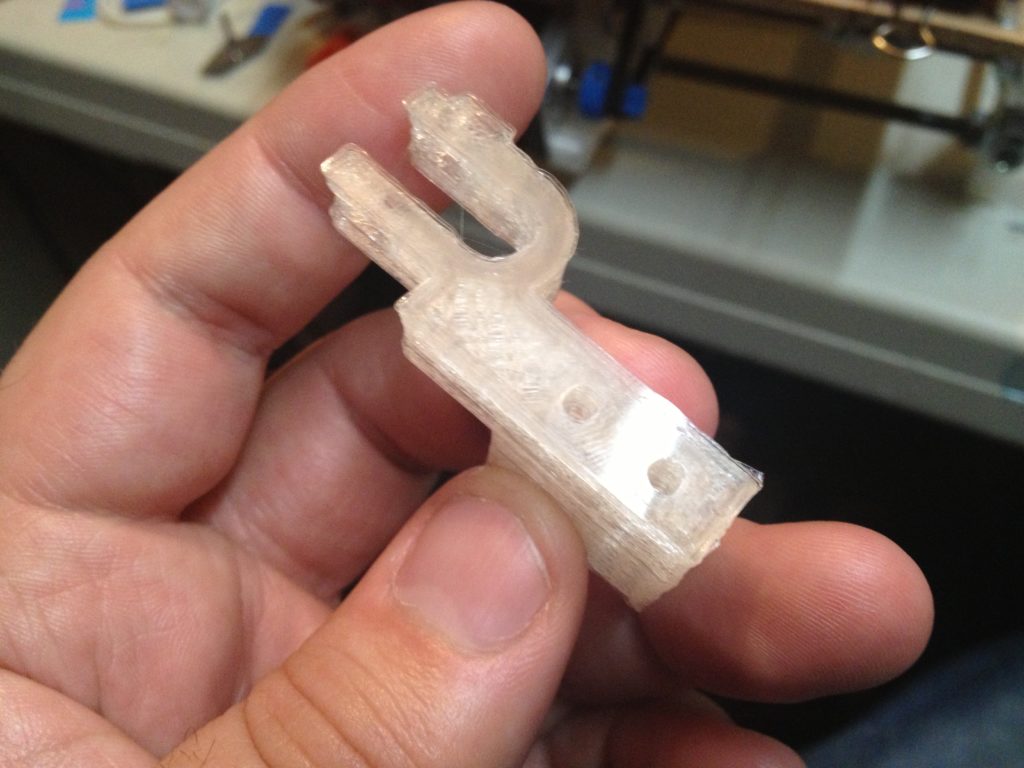
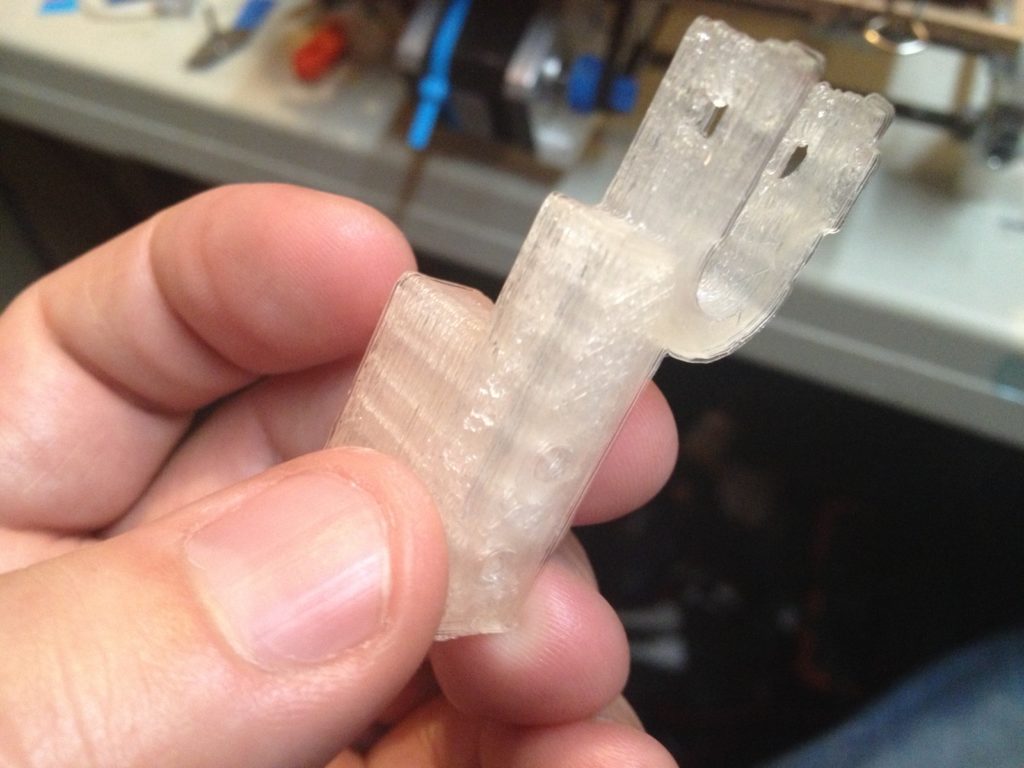
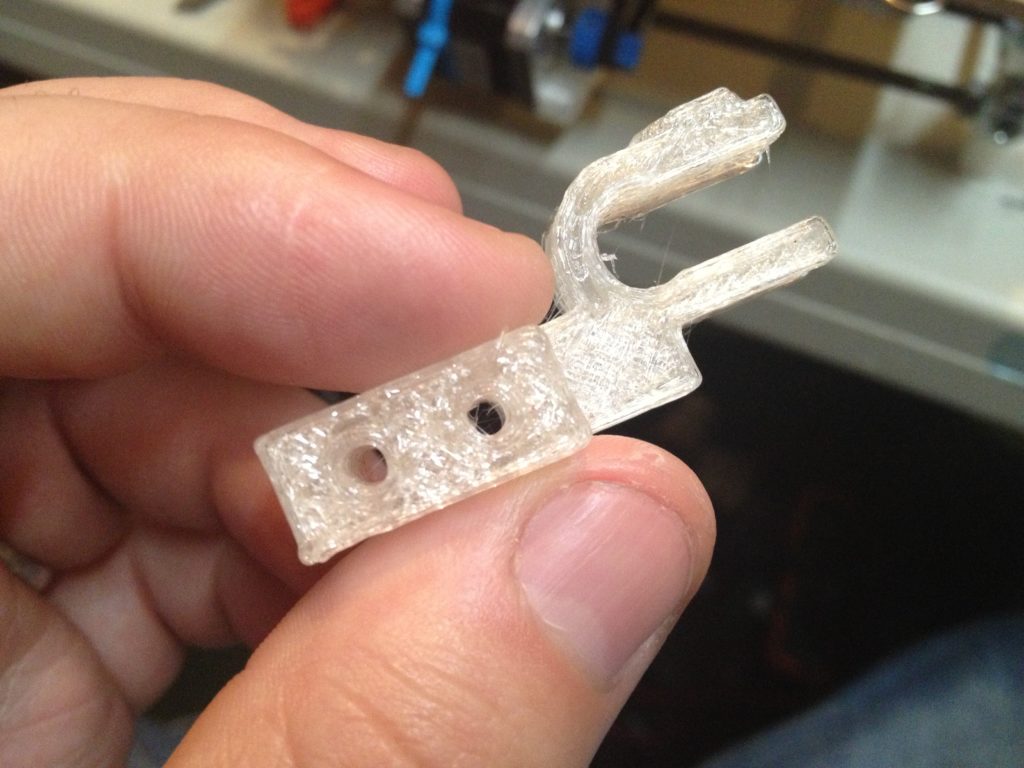
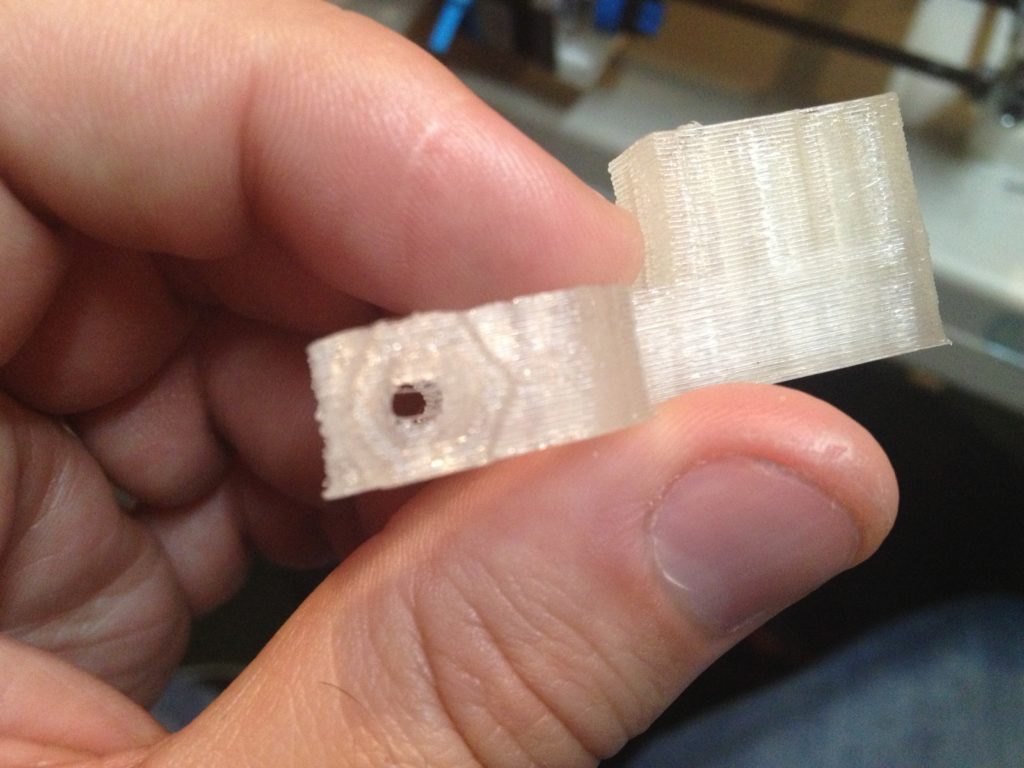
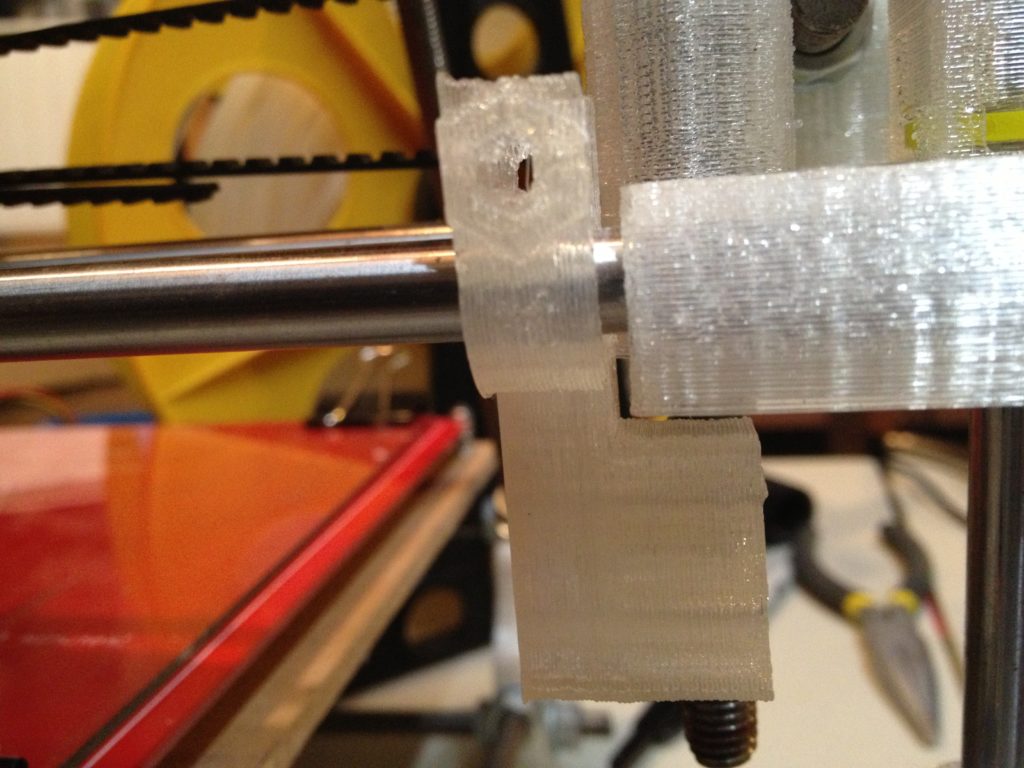
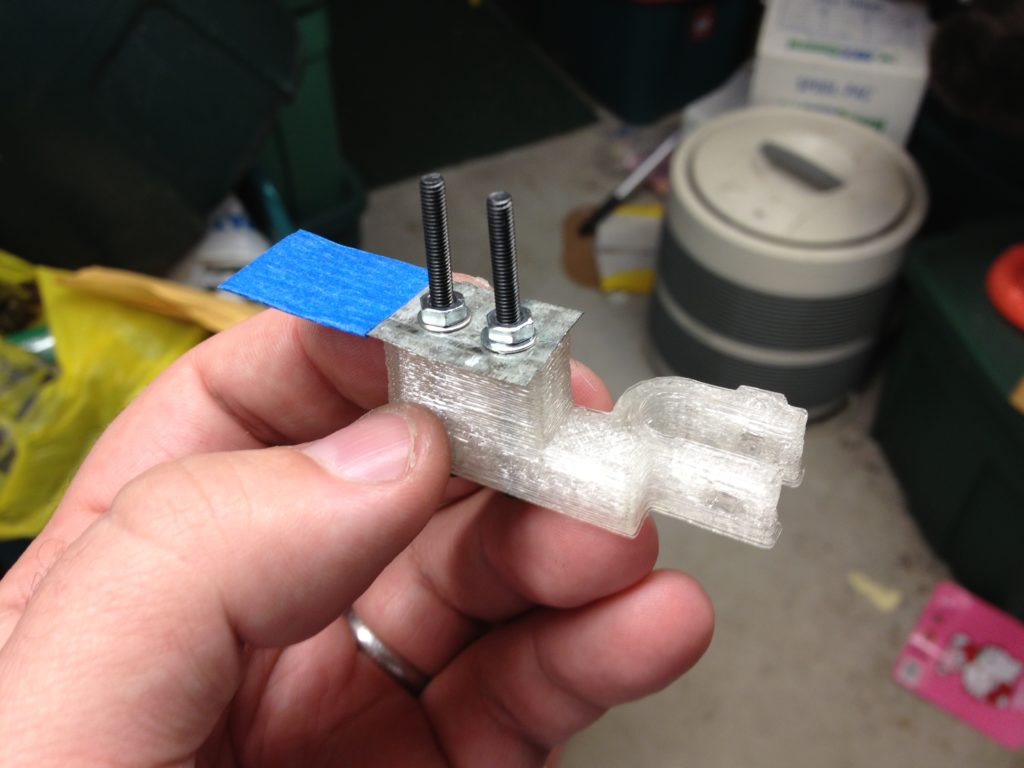
Here was the resulting part:

IMG_1639

IMG_1640

IMG_1643

IMG_1644

IMG_1645

IMG_1646

..and here is the new piece on the x-axis where the old original piece I adapted from had been:

IMG_1648

IMG_1650

This next video was horribly truncated (probably because my phone ran out of space or battery life) and I usually wouldn’t include it, but it feels a bit historic so I’ll include it for the 24 seconds that it lasts for:

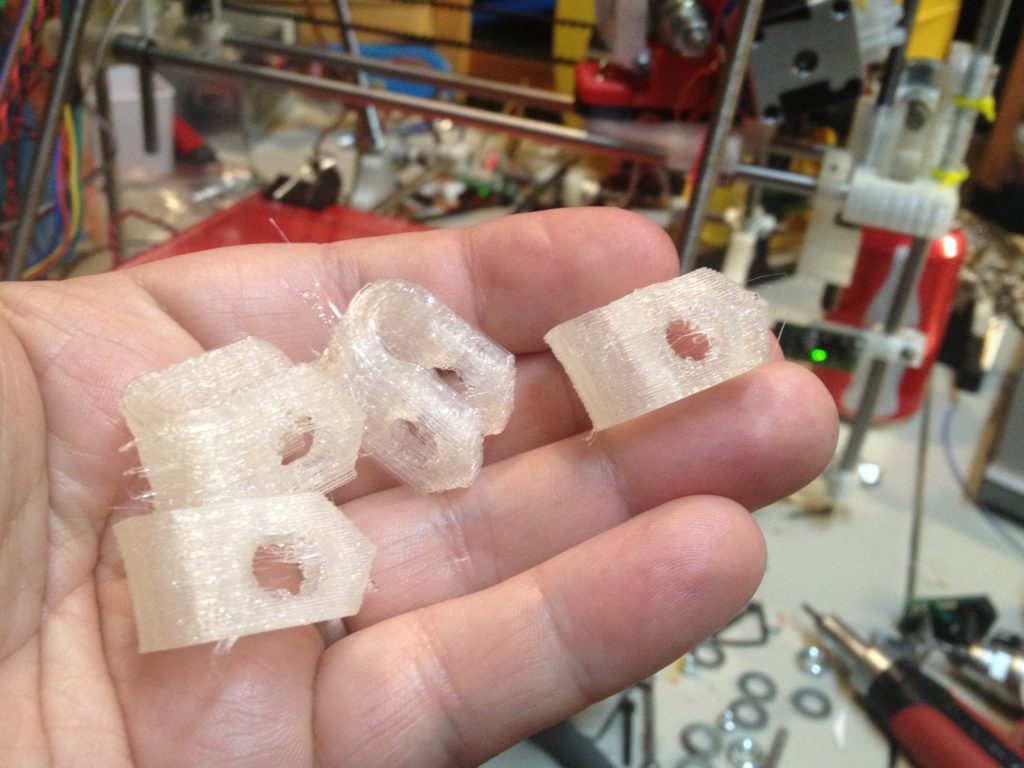
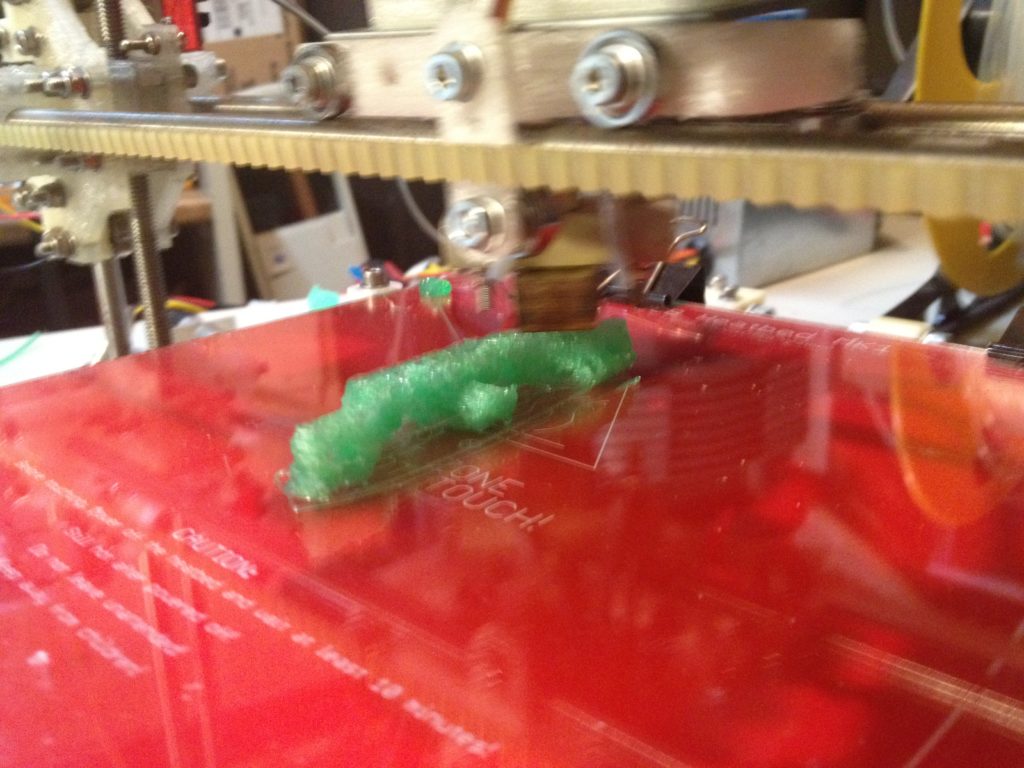
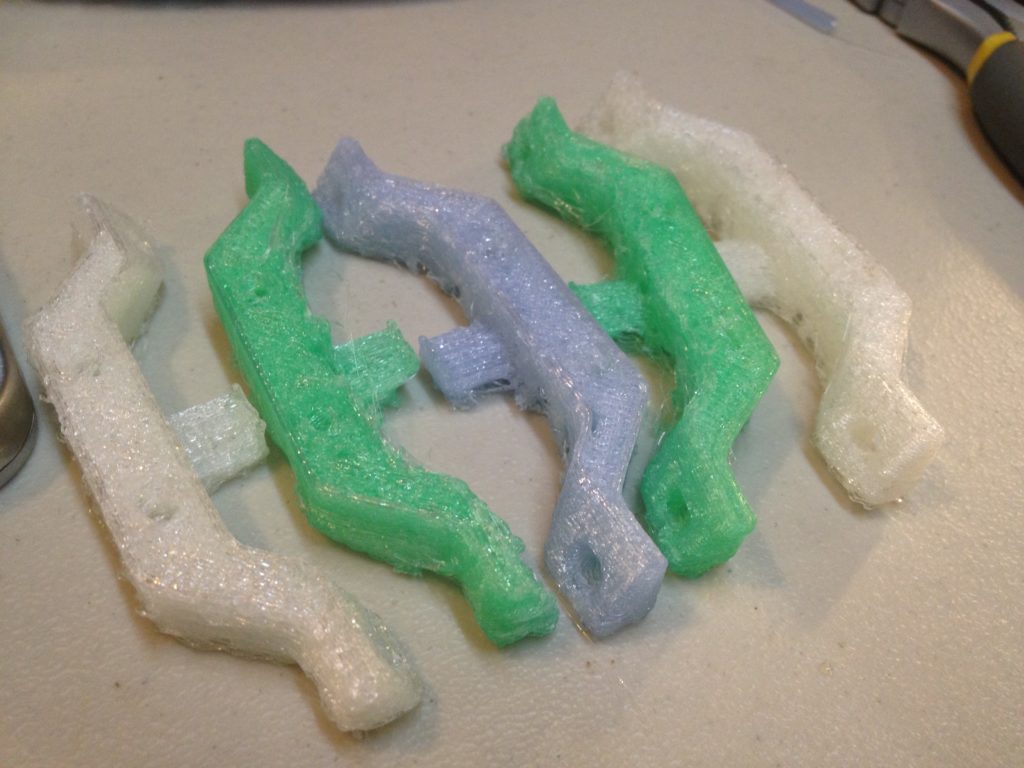
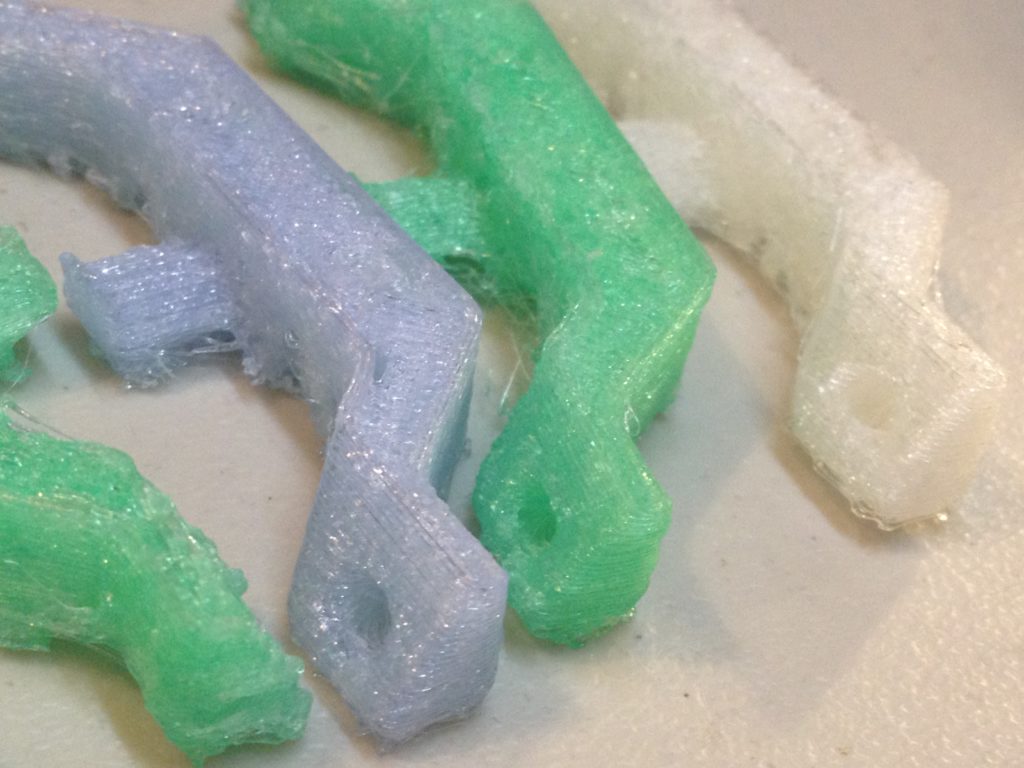
I had more work to do on the opto-flag holder (more on that later), but first I wanted to make a proper filament spool holder. I tried printing 4 of these new-style rod holders (I’d later realize I needed two of these and two of the old style), but then I ran into the new problem that my prints were slanting on X and Y (not individual skips, but full slants for every layer):

IMG_1669

I guess I tried printing something else hoping the problem would go away, because the next picture I have is of that effect getting far far worse:

IMG_1671

IMG_1679

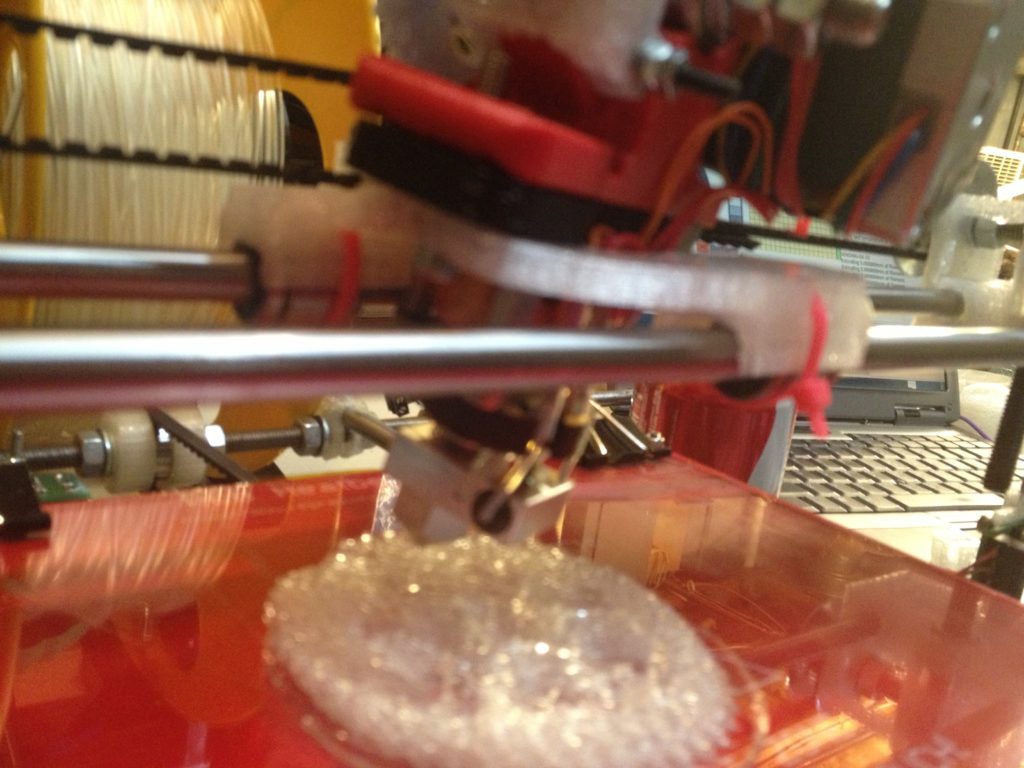
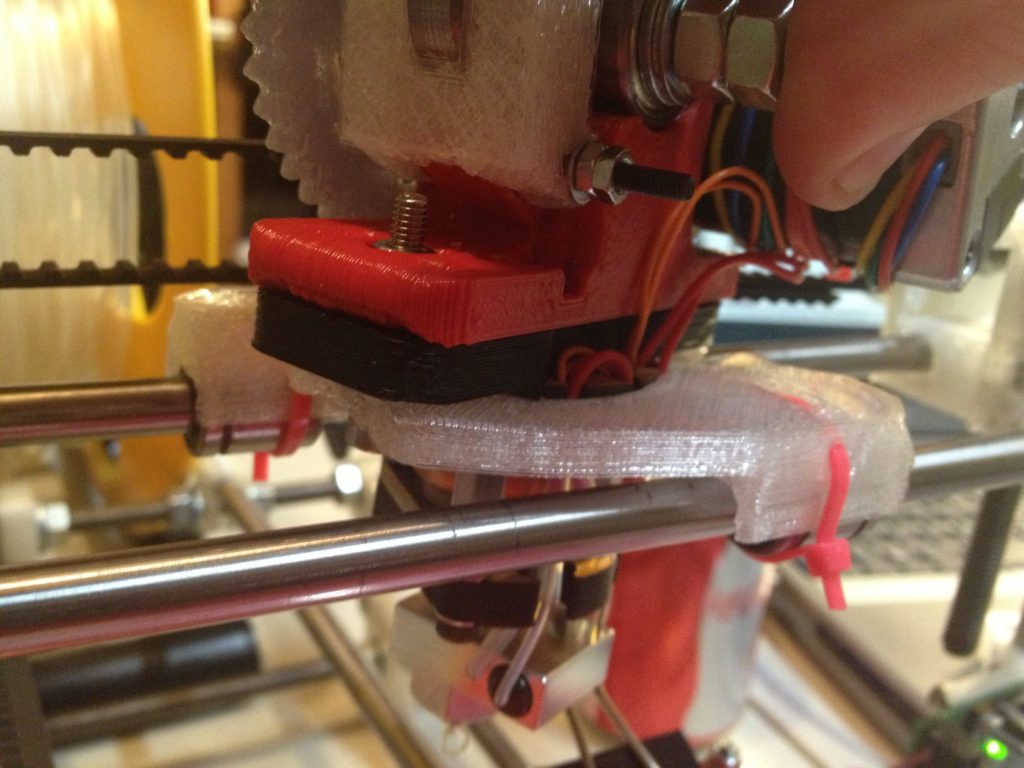
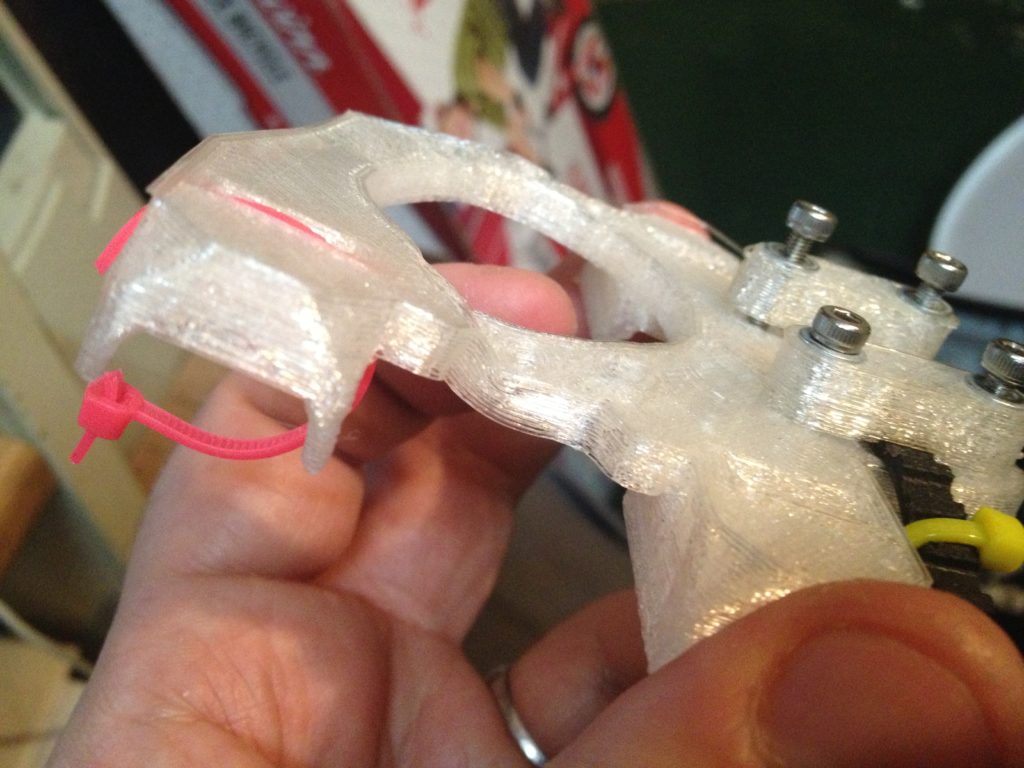
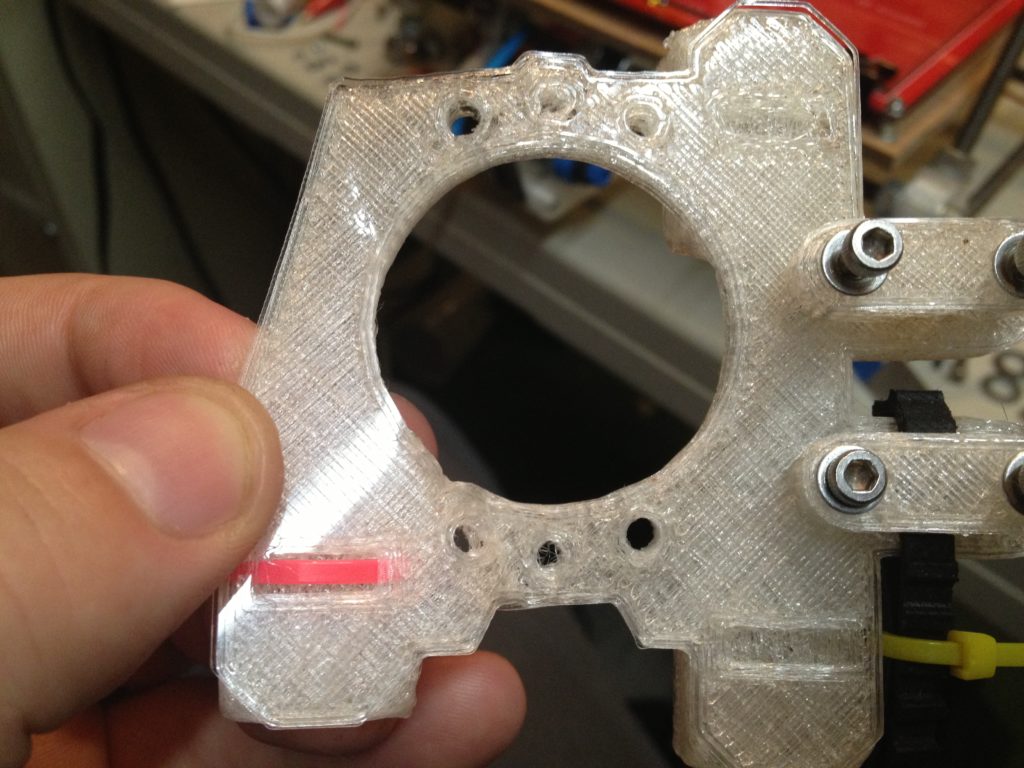
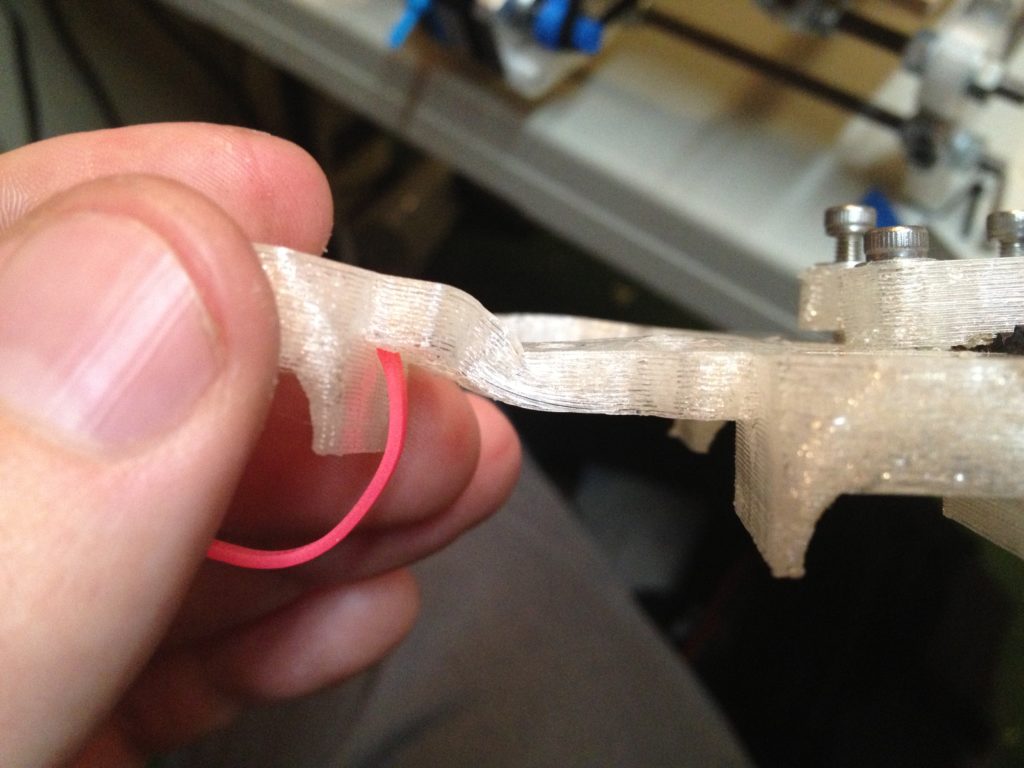
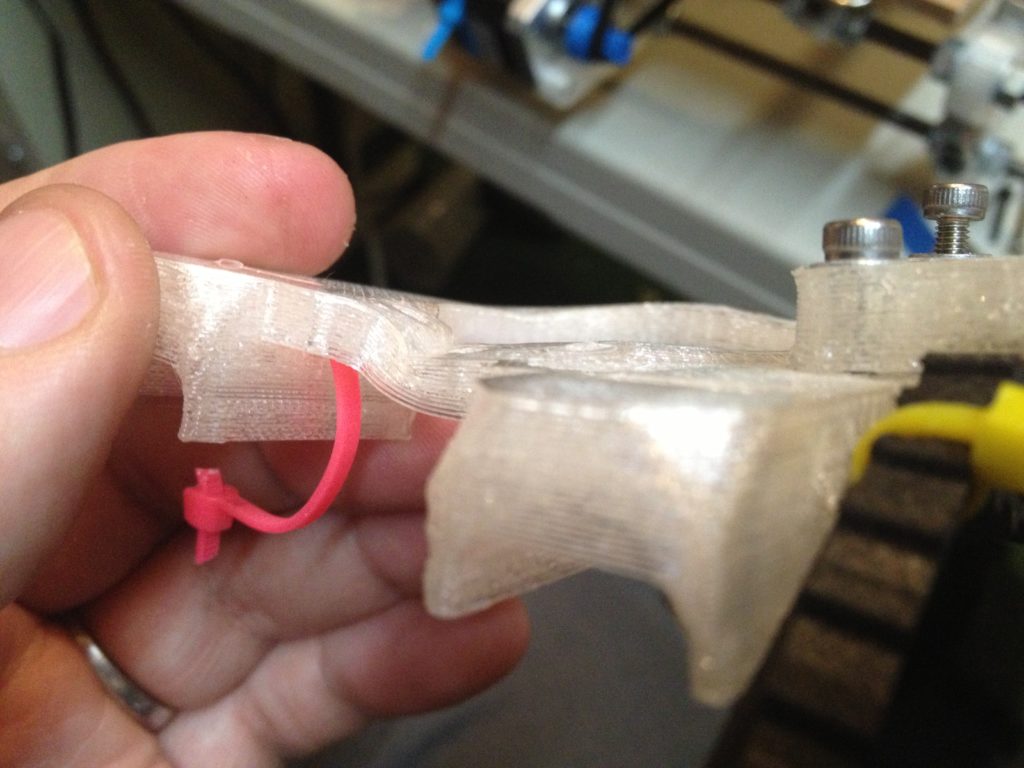
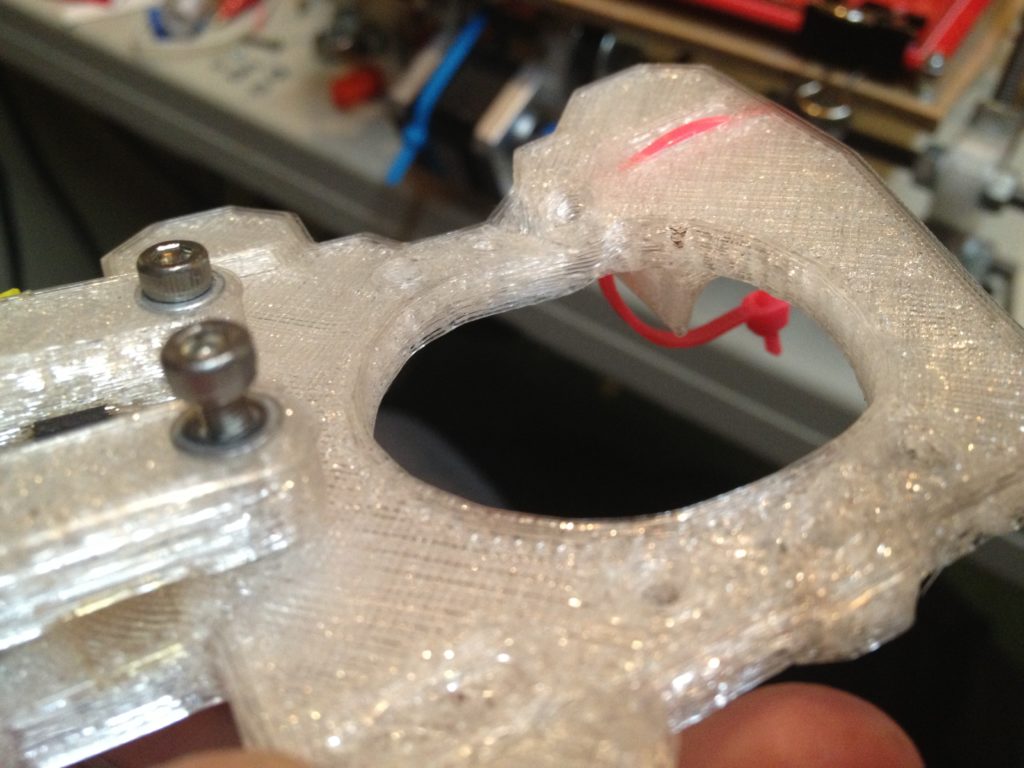
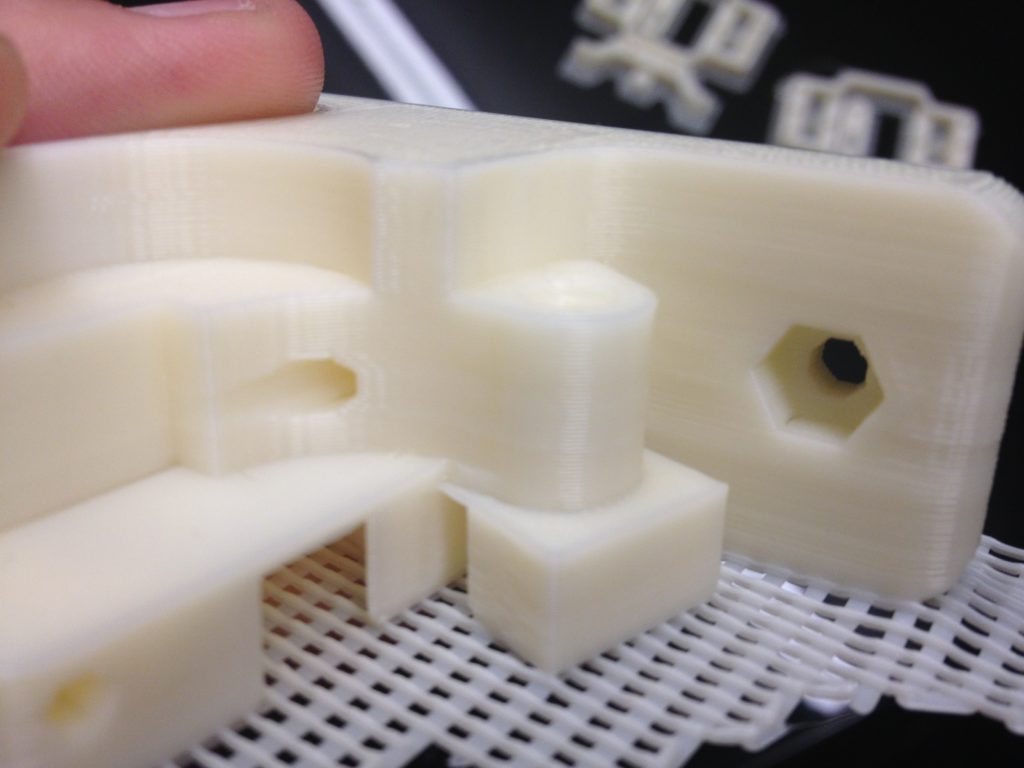
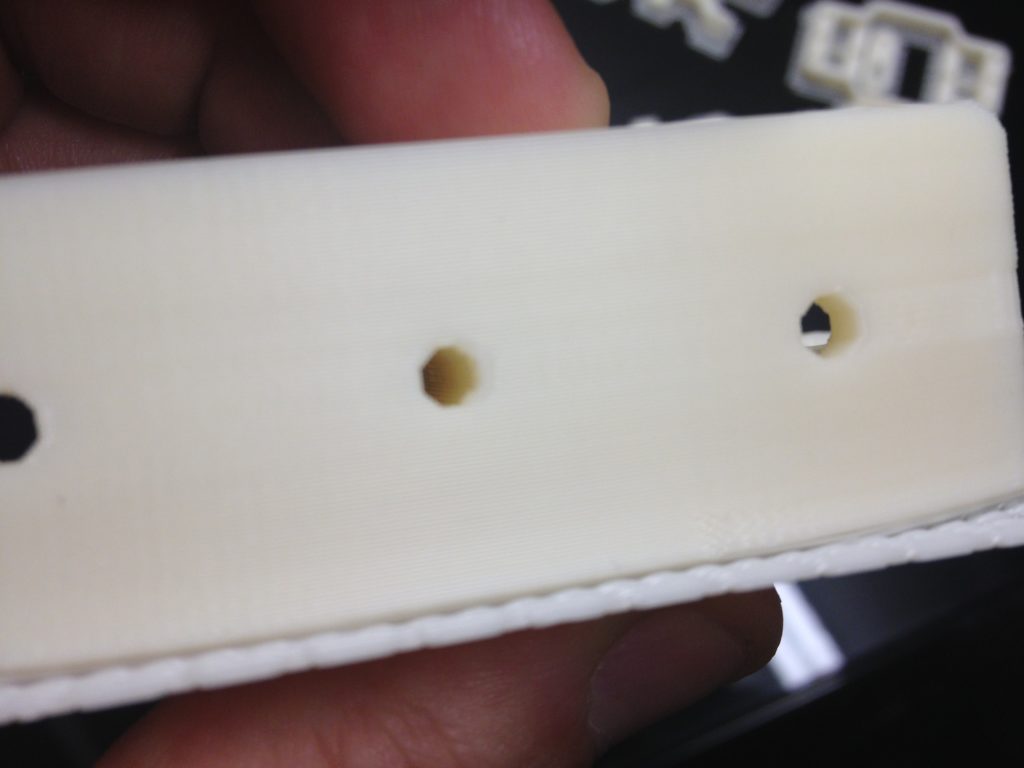
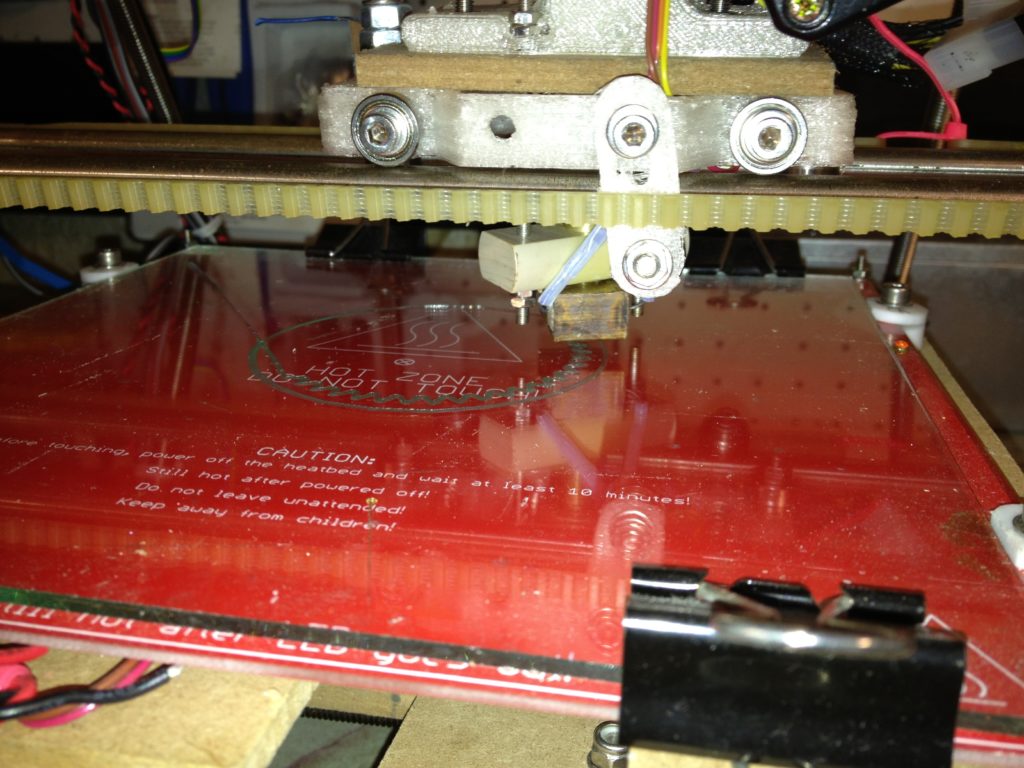
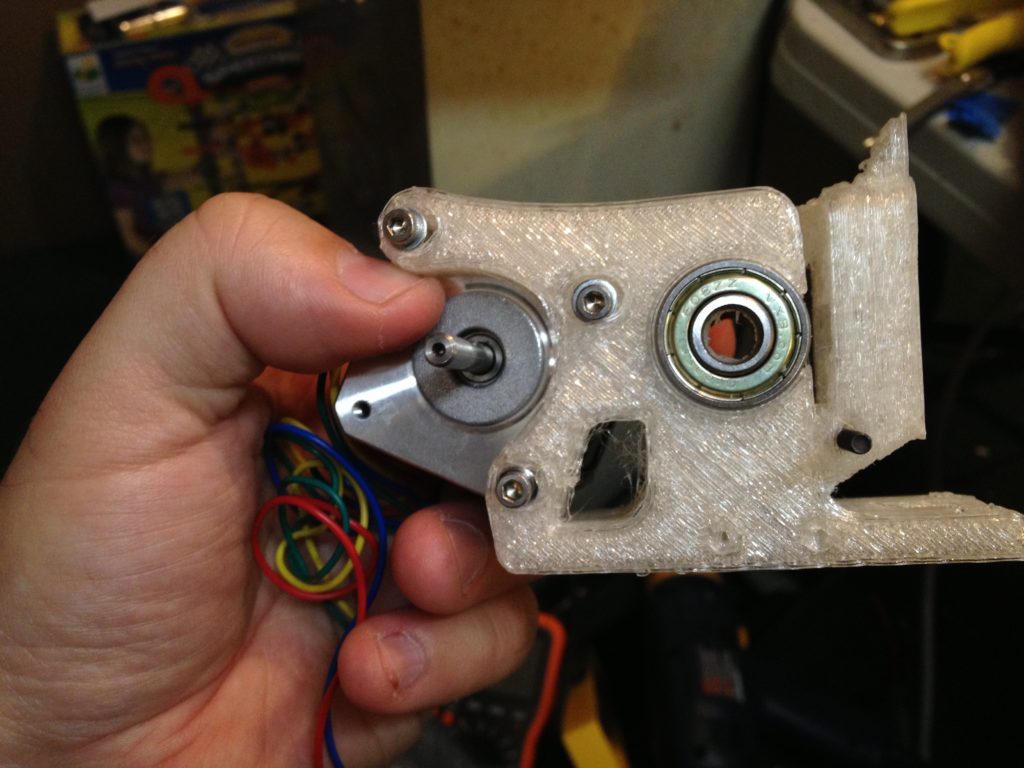
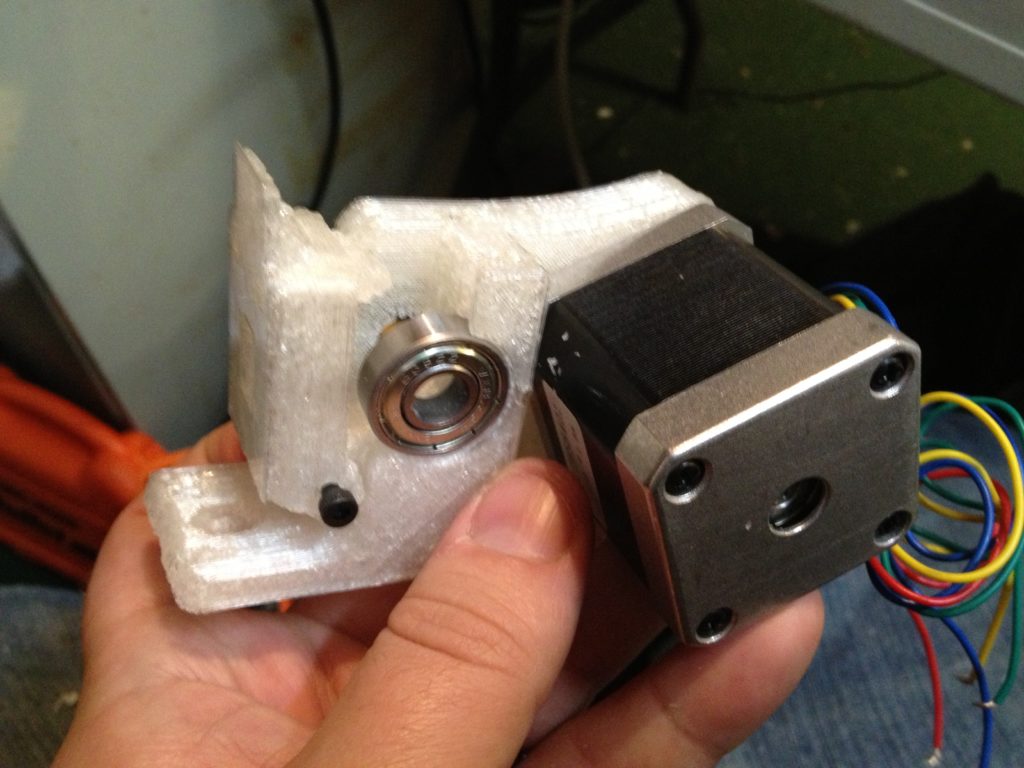
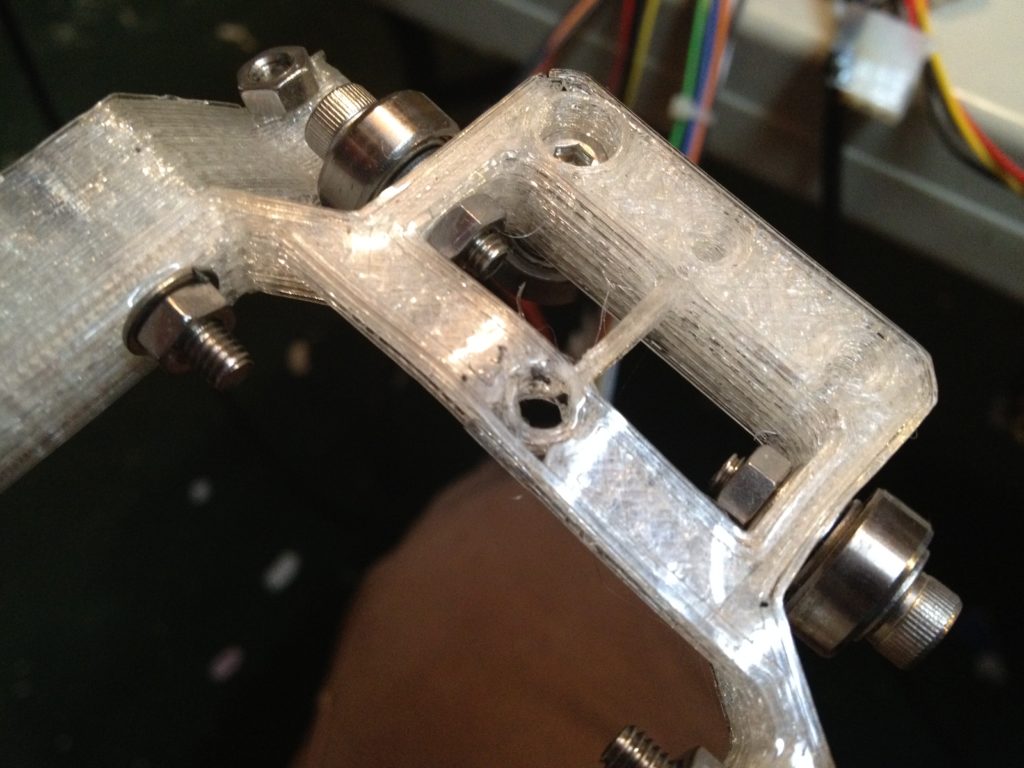
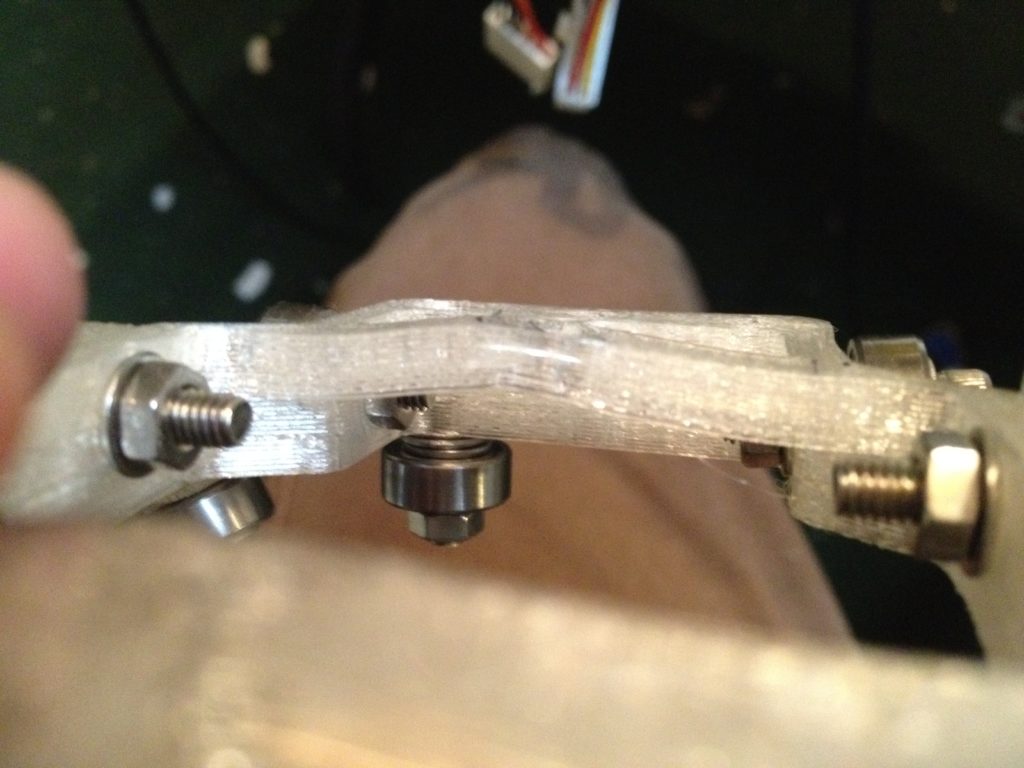
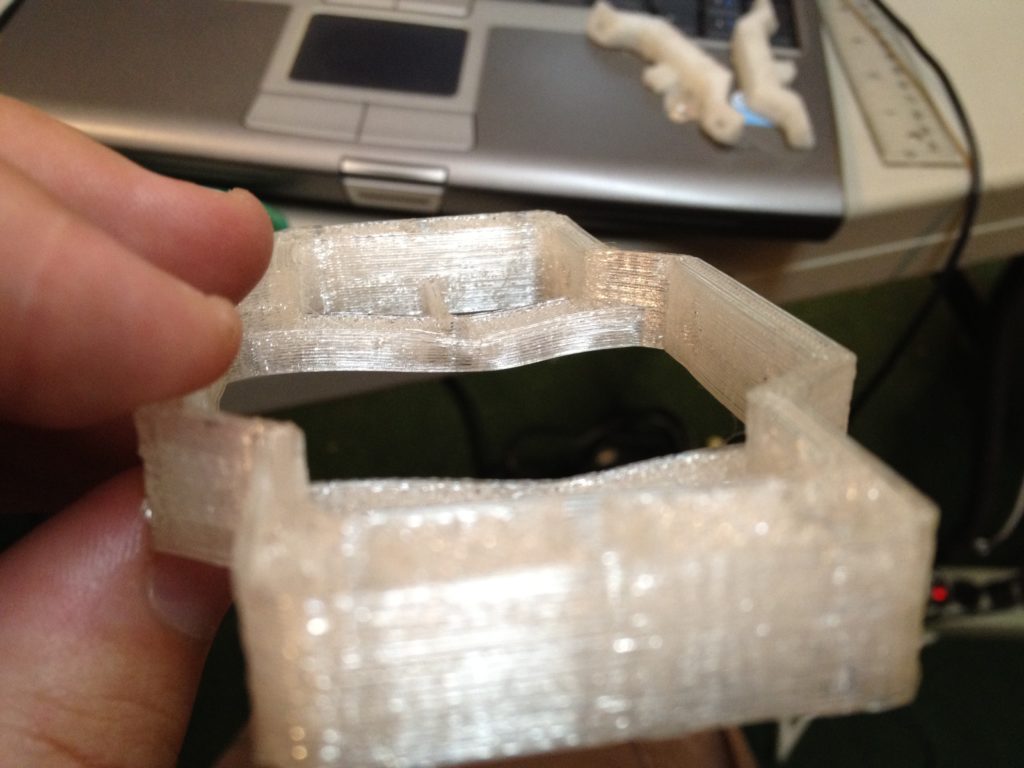
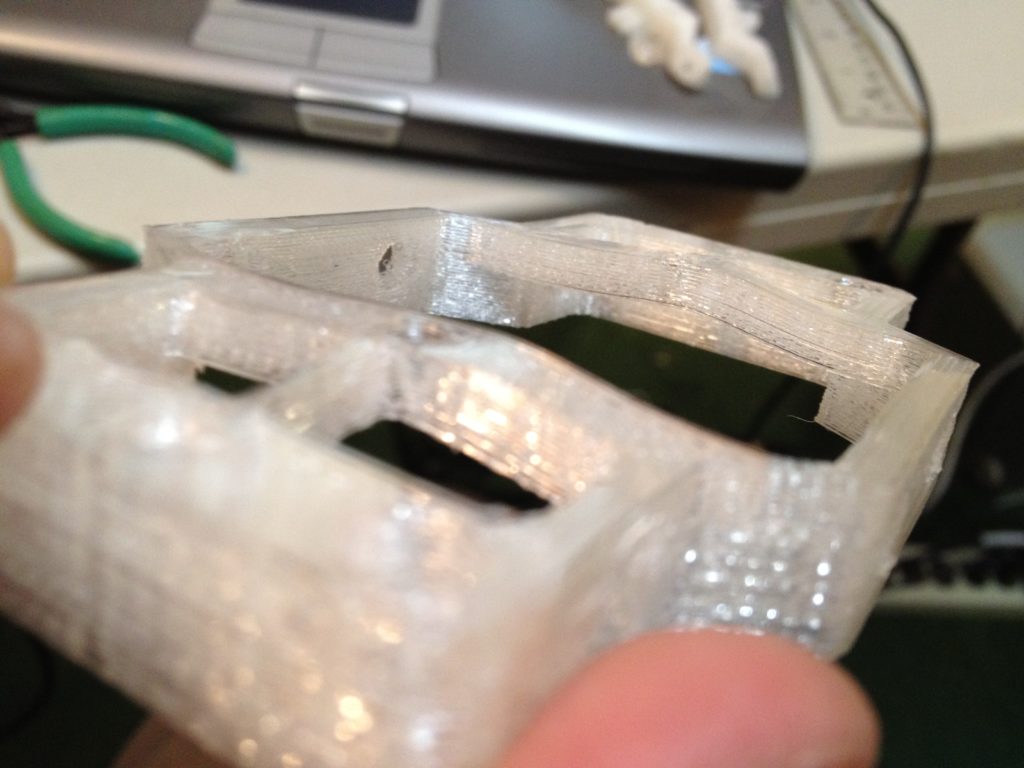
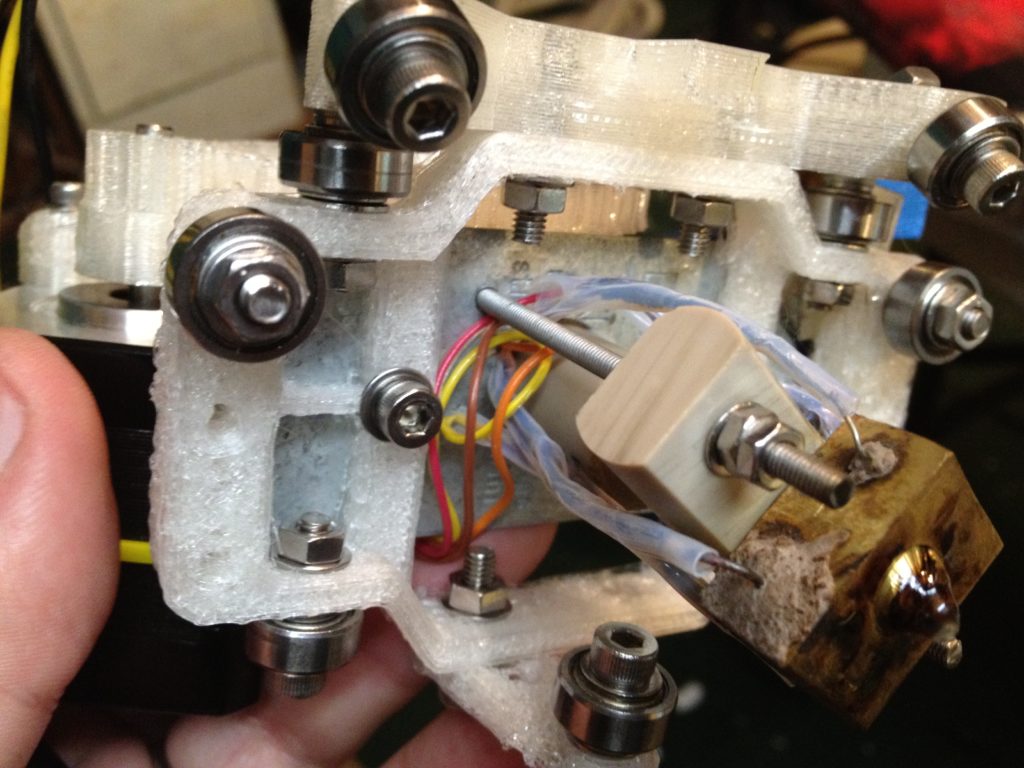
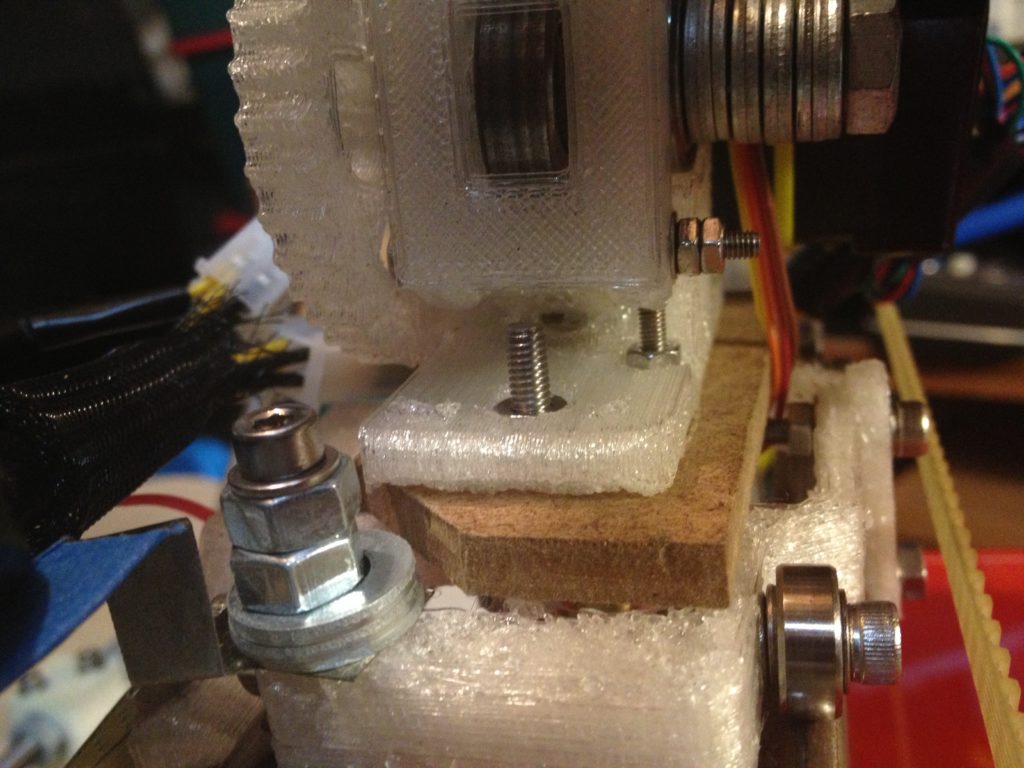
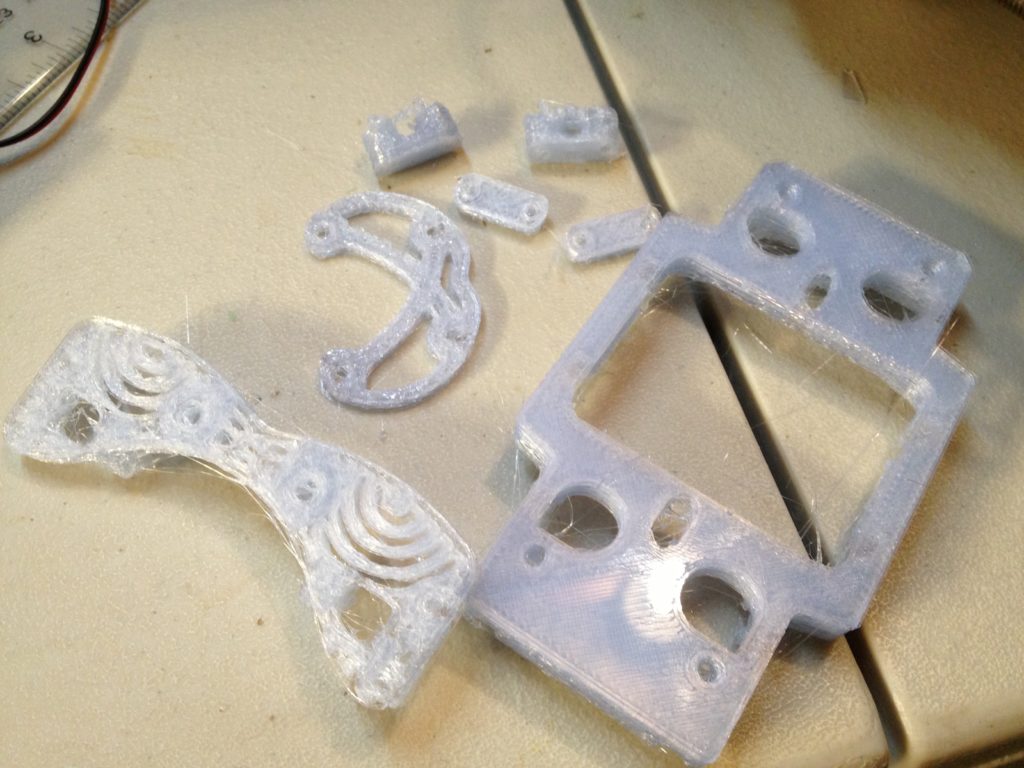
It was at this point that I started to suspect that my X-carriage had just melted…

Yup.. Your x-carriage should NOT do this:

IMG_1684

IMG_1686

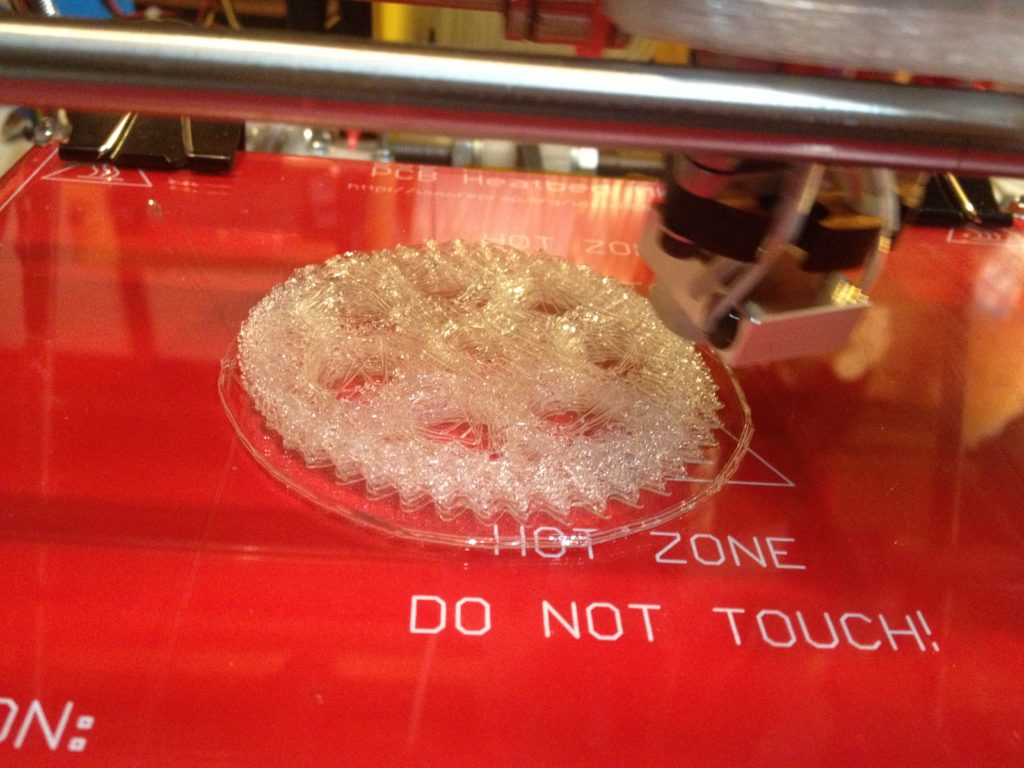
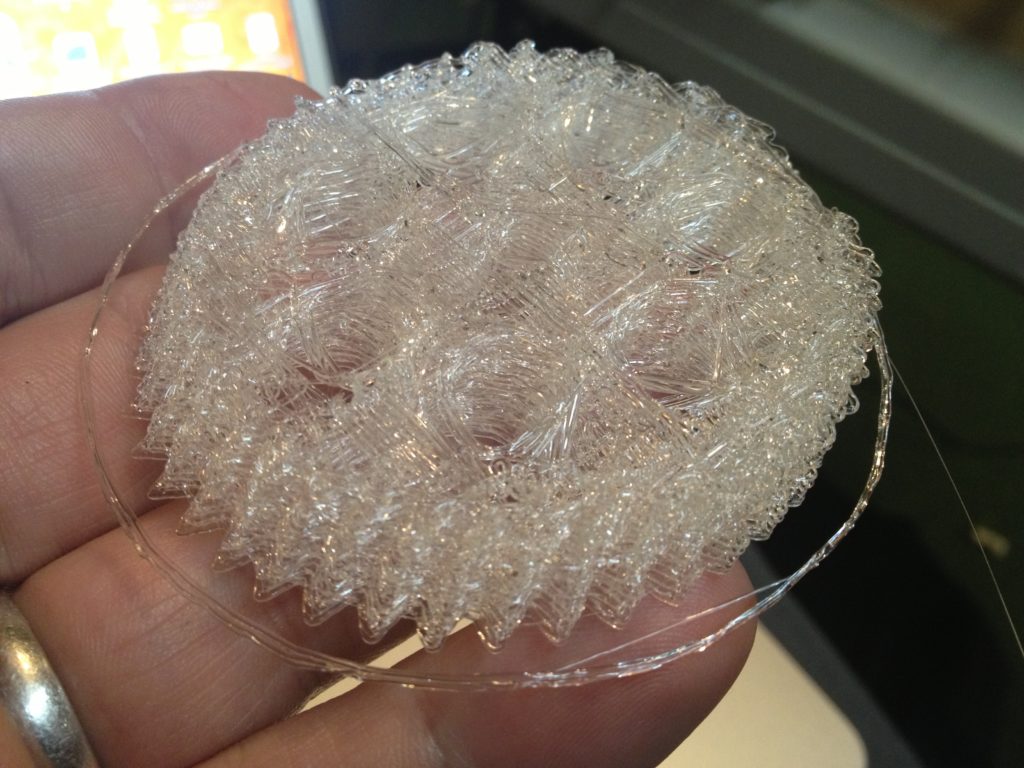
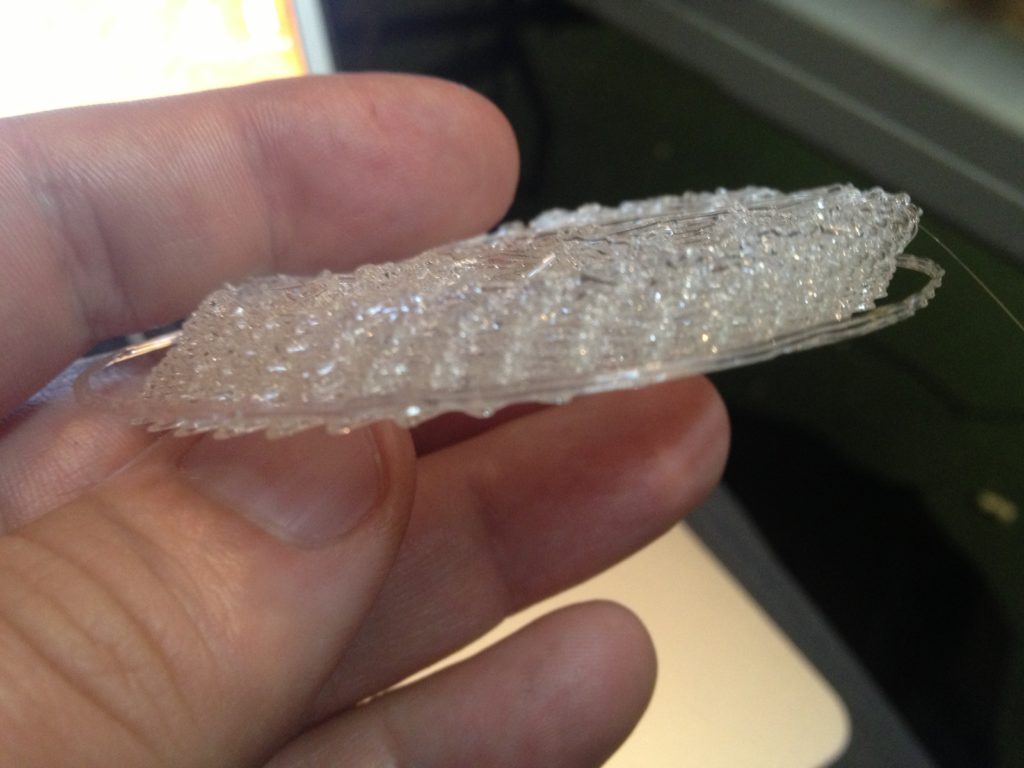
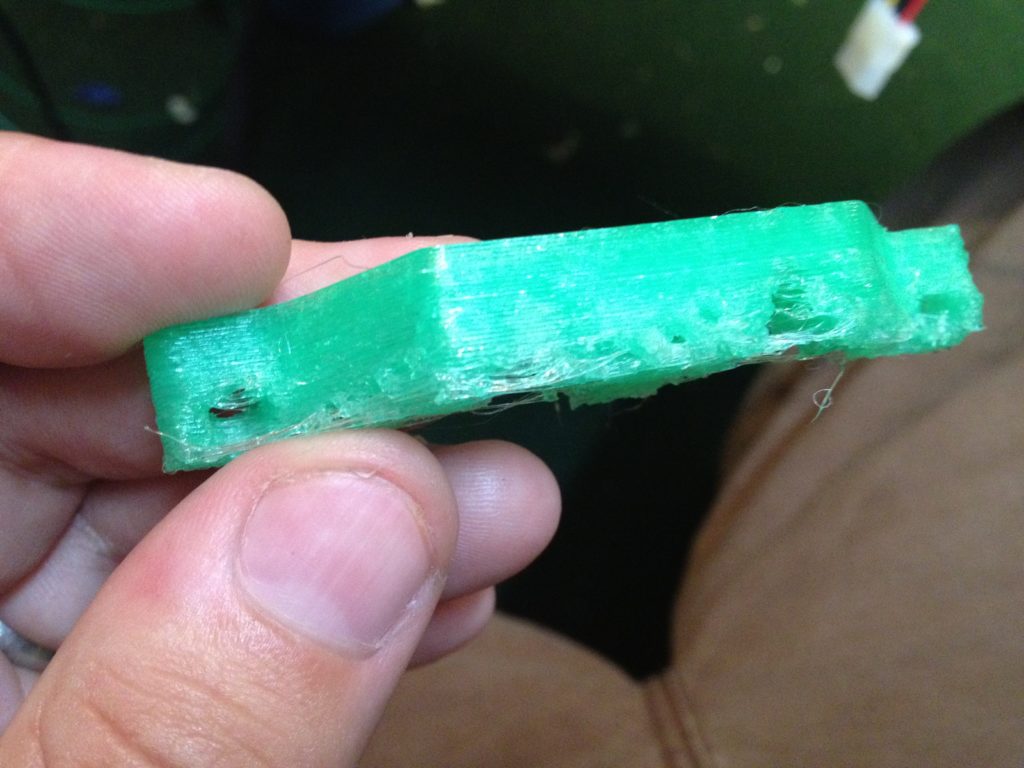
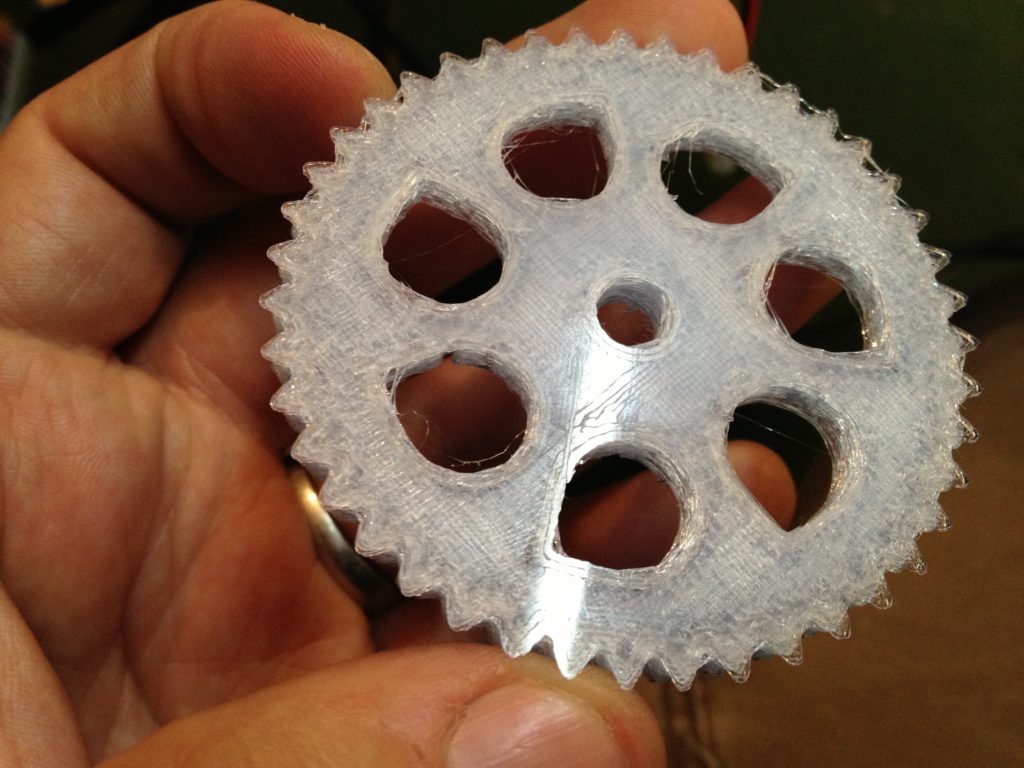
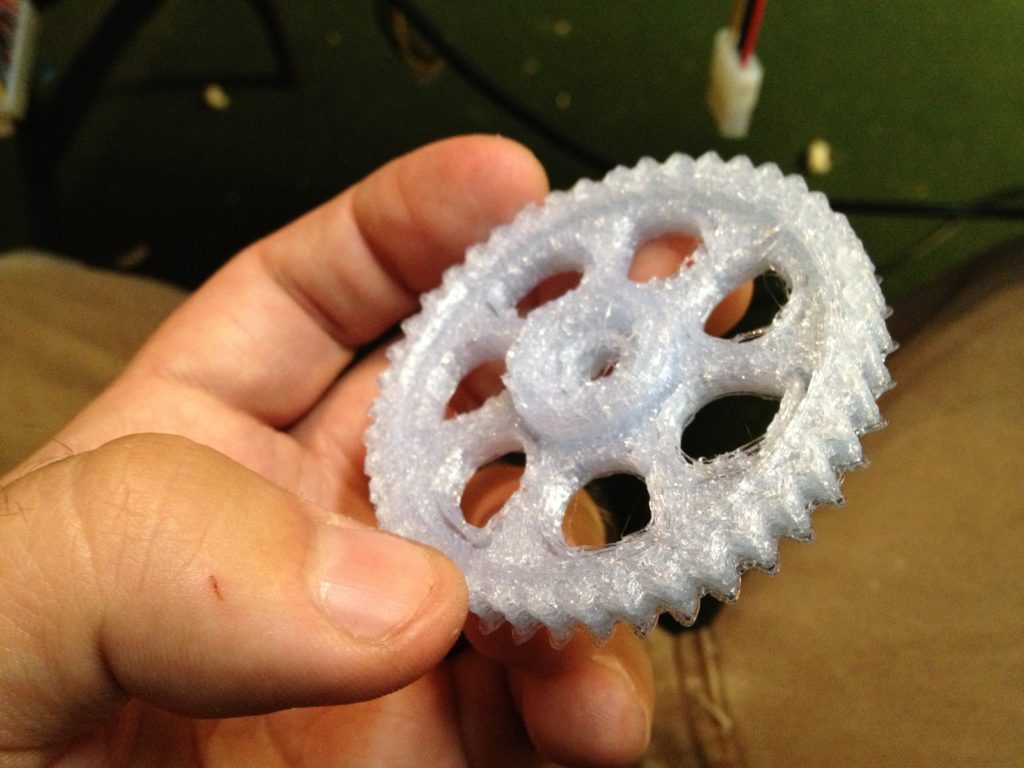
Here was that gear attempt that had failed because the nozzle was lifting up and back left:

IMG_1688

IMG_1689

What’s the lesson to be learned here? Don’t make carriages or extruders out of PLA.

Here are some more pictures of the melted carriage:

IMG_1692

IMG_1693

IMG_1694

IMG_1695

IMG_1700

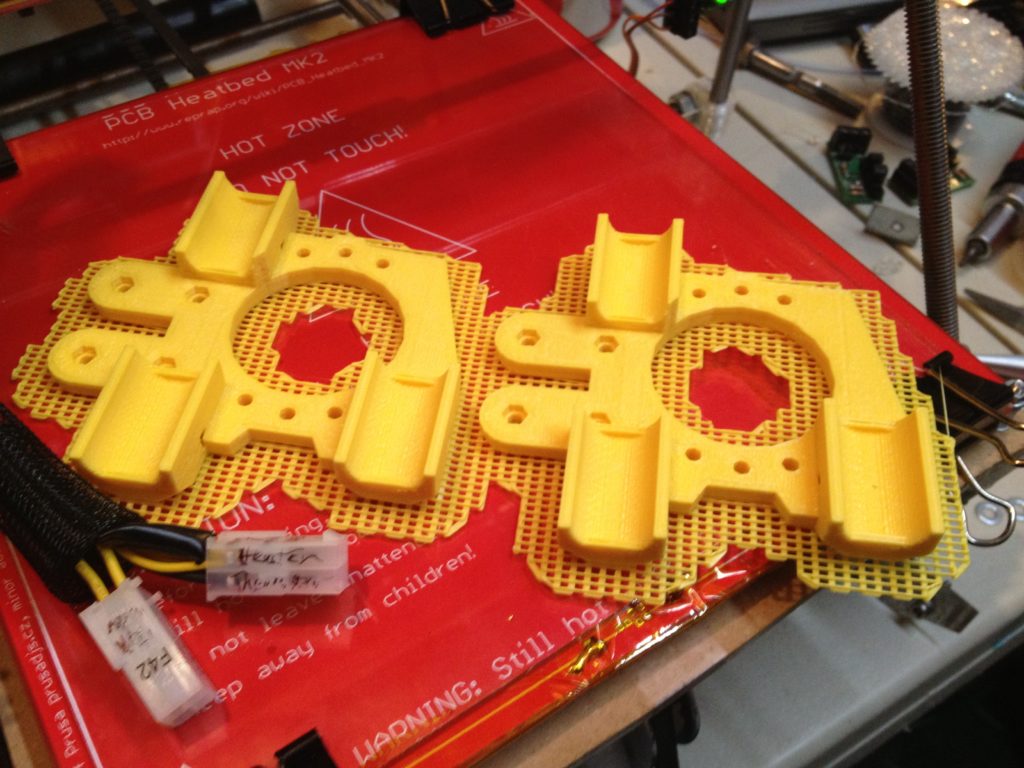
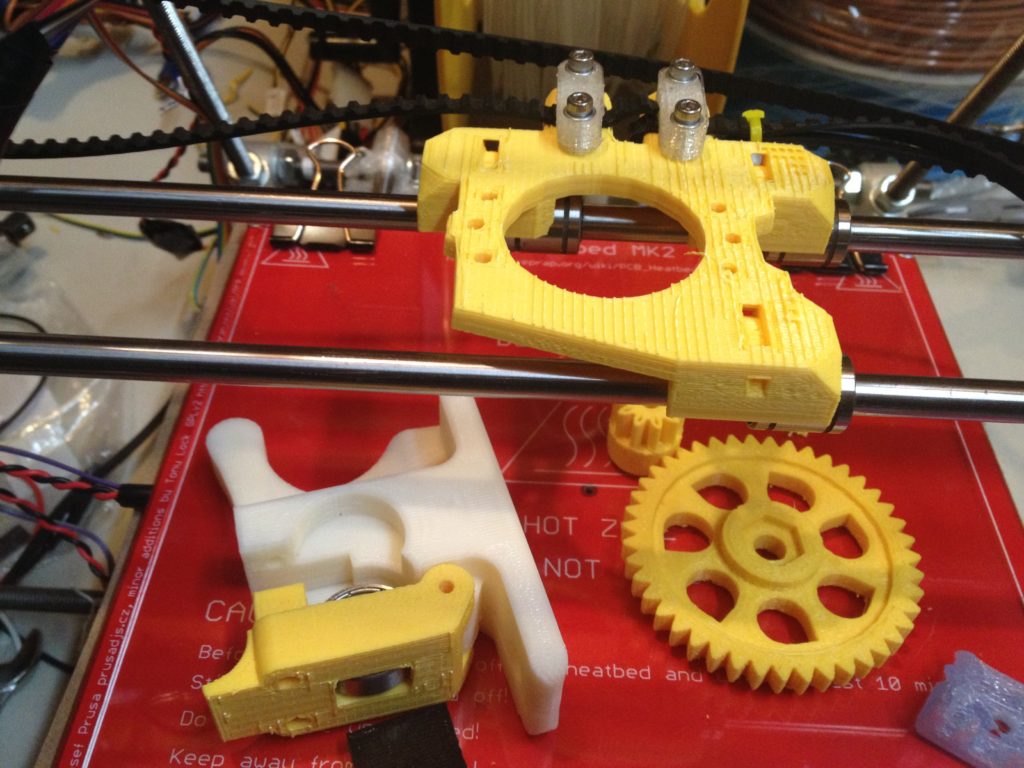
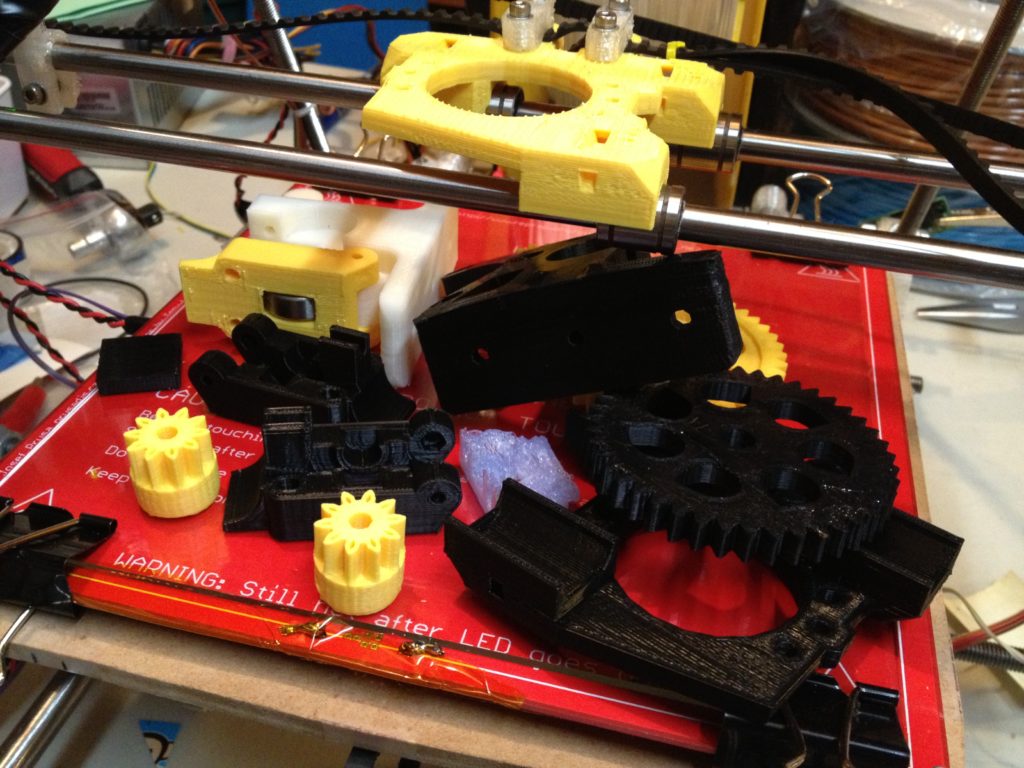
I printed a carriage out of ABS on a Makerbot Replicator that I’d borrowed for something else. I wasn’t about to muck with mixing ABS and PLA in a nozzle of my own RepRap (or the Museum of Science’s RepRap) at this point:

IMG_1704

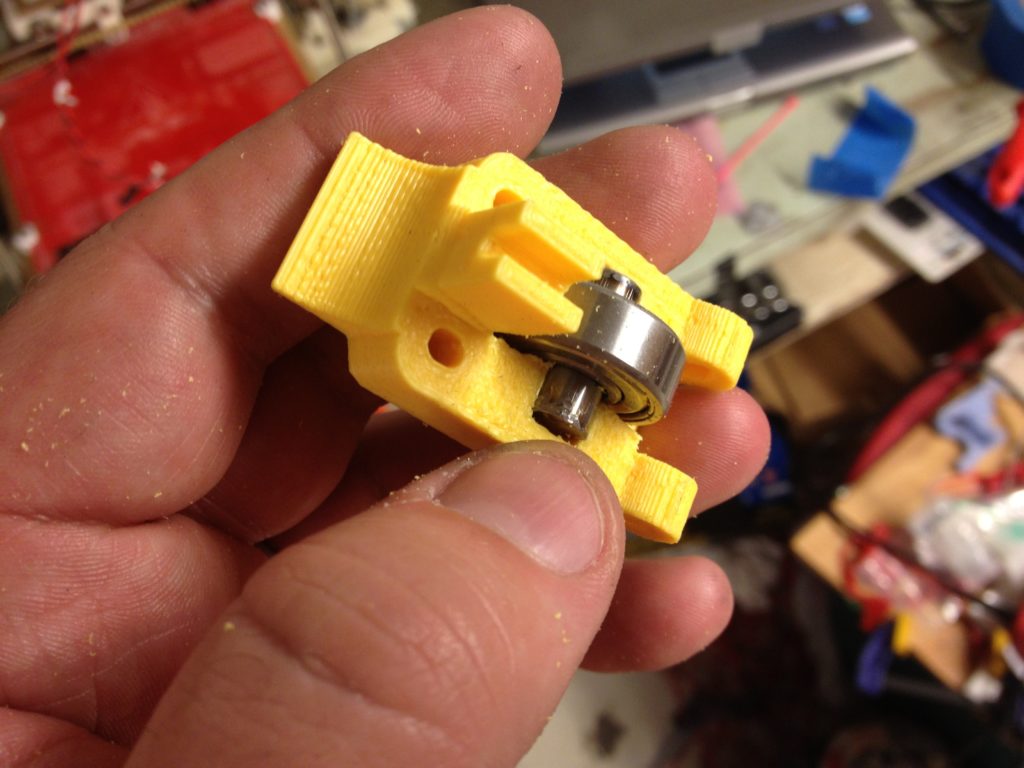
I also printed out an idler:

IMG_1946

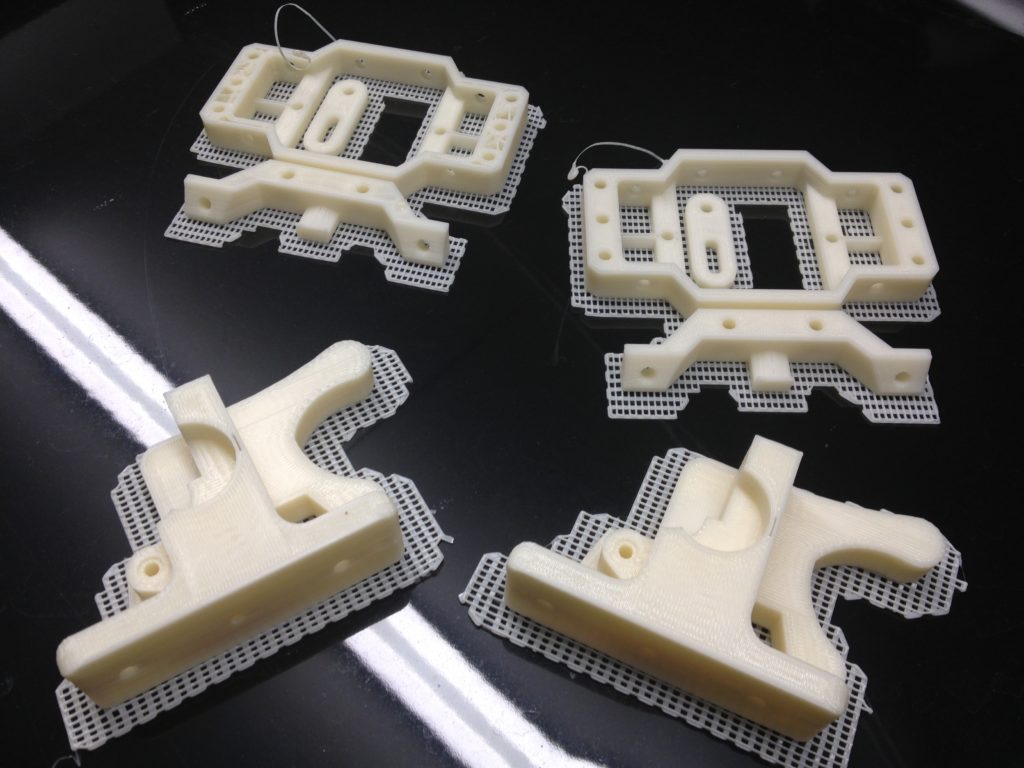
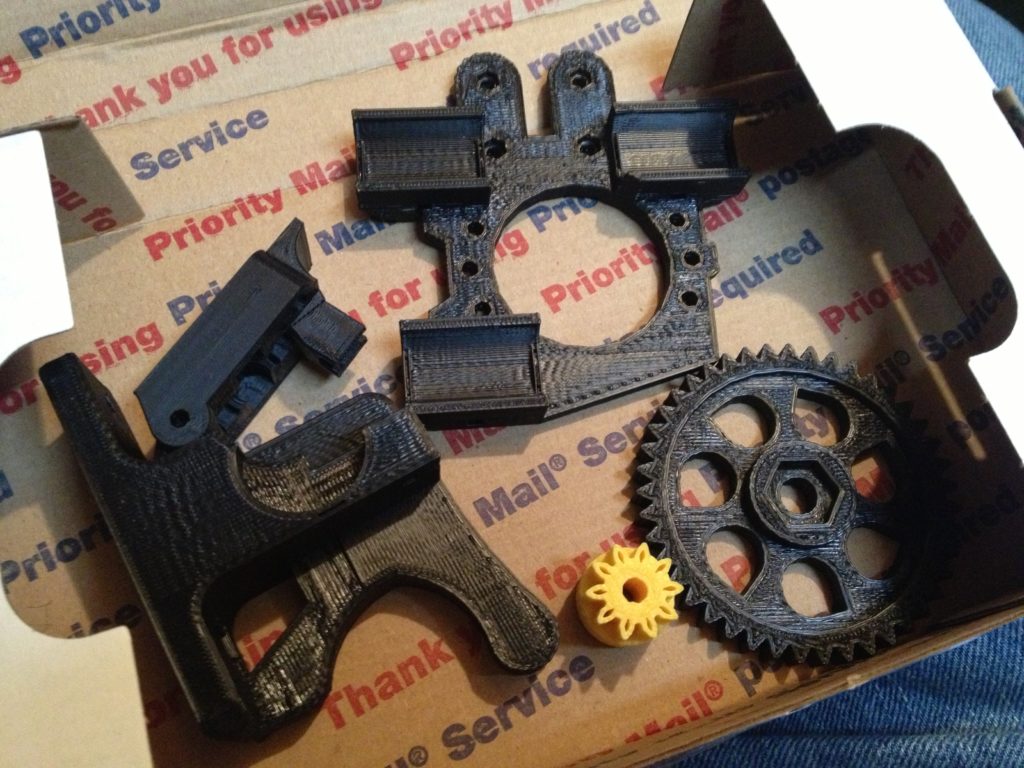
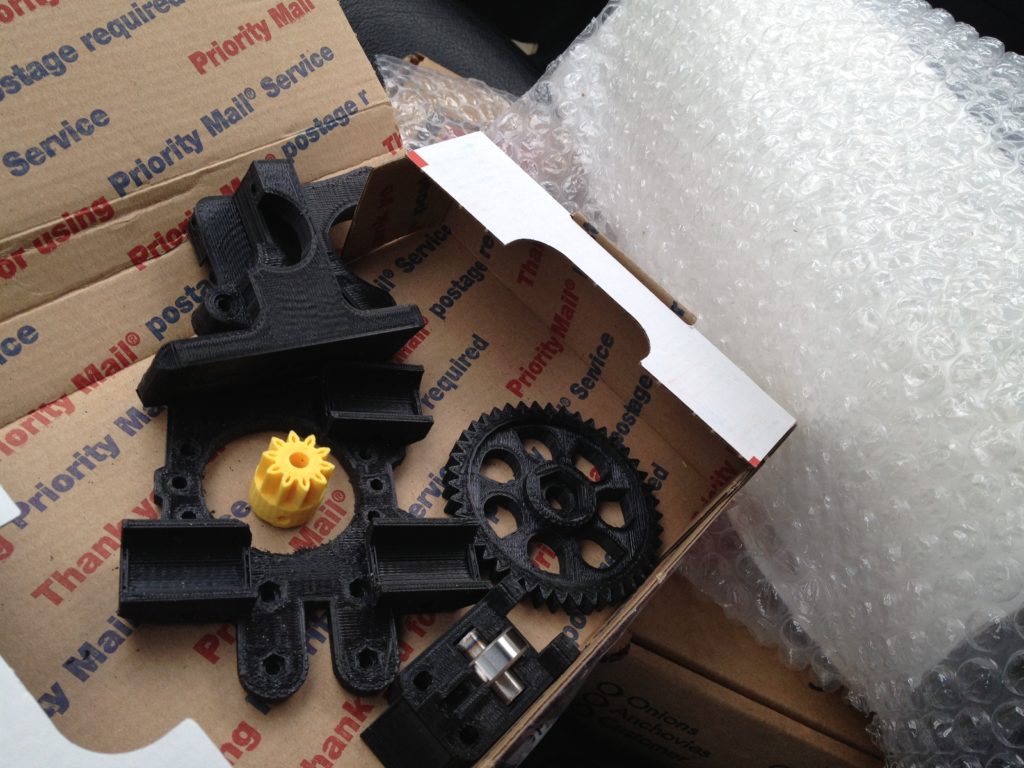
…two extruder parts with bottoms designed for the Budaschnozzle, two spare Open-X carriages for me:

IMG_1558

IMG_1559

IMG_1562

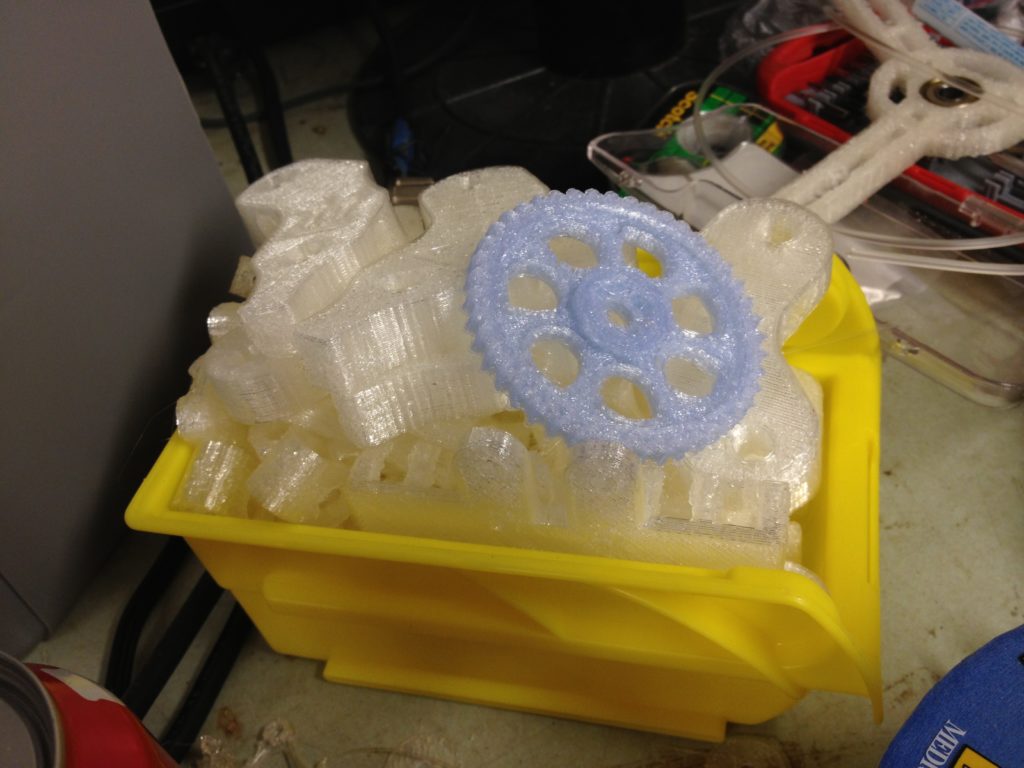
…and the both gears for the extruder:

IMG_2026

Since I was printing ABS extruder and carriage parts, I decided to print some for my brother as well (whose RepRap parts were printed by my printer), since I now knew the PLA carriage I’d given him would melt. πŸ™‚

IMG_2030

Here is what I mailed him:

IMG_2032

IMG_2078

Around this time my brother had mailed me a picture of the frame he’d built from the parts I’d given him:

IMG_2021

Jon, if you’re reading this, here’s more motivation for you to finish up and get your printer printing! πŸ˜€

Ok back to the Z opto endstop.. At first I mounted the opto endstop board on a standard holder printed out of PLA, which you can see in the upper right-hand corner of this picture:

IMG_2033

I really wanted that to be adjustable though. I found this “Really High accuracy adjustable Z Endstop for Prusa” piece, printed it, and attached the opto-endstop board to it, and mounted it on the RepRap:

IMG_2043

(Actually I mirrored the arm part, since I wanted to mount this on the right side of the machine instead of the left. The mirrored arm piece is now on thingiverse here).

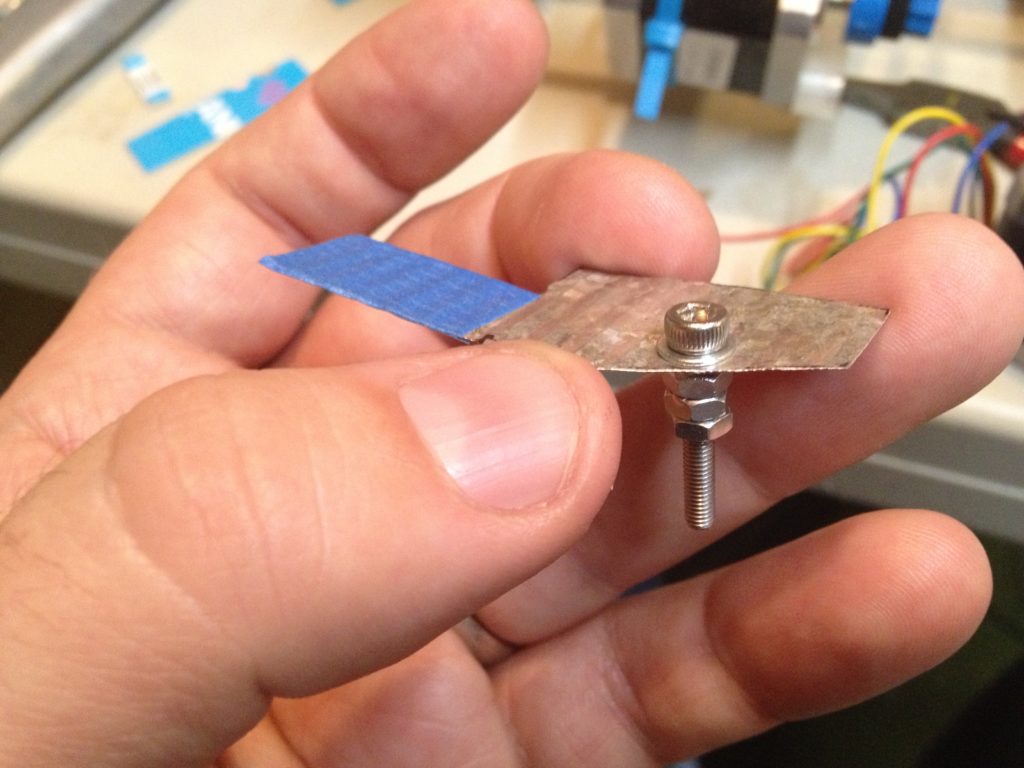
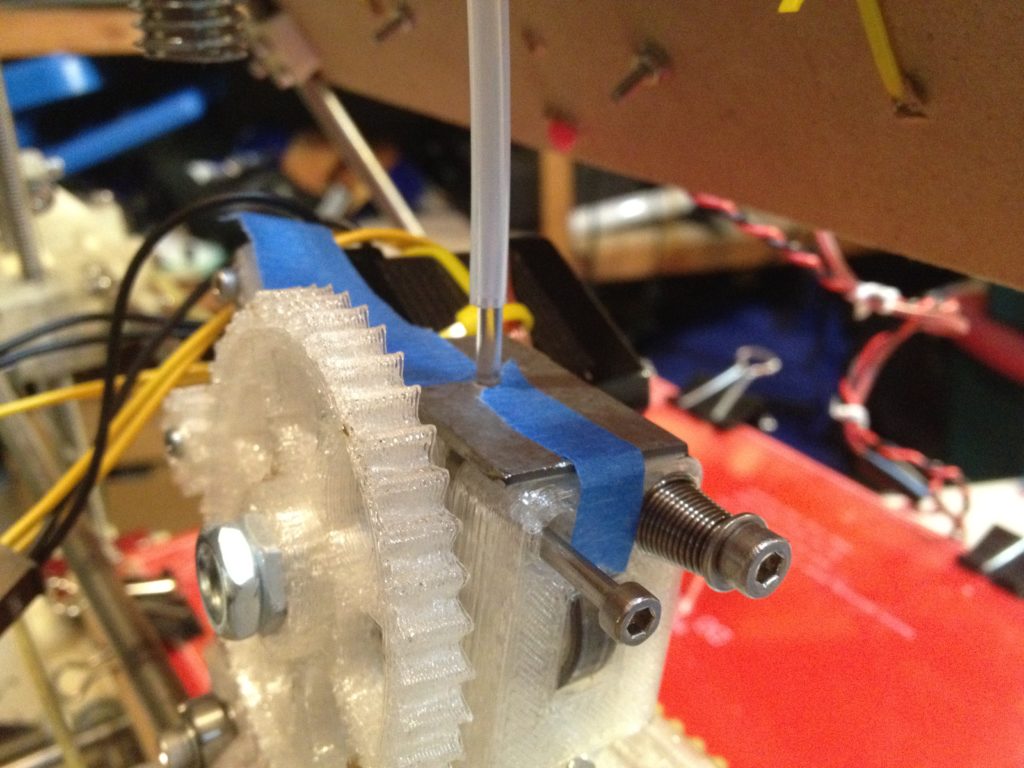
Back to my Z-opto-flag holder, here it is with the tin cut and with tape on it:

IMG_2044

…and here it is installed and ready to swing down in place:

IMG_2045

…and here is the first homing of the Z axis with these parts:

I just uploaded it to thingiverse finally, while writing this post. πŸ™‚

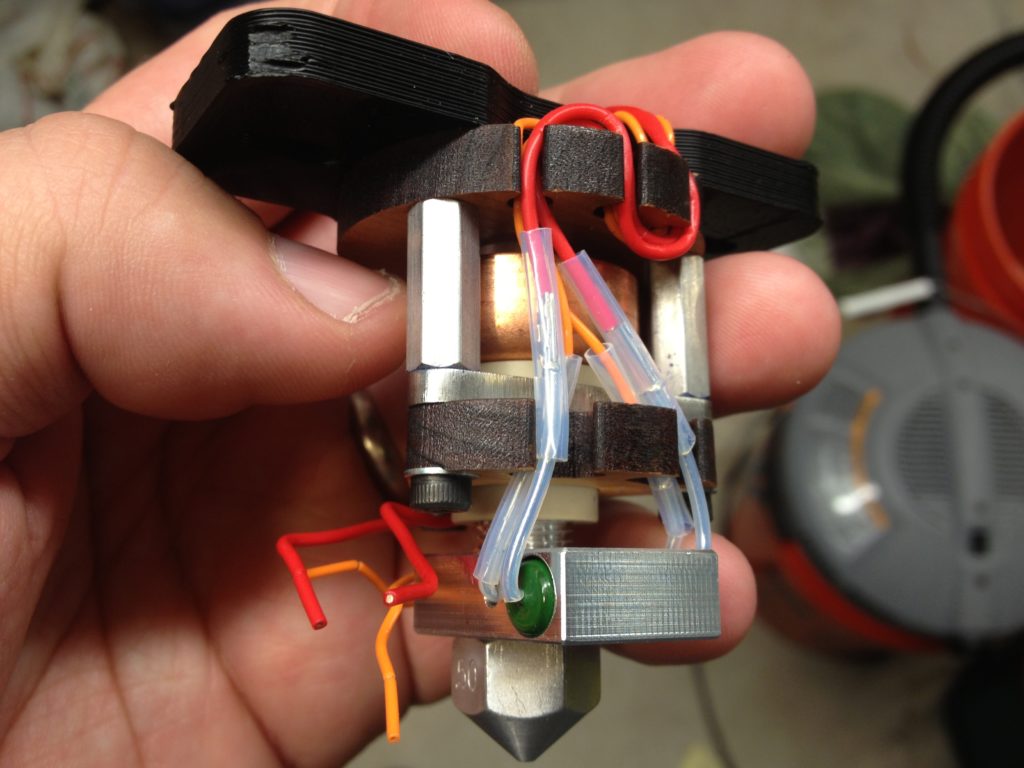
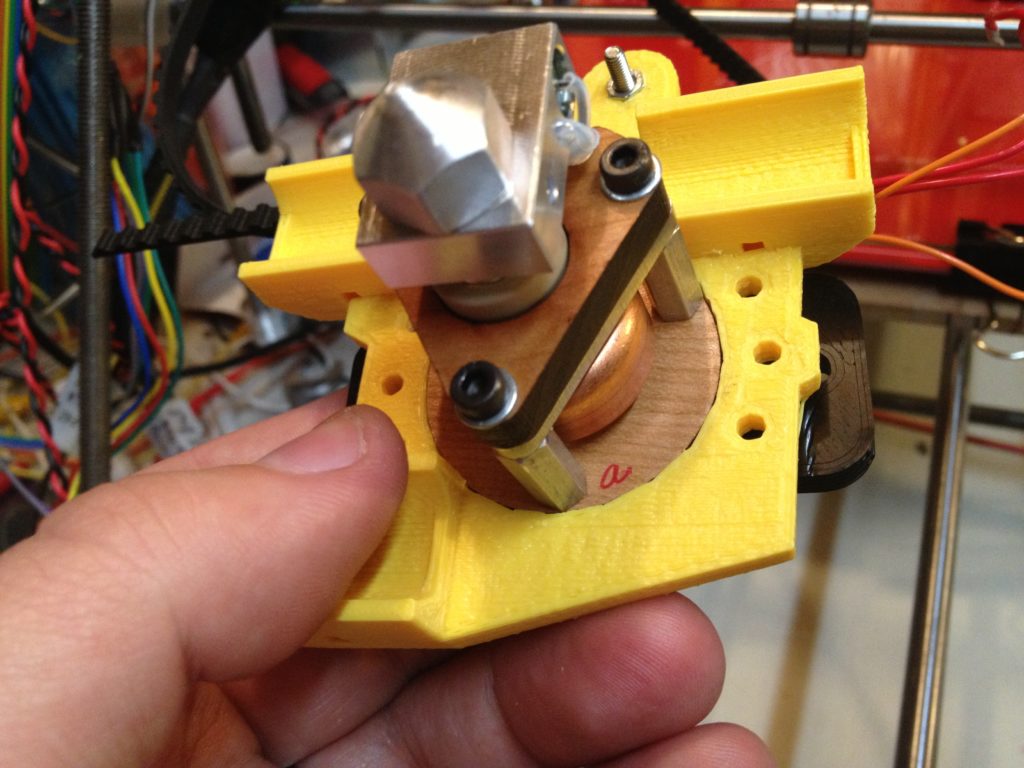
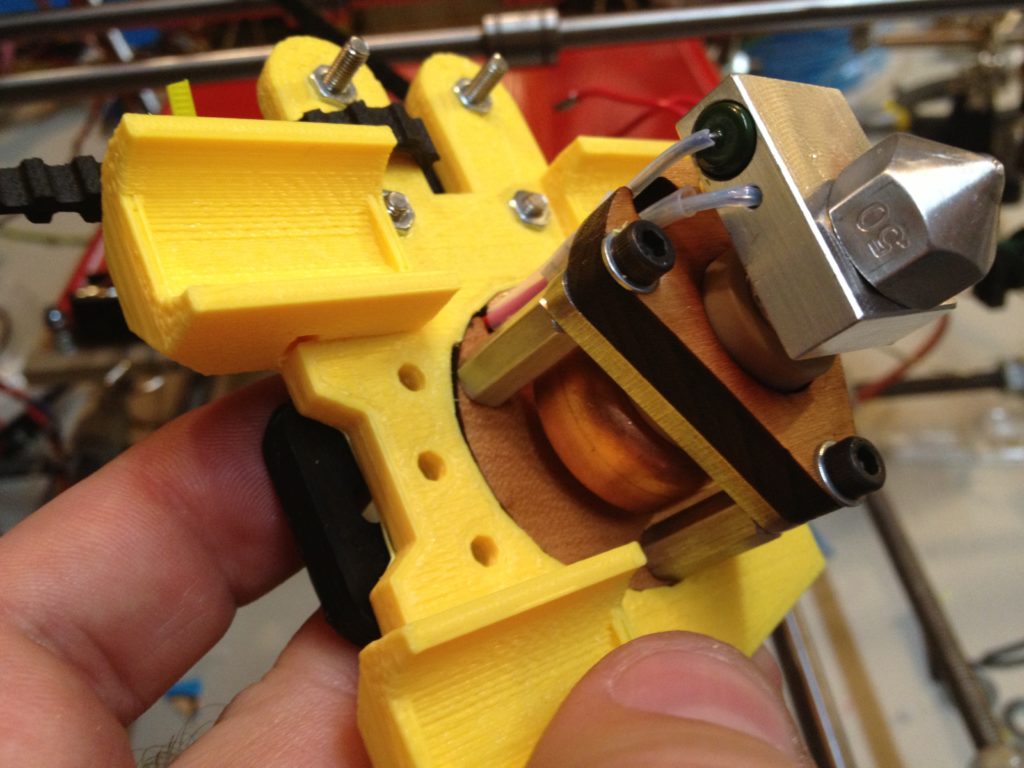
So then I mounted the Budaschnozzle in the new ABS X-carriage. It got stuck at first, and after I managed to remove it I filed the edges of the inside of the circle a bit so it was more easily removable.

IMG_2047

IMG_2048

Then I assembled the new ABS extruder:

IMG_2053

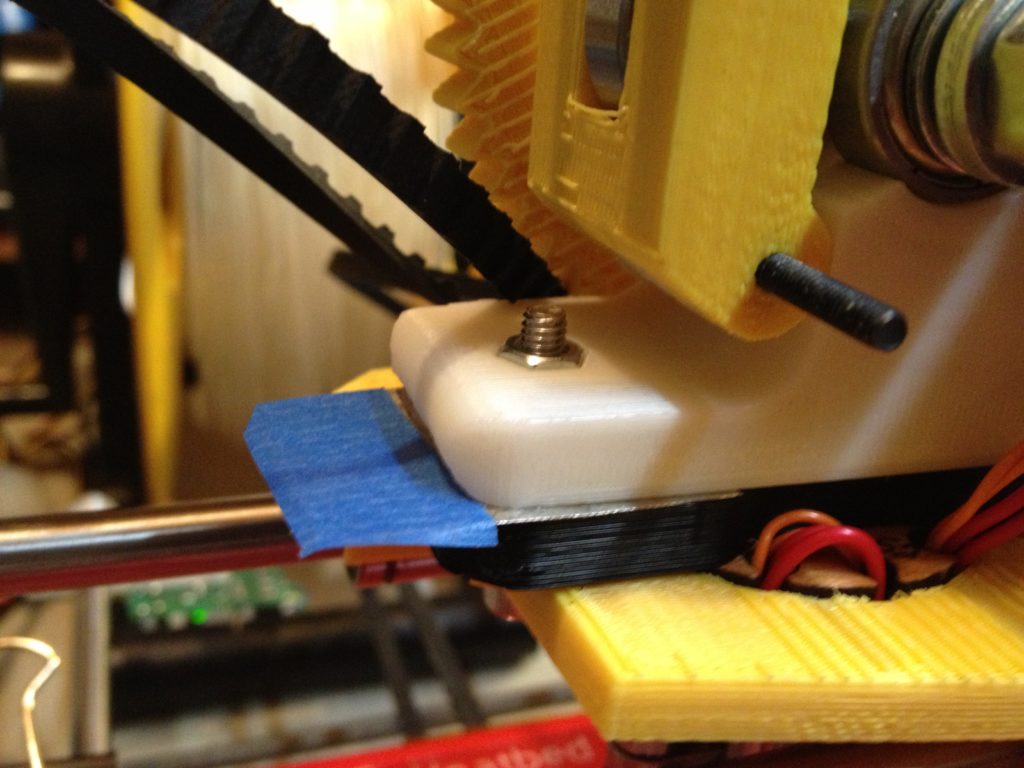
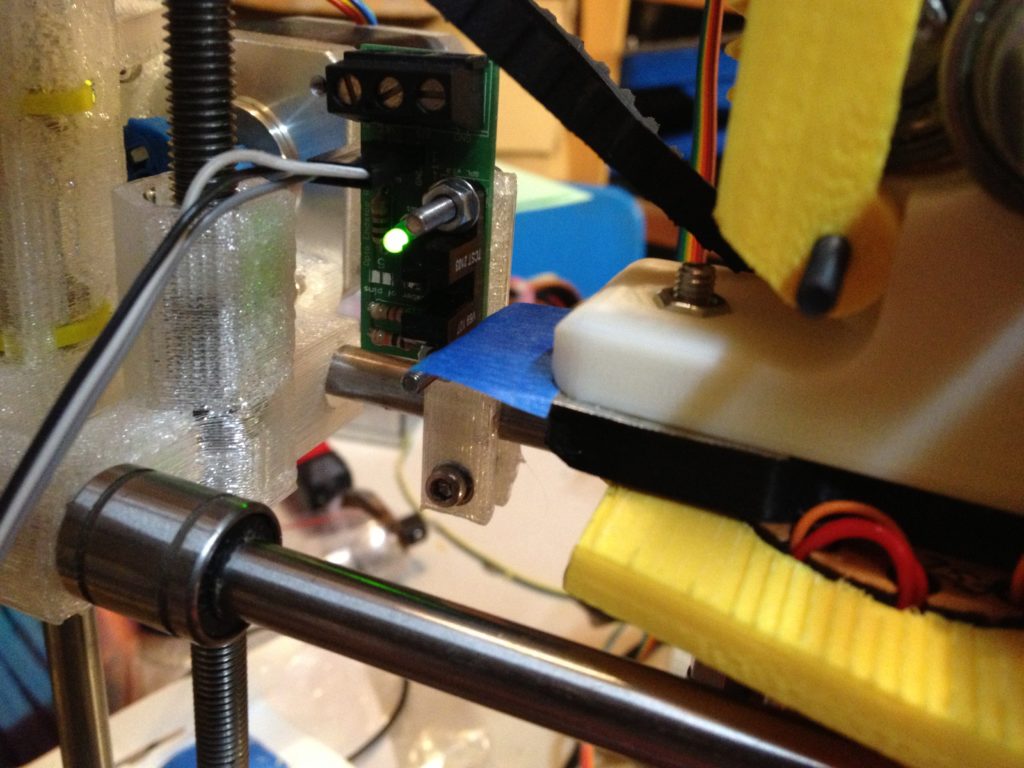
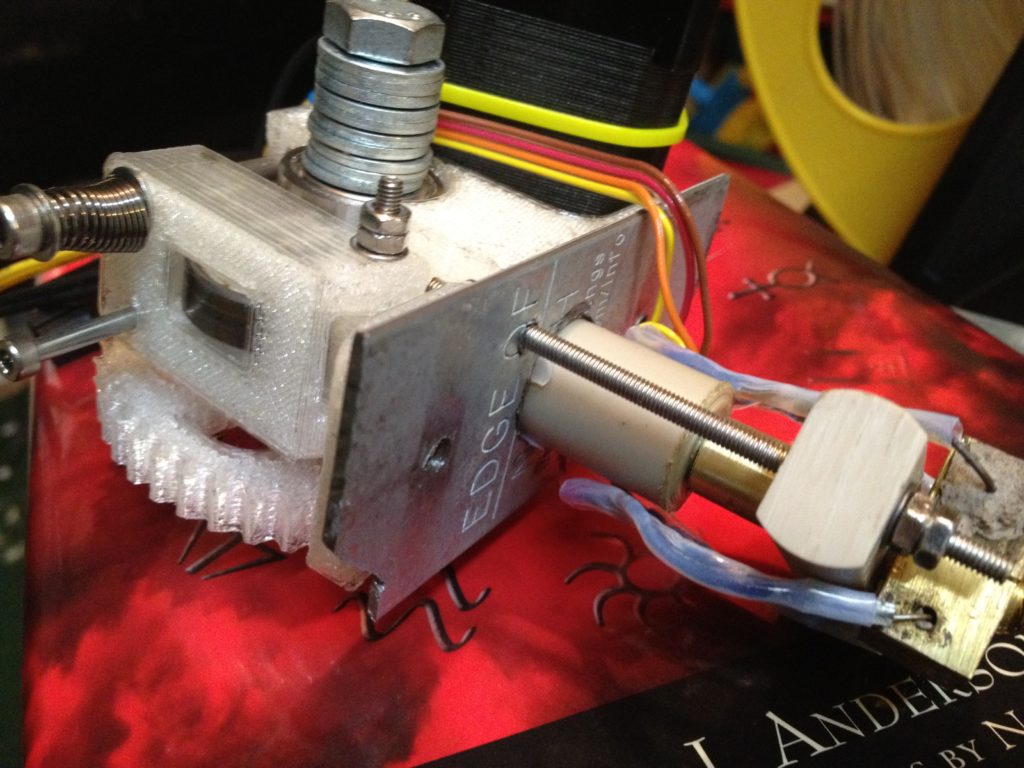
Then I realized what I was going to do for an X endflag.. I don’t know if it was by design or chance, but when you’re using a Budaschnozzle mount on the Prusa IT2 x-carriage I was using, a piece of tin right between the plastic part of the Budaschnozzle mount and the extruder is at exactly the right height for an opto endstop board mounted on a standard Prusa IT2 endstop holder.

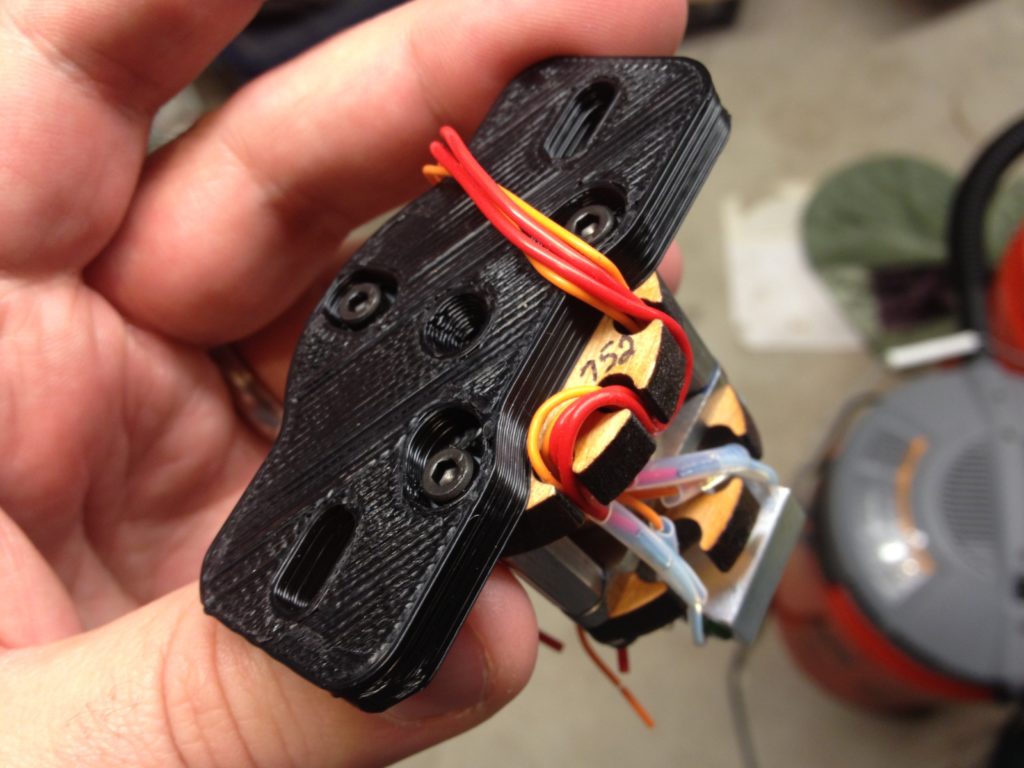
I modeled them with paper then cut them out of tin after (I say “them” because not only did I put the X endflag beneath the left of the extruder, but I put another shim of metal beneath the right of the extruder so it was evenly balanced).

IMG_2063

IMG_2064

IMG_2065

IMG_2066

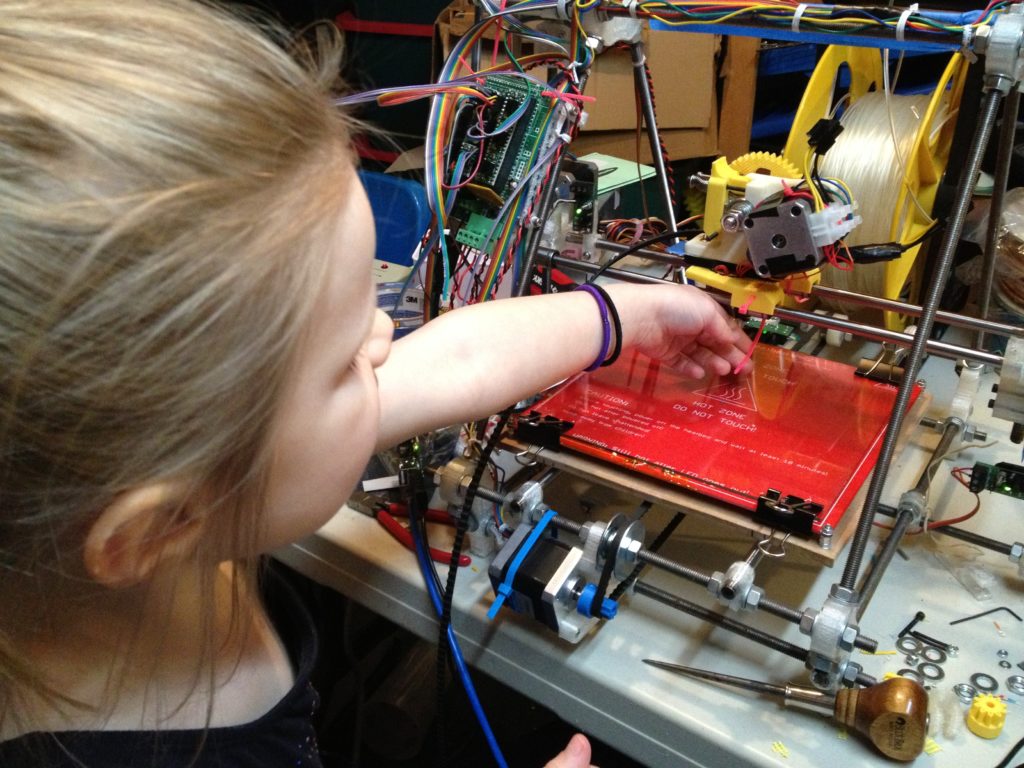
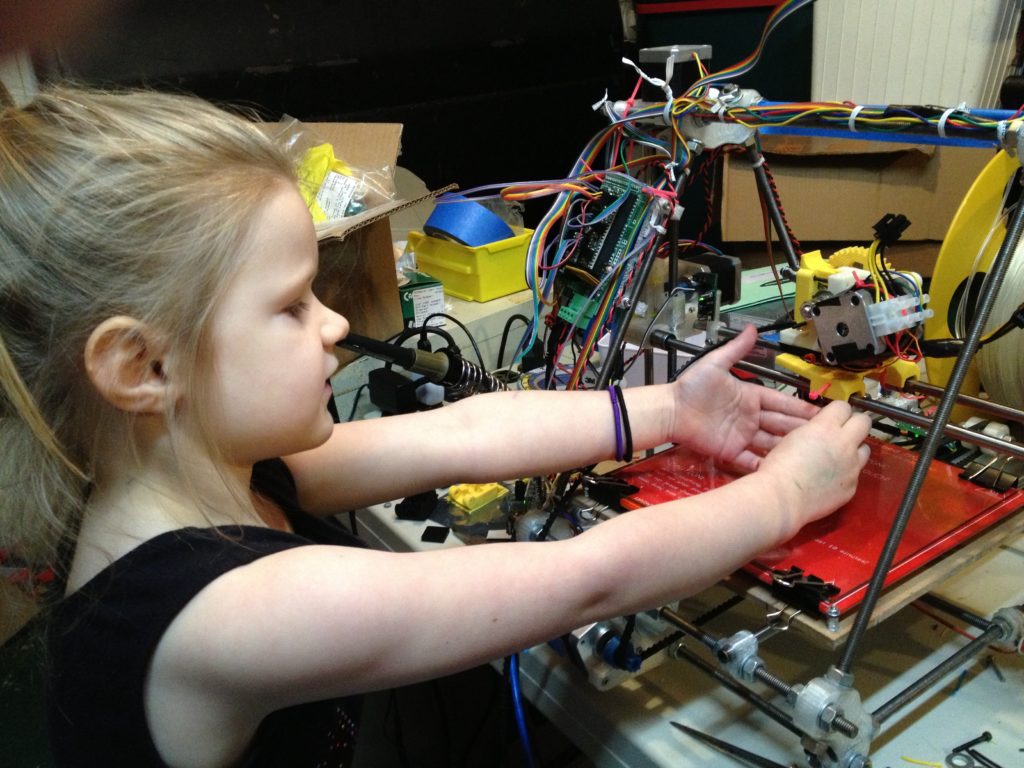
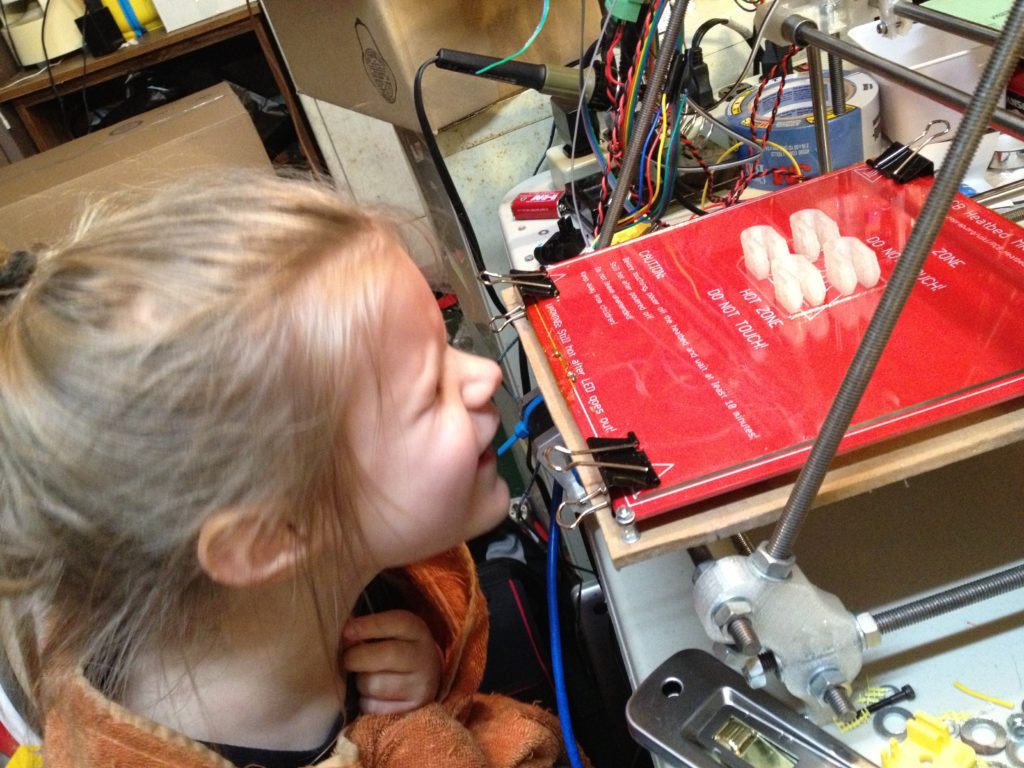
Cara was downstairs and help me attach the new X-carriage to the LM8UU bearings:

IMG_2086

IMG_2087

..and here she is describing it (again, a truncated video – sorry for missing her saying goodbye):

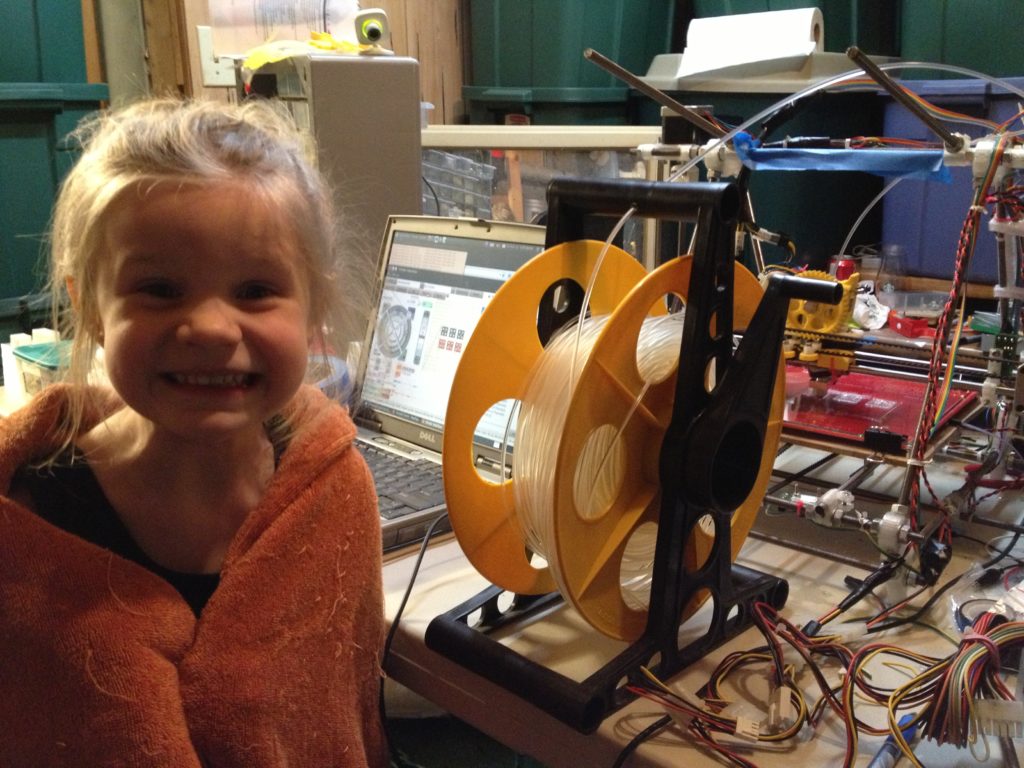
Cara is a really good RepRap helper.

IMG_2090

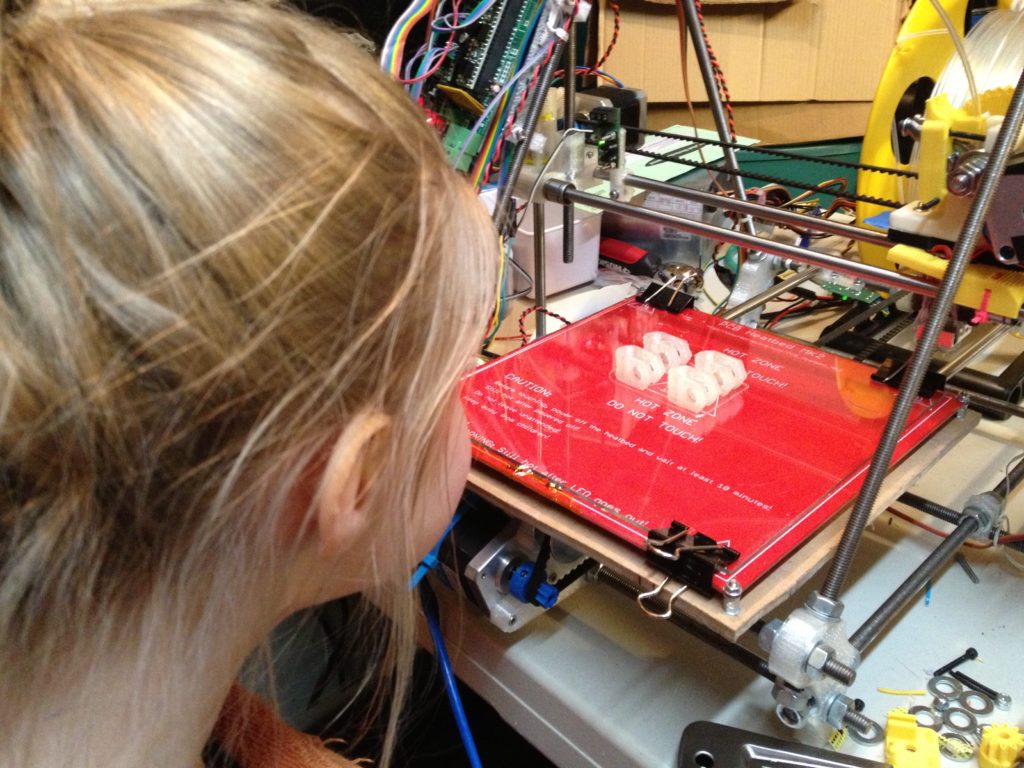
Here she is, telling us what the RepRap is doing.

The four new-style clamps turned out great, although as I said before we only needed two of them.

IMG_2094

IMG_2100

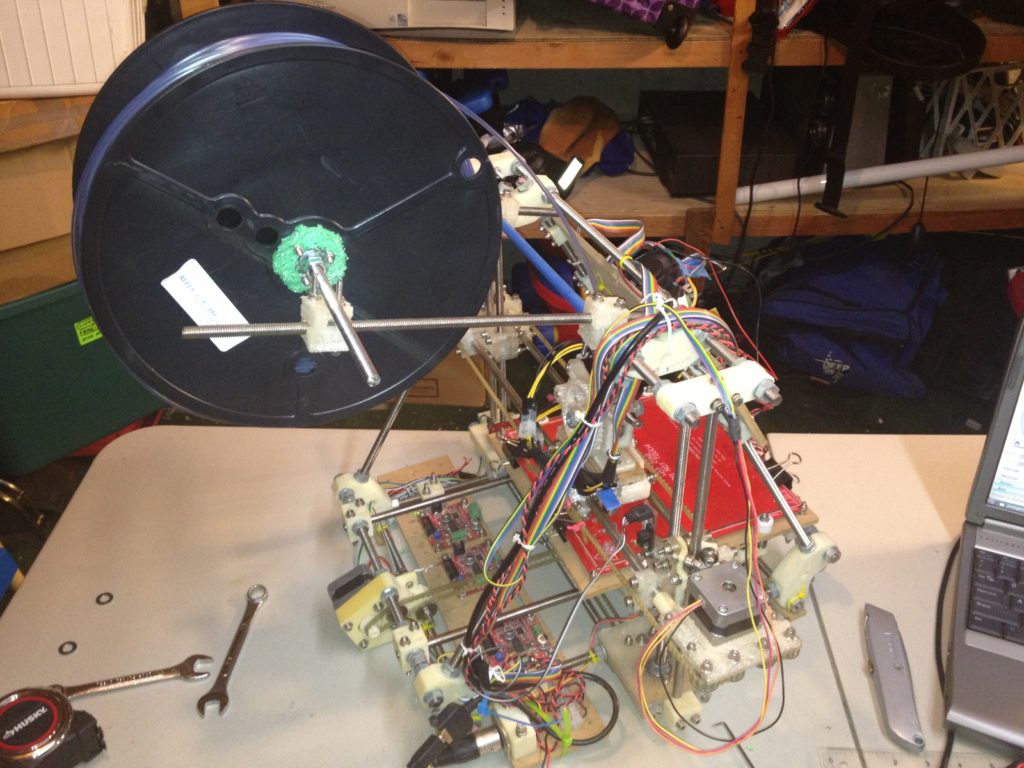
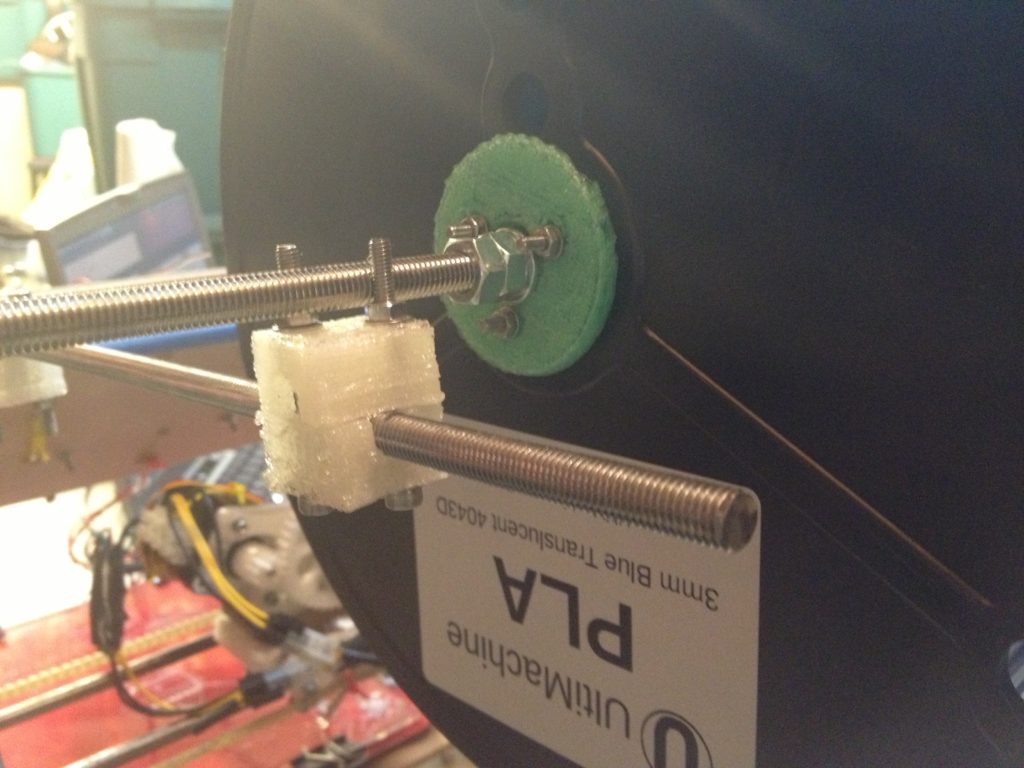
Then we started two of the old-style clamps for the top (I put two long bolts through diagonal holes, pointing up, and use those as guides to hold the threaded rod that goes inside the spool).

IMG_2101

IMG_2104

IMG_2106

and my favorite picture of the whole post:

IMG_2105

Well that catches us up to March 8th 2013, leaving me still just barely over a year behind. Clearly I need a combination of blogging more often and to stop using my RepRap. πŸ™‚

See you in the next post.
Four, no, 37 months.. part 16 of ?

Sunday, February 9th, 2014

Time for another blog post. At first I was been unable to post anything for about a month as I waited for my webhosting company to migrate my domain to some new servers. Then I’d finally got the blogging software caught up-to-date etc. But then this very post stretched across many months due to laziness.
As you all remember and are probably sick of reading about, I’m about a year behind on my blog. My last post led up to the events of my booth at Makerfaire NY 2012, which I had already covered out-of-sequence way before that, and after posting that I exhibited again at Makerfaire NY 2013 (real time). I’ve decided I’m not going out of sequence again – you can read about Makerfaire 2013 when I catch up to it.

But for now, we’re still at October of 2012 (even though as I’m writing this, today is actually November 15th, 2013 February 2nd, 2014 February 9th, 2014).

I got back from Makerfaire NY 2012 and unpacked.

IMG_9591

IMG_9589

After that, I did nothing RepRap related for about two months. Next up was finishing the Museum of Science’s RepRap. As I’m sure you remember, earlier in the year I built the beginnings of a RepRap (no extruder or endstops yet) for the Museum of Science in Boston. I brought it into the museum where they used it as a non-functioning prop for a 3-week exhibit.

IMG_6469

Then took it home to finish it (where it sat untouched for half a year). It was now time to finish it.

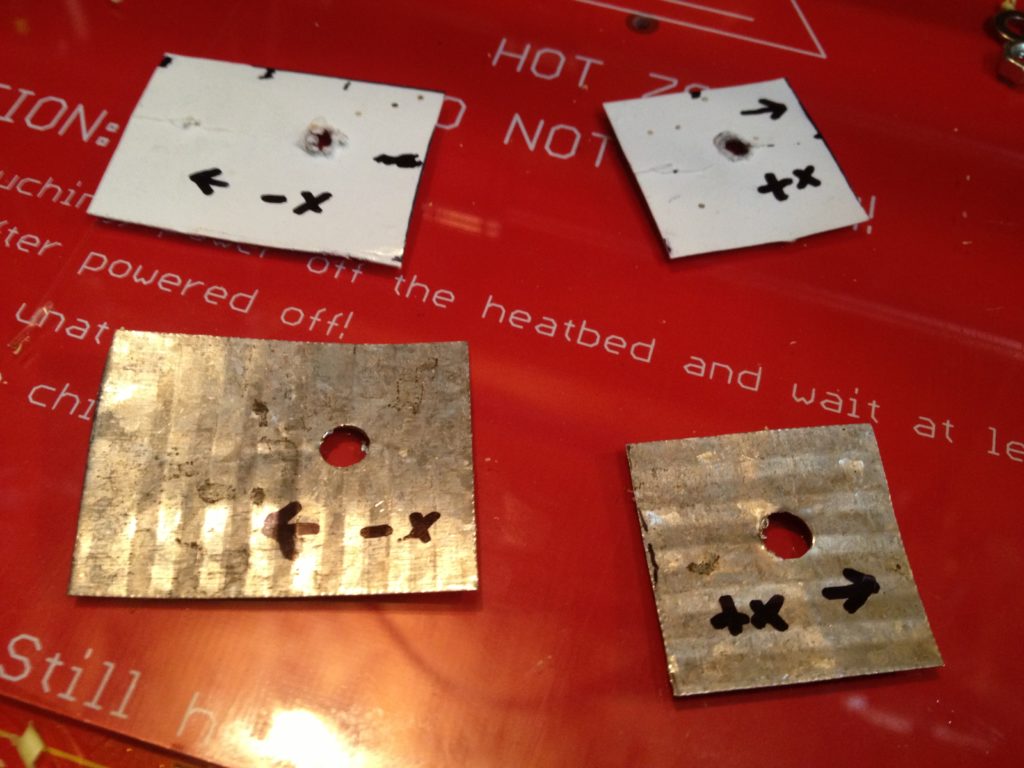
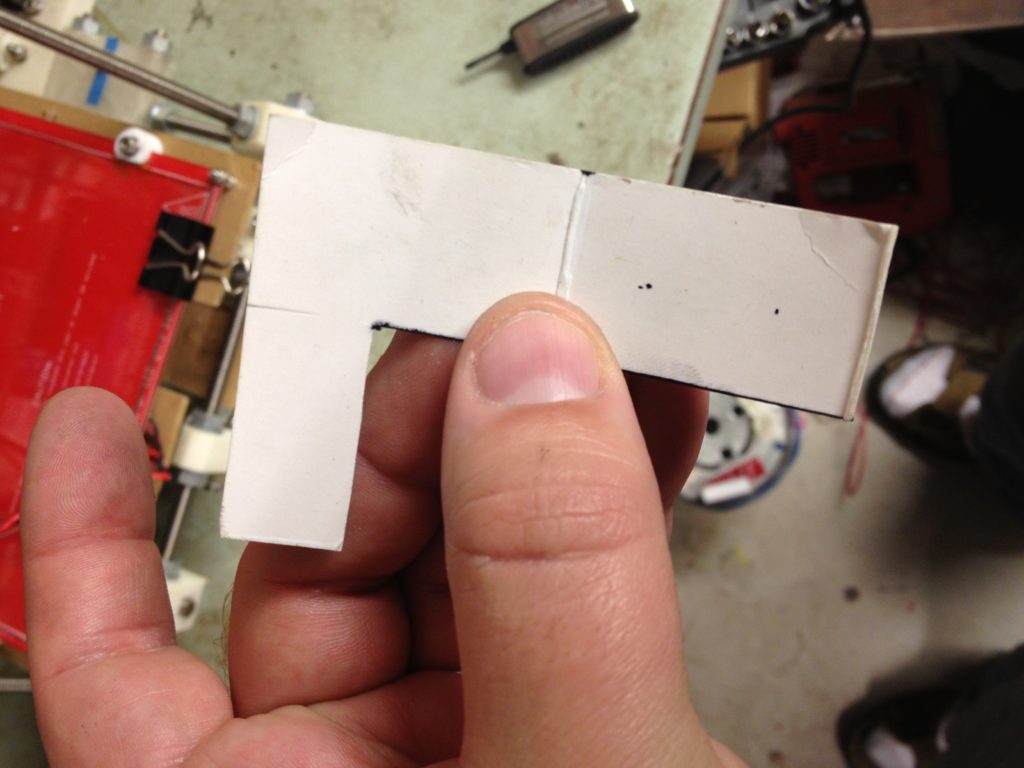
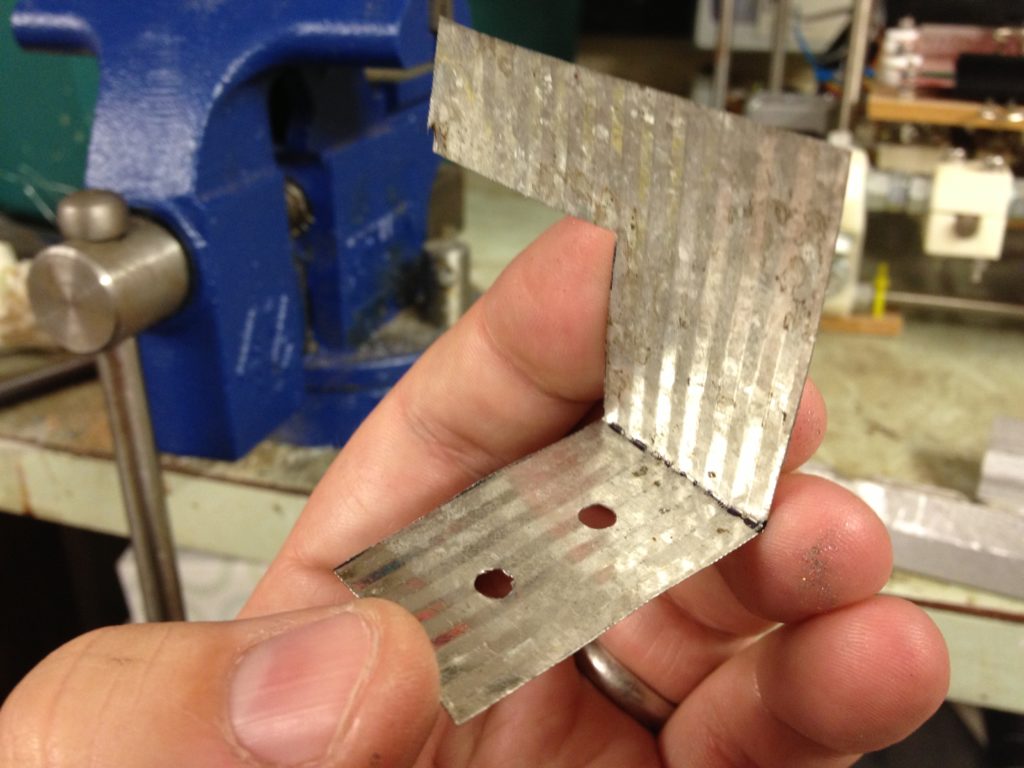
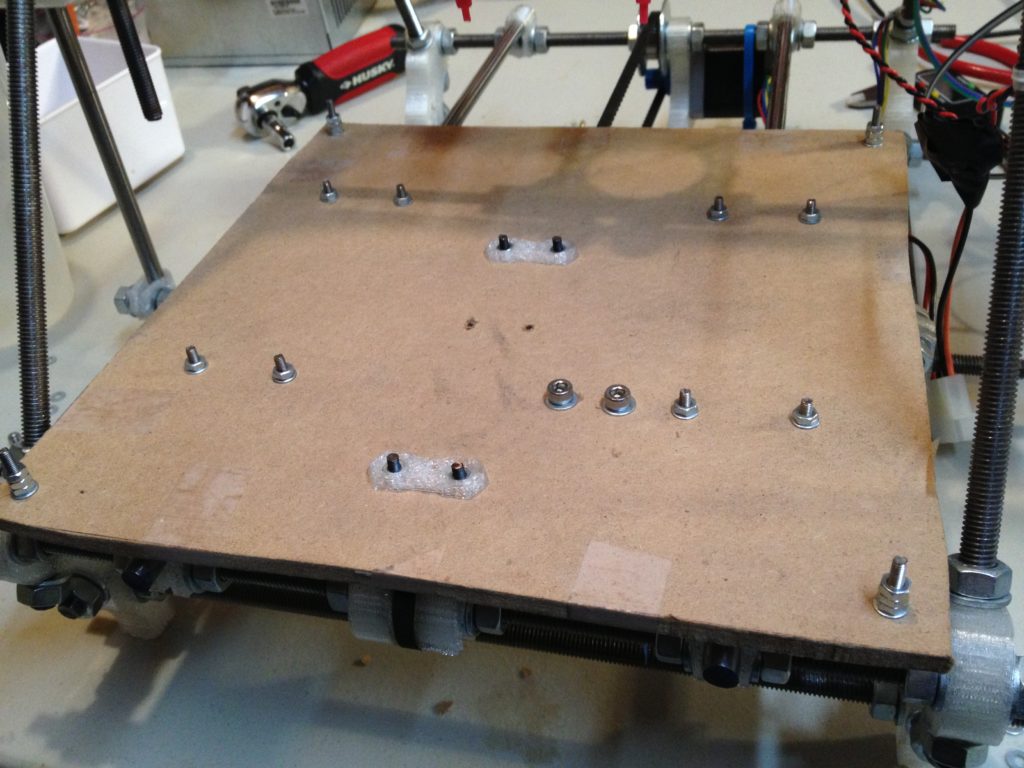
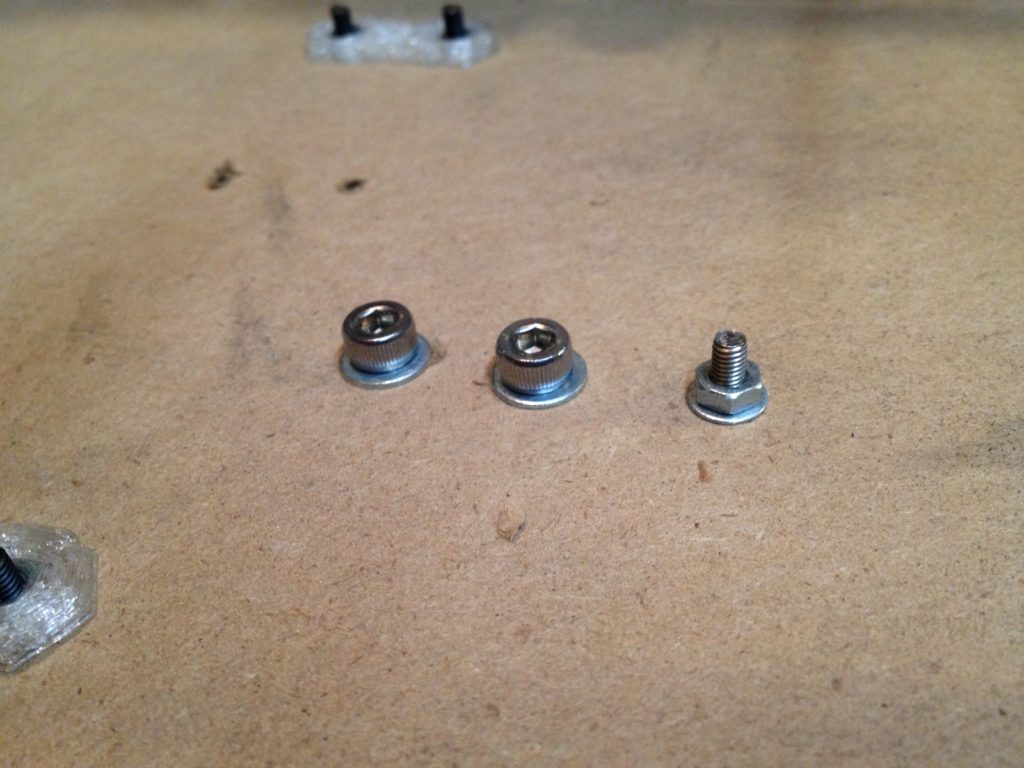
First I needed to figure out where to mount the opto-endstop flags. I cut a piece of thin cardboard to use as a template for how I wanted to mount it, then once it was good I cut the same shape out of a flattened tin can.

IMG_1088

IMG_1091

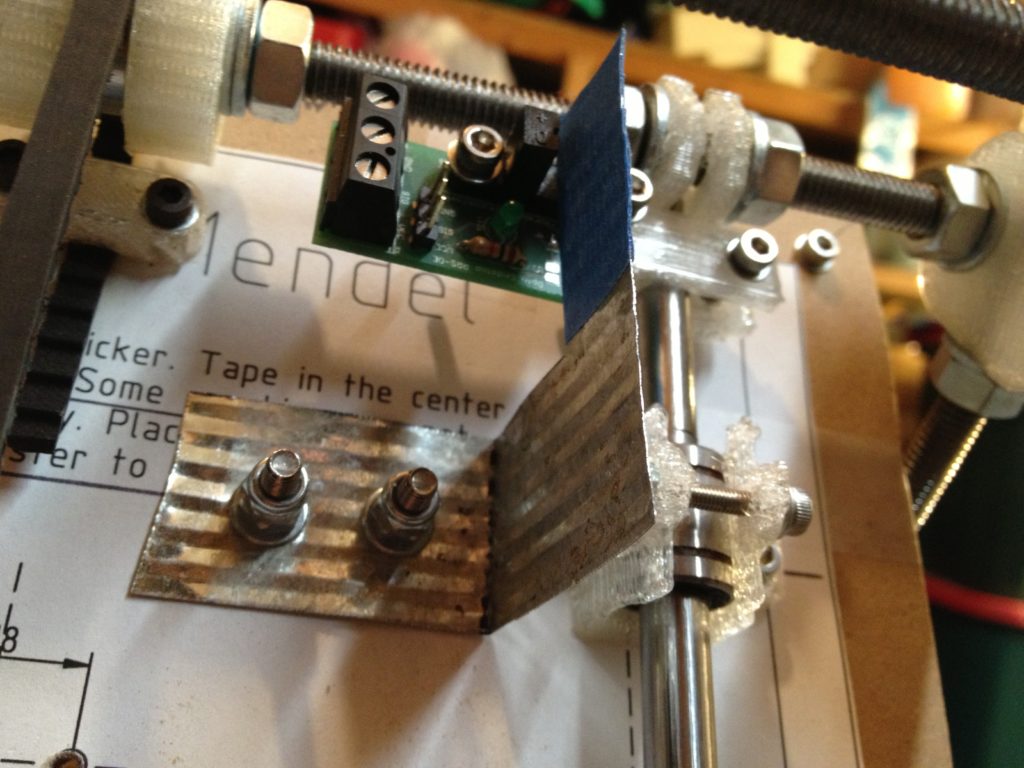
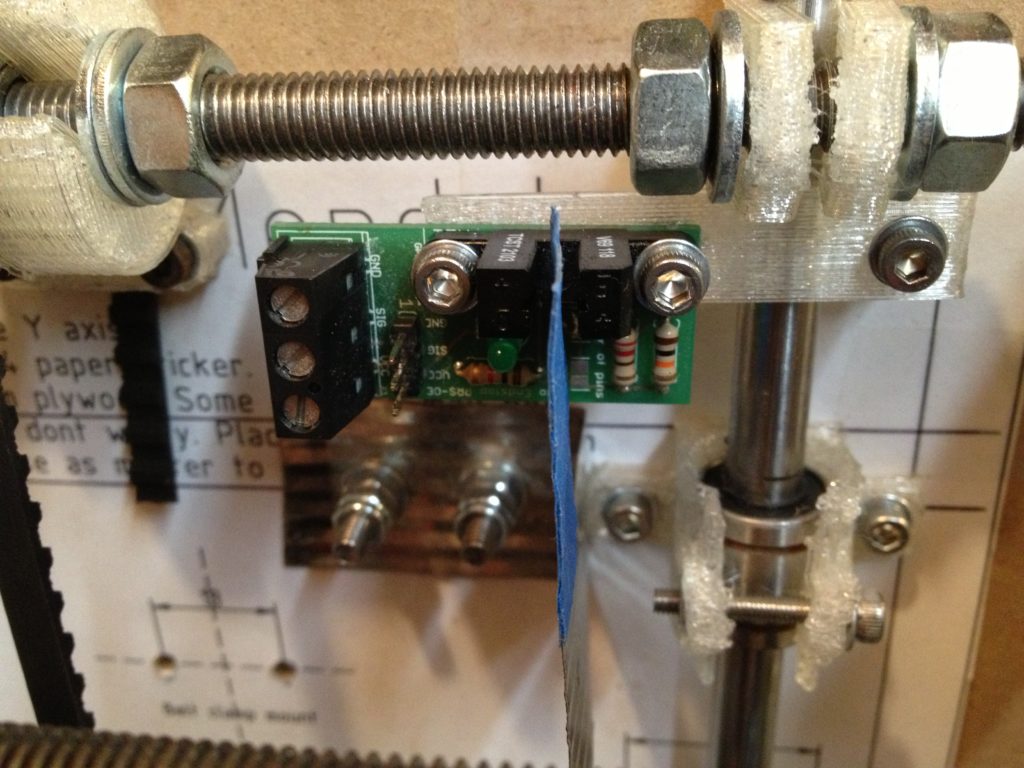
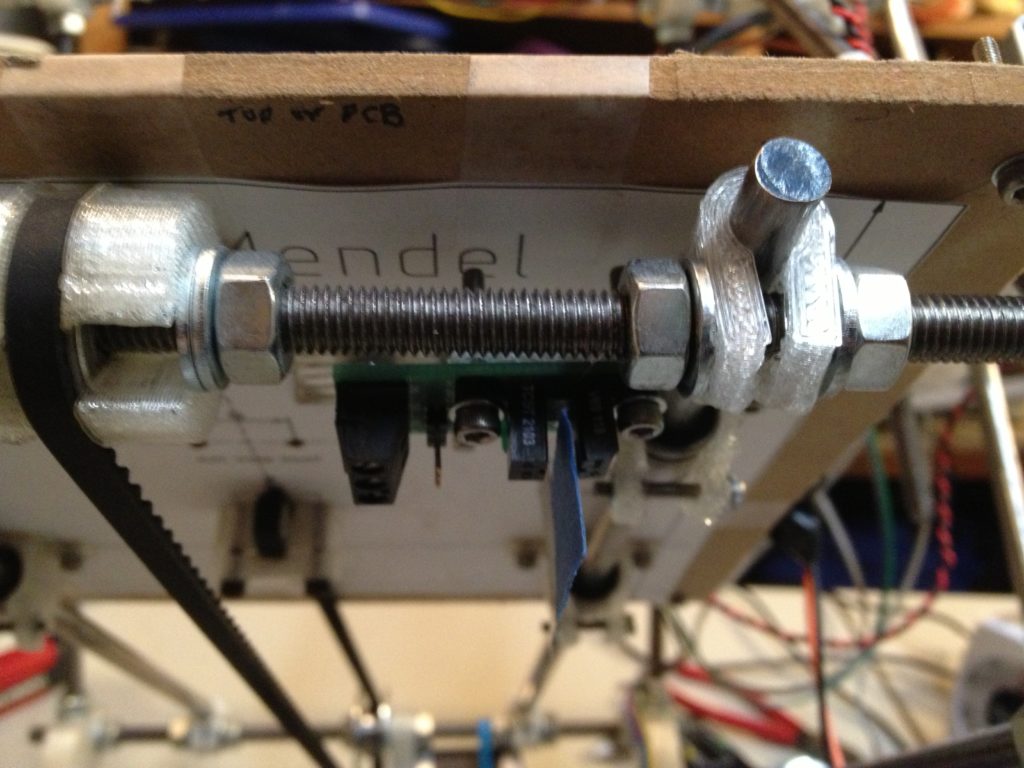
I wrapped the opto-flag part in blue tape so it didn’t reflect, and mounted it beneath the bed.

IMG_1096

IMG_1098

IMG_1095

Here you can see the mount screws coming through the top of the bed:

IMG_1093

IMG_1094

I cut an opto-endflag for the X-axis, and got a bit frustrated about how the raised belt on the Prusa design has the potential to touch the extruder.

IMG_1161

Since I was giving the RepRap to the Museum of Science and knew they’d be using it on a regular basis, I wanted their hot-end to be one they could purchase commercially if something went wrong (rather than making them one on my lathe). I asked around as to which hot ends people were using that had few problems. Chris Connelly had been using a Budaschnozzle without problems for months, so I decided to go with that:

IMG_1180

IMG_1181

IMG_1184

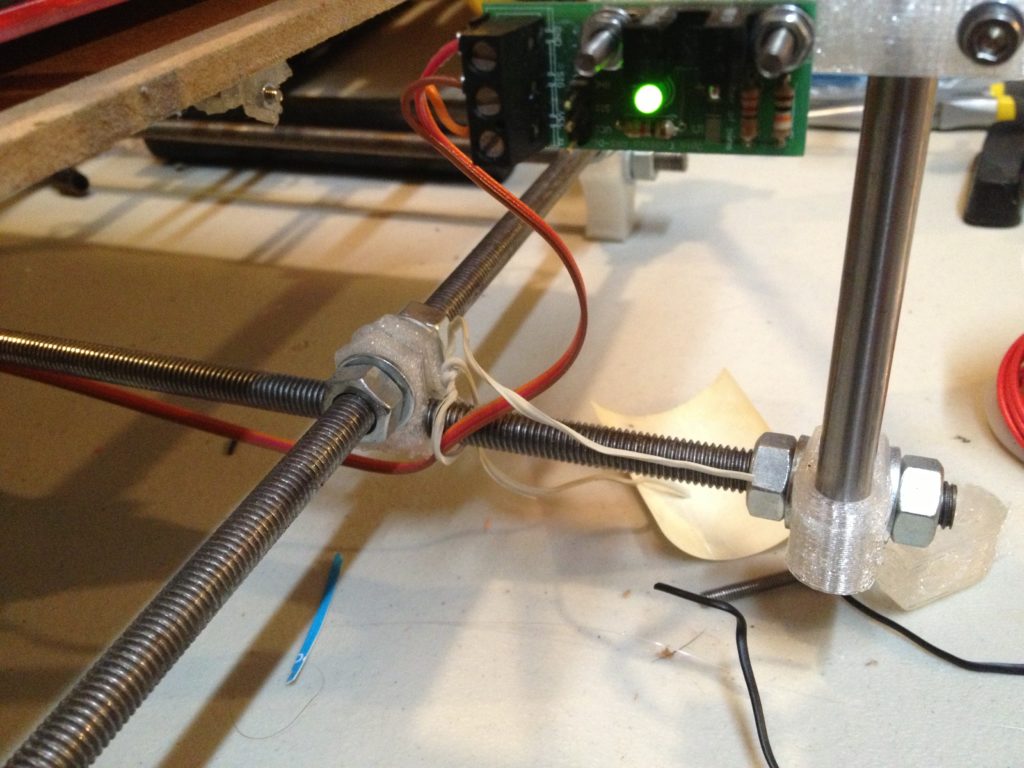
Then I spent some time trying to debug what was wrong with the opto-endstops I’d set up.

IMG_1190

Meanwhile, I got MY RepRap up and running again, for the first time since Makerfaire.

IMG_1277

My own RepRap was still having horrible problems with the carriage and my new extruder which required reinforcement. Three days later this abomination came out of my printer:

IMG_1293

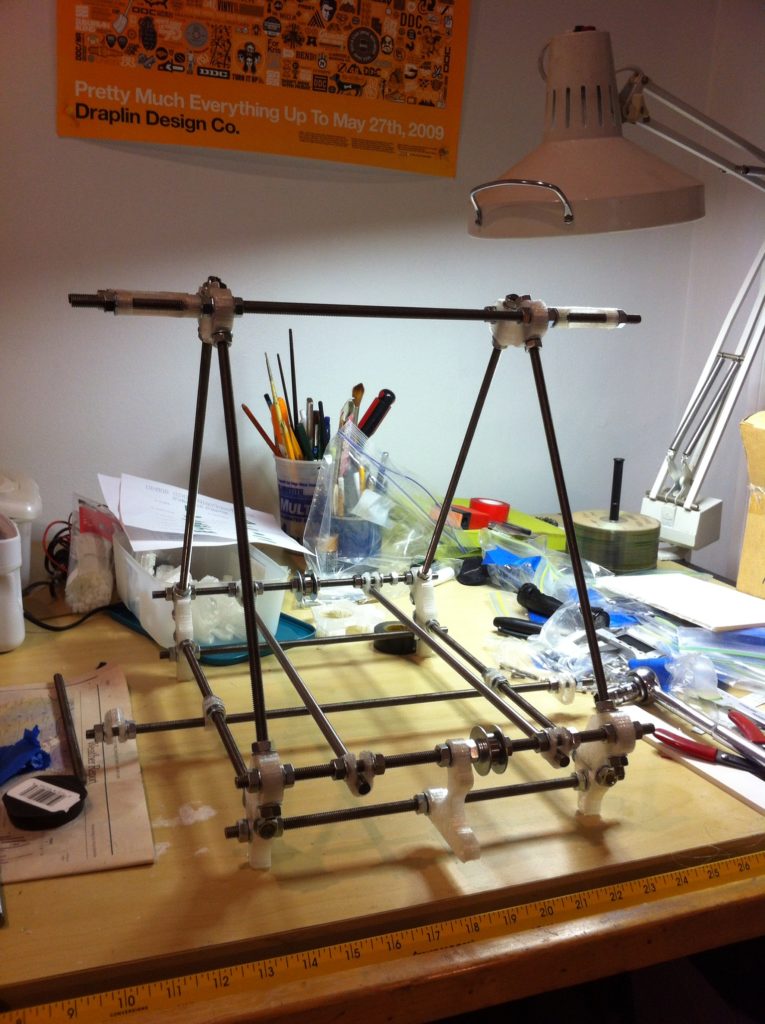
Well, back to the Museum of Science’s RepRap. I started putting together the extruder (not the one I’d just failed to print, but the one I’d successfully printed long ago when printing the parts for the RepRap).

IMG_1192

IMG_1193

..but then I found that I’d drilled the holes a bit off and needed to abandon that particular piece..

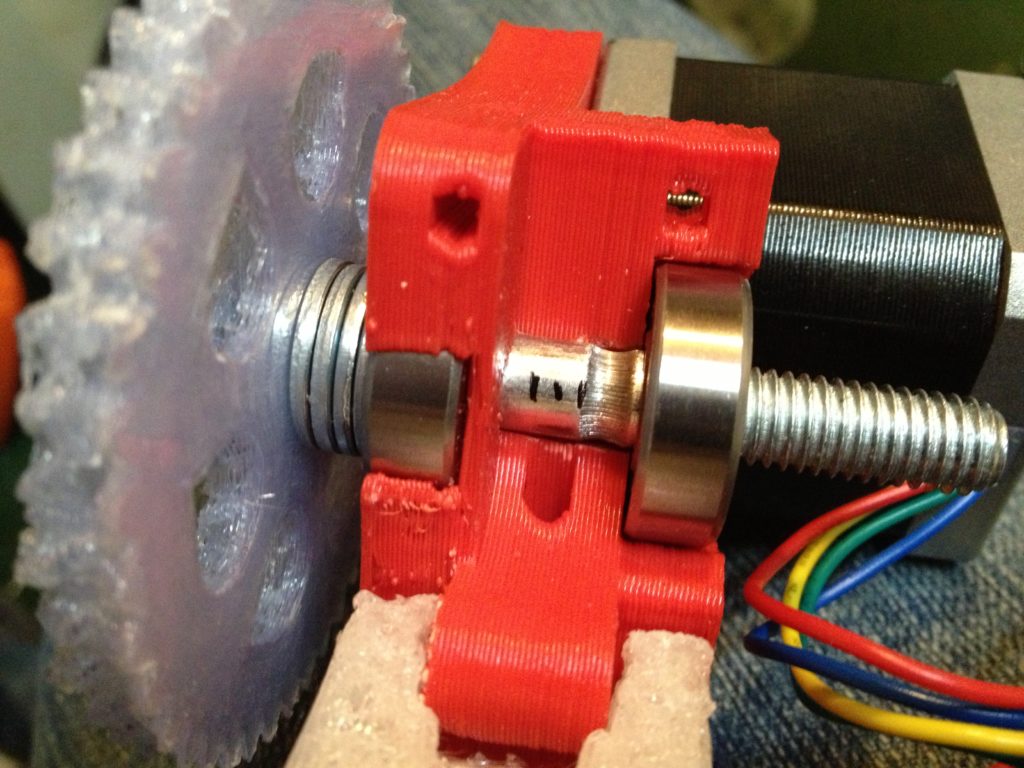
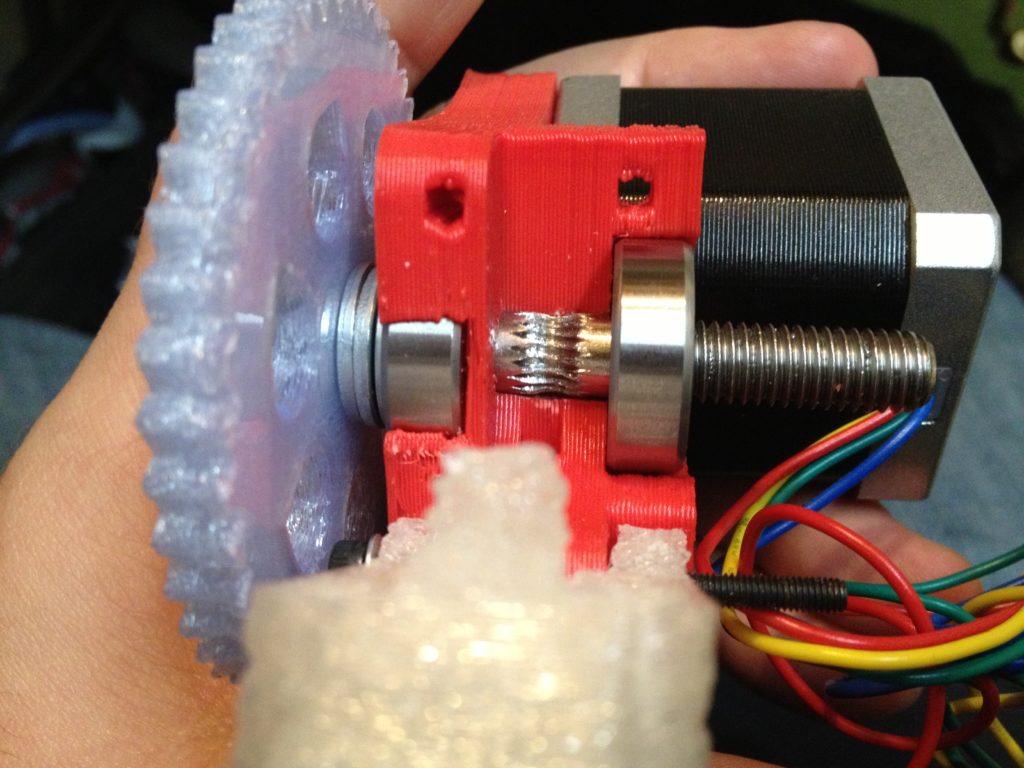
I decided that for the time being I’d instead try using a red ABS extruder that my friend Chris Connelly had previously printed for me on his RepRap (even though I’d ultimately go with a different extruder altogether). But first I needed a hobbed bolt.

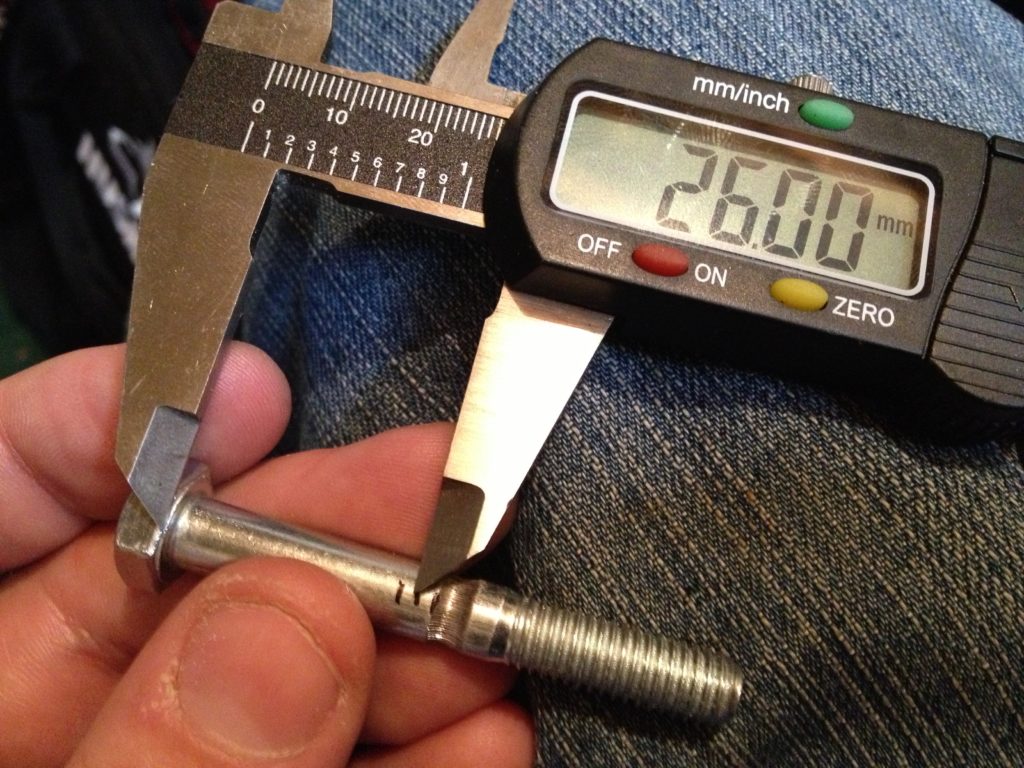
I took an existing bolt, put it through the red extruder, and marked off where the exact center was with a black fine-tipped Sharpie (if I was using 4 washers on the gear side of the extruder).

IMG_1357

That turned out to be exactly 26mm from the head of the bolt.

IMG_1359

I marked 26mm on a new bolt, lined it up in my Bolt Hobbing Tool for my lathe, and proceeded to move the bolt 56 notches on the dial (which should be 1.4mm) into a 5/16″ spinning tap. I showed these next two videos a few posts back, but here they are again (since this is when they were actually recorded).

Here is video showing me hobbing the bolt:

…and here is video of the resulting hobbed bolt, for the Museum of Science’s RepRap:

Here it was lined up in the extruder:

IMG_1372

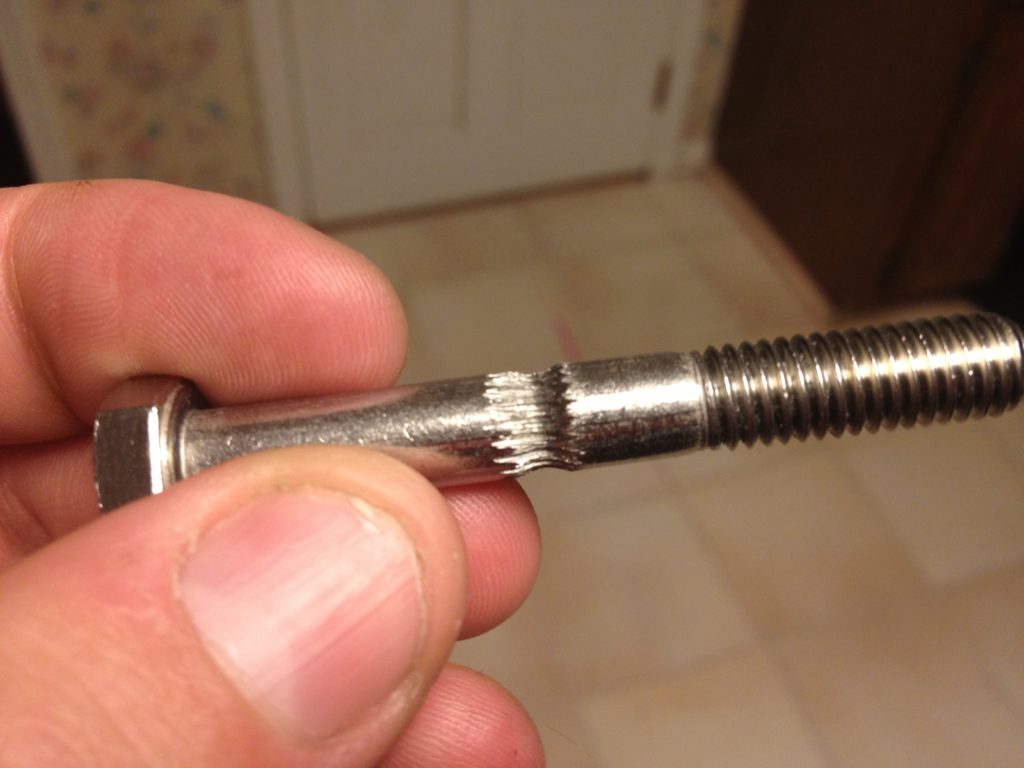
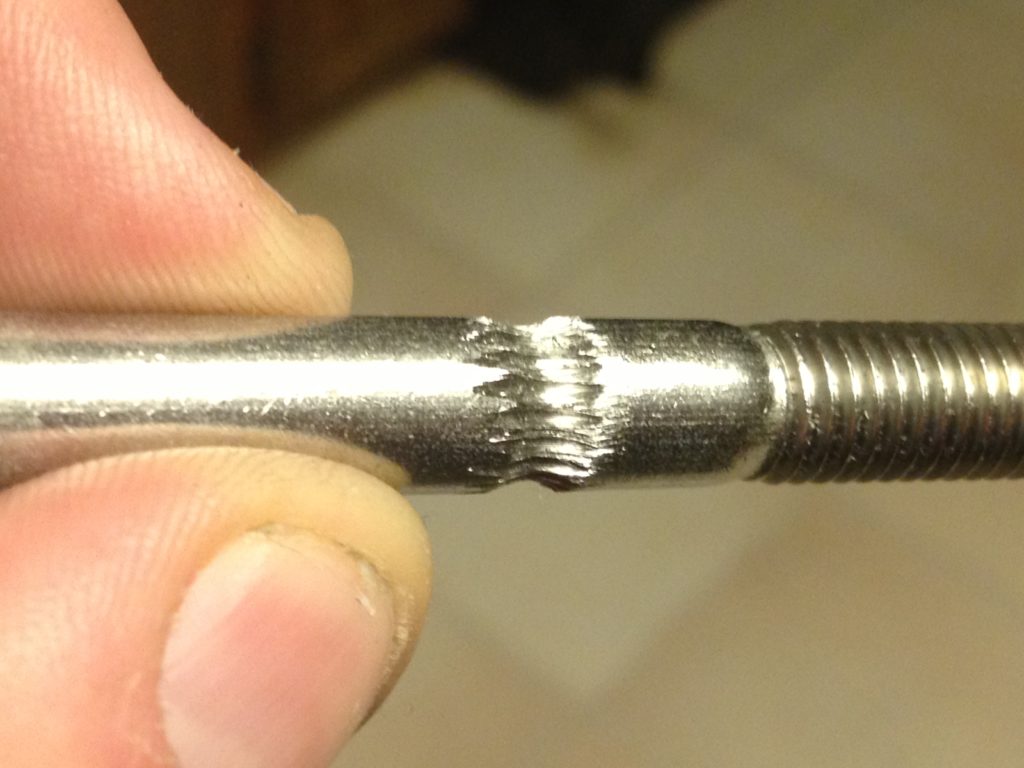
Here is just the bolt itself:

IMG_1378

IMG_1381

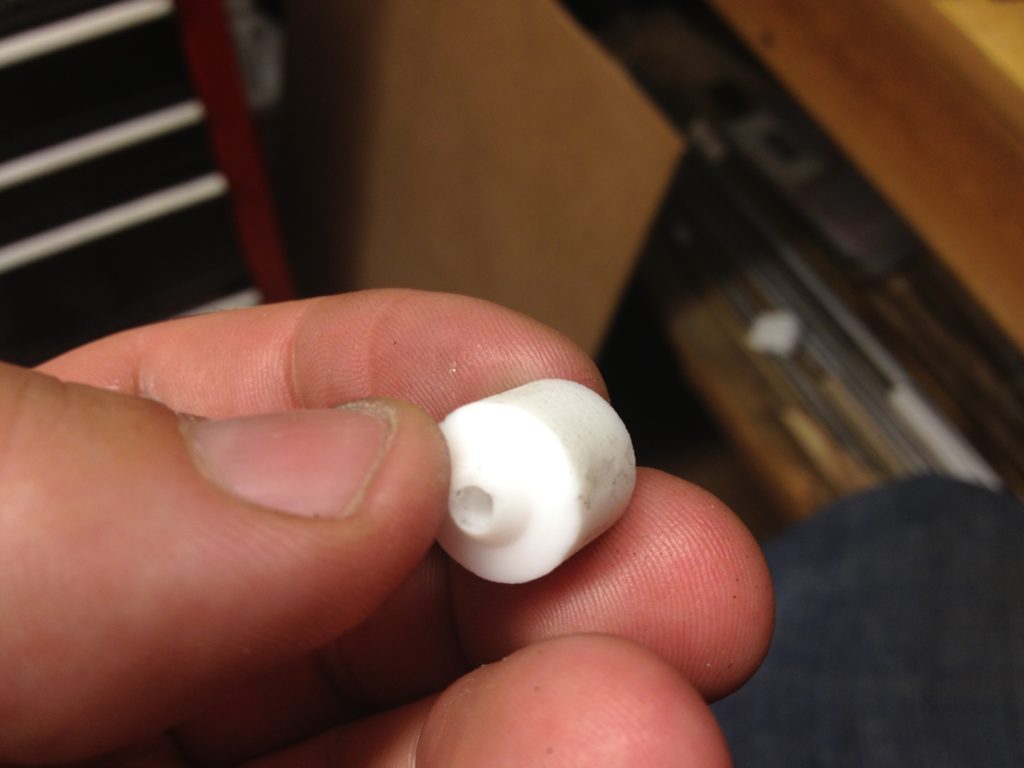
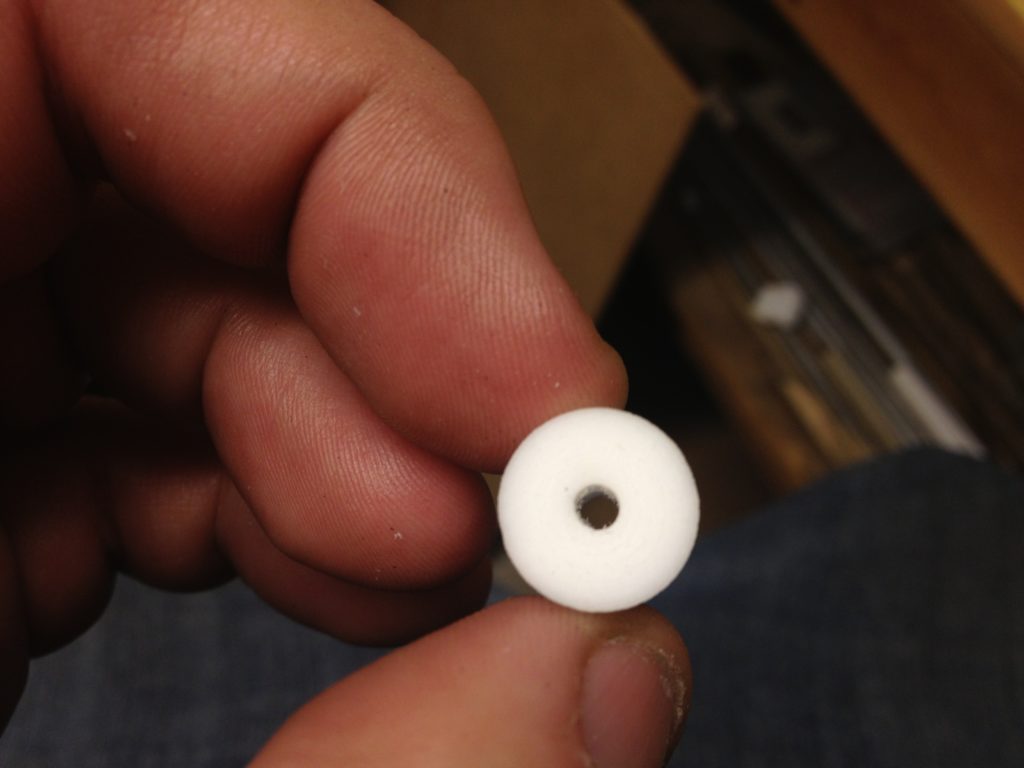
The red extruder had a hole on the bottom for a PTFE insulator, but since I was using a Budaschnozzle, there would be nothing to fill that hole (and I worried about the filament sliding to the side before entering the hole). I took an old spent PTFE insulator, put it in the lathe, and cut this small insert:

IMG_1393

IMG_1394

(Sorry that video cut off at the end)

I inserted the insert, and connected the cold end to the hot end.

IMG_1395

Yes, I now had an extruder!

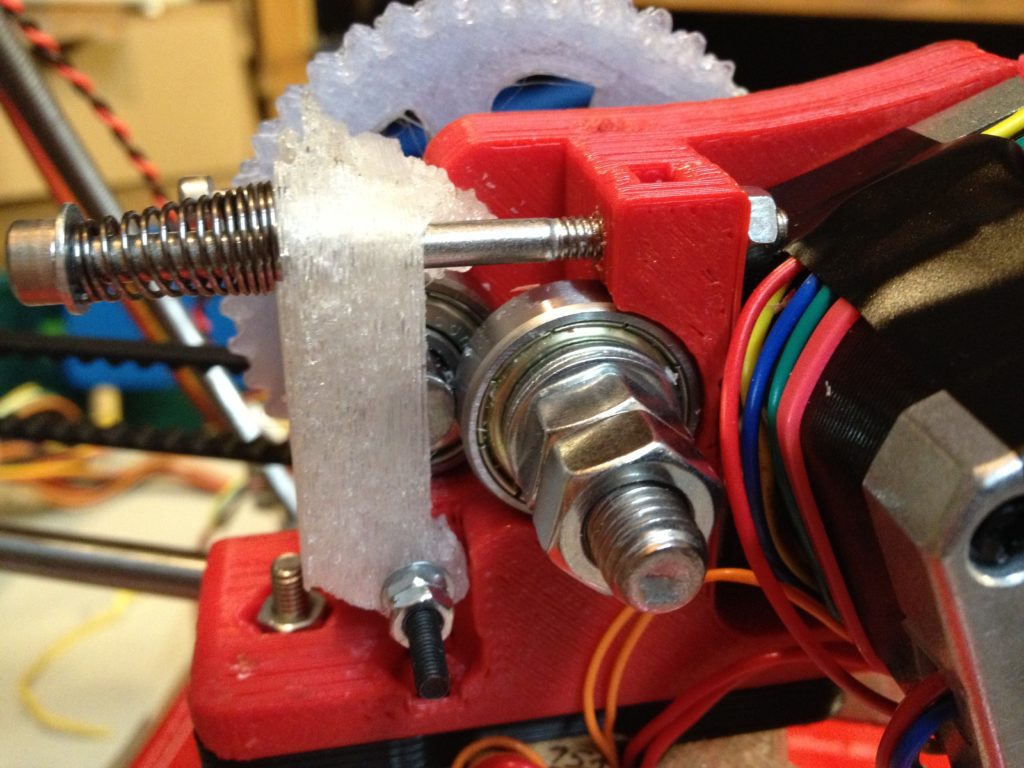
I added the bolts and springs to hold the idler against the filament:

IMG_1431

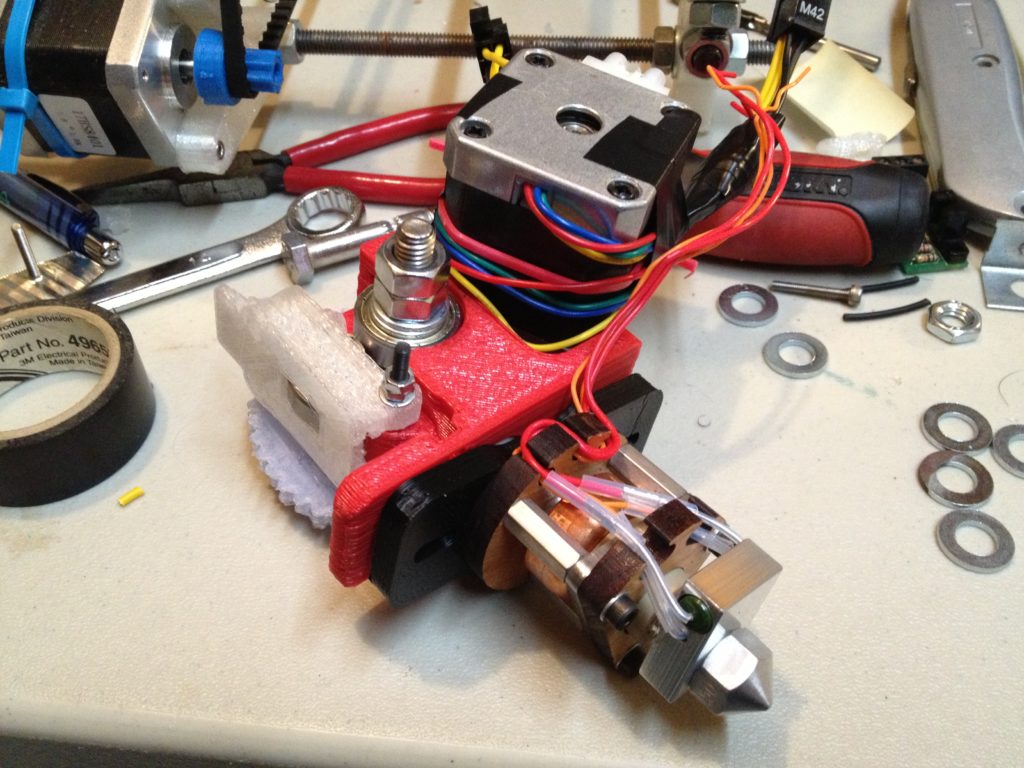
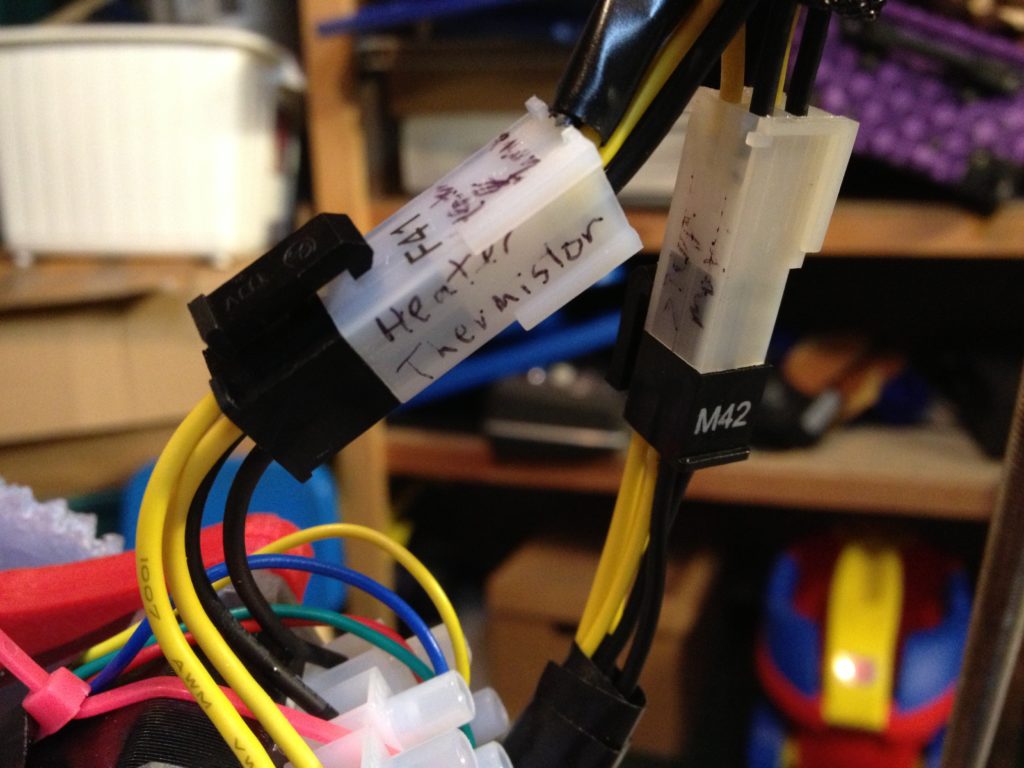
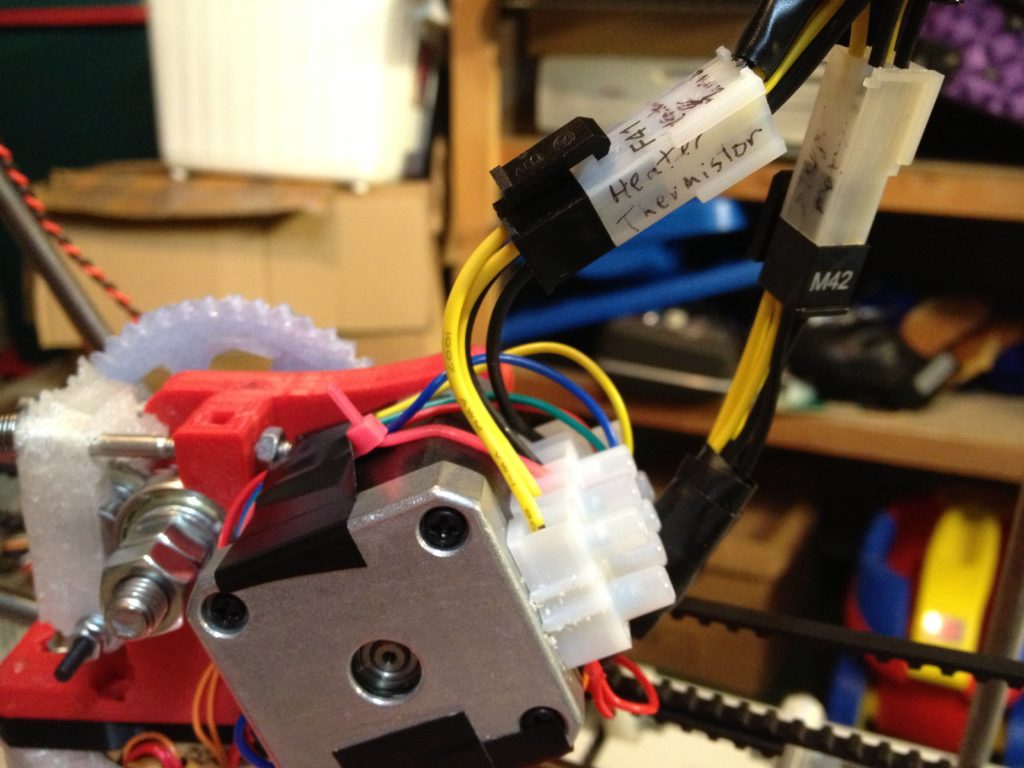
Then I mounted the extruder on the X-axis, and connected it up with the Extruder Pluggable Wiring Convention like my own RepRap and extruders use:

IMG_1427

IMG_1429

IMG_1430

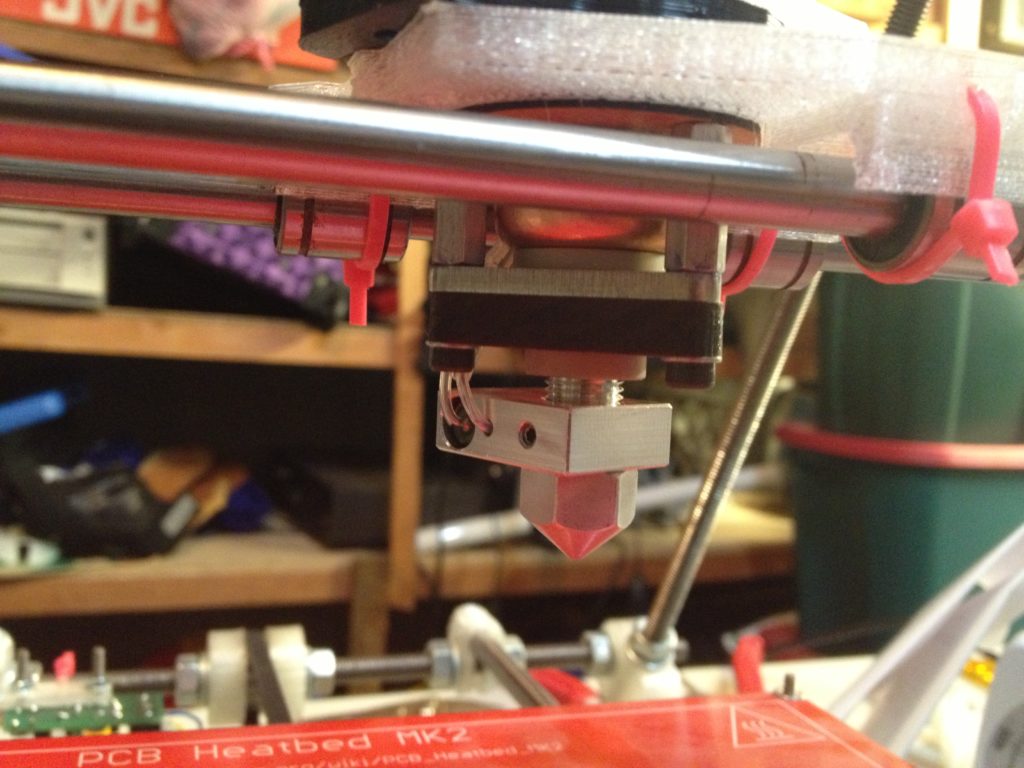
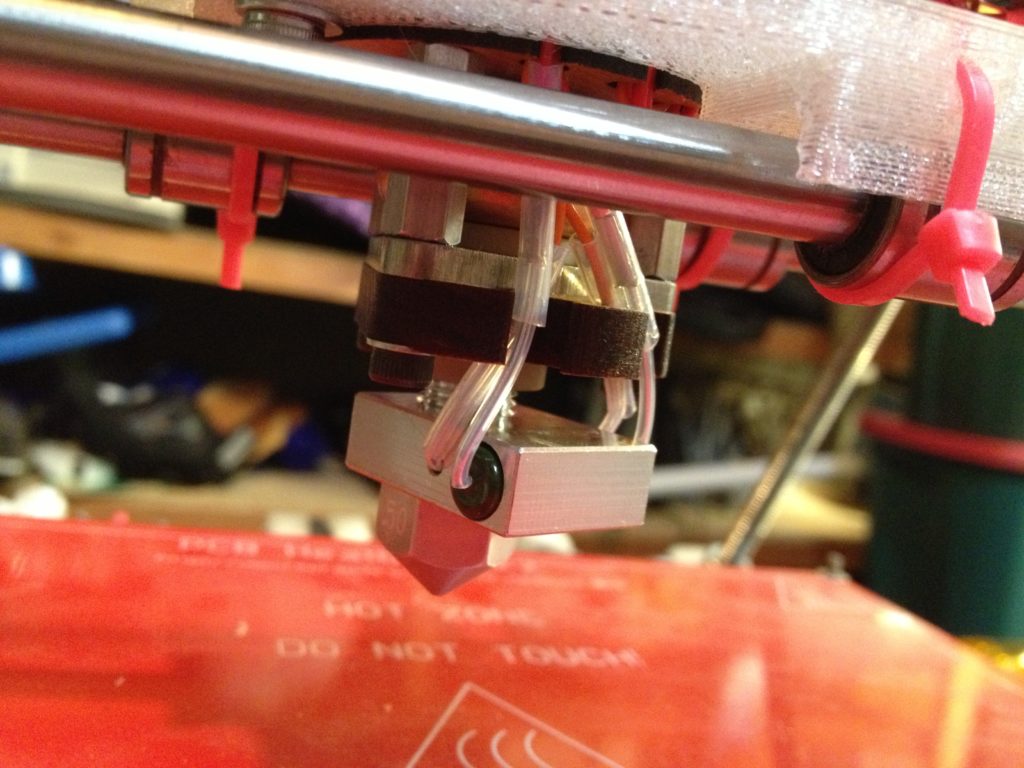
Again, here’s what the hot end looked like beneath the x-axis:

IMG_1432

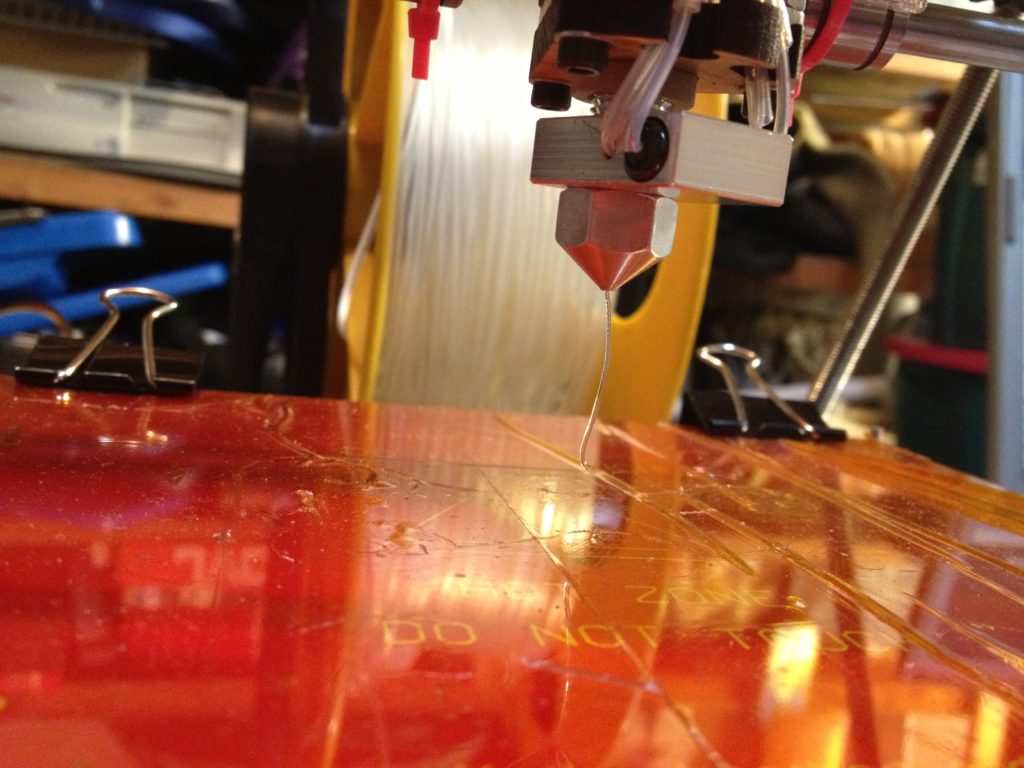
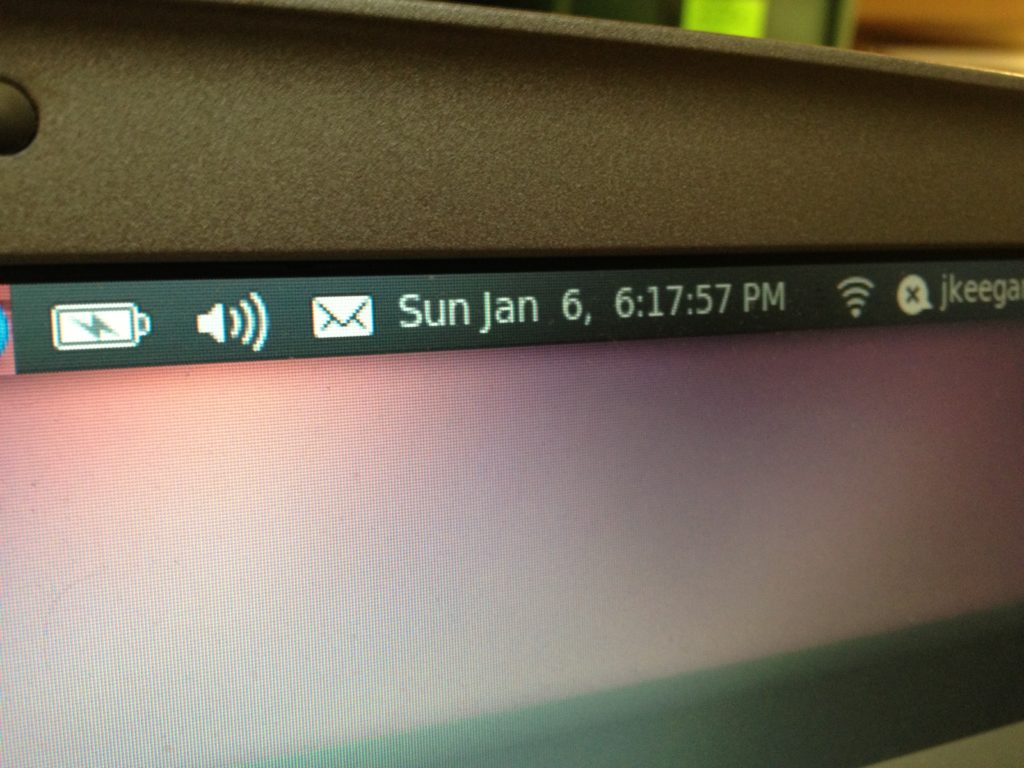
On Sunday January 6th 2013, at around 6:17pm, the Museum of Science’s RepRap had it’s first manual (and then first powered) extrusion:

IMG_1436

IMG_1438

Woohoo!!!

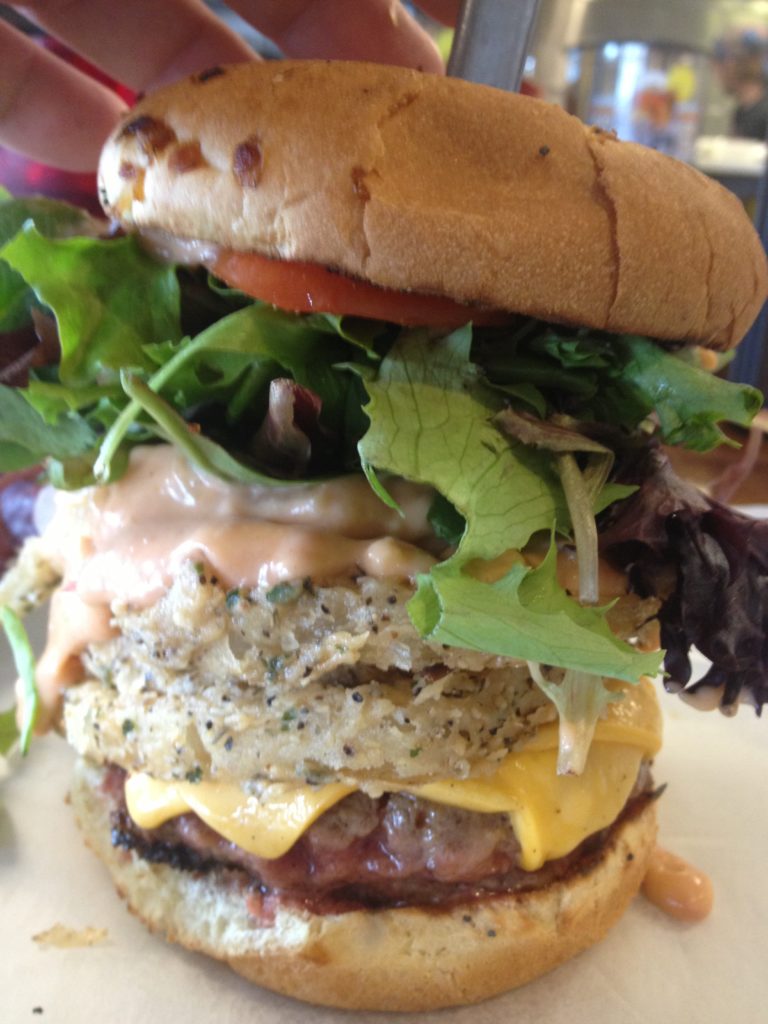
Now, for no particularly good reason (other than that this happened around the same time), at this point I’d like to go on a super-brief tangent and post a picture of the best hamburger I’ve ever had in my life:

IMG_1519

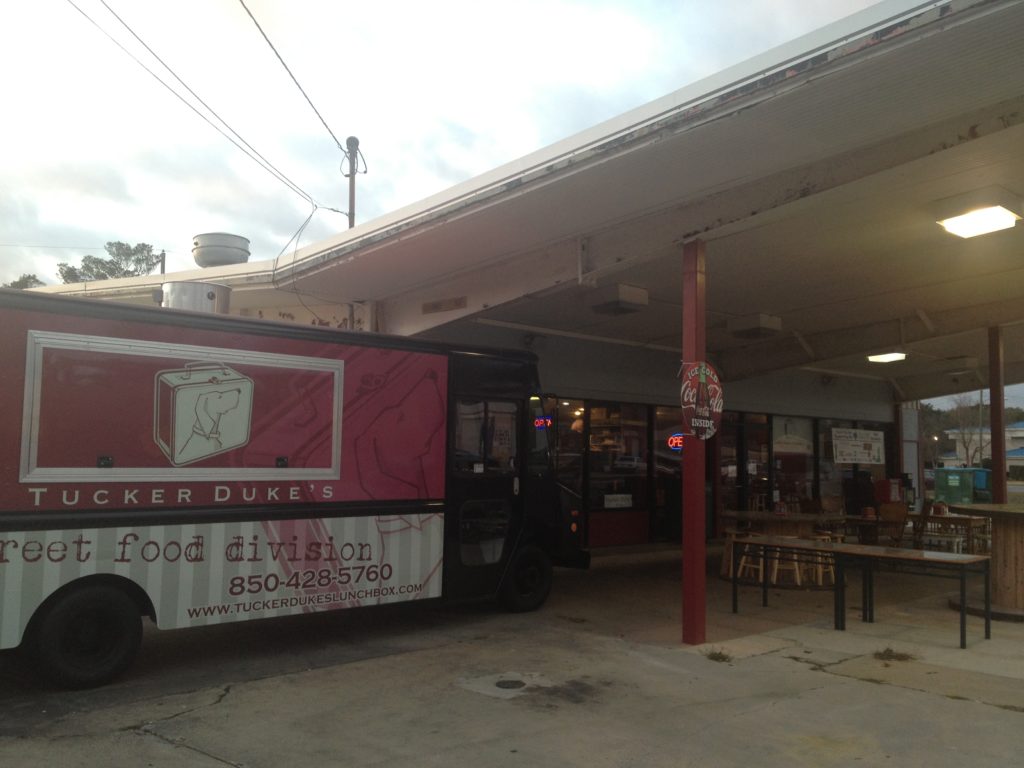
It was from a place called Tucker Duke’s in Valparaiso Florida. It was their signature burger. Those are onion rings in the middle, and the pink dressing was something about marmalade – I can’t remember. The whole thing is held together with a knife until you’re ready to eat it, at which point you scrunch it down and then start eating (I immediately wished I’d rolled up my sleeves first, because you can’t put the burger down after that). Sadly, that is very far from me, and I don’t know if I’ll ever have that burger again. I’m haunted by the picture I took of it. Mmmmmm..

IMG_1522

(Jeff snaps out of it)

Ok, where were we? πŸ™‚

Now we needed the heated bed.

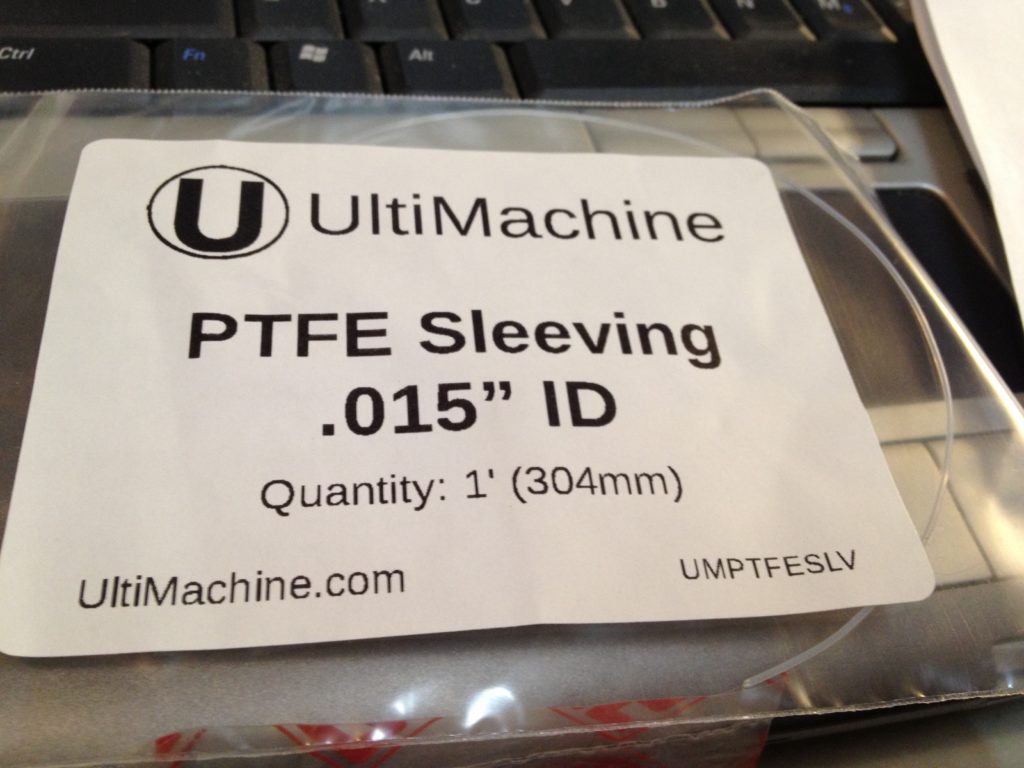
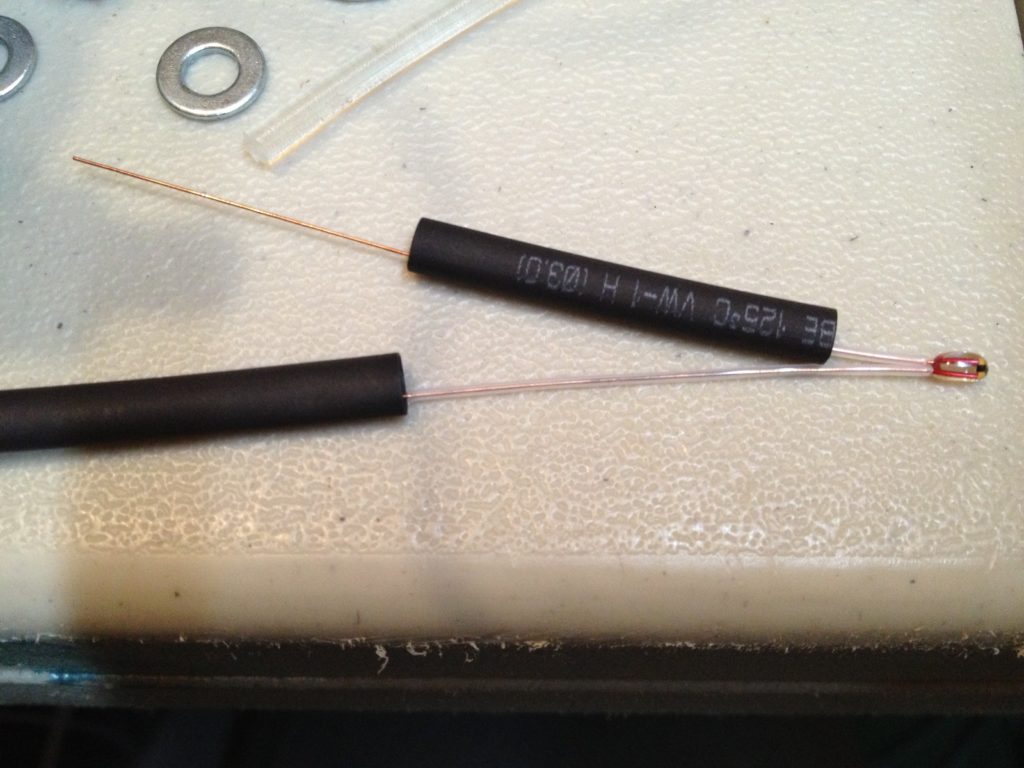
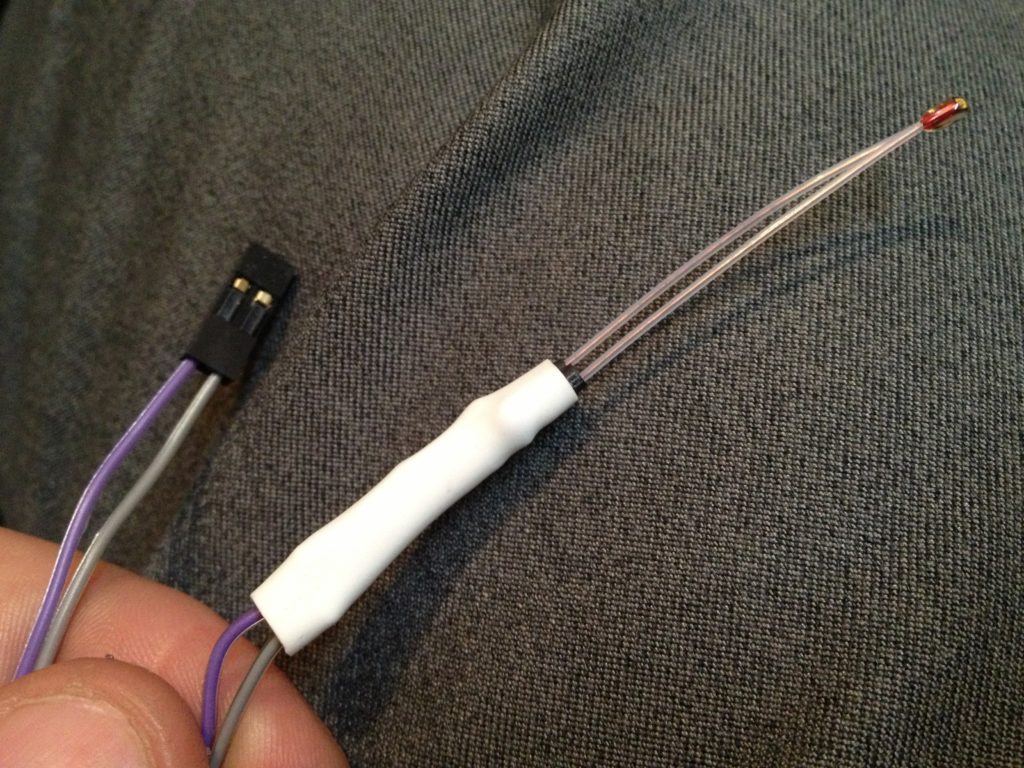
Here I am talking about using tiny PTFE tubing over the leads for the thermistor for the heated bed, and then heatshrinking it all up nice.

IMG_1563

IMG_1564

Here’s the beautiful result of my careful work on the thermistor for the heated bed:

IMG_1567

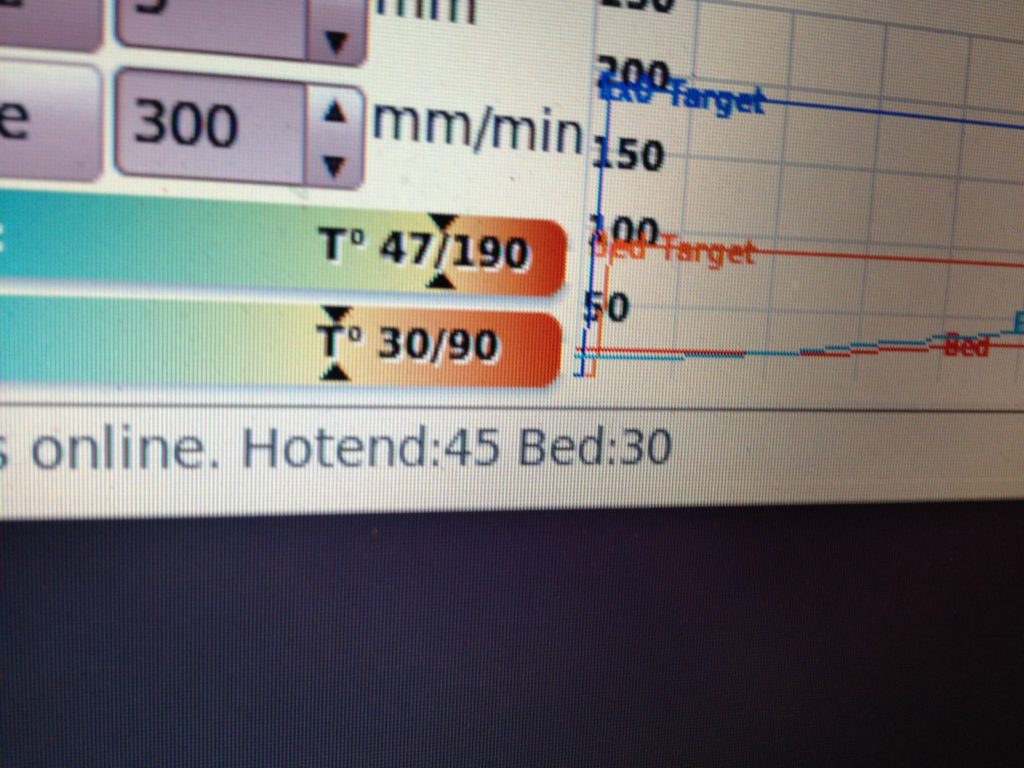
…and then proof that the thermistor was working:

IMG_1571

and here’s the heated bed fully installed, working, and moving:

(I’ve said it before, but I love the fact that with my first RepRap it was a LONG time before I ever got around to having a heated bed, and then after that, I don’t even consider a printer finished until it has one. We keep raising the bar. πŸ™‚ )

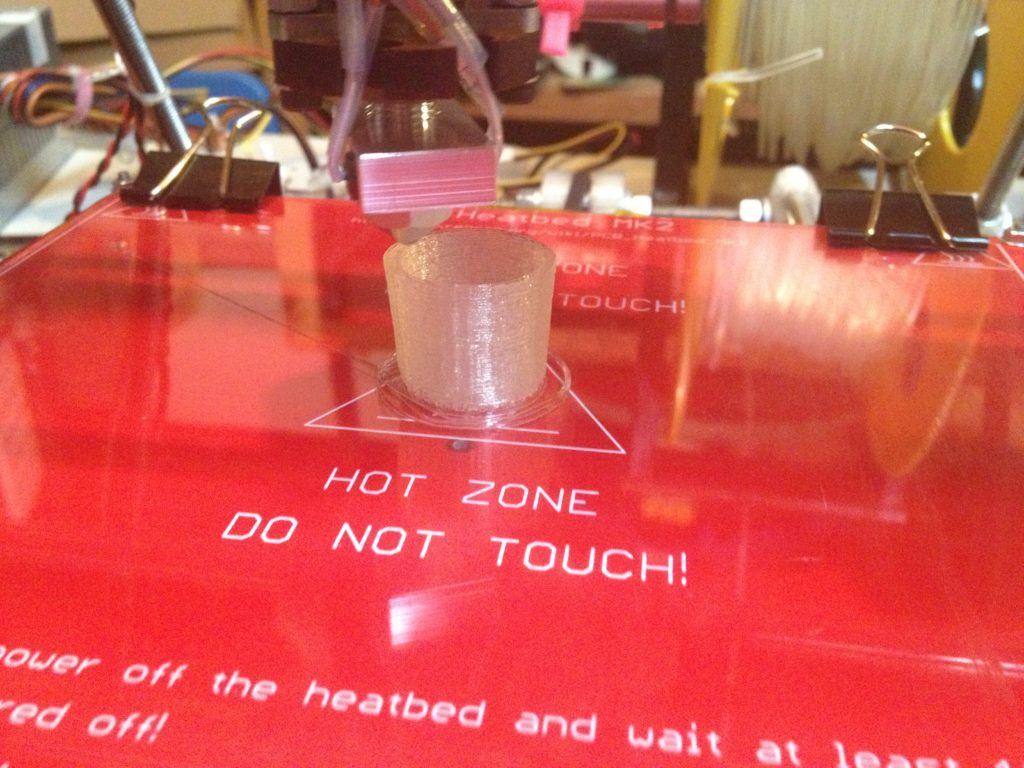
Continuing on the rapid progress, on Wednesday January 23rd 2013 at 6:22am, the Museum of Science’s RepRap had it’s FIRST PRINT!

IMG_1577

…and the result!

IMG_1584

All of this was on its first try!

IMG_1586

IMG_1587

IMG_1588

And guess what? It was water-tight on the first try too!

IMG_1592

IMG_1597

Fulfilling tradition, here I am toasting the successful completion of another RepRap, this one for the Museum of Science in Boston!

That’s all for this post. Today is February 9th 2014 and I’ve now brought you up to the events of January 23rd 2013.. so I’m a tiny bit more than a year behind, but that’s okay because I really will catch up. Honest.
Thanks for reading.

Four, no, 33 months.. part 15 of ?

Saturday, September 14th, 2013

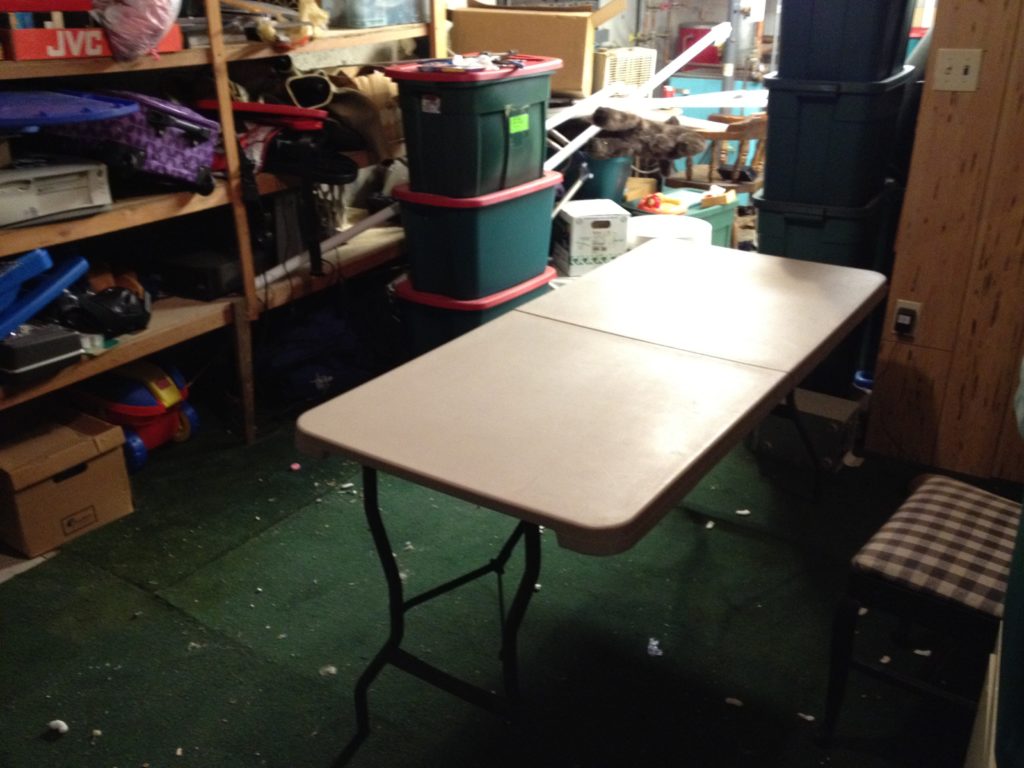
It all starts with a clean table.

That’s how my RepRap started – I cleaned off a bit of table to work on. And that’s how my setup for Makerfaire NY 2012 went. I needed a table.
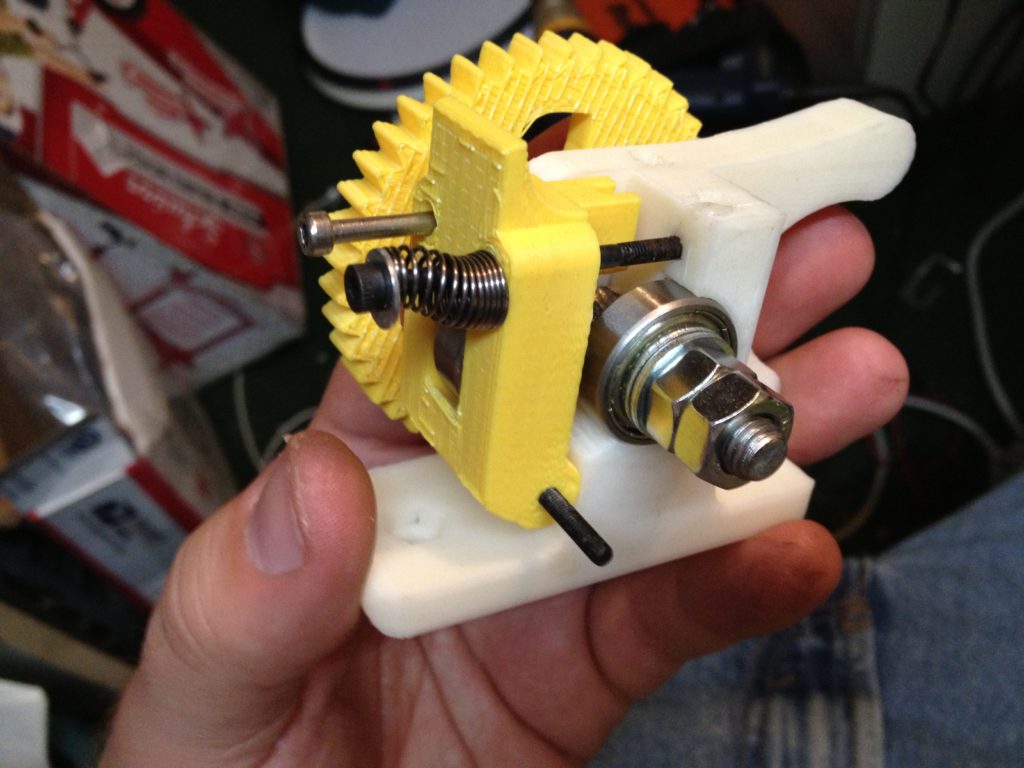
In this case, I owe that table (and the room it was in) to my wife Laurie (thanks Laurie!). Last September (2012) as I was getting ready to exhibit at Makerfaire NY for the first time, I decided I needed to do a mock setup of my table. Laurie sensed my need for more space and cleaned out the adjoining “room” in the basement from where I’ve been working (which had previously held dangerously high piles of stuff).

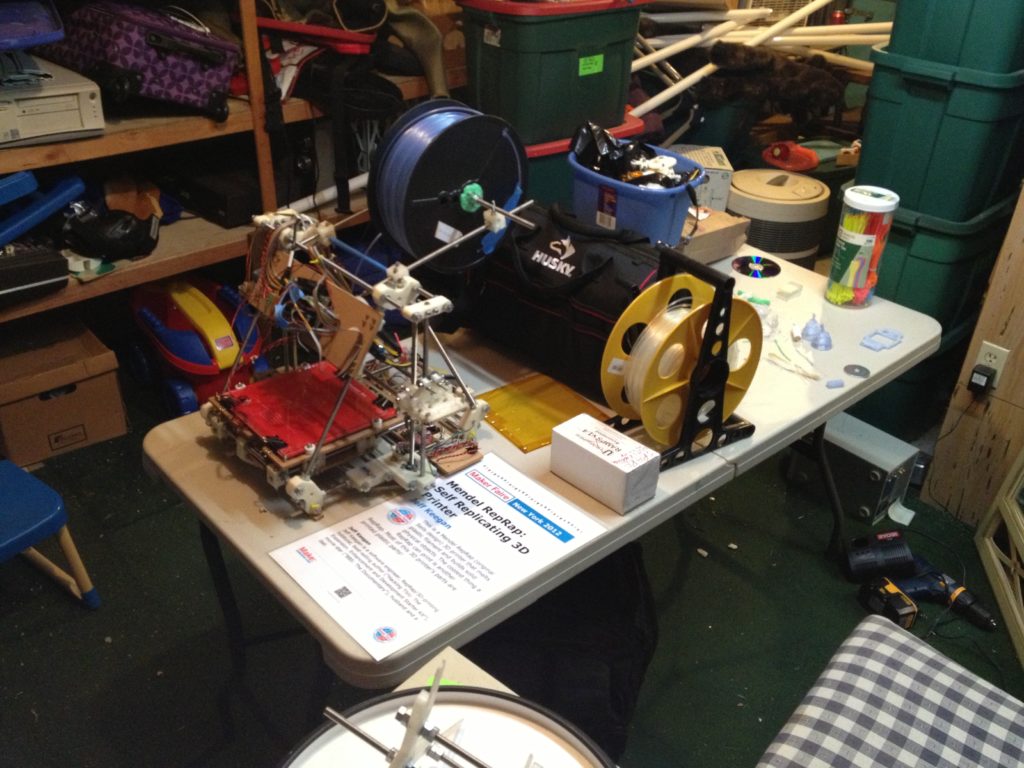
Once the room was usable, I set up my mock table:

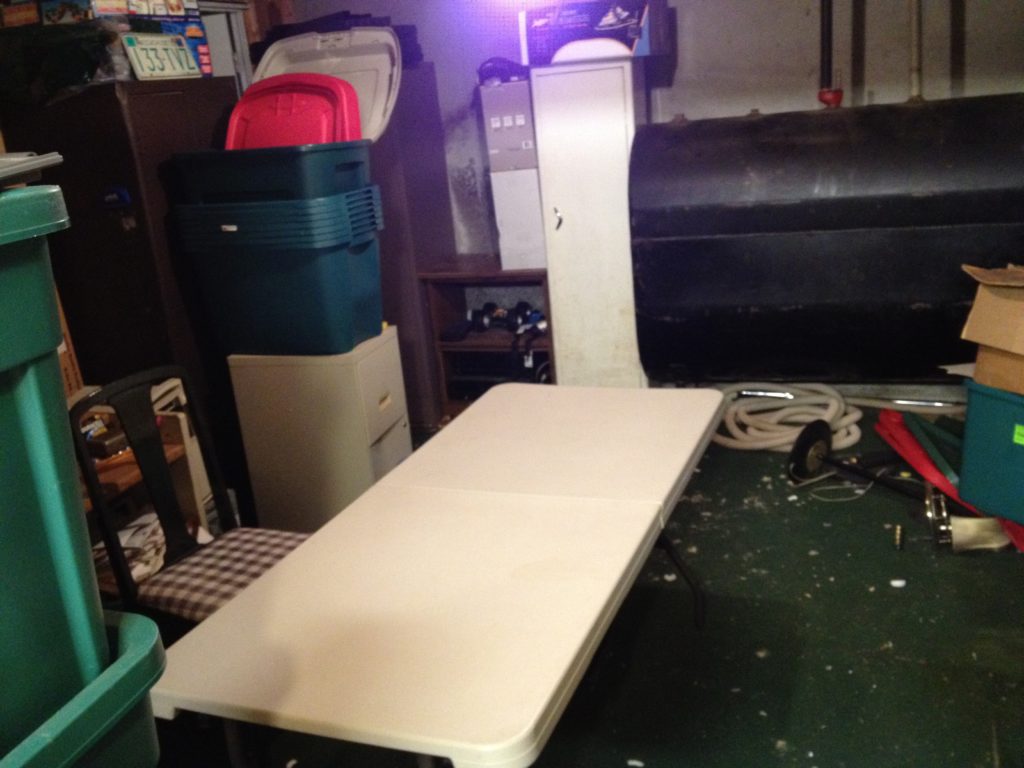
Here’s that same room from the other direction

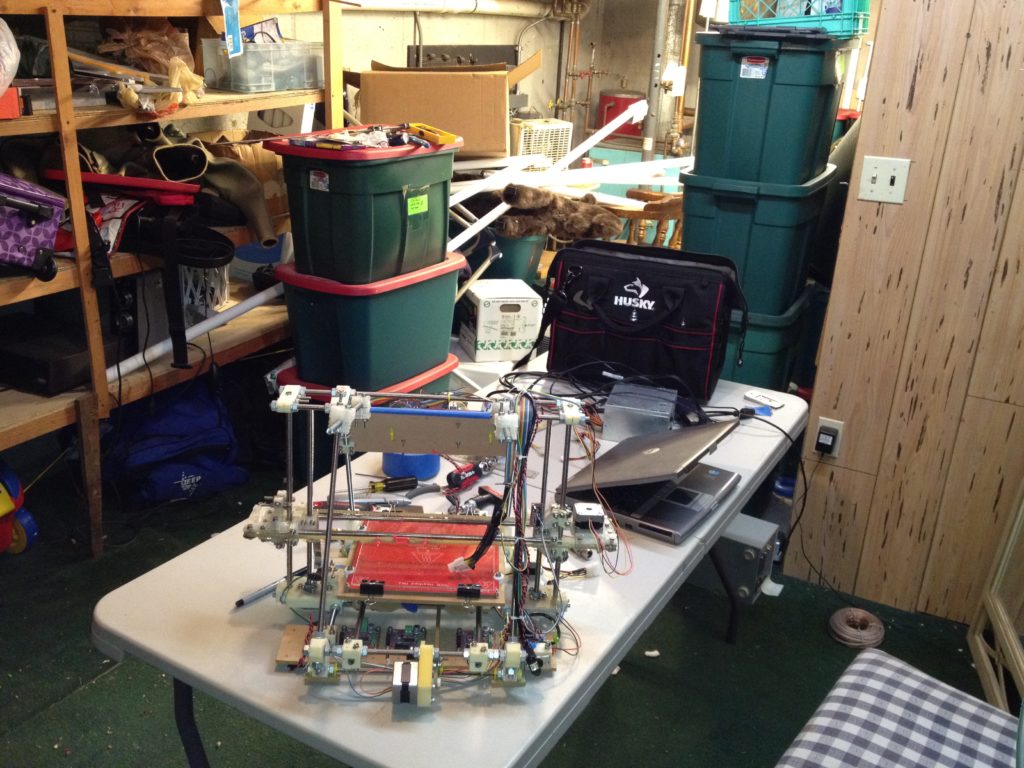
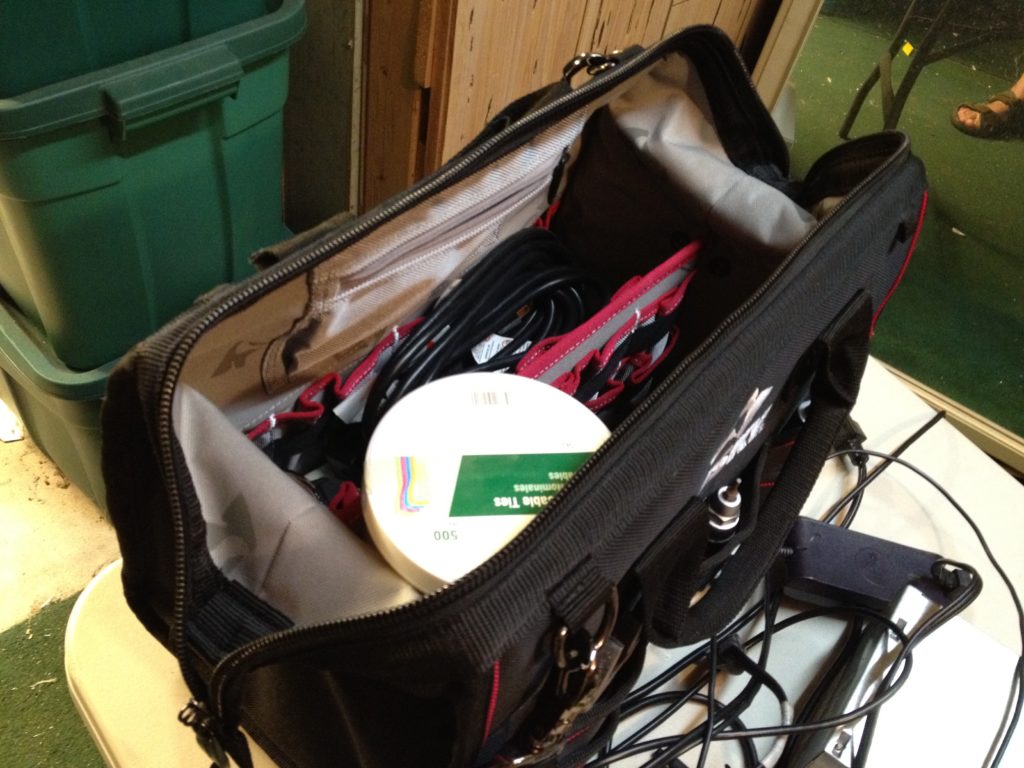
I did a quick trip to Home Depot and bought new bulbs for the light in that room, a portable tool bag, some more zip ties, etc. Then I moved my RepRap to the table:

My tool bag:

I’d also pack a huge duffle bag with the larger things like the laptop and power strips.

There’s not too much narrative after this, just me going through pictures from last year to see which are worth posting.

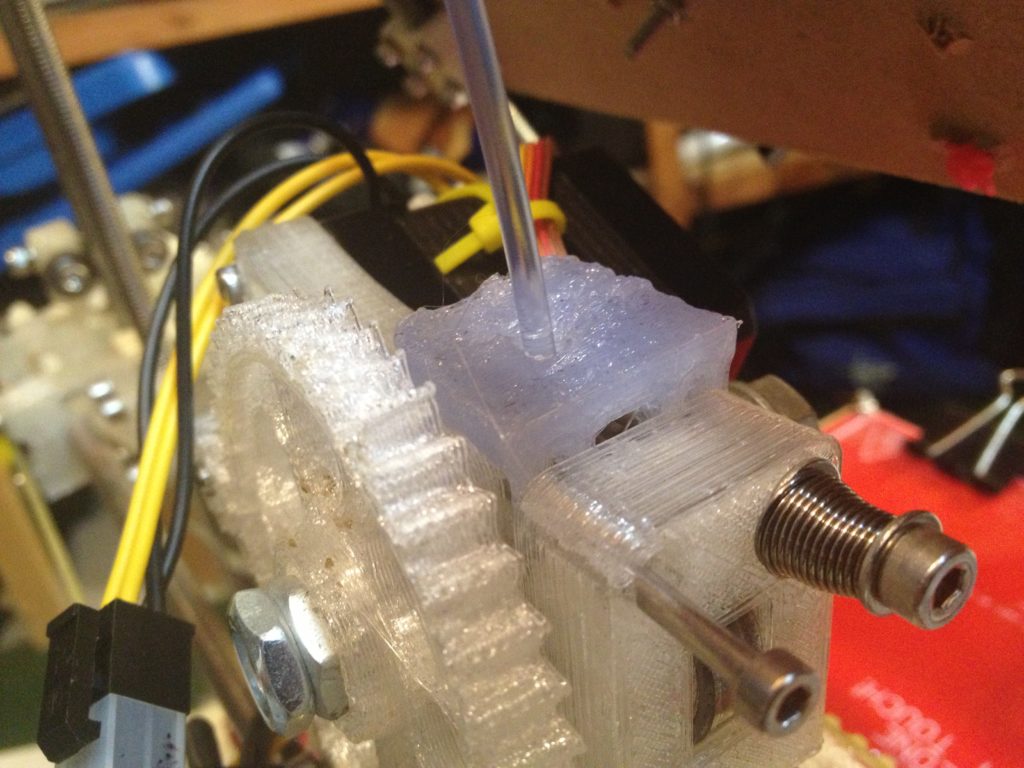
I’d forgotten this, but I made a metal piece to rest on top of my extruder so the PTFE tube that my filament was going through (from the spool) had a place to stop before being chewed up by the extruder:

[EDIT: I found a movie about that which I hadn’t included in the post initially:

]

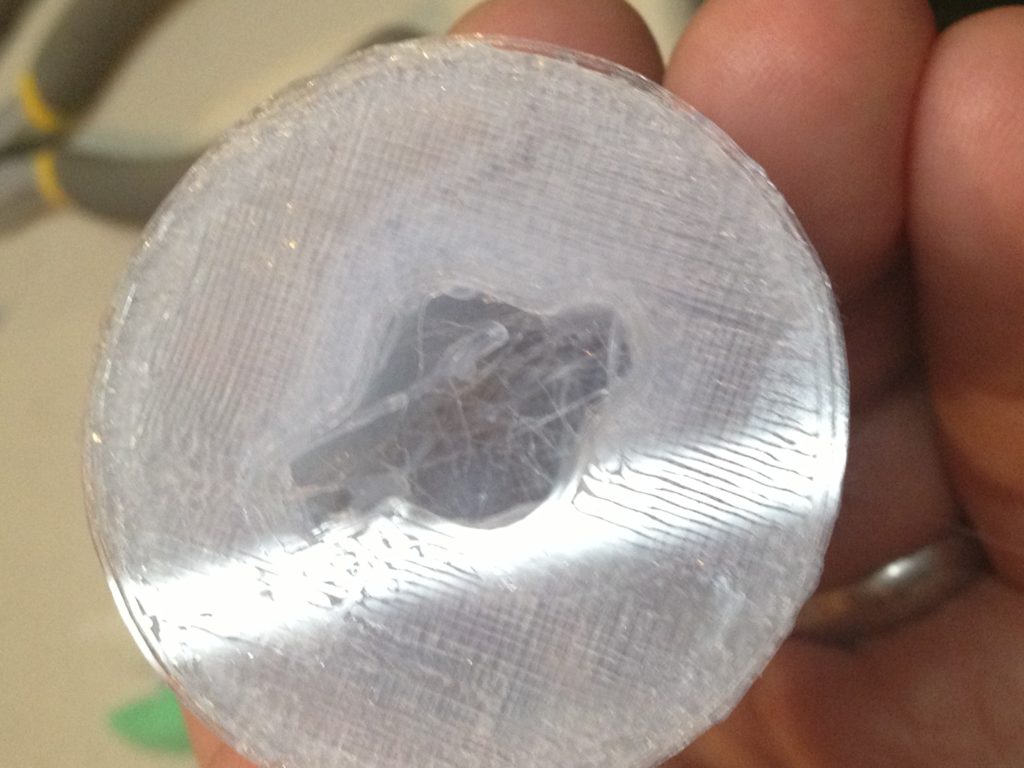
Then after grabbing a blob of PLA off of the print bed, I noticed that it bent light and acted like a lens.

After the power came back on, it was back to work.

In the last post I talked about how I’d made a metal brace for the bottom of the cold end of my extruder, to more strongly hold up the M3 rods that hold up the PEEK block that holds up the nozzle.

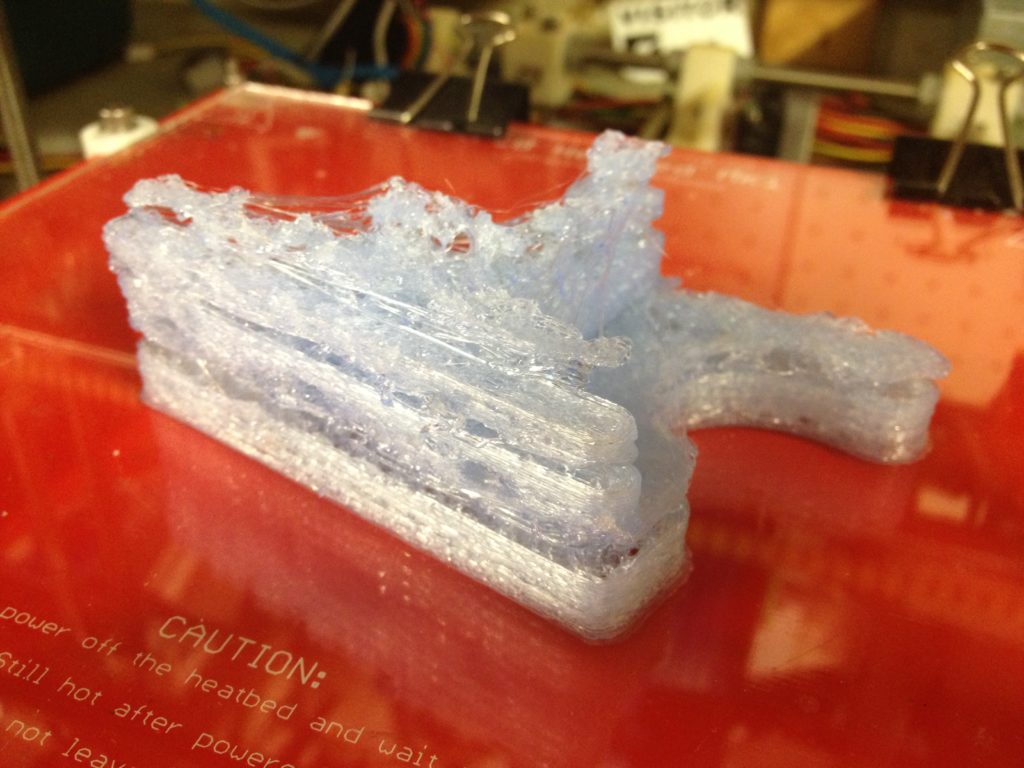
Well, it turns out to have been a bad idea to make that out of metal (at least when combined with the other bad idea of printing my X-carriage out of PLA!). Here is what I’d noticed had happened to the OpenX carriage – it melted!

Despite knowing that the issue was caused by having a PLA carriage, I apparently printed another one, just so I’d have something to work (but that I knew would eventually melt). That’s tough to believe now, but that’s what the photos and movies show. Maybe I thought that the heat was only slightly contributing to the warp – who knows. So I built another one, and optimistically declared that it would work better despite being ugly:

Something was awfully wrong after that. I almost wanted to skip this next video, except that it does capture a desperate version of me trying to rattle off into the camera all of the theories and things that I’ve checked, hoping that I could someday diagnose what’s wrong. I’ll include it with that context: I had no idea what was wrong:
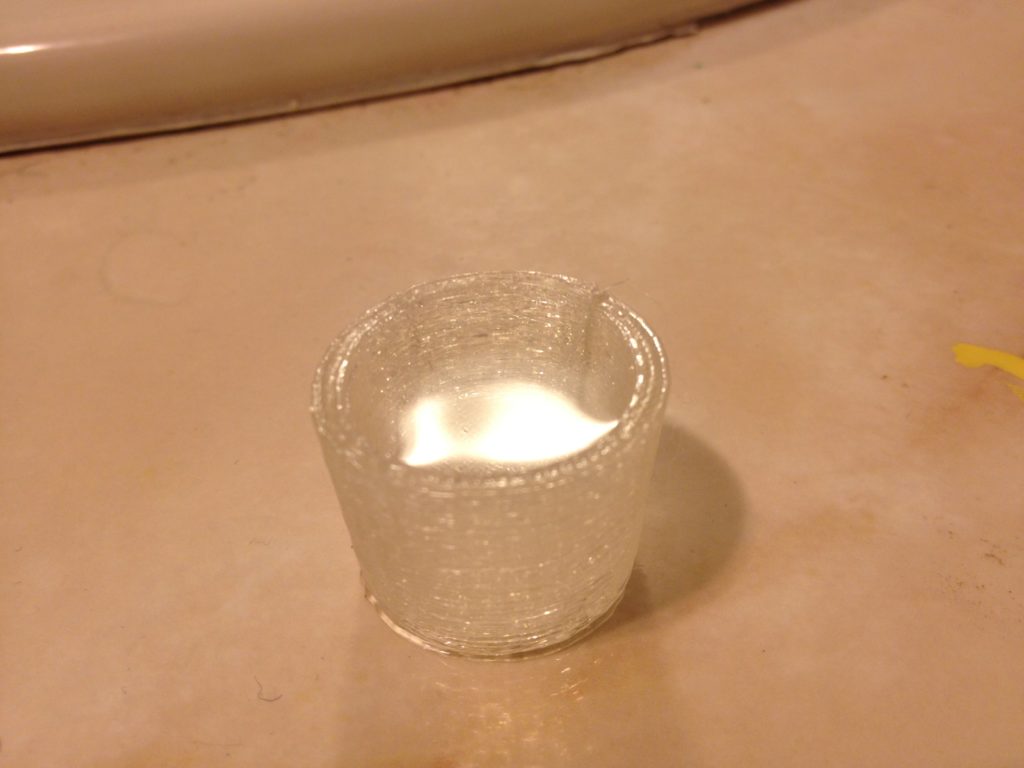
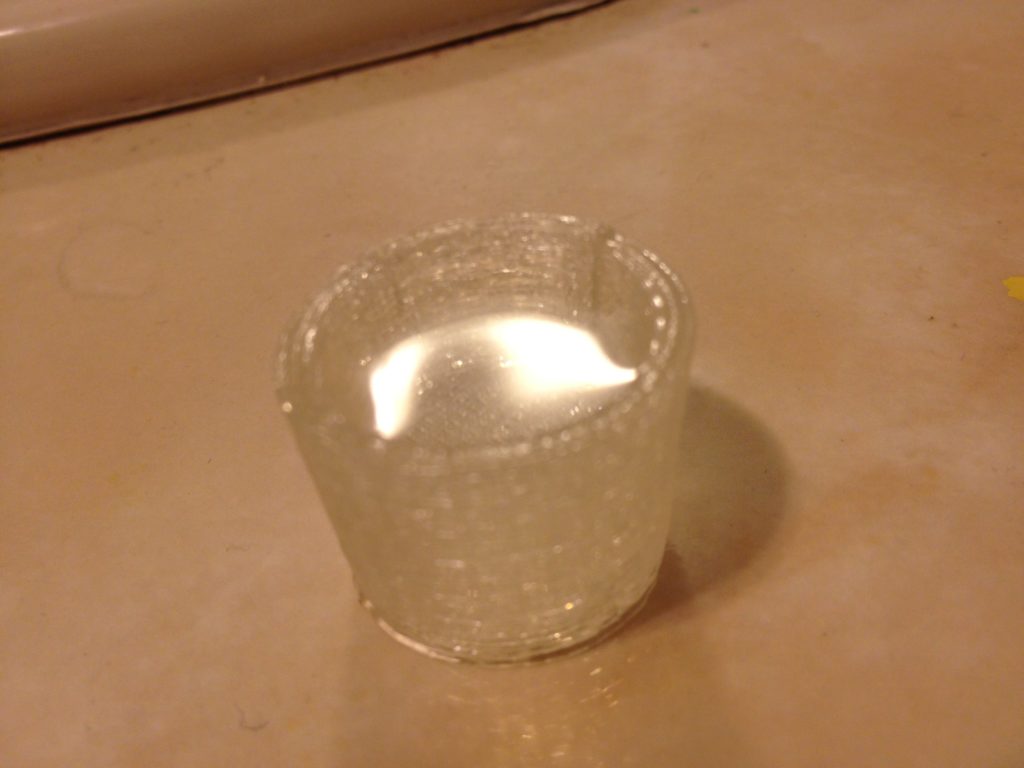
At one point in that movie I’d postulated that maybe it was because of the brittle plastic. I tested that theory next by using some other sample plastic that UltiMachine.com threw in one of my orders (thanks Johnny!). This was the first colored plastic that I ever extruded out of my RepRap:

Nope.

Then later in the print I found that layers further up were printing okay, whereas the first layers had been awful.

Then was this picture.. Check out the metal plate above the carriage (look for the blue bit between the x-carriage and the metal) – you can see it going up at an angle! Clearly that PLA carriage had melted too:

It turns out I noticed it back then too:

Here’s the horrible print that came out of that. The lower layers were far worse than the upper ones:

I made a replacement support piece out of MDF instead of metal, so it wouldn’t conduct heat and melt the carriage. If I remember correctly, after the video above I held the extruder up straight while it cooled, leaving the PLA carriage somewhat flat and unbent. Then I put the MDF version on instead.

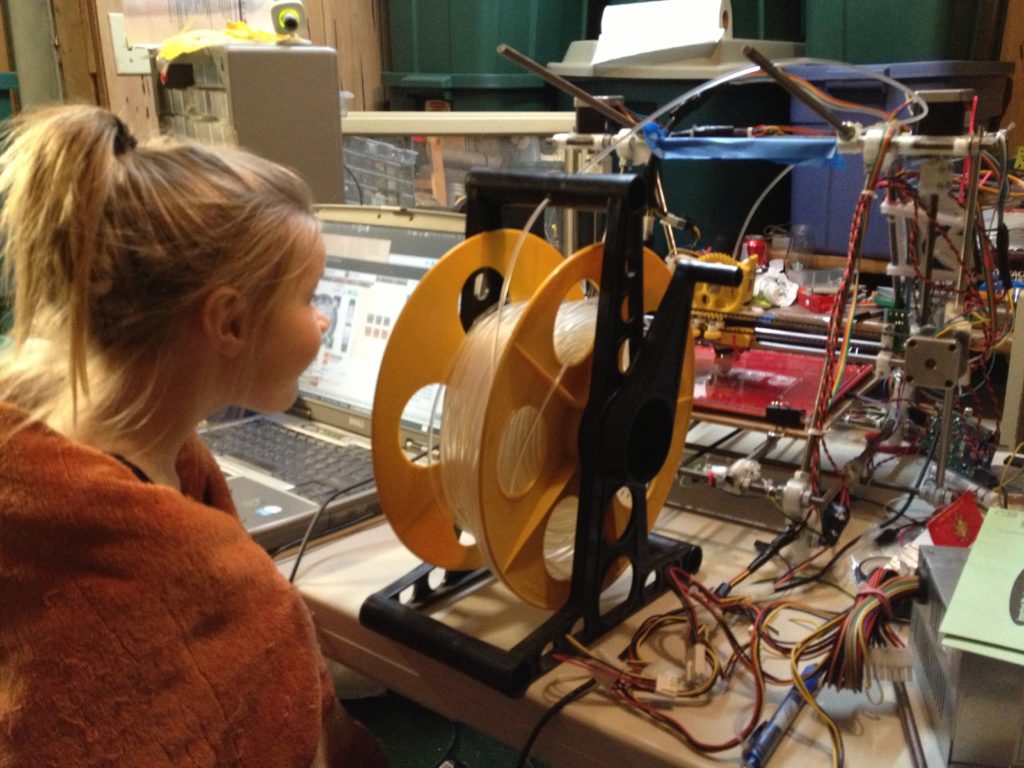
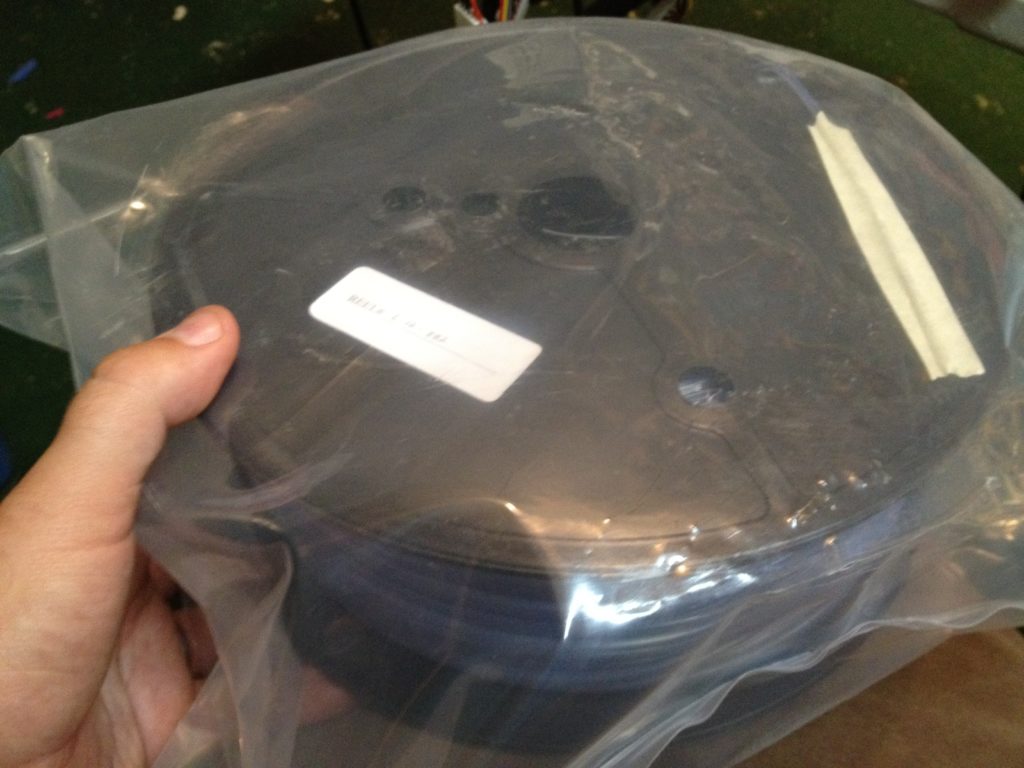
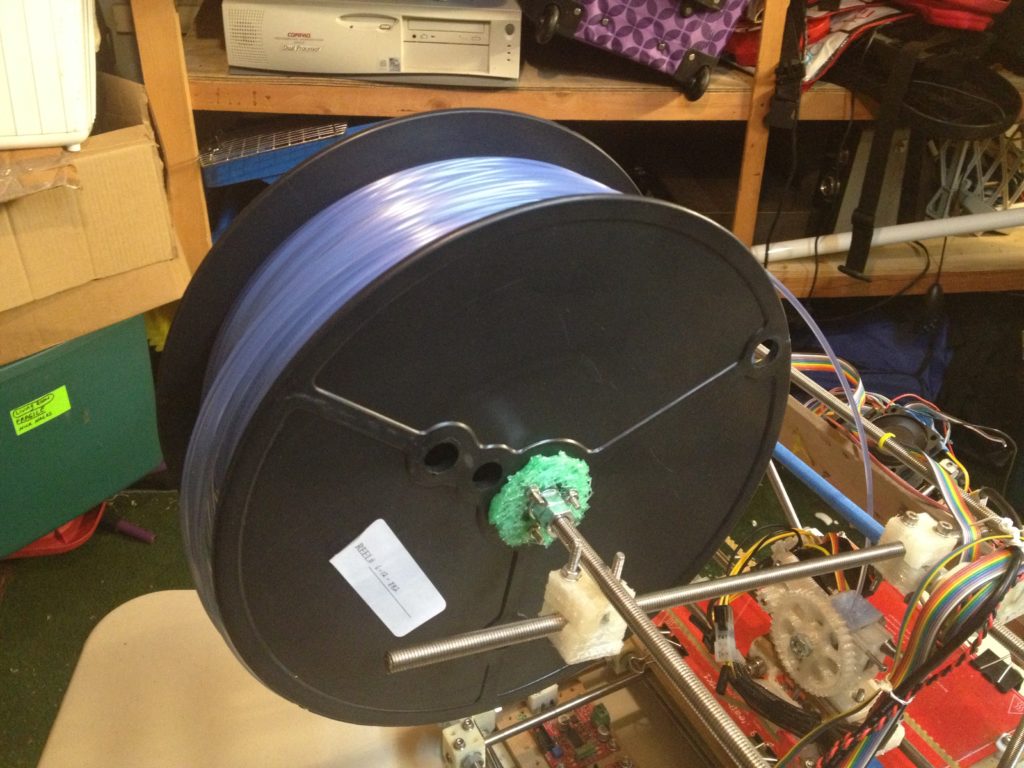
I finally decided to open up my next real spool of PLA. I used the last of the green to print an absolutely awful (but functional) spool holder, and mounted the spool.

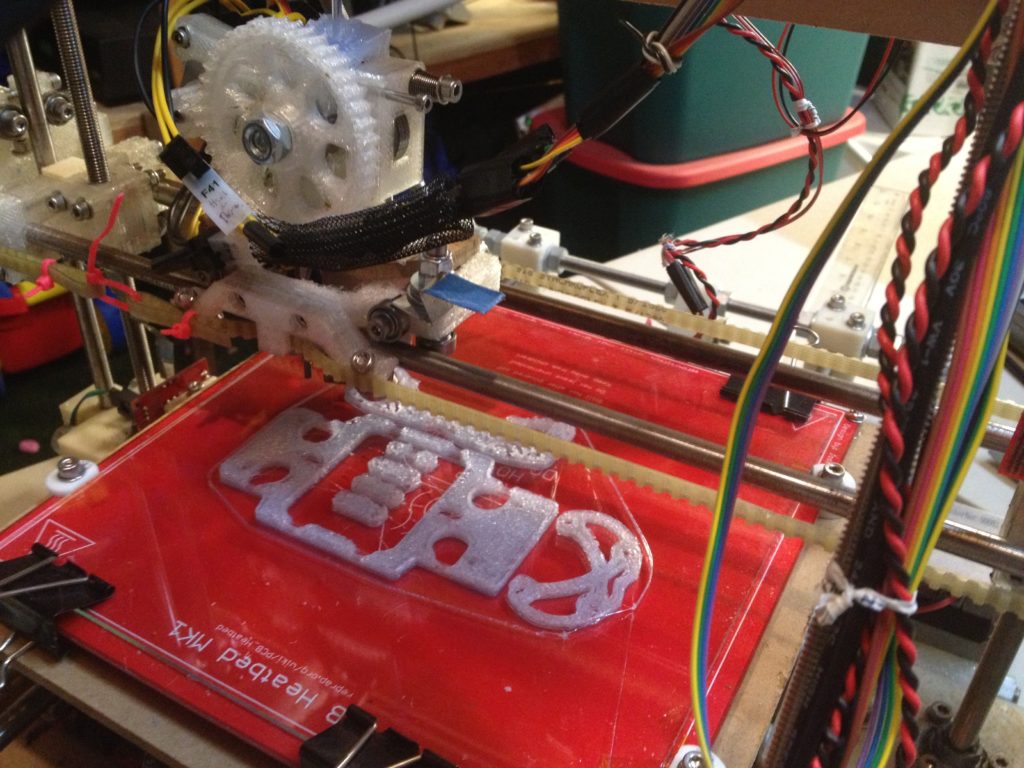
The prints were better with the MDF (but still not as awesome as my older prints had been with a Wade’s extruder and a traditional groove-mount style mounting). The blue print was the newest of these:

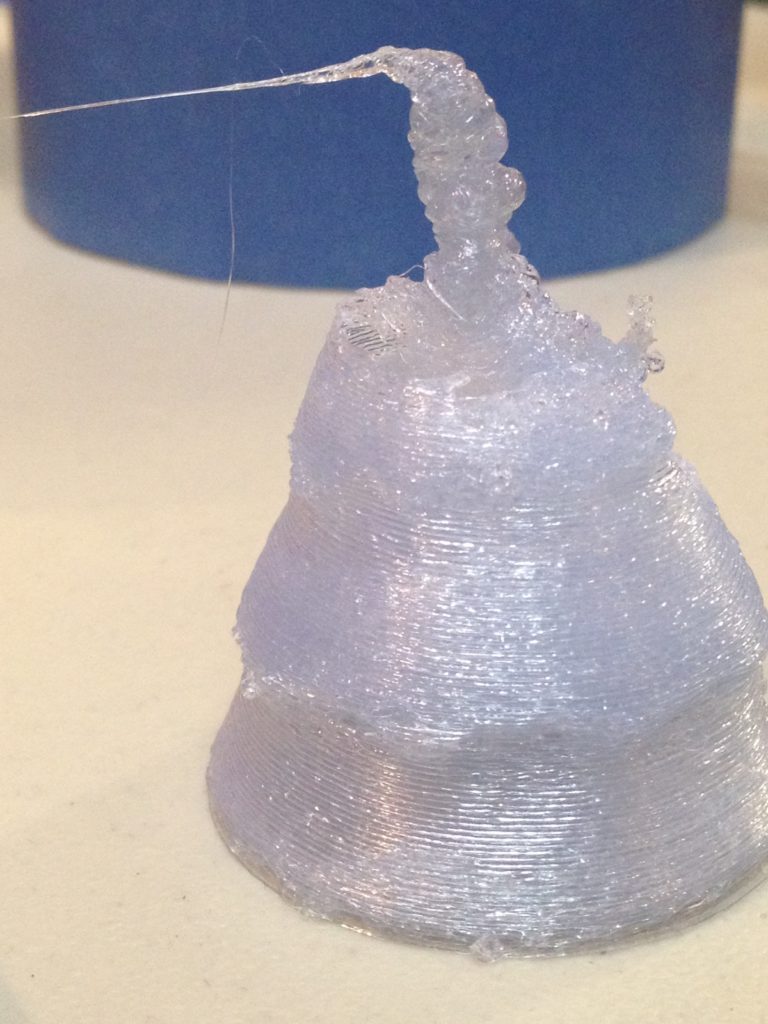
Here’s another “sad xmas tree” I tried printing (which had worked great in the old days out of ABS on the Makerbot, but which I hadn’t printed well in PLA). I still didn’t, since I still didn’t have a fan. At least the bottom layers looked nice:

I printed a filament guide which replaced the metal thing I’d made:

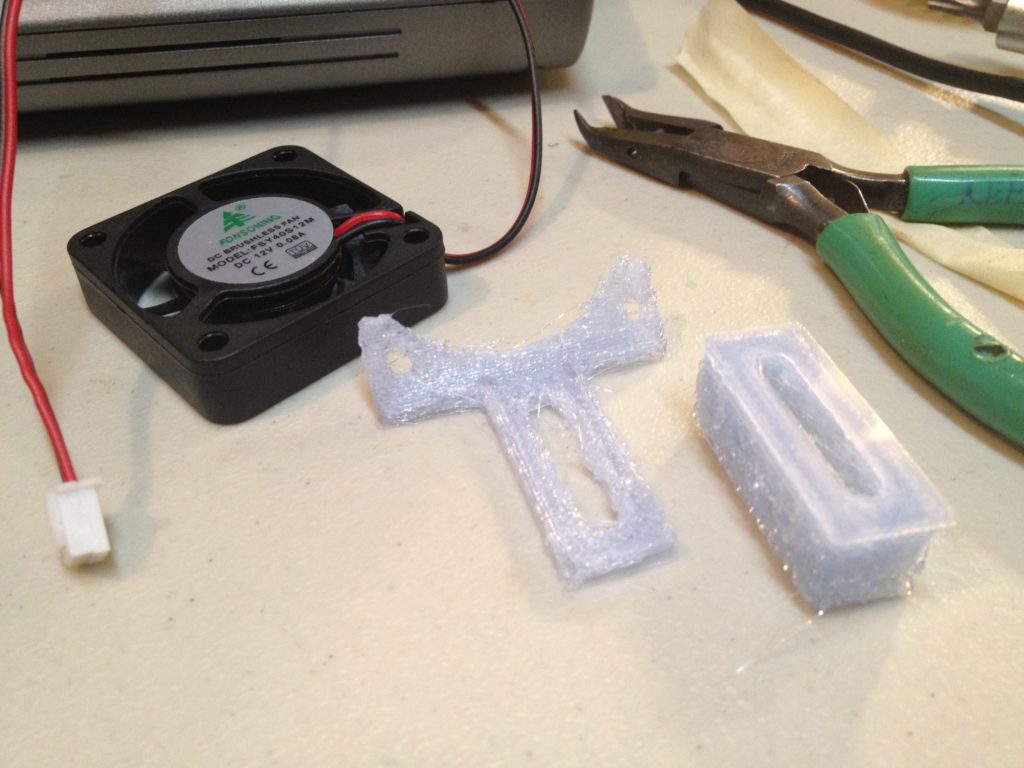
I’m surprised to see that I tried printing a fan mount, because I didn’t use it back then:

Then I tried printing another version of the OpenX carriage, which I ultimately never used (I may have just forgotten). Still out of PLA (facepalm).

Then while trying to print a large gear, I had a problem with the large gear on my extruder (and I had to dig into the printed set of parts for my eventual 2nd RepRap):

I was later able to print this (which my eyes today don’t see as usable, but they did a year ago):

I put it back on the pile to replace the spare I’d borrowed:

At work I was supposed to do some talk, and I asked if anyone minded if I did one totally unrelated to work – I wanted to dry-run my Makerfaire RepRap presentation. Work was fine with that. I created a powerpoint presentation, packed my RepRap in my car, and drove it to work.

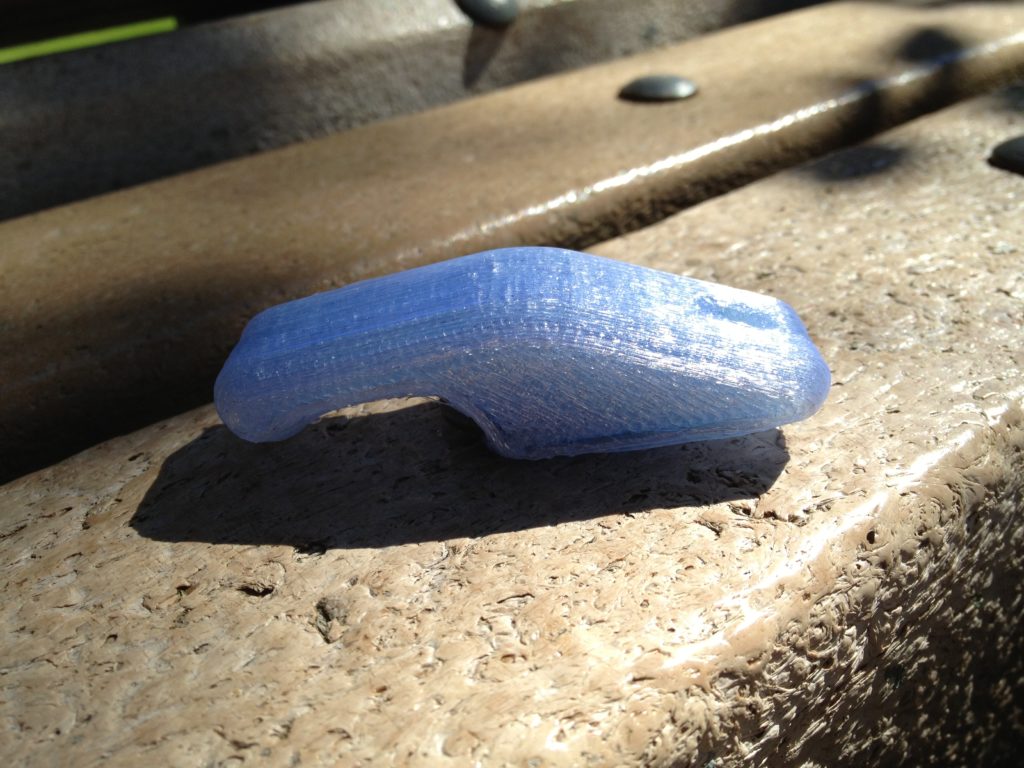
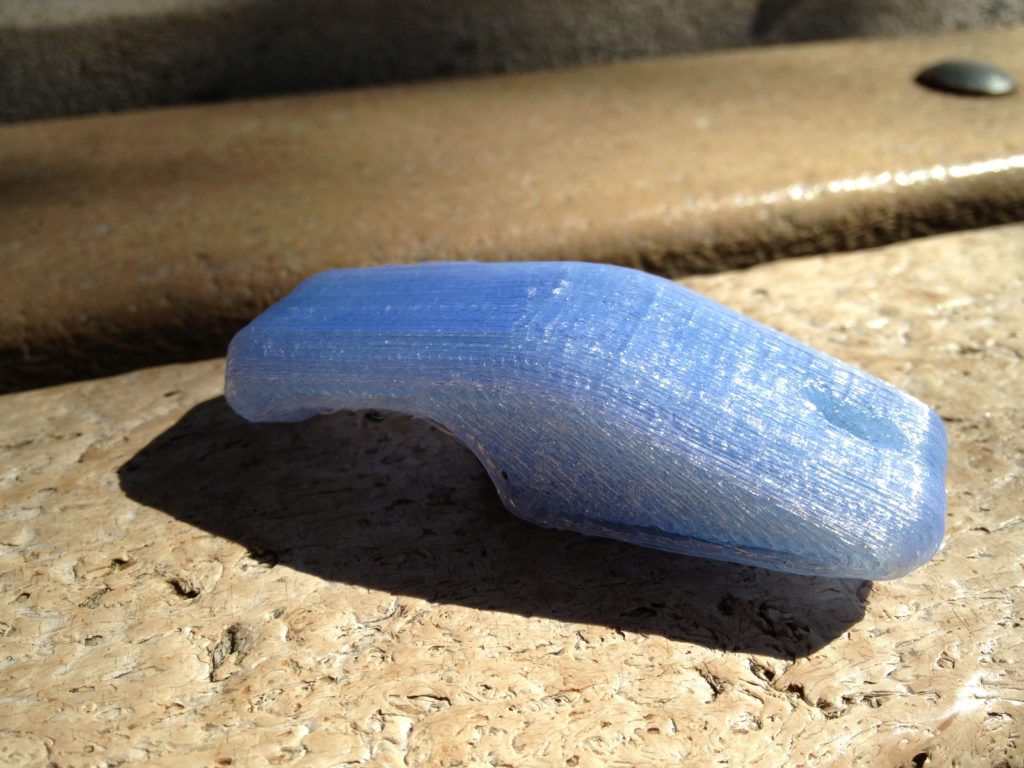
During the presentation I had it printing a bottle opener (out of the new blue PLA I was using). Here was the final product:

One week later, I would go to Makerfaire NY 2012 and exhibit my RepRap in public for the first time. That was one year ago.

[EDIT #2: Here’s another video I missed in the initial post, of me at the end talking about getting ready for Makerfaire NY 2012:

]

Back then I blogged about [Makerfaire NY 2012] out-of-sequence (when I was a year behind). If you’re reading along, chronologically this would be a good time to go back and read that post (actually, read it even if you already read it – it’s a great post!):

Makerfaire NY 2012: Booth 8736 (My RepRap!)

Rather than deciding now what the next blog post will be, I’ll save that decision for after Makerfaire 2013 next week. We’ll see if I blog about that one out-of-sequence too, or if I use it as motivation to completely and totally catch up. Man I hate being behind. Today is September 14 2013, and now the blog is caught up all the way to September 30th 2012 (so I’m behind by less than a year!! πŸ˜€ )

If you’re within a reasonable distance to Queens New York, come see me next week at Makerfaire NY 2013! I’m booth #10895. It’s on September 21st and 22nd. I’ll be at the 3D Printer Village. I hope to see you there!