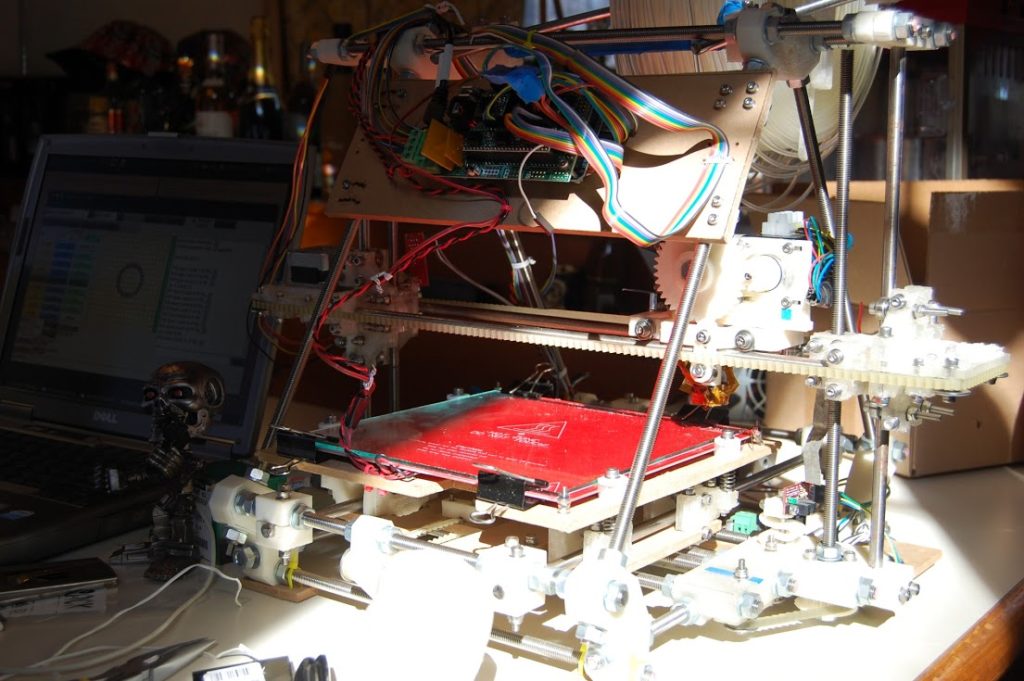
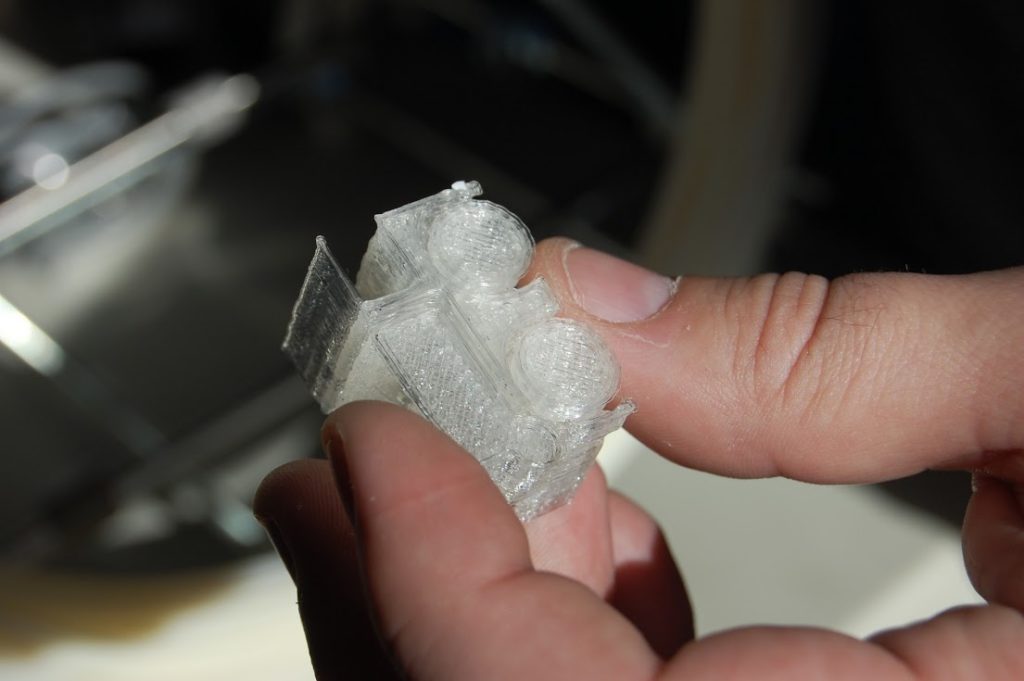
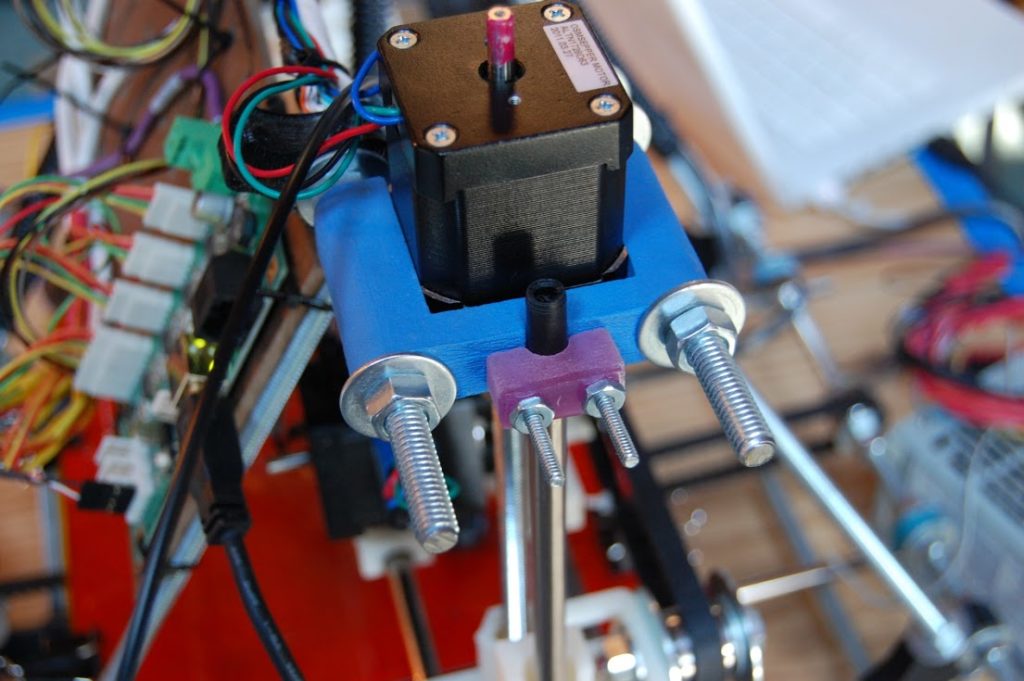
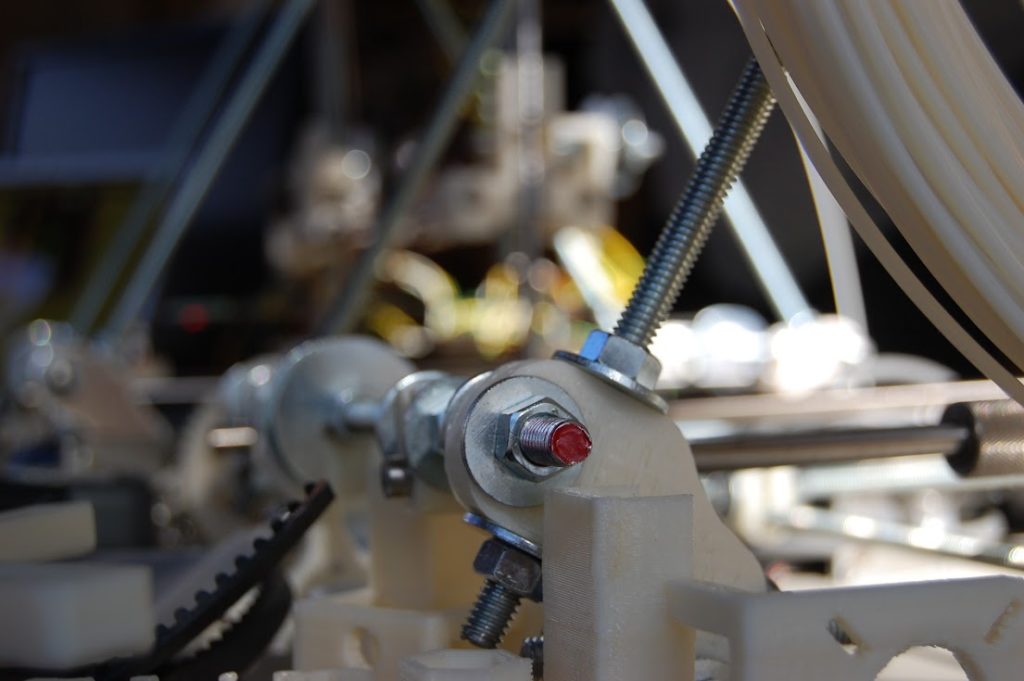
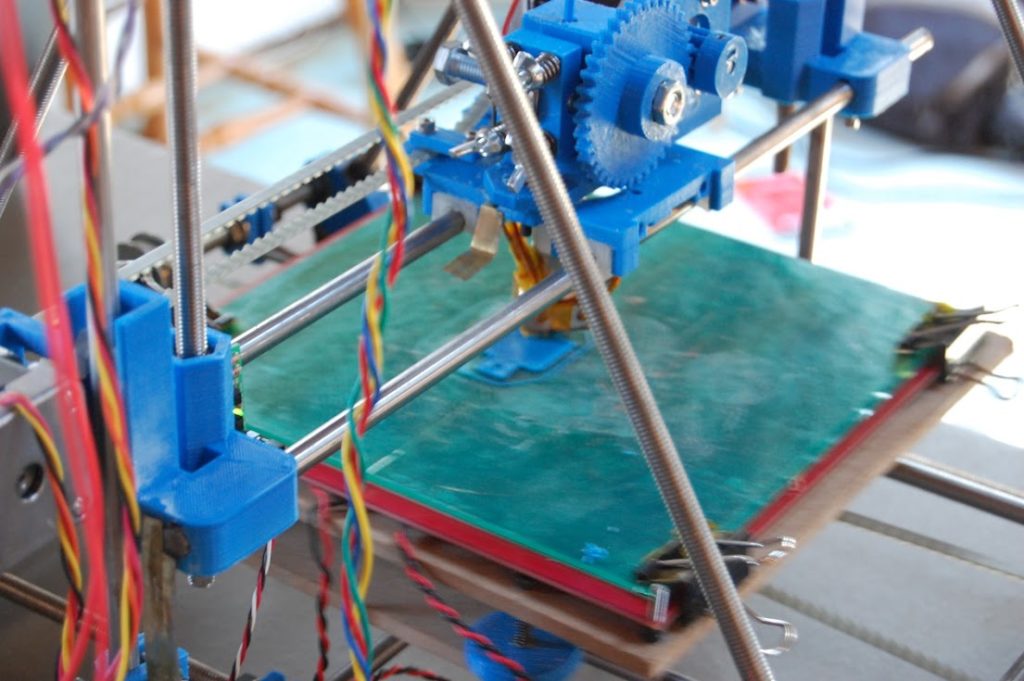
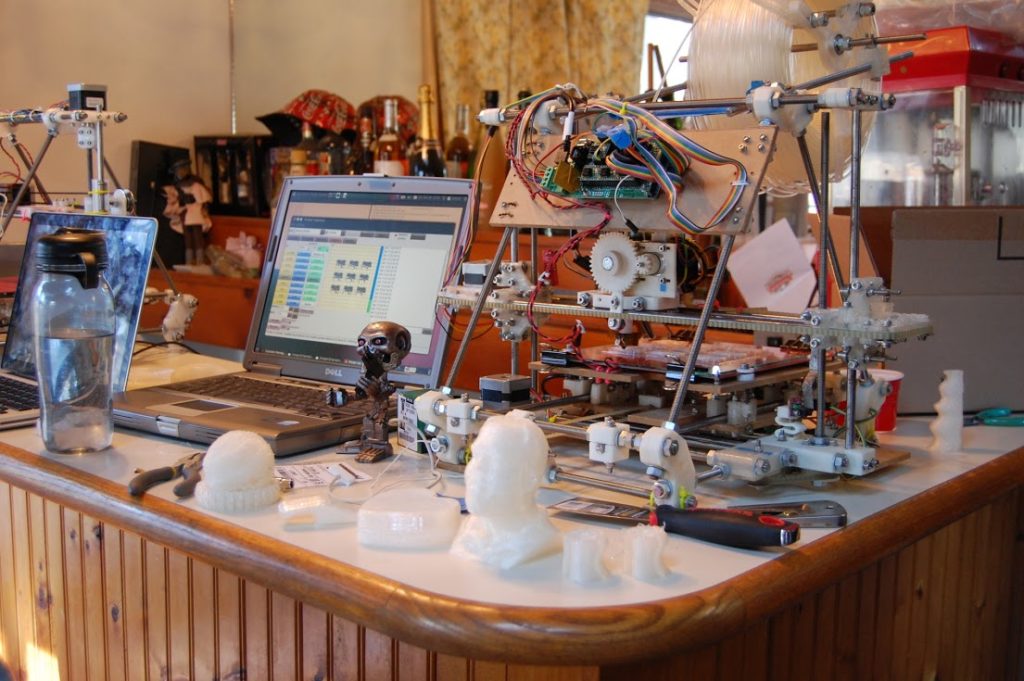
 Before I get into this next post, let me mention that I’ll be exhibiting again this year at Makerfaire NY 2013! I’m booth #10895. It’s on September 21st and 22nd. I’ll be at the 3D Printer Village. I hope to see you there! For those who don’t remember it, here was my post last year about my Makerfaire NY 2012 experience: Makerfaire NY 2012: Booth 8736 (My RepRap!).
Still trying to catch up on the blog. Yes I know how absurd it is that I’m talking about past events (from over a year ago) in the order that they happened, hoping to “catch up” like getting out of debt. I don’t care that it’s absurd. 🙂 But want to know how absurd it is? The link I just gave above about last year’s Makerfaire (2012) is AFTER the events I’m describing here, yet I blogged about it because Makerfaire was cool enough to blog about out-of-sequence, and I’m now just getting close to catching up to that point (which I’ll then not cover, since I already did), and then in the present I’ll actually go to the 2013 one! That’s in 4 weeks from today, so I’d like to catch up before that if I can. What a byzantine mess!
Ok. Today is August 28th 2013 and I’m describing events from April 3rd of 2012. Here we go.
The next thing I just HAD to print was a quadcopter.
At work they had let us borrow a quadcopter (an AscTec Pelican) and it was incredibly fun. Two coworkers of mine (Reed and Neil) borrowed it with me, and we flew it enough to get a serious taste for it. I wanted to print one.
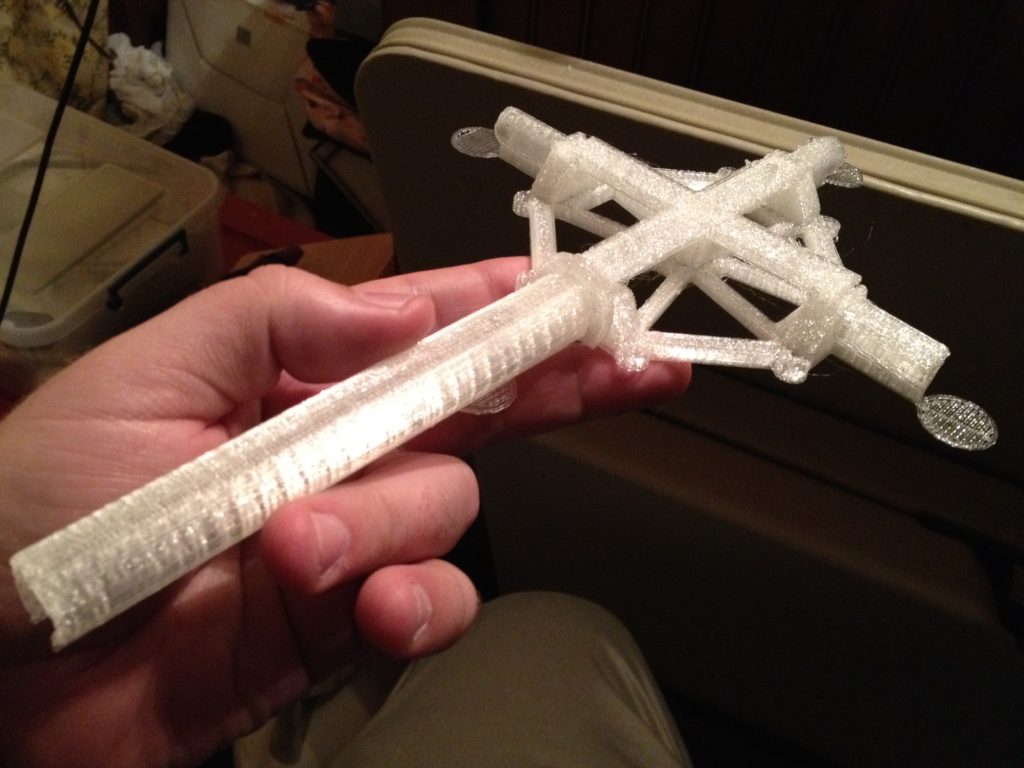
I decided to print the PL1Q Vampire (thing:17612), but with a bunch of alternate parts.
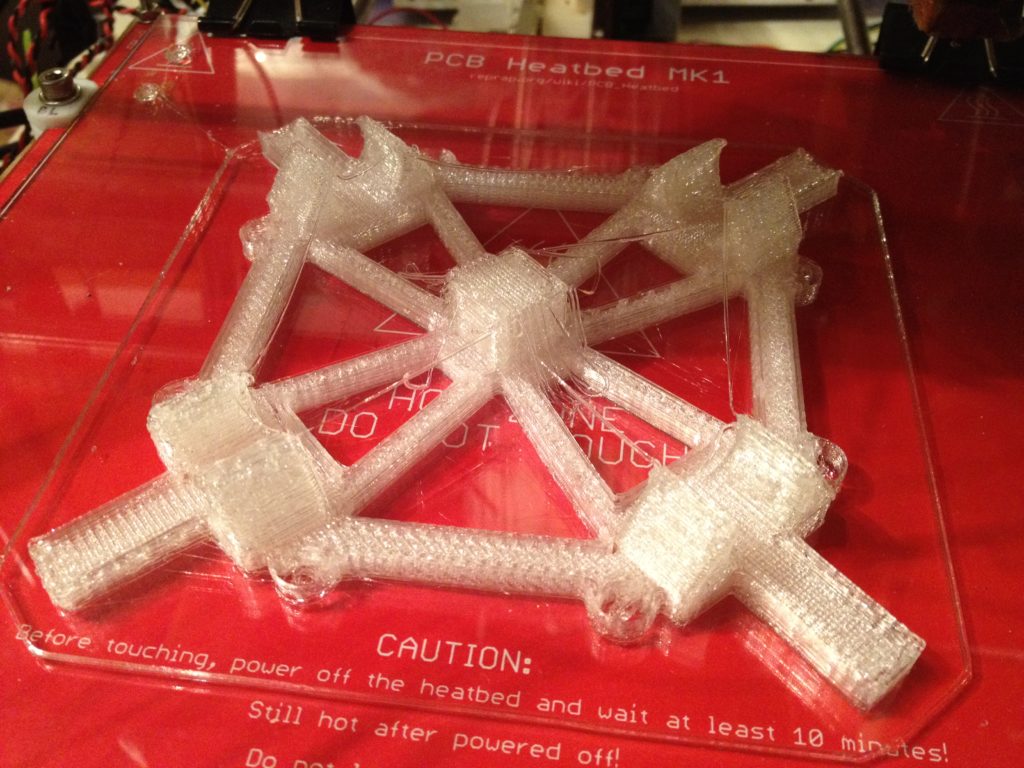
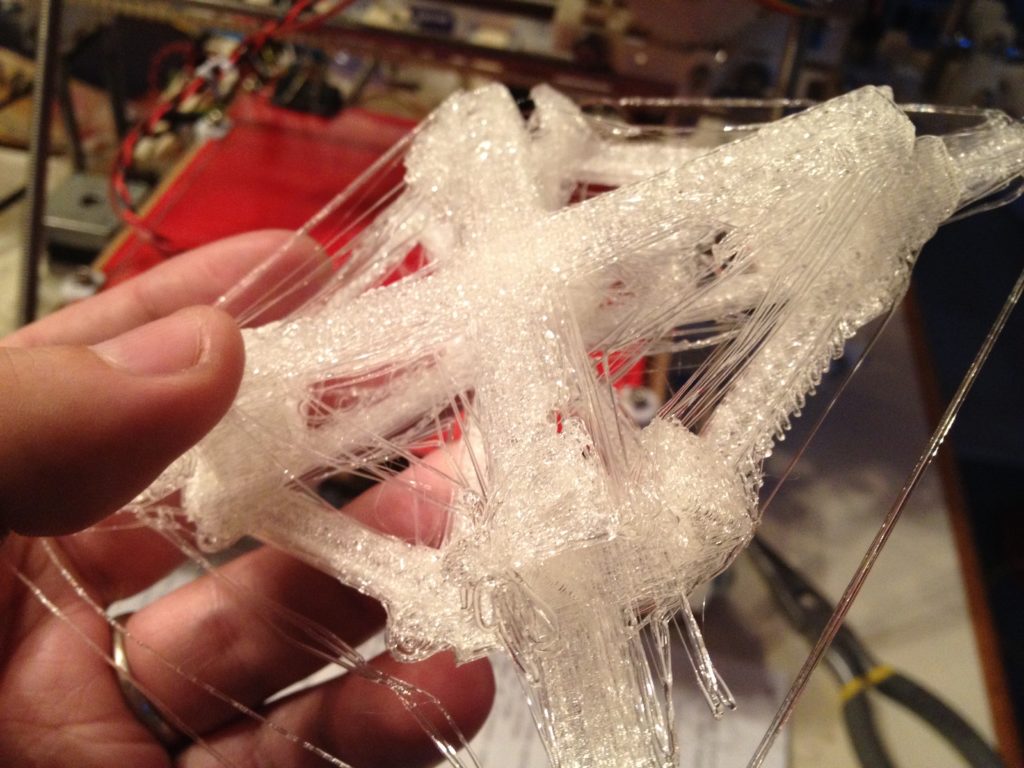
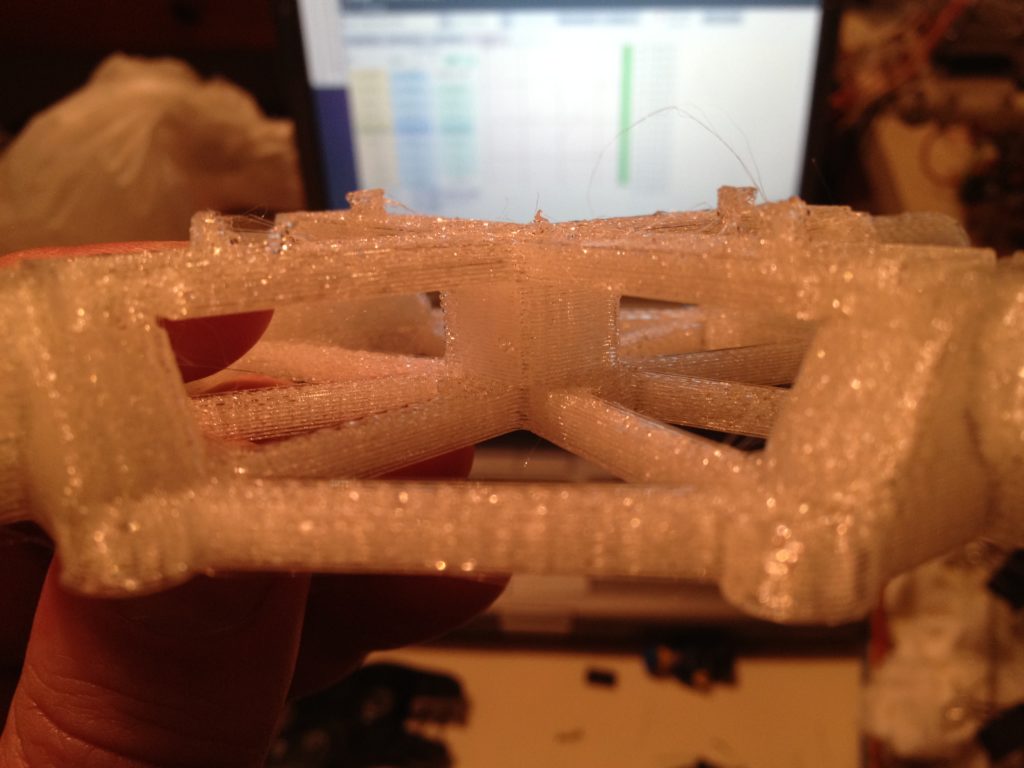
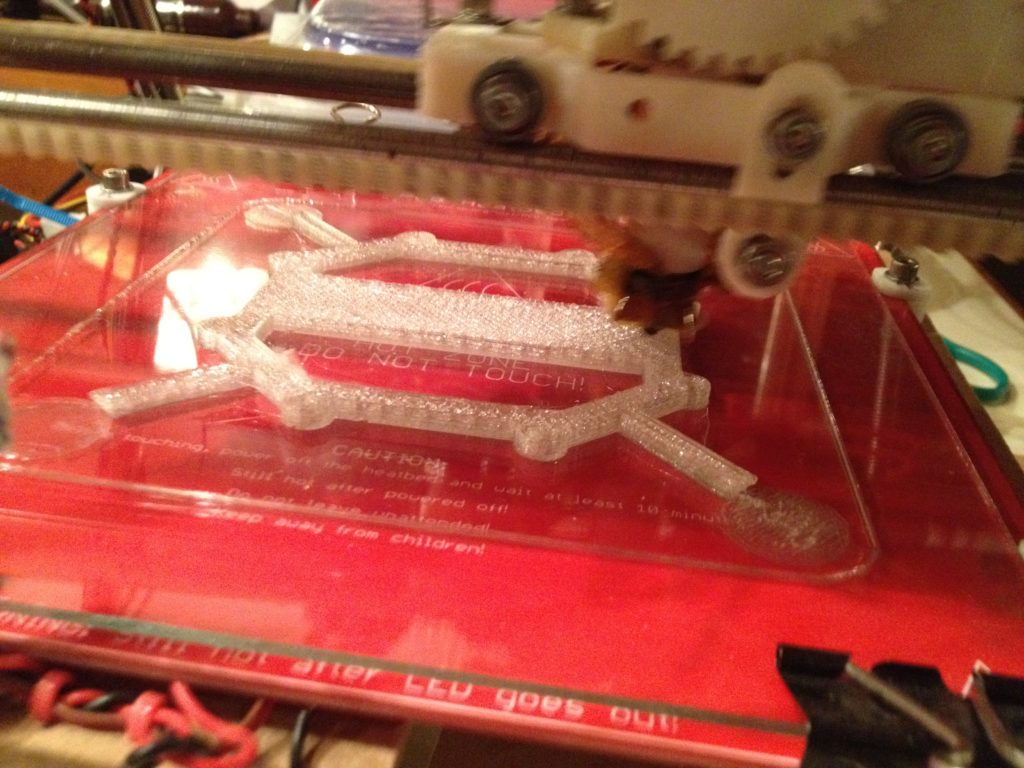
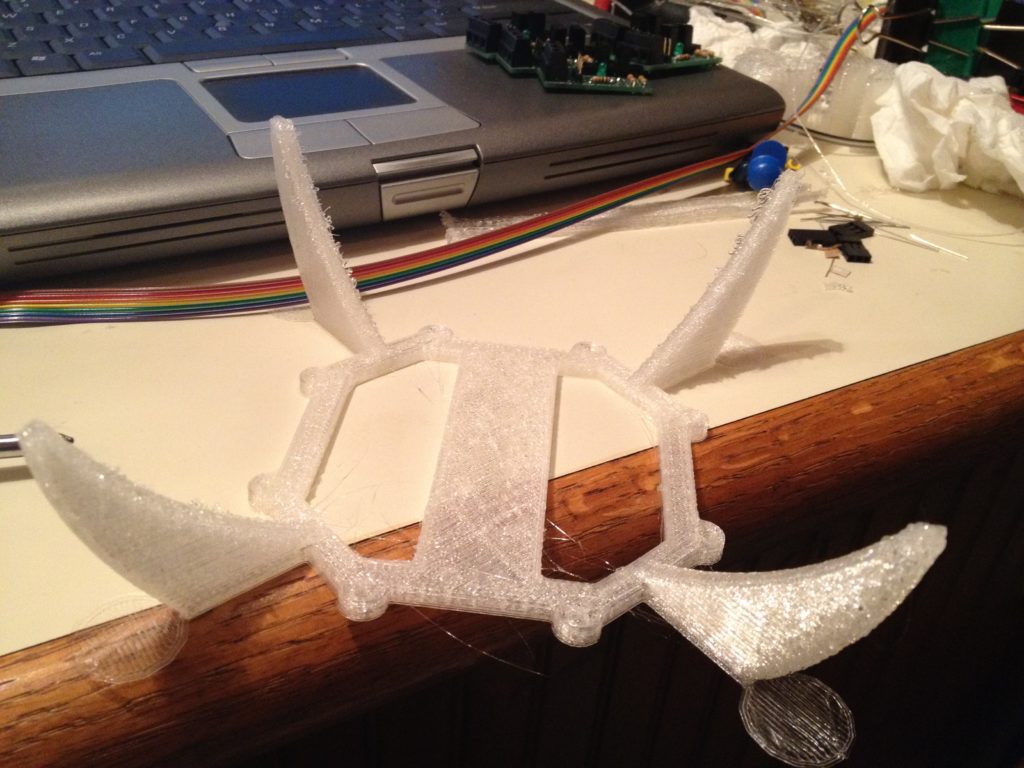
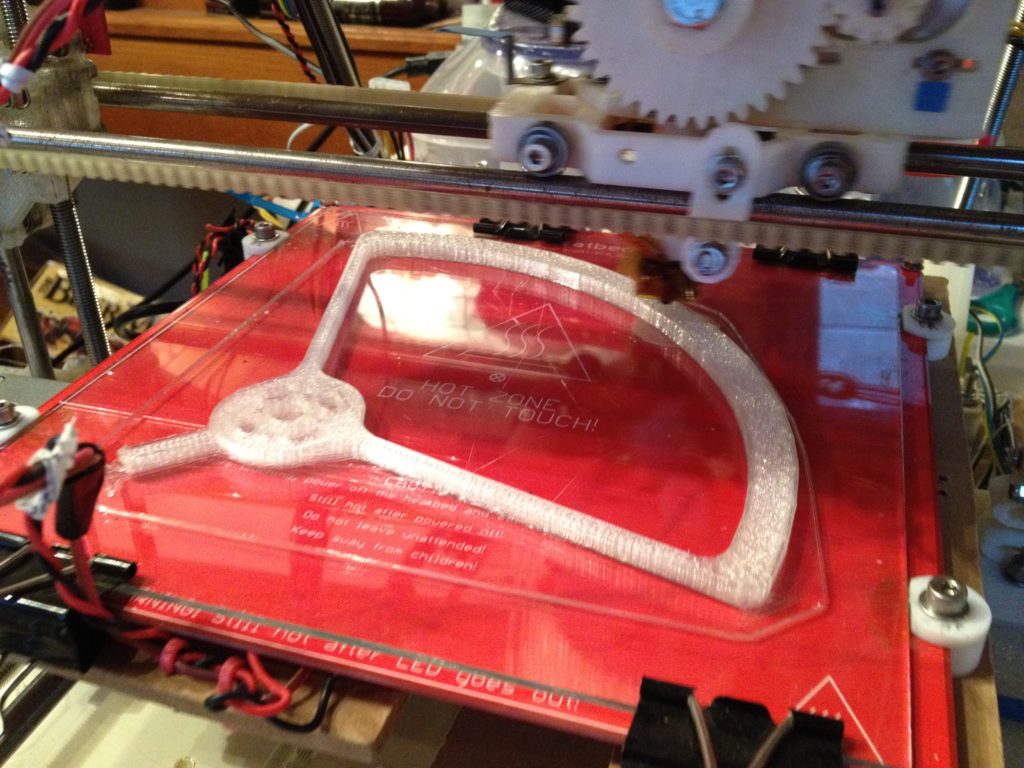
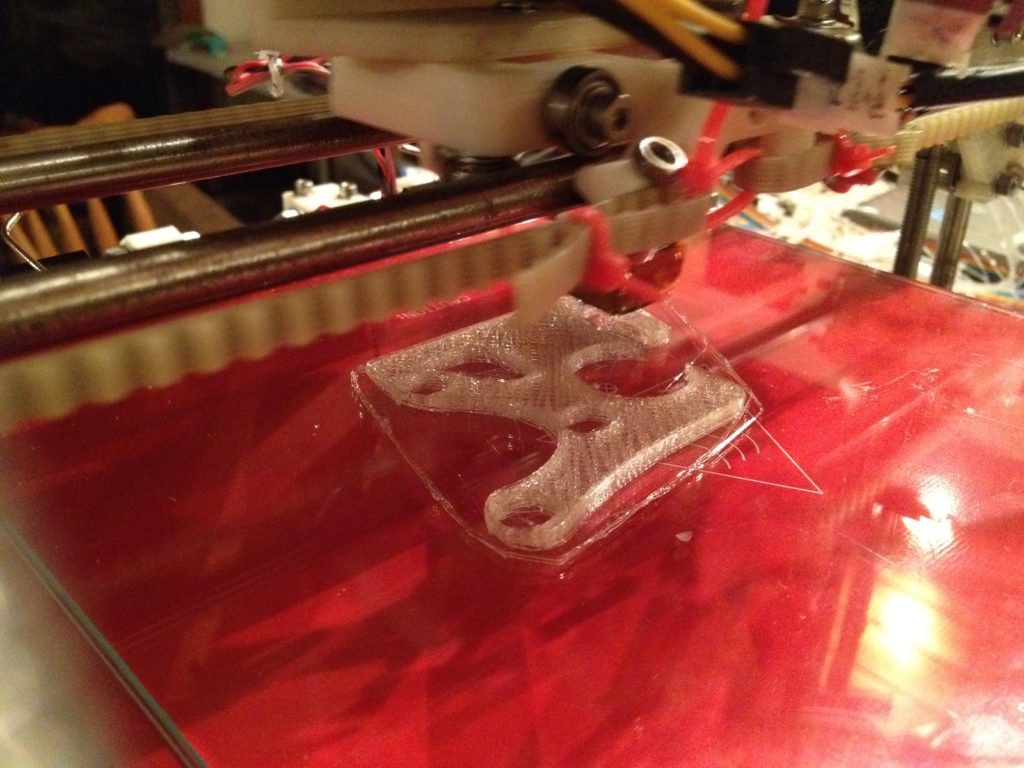
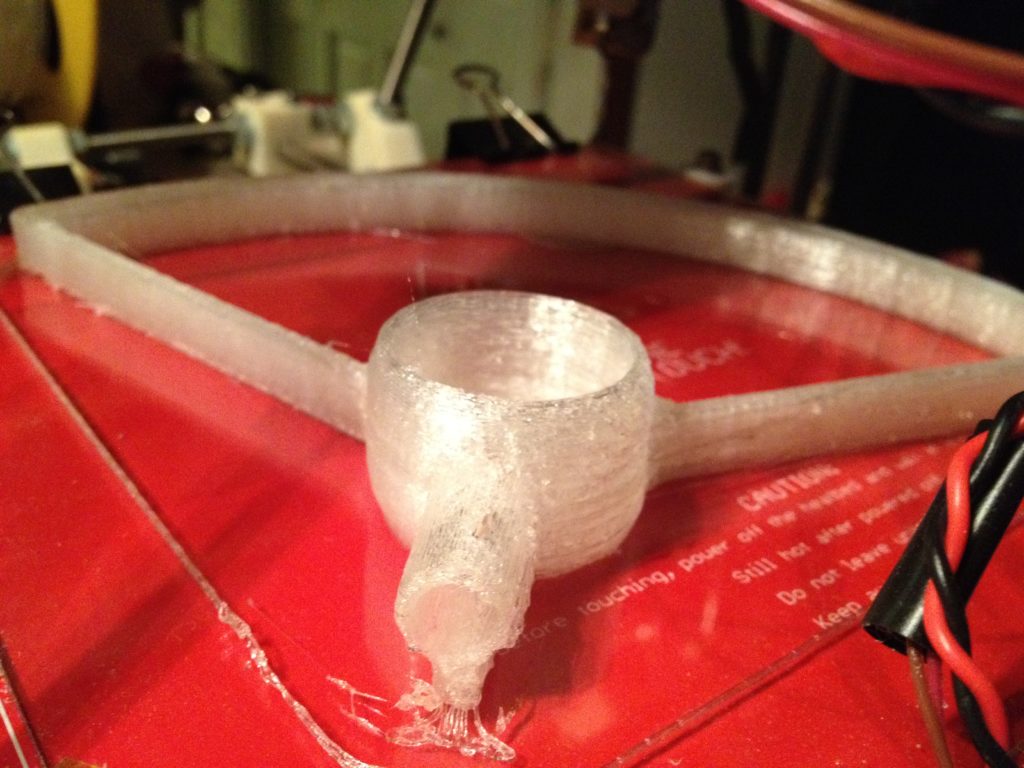
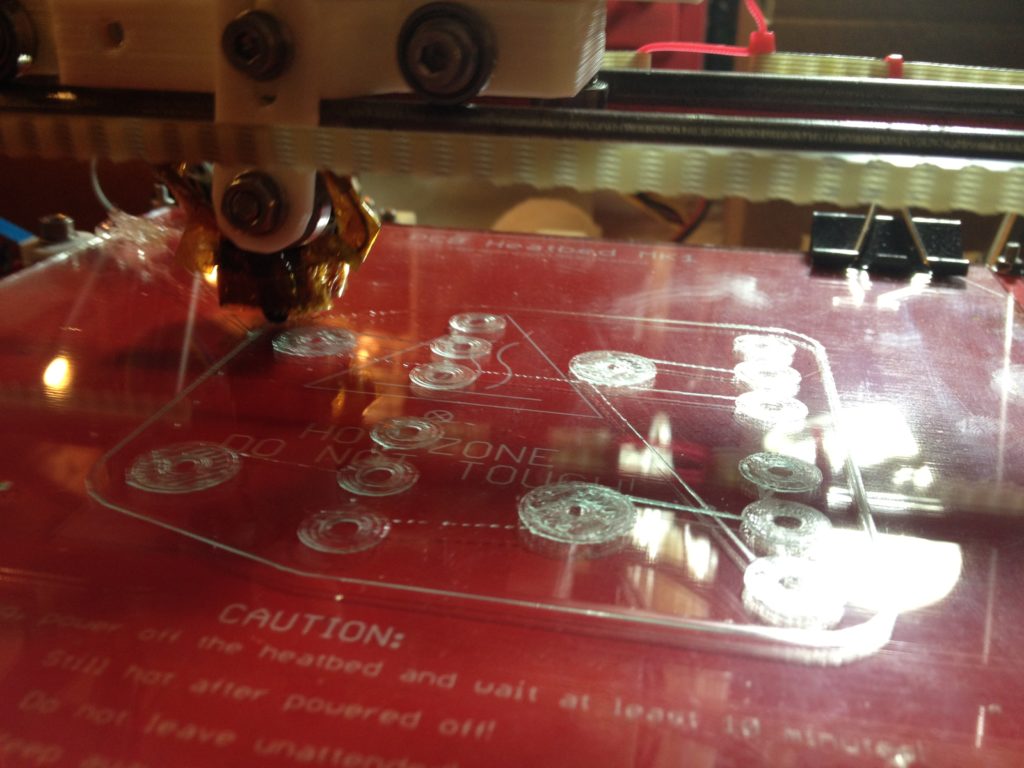
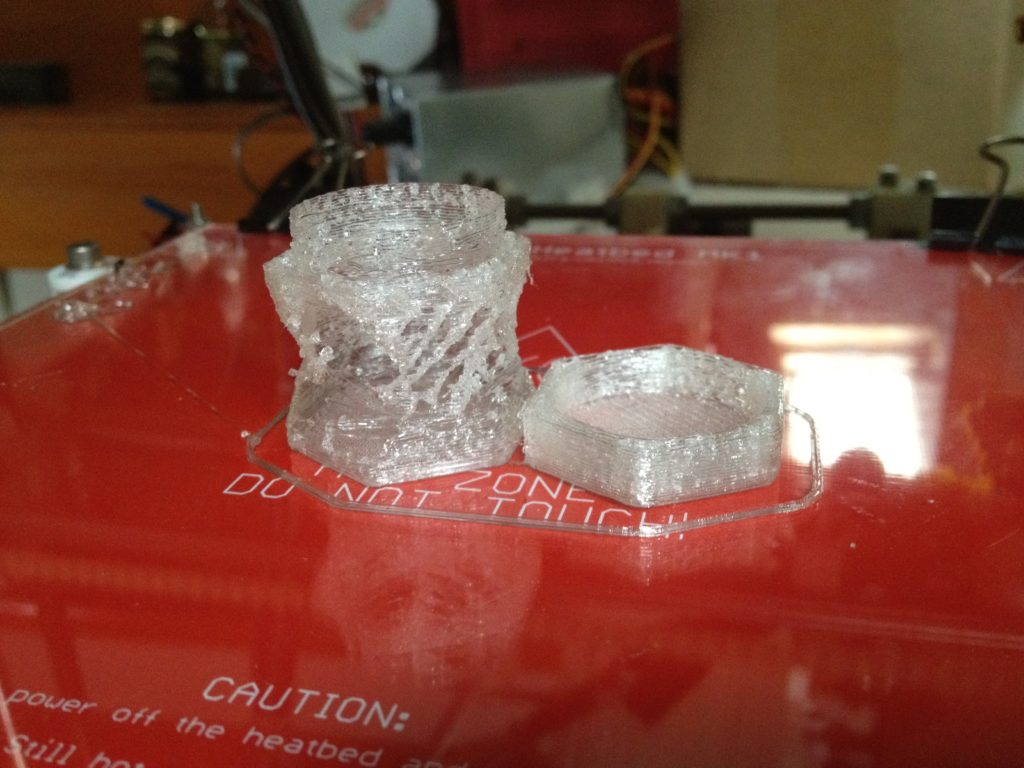
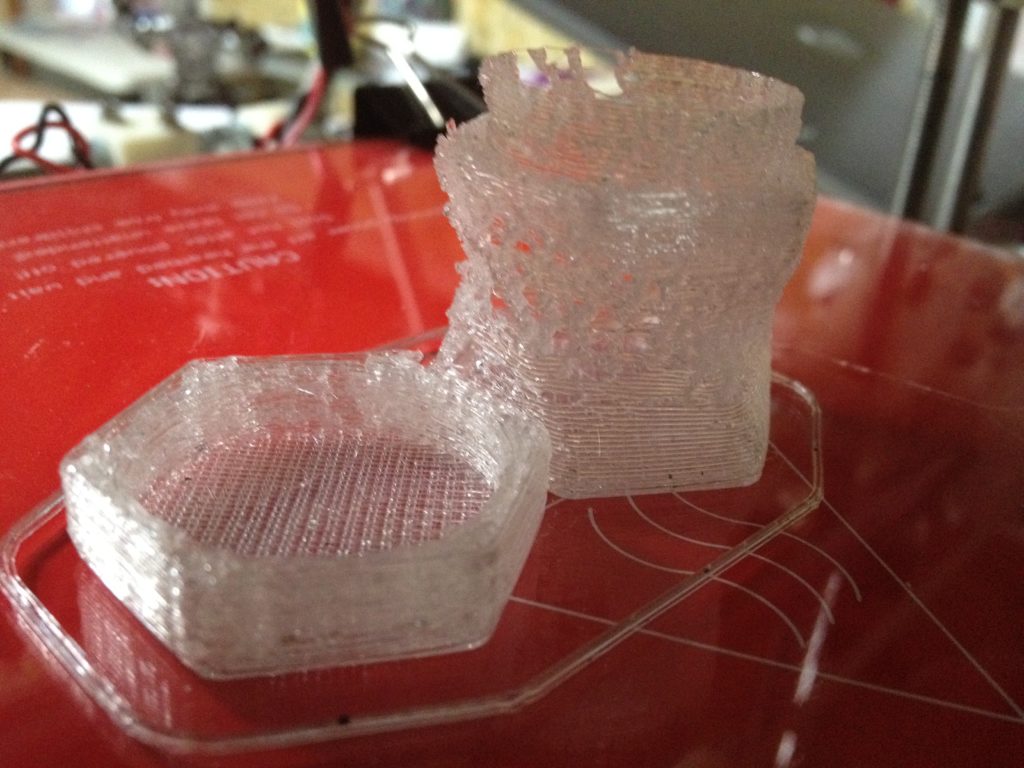
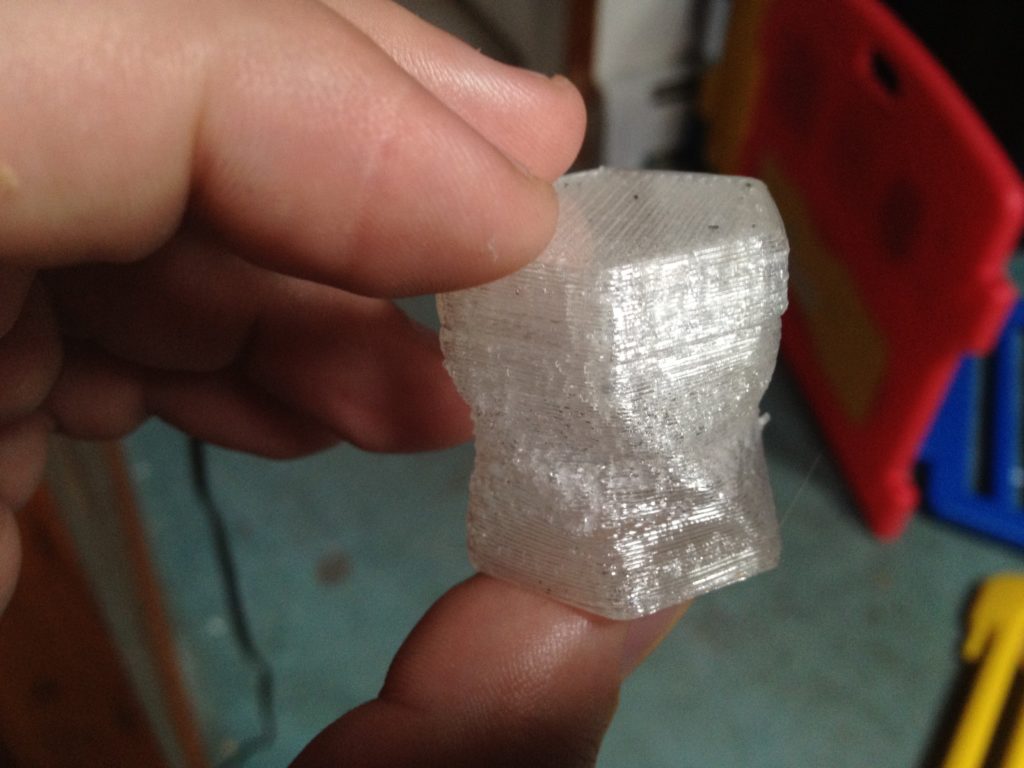
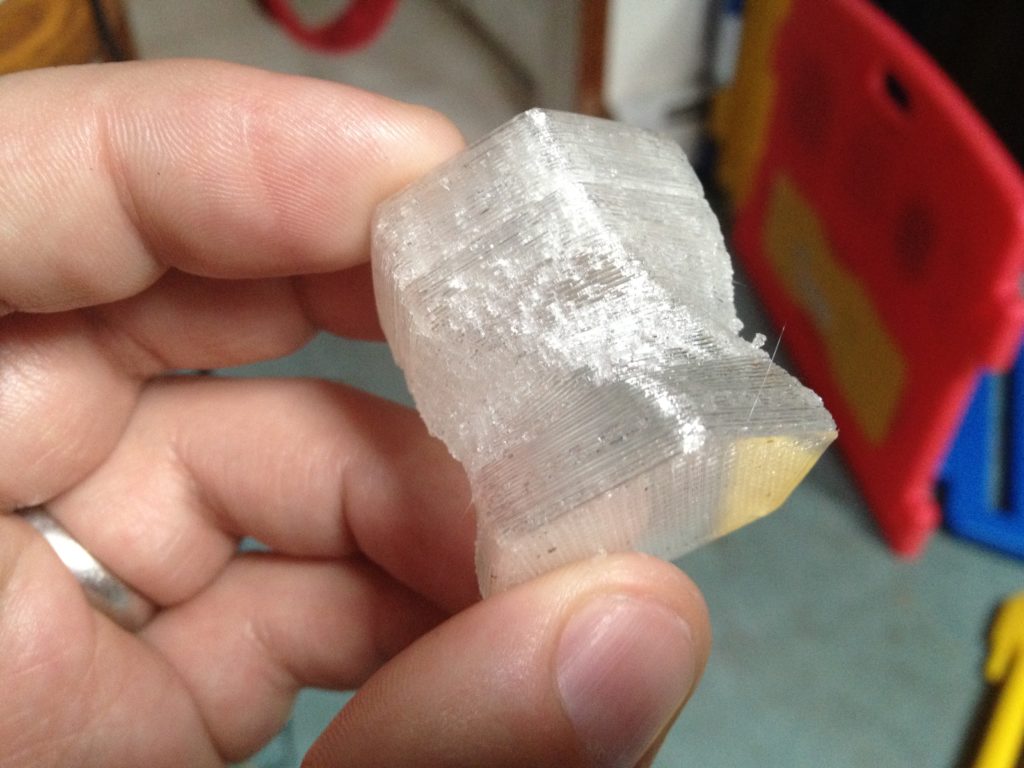
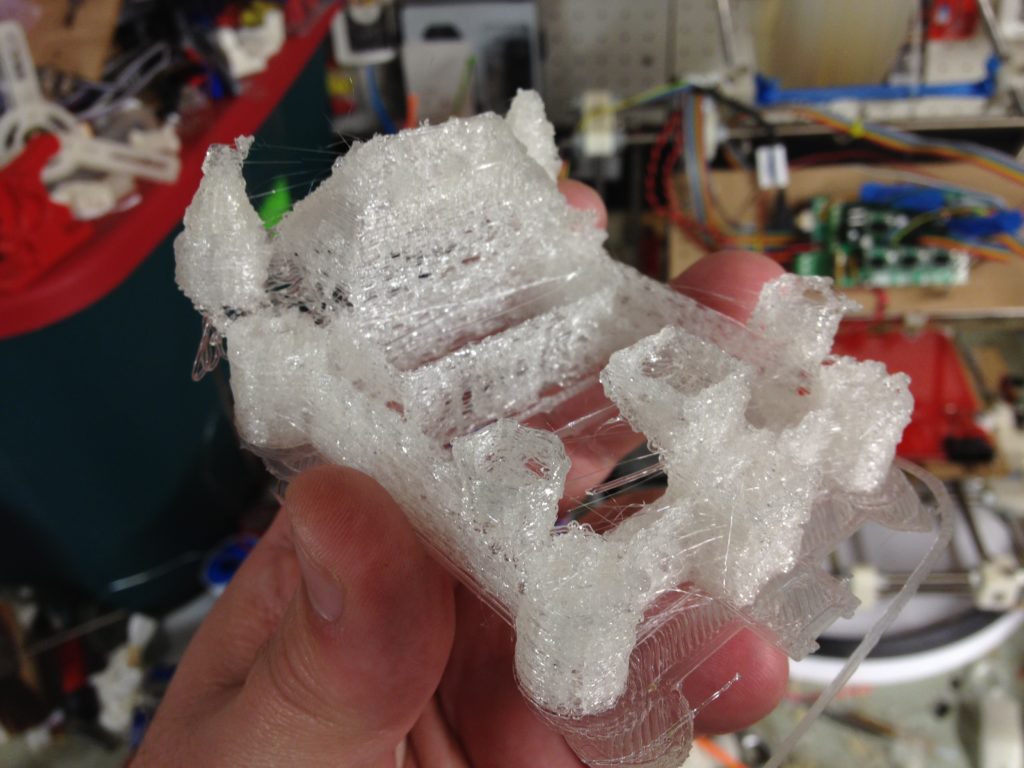
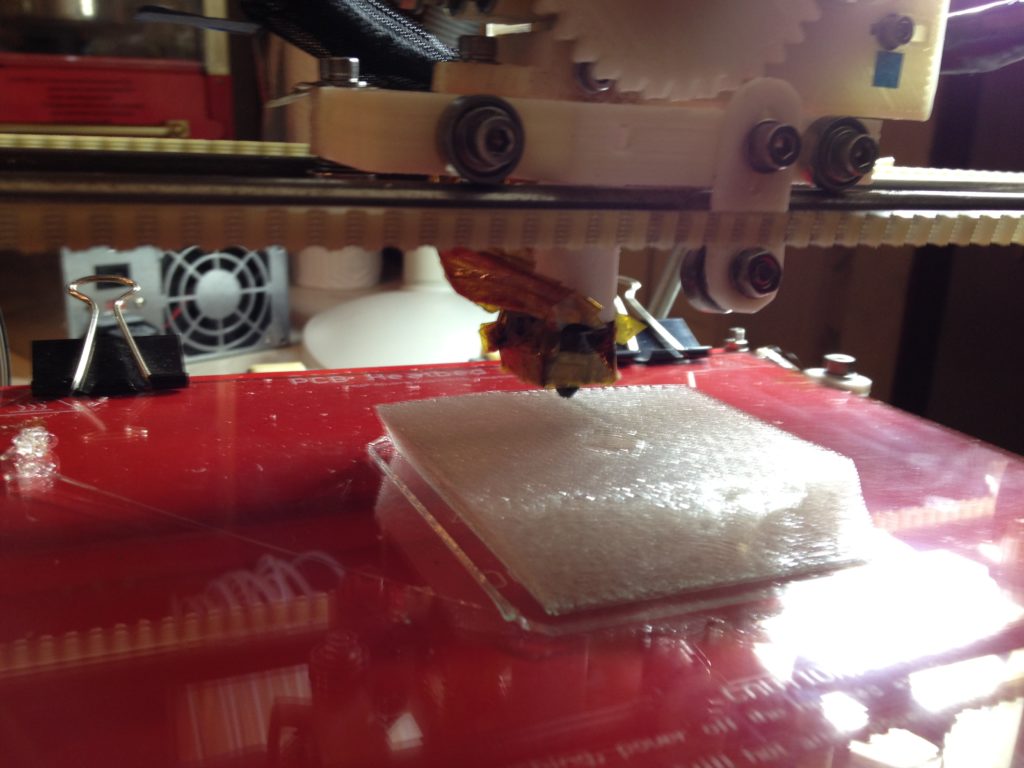
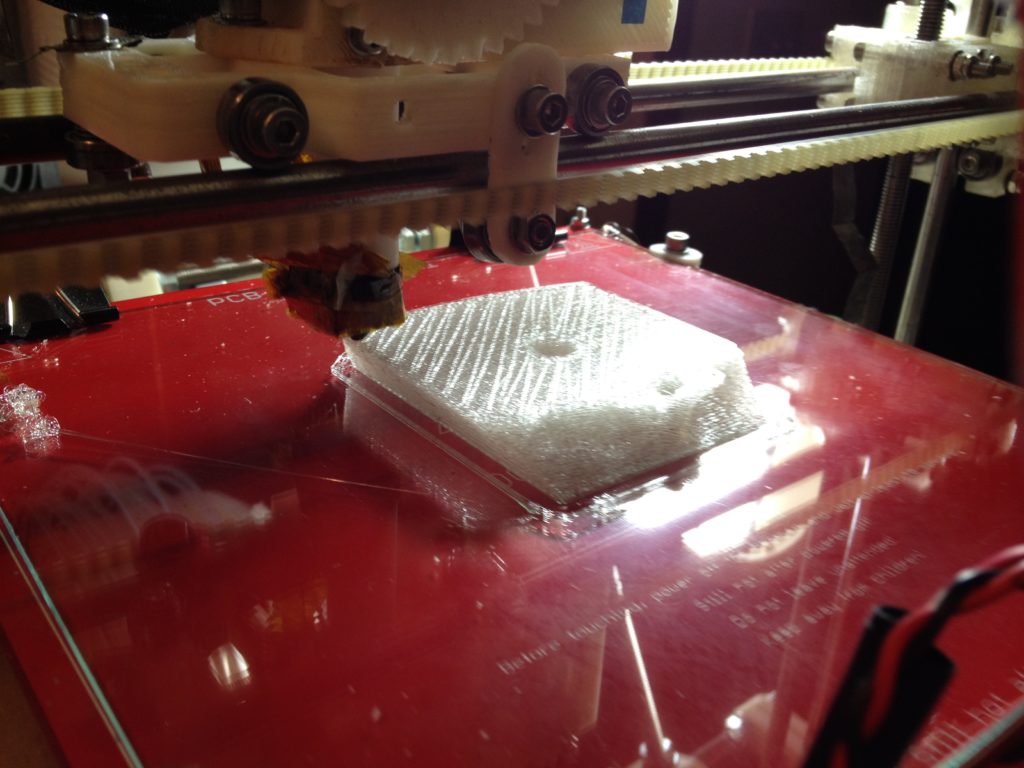
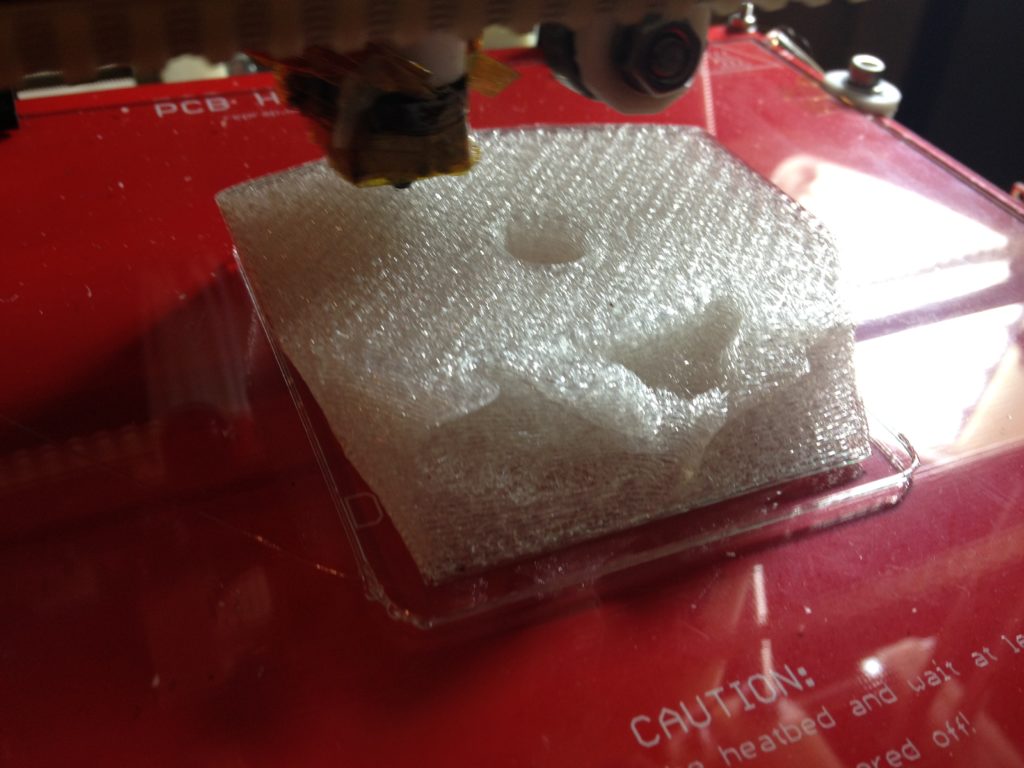
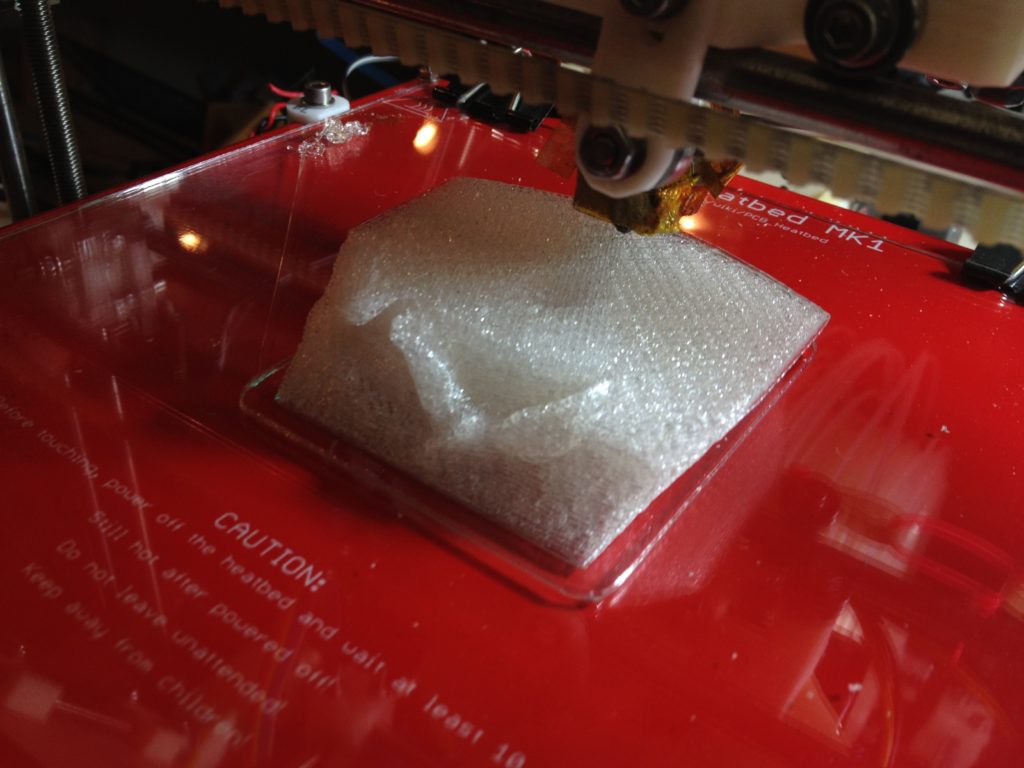
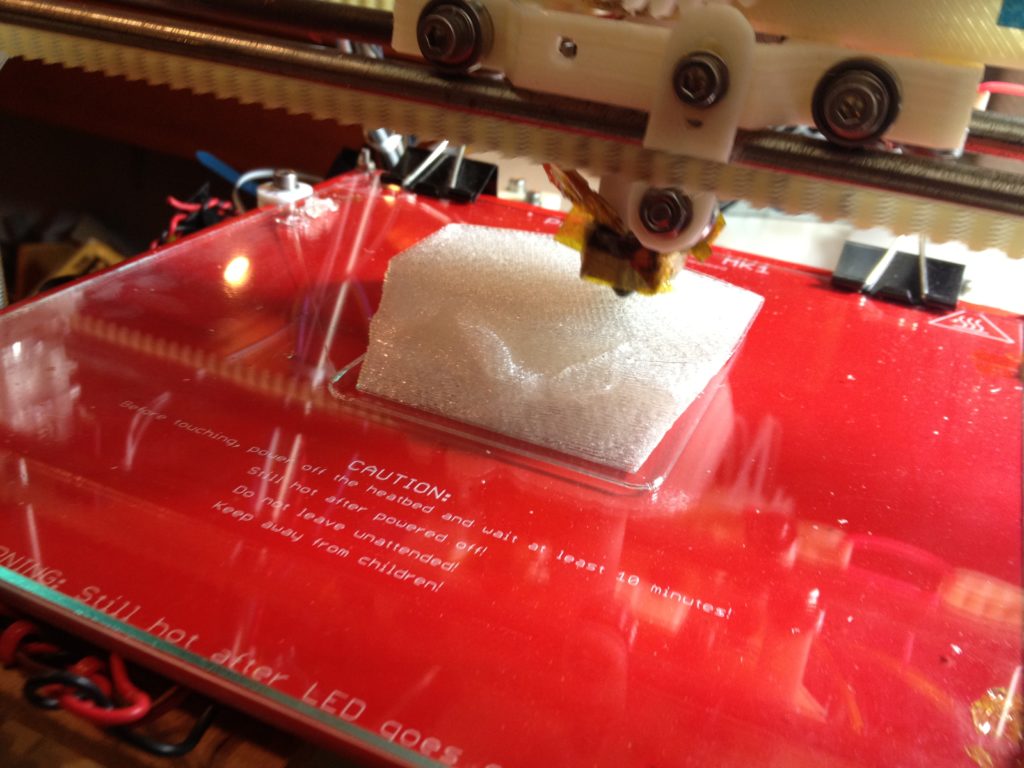
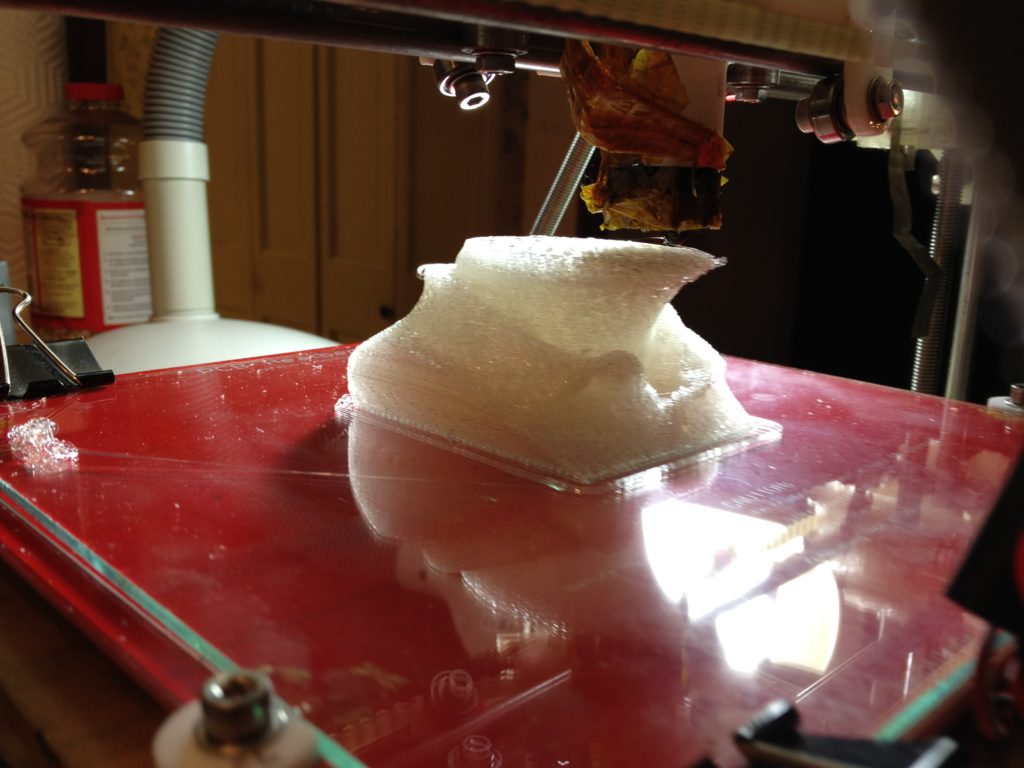
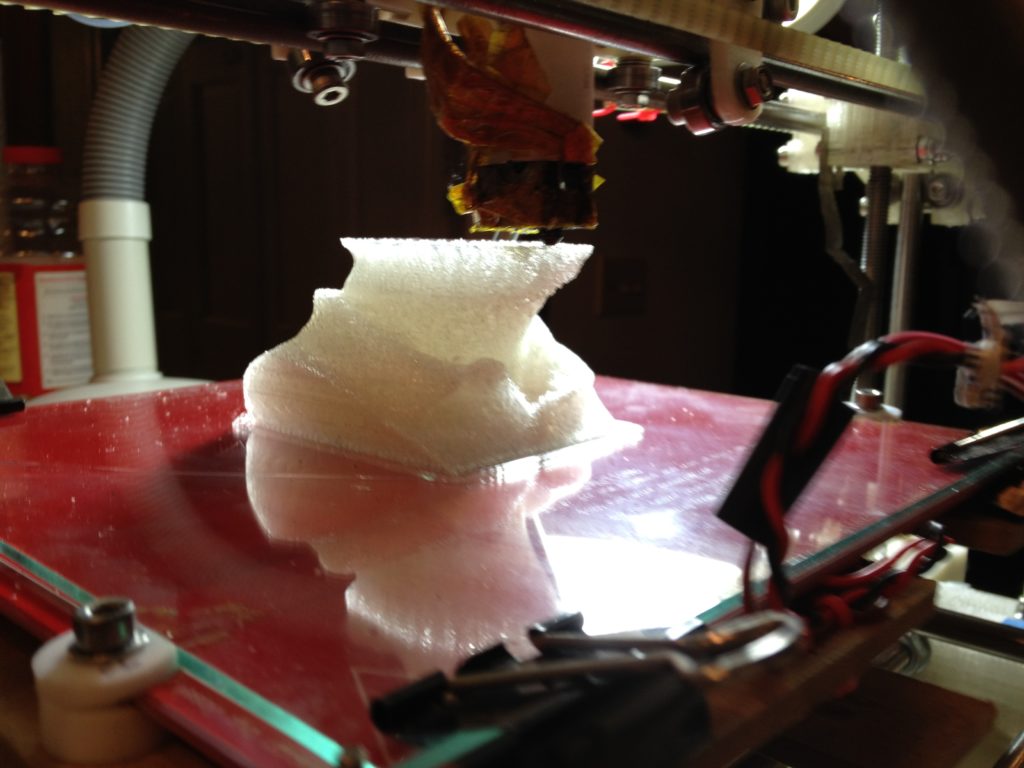
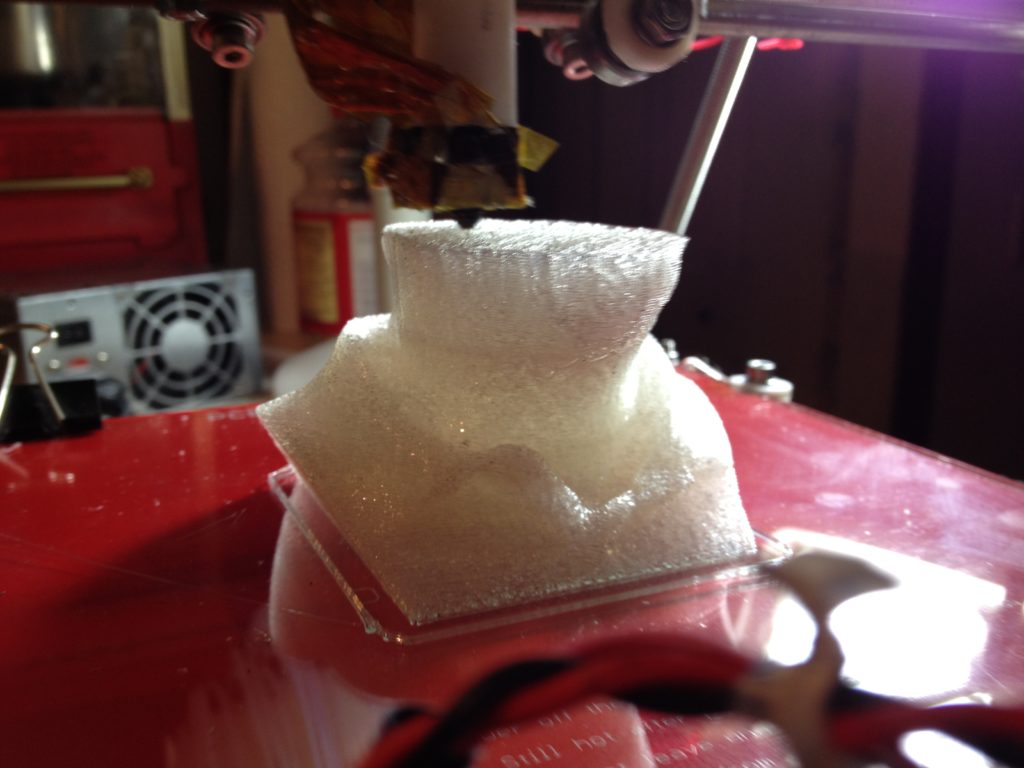
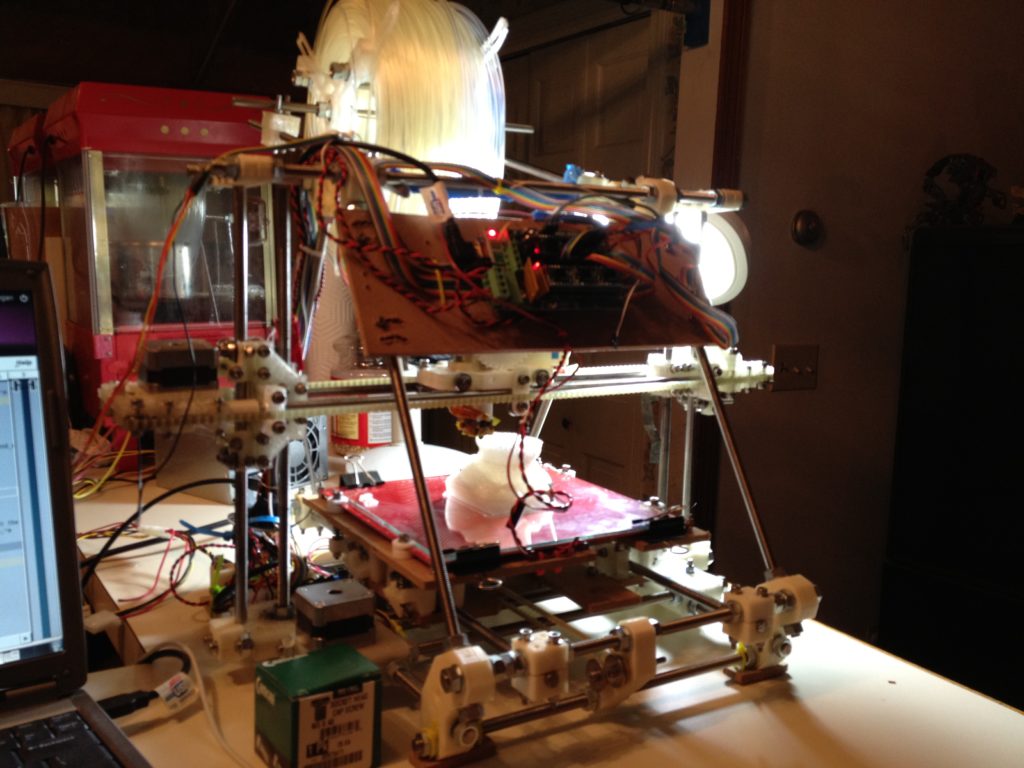
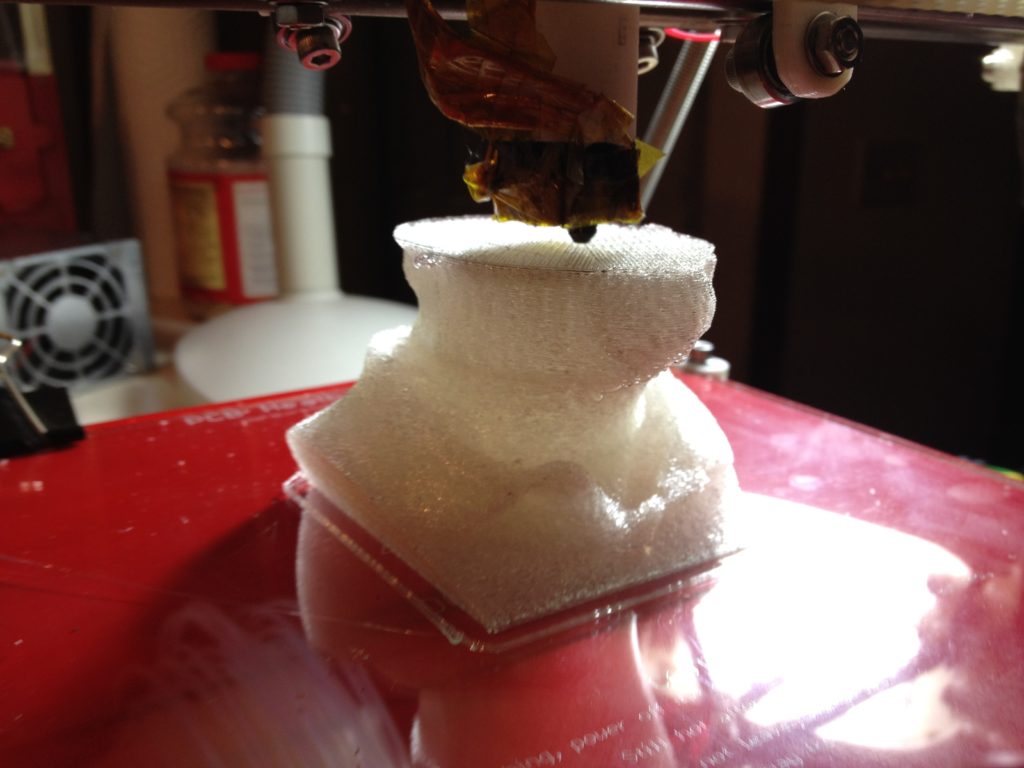
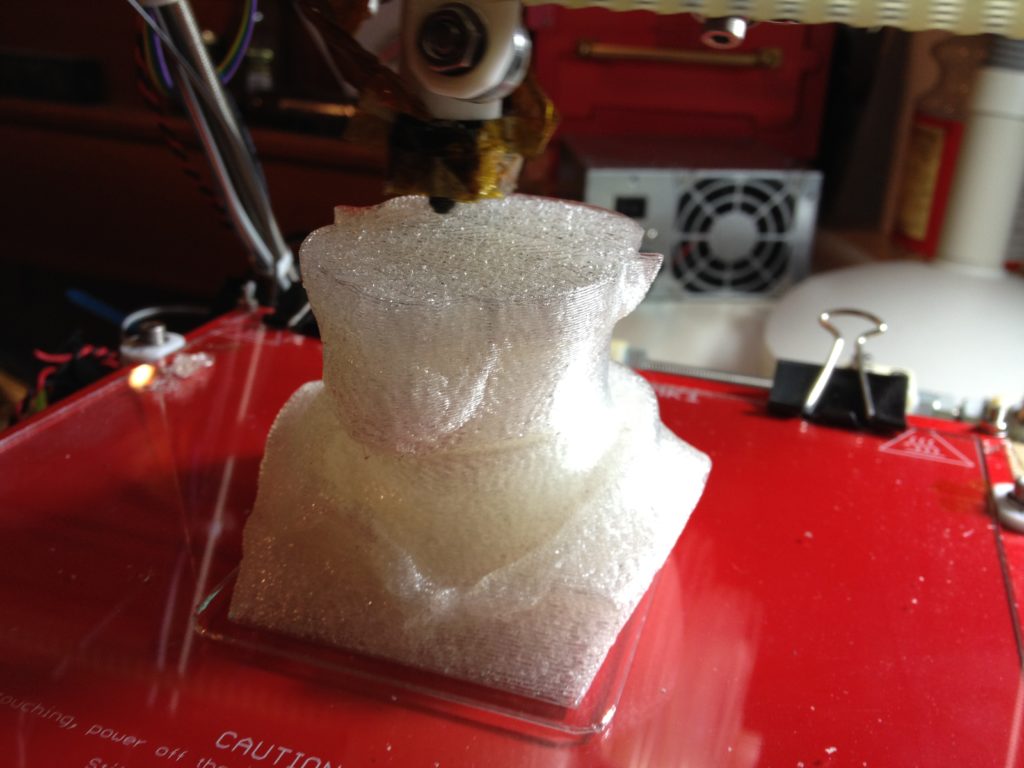
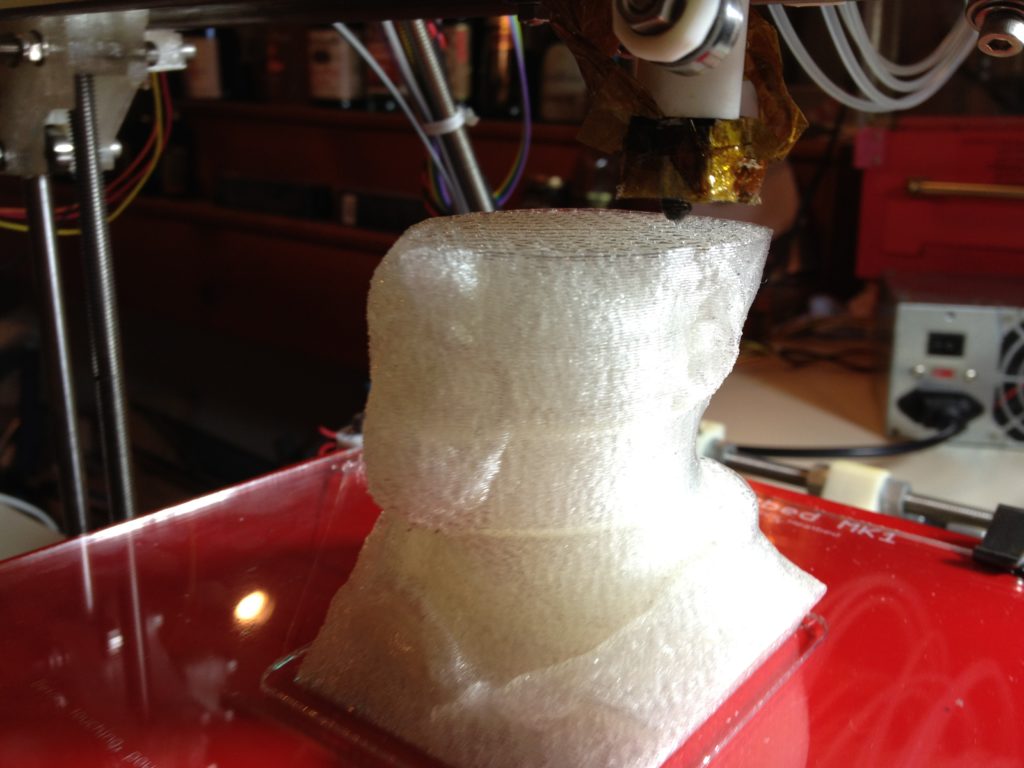
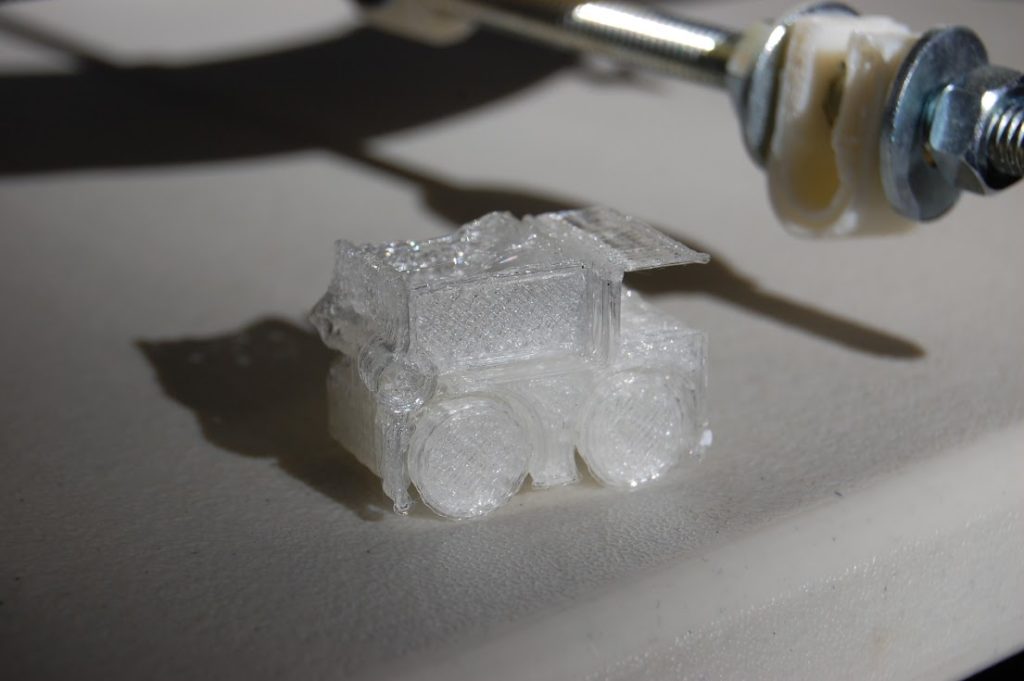
First I tried printing the regular center piece (“body”). That has some really challenging bridging, and I wasn’t using a fan. I didn’t have much luck.
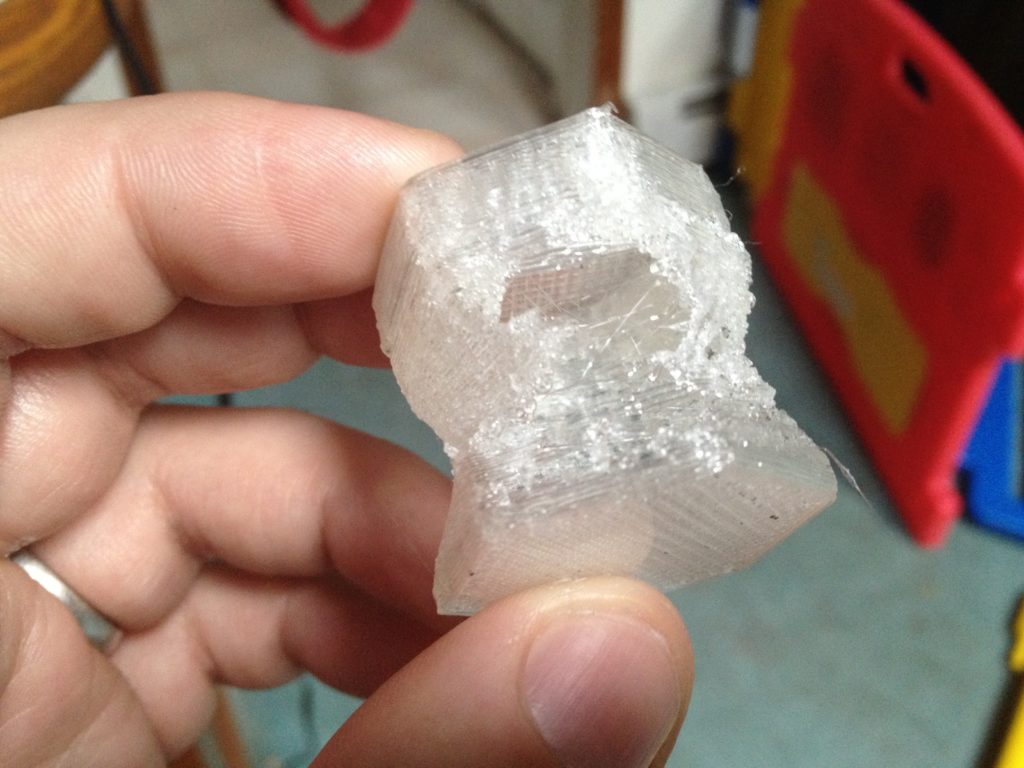
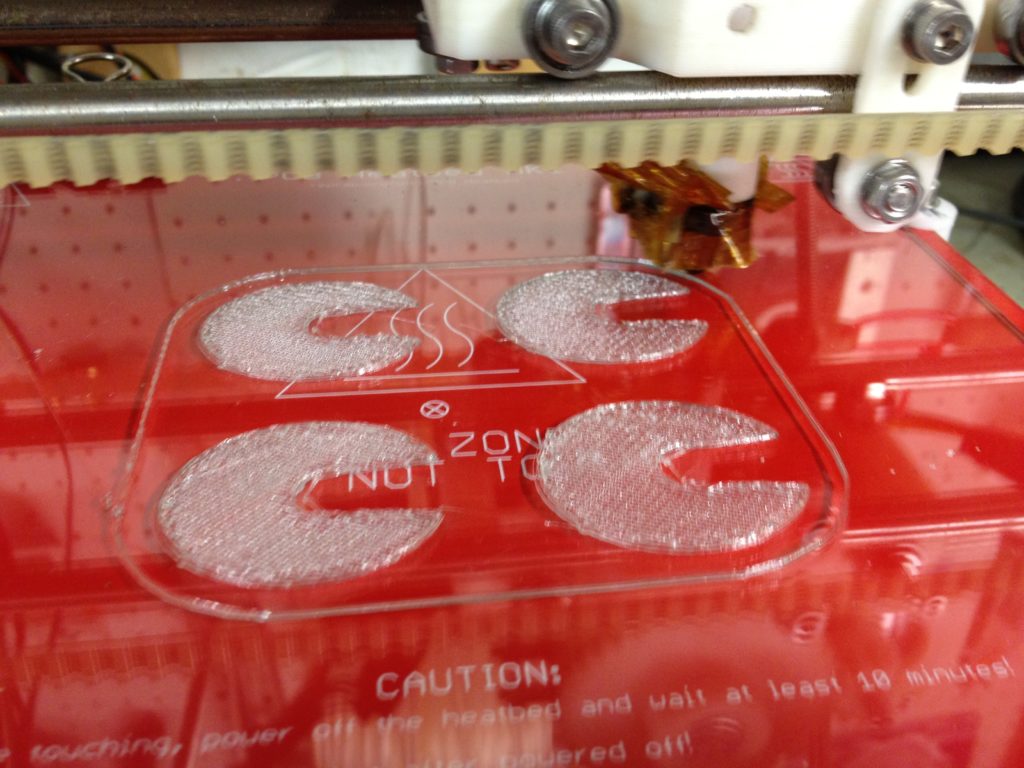
I’m not completely sure on the order of these, but the first (aborted) fail I had (according to image number) was this:
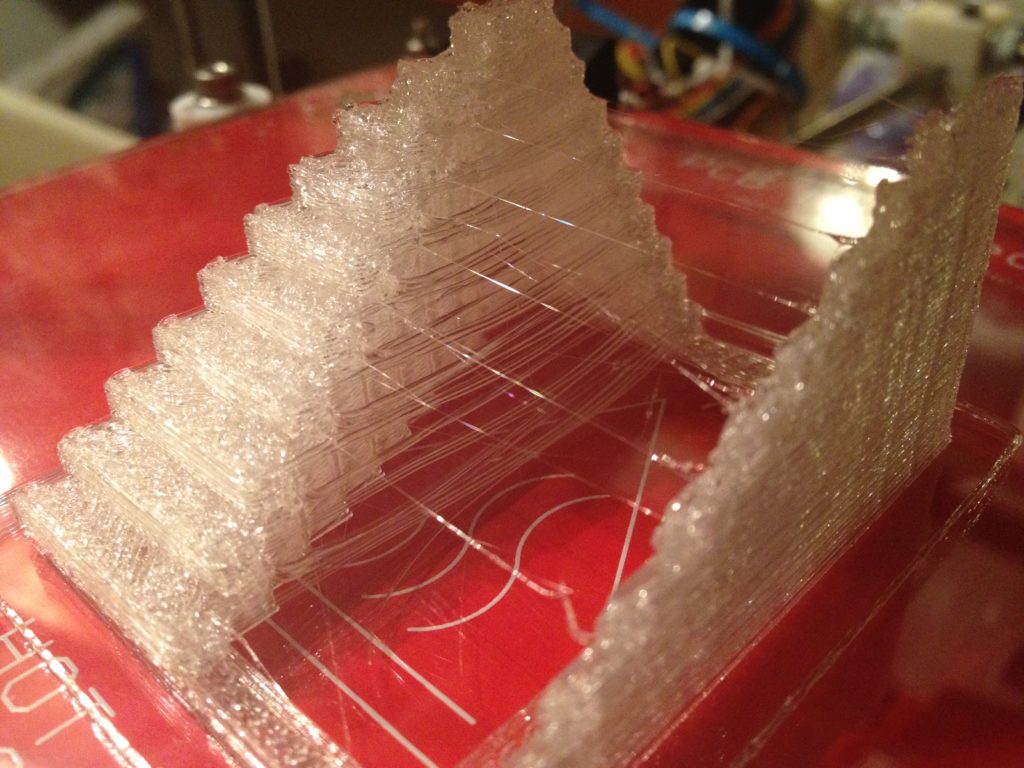
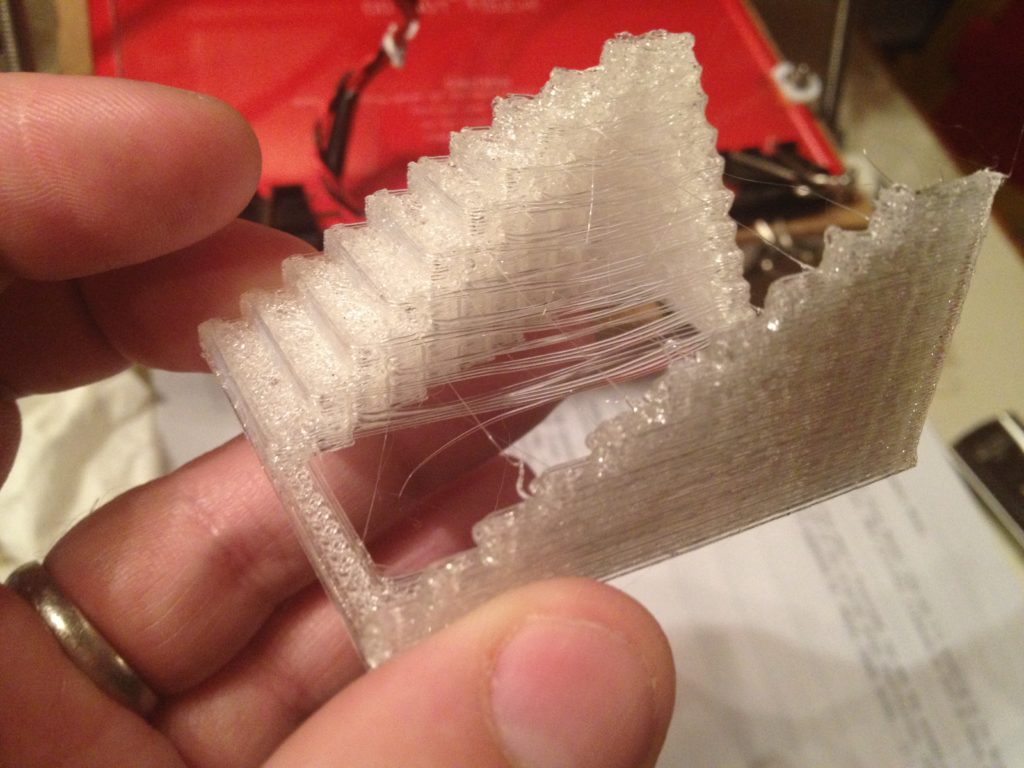
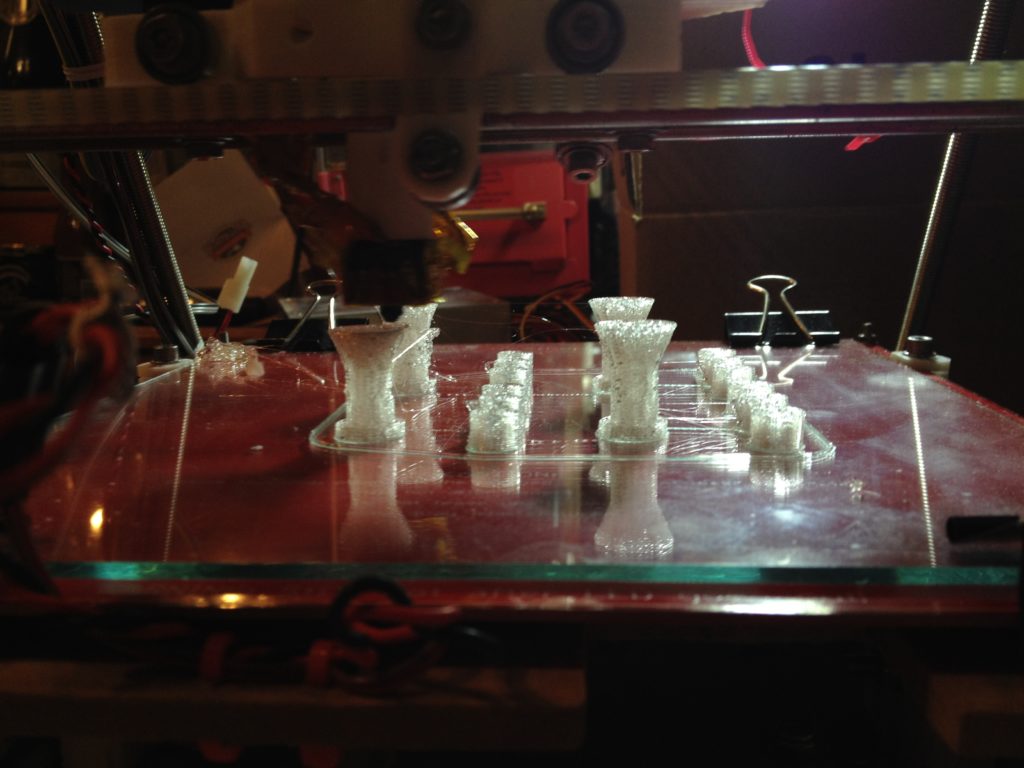
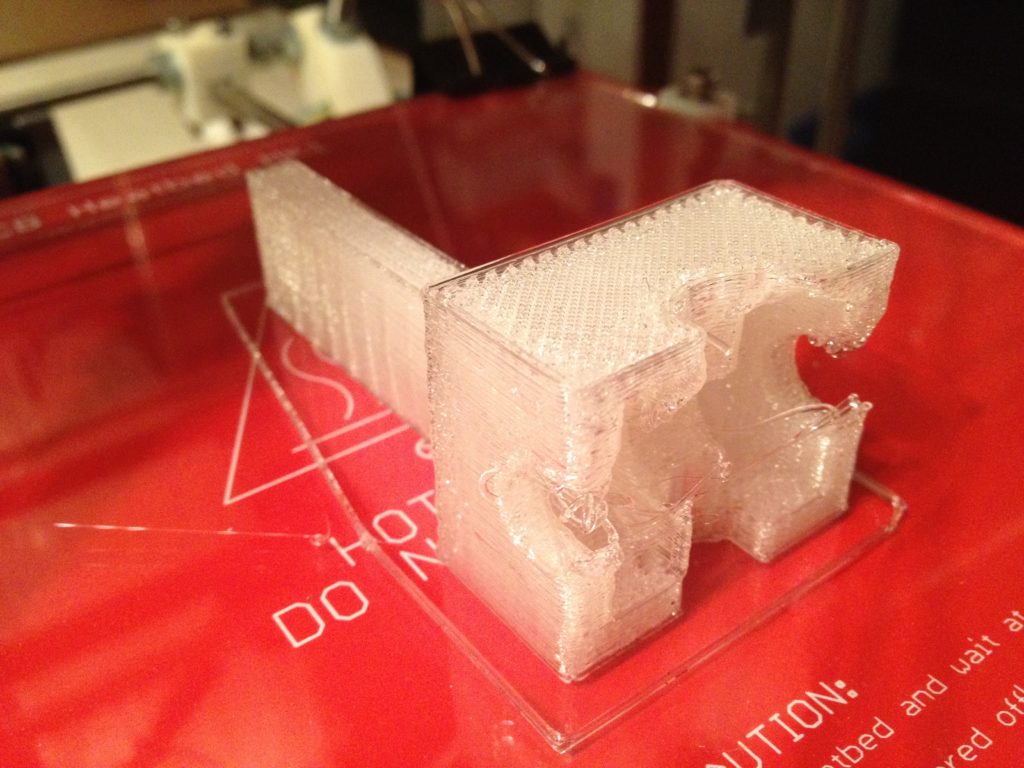
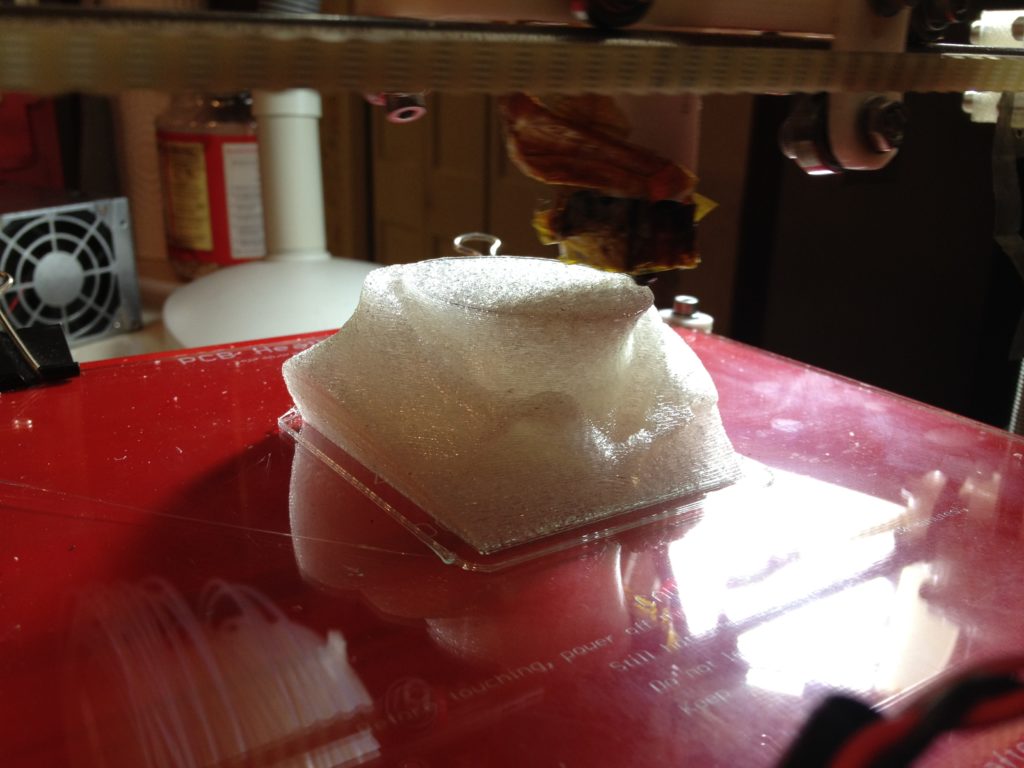
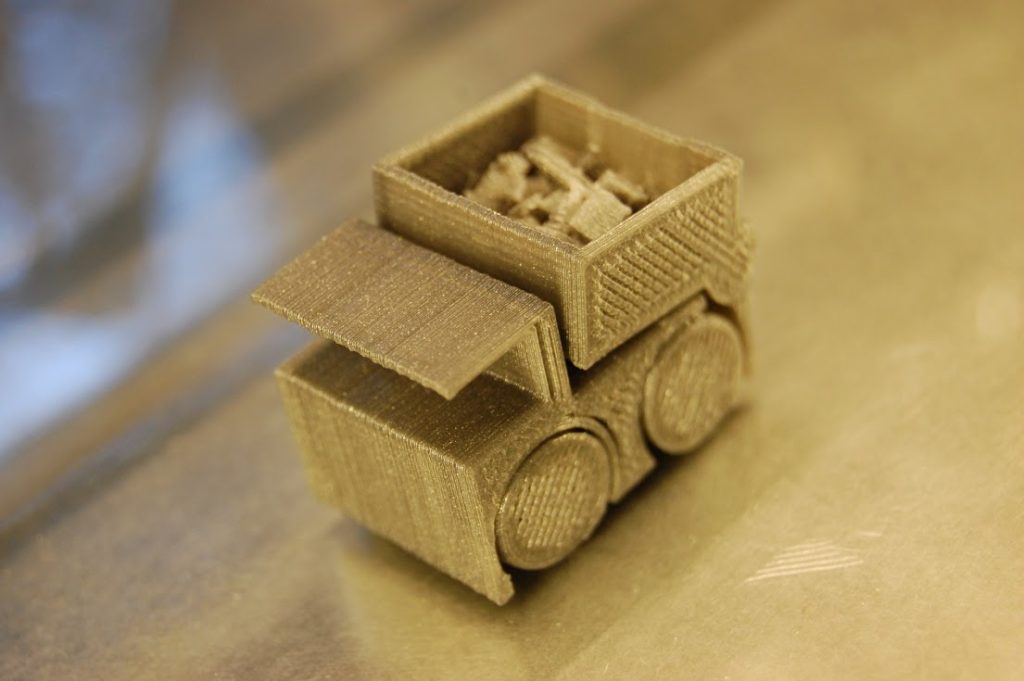
Then I printed a bridging stress-test piece, thing:9804 (I still didn’t have a fan):
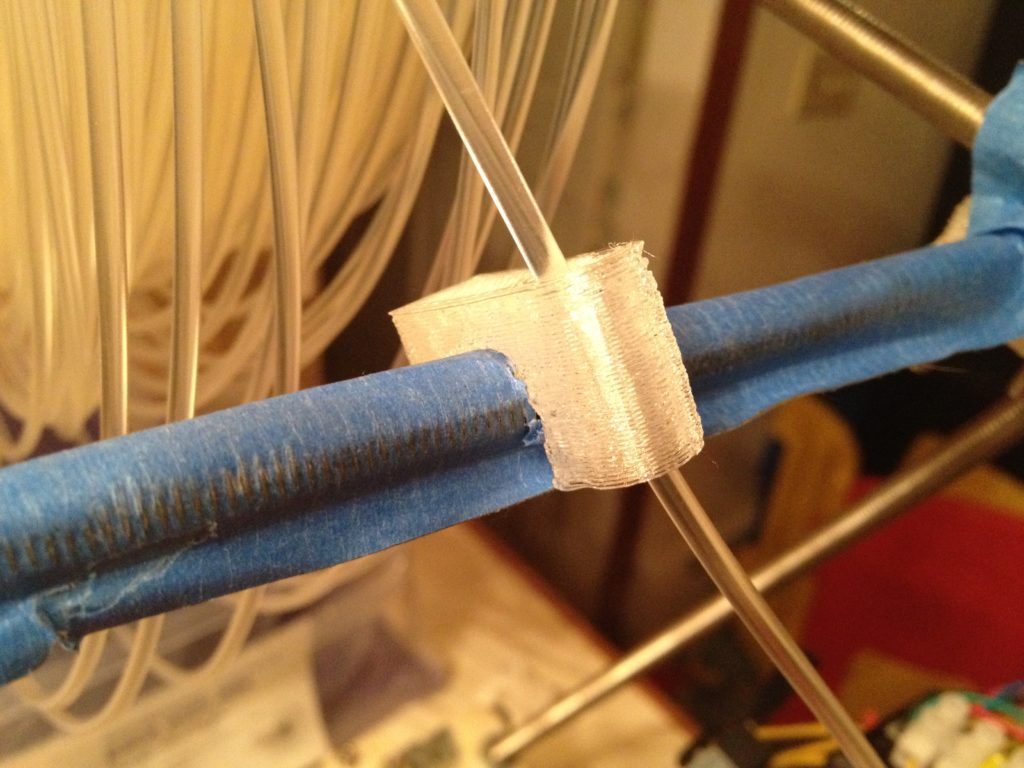
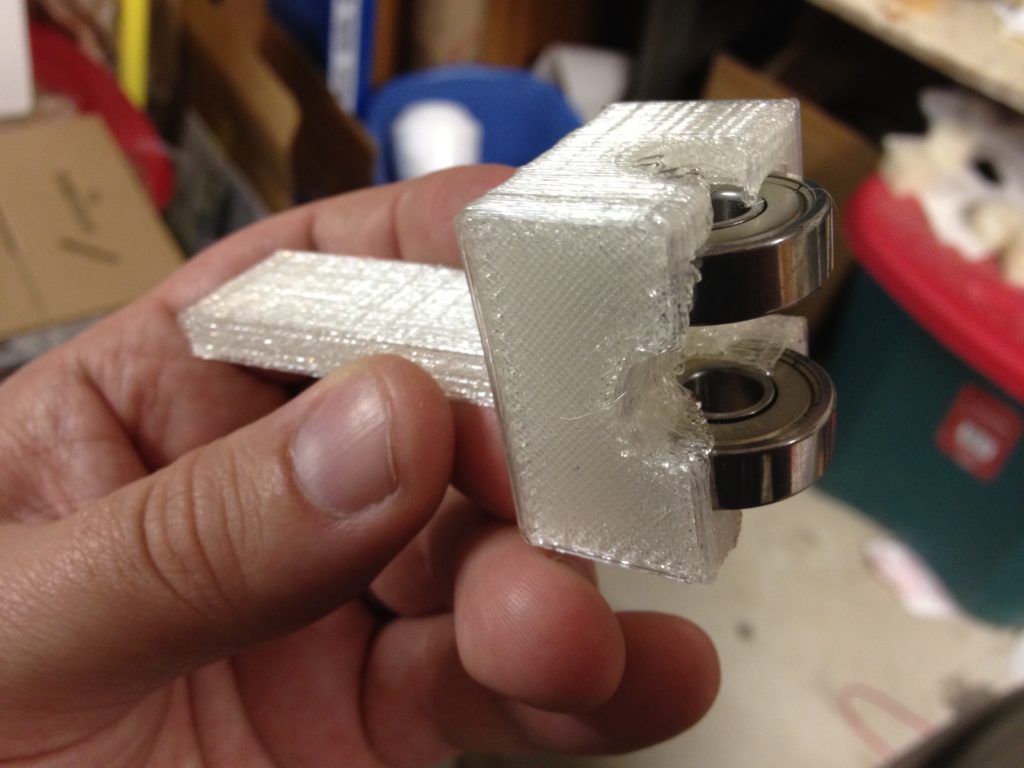
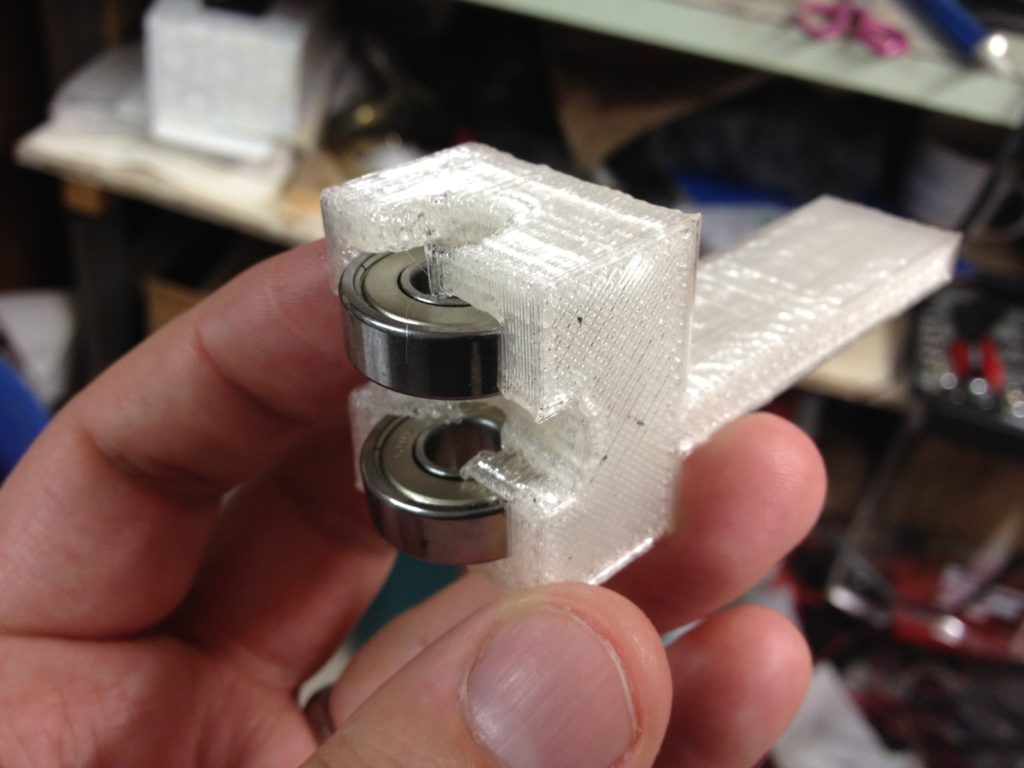
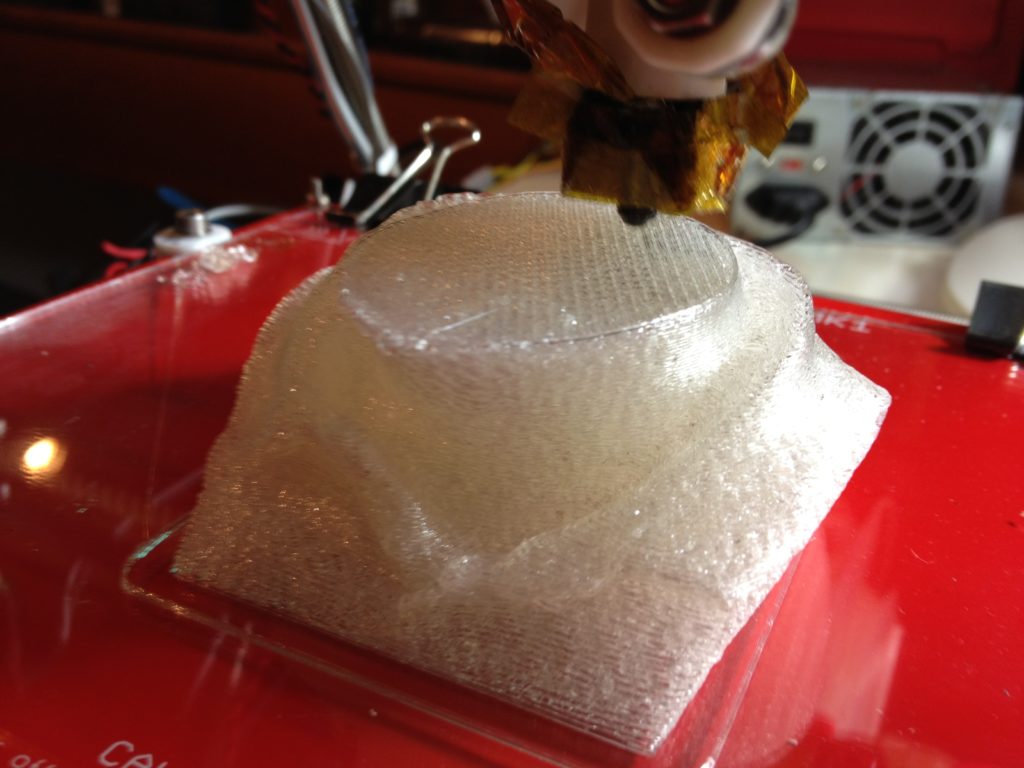
I also briefly tried a filament guide clip (thing:20663) on the center of the bar (which I later stopped using):
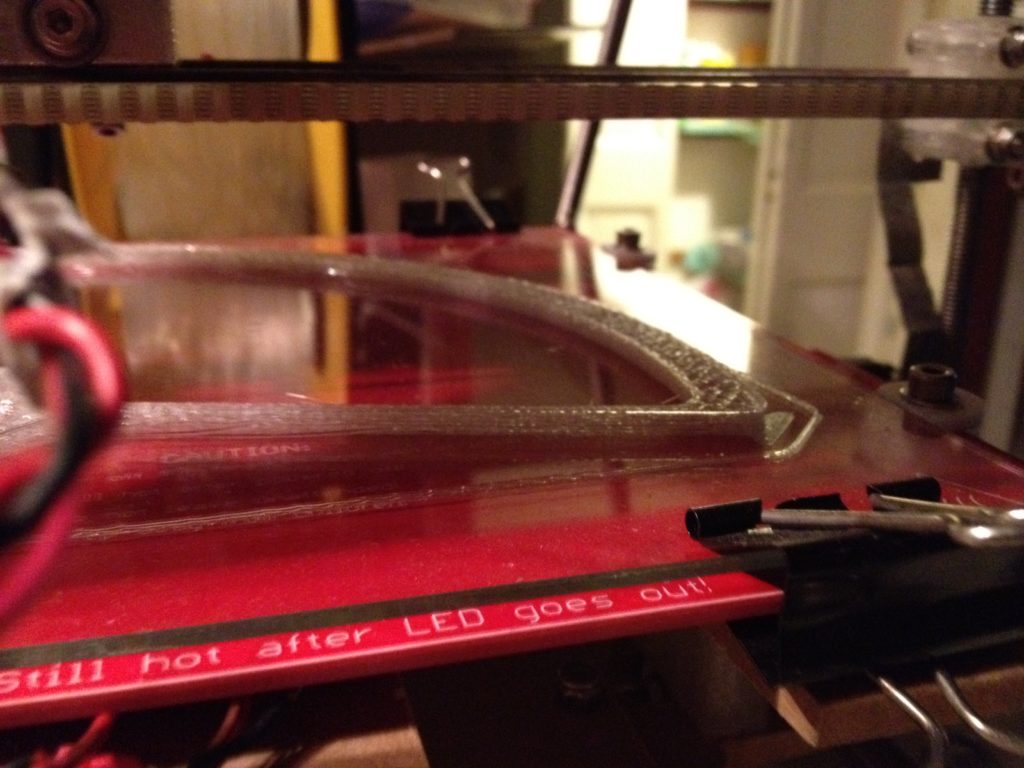
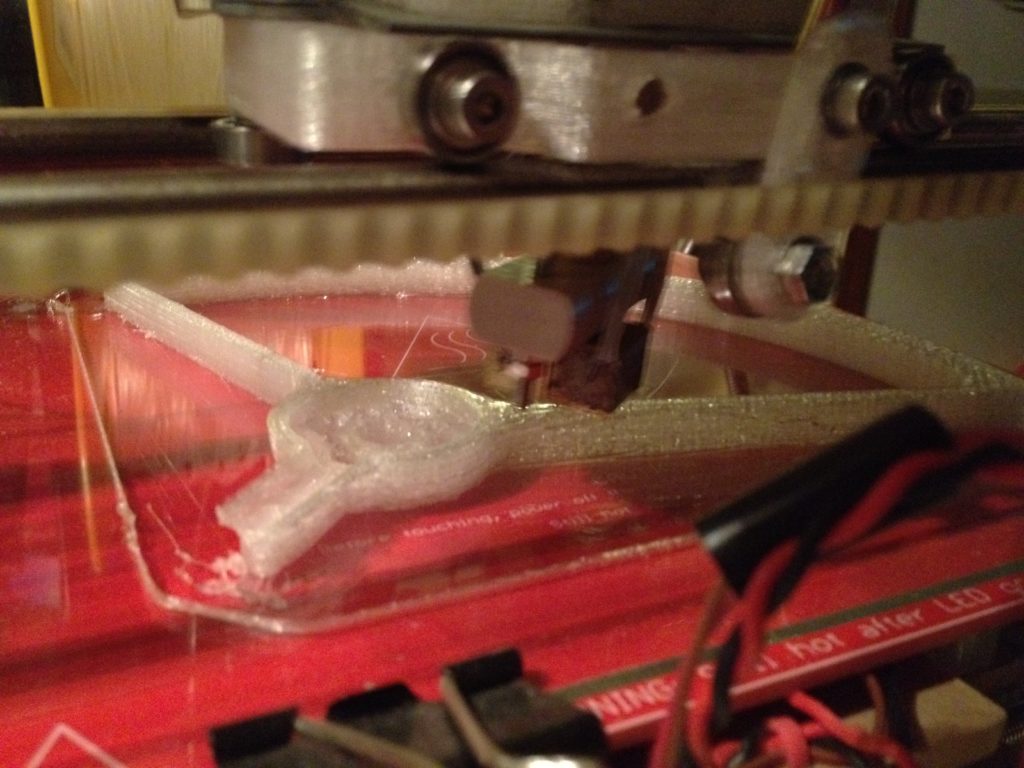
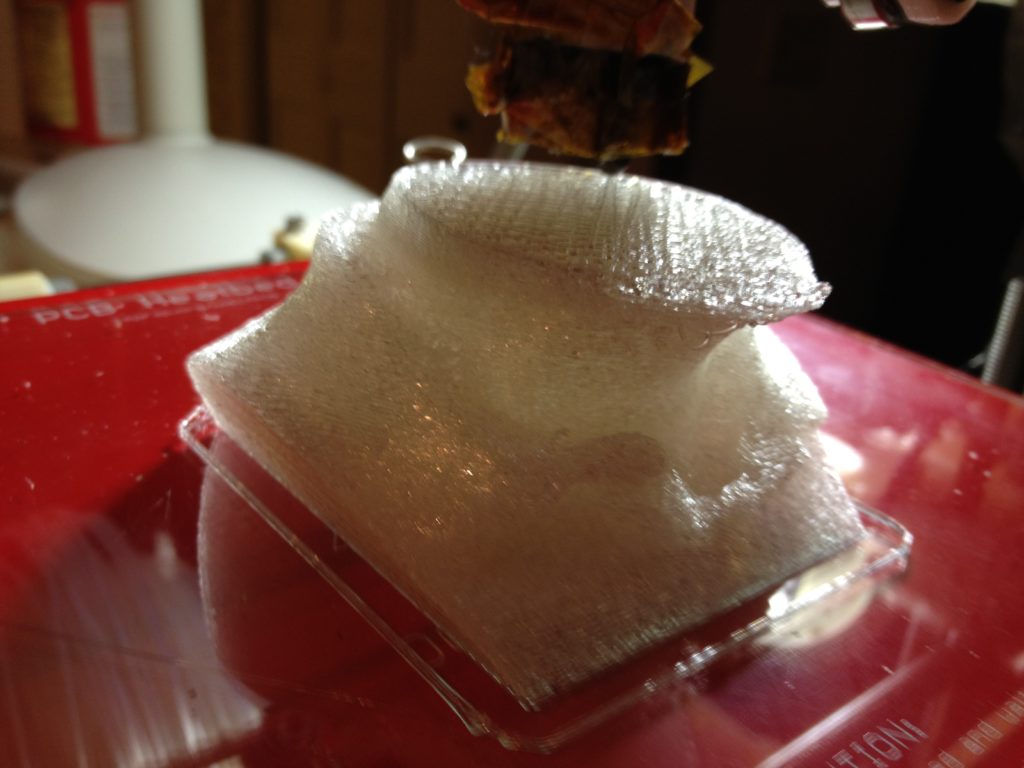
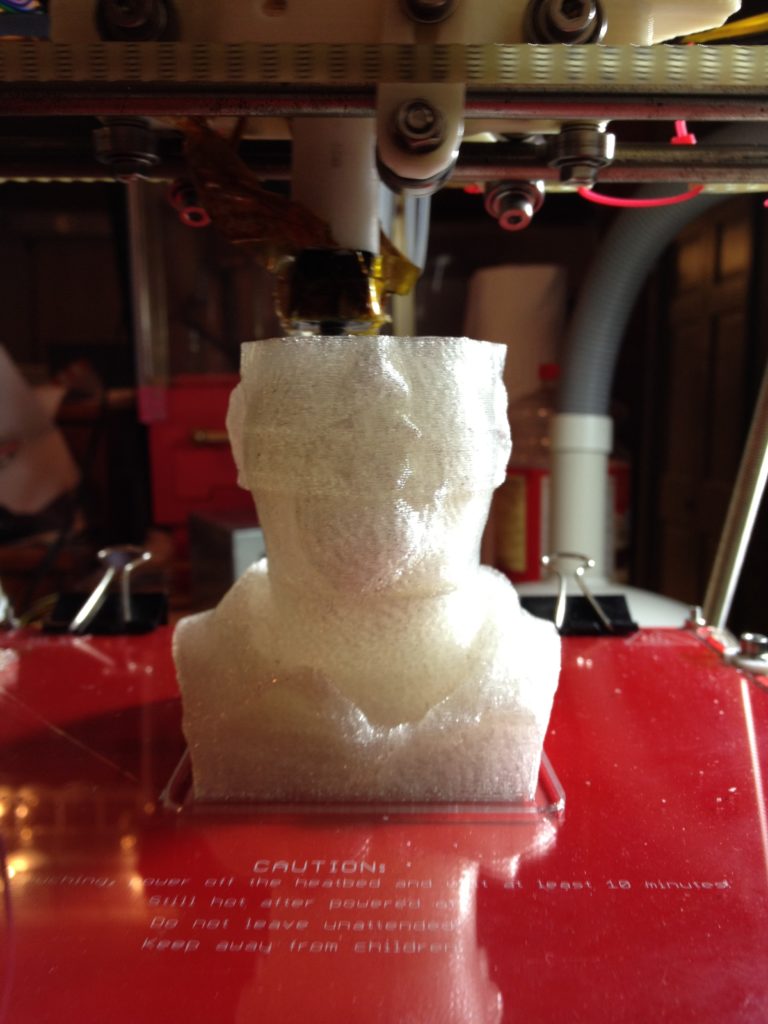
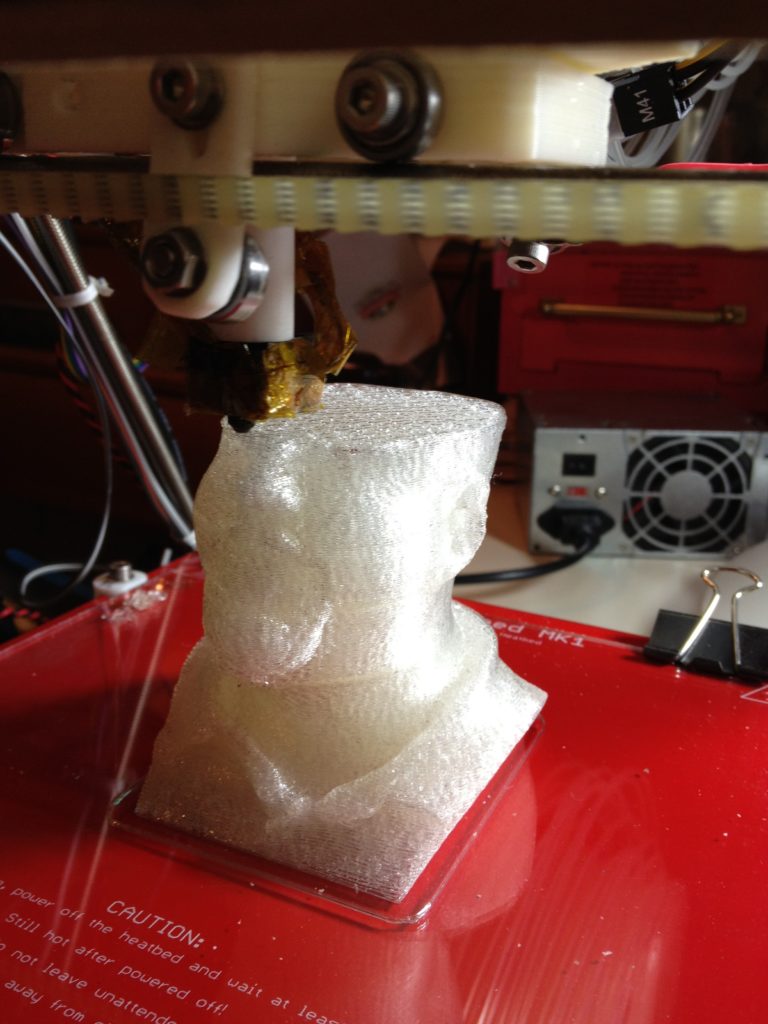
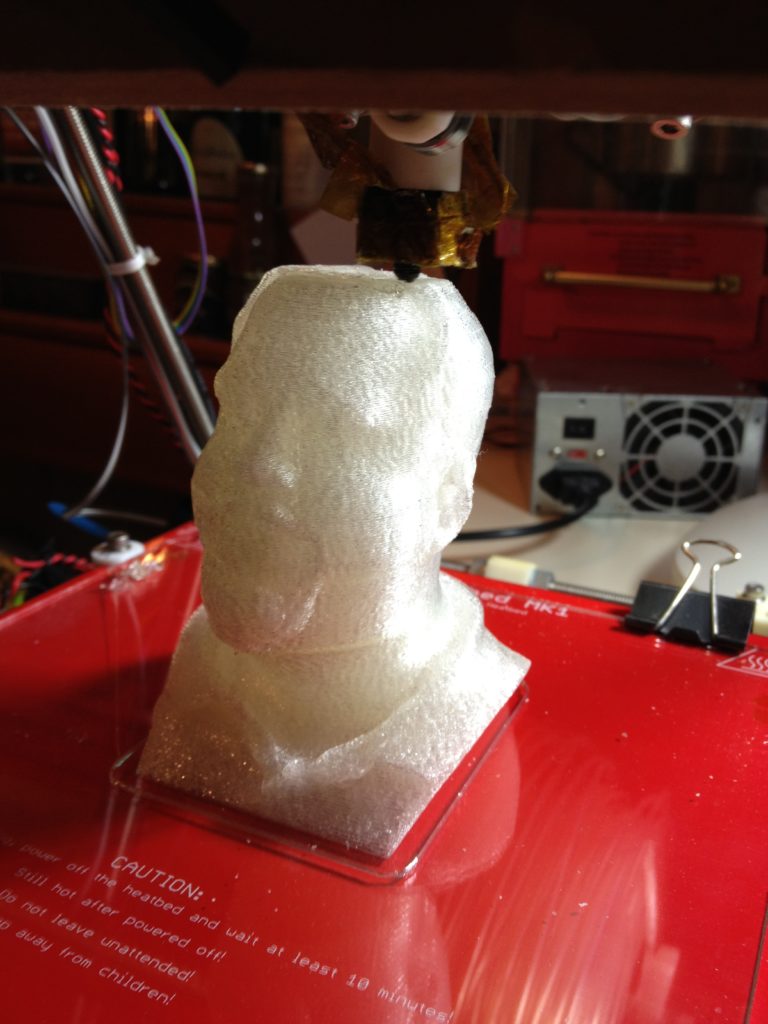
Another failed attempt (which looks particularly messy – I must have left it unattended) was this one:
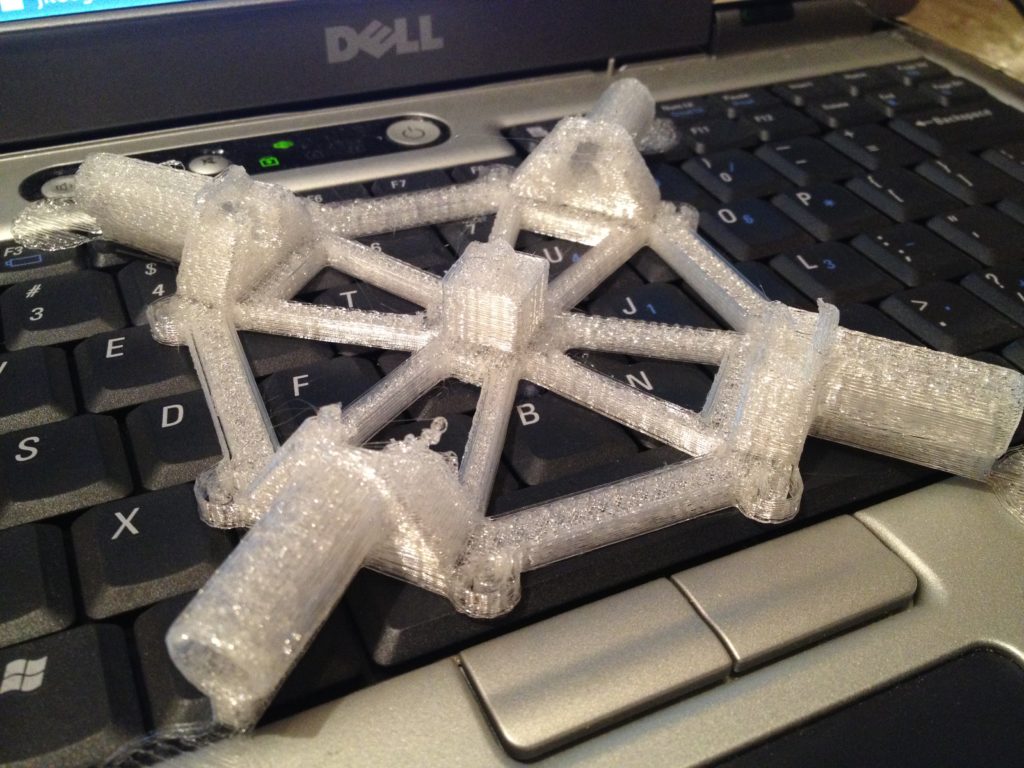
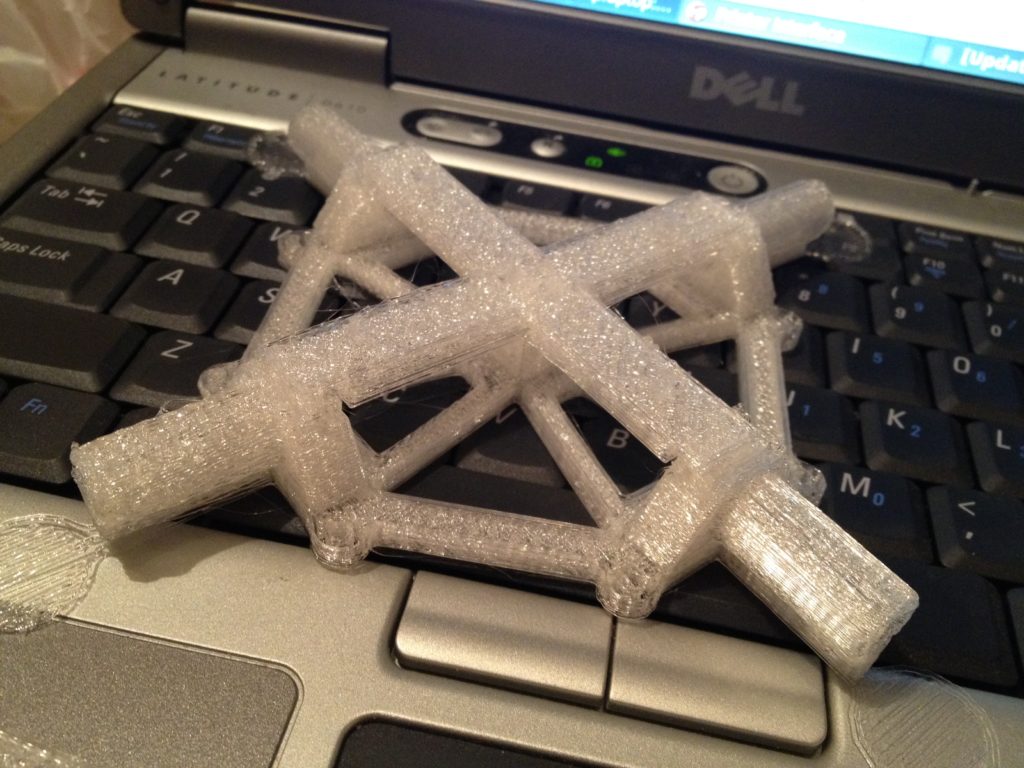
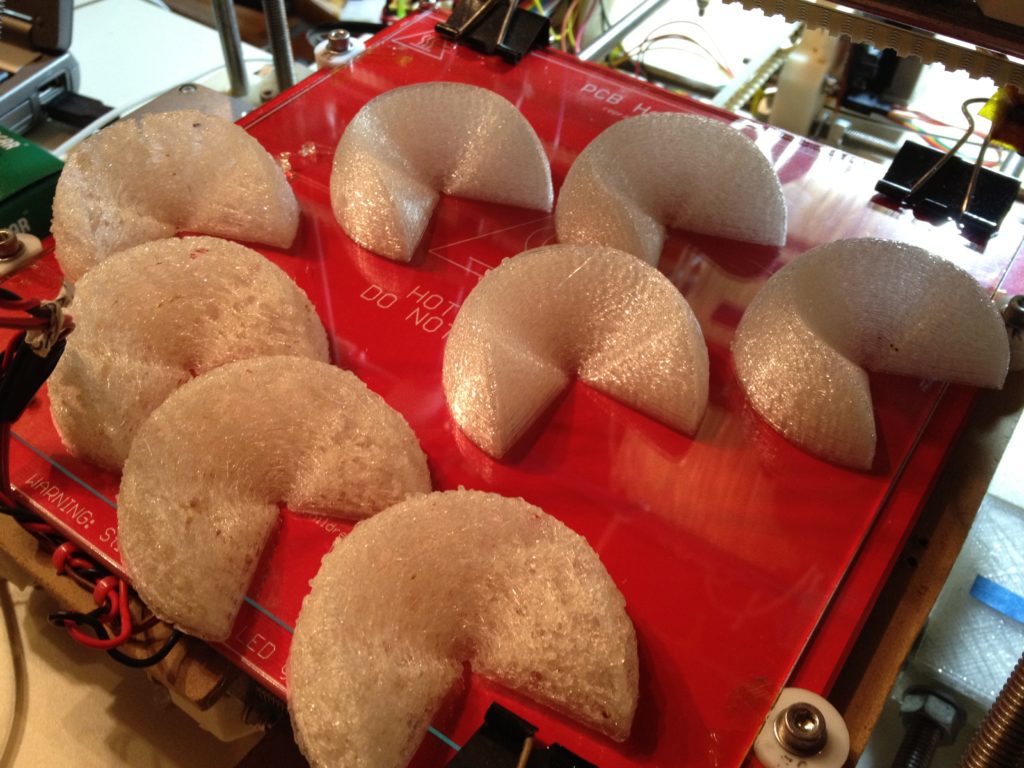
So instead I printed this version from thing:18106 which split the top and bottom parts into two pieces.
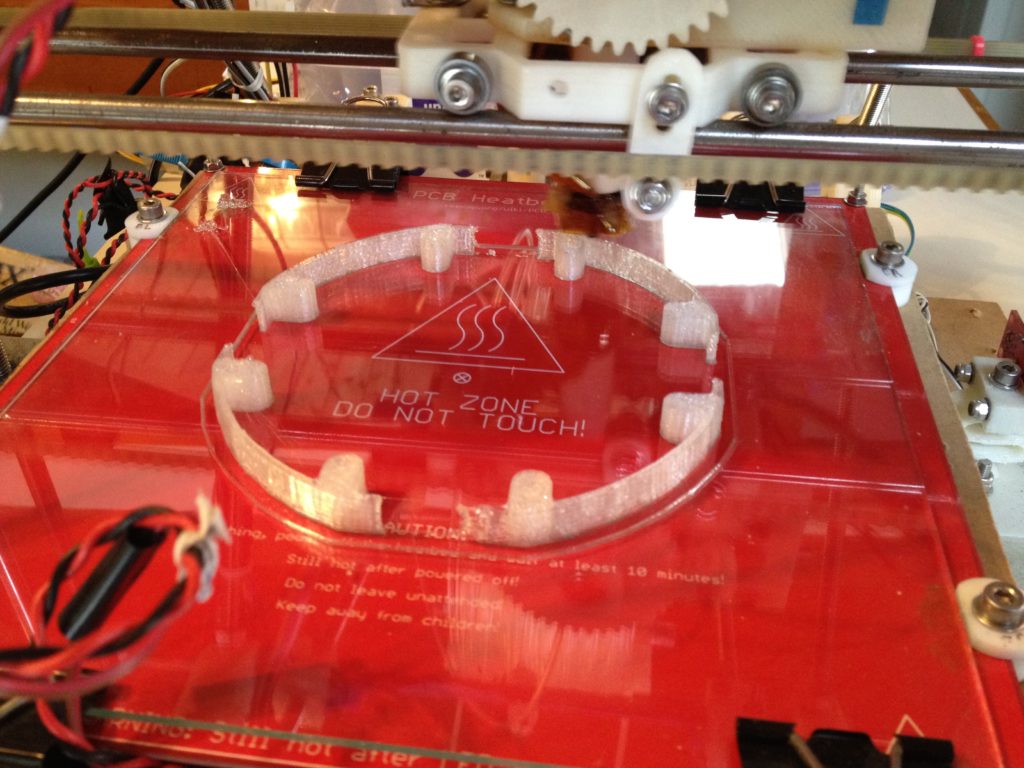
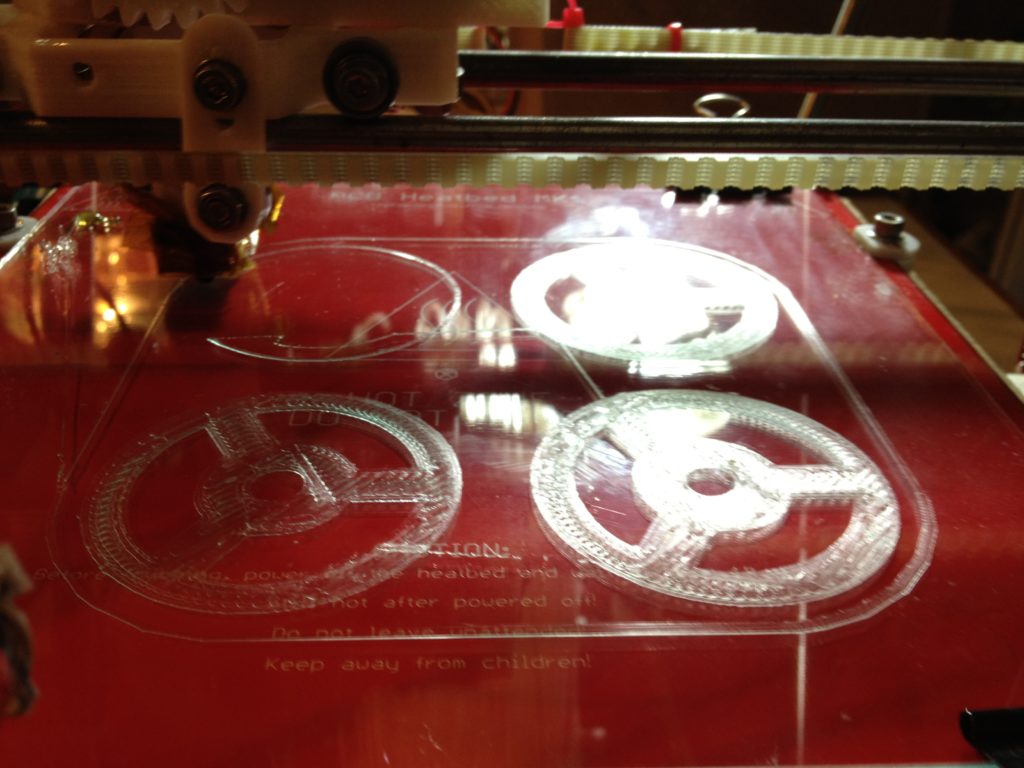
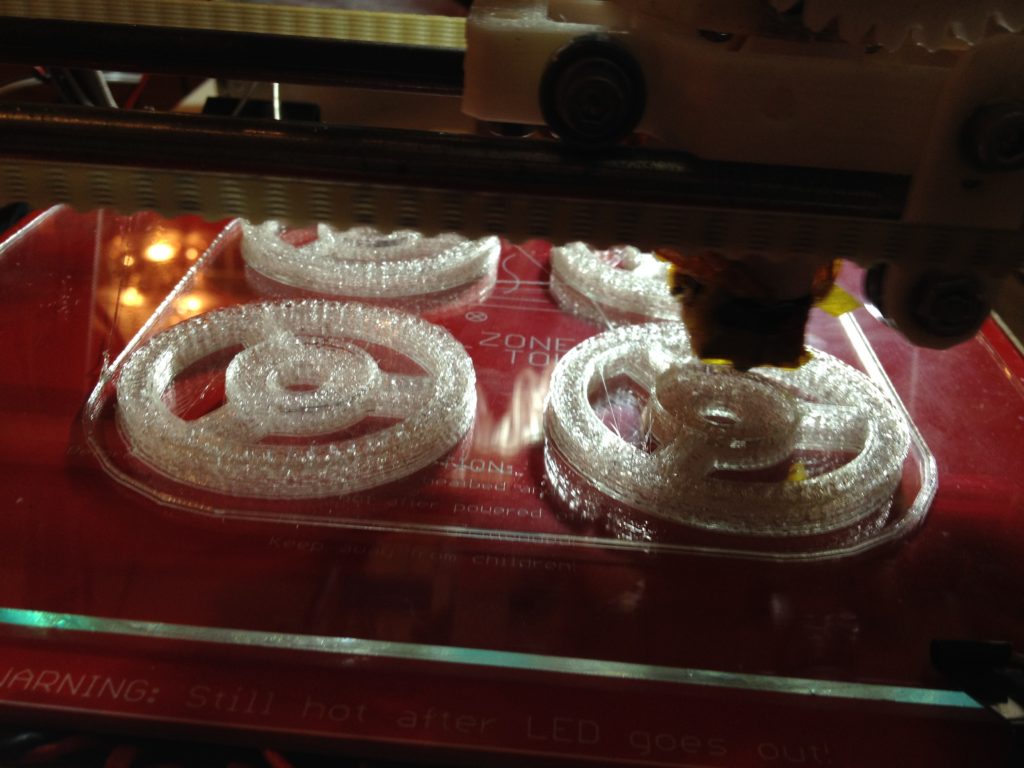
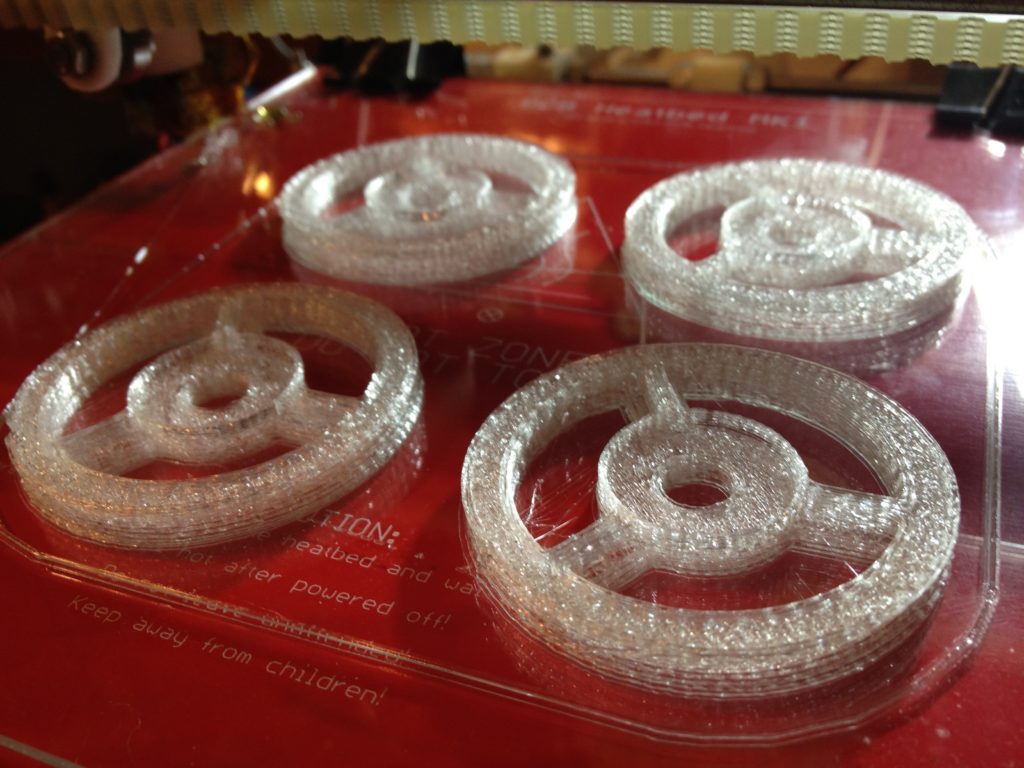
Here they are together (I didn’t break off the circular pads that were only there to hold it down on the bed yet):
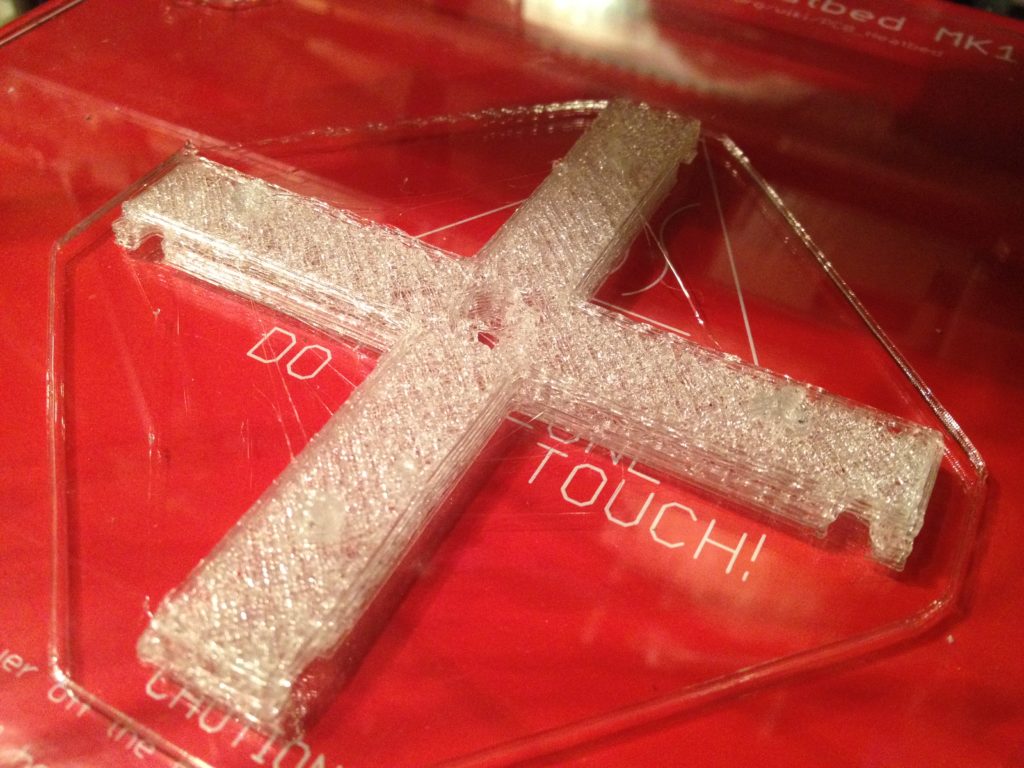
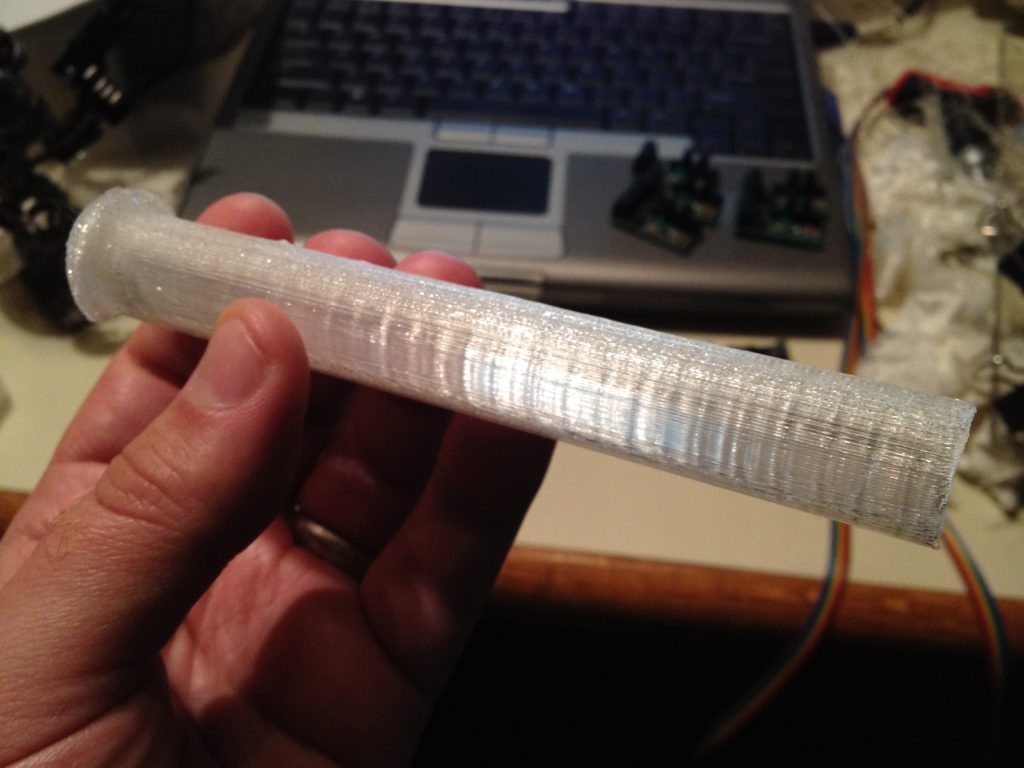
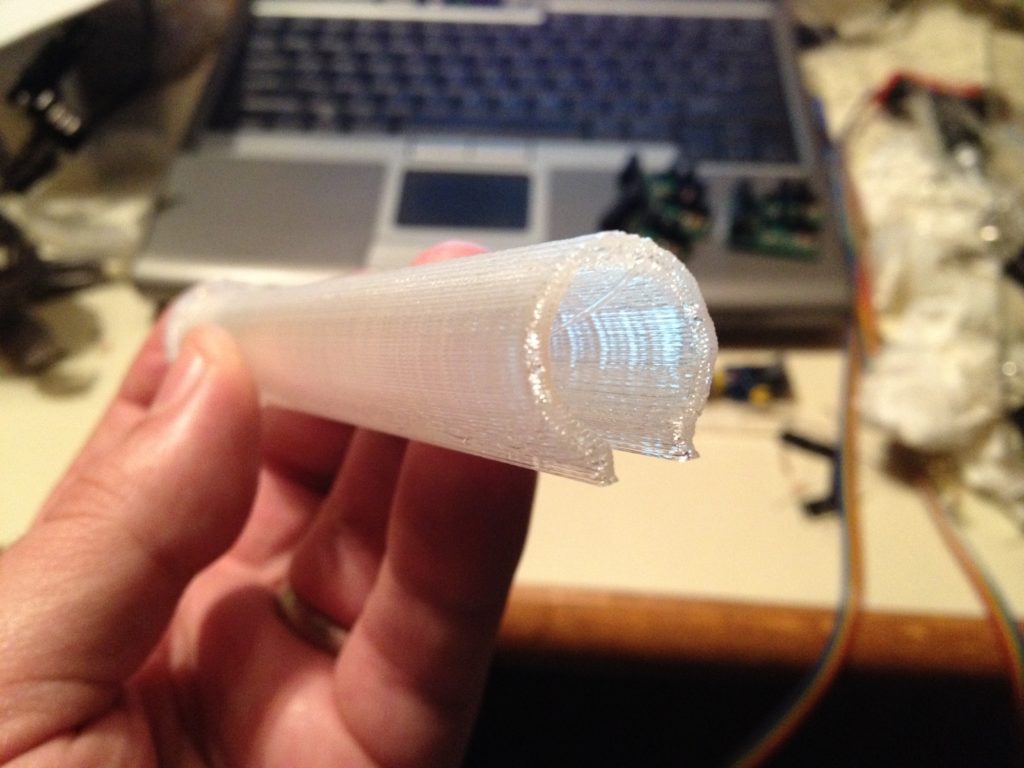
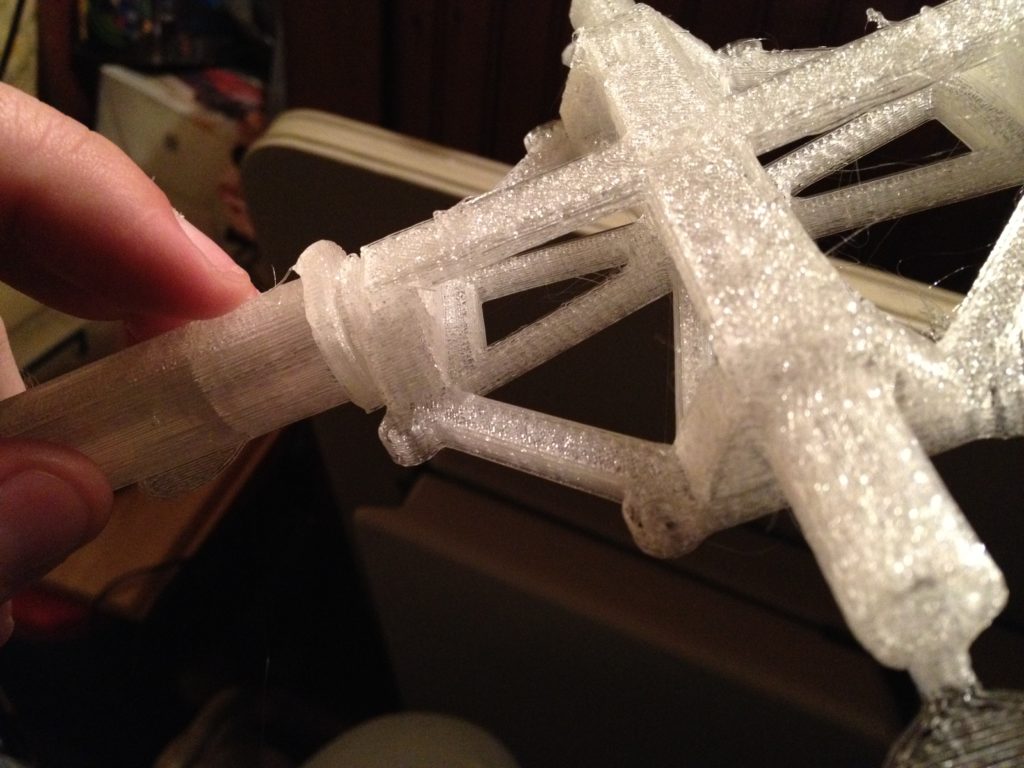
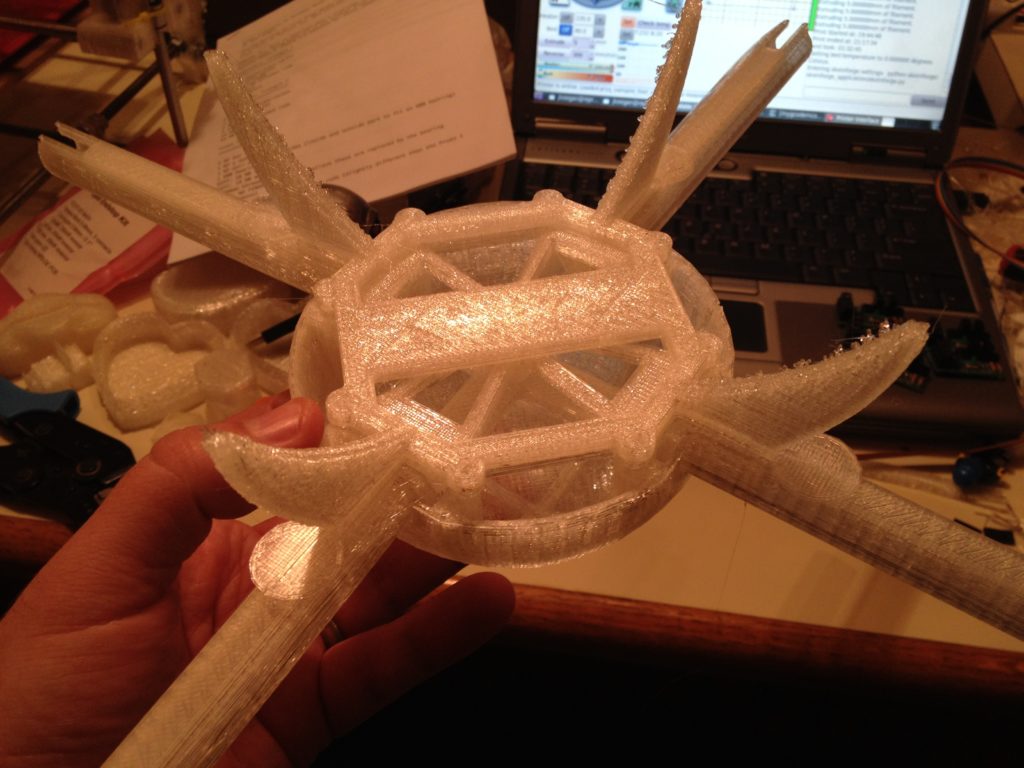
Next up were the arms. I couldn’t print them vertically, so I found this variant (thing:17803) that printed them on their sides:
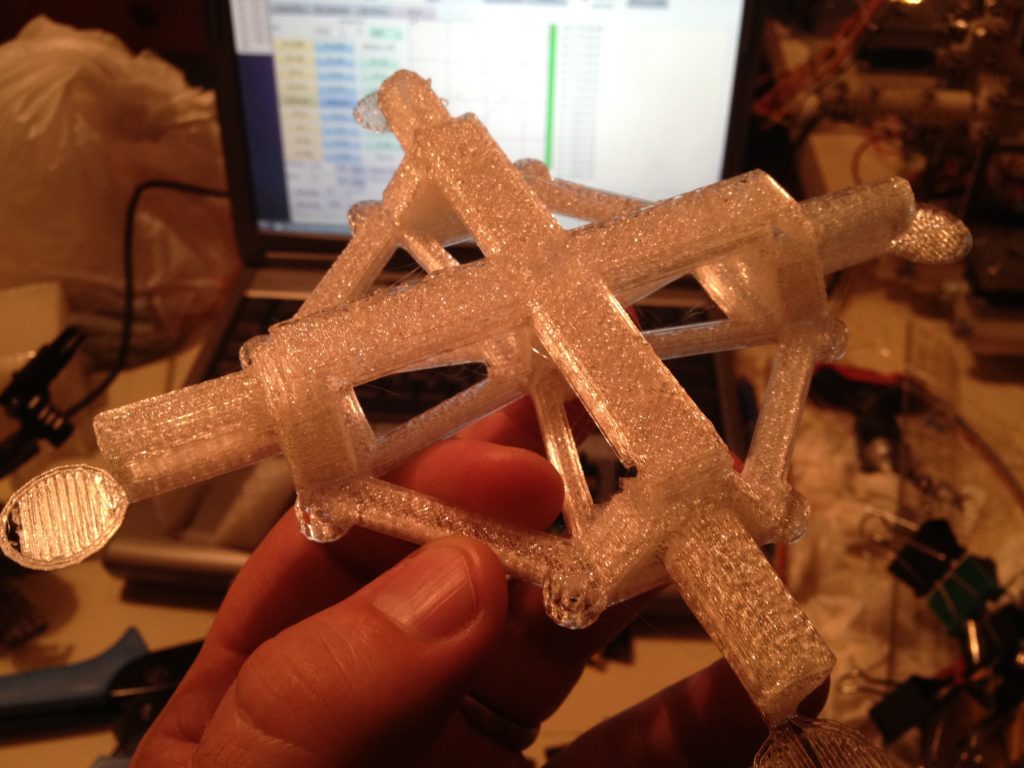
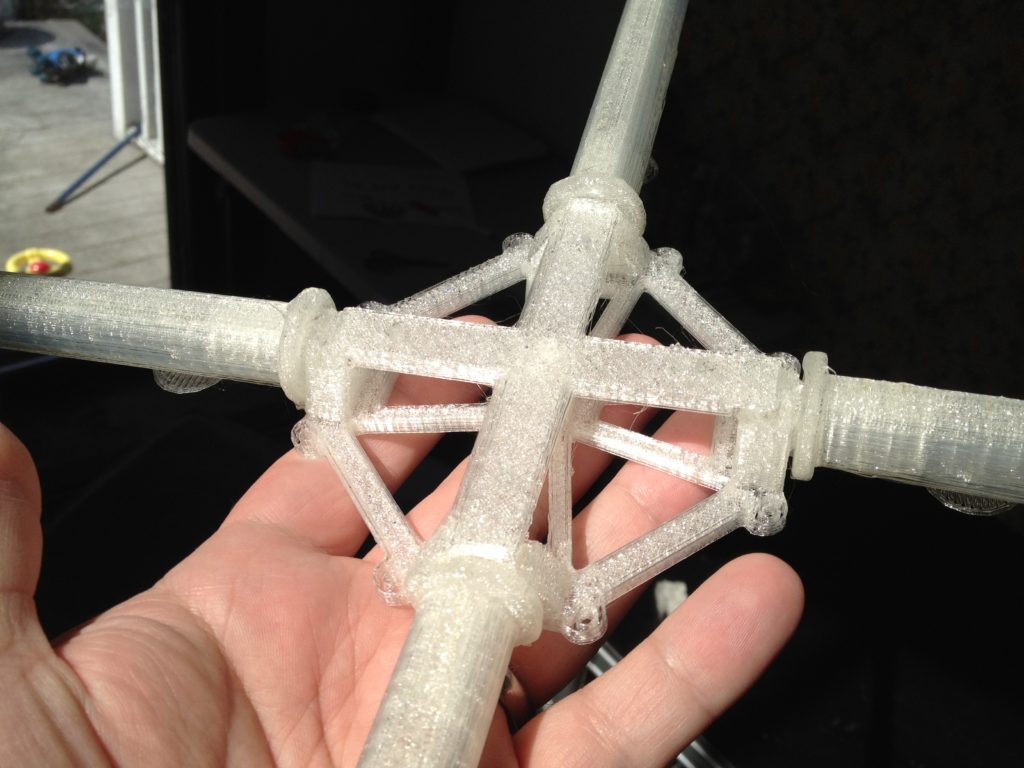
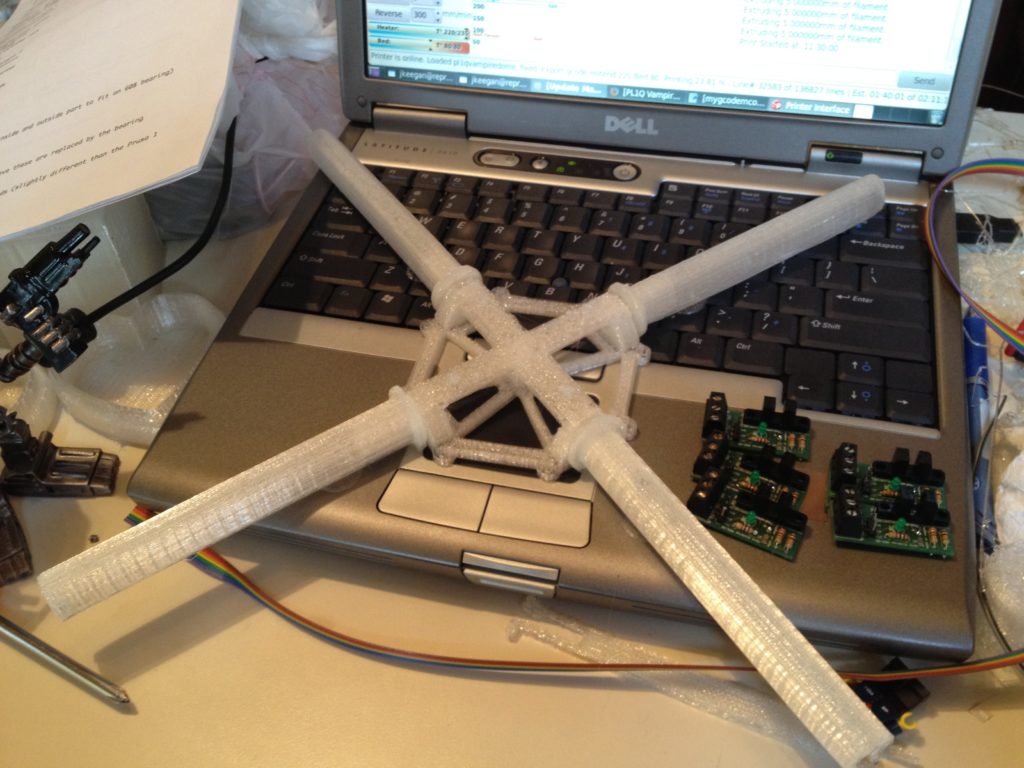
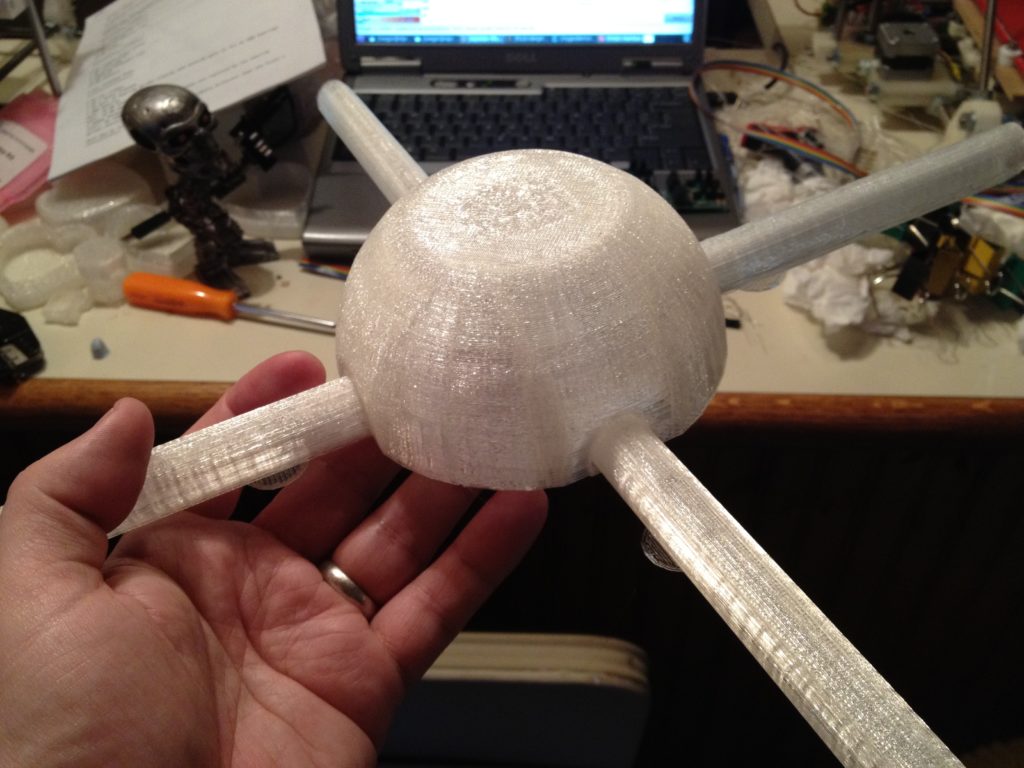
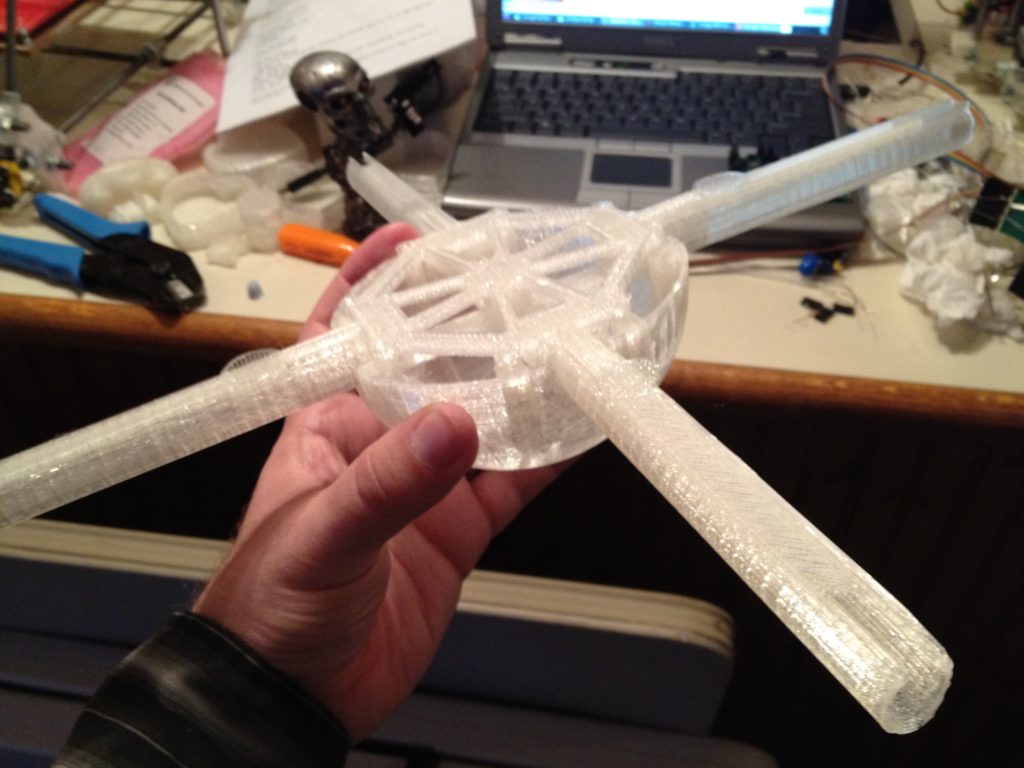
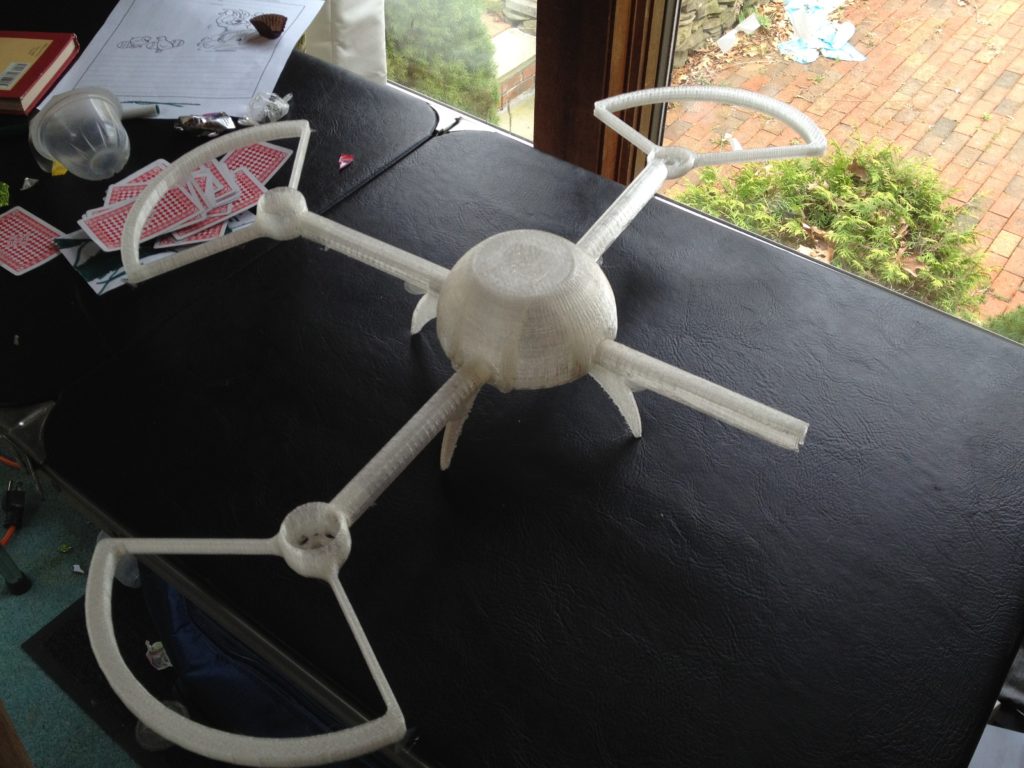
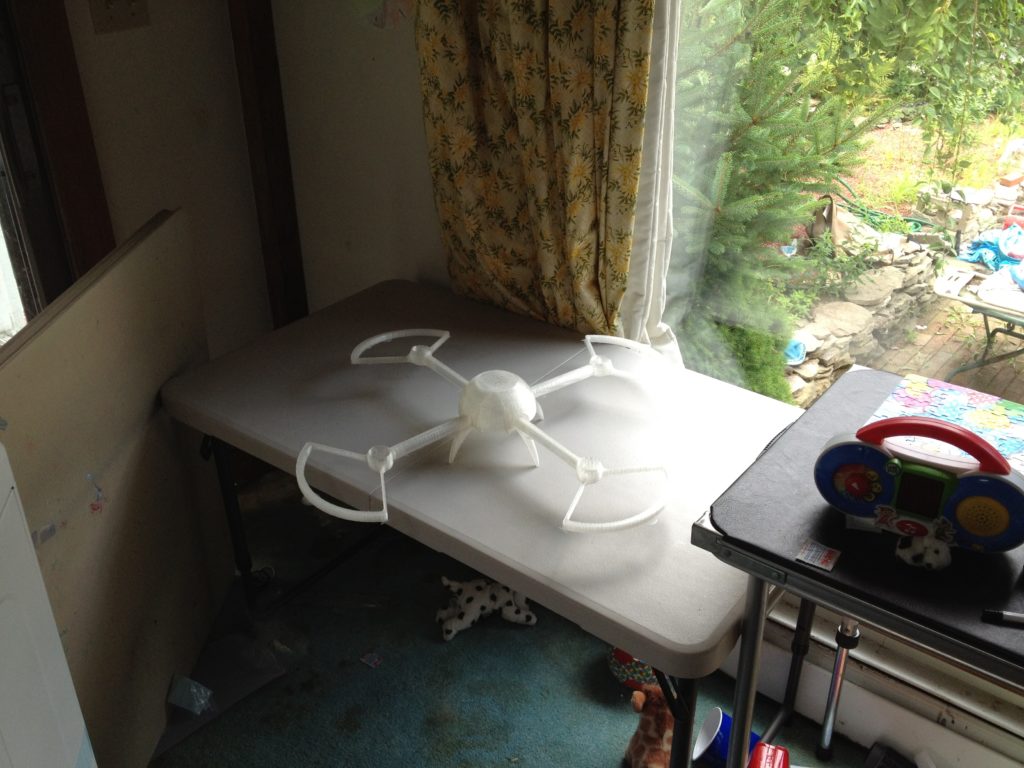
I printed 3 more arms, and put them all on for show:
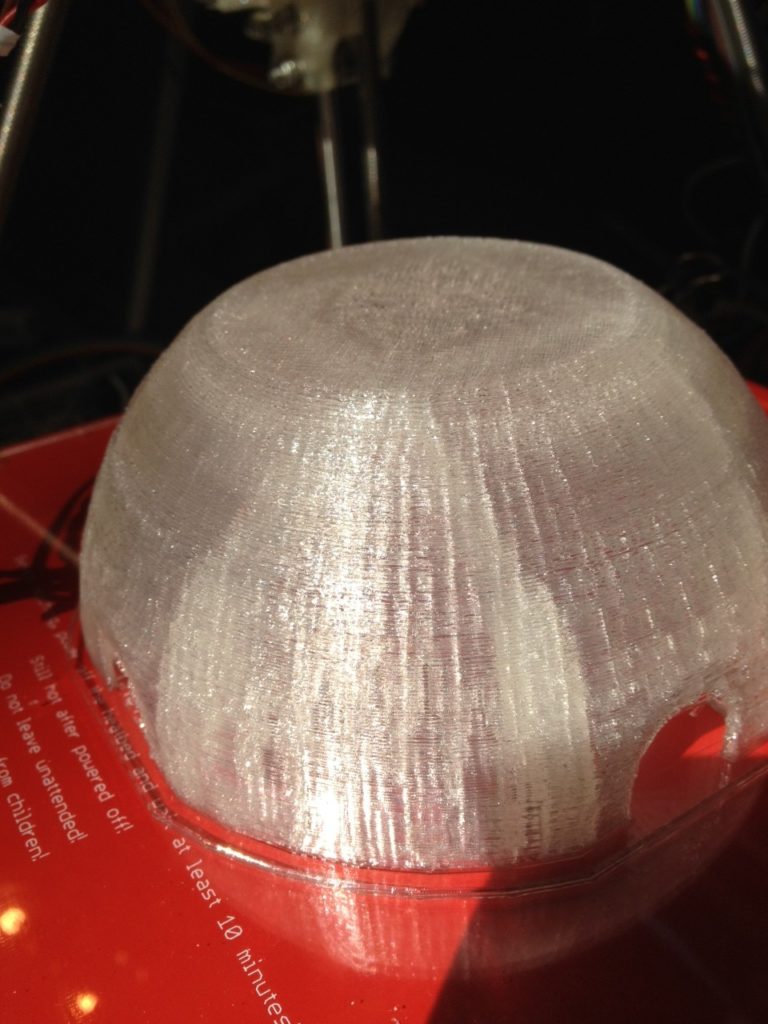
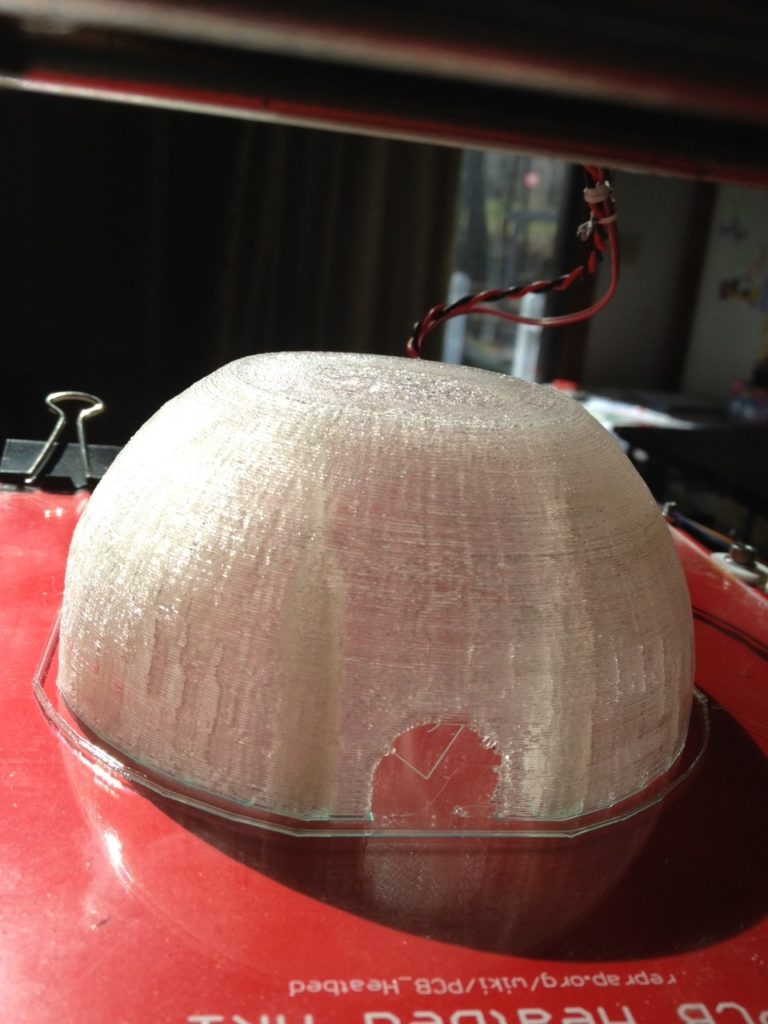
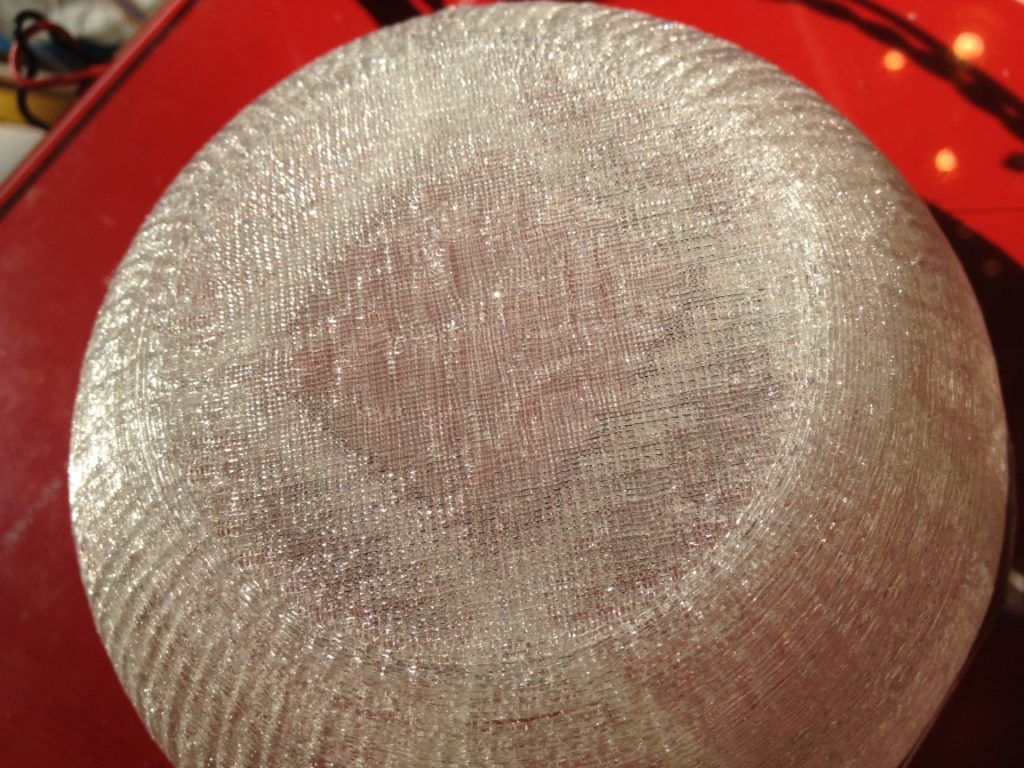
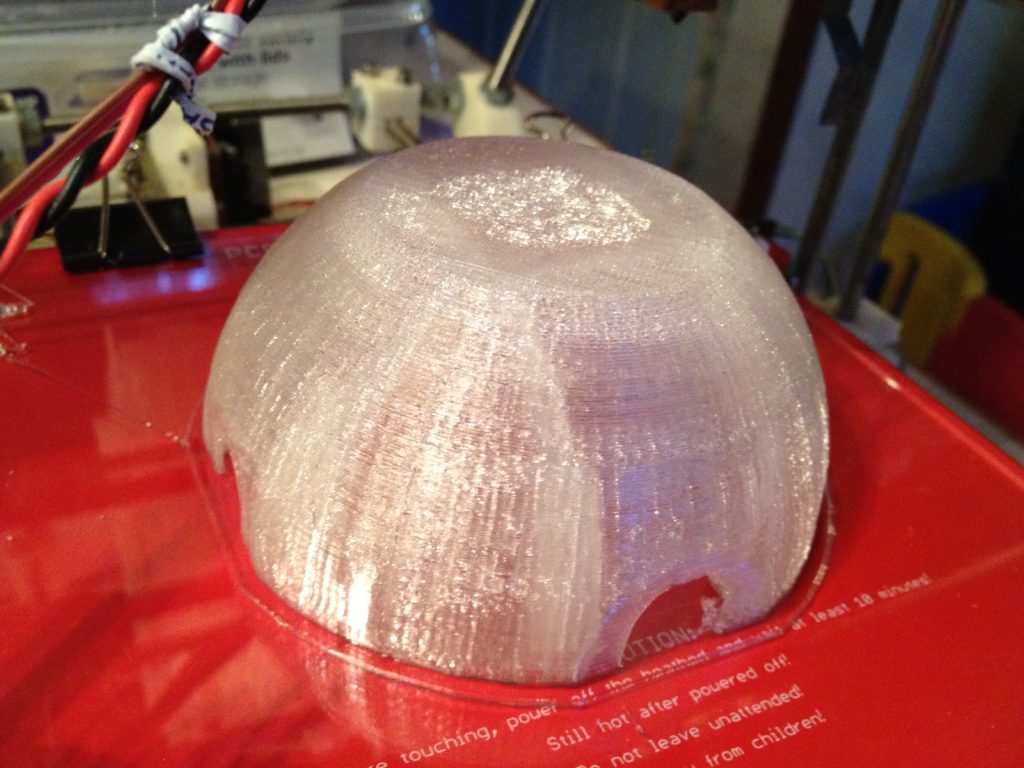
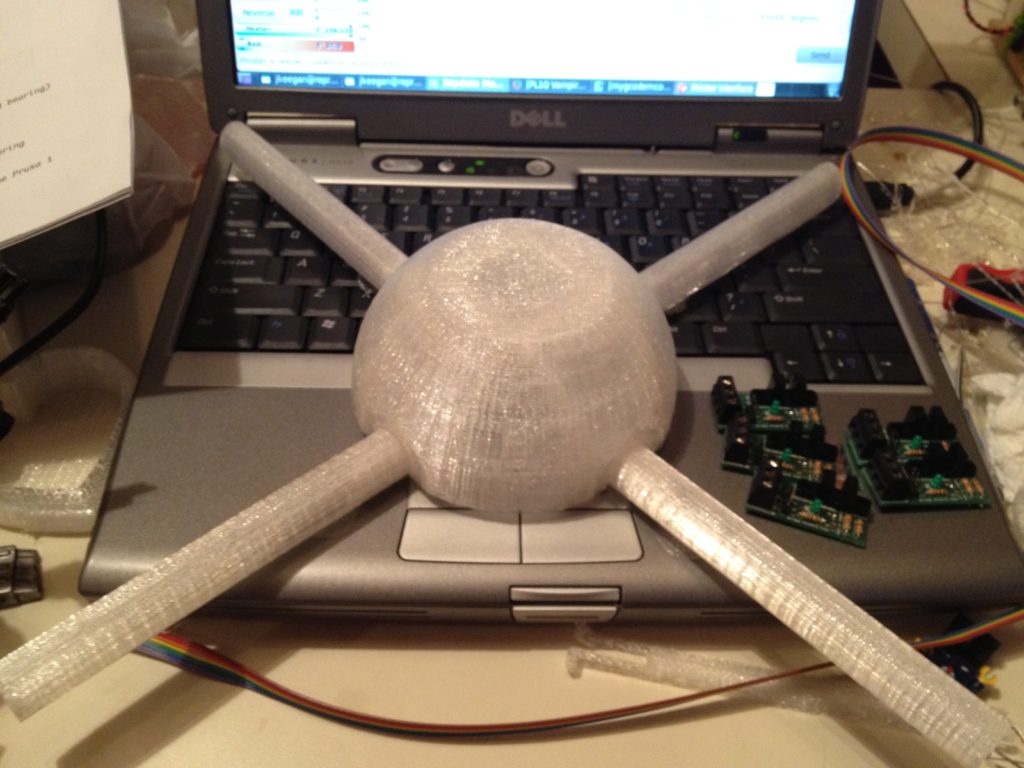
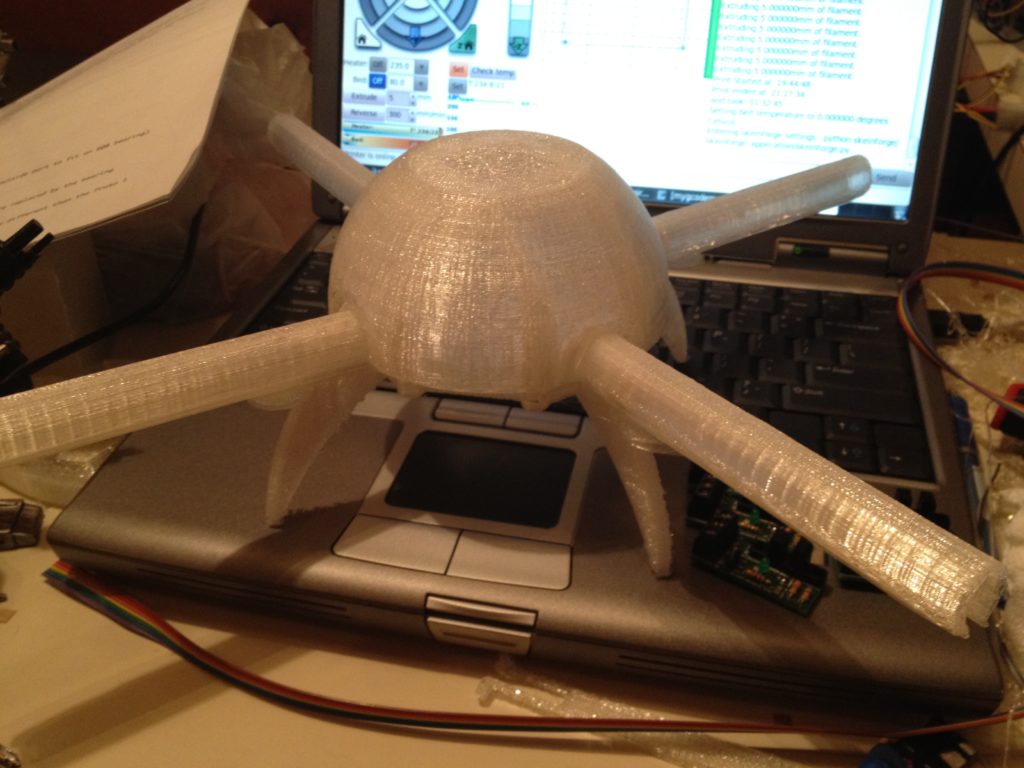
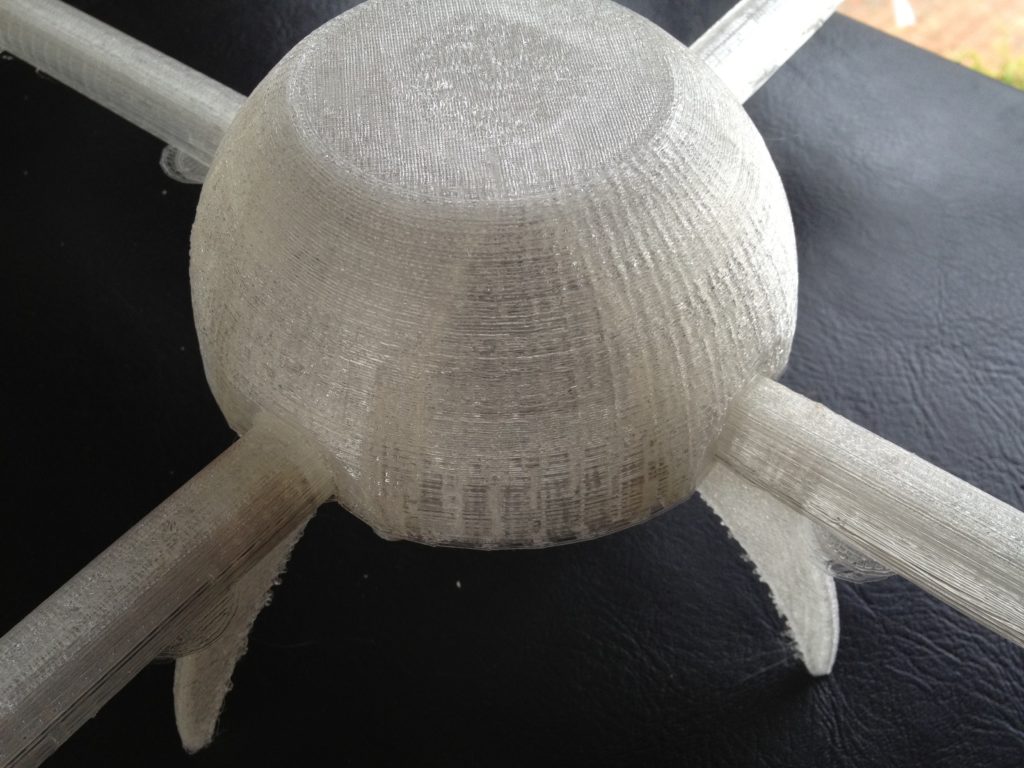
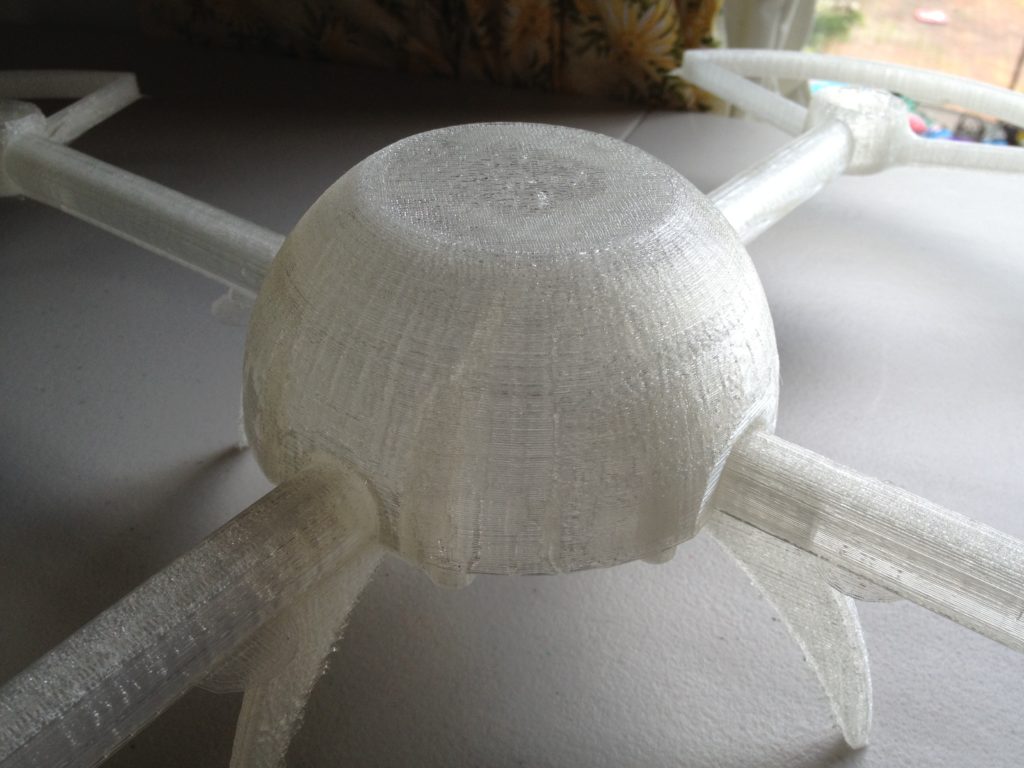
Then I printed one of the most solid, serious, strong looking pieces I could remember printing on my RepRap – the dome from thing:18106 (pl1qvampiredome_fixed.stl):
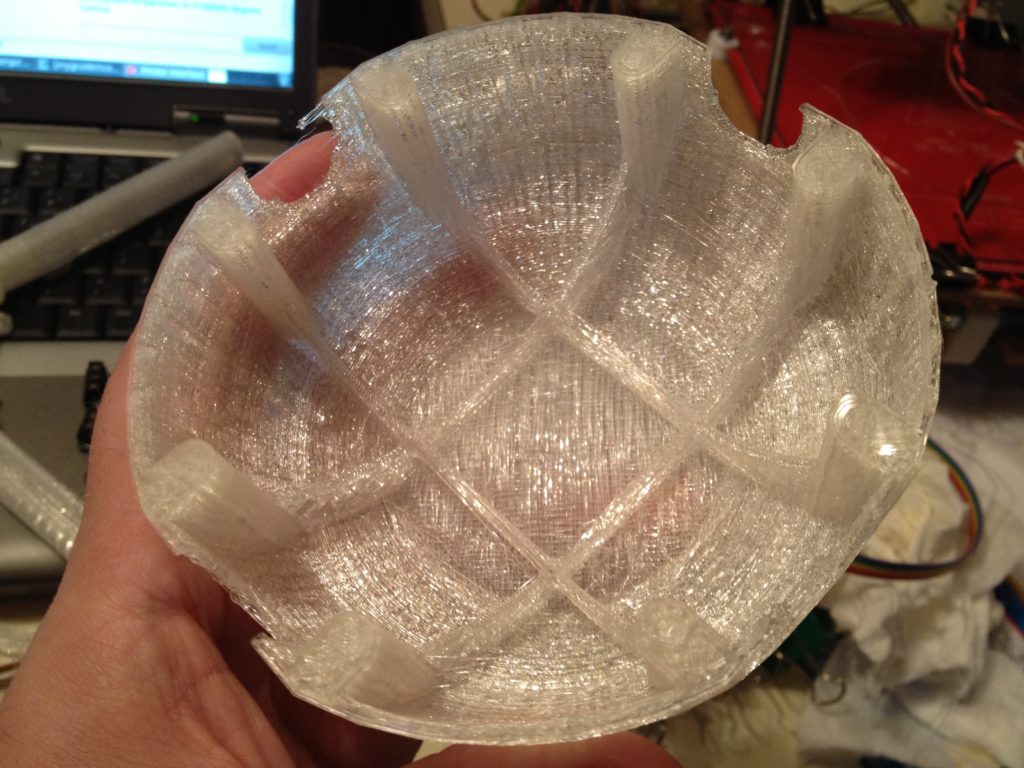
Here it is placed over the rims of the arms, holding them in place:
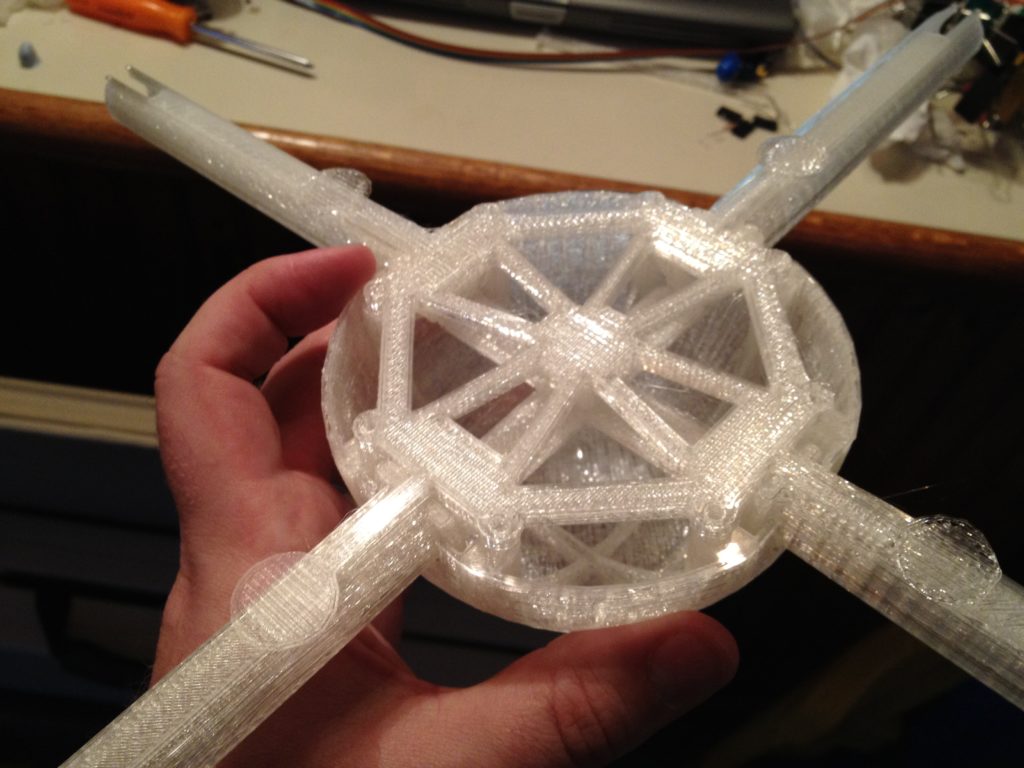
…and here’s what that looks like from below:
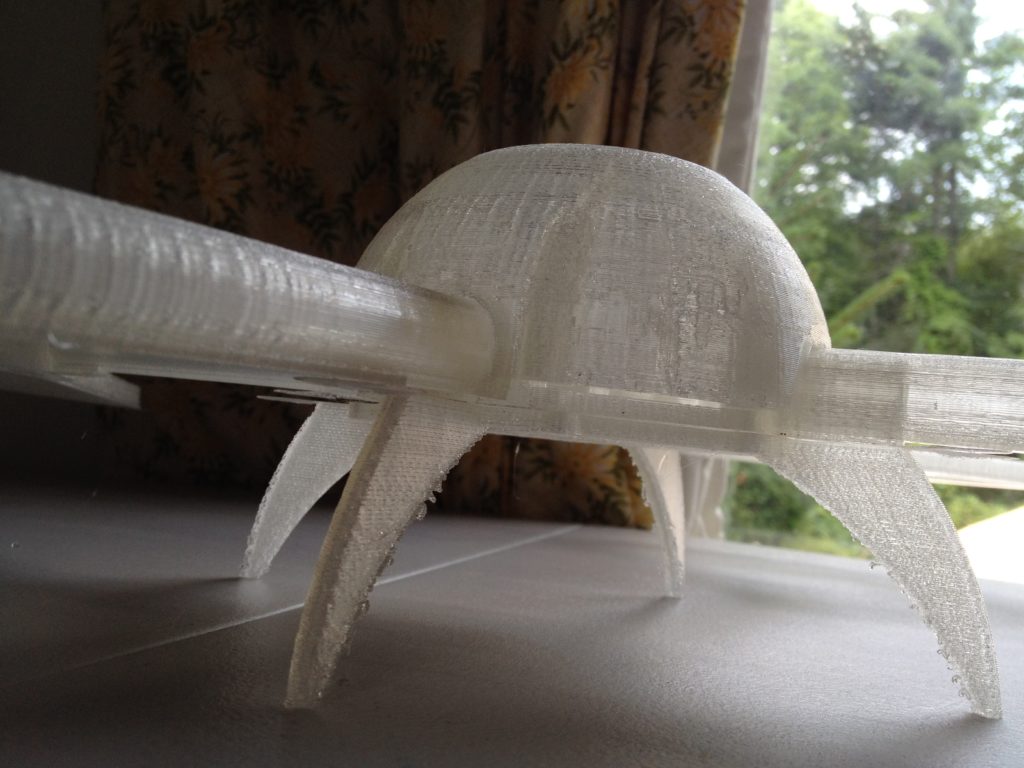
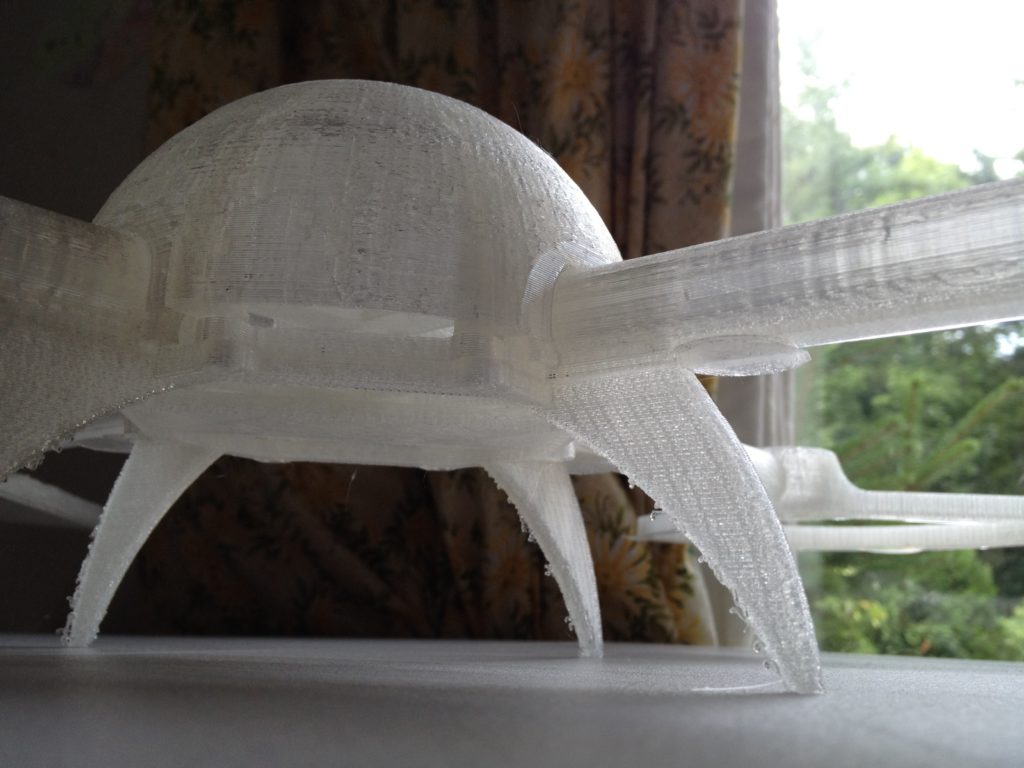
Next I printed the landing feet, which I now realize were the only parts directly from the original thing:17612 model:
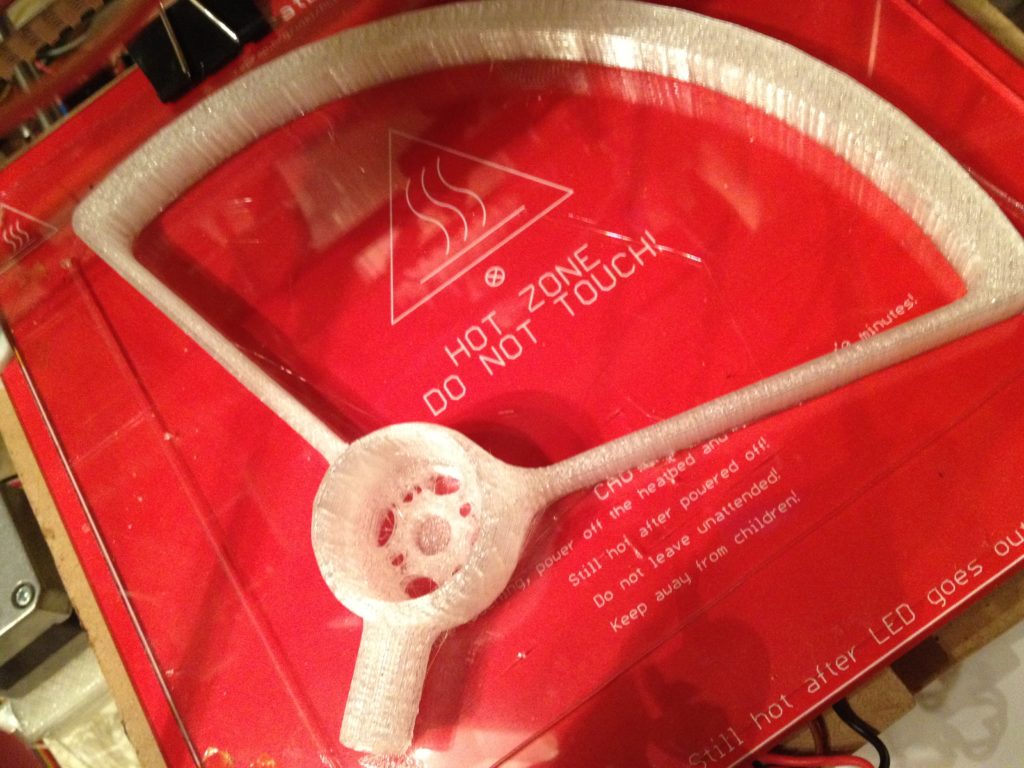
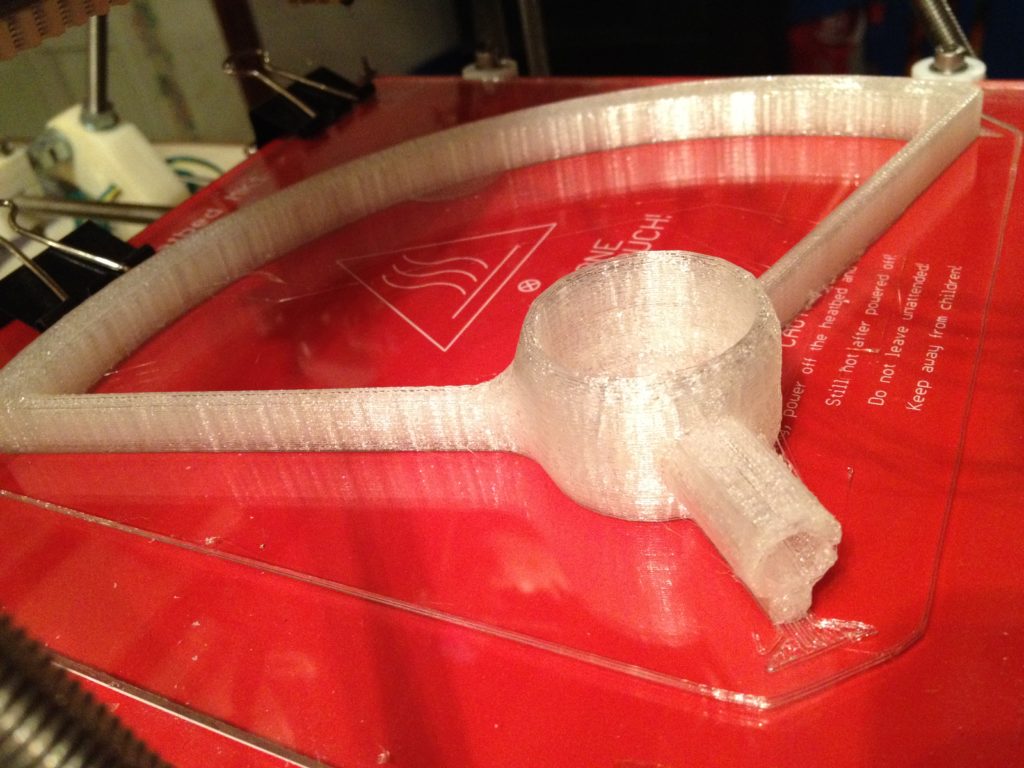
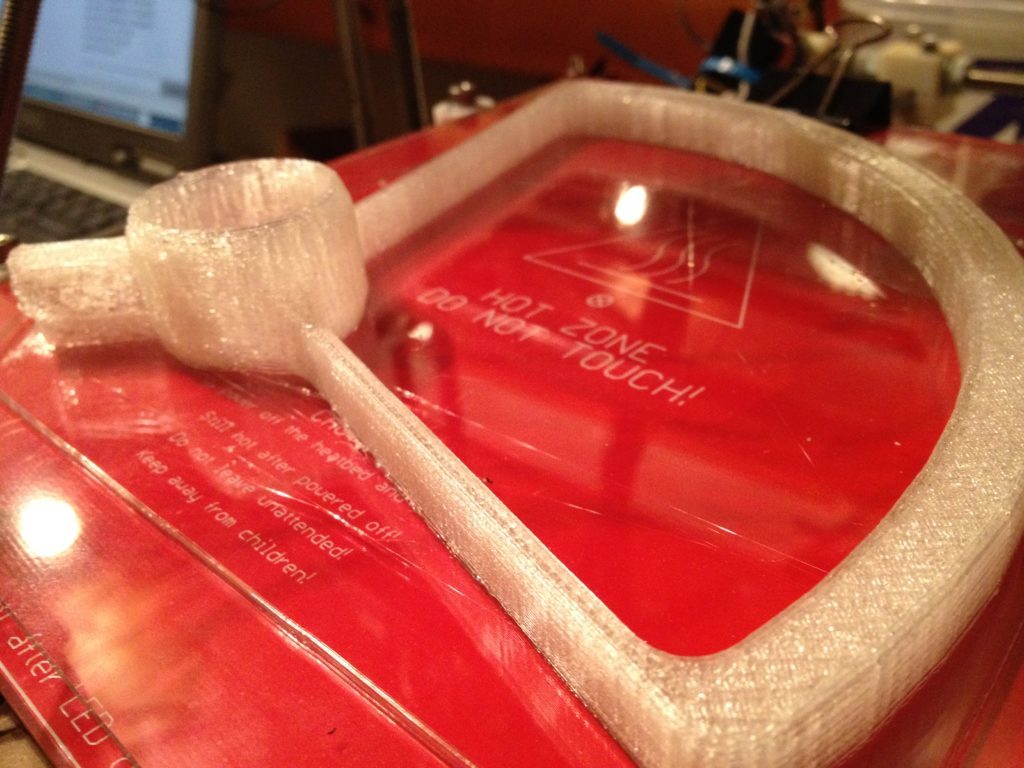
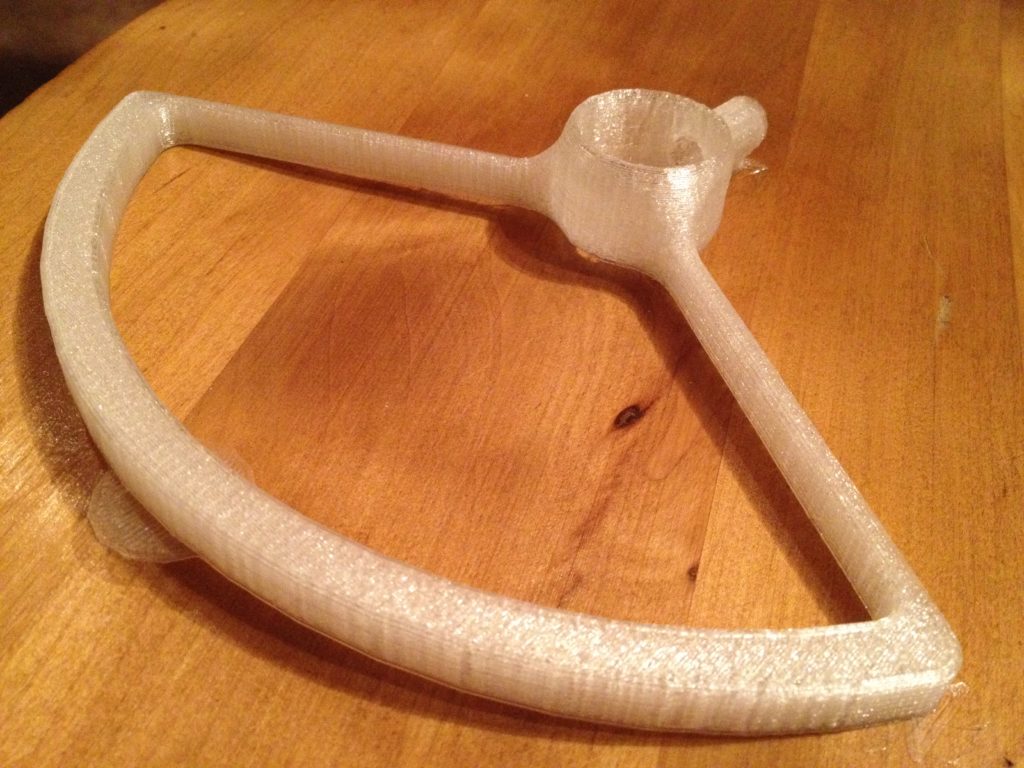
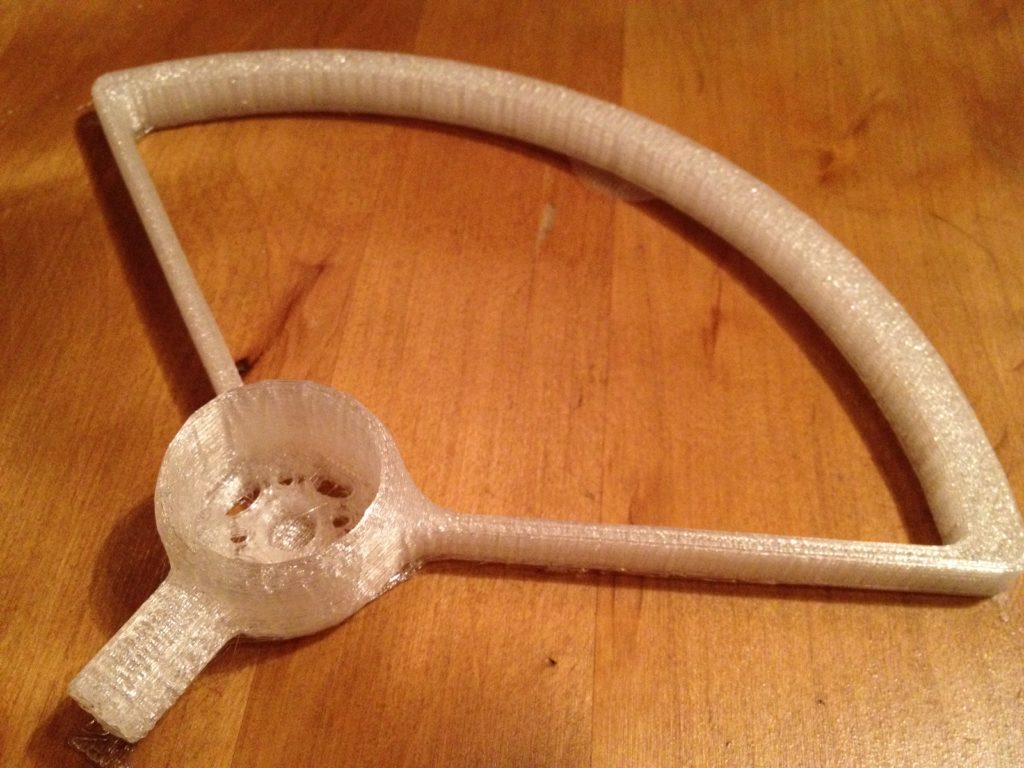
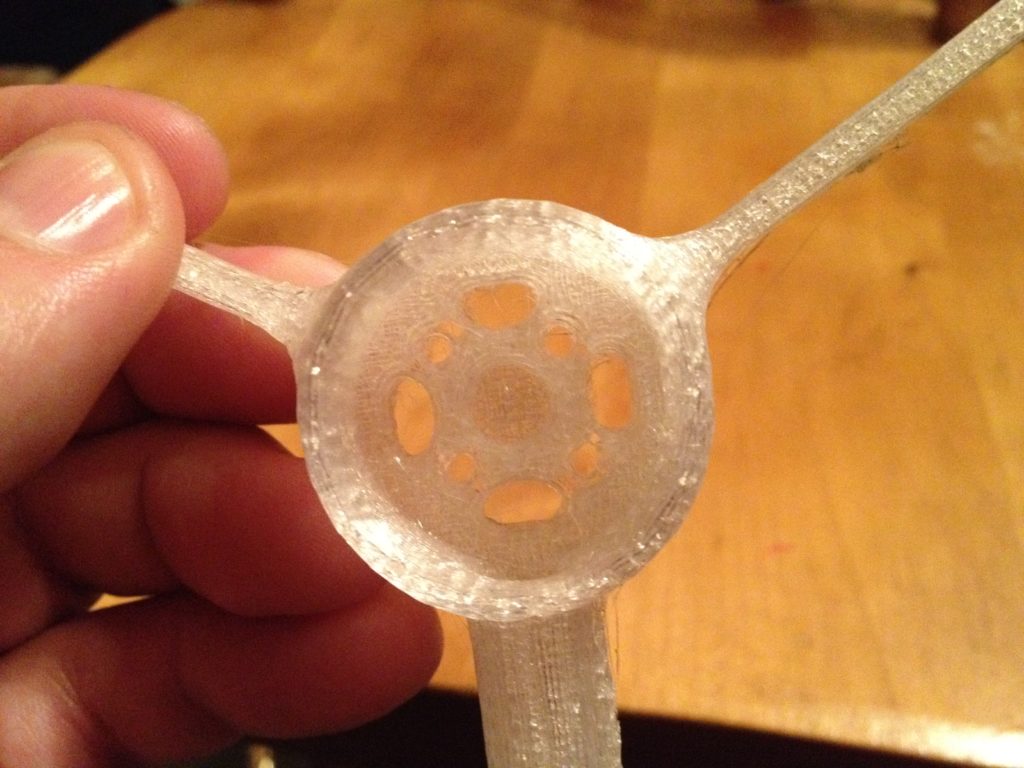
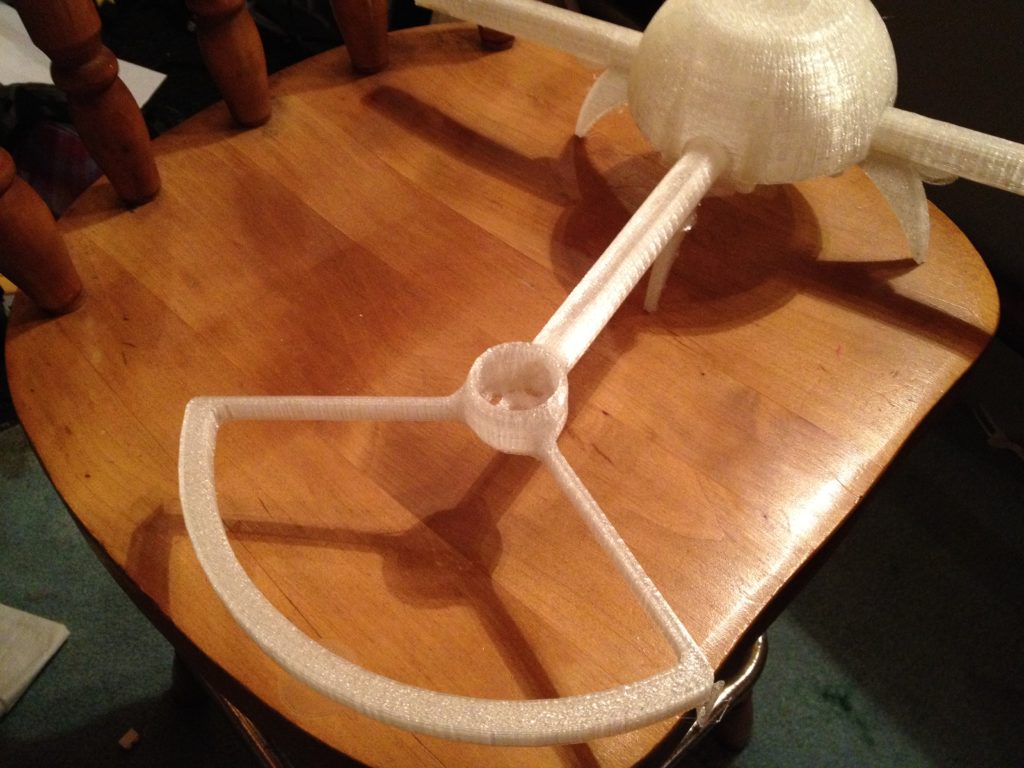
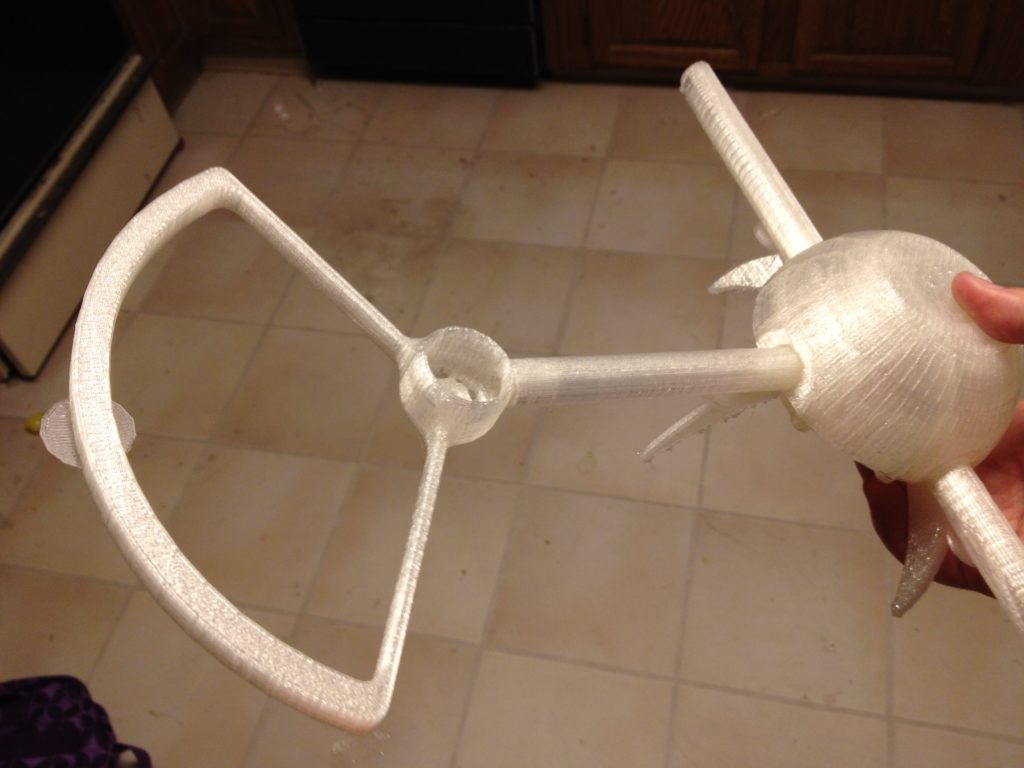
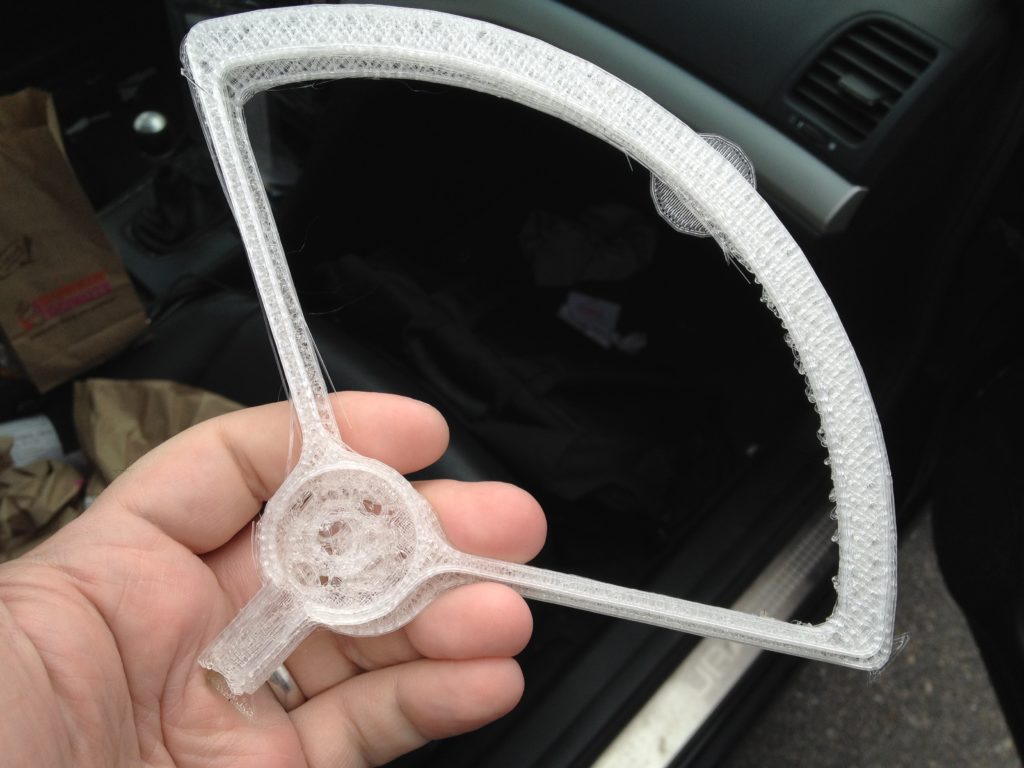
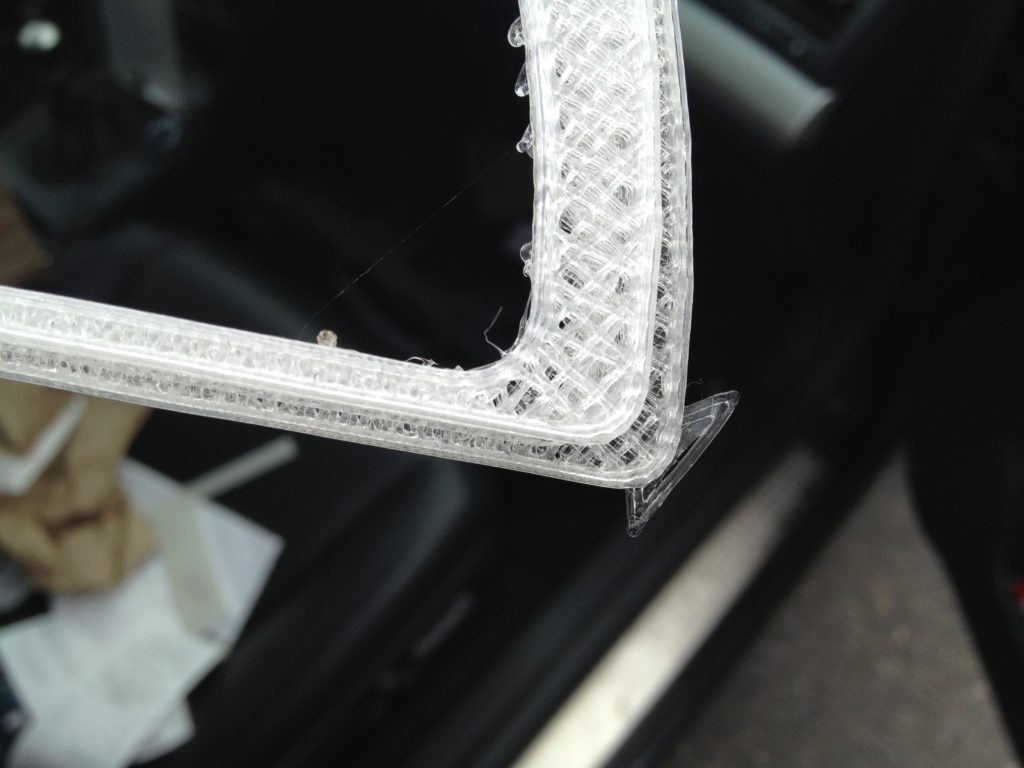
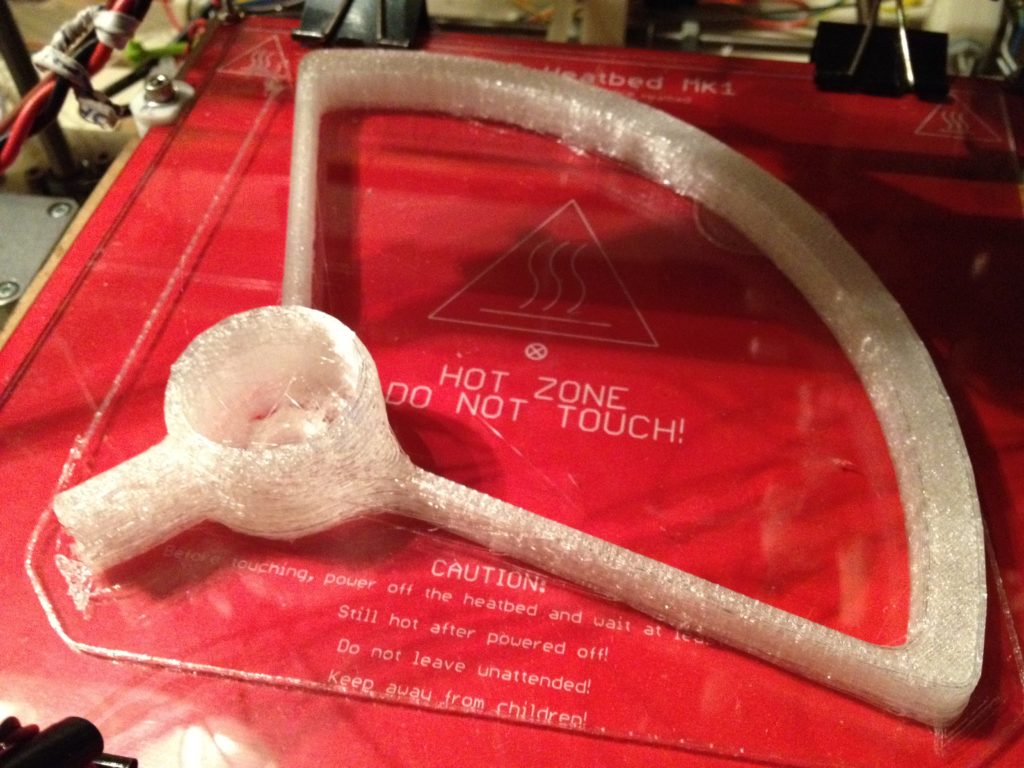
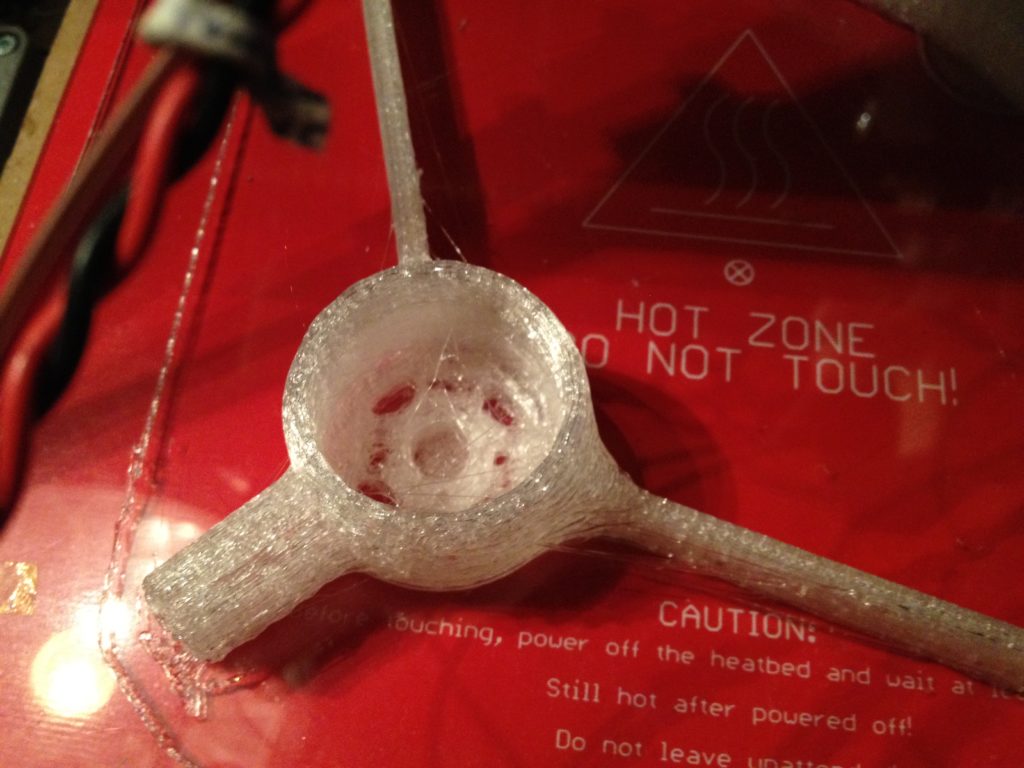
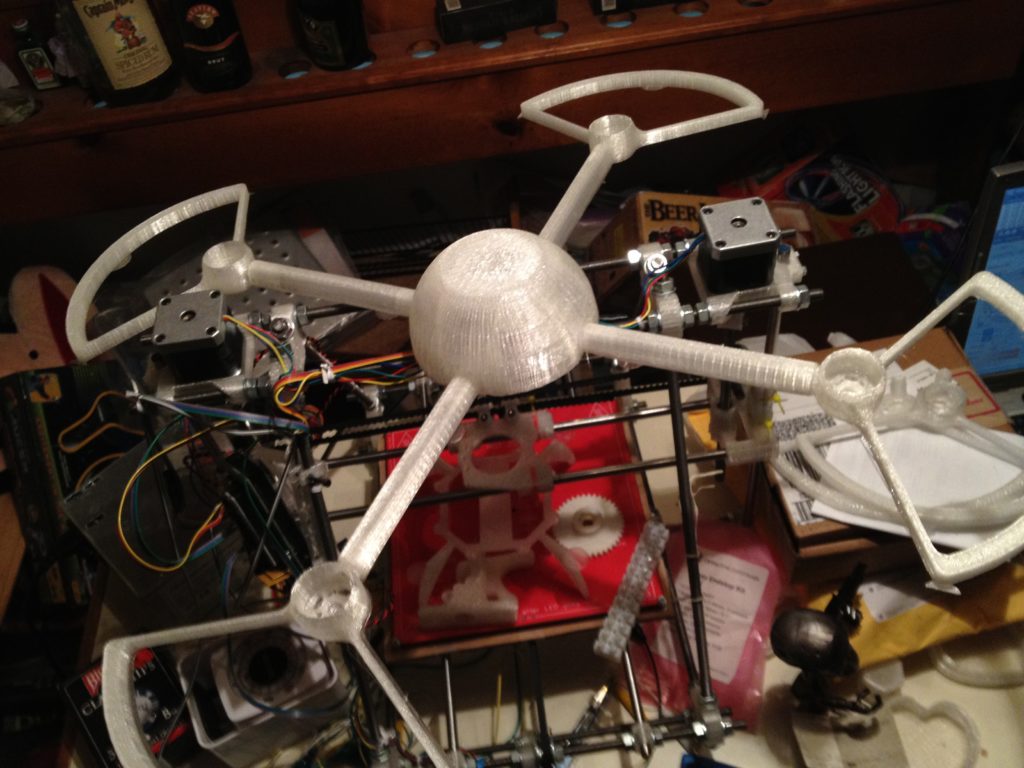
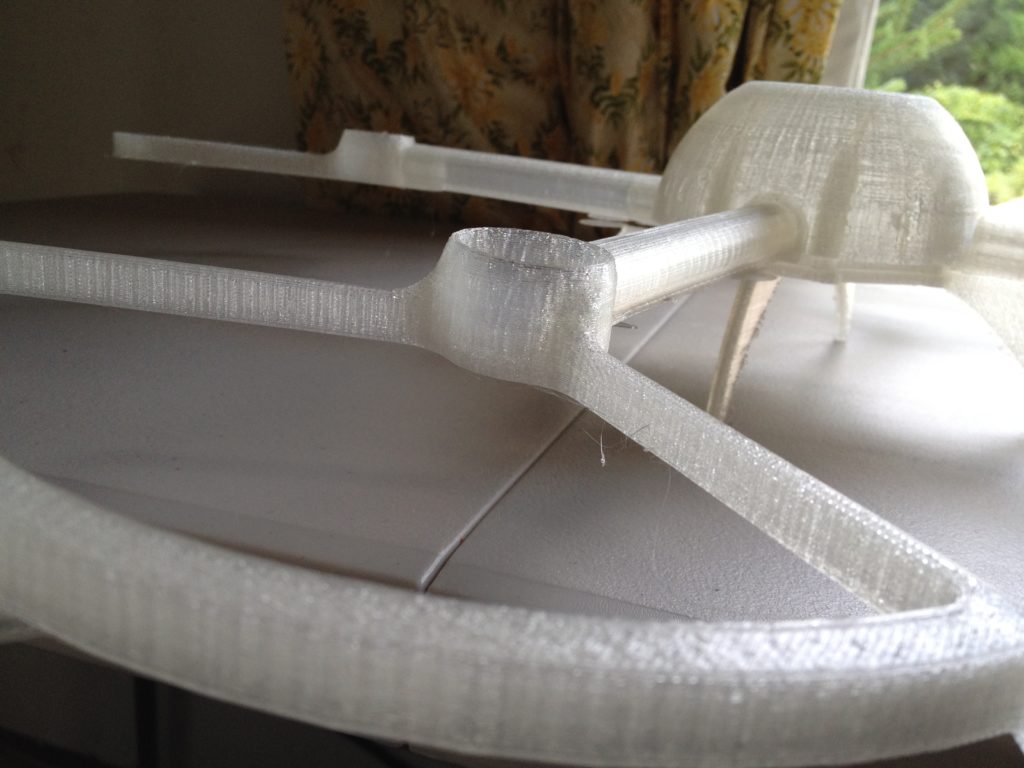
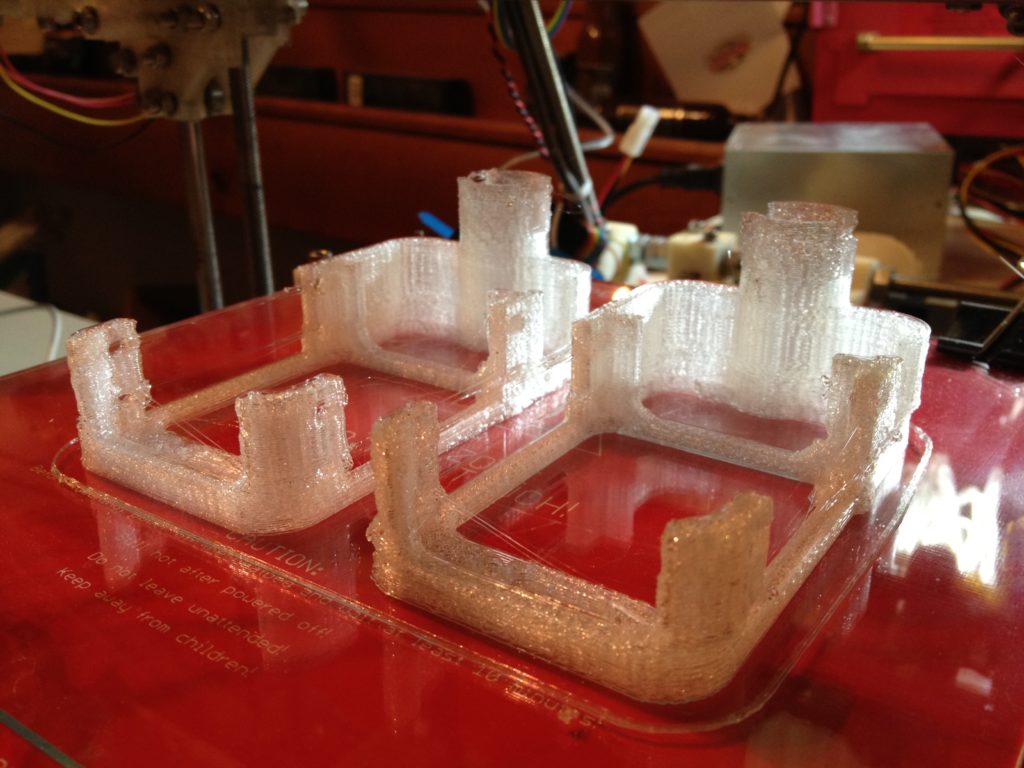
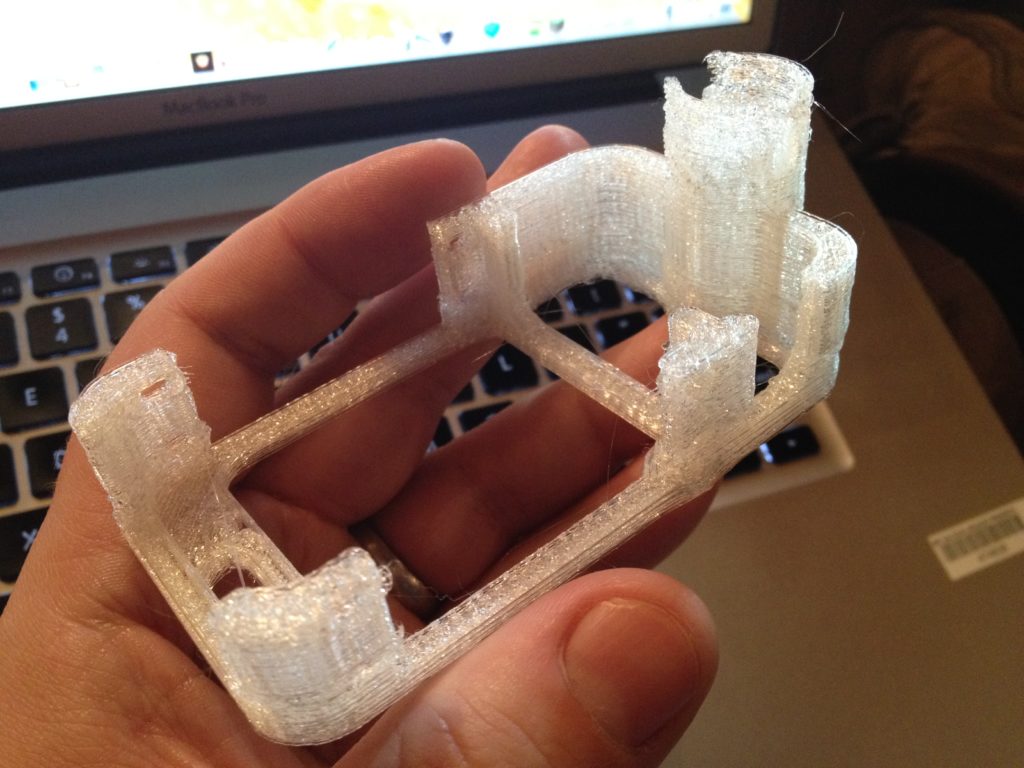
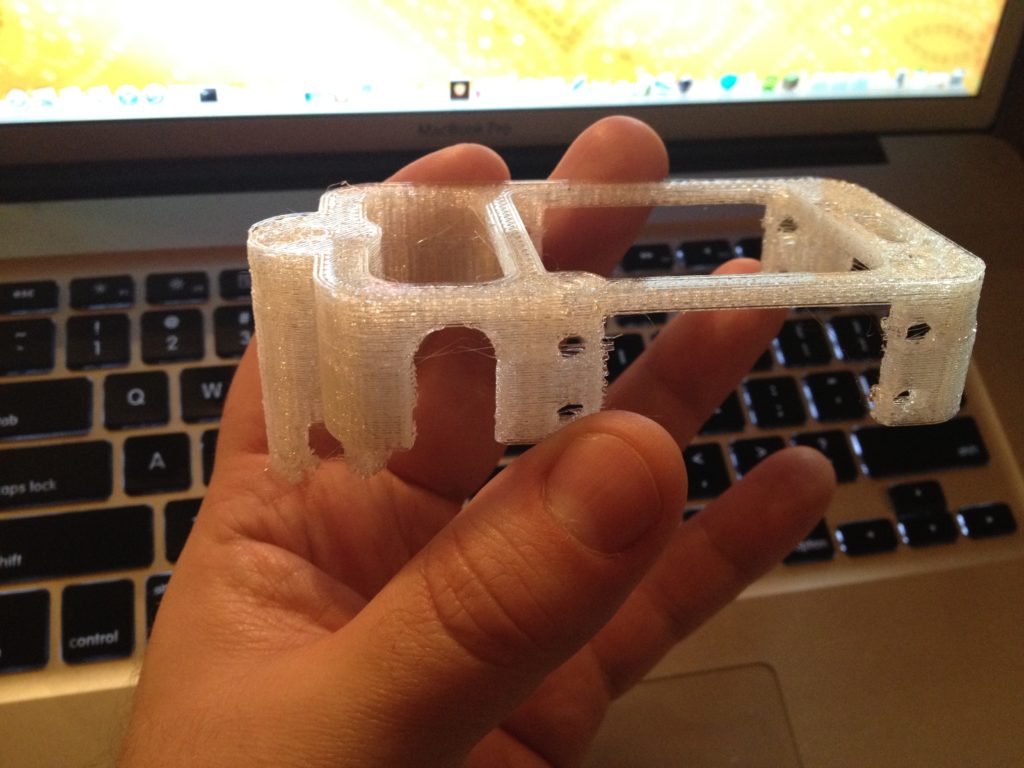
The last parts were the combination motor-mounts-and-propeller-guards for each of the four arms. I used the ones from thing:18106. Here was the first one:
I was able to print two more..
Man that looks cool..
That picture of the three attached propeller guards was taken on April 9th 2012. Then I started running into problems, and I didn’t know why. Little did I know that some of these problems would stick with me for the next year or so. (By the way, it’s good for me to go through this history as I blog about it a year later, as I can start to see from a 30,000 foot view what actually happened).
REMEMBER THIS POINT IN THE POST!
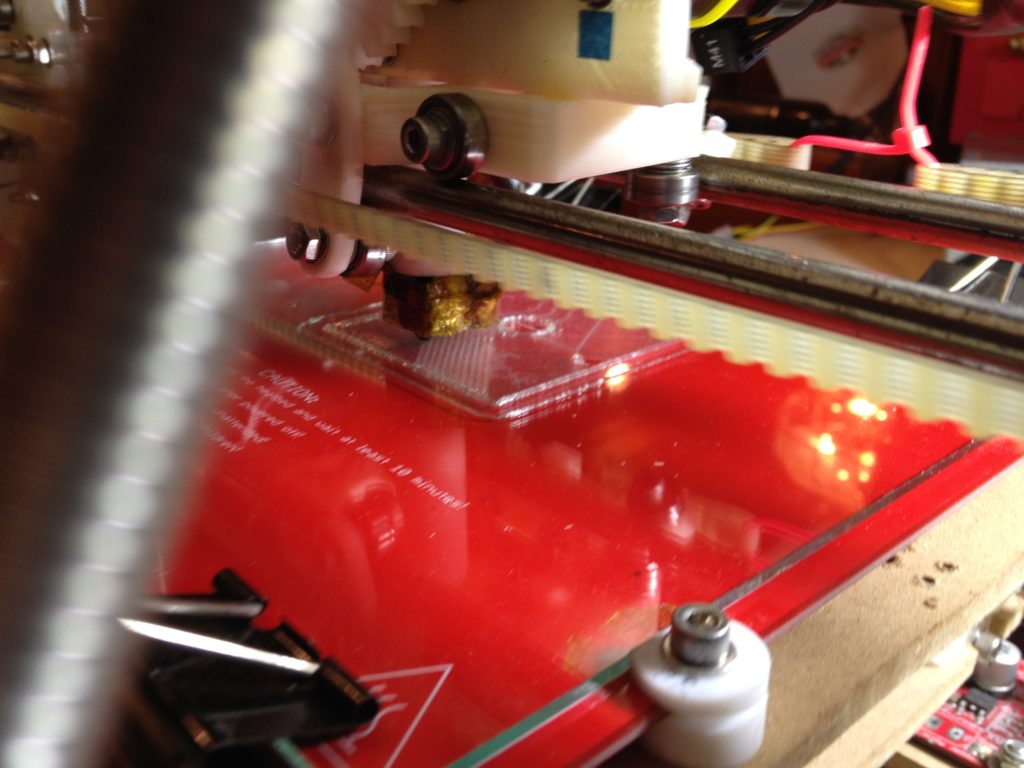
Two days later I took these next two pictures. What was strange was that there was a shift in both the X and Y axes (which also happens later in the year but for a completely different reason). I think this time was a one-time problem:
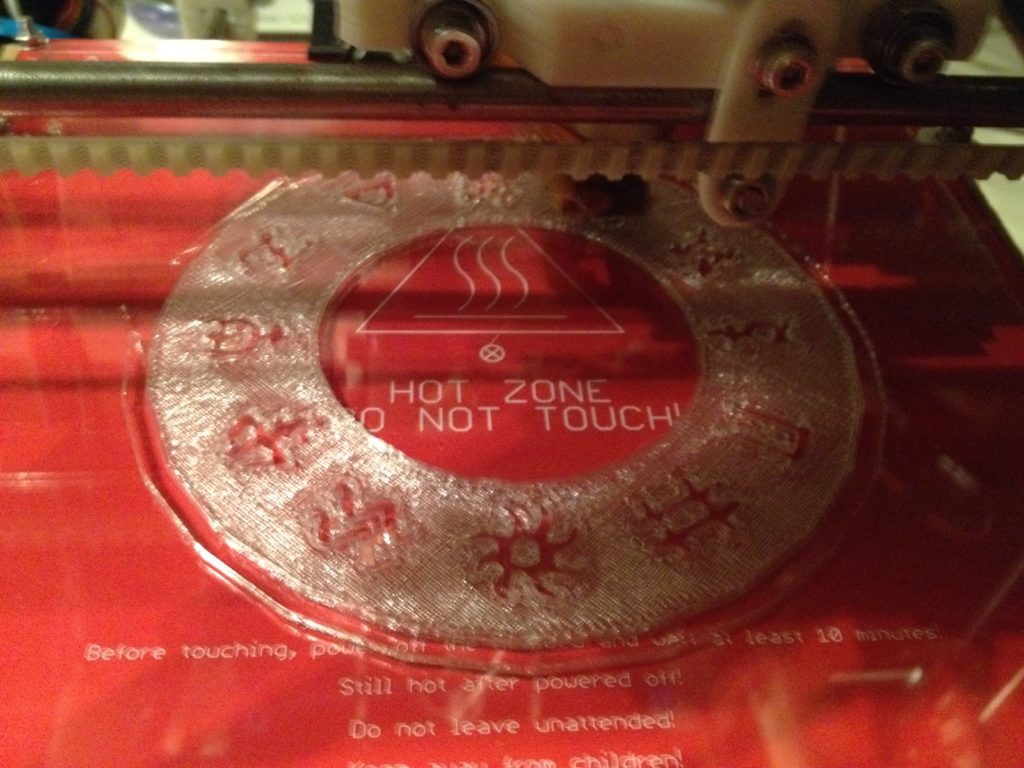
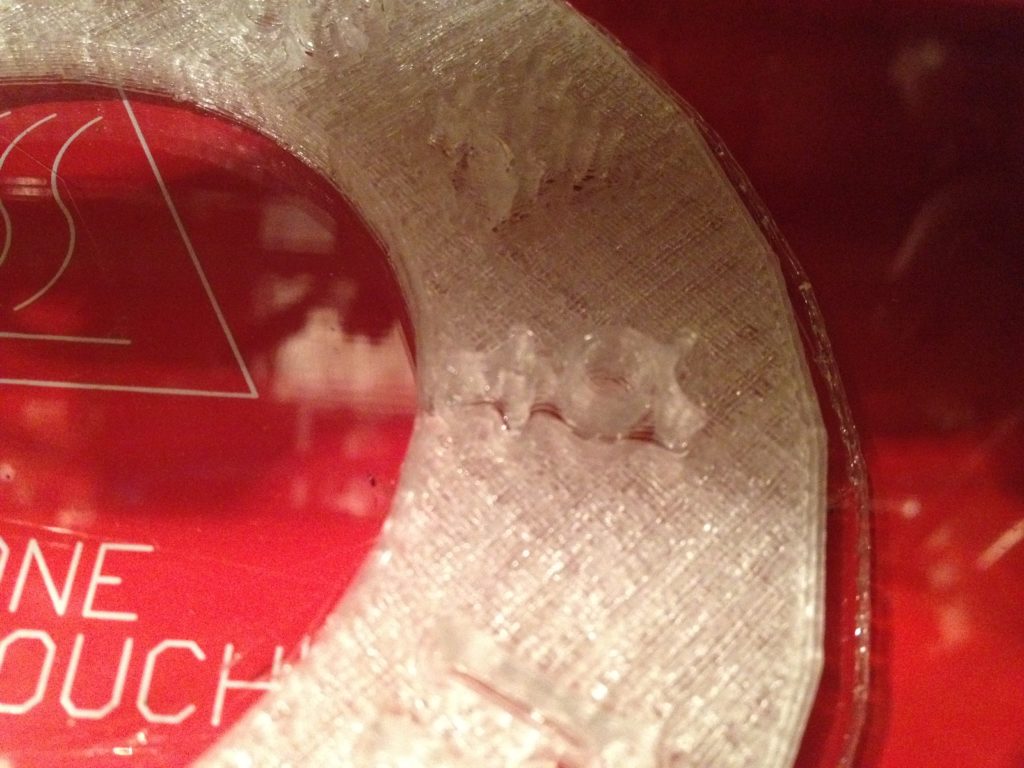
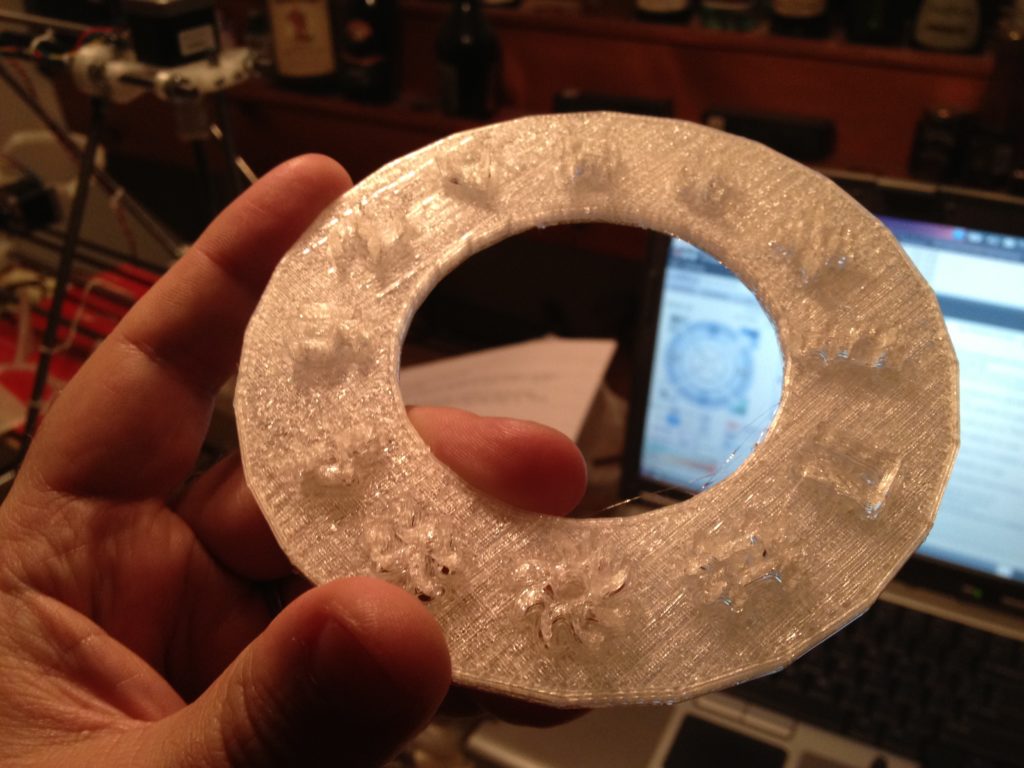
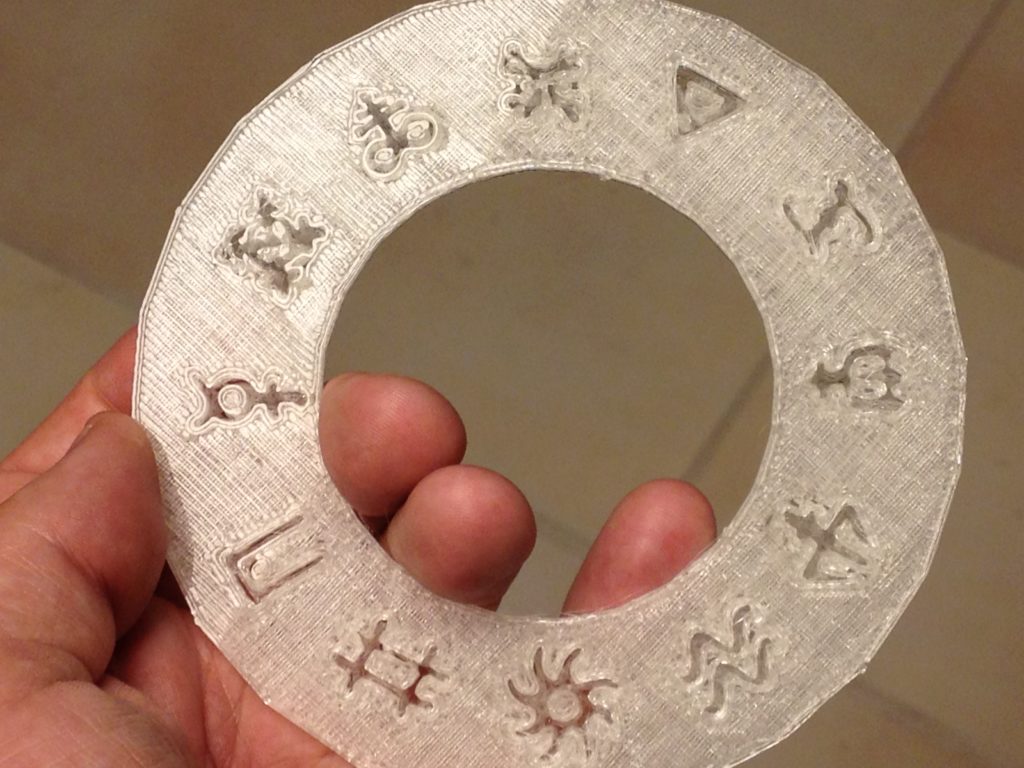
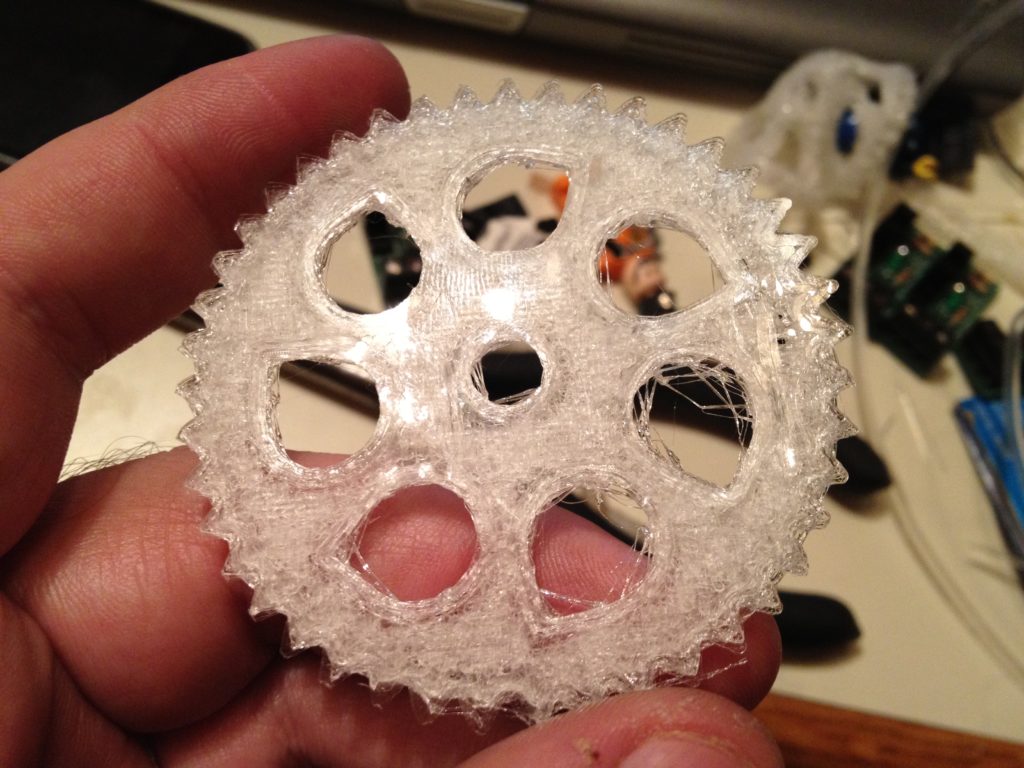
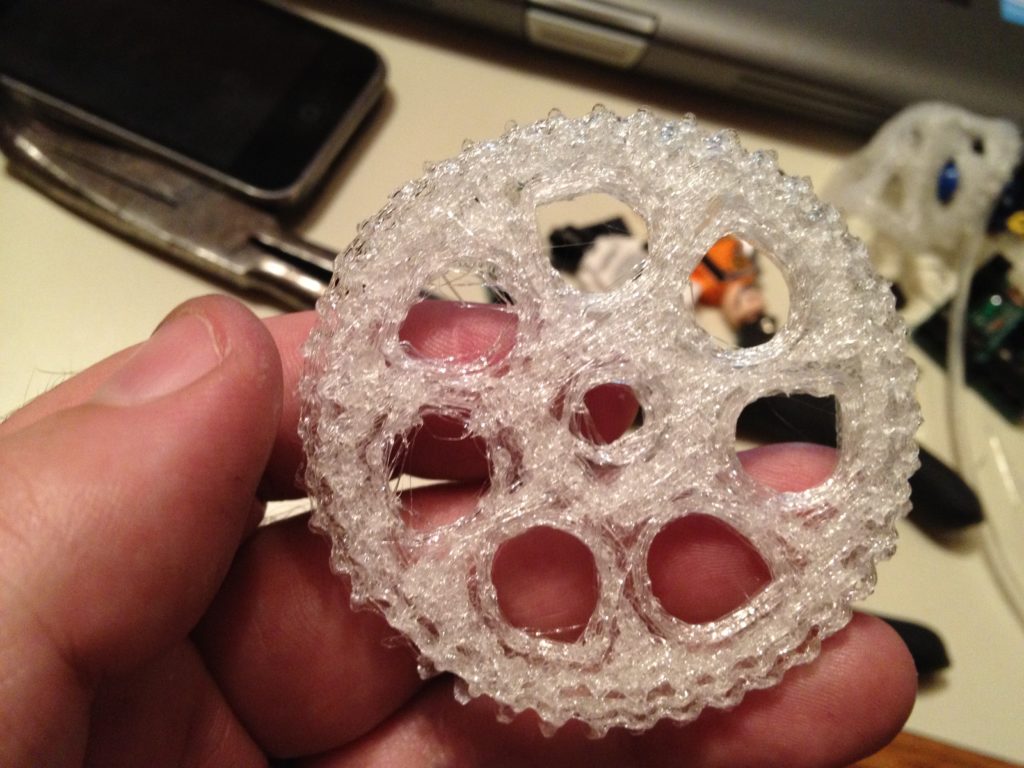
As often happens after a failure, I got a bit sidetracked. You see, my favorite band is Rush, and within one week they were about to release another single from their yet-to-be-released album Clockwork Angels. In previous singles we’d seen this interesting clock face, and I decided I wanted to model it (I figured someday it might make a nice actual clock). I modeled and successfully printed it:
I used Google Sketchup for this, and because of how I pulled up the symbols, it ended up with a weird quirk that I decided to keep – not only were the symbols raised, but holes were left below it, so if you look at the back you see the symbols clearly too.
A week later I uploaded that to thingiverse on April 19th 2012 (here) on the release date of the single Headlong Flight, and someone later even created a derivative (remix) of it to make it bigger.
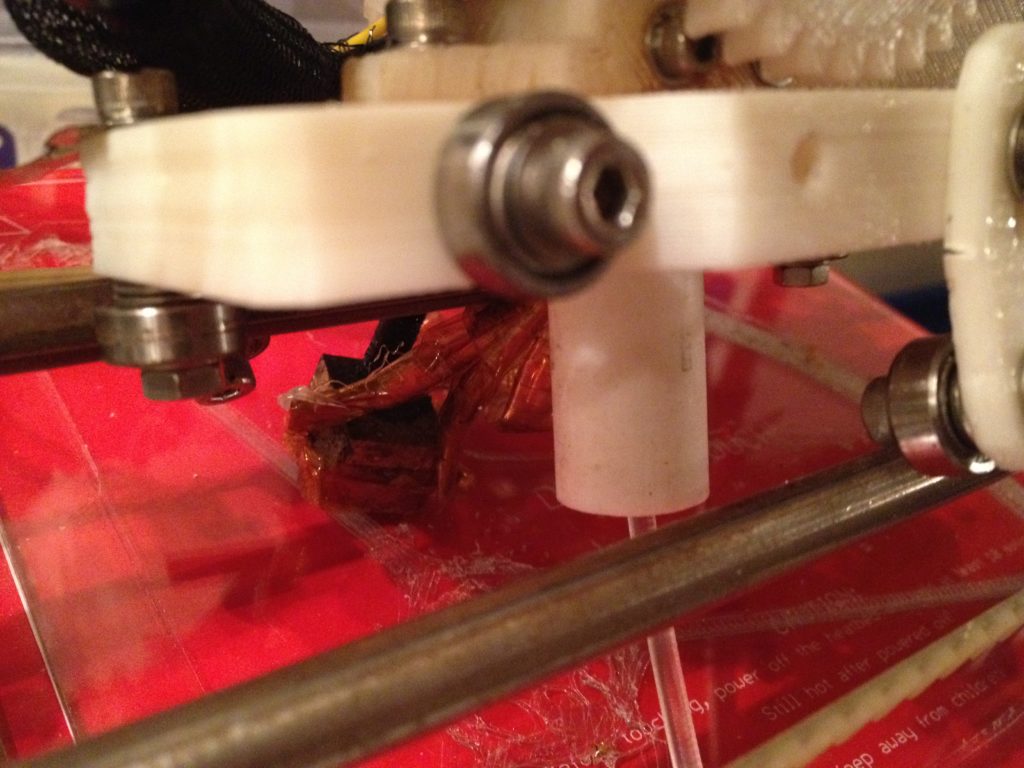
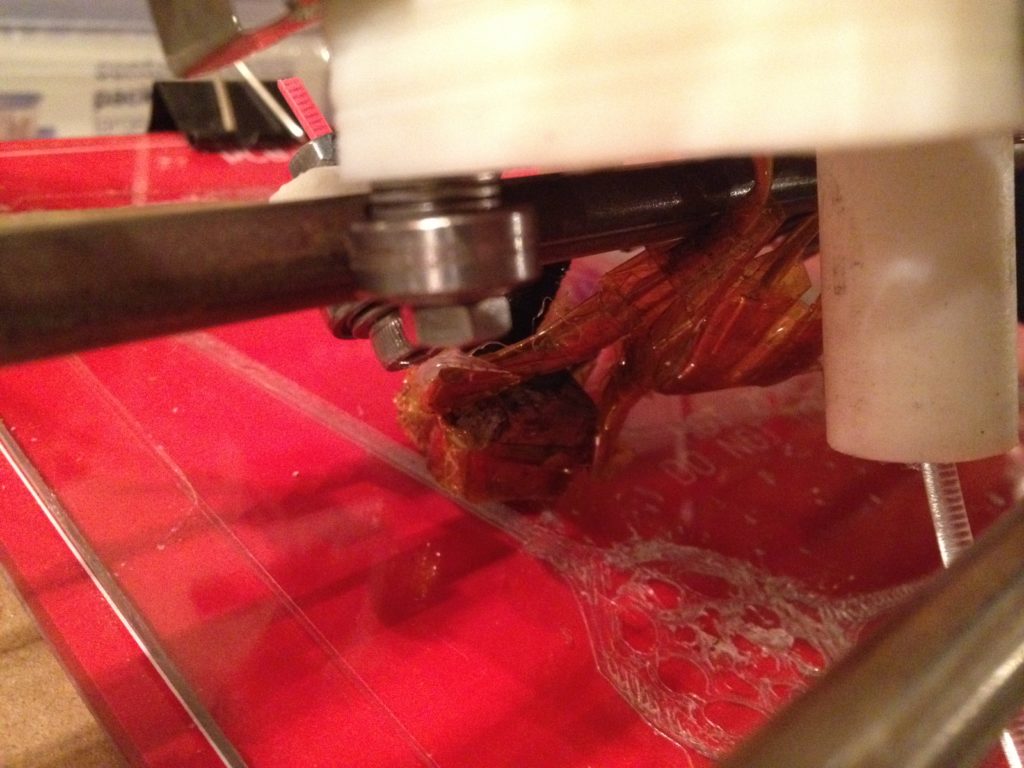
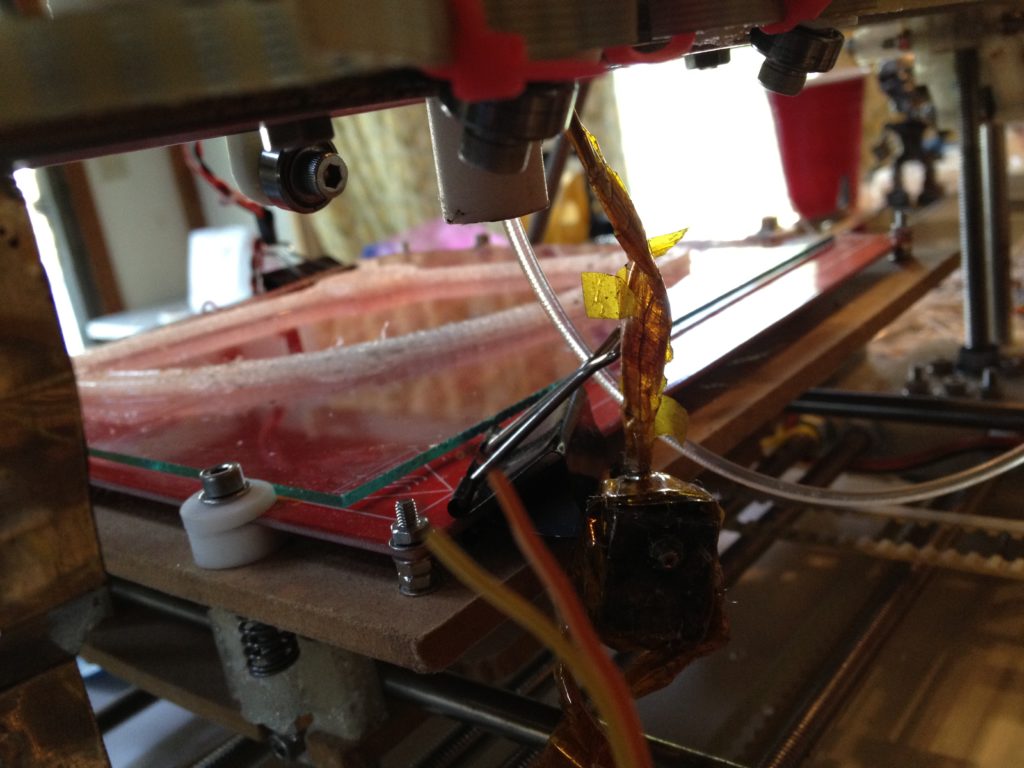
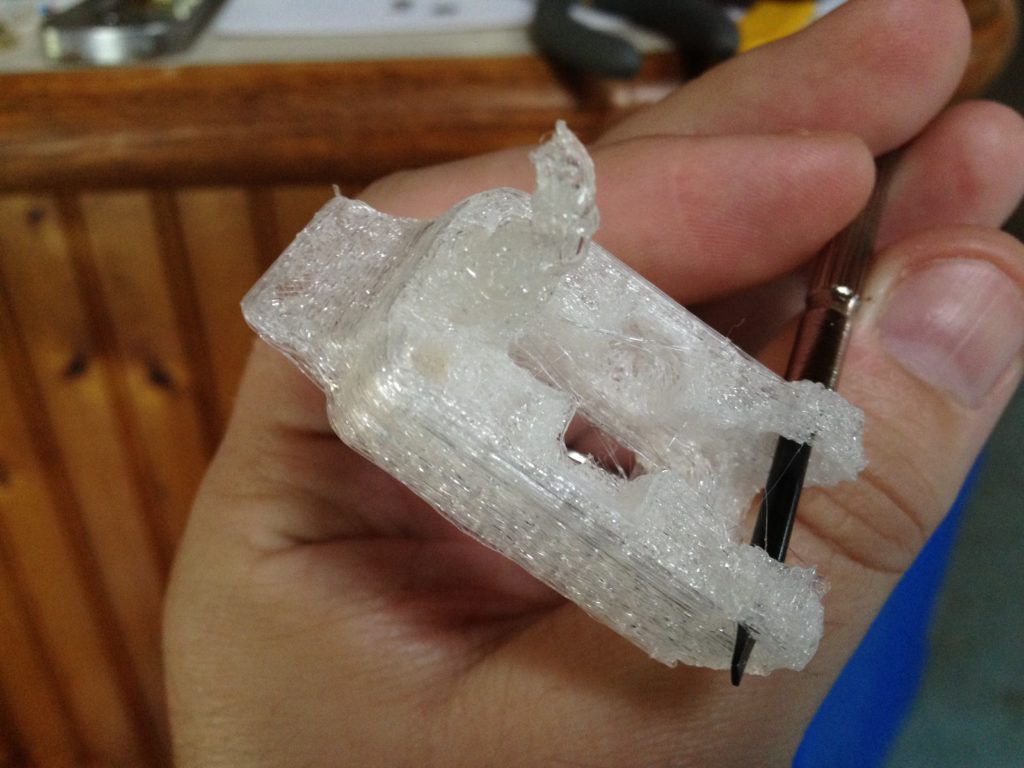
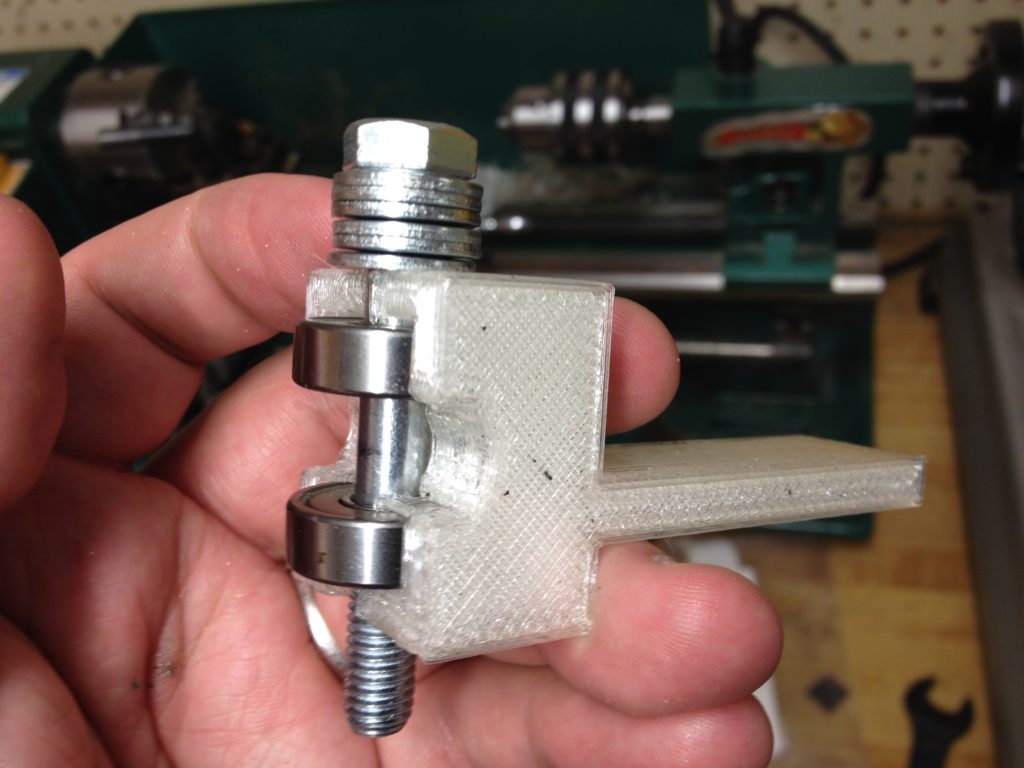
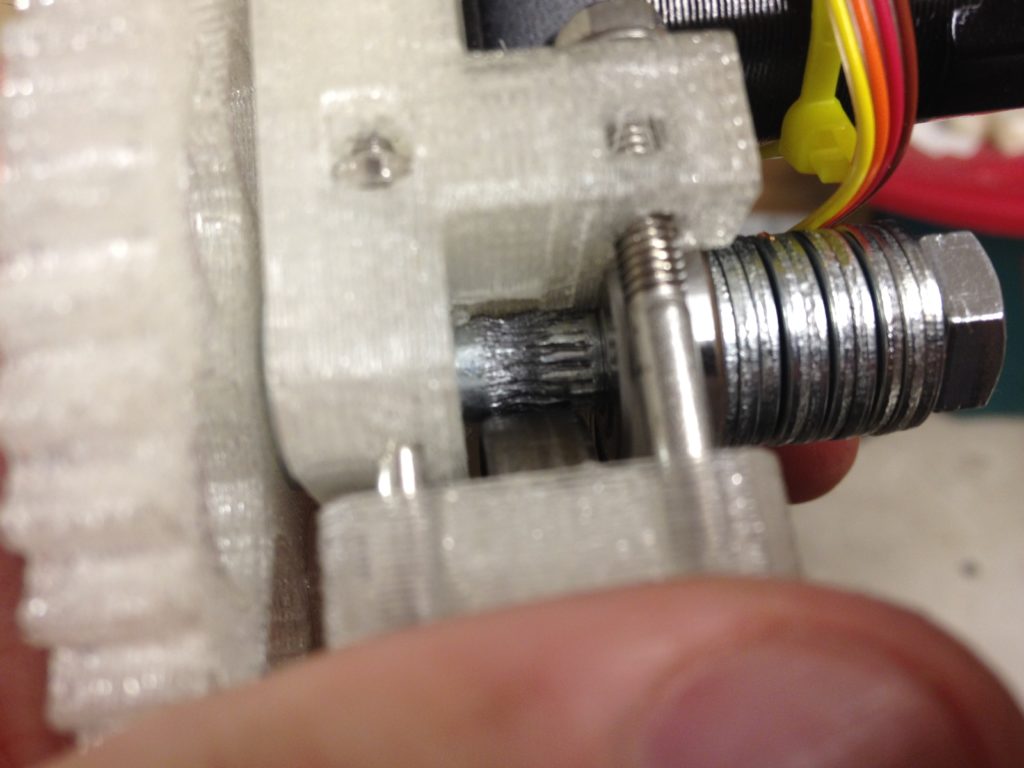
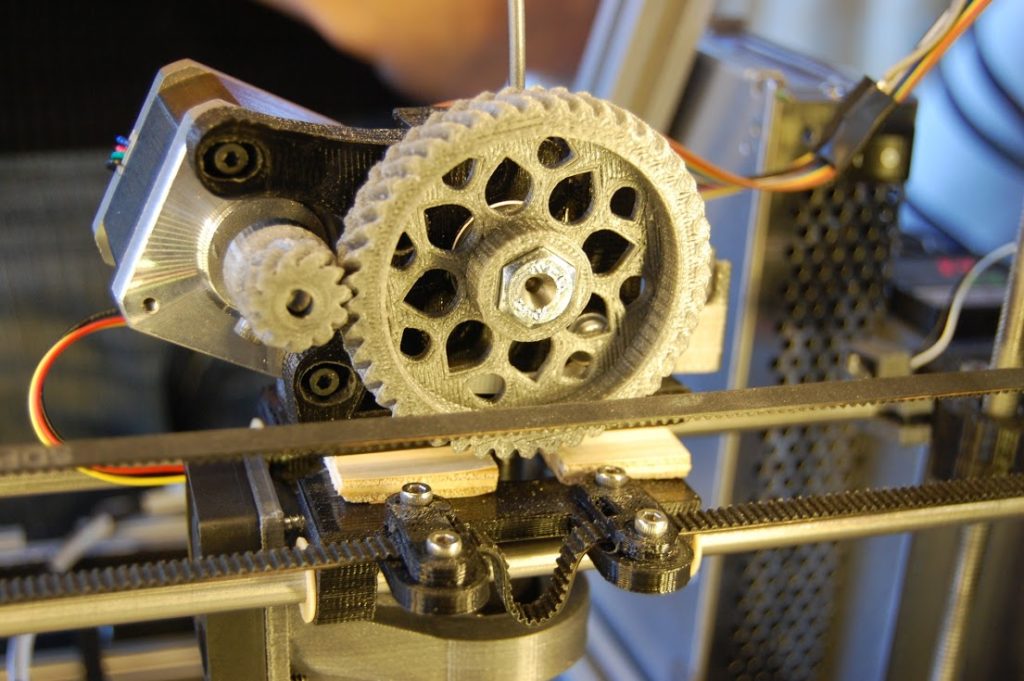
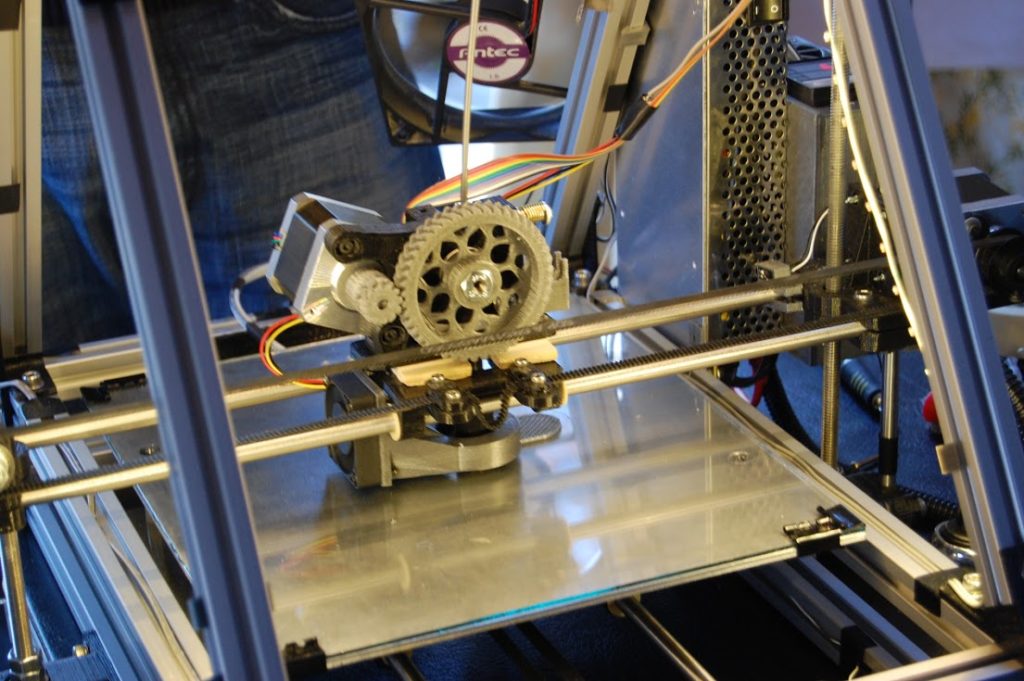
I tried printing the fourth propeller guard again, and had another failure. This time the extruder pushed out of the old-style PTFE insulator that I was using. (Always take pictures of your extruder during failures.. this is really the only way that I have of tracking which extruder type I was using when, and when problems started).
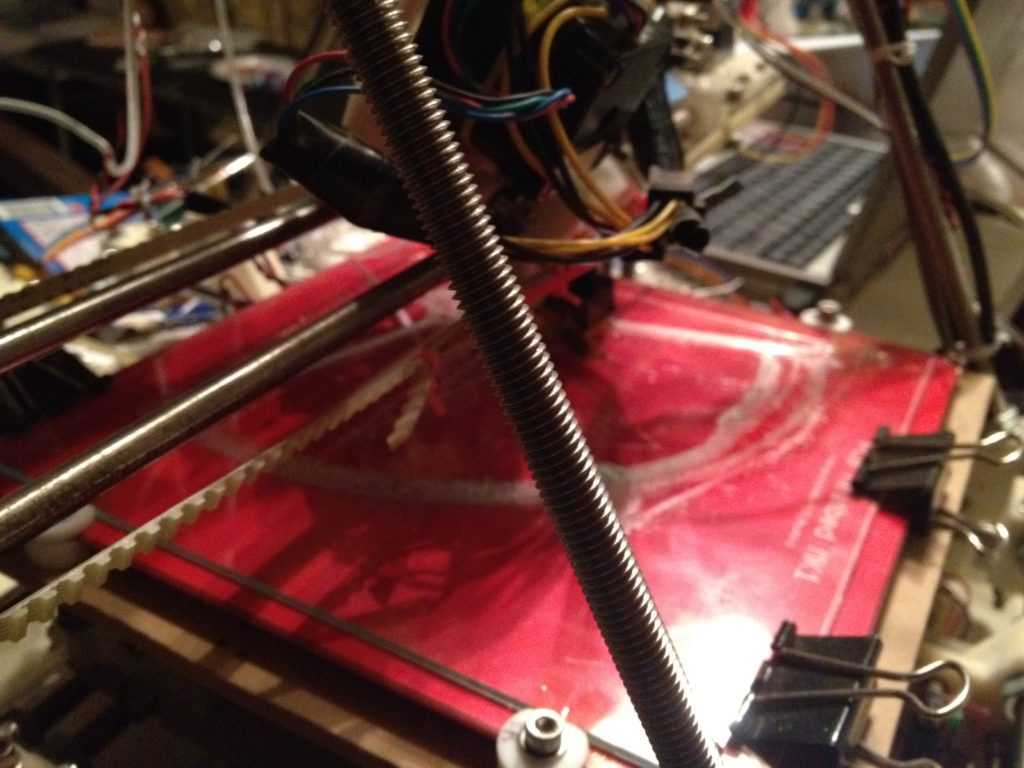
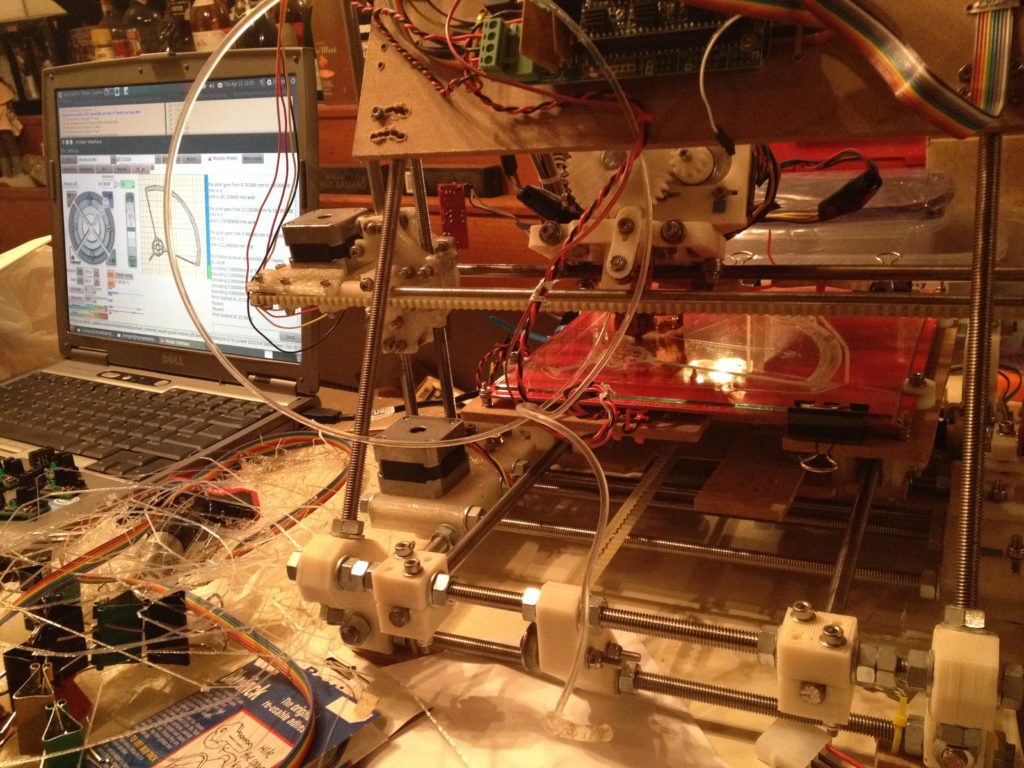
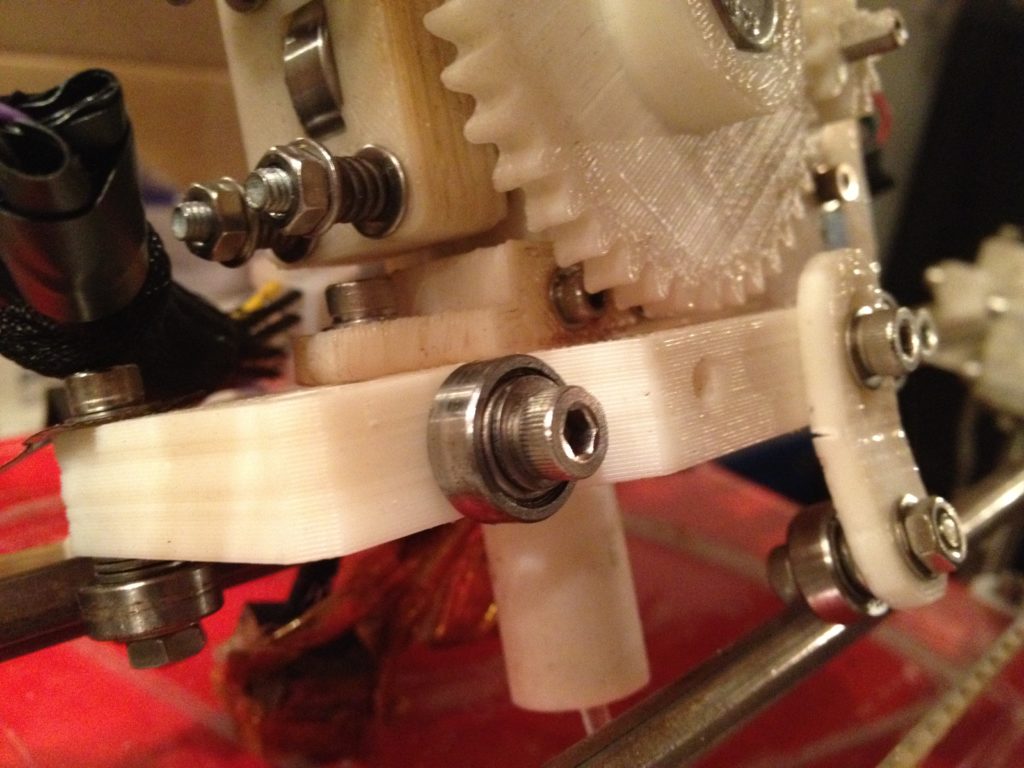
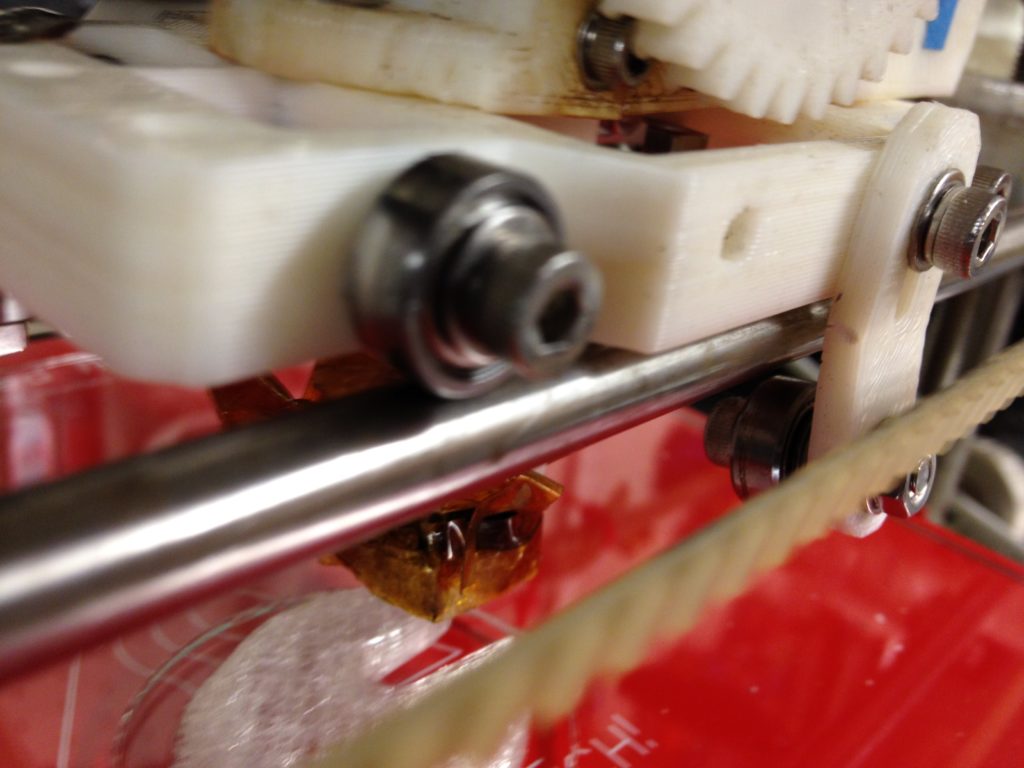
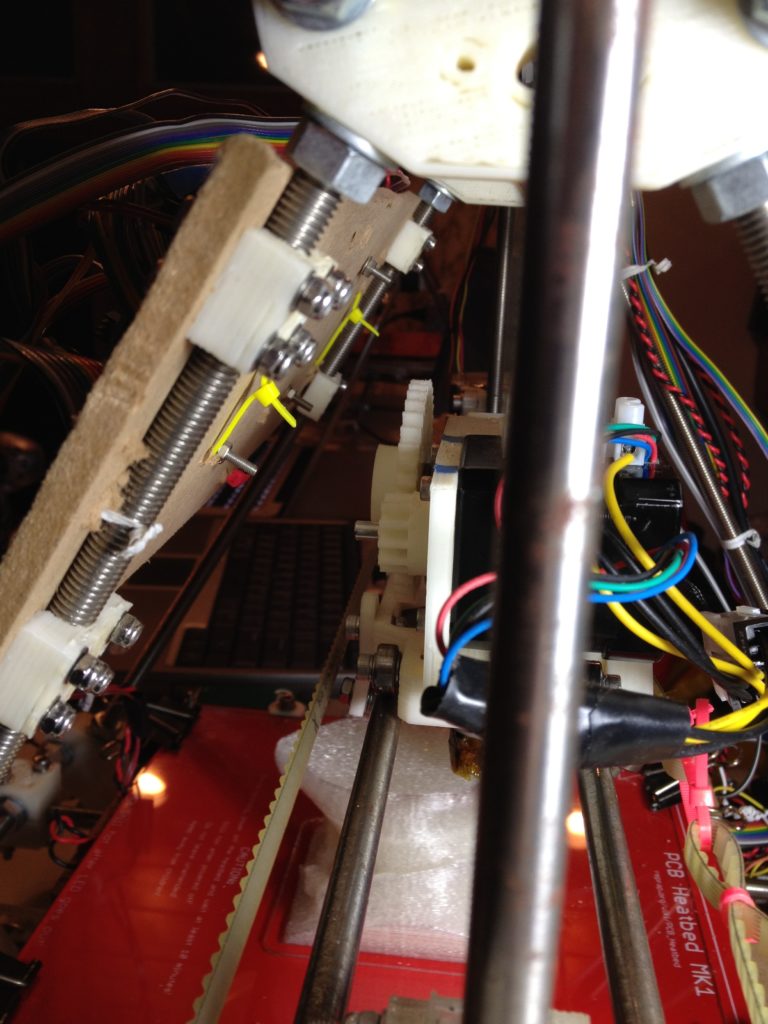
If you look closely at the angle of the extruder motor in this pic you can see it raised off the rails:
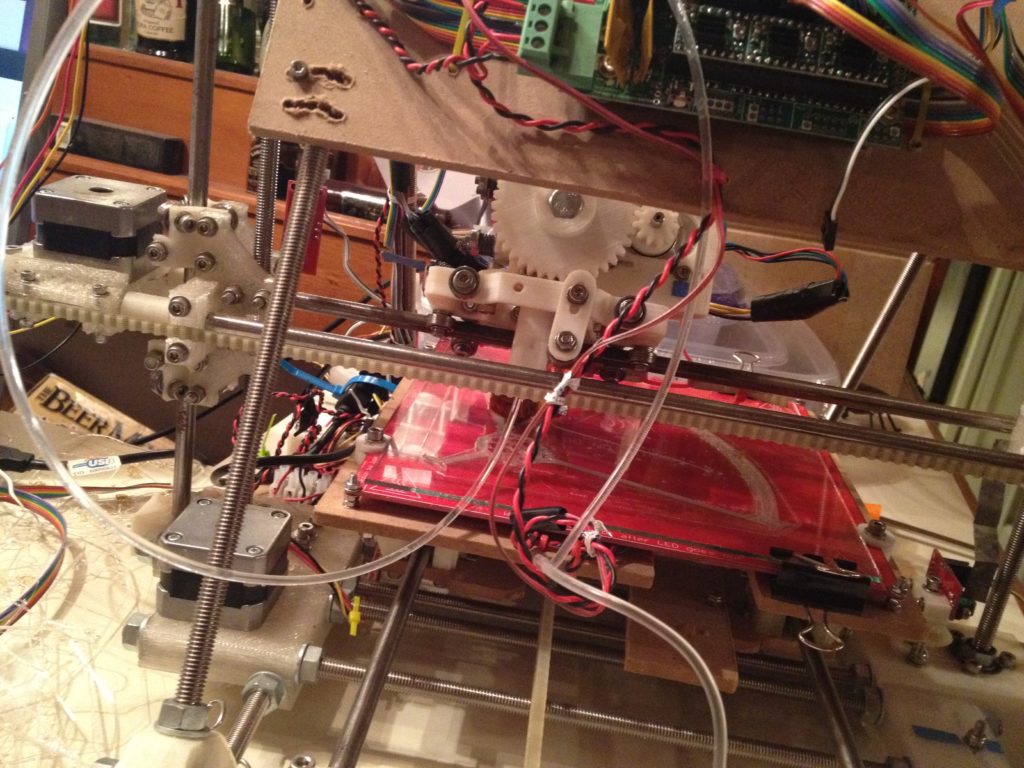
…which you can see far more clearly from the front:
What makes this failure particularly mysterious is that not only did it come off of the rails (which usually indicates a knot of some kind in the filament spool), but the extruder barrel also pushed out completely, and Wade’s Extruder just kept on pushing filament through (which implied that it WAS able to move plastic – there was no knot at that time):
In this one you can see the further cracking of the front oval piece of the OpenX carriage, holding a bearing:
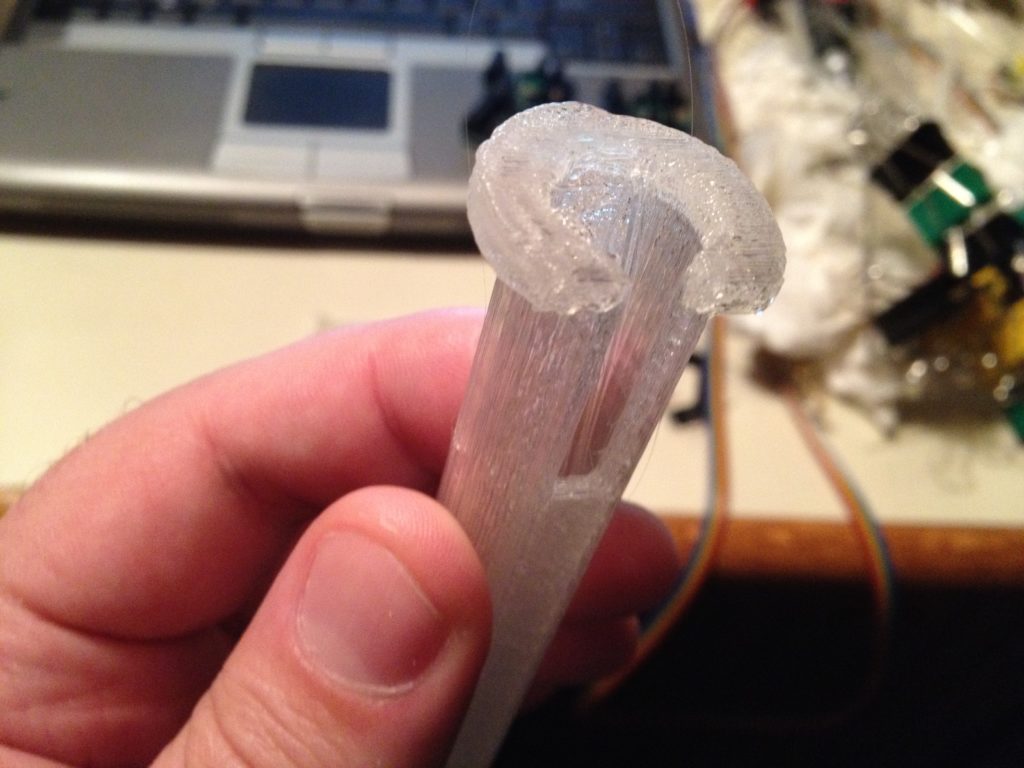
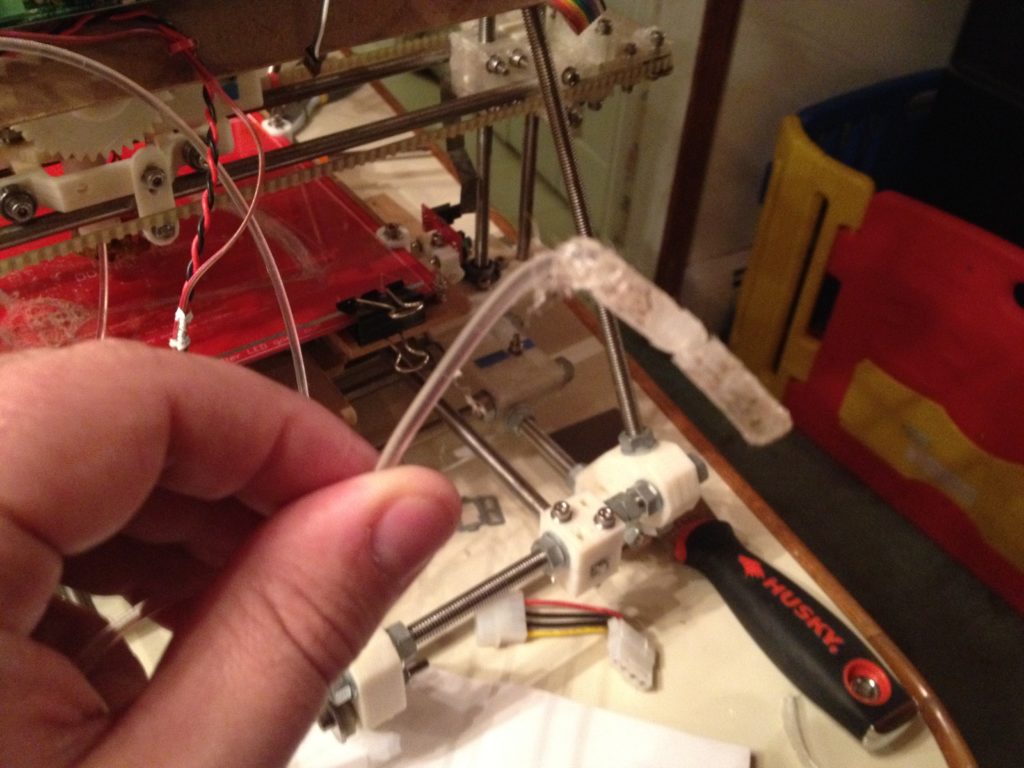
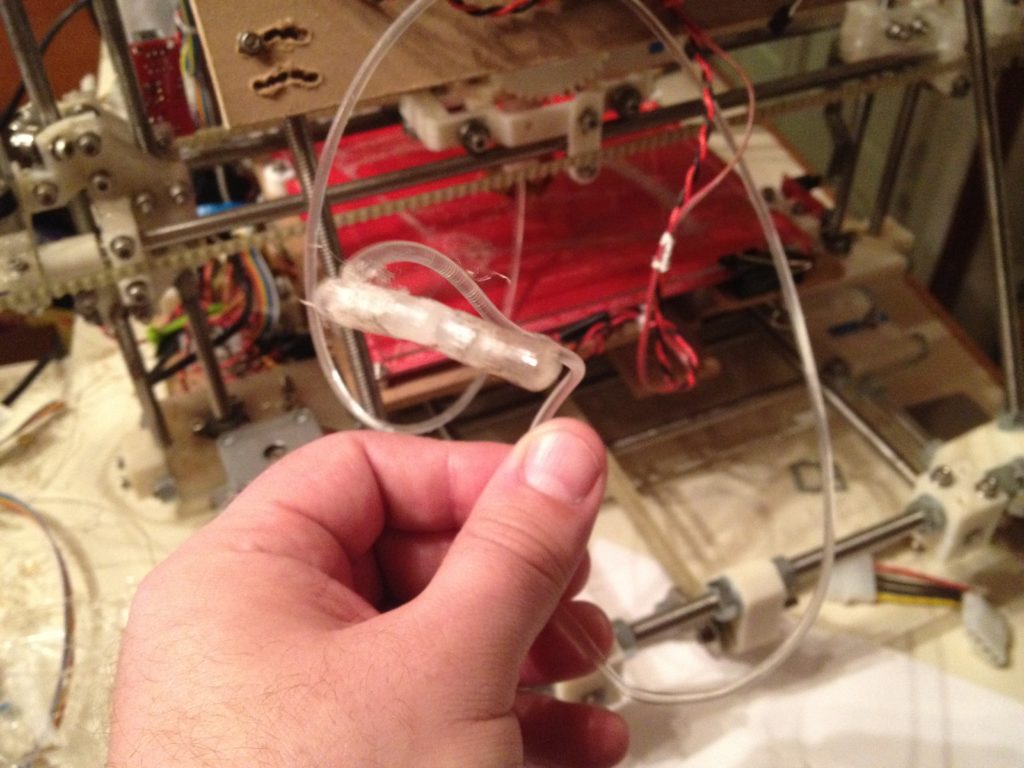
At the end of the filament is the culprit – a plug – which pushed out the barrel (or, maybe it’s just the innocent piece of melted plastic that came out after the PTFE failed on its own):
All I can think is that maybe after the heater barrel pushed out, the solid 3mm filament then pushed straight into the glass, and the continued pressure pushed the extruder off of the rails (made easier because of the weakened oval piece on the front).
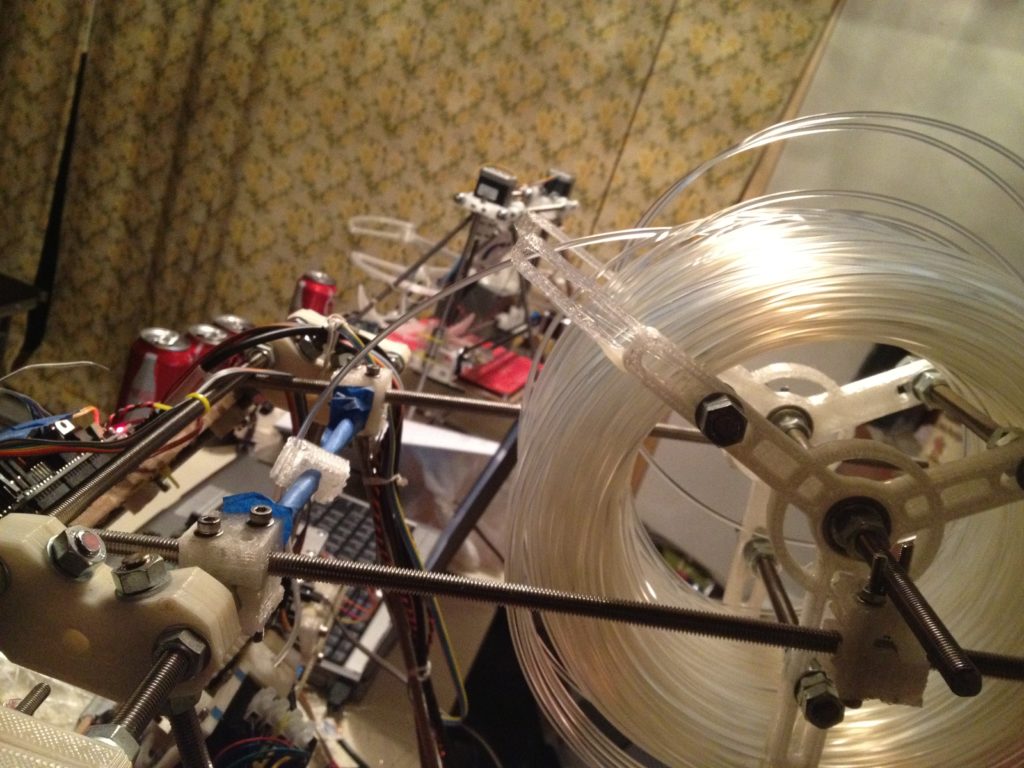
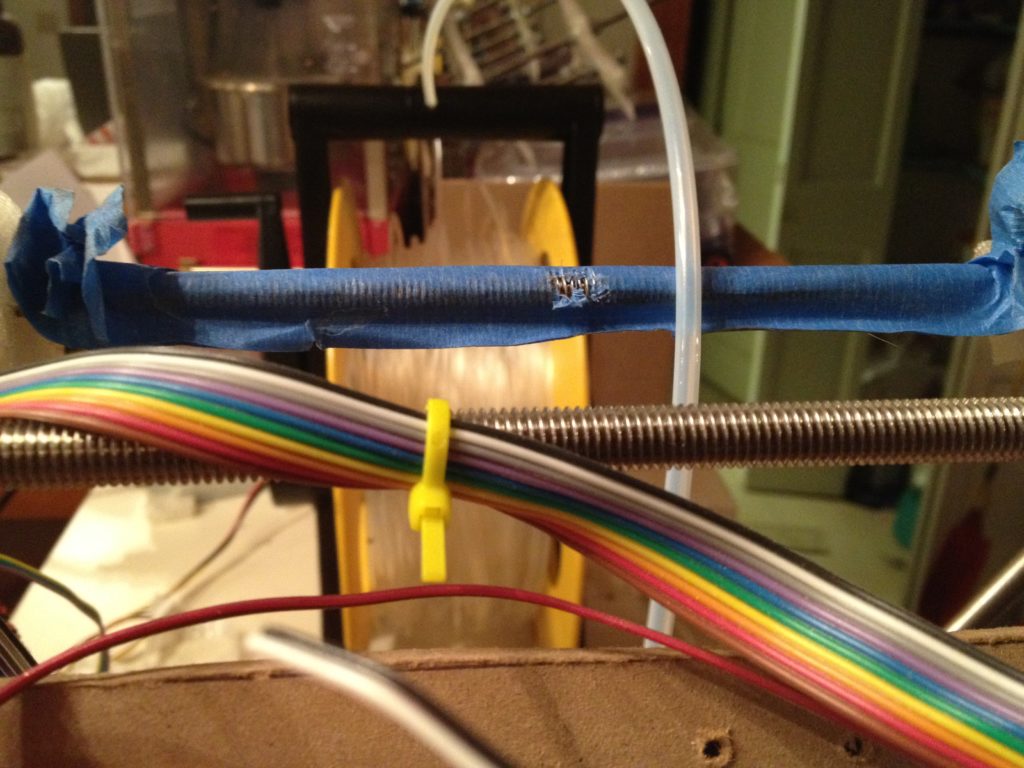
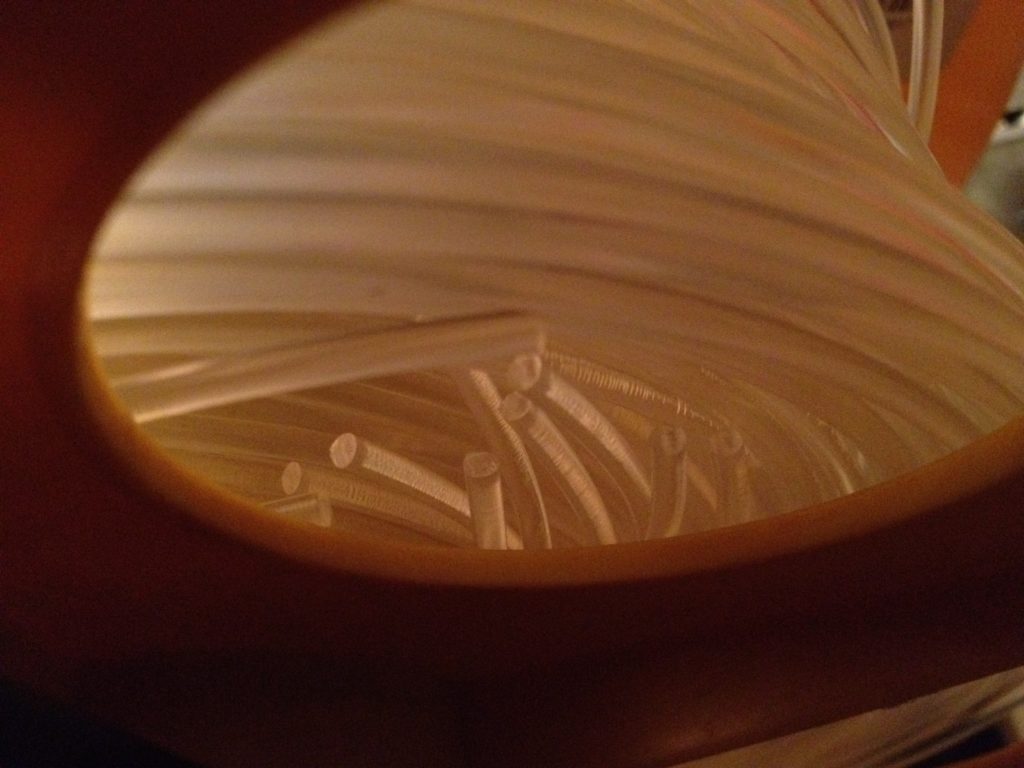
There WAS also a slight problem with the filament in the spool, but it wasn’t necessarily a knot.. It looks like the plastic here went over the side of the filament guides and around the end of the spool, which might have made extra tension which perhaps then relented. Who knows.
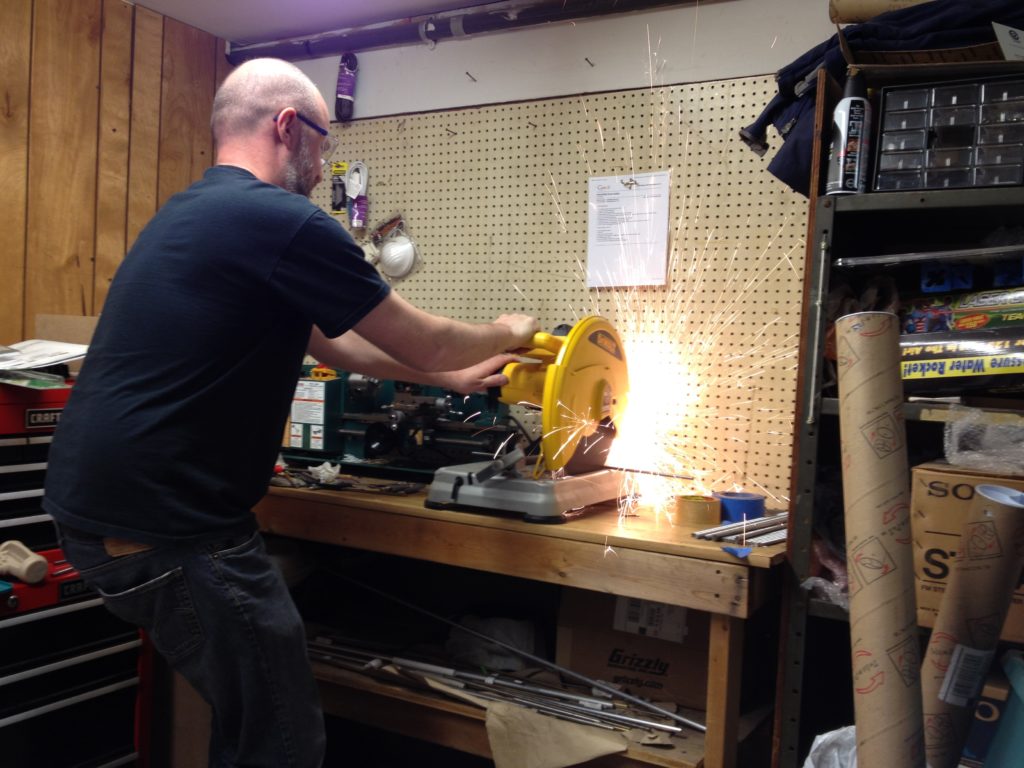
My brother Jon came up from Brooklyn, and while he was here I gave him his share of the large McMaster order (which had included nuts, bolts, washers, and rods for RepRaps for him, the Museum of Science, Joe Werther, and myself). Here he is cutting steel rods on my chopsaw, for one of my RepRap’s children – Jon’s RepRap:
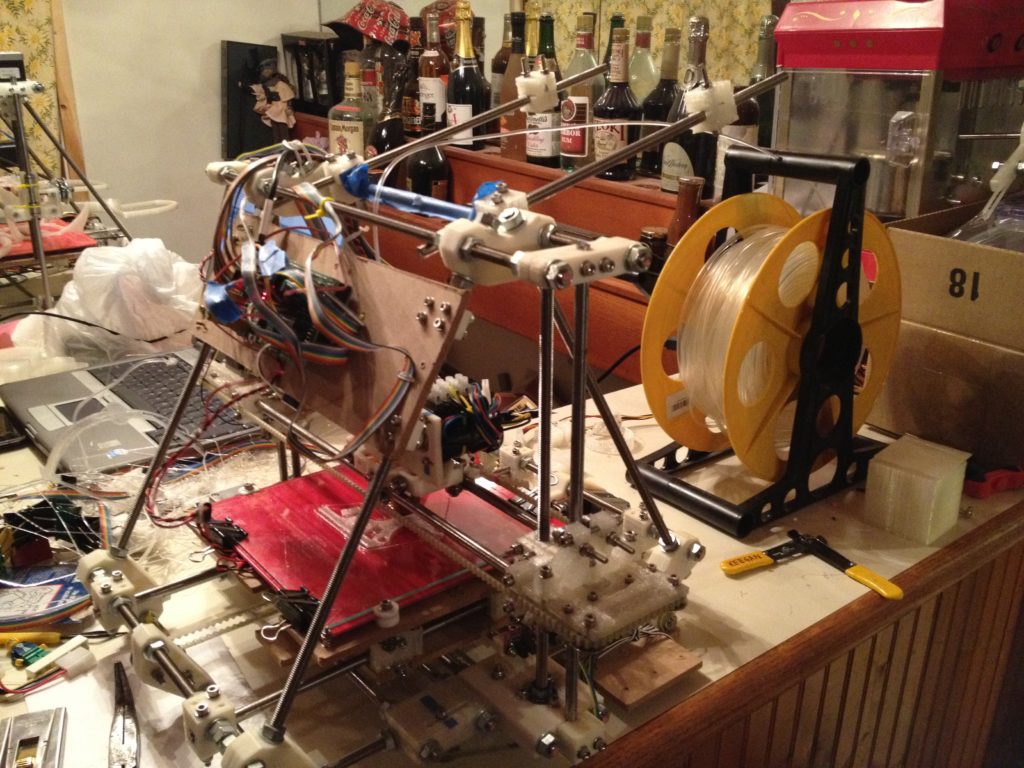
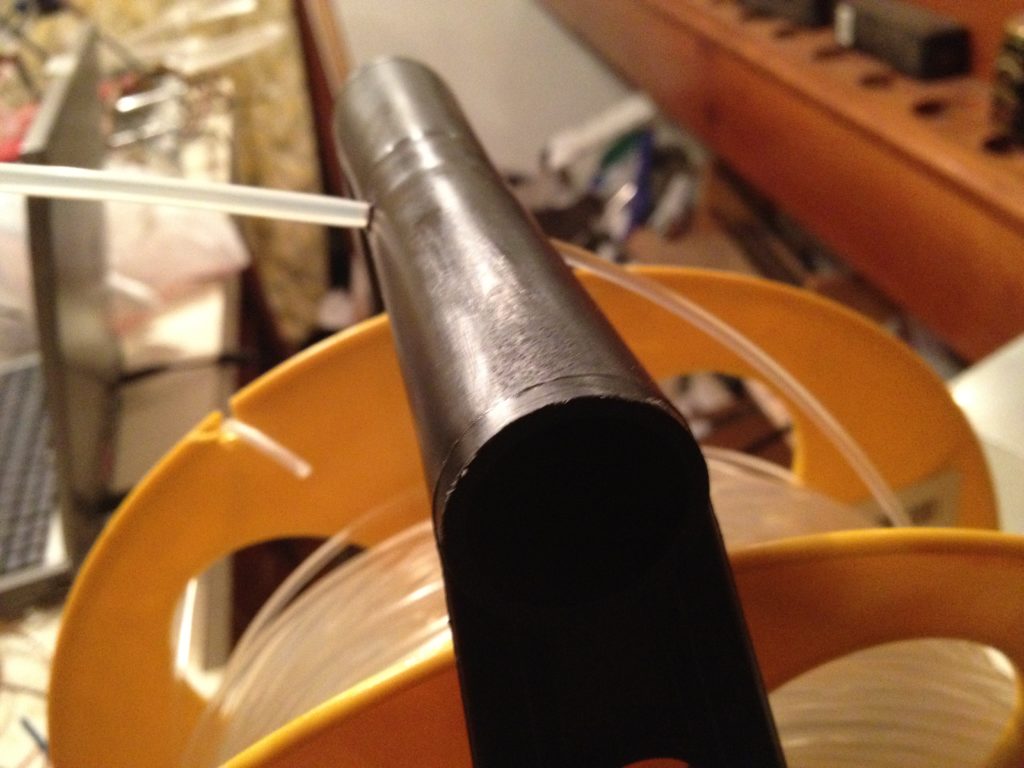
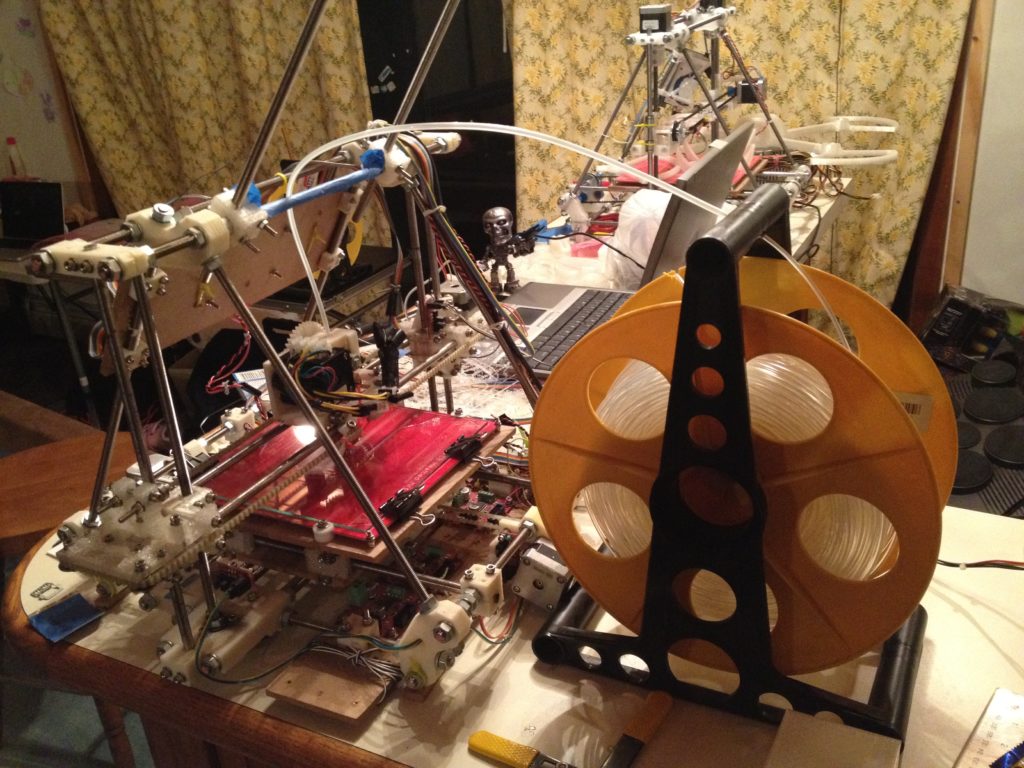
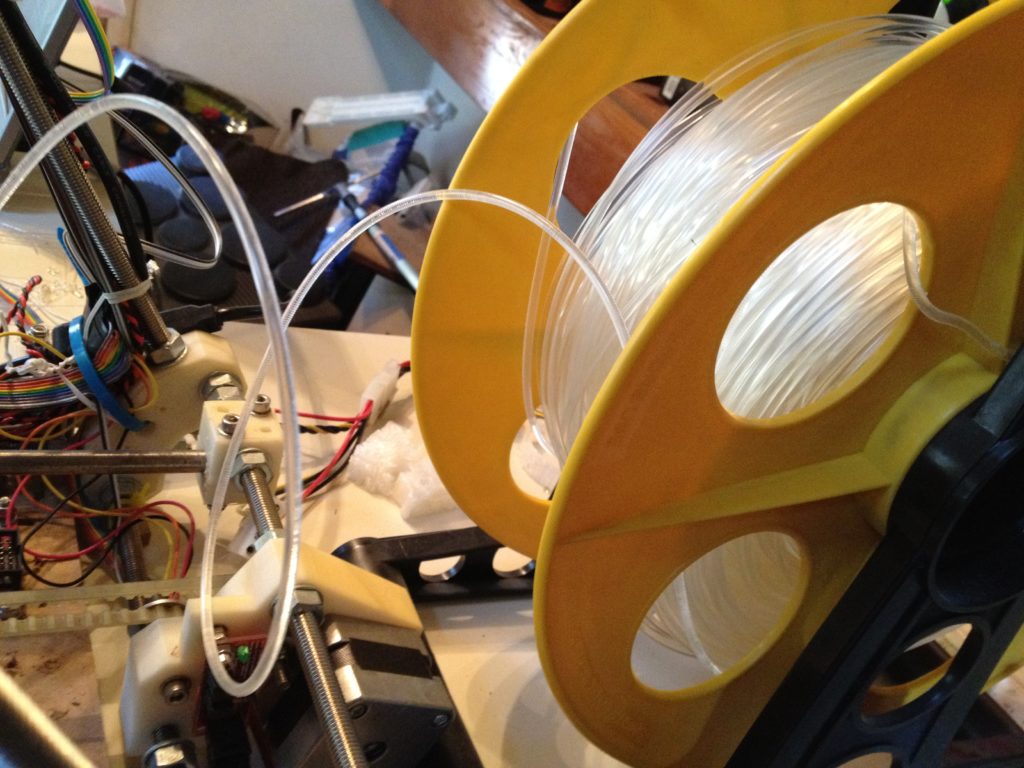
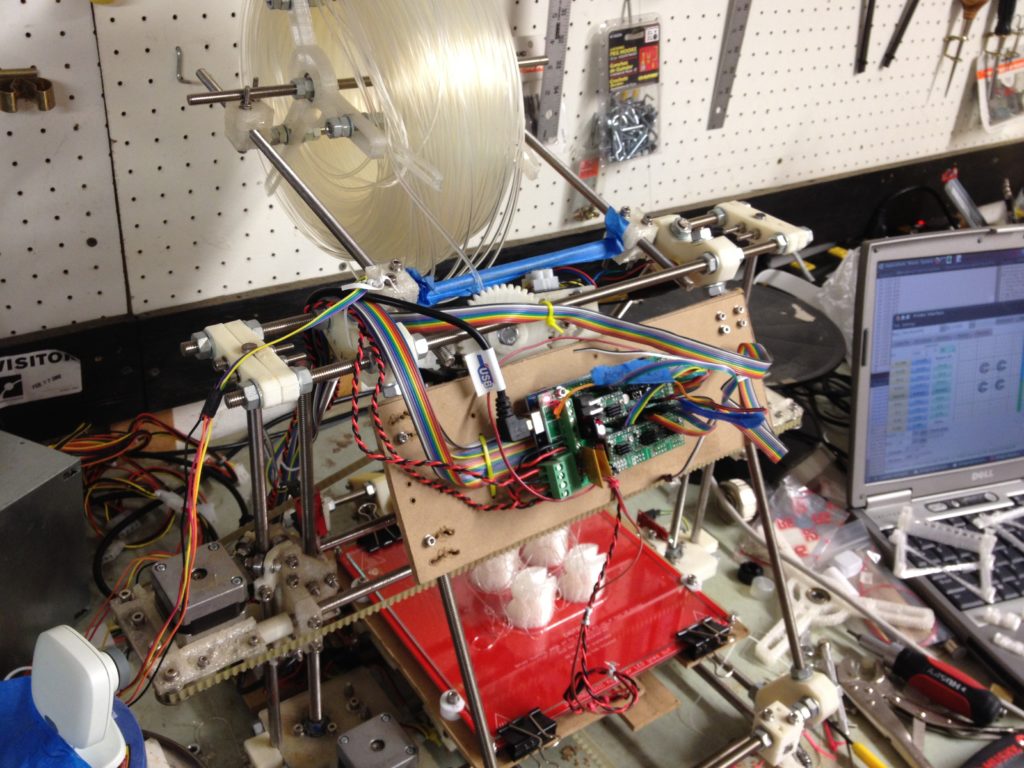
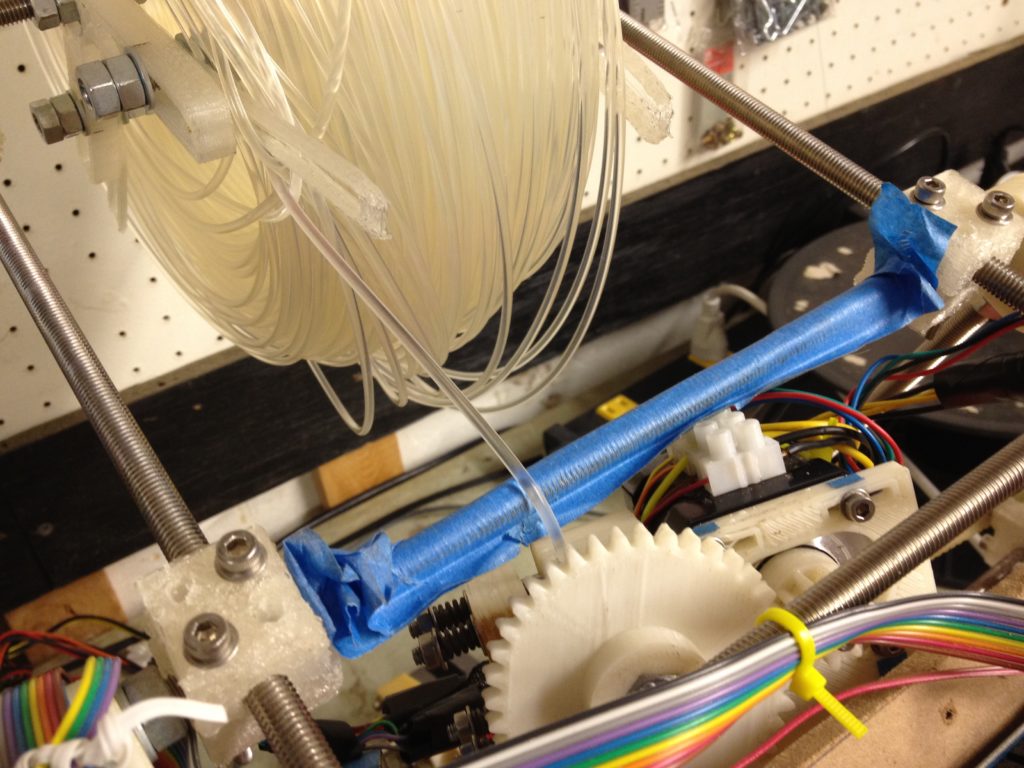
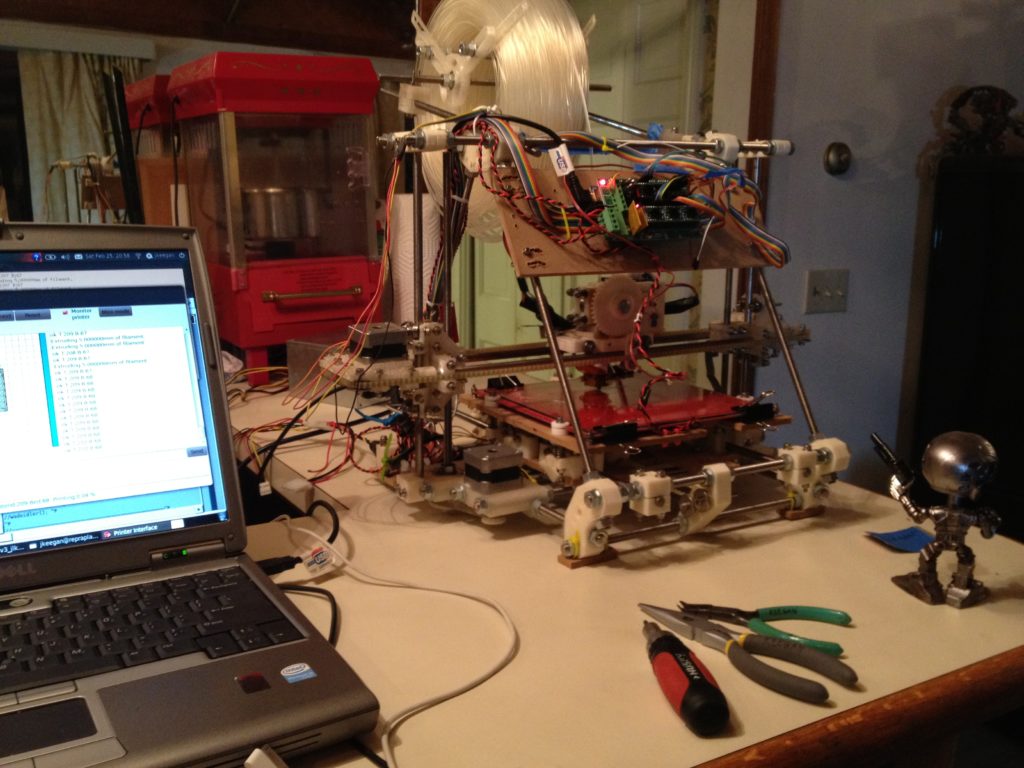
Next up – here’s some advice: don’t wind a coil of PLA off of one spool and onto another. You’ll see why below. I decided to give this a try after seeing Ross (TINYenormous) successfully use a Home Depot extension cord spool with his RepRap. At first I set it up like this, with the filament going through a hole I drilled in the handle and straight over the back top bar on the RepRap:
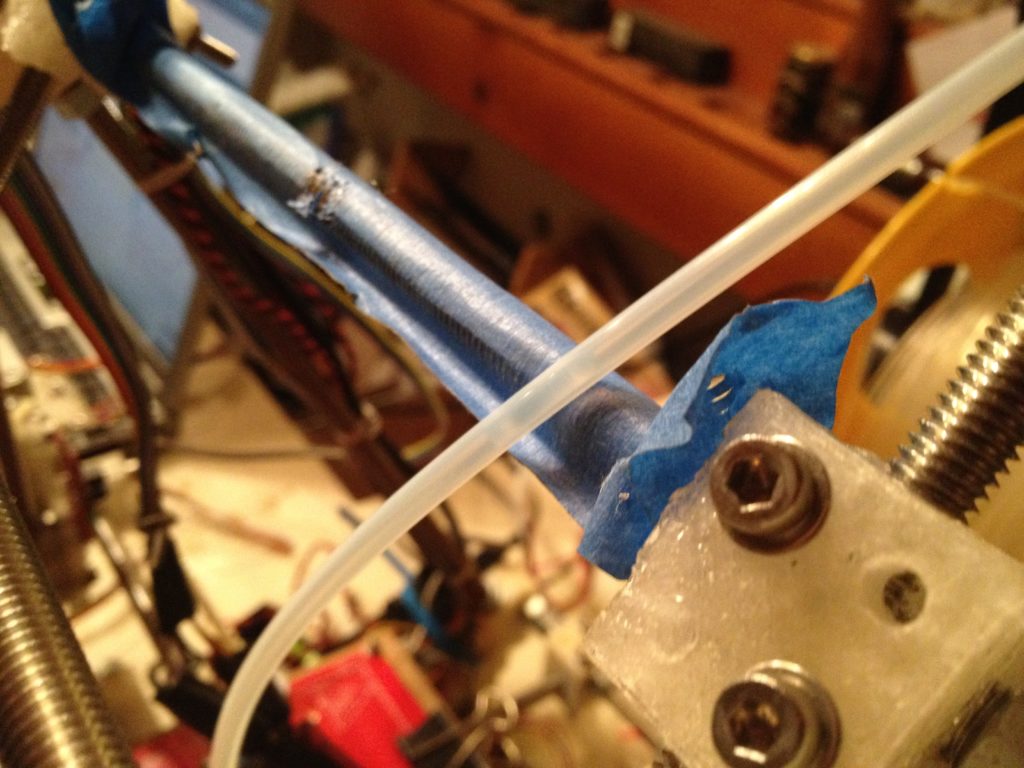
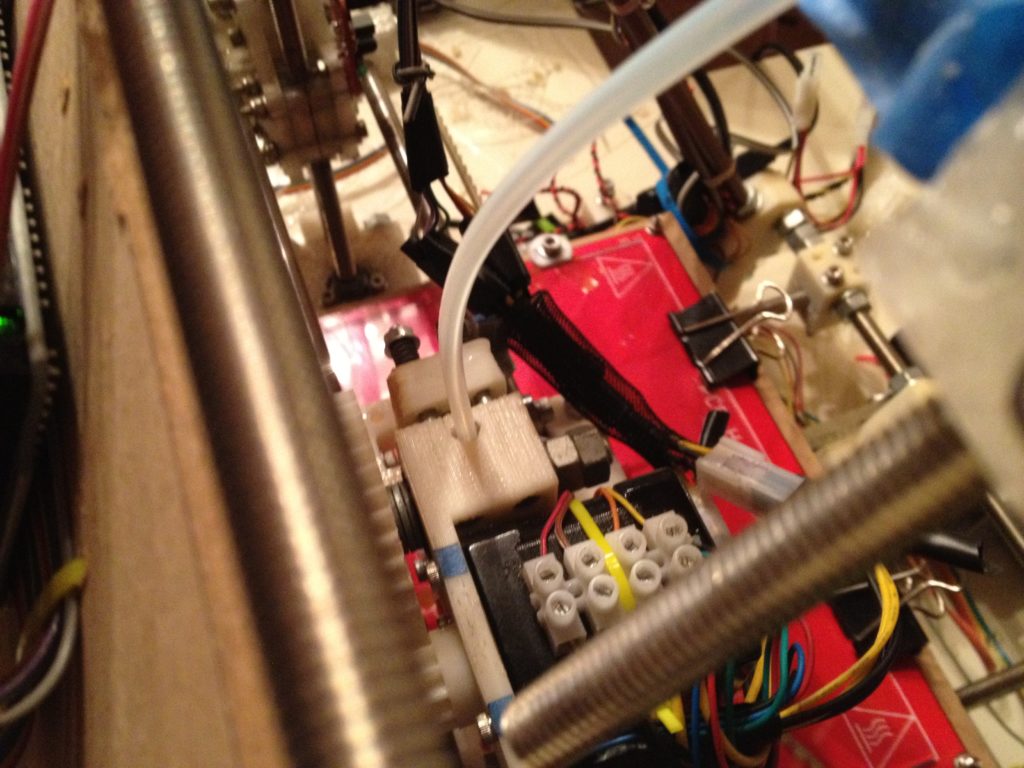
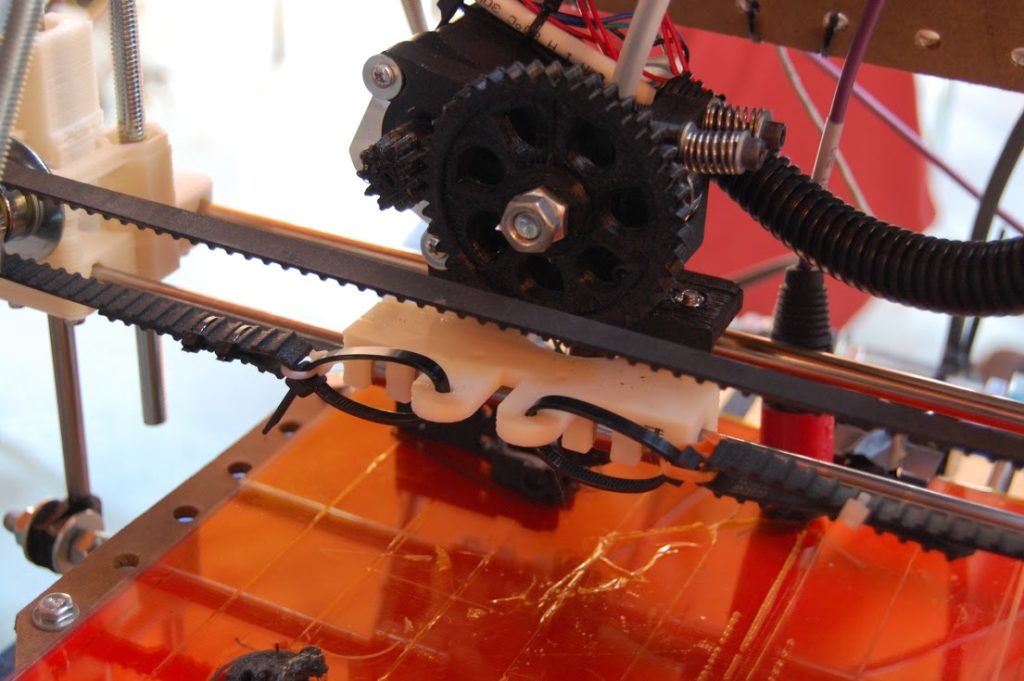
I later put some PTFE tube between the handle and Wade’s extruder. Unfortunately I didn’t have a good “stop” on the Wade’s side and it later pulled the PTFE tube in and chopped up the end of it.
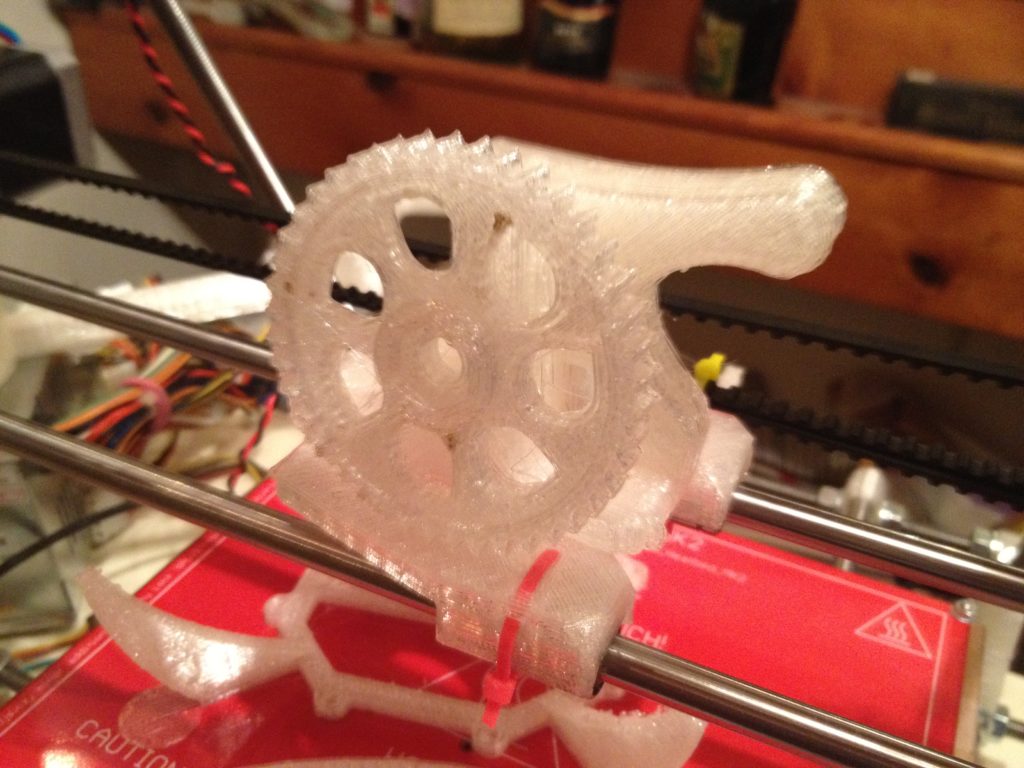
I printed a Greg’s Accessible extruder out of PLA (again, bad idea using PLA for this):
Then I had yet another extruder failure while trying to print that fourth propeller guard. It pushed the nozzle out of the PTFE again.
That was infuriating (if I remember correctly) because I had just made another extruder.. it shouldn’t be failing this soon..
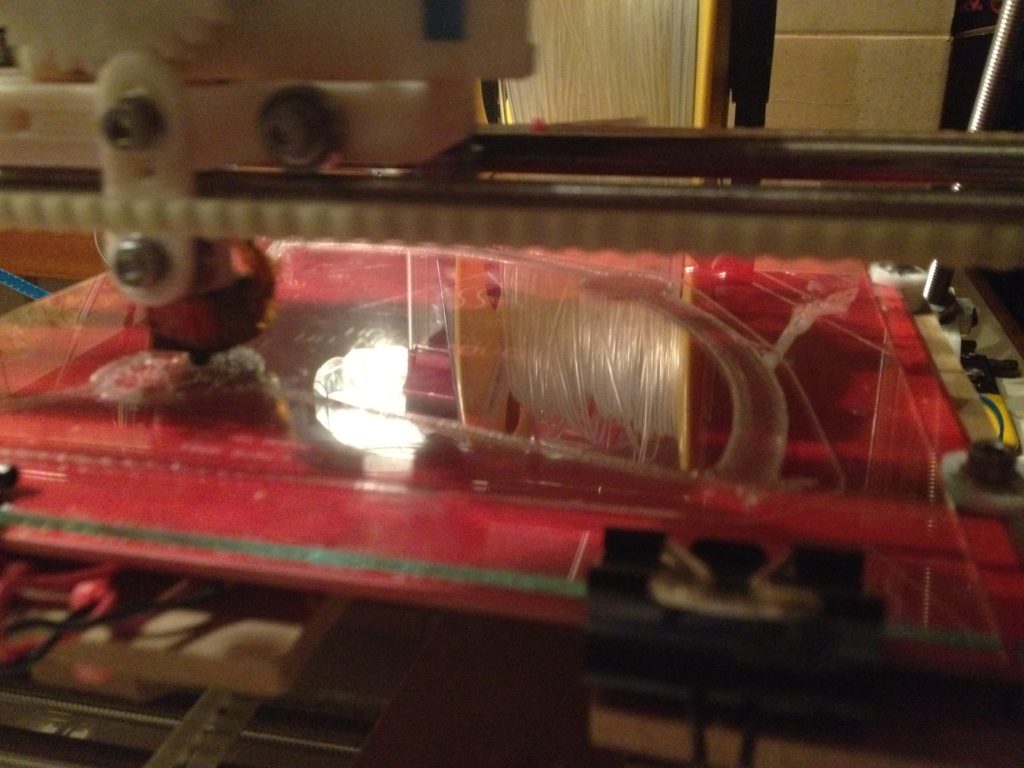
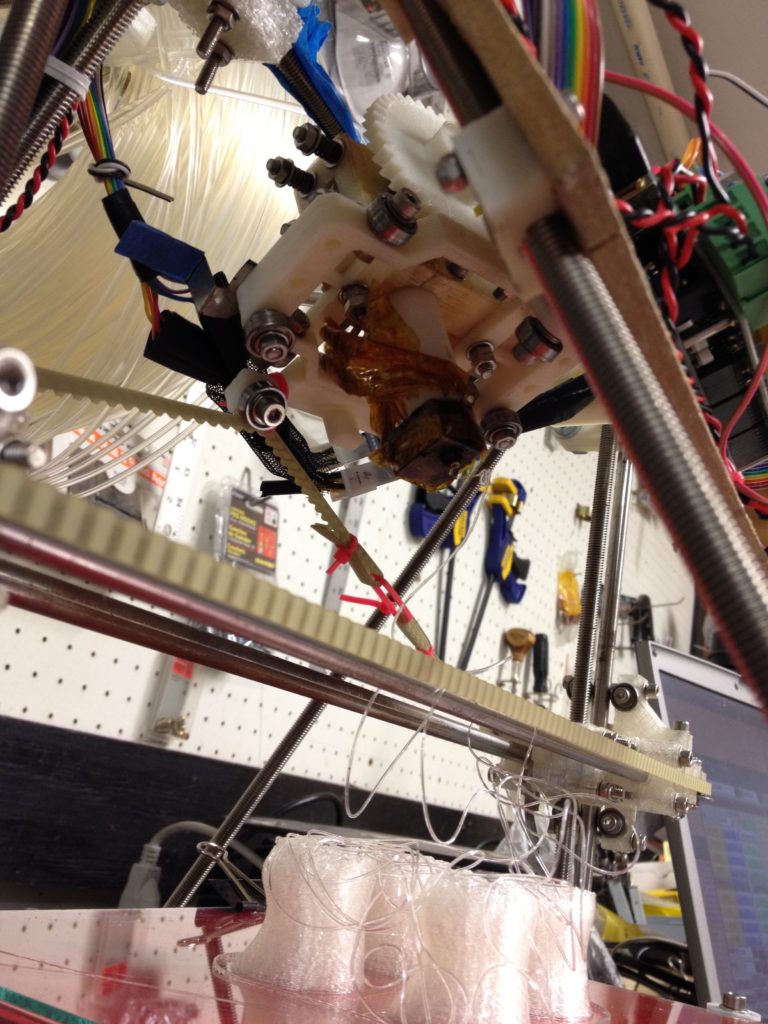
What was particularly messy about this failure was that the solid filament then happened to go towards the back of the RepRap, and went back and tangled inside the spool of plastic.
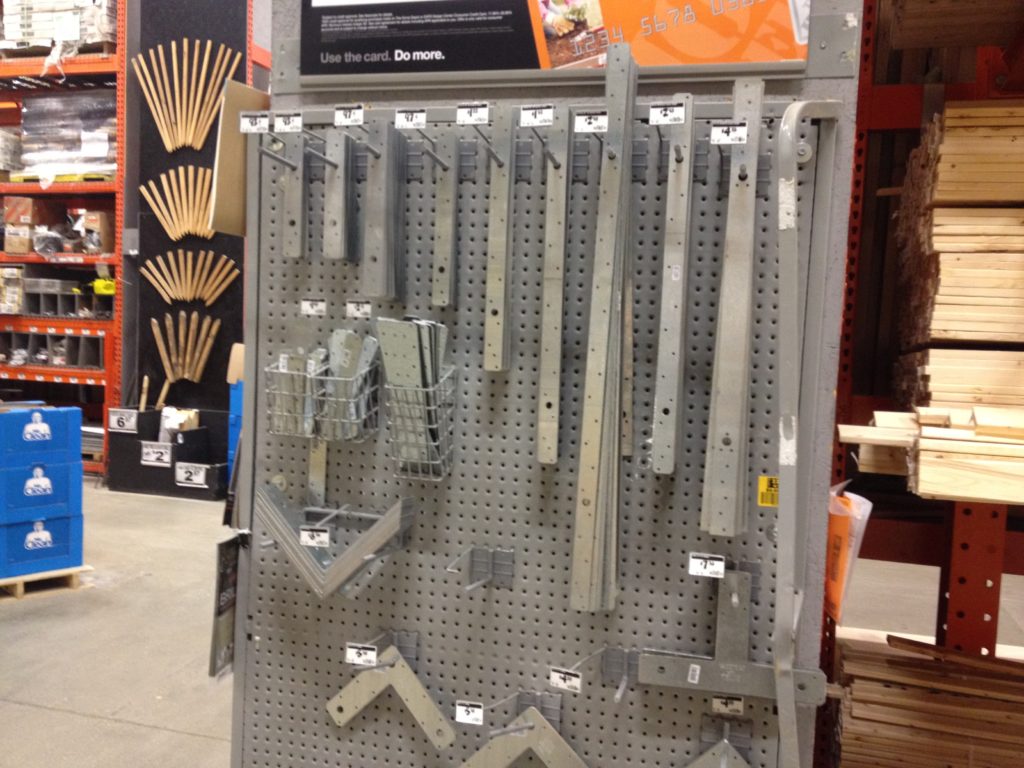
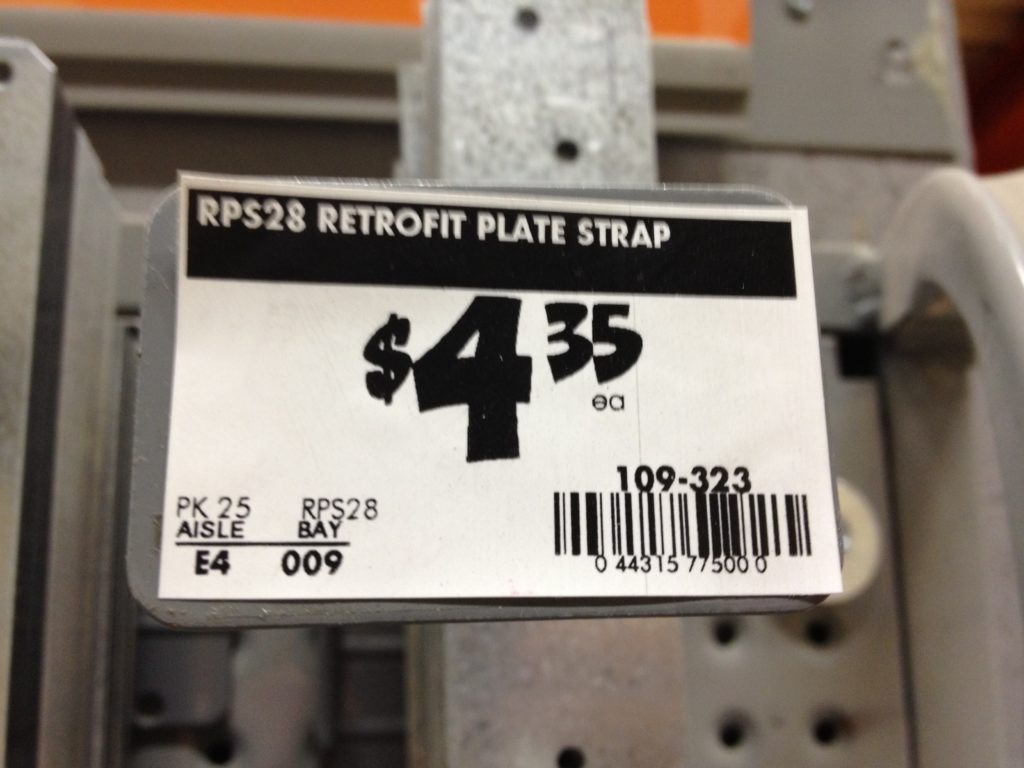
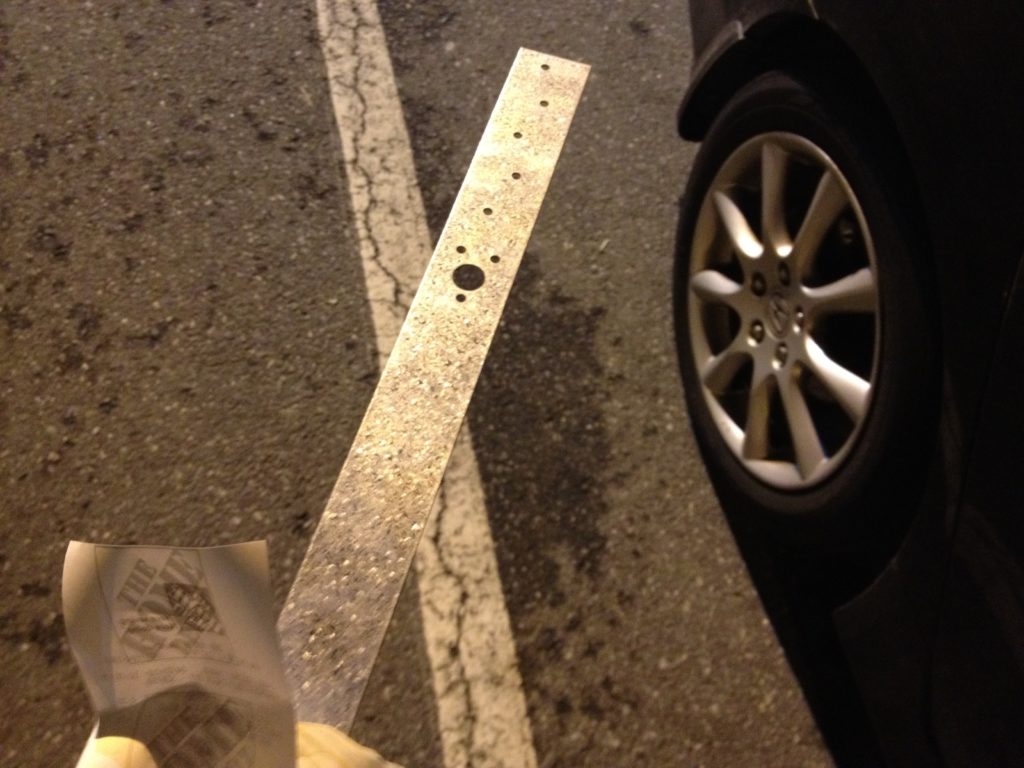
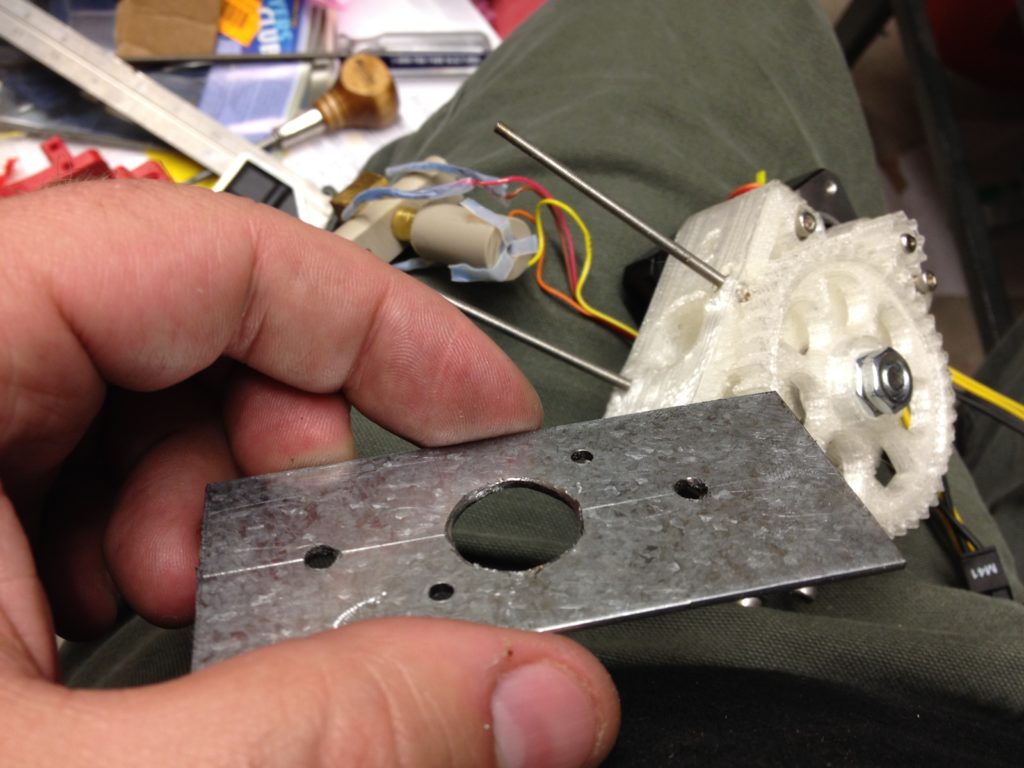
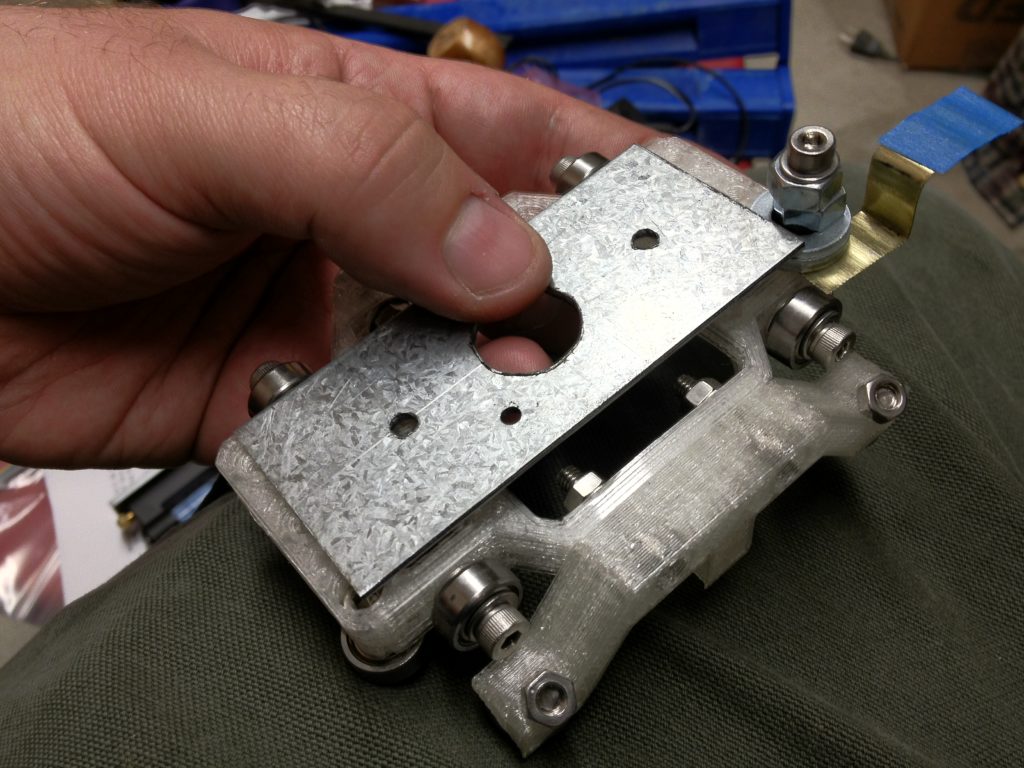
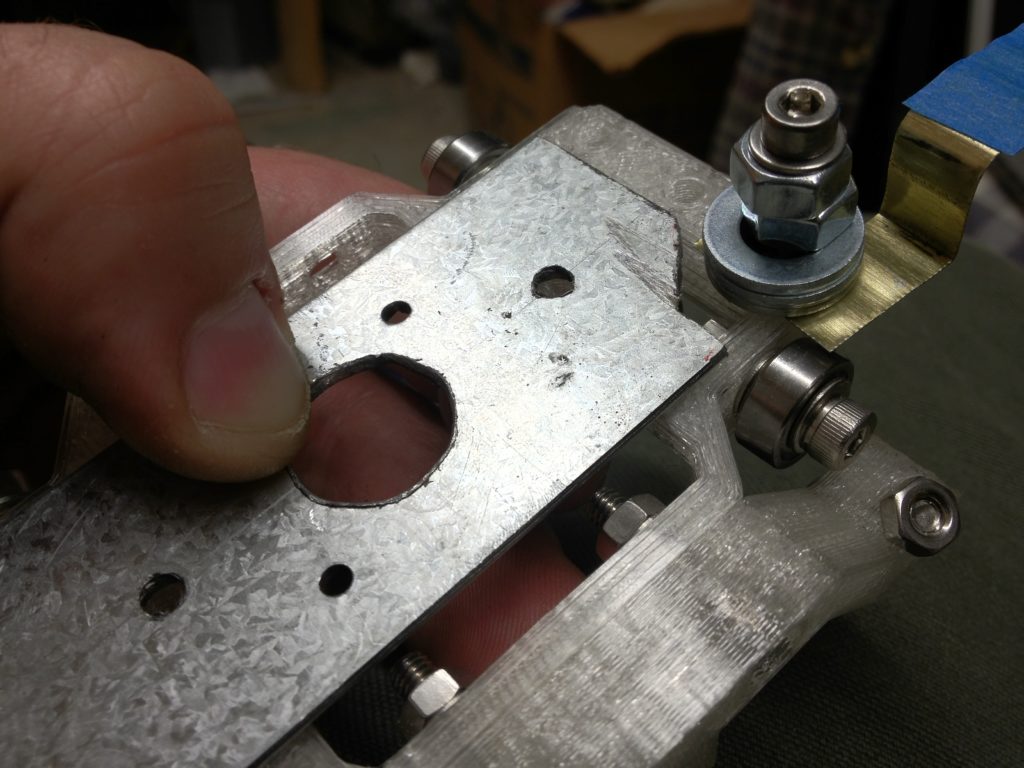
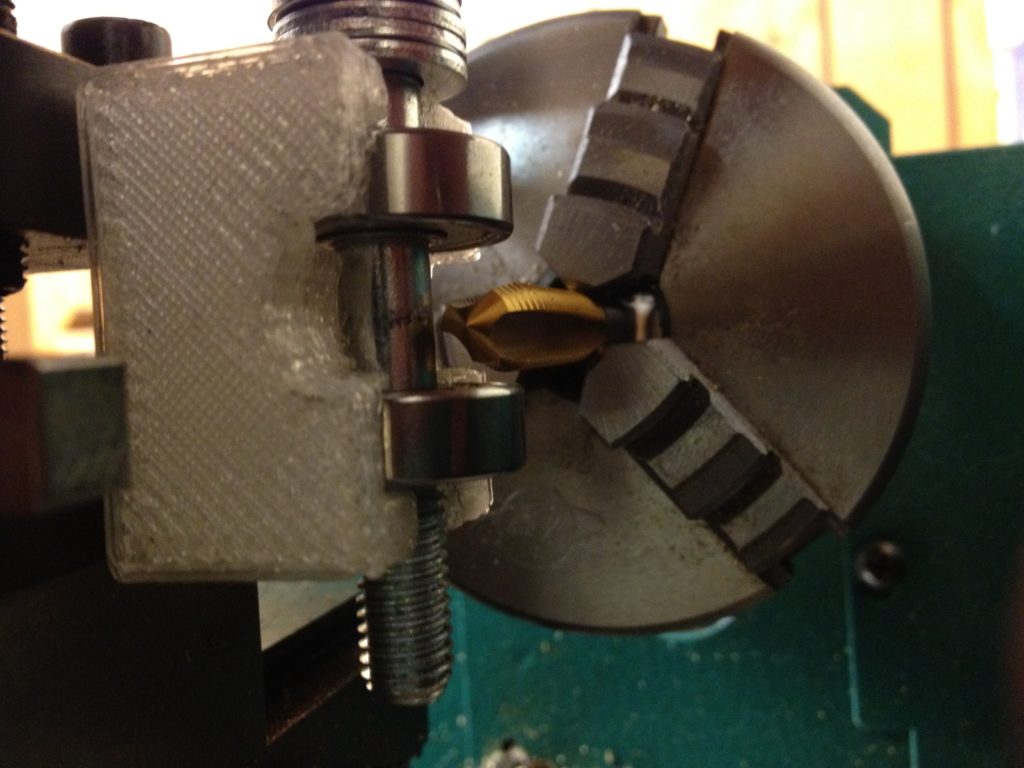
Not yet knowing why my RepRap had started causing PTFE-based extruders to fail, I became frustrated with the PTFE-insulator design and wanted to try to make my Adrian’s Extruder Nozzle work from before. Last time my problem had been that the two bars holding up the PEEK bar had warped the holes in the Greg’s accessible extruder. I thought that if I had something strong below the extruder, maybe it could support those bars. I went to Home Depot and found some shelving bracket made of metal, brought it home, cut it to size, and drilled holes in it.
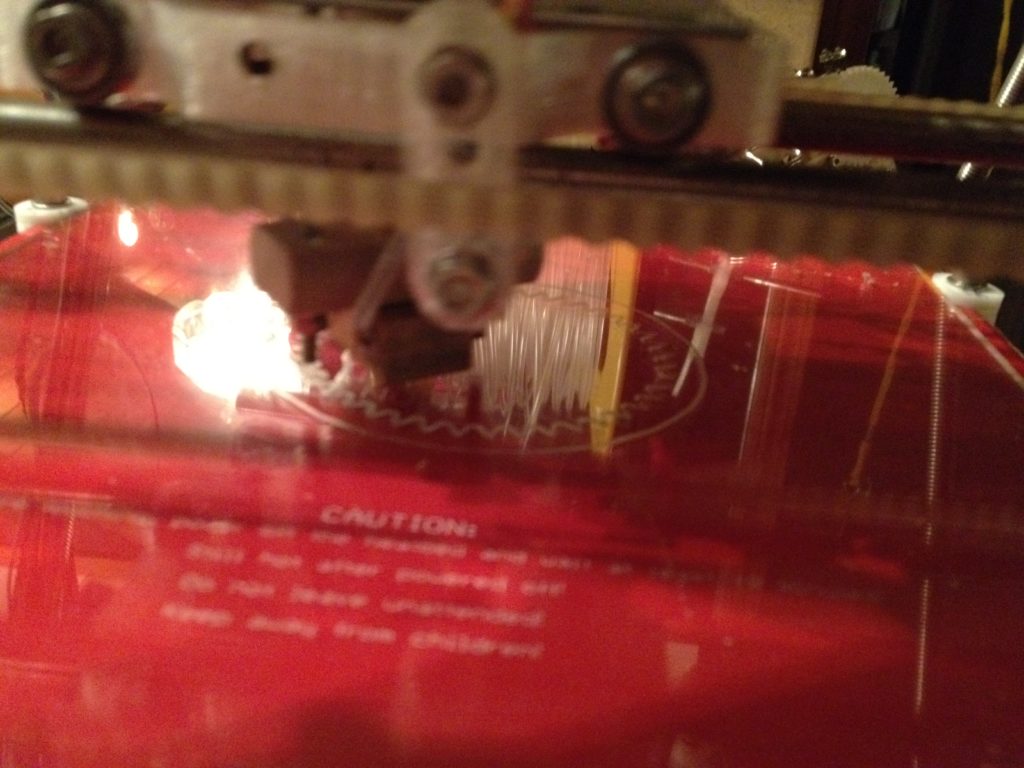
The first print with this setup was not a great success.
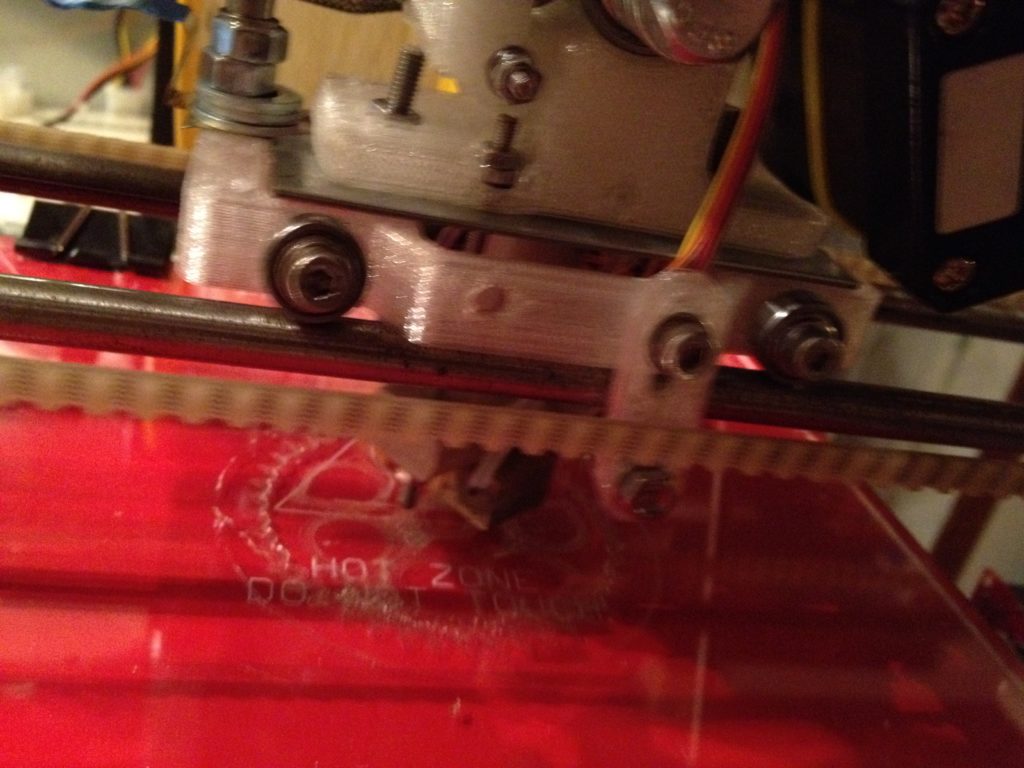
Three days later I tried printing an idler piece for the extruder for the Museum of Science’s RepRap. This went rather poorly too, at least in part due to the x-carriage.
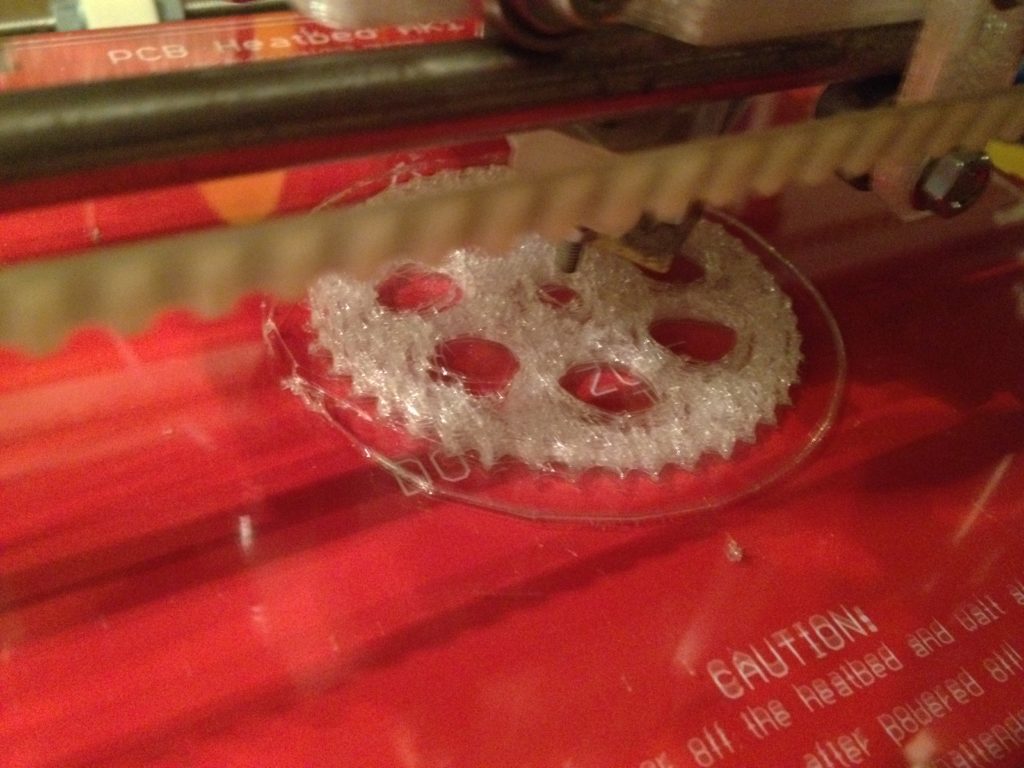
That yielded this unusable part:
I also recorded this reminder for myself about what I’d started doing with the x-belt, which might have explained the extra vibrations that caused the carriage to come apart:
(or maybe it was heat from the metal plate melting things.. but I hadn’t figured that out yet).
That was at the beginning of May 2012. A month went by where I didn’t touch the RepRap at all. Then on June 10th I got up and printing again. I had stripped a PLA large extruder gear, so I replaced it with another from somewhere (not sure – maybe the one I’d made for the Museum of Science? or for my 2nd RepRap?). While trying to print a replacement, I made these videos, which were pretty important (I caught a pretty serious error on video):
If you didn’t watch that video (you should have), you missed that: A) the printer wasn’t making it to the temperature that I wanted it to go to, and B) it totally hung in the middle of a print – it stopped, didn’t do anything, and then eventually resumed printing all on its own, but now it was offset (it missed steps, making it look like an axis had skipped or something, which it absolutely had not). From a forensic point of view (and from a historical one as well), this was excellent to capture on video.
Despite what I guessed about in that video though, the ‘new software’ had nothing to do with it. Here it hung again:
Note that in that video I guessed that maybe since it was a hot day the temperature had affected the board, or maybe I wasn’t giving enough power to the board.
I tried again and failed at printing the 4th propeller guard (I won’t bore you with the long printing video that showed that).
Two weeks later, made a big discovery – finding the culprit of several of the problems that I’d had (all covered during the duration of this post). I ruled out my guess about the temperature of the board with a fan, and then found the real problem. Watch these two:
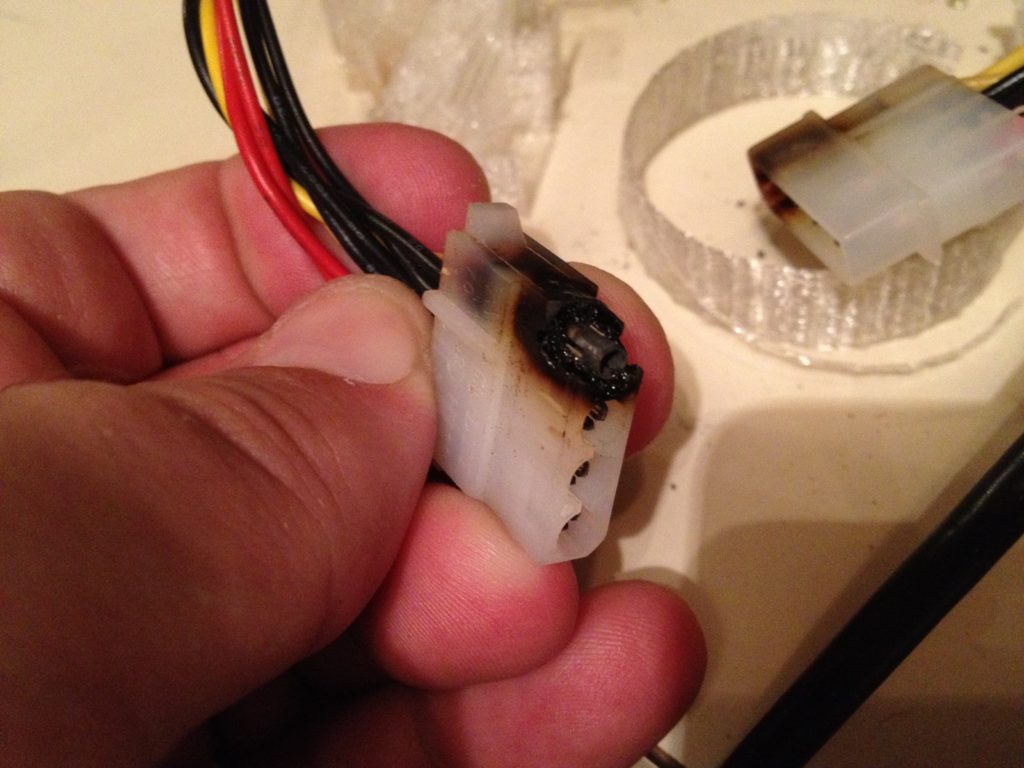
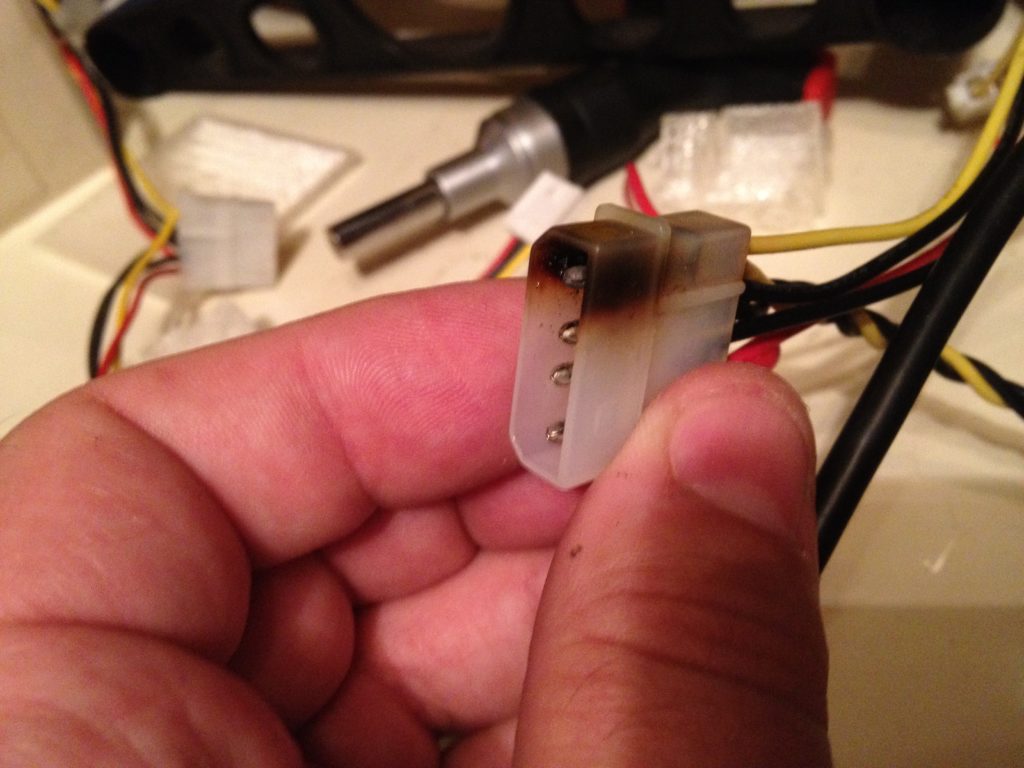
Key point from that last video: during a print, I saw the pausing/hanging happen again, but while that happened I noticed that the fan I’d put on top of the electronics (which was wired straight to 12V input) was OFF. So the power supply was clearly not providing power at all at that point – it had nothing to do with the RAMPS board. I planned to swap out that power supply with another, to see if that fixed it. That’s when I found this:
That was a scary but extremely revealing bit of info. Prior to this I had been taking all of the power for my RepRap from one molex cable from the computer power supply. I fed those wires to both the 5A and 11A inputs on the RAMPS board (which I knew was wrong when I initially did it, but at the time I thought it would be super temporary, then I just forgot about it since things worked).
My theory about what happened is that since I was pulling so much current through just one connection, it heated up, and at some point a slightly loose connection caused sparks that burned that connection. The molex connector would still conduct electricity though, so the RepRap would still function, but enough of a power draw would cause it to go dead.
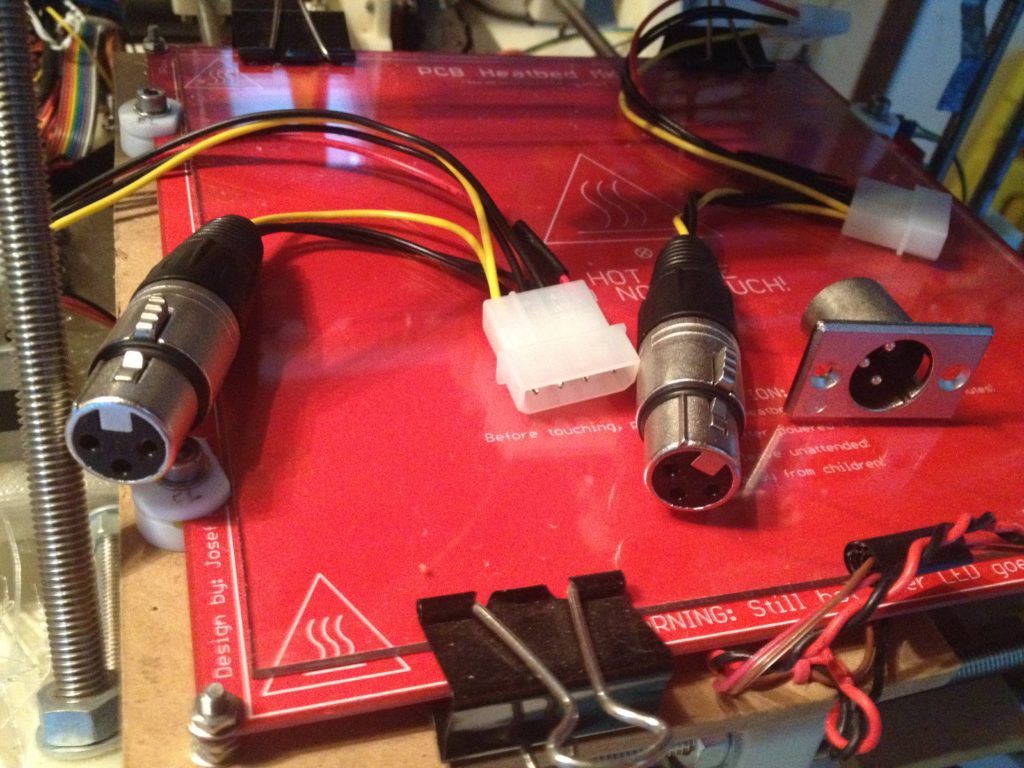
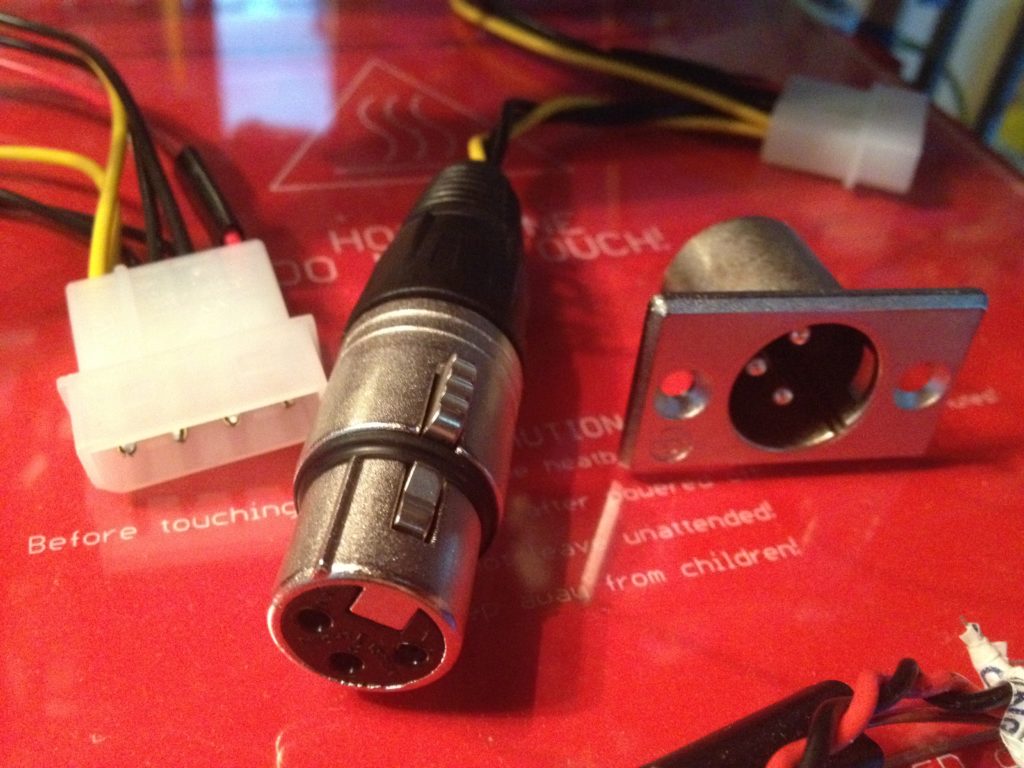
Rather than replacing the power supply, I replaced the connector (and added a second one). I take one set of power from one rail, and another set from a totally different rail (that is, I don’t use two molex connectors that are on the same wire from the power supply.. I use one molex connector at most from one wire, and connect the other molex connector into a completely different set of wires coming out of the power supply).
Intermittent loss of power was clearly causing these skips, but could also have been causing the temperature to drop too low, possibly contributing to the multiple PTFE insulator extruder-pushing-out failures.
Remember that point above where I said “REMEMBER THIS POINT IN THE POST!”? I think everything from that point until this point was negatively affected (or completely caused) by that power issue. I’d also lay some serious money on THAT being the point where the burning of that molex cable happened, but I didn’t notice it for two and half months.
Here are the new connectors I made:
I describe what I’ve done:
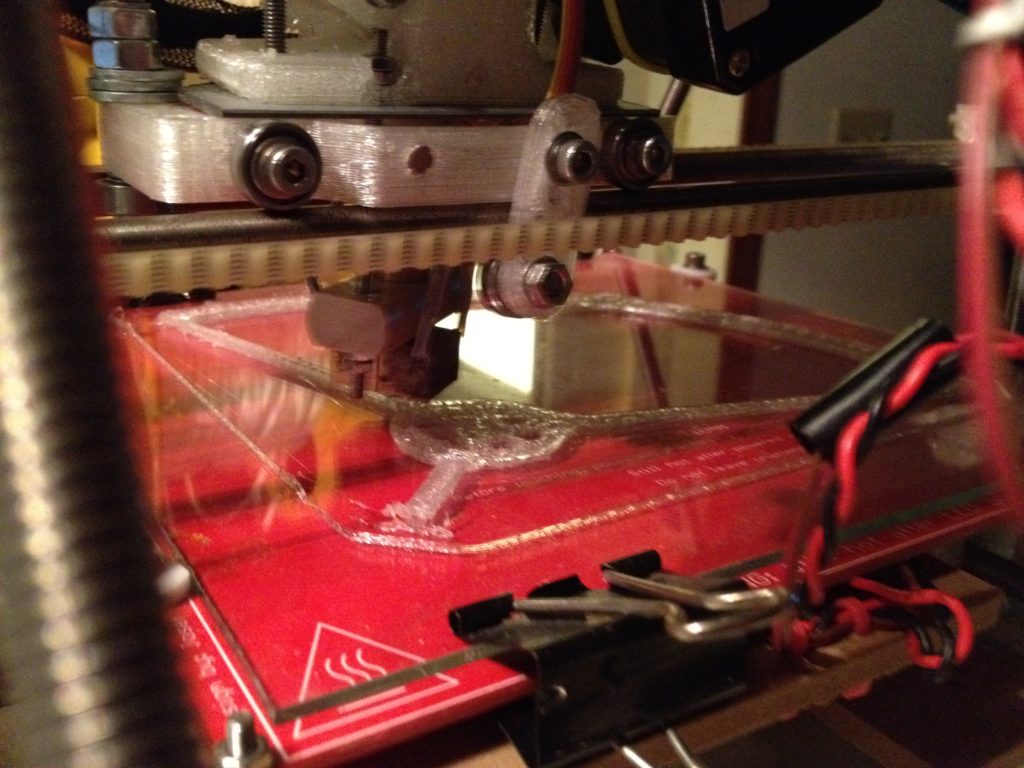
and there’s an immediate improvement:
Results: “super good”:
Alicia confirms its “super good” status:
and more progress:
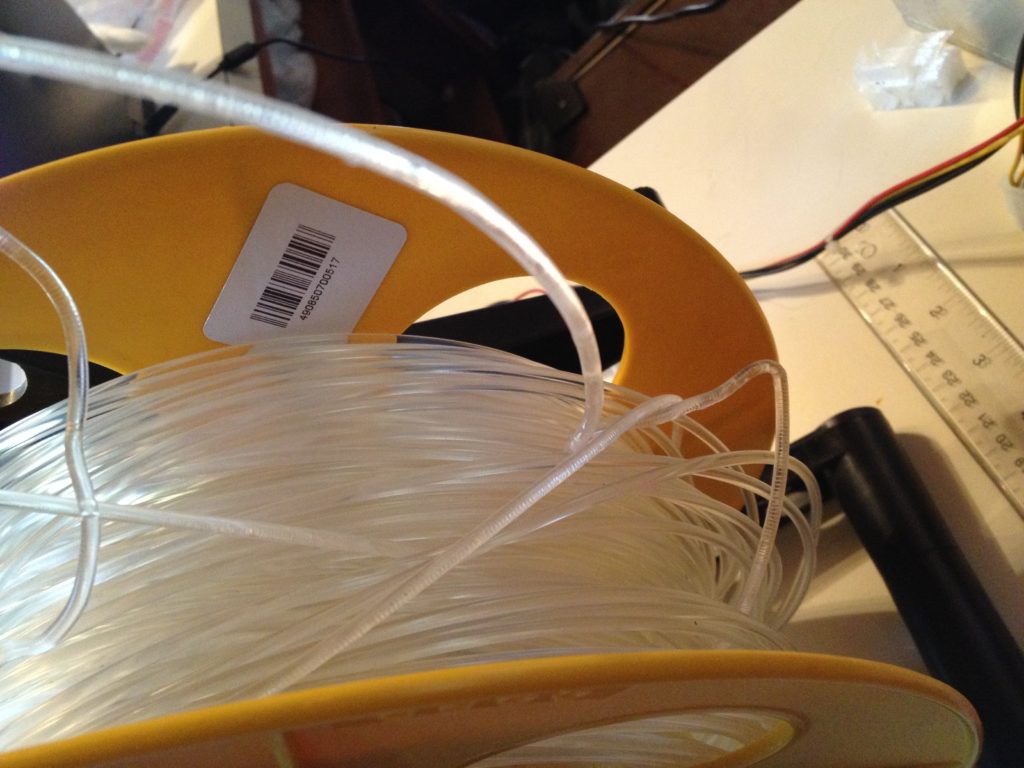
Then I noticed something that justifies my earlier statement warning you not to wind PLA off of one spool and onto another. I looked over at the yellow external spool and saw this:
The plastic had probably weakened from being rolled from spindle to spindle.. The inside part of the plastic (which was used to having a smaller circumference around the spool) was now on the outside, and the outside part of the plastic was on the inside. Add to that the fact that PLA is brittle and mine is completely exposed to humidity etc, and you get it cracking in several places.
The print continued:
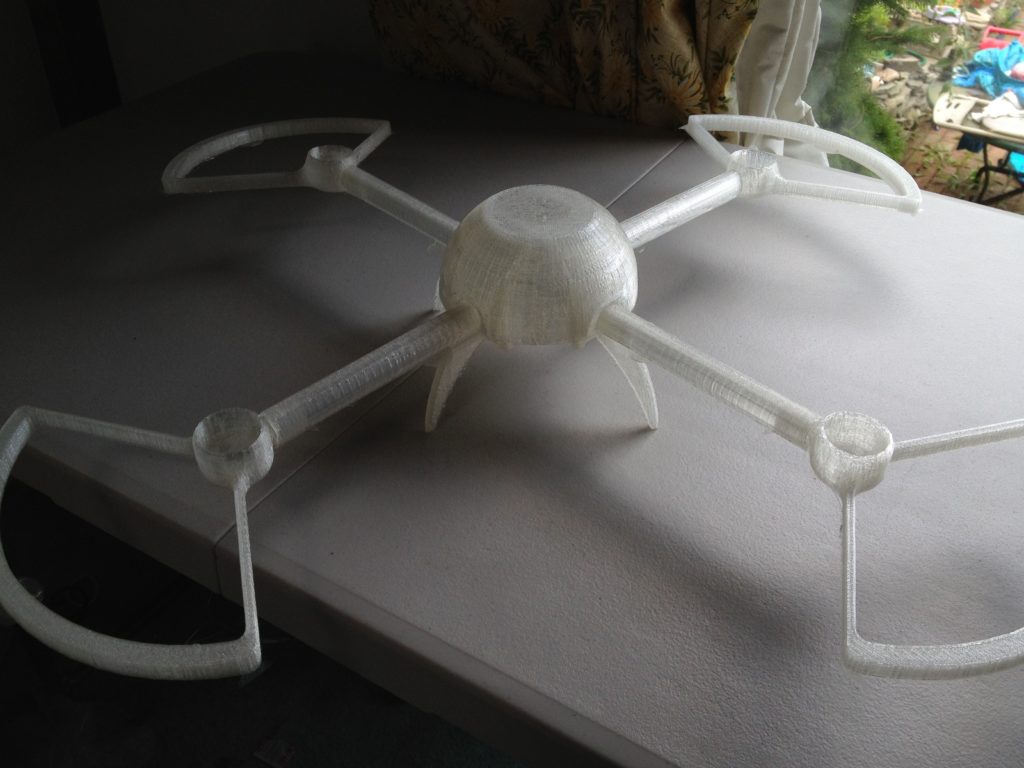
And then, after three and a half months of printing (most spent trying to print the 4th propeller guard), I finally finished my quadcopter’s printed parts!
I placed the fourth propeller-guard/motor-mount on my quadcopter, and it looked glorious!
Nope, I still haven’t bought the electronics for the quadcopter, nor the propellers, nor wiring, nor a transmitter, nor a receiver (even at the end of August 2013). 🙁 But I will!
Coming full circle to reminding you about coming to see me at Makerfaire NY 2013, here I was holding up my completed quadcopter at Makerfaire NY 2012:
There’s still enough material between this point (July 17 2012) and Makerfaire for one more short post between then and when we skip past the 2012 Makerfaire. Getting more caught up! Again, today is August 28th 2013, so I’m about a year behind. This sure feels like debt. 🙂
