Archive for the ‘MyRepRap’ Category

Four, no, *26* months.. part 8 of ?

Tuesday, March 19th, 2013

I am so unbelievably behind with my RepRap blog, but I refuse to skip anything. ๐Ÿ™‚ I WILL catch up, and end this ridiculous post naming scheme (it’s been going on long enough that it’s actually a scheme!).

Today is March 19th, 2013, and where we last left off was talking about the events up to November 26, 2011 (that blog post was made in September 26th, 2012). Actually, after that post, I cheated and skipped ahead, blogging about me bringing my RepRap down to Makerfaire NY 2012. Now to go back and catch up on stuff before and after that.

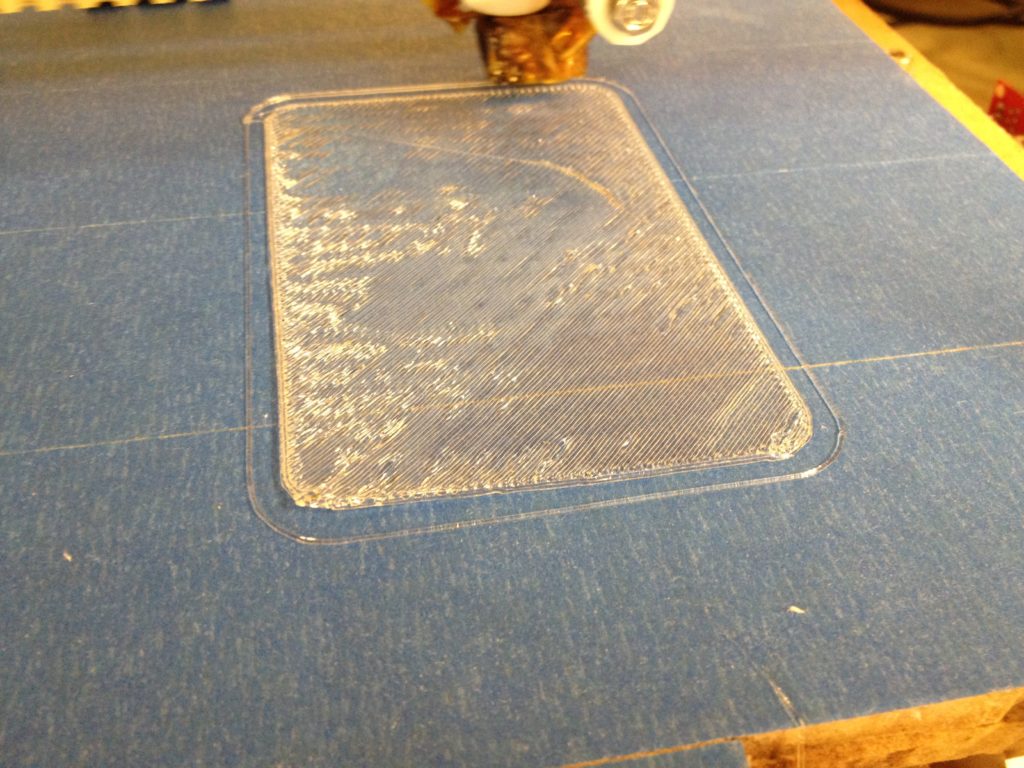
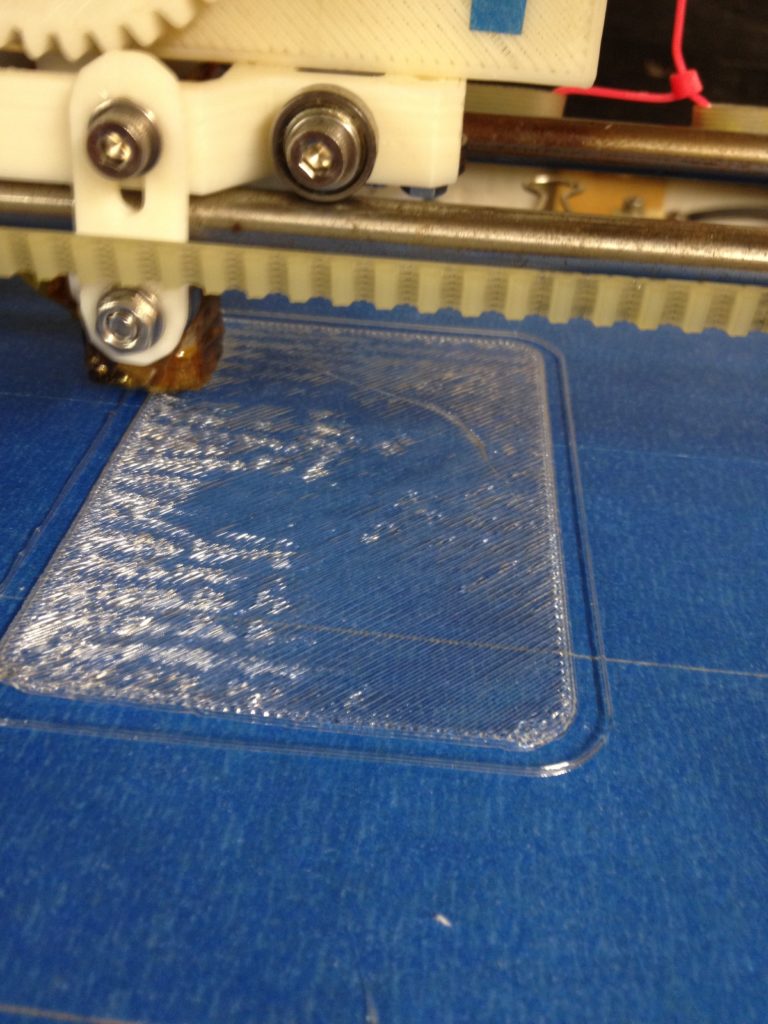
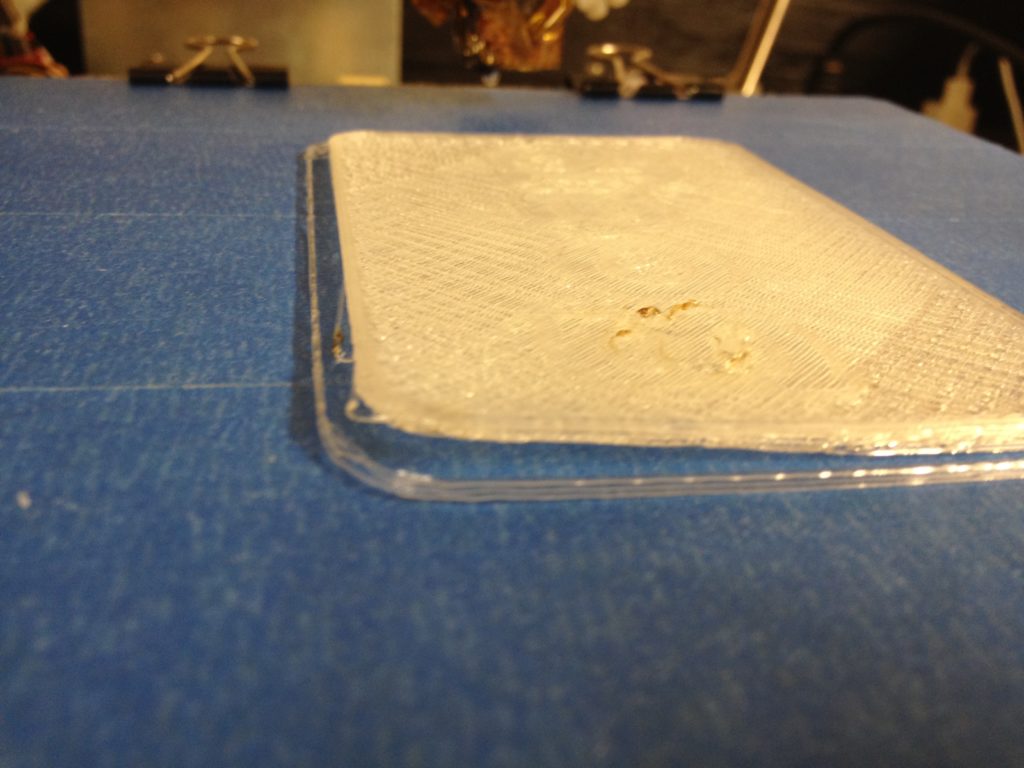
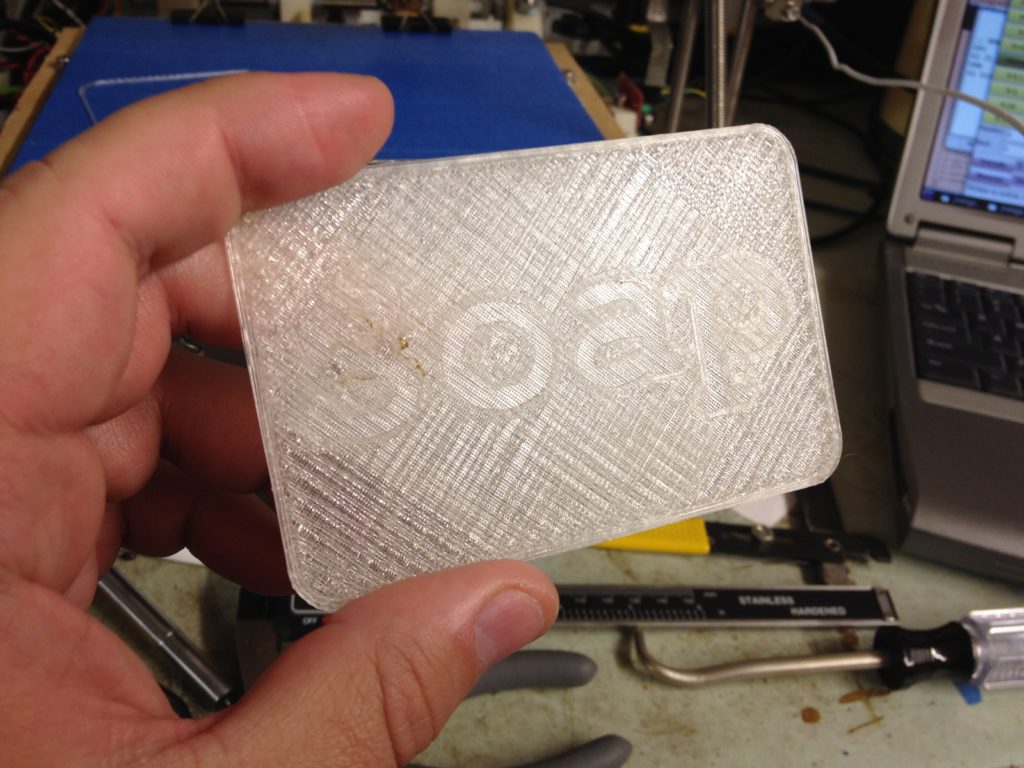
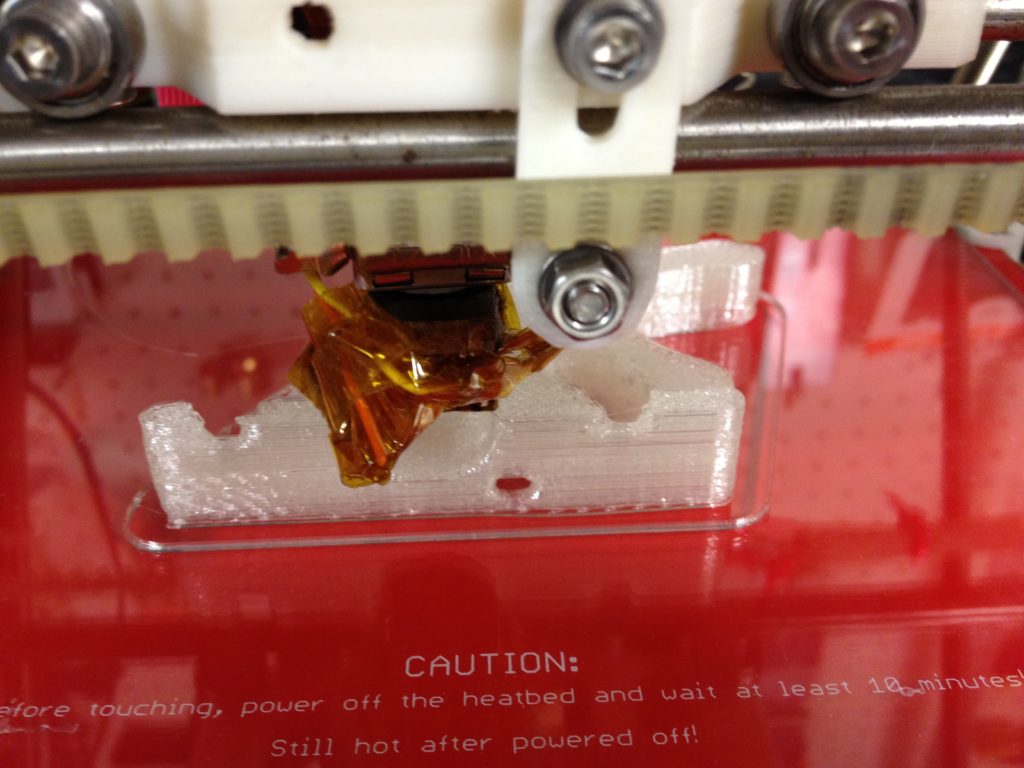
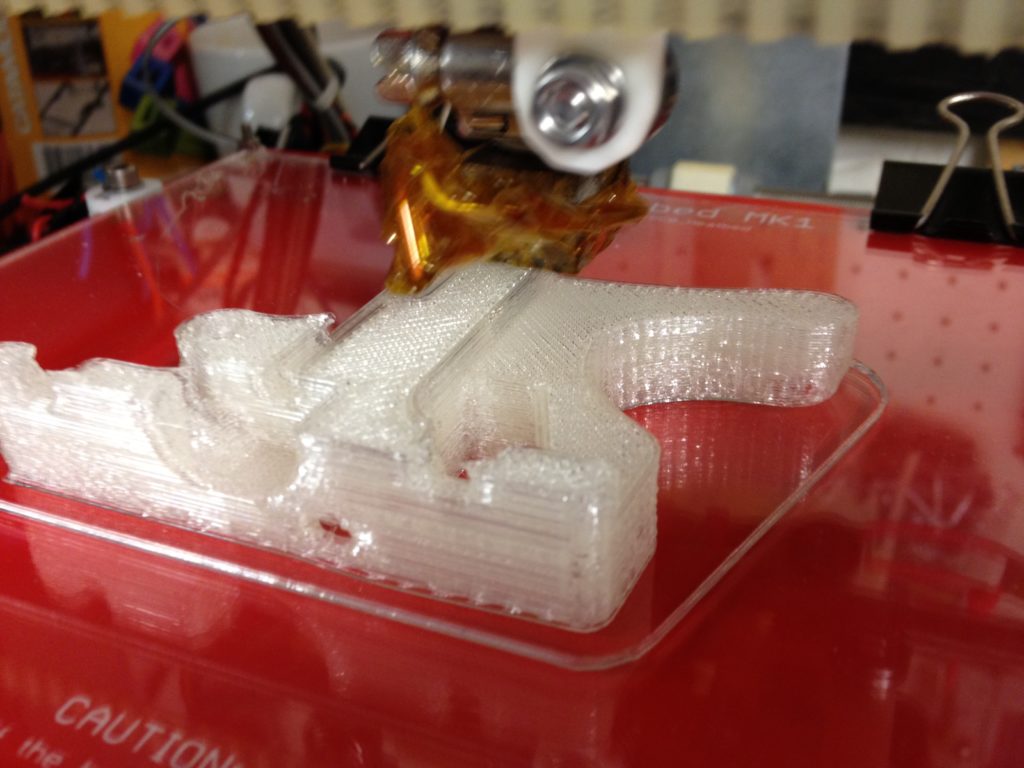
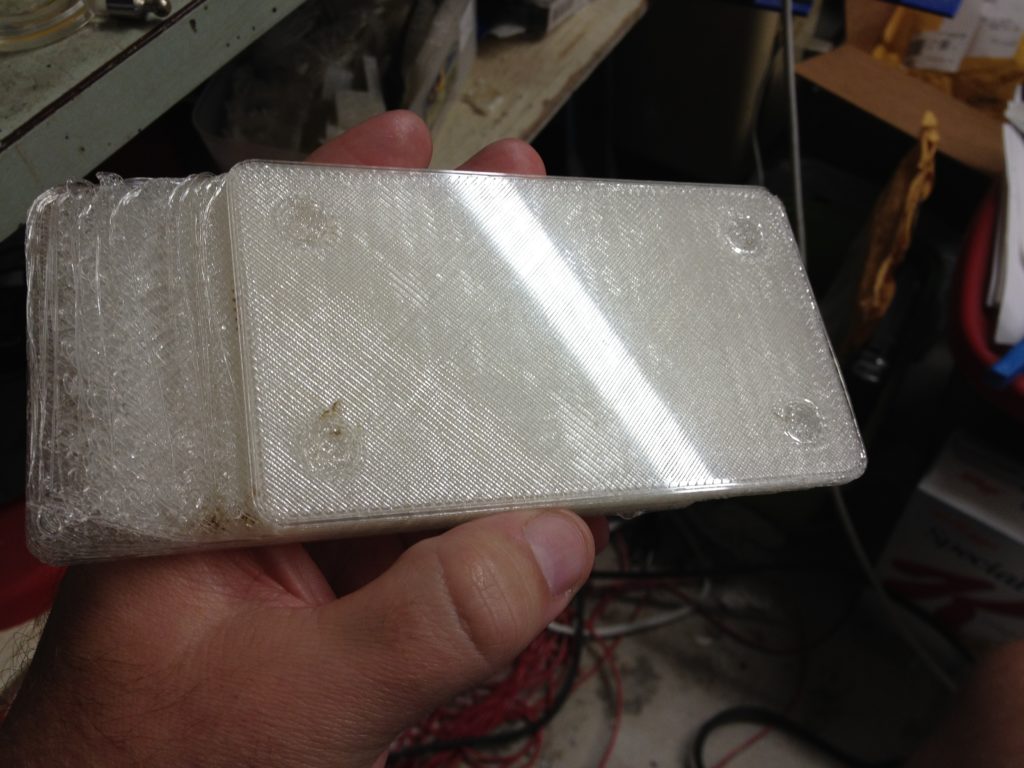
Ok events from 16 months ago – the end of 2011.. I’d been having beautiful prints (including an extruder printed out of PLA), then an iPhone tray I designed failed due to Y-skipping, and worse, it broke my printer because I was foolish enough to let it keep printing “just for the hell of it”. The warped part pushed up against the nozzle, plastic backed up into the PTFE insulator, and the extruder pushed out. This was using my old Wade’s extruder, a PTFE insulator, and a simple hollowed out M6 rod as my heater barrel (at least it was using a brass heater block, and not the ancient nicrome wire trick!).

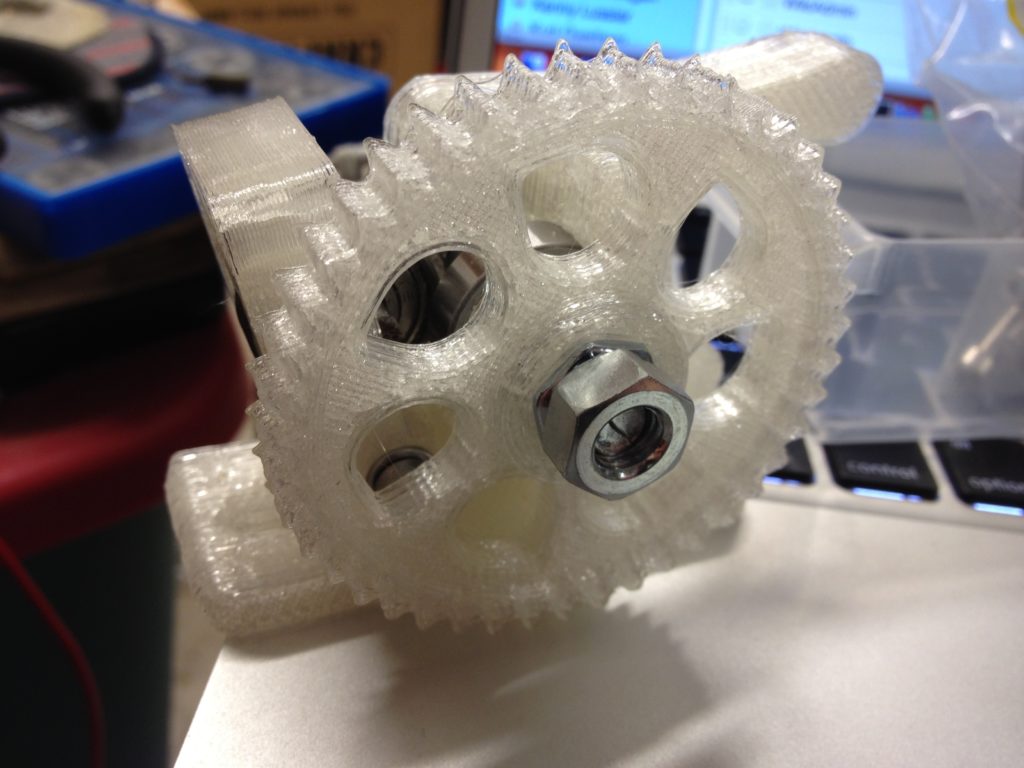
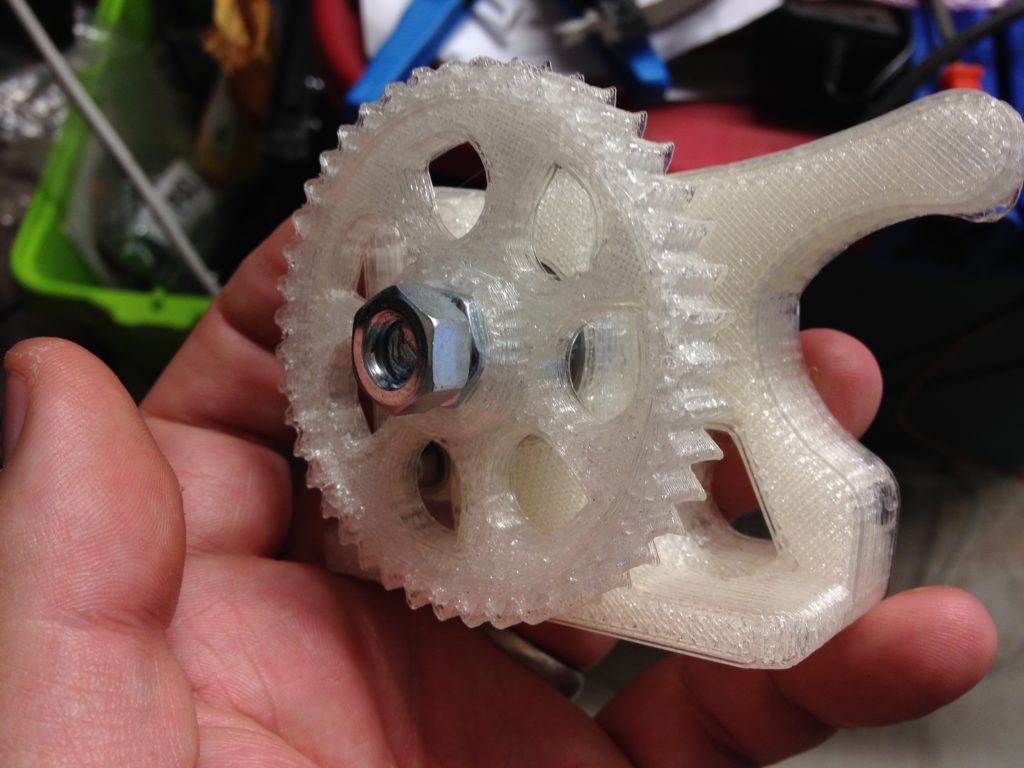
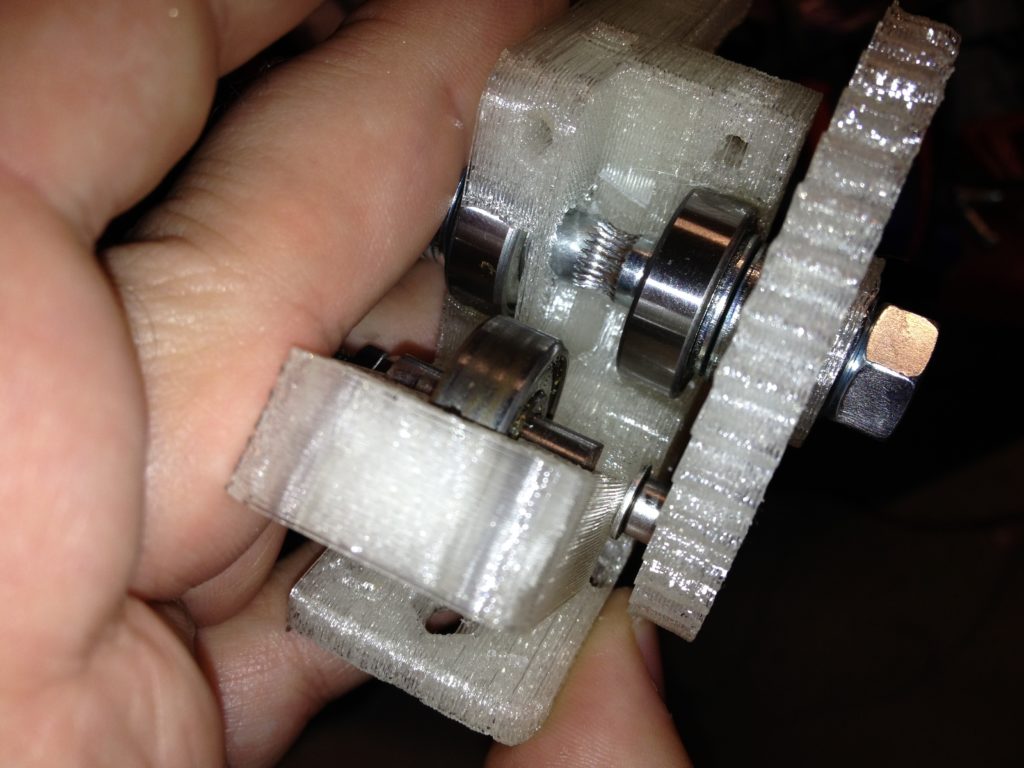
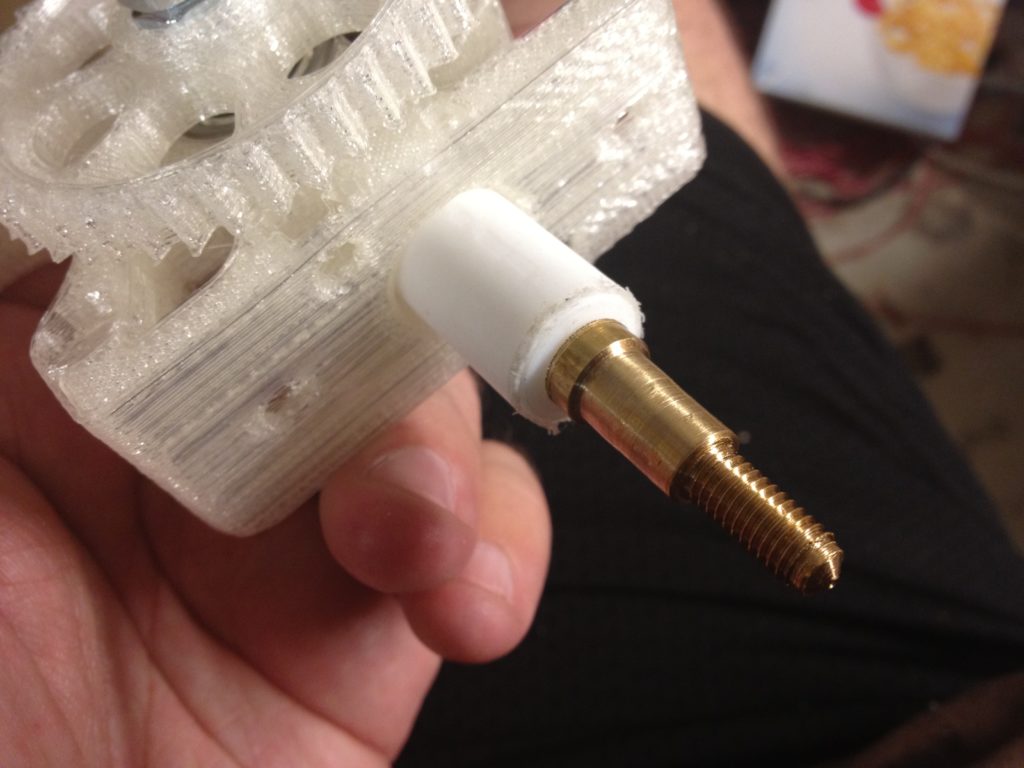
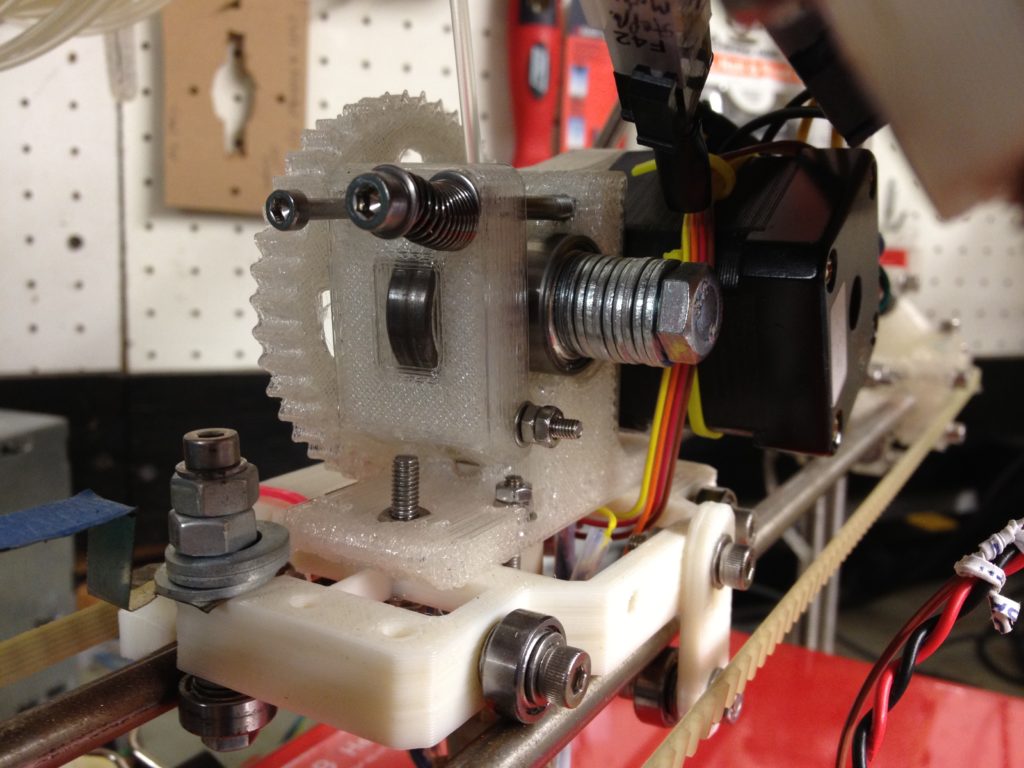
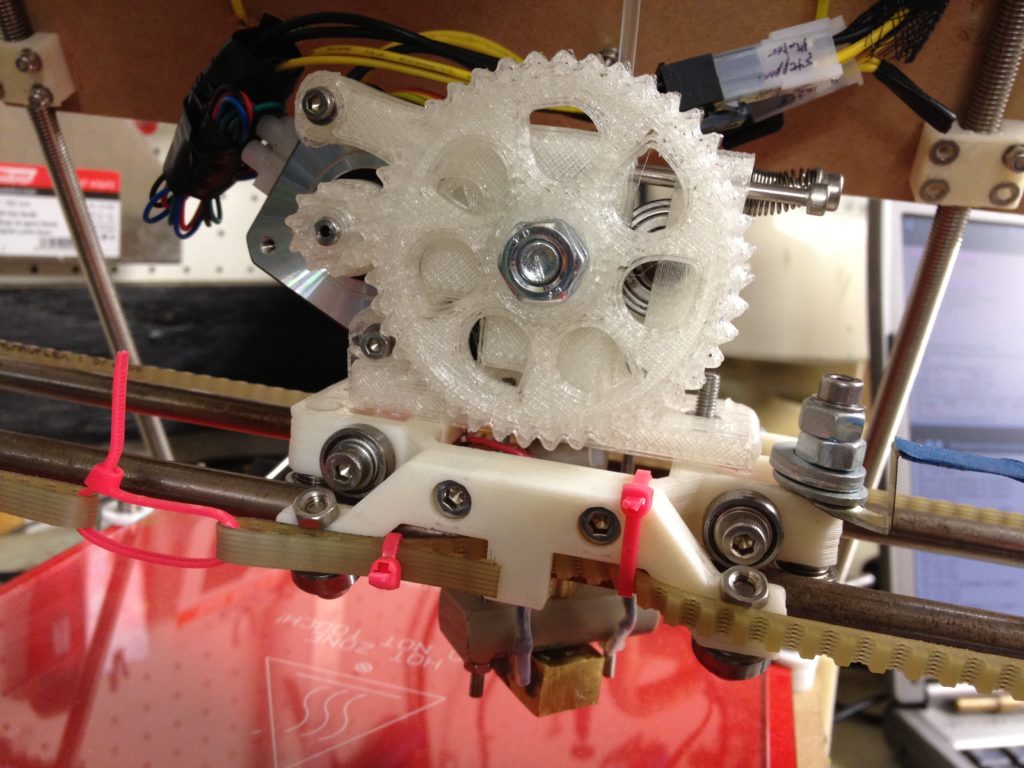
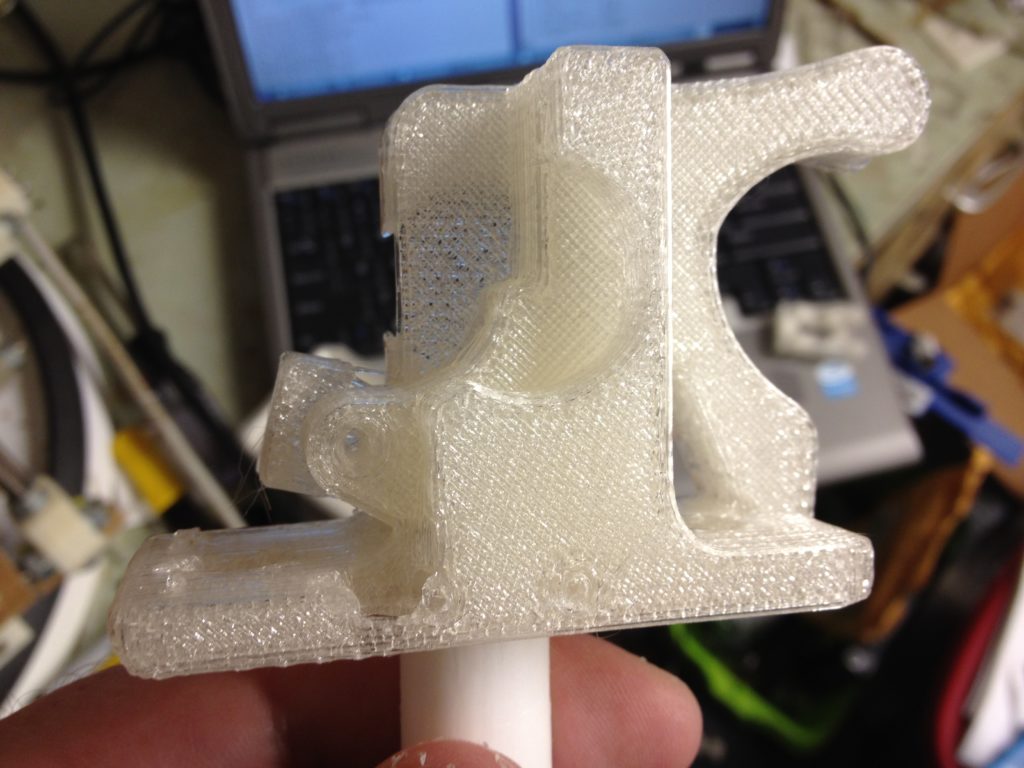
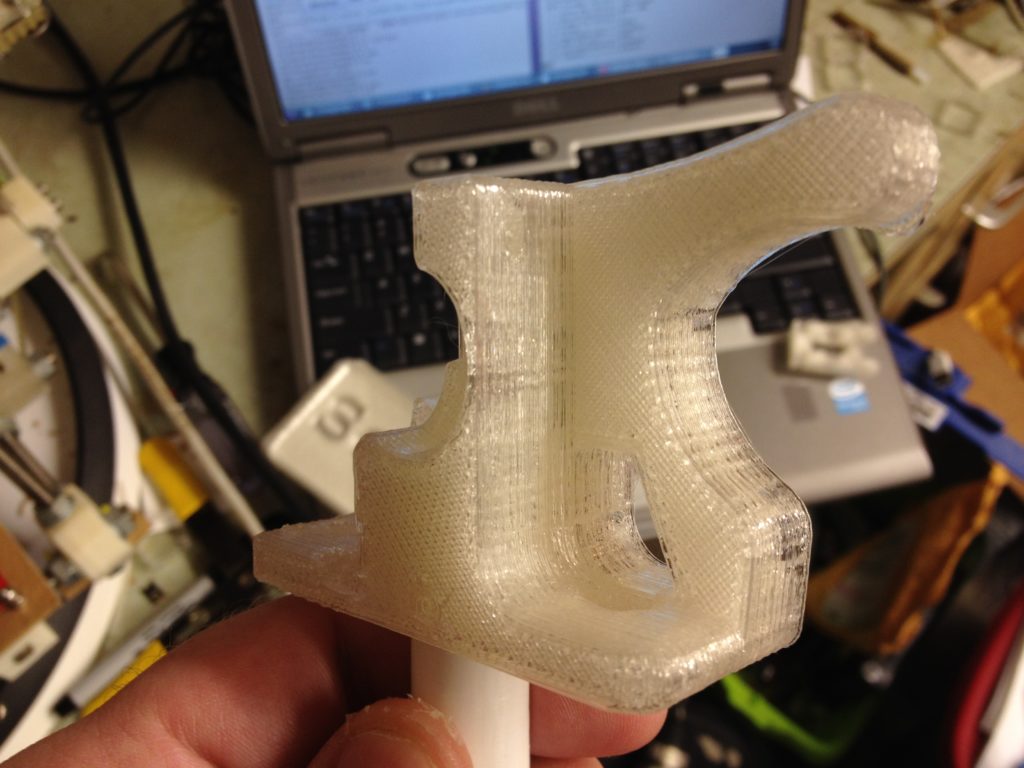
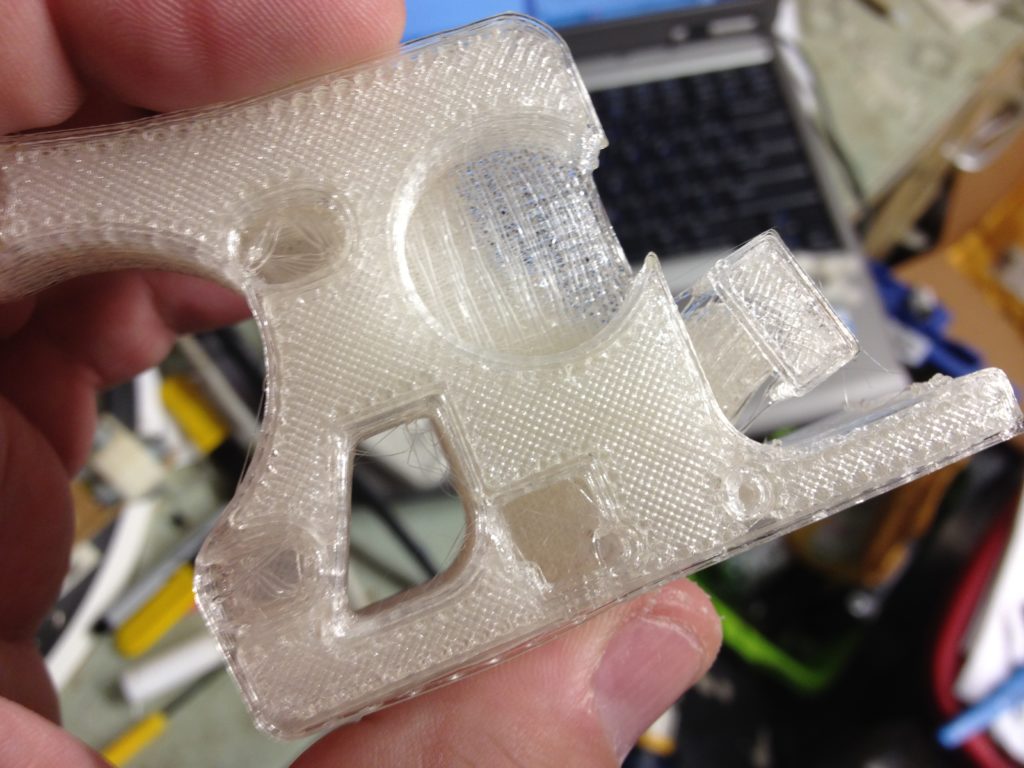
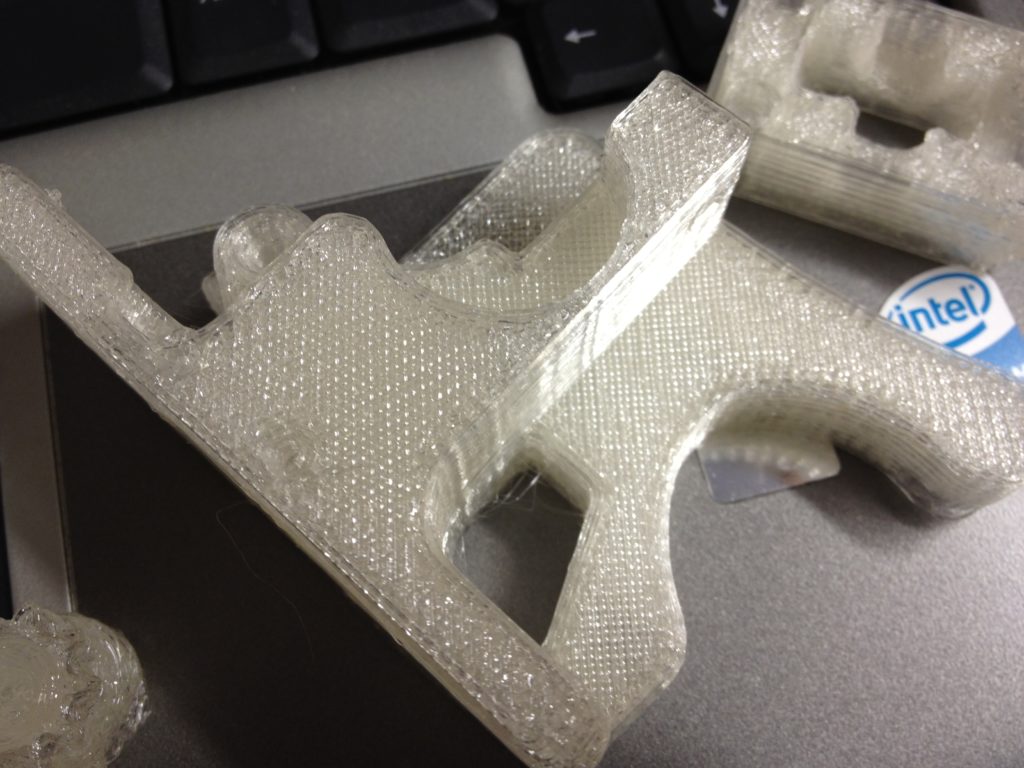
Since I had to take everything apart again, I figured why not try assembling the Greg’s Accessible extruder I’d printed, even if it was printed out of PLA (a very bad idea, because not only is the melting temperature of PLA lower, but it softens even lower than that). Still, I tried it.

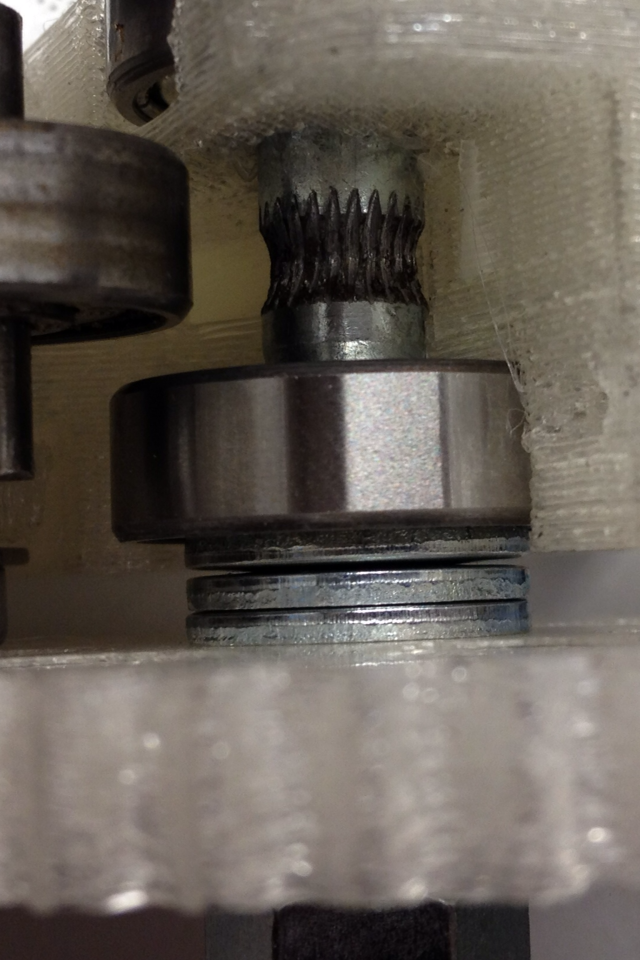
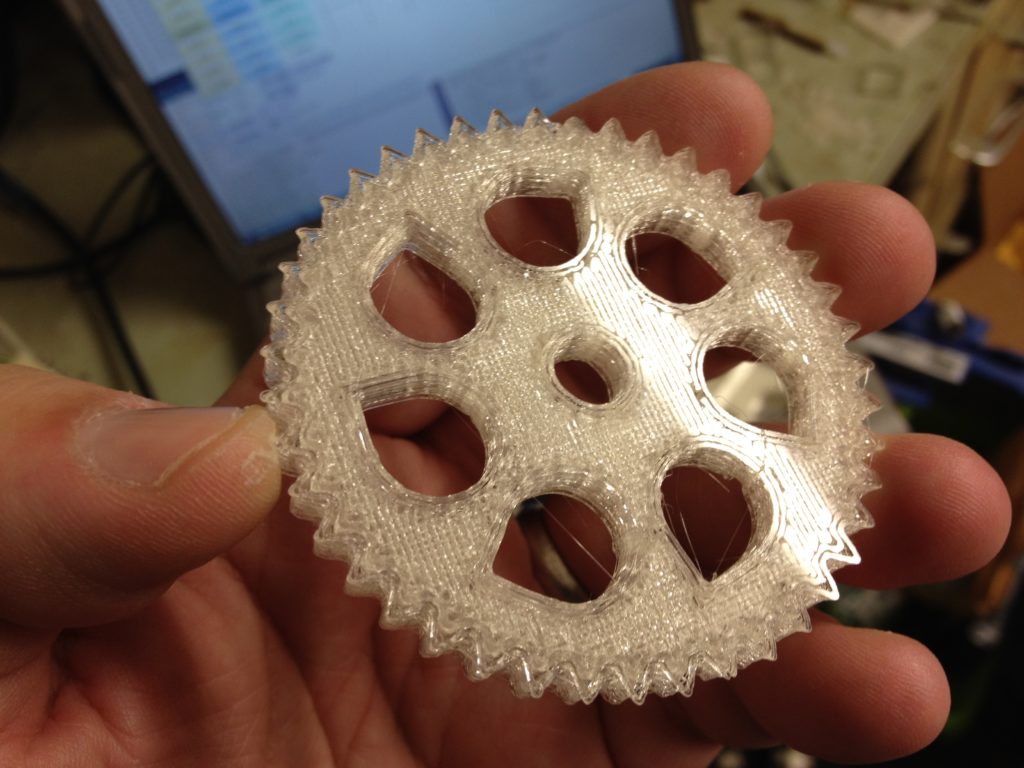
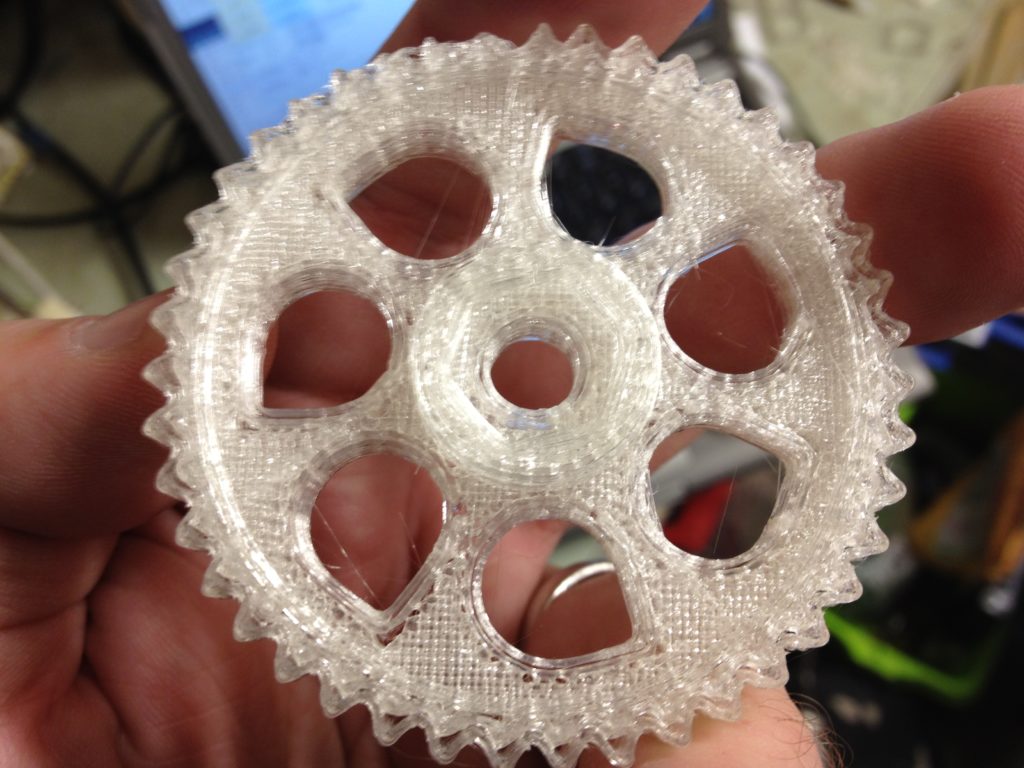
In these pictures, you’ll see the head of the hobbed bolt is on the opposite side of the extruder from the big gear, and two locked nuts are on the gear side. This is opposite how I’d done it previously, and was an idea passed along by a friend that made it easier to remove herringbone gears. I’ve since decided that I don’t like it that way (plus I’m not even using herringbone gears) and I’ve gone back to having the head of the bolt in the gear, but that’s why these pictures look the way they do.

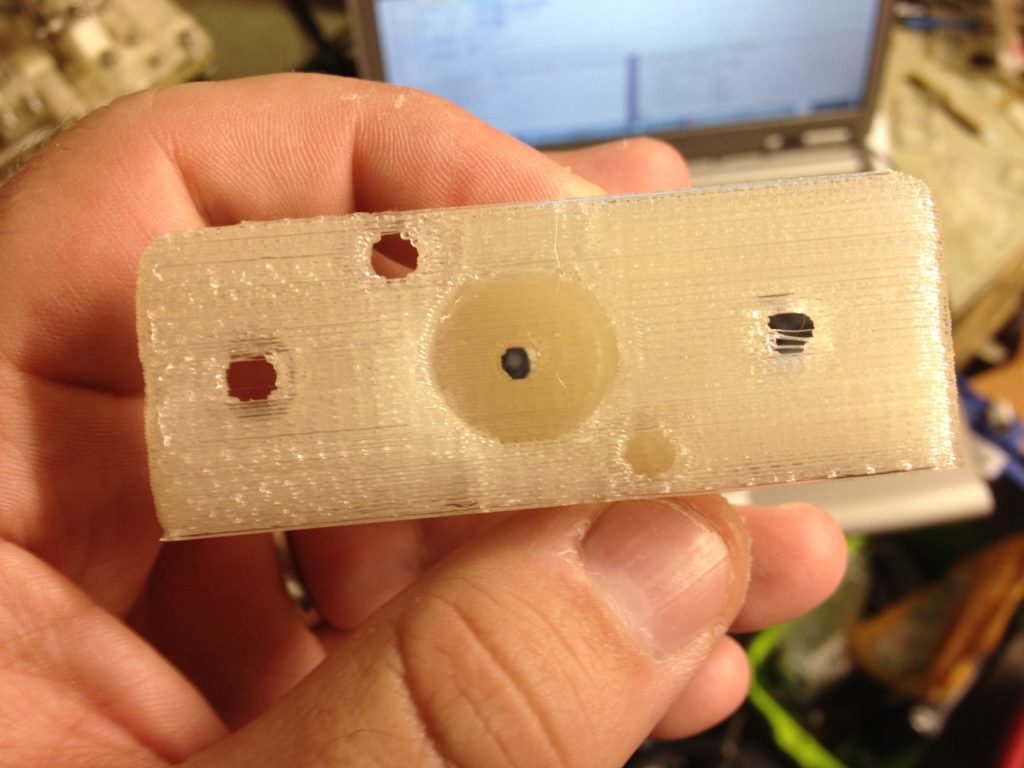
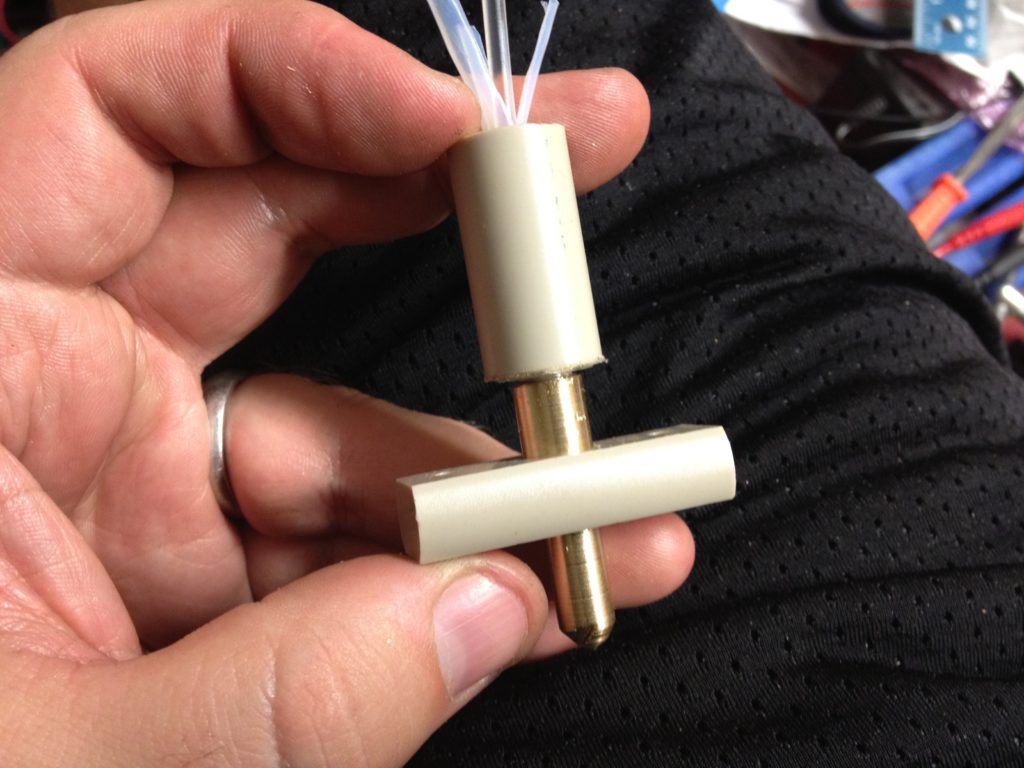
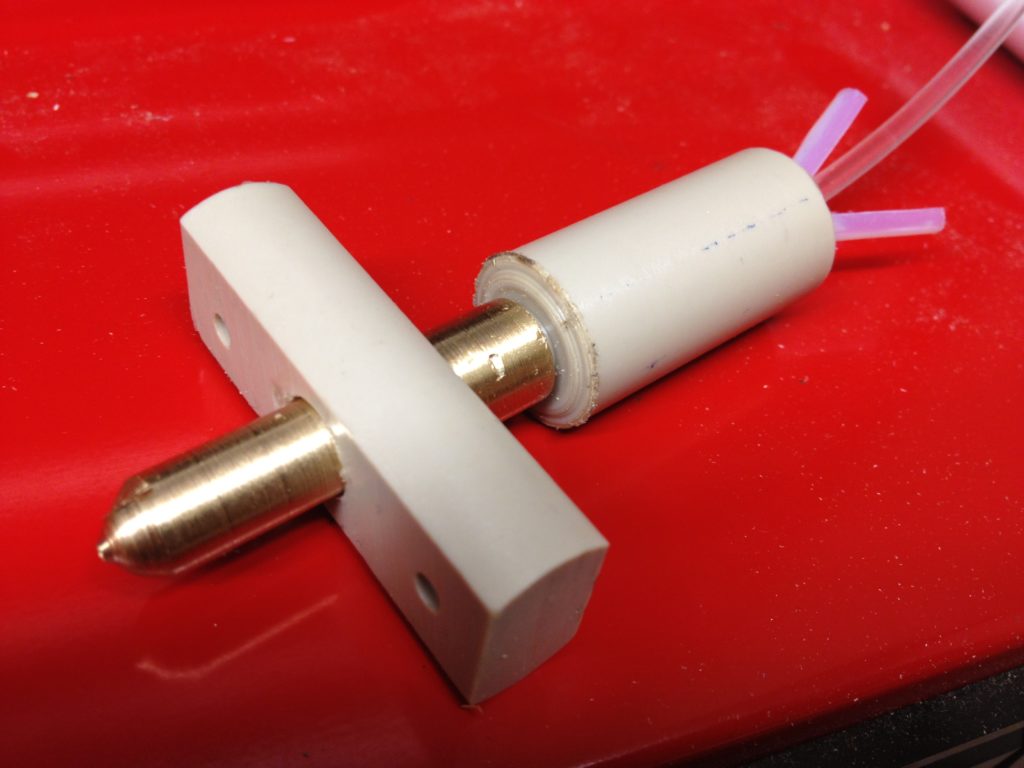
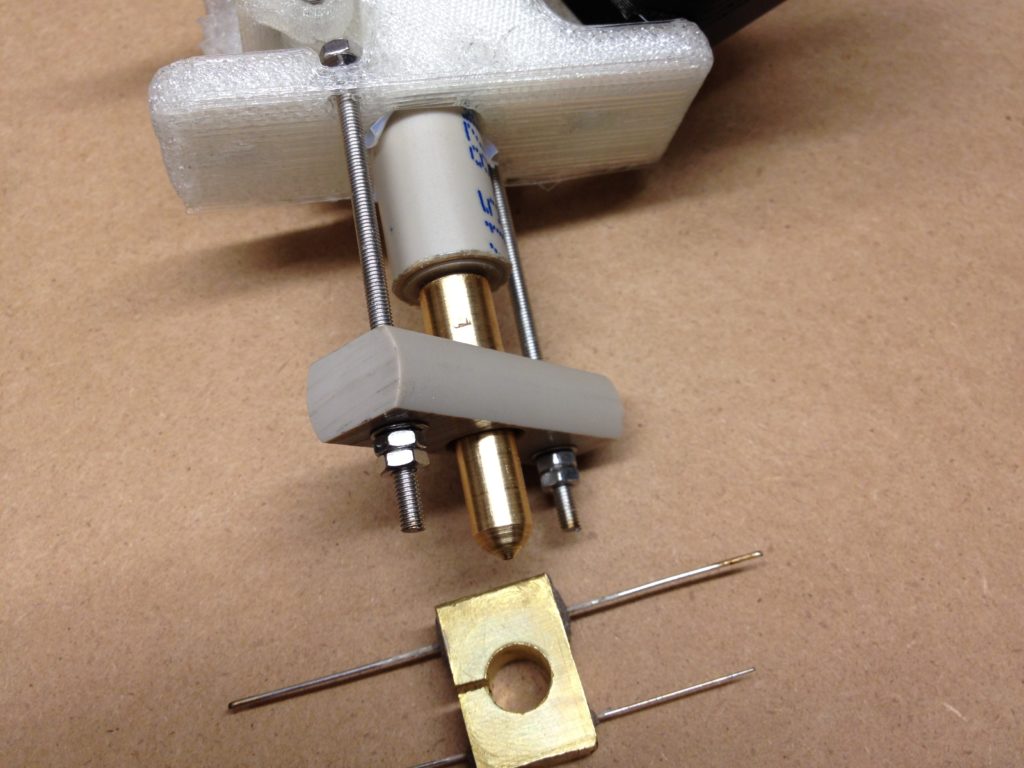
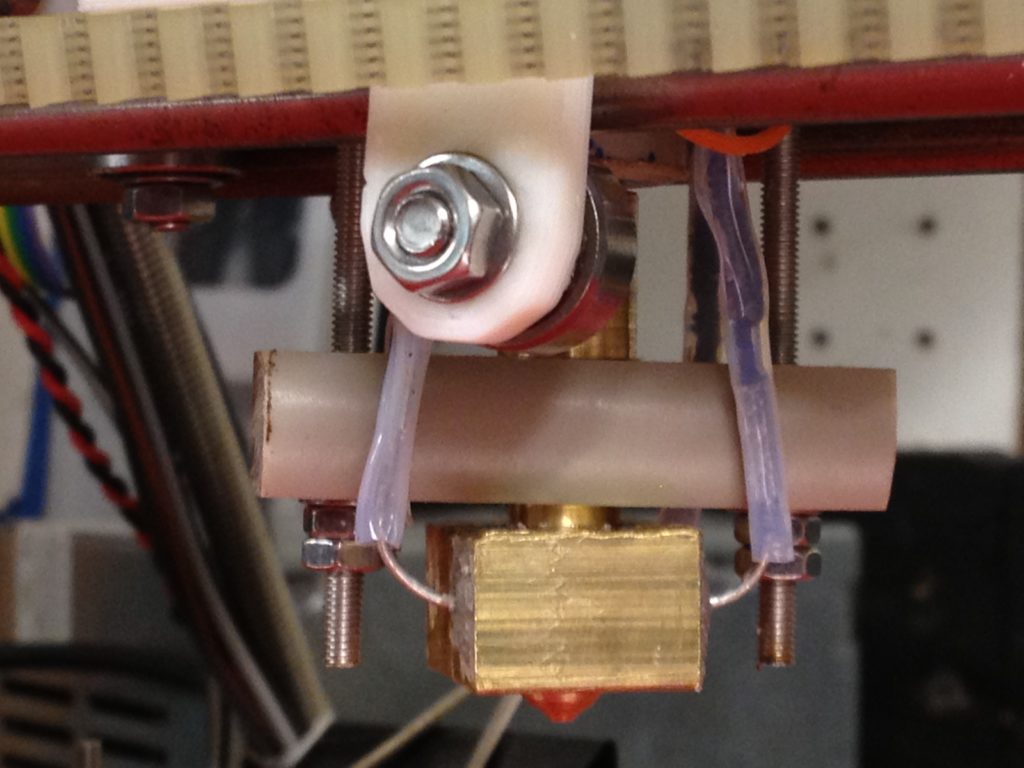
One of the reasons I printed a new extruder was that I wanted to try making Adrian’s Geared Extruder Nozzle. (Remember, this is 16 months ago). I’d had enough of PTFE insulators not holding a thread and pushing out the extruder nozzle onto the bed. This one would be held in by M3 threaded rod holding onto a PEEK block, which in turn would hold the nozzle up. The bottom of the extruder I made had two holes for those rods.

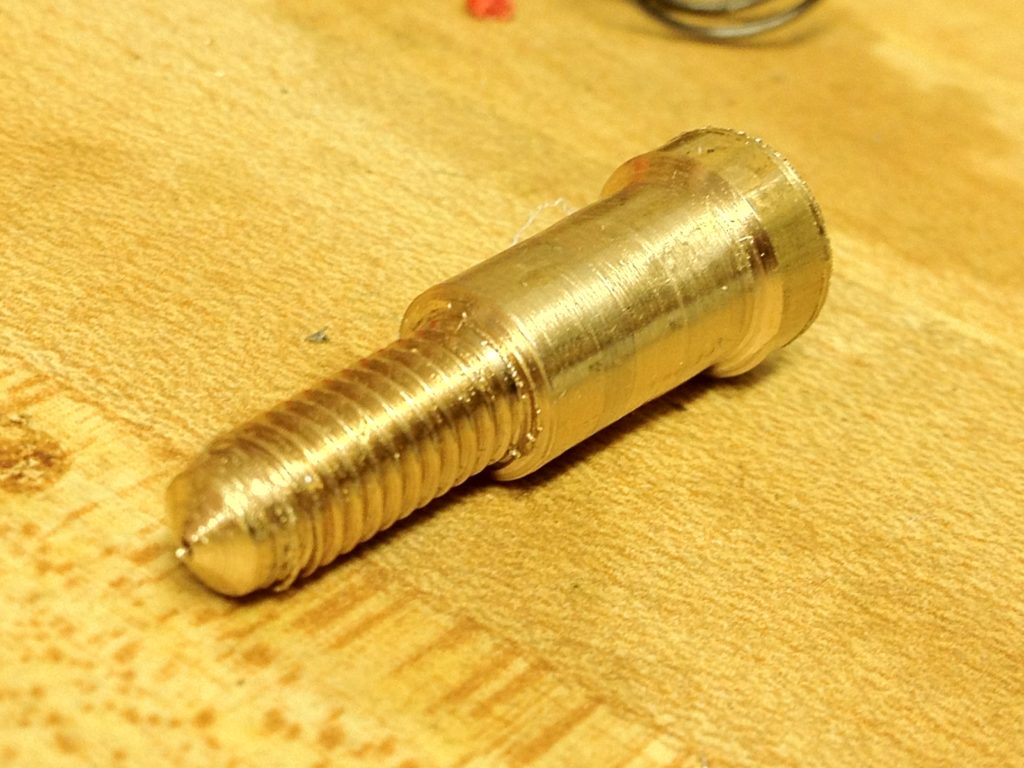
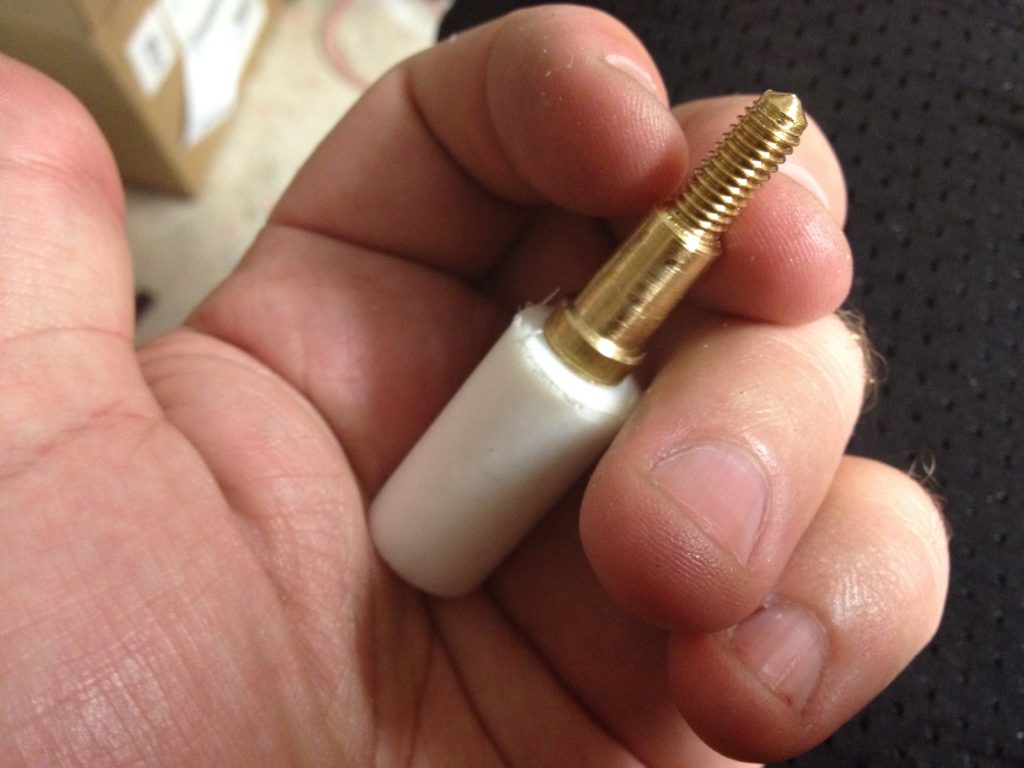
I then let myself have fun with my lathe, making that extruder nozzle I’d wanted to make for so long. (I previously described making the nozzle for a RepRap Universal Mini Extruder, but I haven’t made that extruder yet).

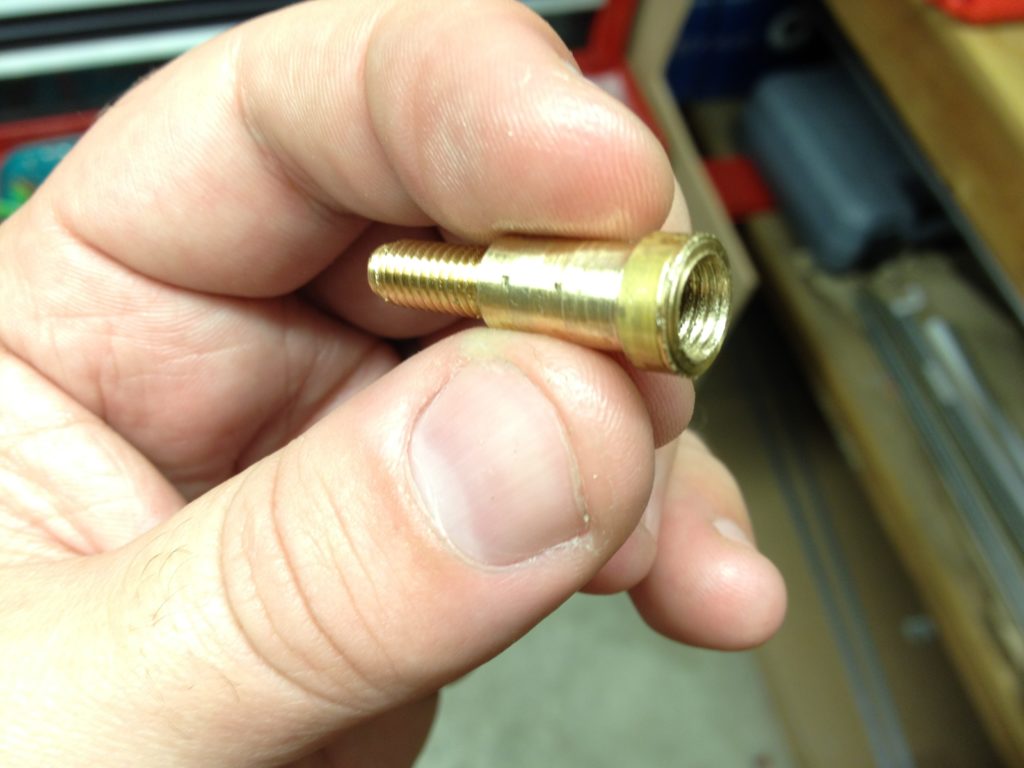
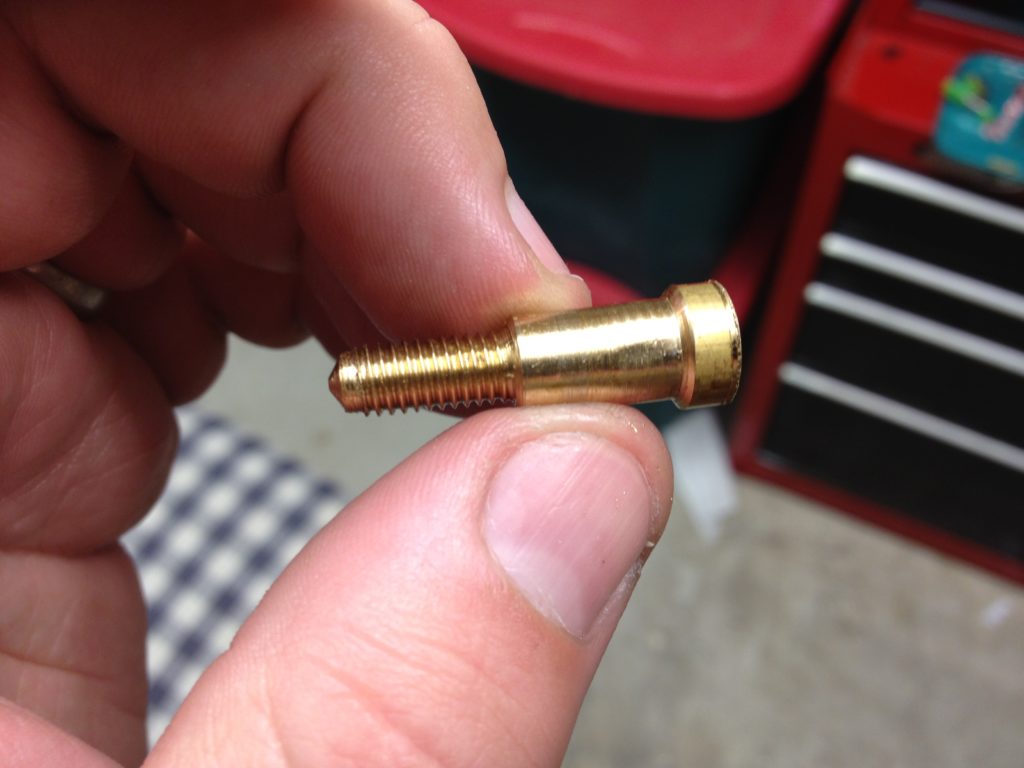
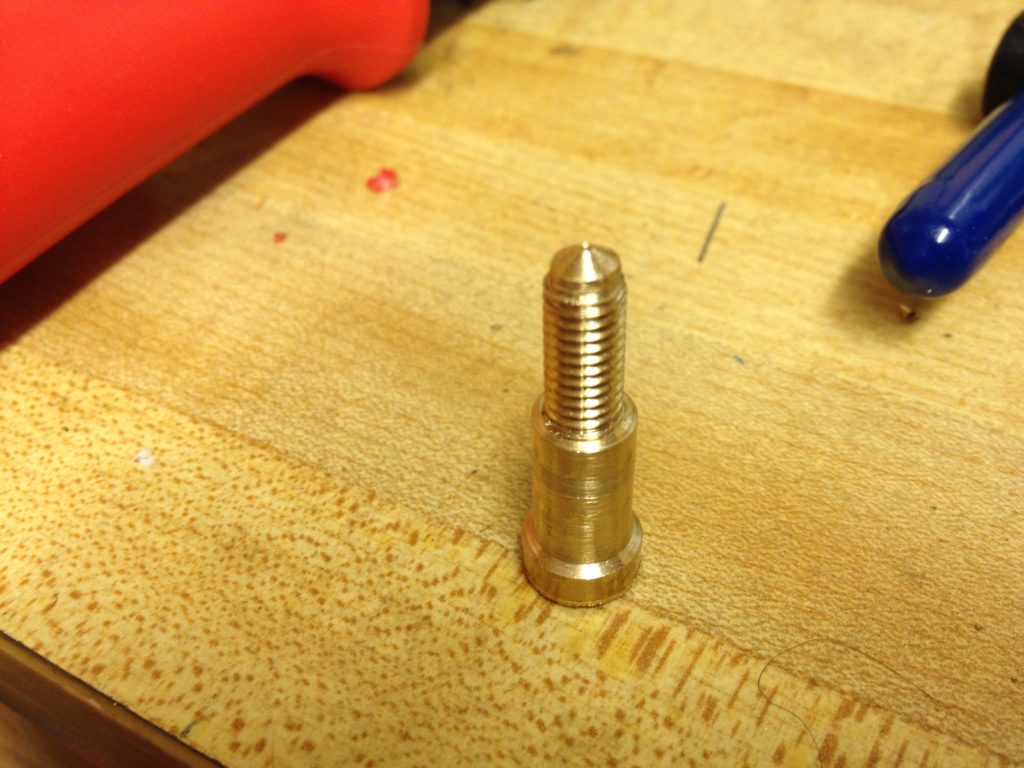
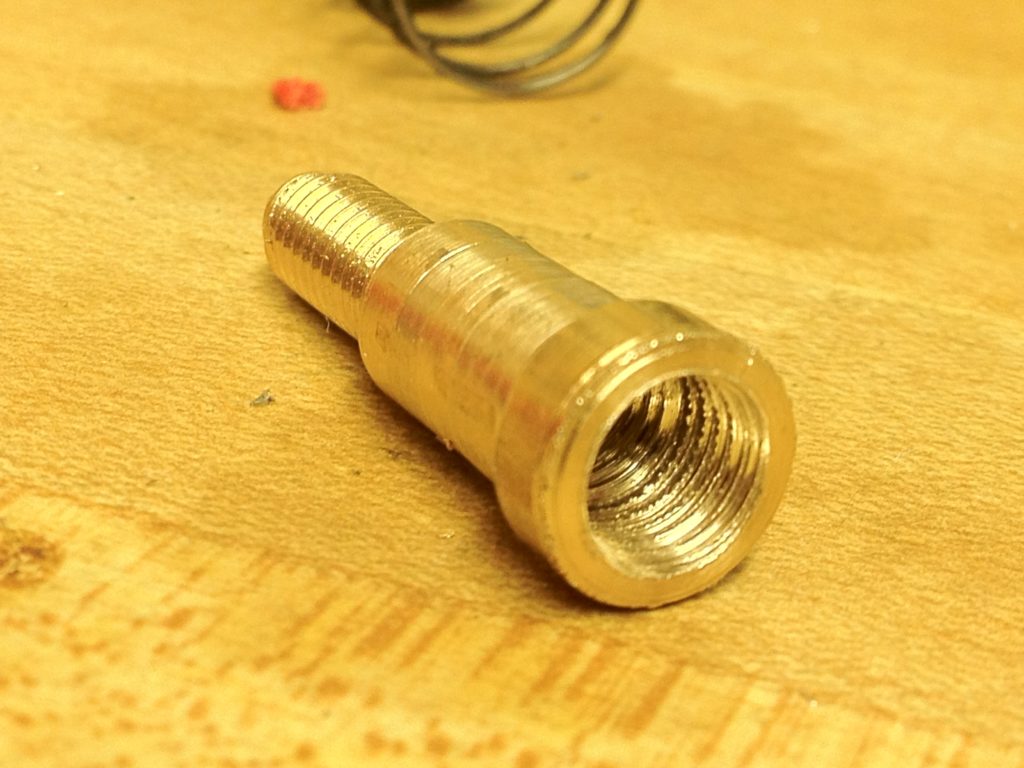
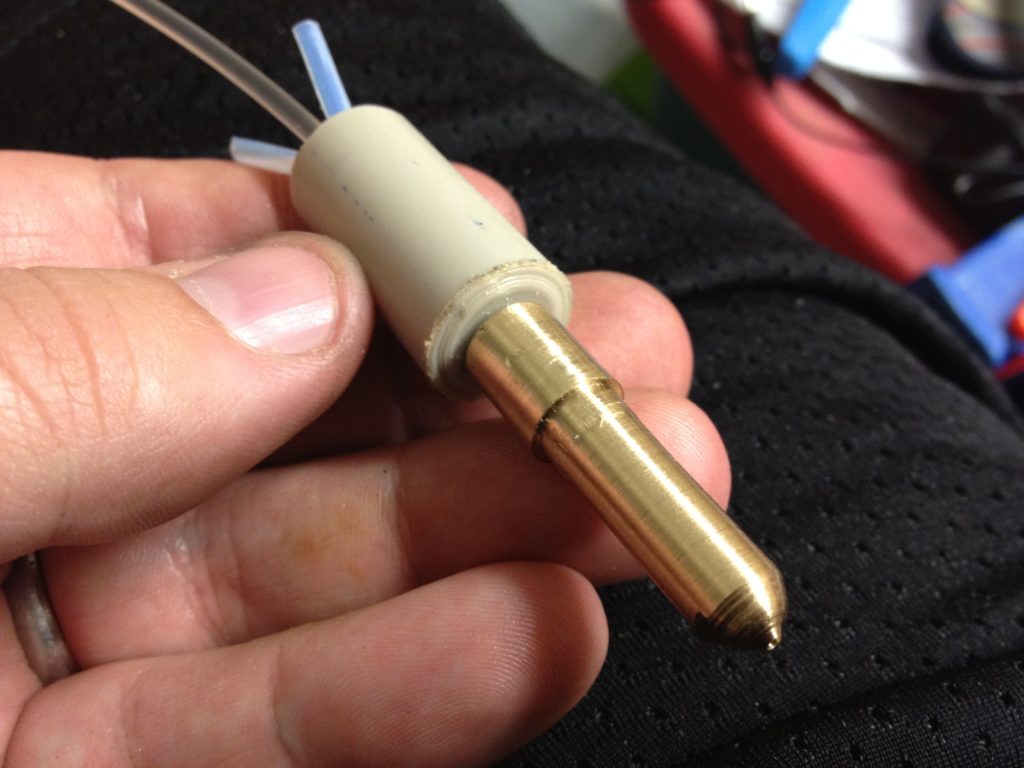
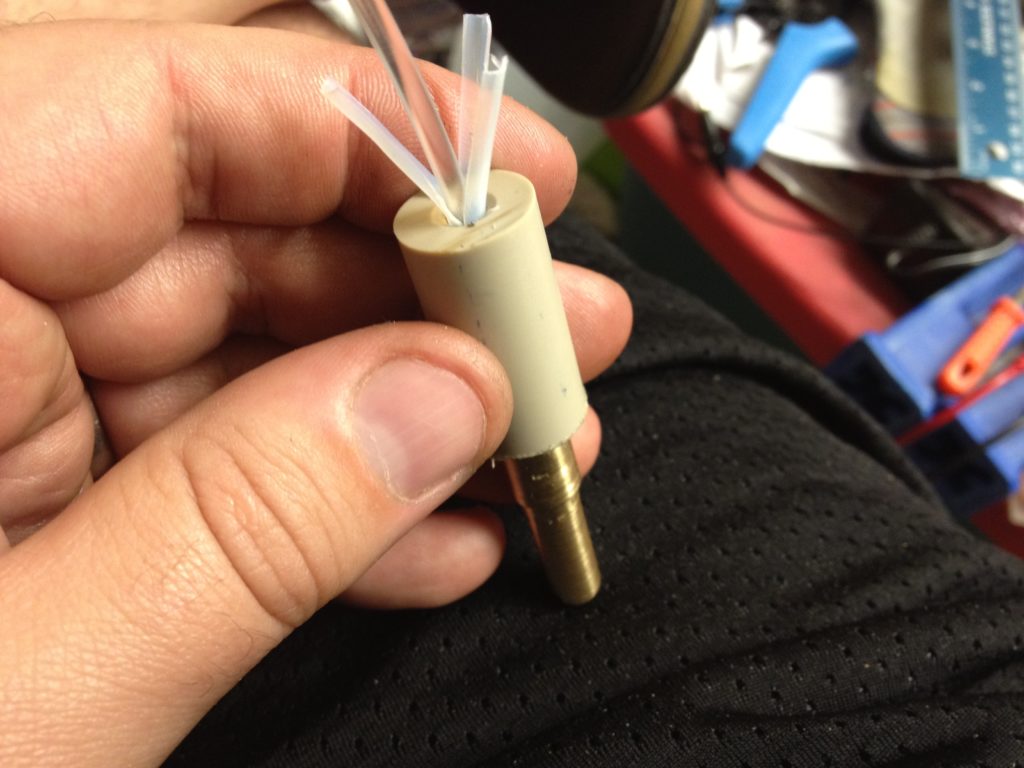
Here was the result of my lathe work:

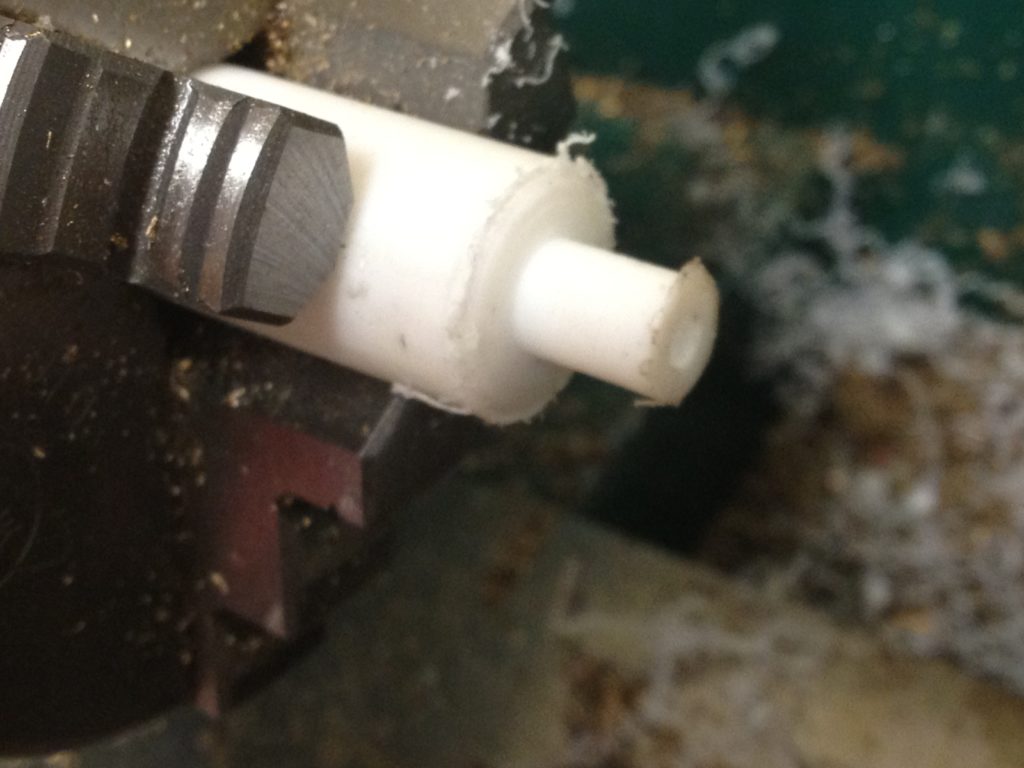
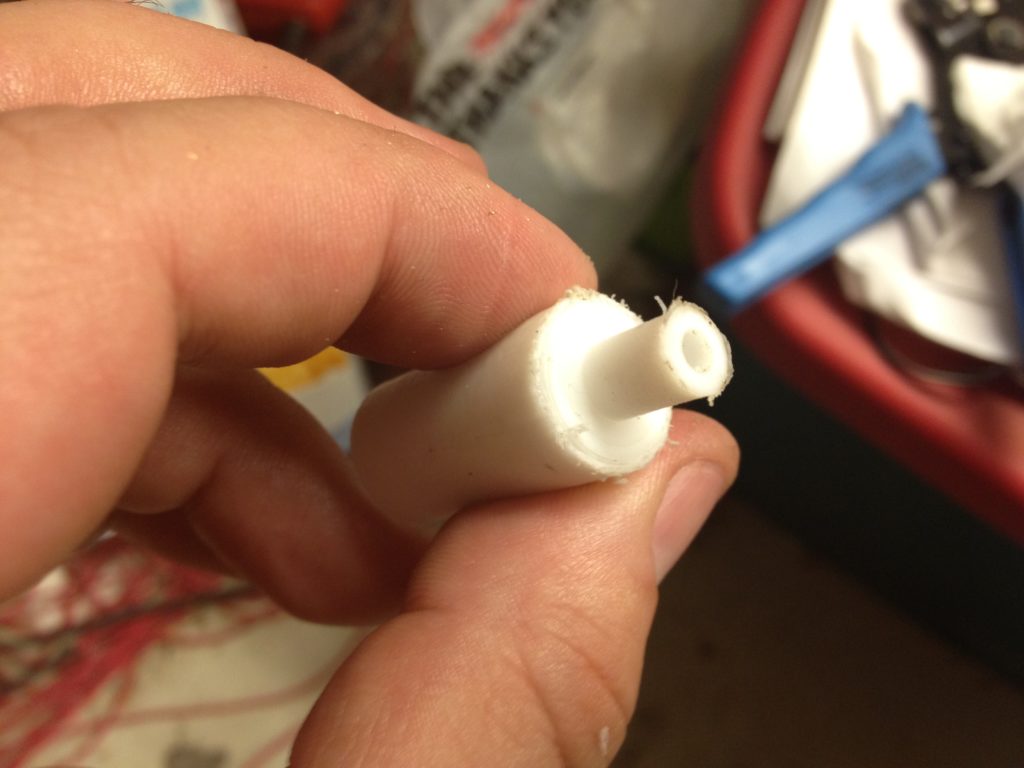
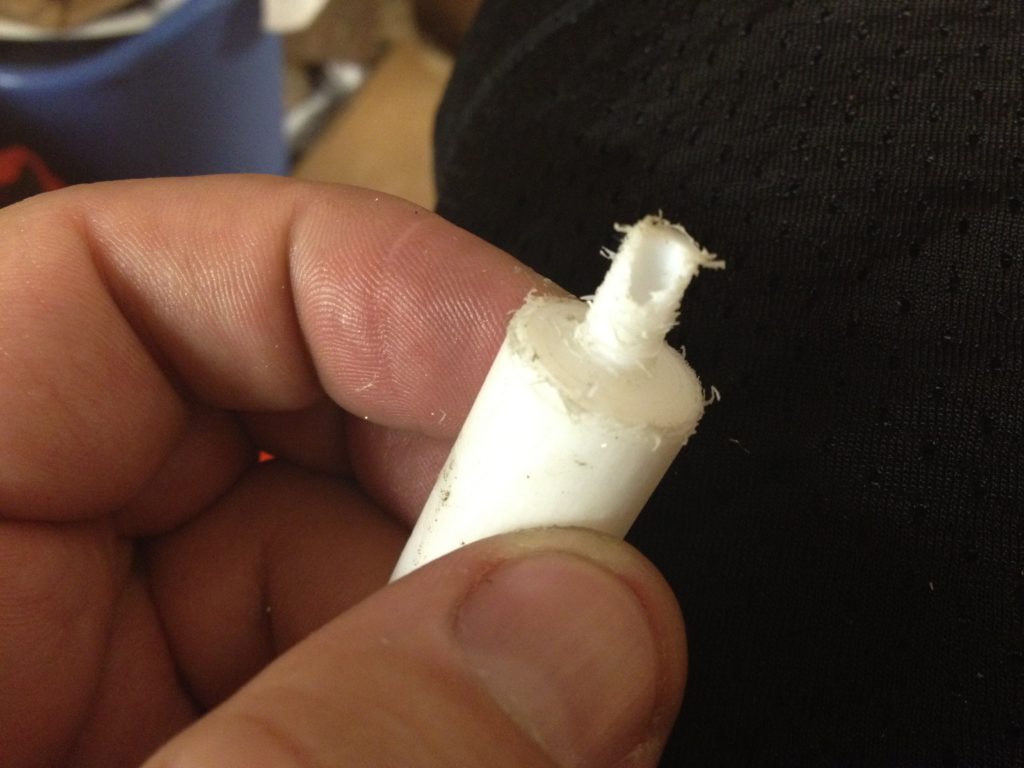
The idea of this nozzle was that you’d still have a PTFE insulator, but that it would screw into the nozzle, not the other way around, so if it expanded it would only make things better by sealing the join rather than having them fall apart. That meant I had to create a PTFE insulator with actual threads on the outside of part of it, which wasn’t easy. My first try broke.

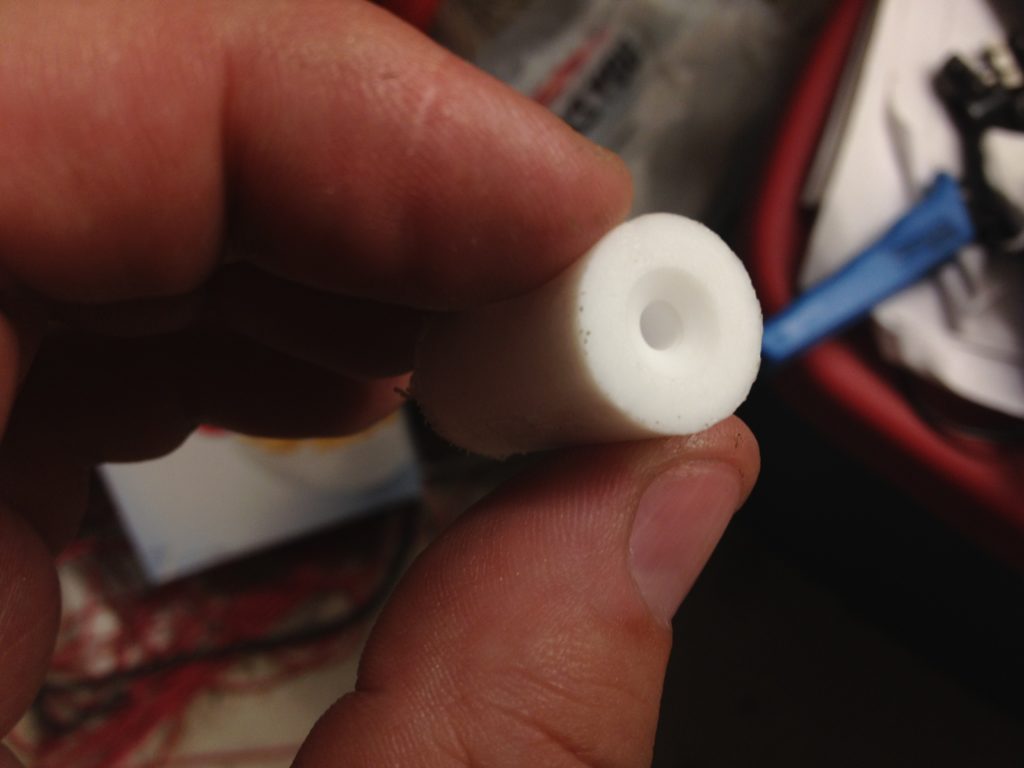
Still, eventually I had it.

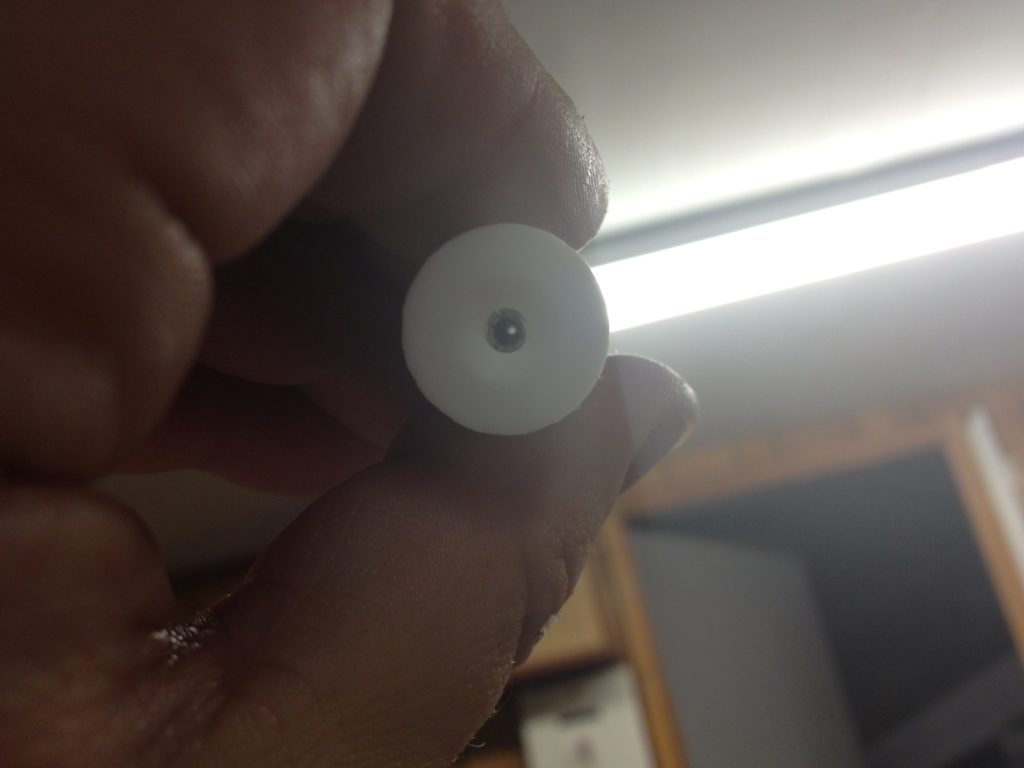
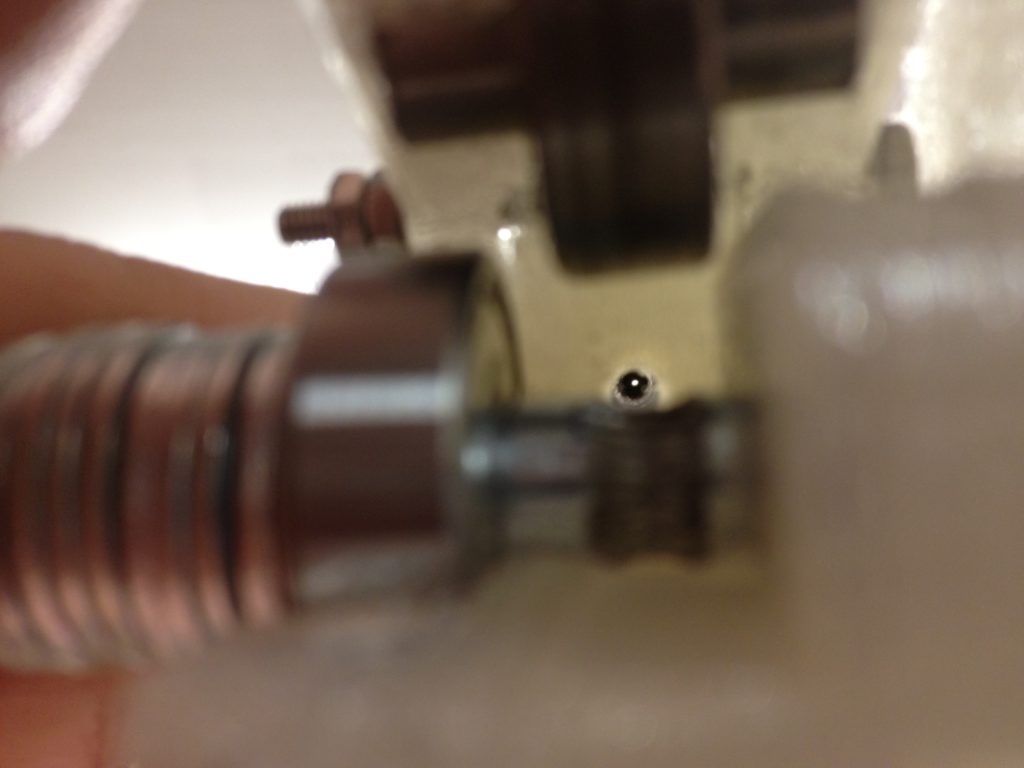
Here’s looking down through the extruder, out the nozzle hole:

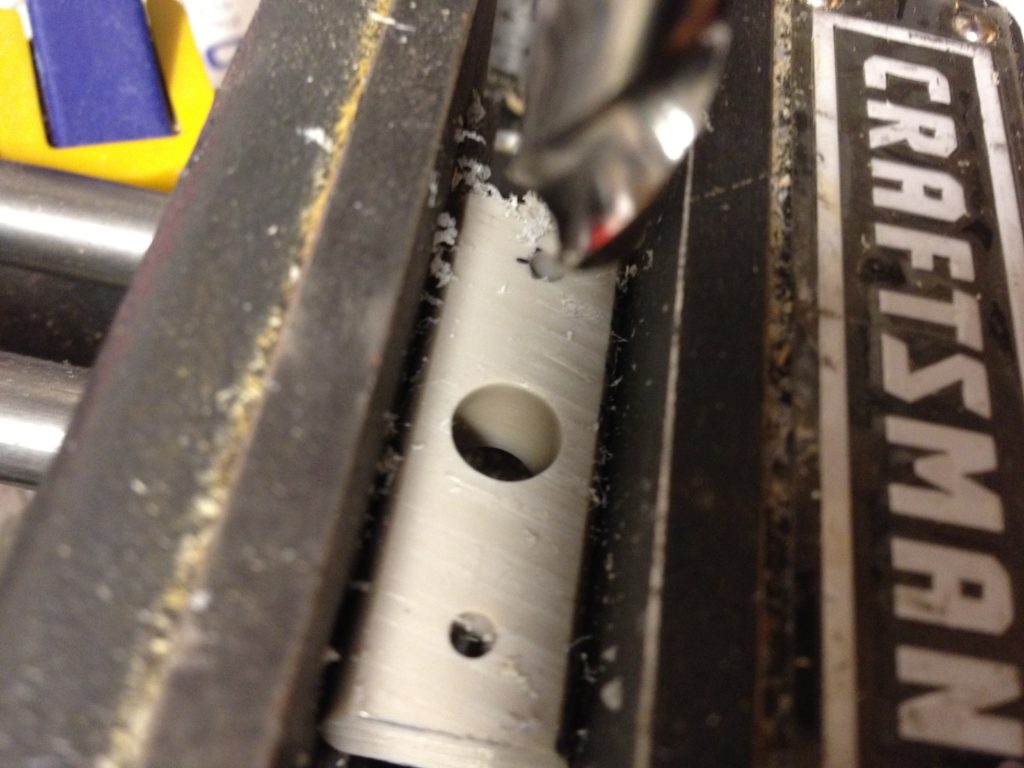
PEEK in bar form is particularly expensive, so on the Extruder Nozzle Variations page of the RepRap wiki, it was suggested that you could cut the PEEK bar from a piece of PEEK rod. Here are a few concatenated videos showing how I cut the rod into bar:

I then put the bar in a vise attached to my drill press, and drilled out the holes.

Here’s a phrase that happens a bunch on my blog: “And then this happened…”

And then this happened…

As I said in the video, I was crushed.

So… I got up again, and did something better!

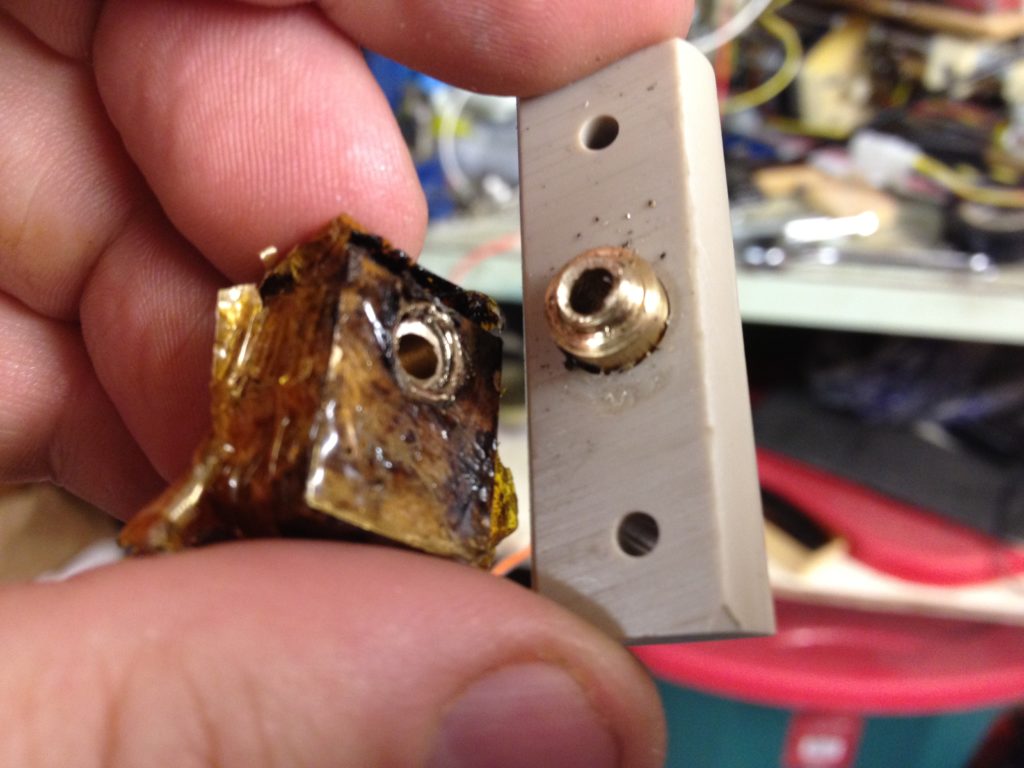
That’s the PTFE sleeve nozzle variant of the Geared Extruder Nozzle. It’s closer to the nozzle I’d made previously for the RepRap Universal Mini Extruder (which is still unused), but bigger. It’s push-fit, so no threads, and uses a strong PEEK insulator.

Here are the schematics (copied from here):

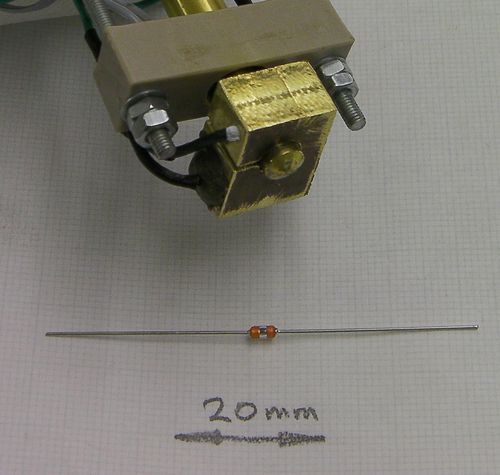
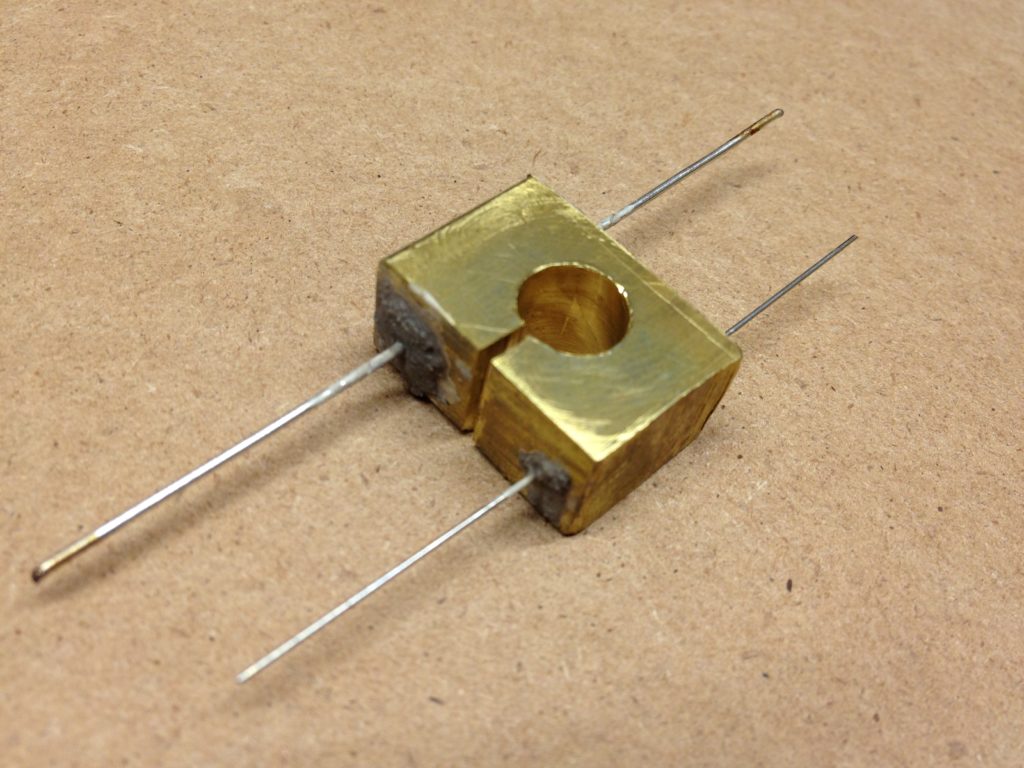
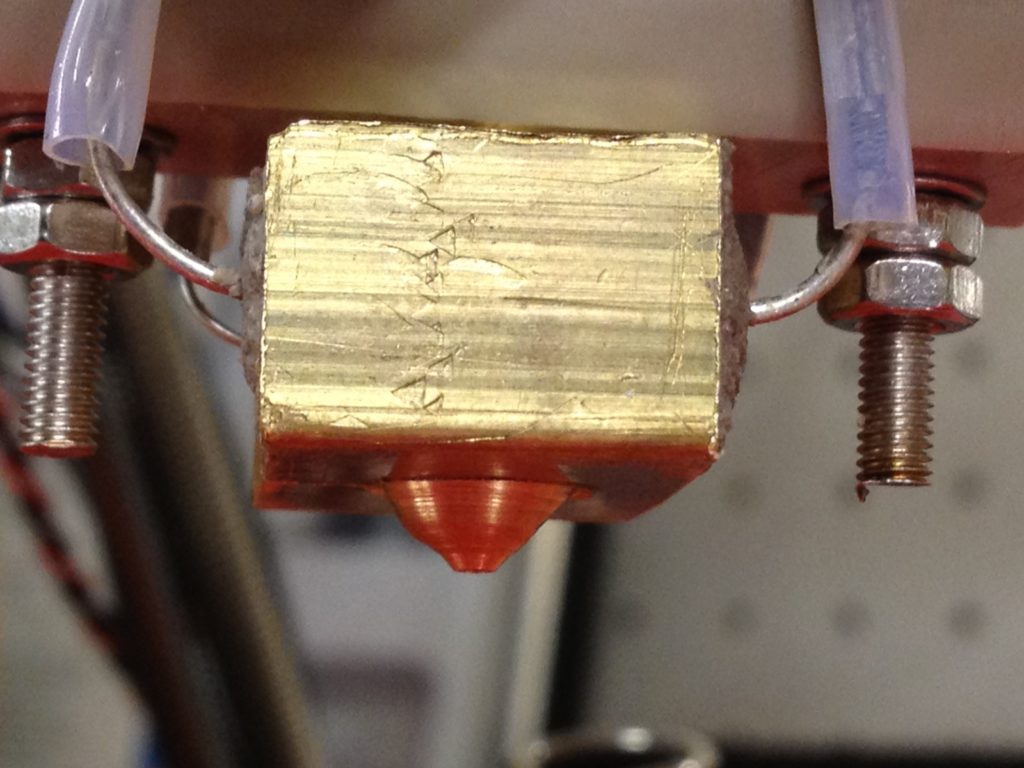
I wanted to use a slightly different design for the heater block though. Rather than continuing to have the tip of a thermistor pushed into the side of the block (with the risk of it coming out), I’d rather have a through-hole thermistor embedded in the block itself. Taking inspiration from this variation of the smaller RepRap Universal Mini Extruder heater block, I decided to make something similar, sized for this nozzle.

Another picture copied from that page:

And here’s what I made:

Before going any further, I wanted to figure out how I’d do the wiring to my RepRap. Ever since having a removable carriage, I’ve wanted and planned to have multiple swappable extruders. Here I ran into a snag though because this Greg’s Accessible extruder needs the extruder motor to rotate in a different direction from my Wade’s extruder. There needed to be a standard (even in a field where “RepRap doesn’t do standards”), at least for me and my extruders.

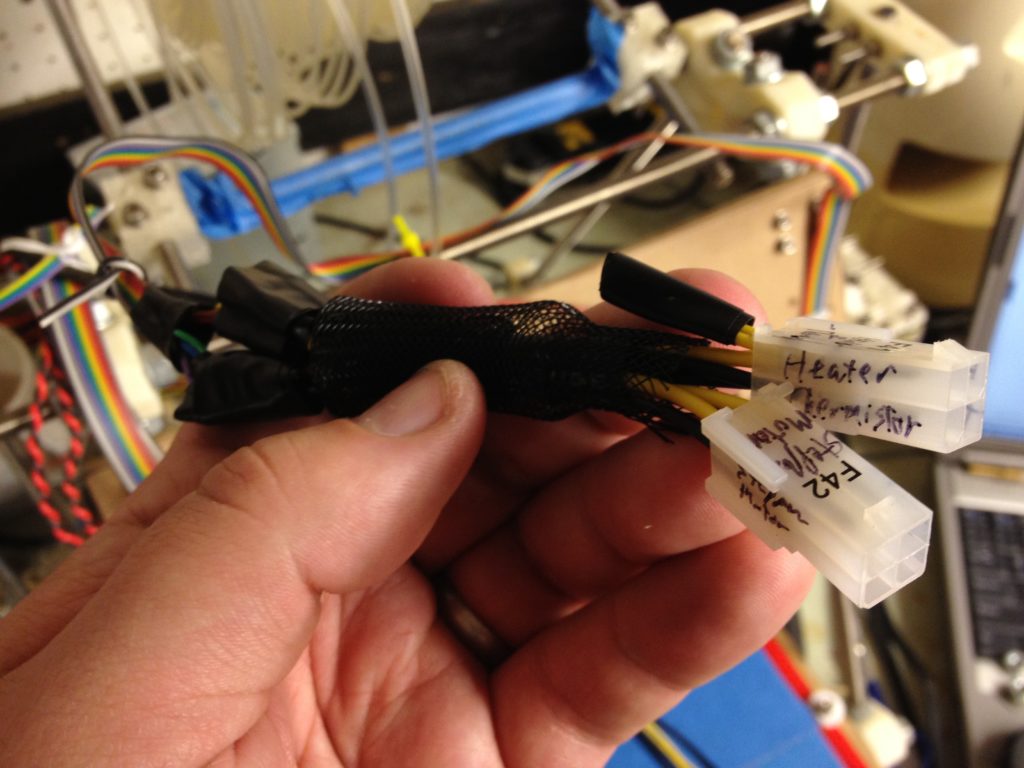
Chris Connelly told me about the idea of using these video-card PCI-e power cables as a connection point. When I ordered these Athena Power Cable (M84M84F) extension cables for like $5 USD, I found that they’re keyed.. There are two male socket shapes and two female socket shapes, which aren’t physically compatible. This was good – it let me designate one to be for the heater and thermistor line, and another for the extruder motor, without any risk of having them accidentally plug into each other.

I needed to create a standard for the pinouts, such that I could wire my Wade’s interface one way and my Greg’s interface another way, and they’d still be the same at this junction point.

And thus, the RepRap Extruder Connector Standard was born. I wired up both my Wade’s and Greg’s to this standard, as did Chris, and our extruders are completely swappable (except for perhaps some thermistor settings.. grumble).

Here’s a video I recorded about it:

Here is a picture of the female white side of the cables, permanently connected to my RepRap motherboard:

Chris finally got around to putting it on the RepRap wiki:

http://www.reprap.org/wiki/Extruder_Pluggable_Wiring_Convention

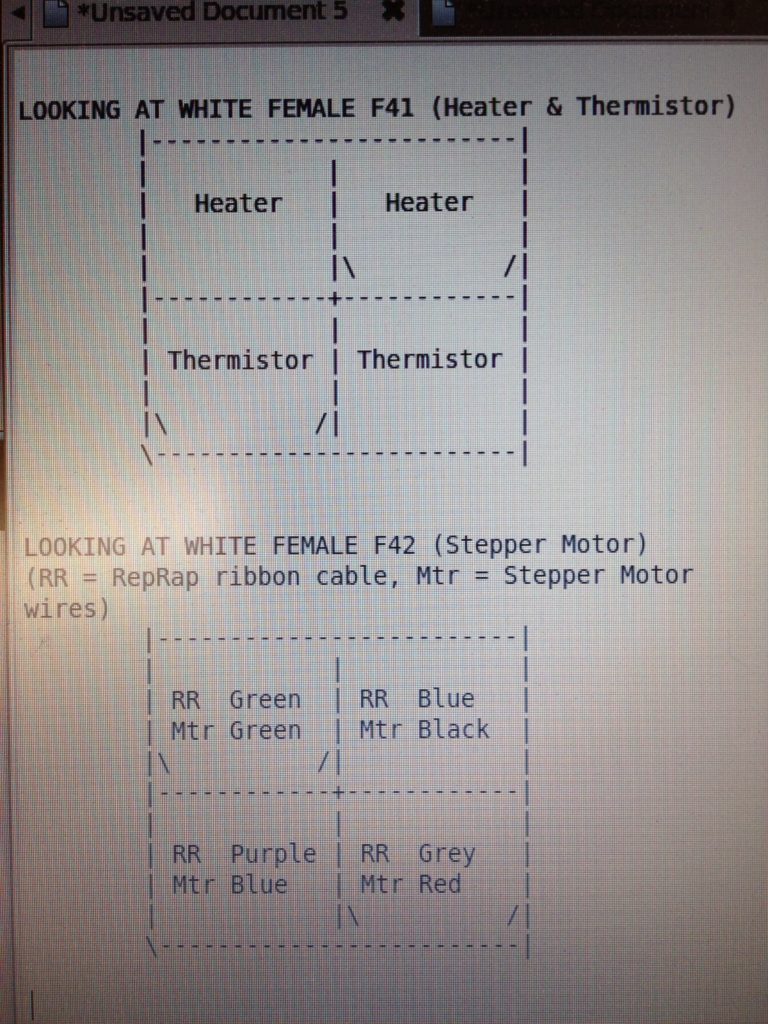
..and here was a picture of my original notes about the pin order (with specific-to-me color-coding, which we fixed for the reprap.org page above):

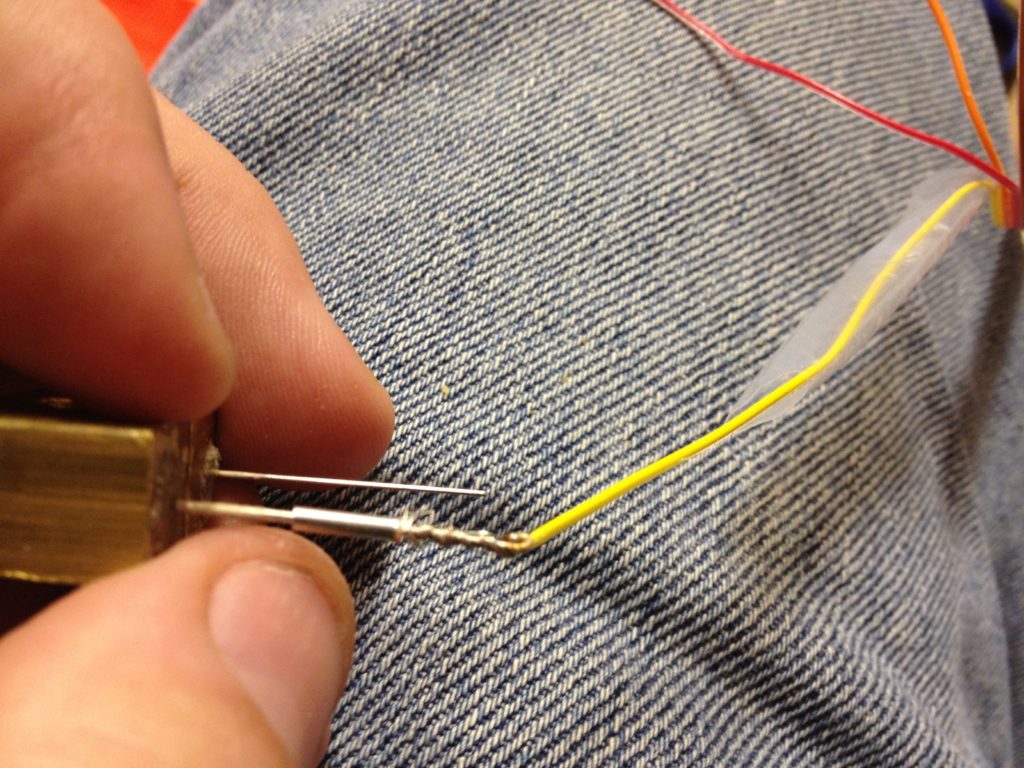
With all of that decided, on to my wiring. I had done shrink-wrap around solder connections before, but I’d never used a heat gun, nor PTFE sleeving.

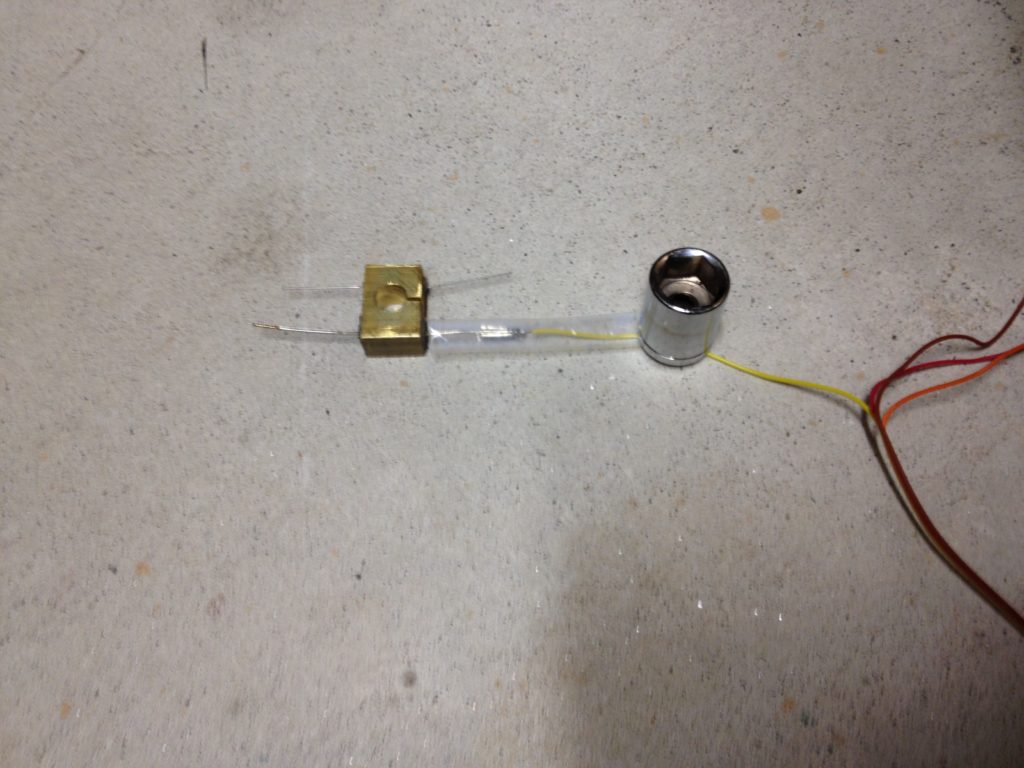
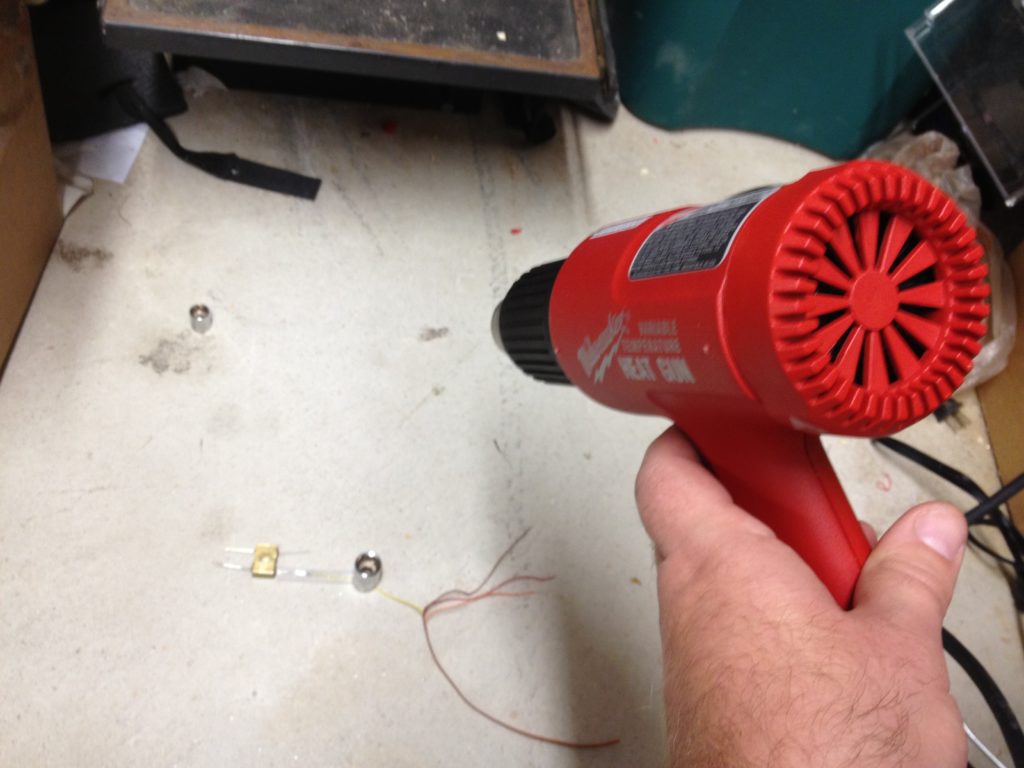
Having crimped it, I put it on the ground (cement) and shrunk the sleeving with the heat gun.

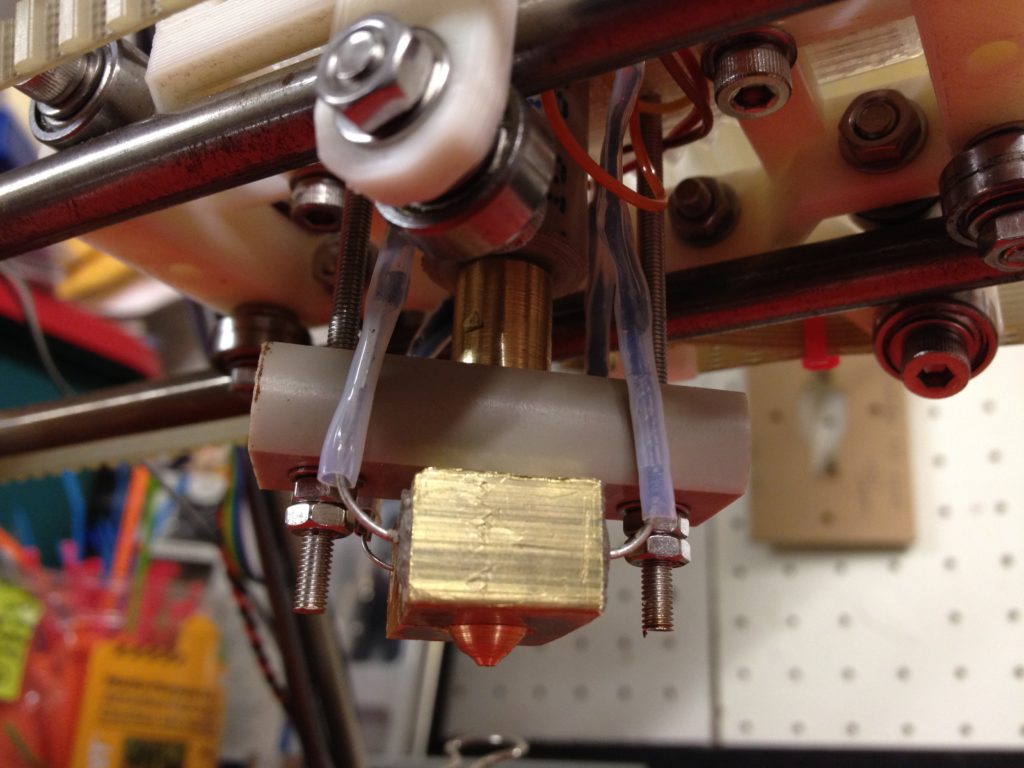
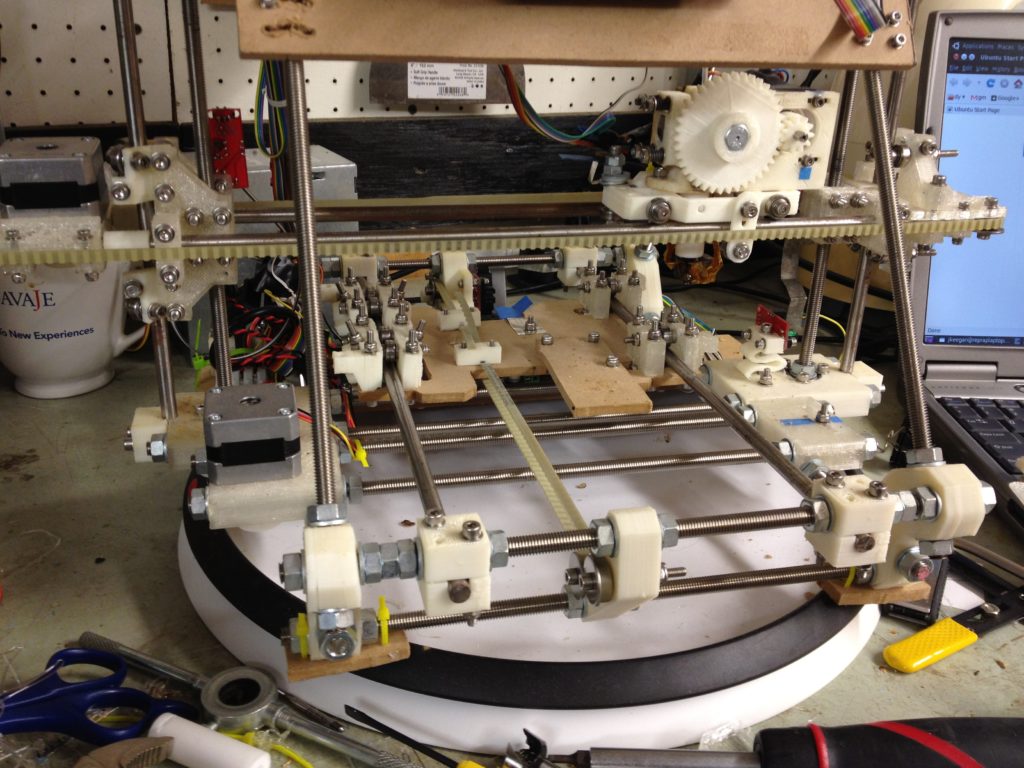
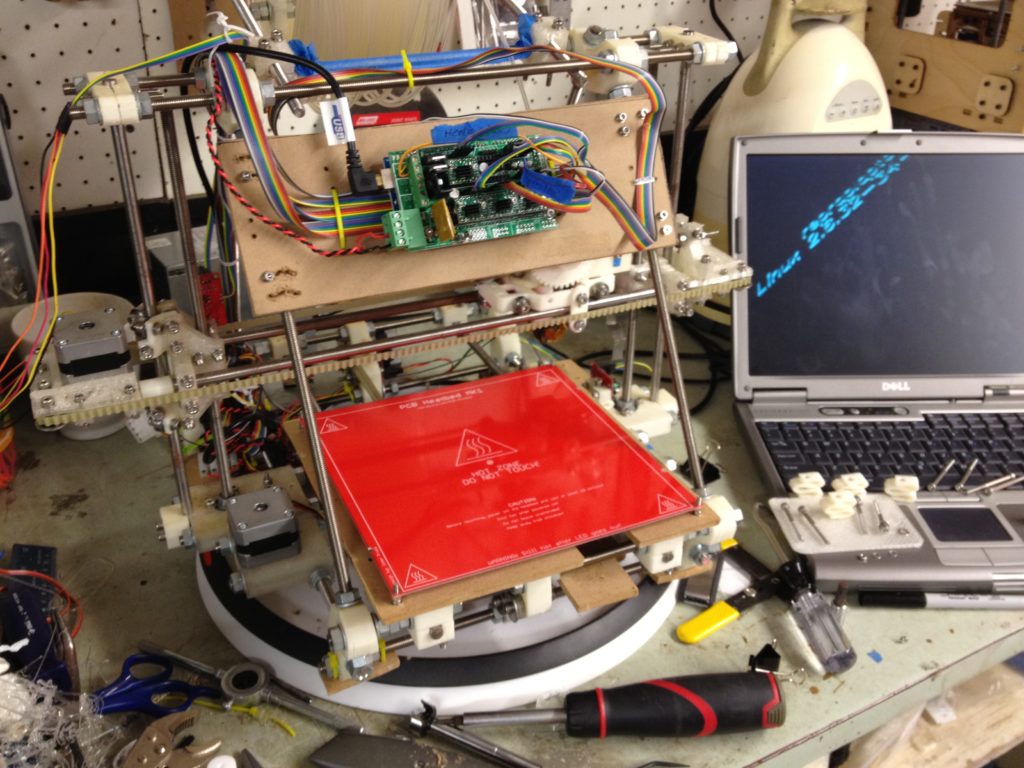
I assembled everything and mounted the extruder in the RepRap again. Even though this first picture doesn’t even show the extruder, I wanted to point it out – I love this photo.. It’s so bright, and it’s nice crisp high definition (click for full resolution):

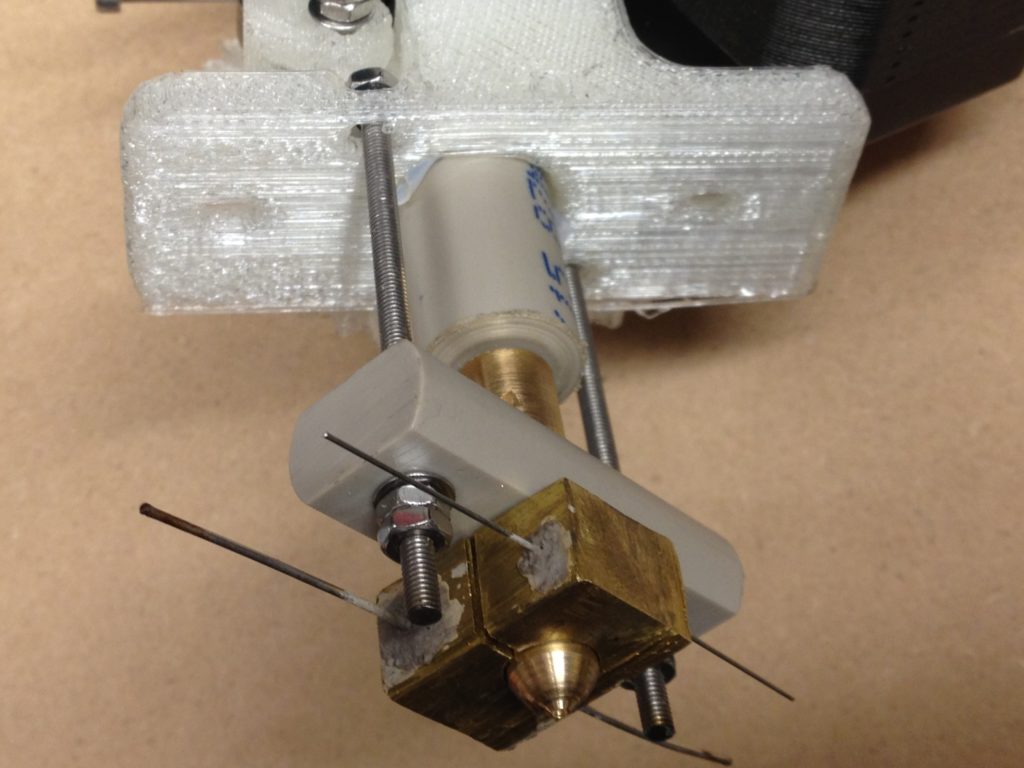
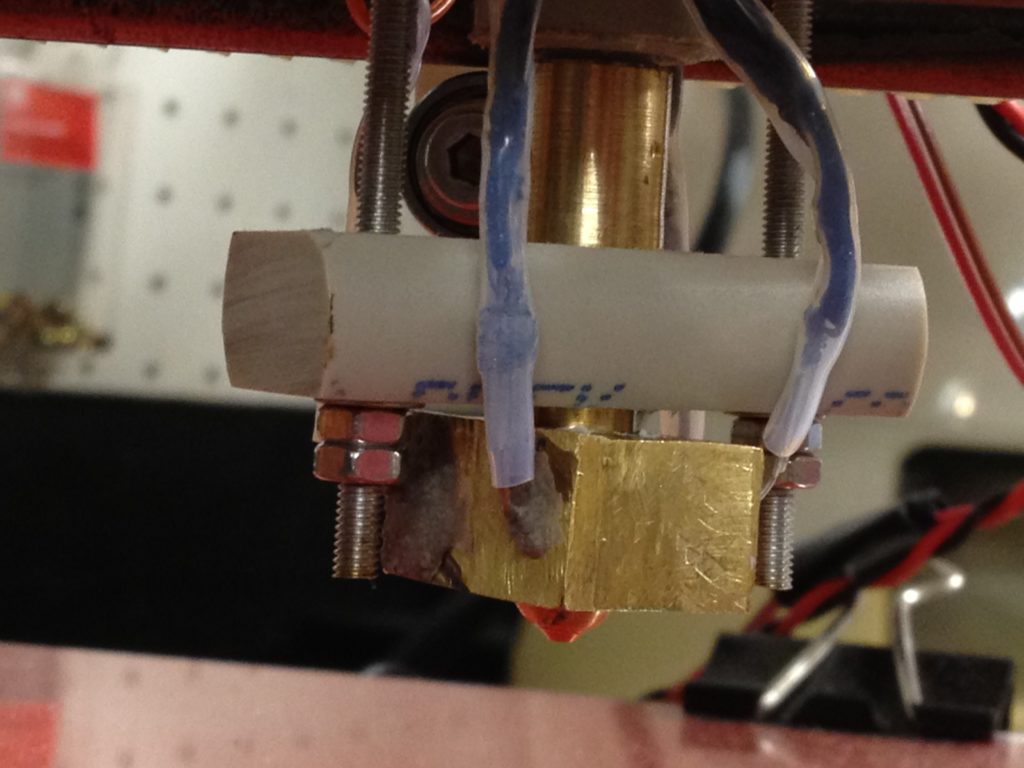
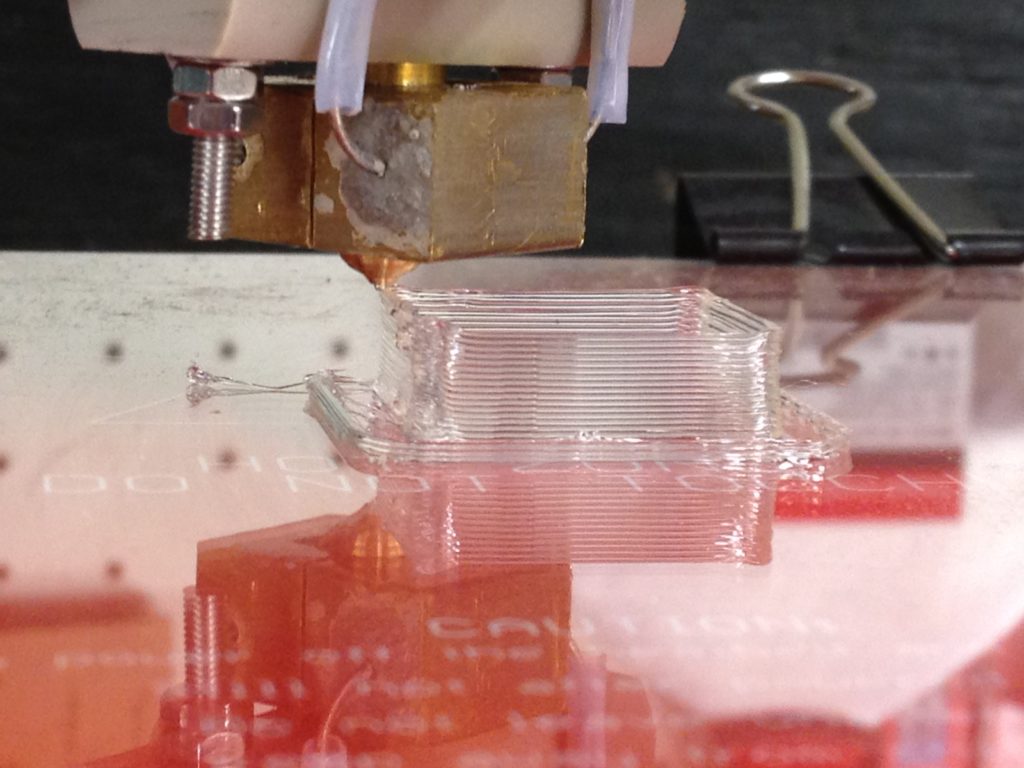
Here are some more pictures, this time showing the extruder, nozzle, and heater block:

Here’s another one that I love that’s worth clicking through for a high-resolution version of:

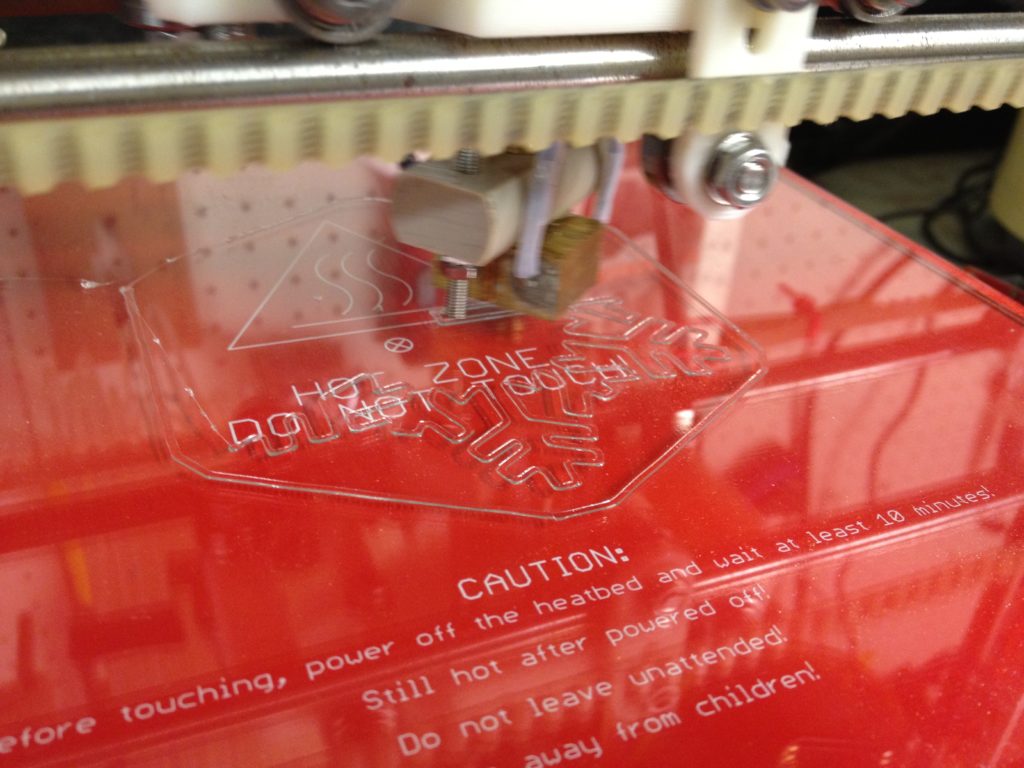
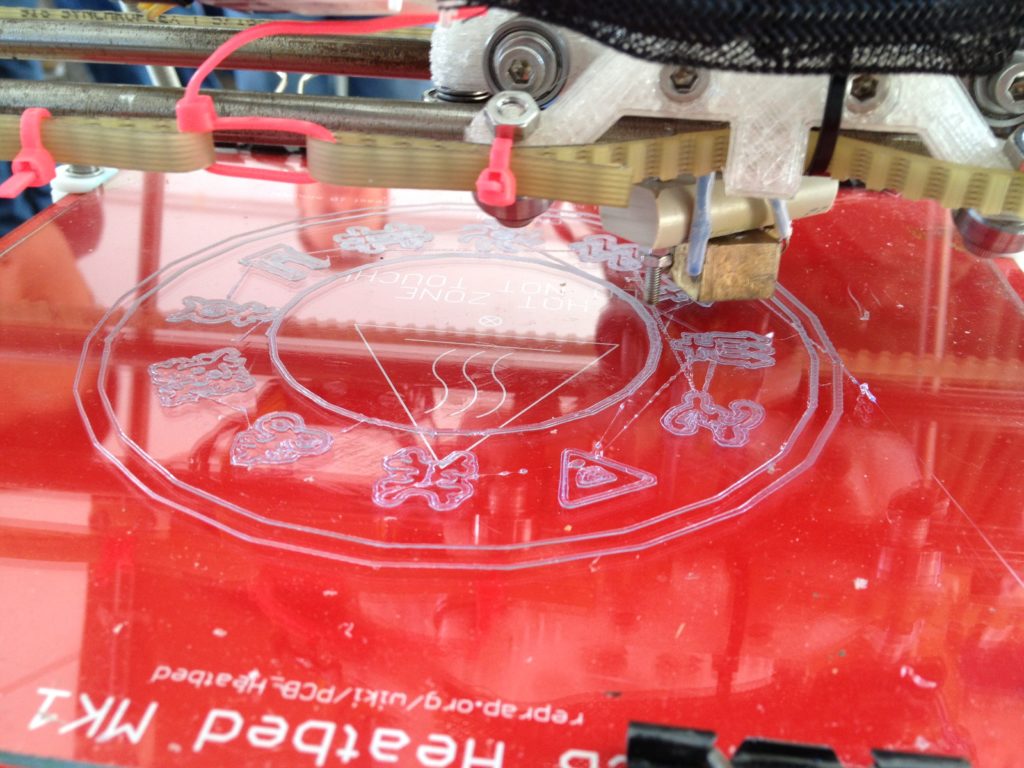
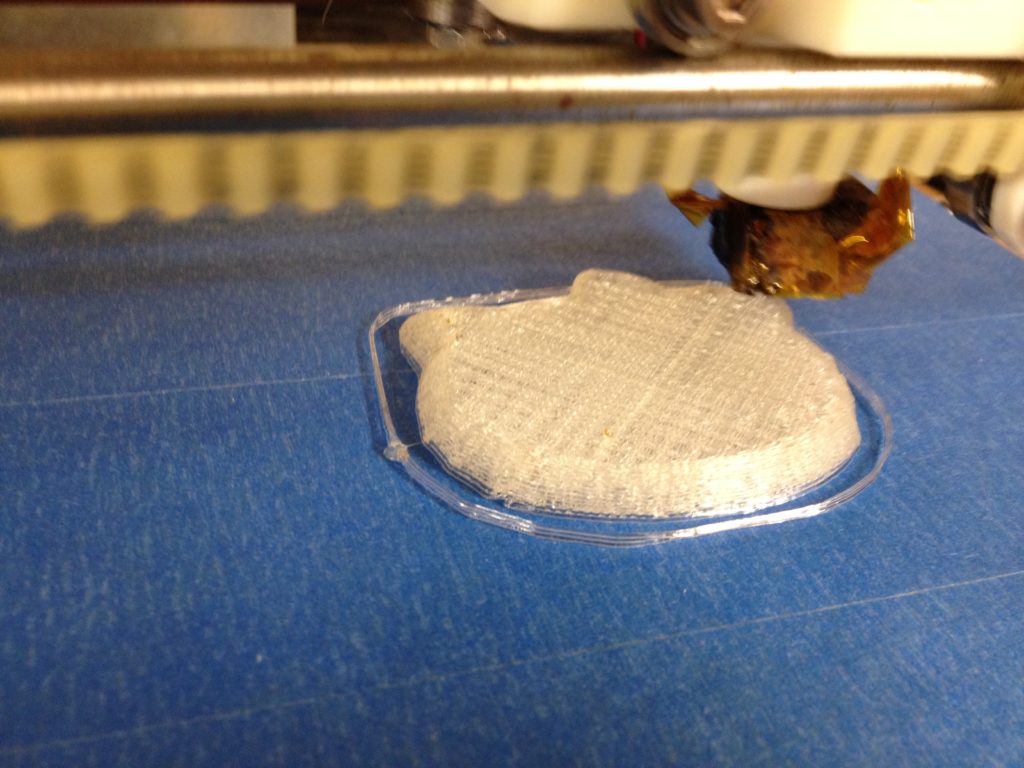
And here it is printing:

Well there ya go. That brings us up to December 21st, 2011.. (Today is March 19th, 2013). So while I’m 15 months behind on the calendar, there are large periods of time in those 15 months where I did almost no printing work at all, so I’m really hopeful I’ll catch up soon. Thanks for reading!

(And it still gets better… ๐Ÿ˜€ )
Makerfaire NY 2012: Booth 8736 (My RepRap!)
Thursday, October 4th, 2012

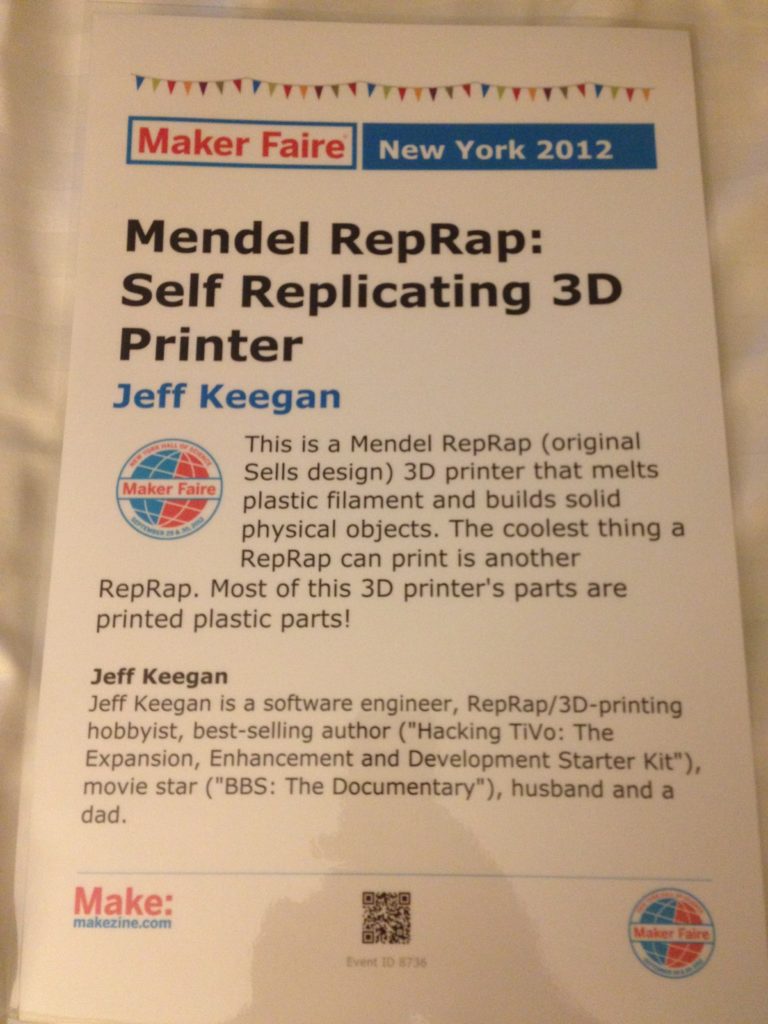
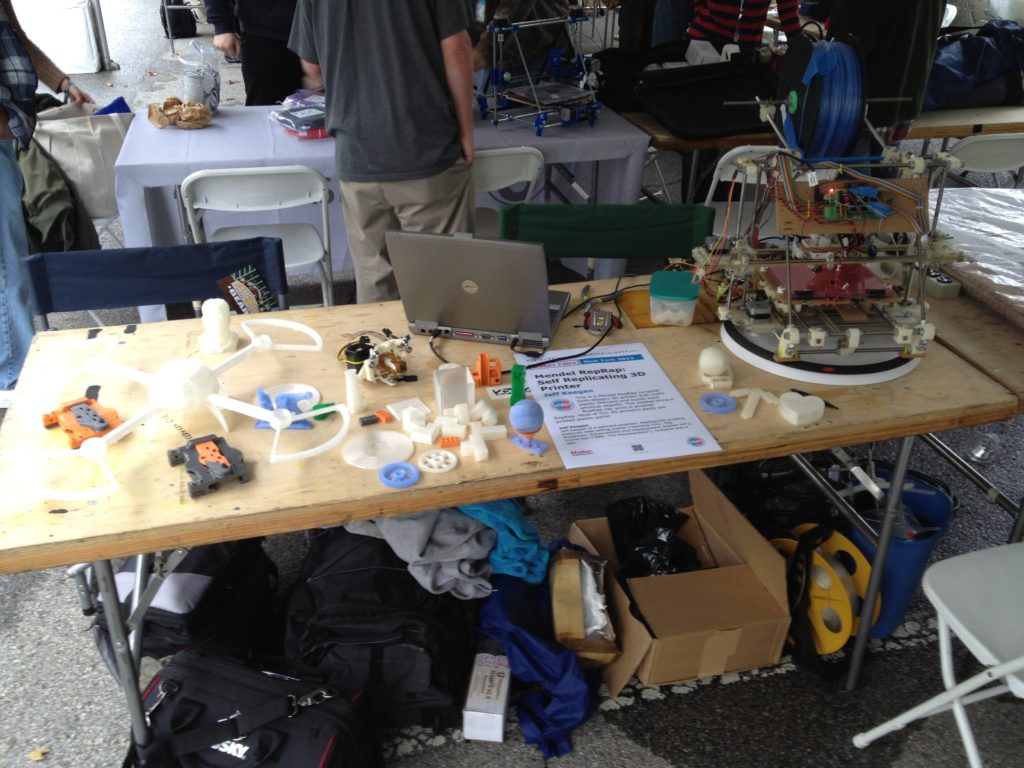
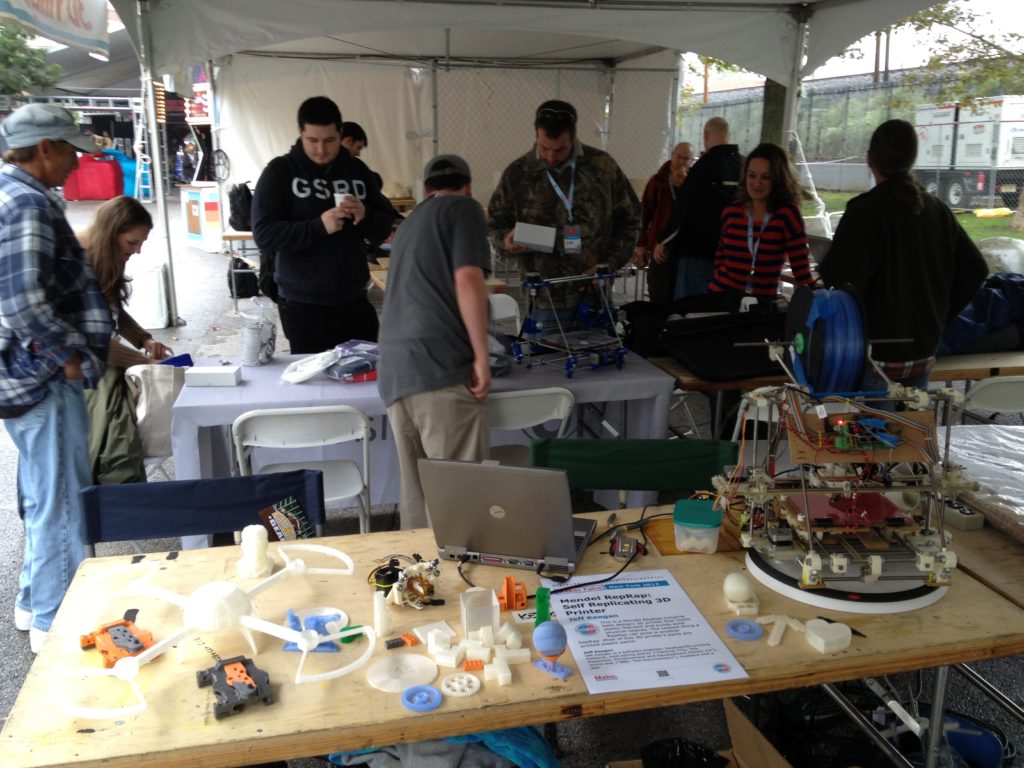
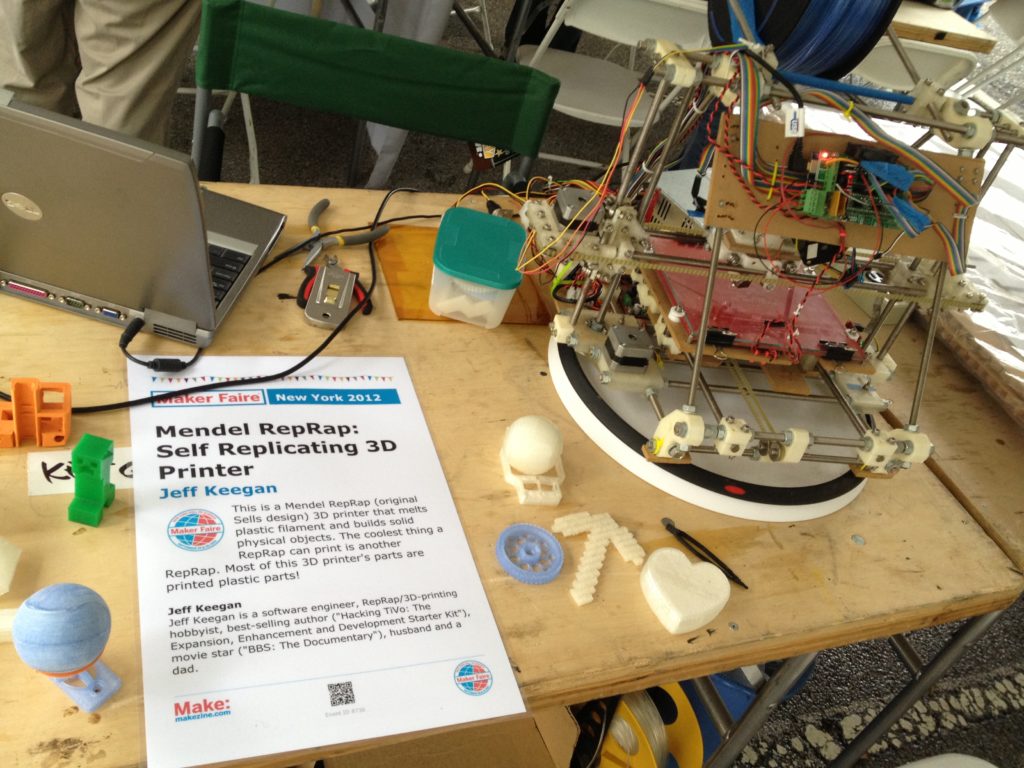
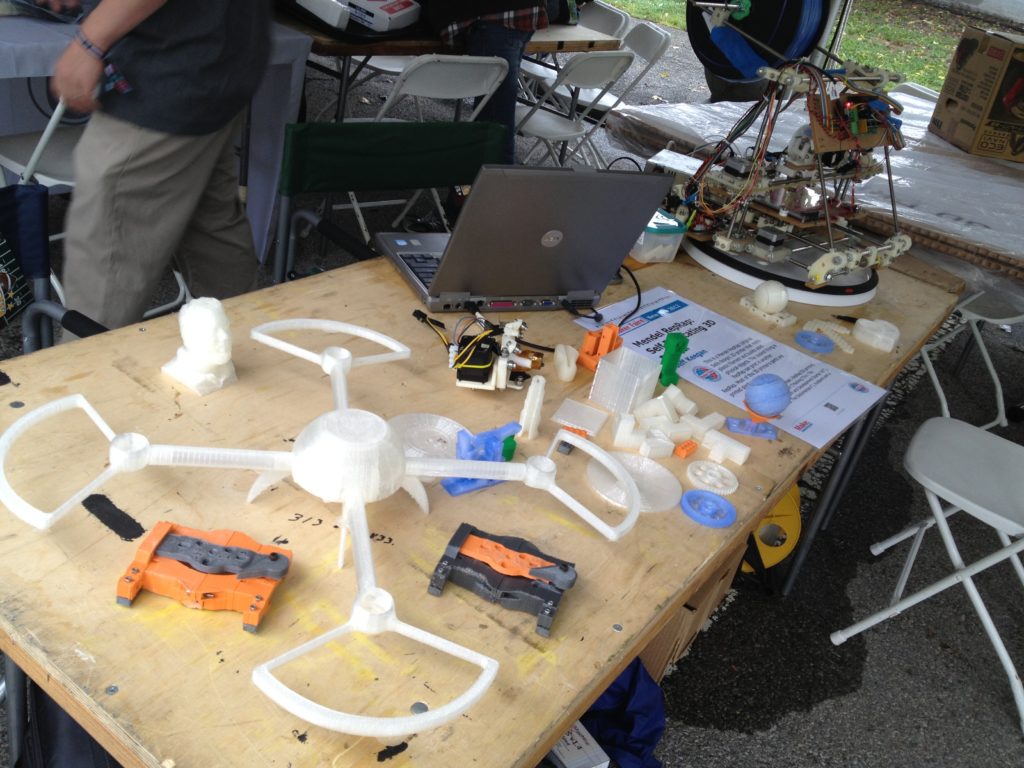
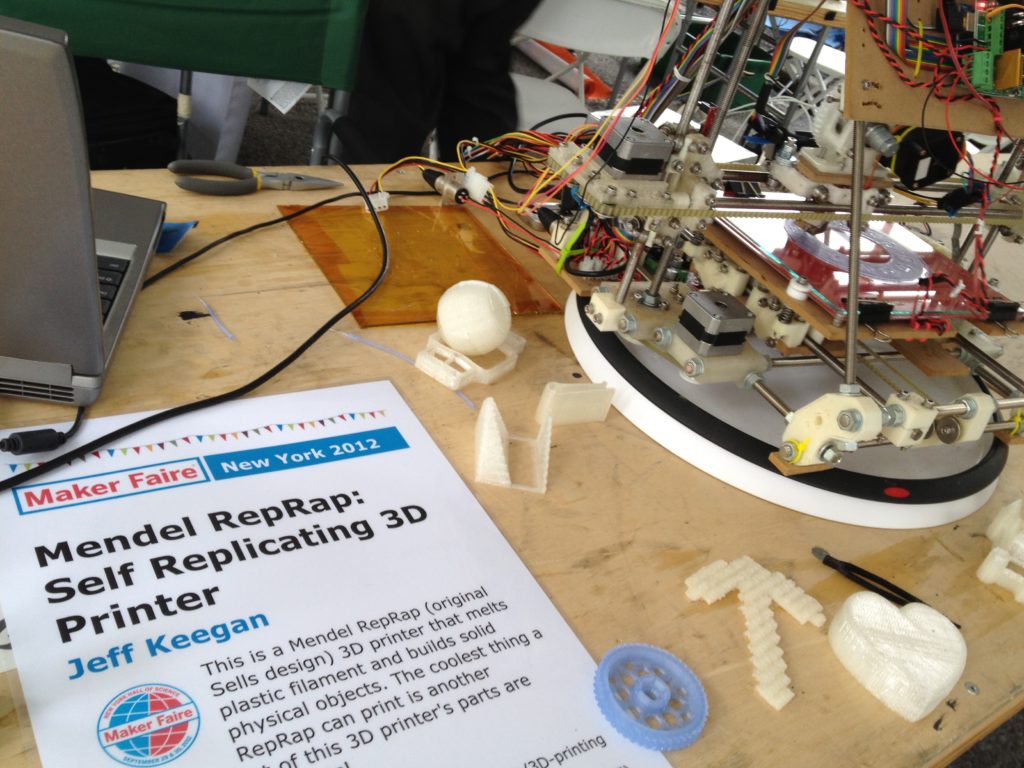
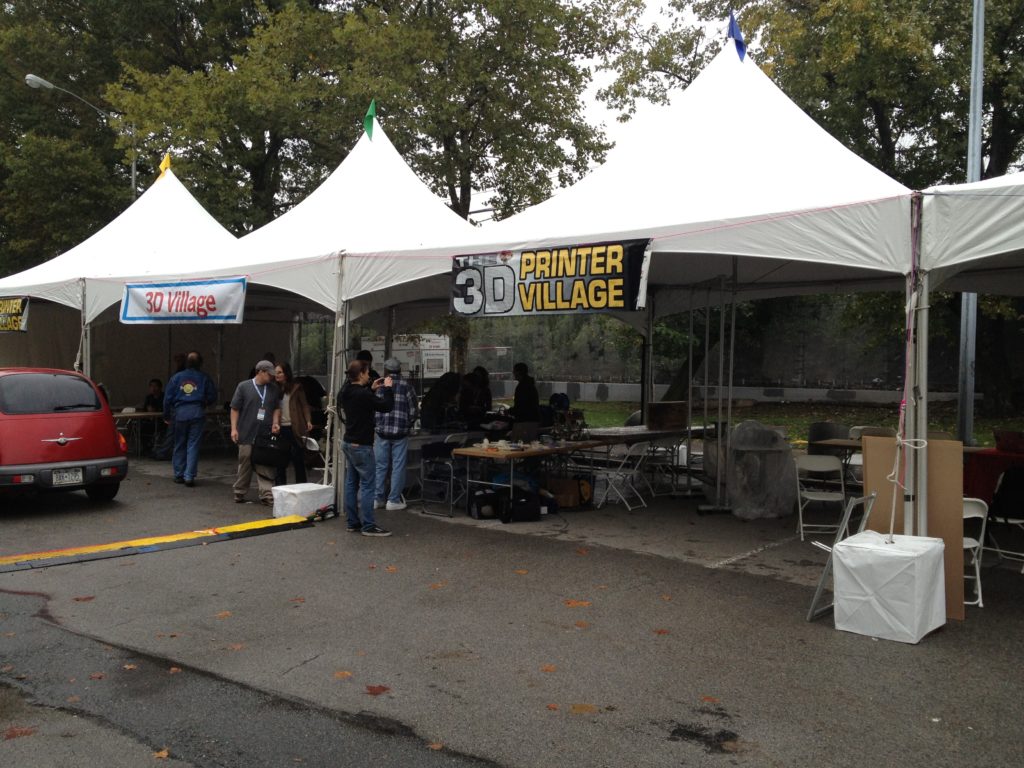
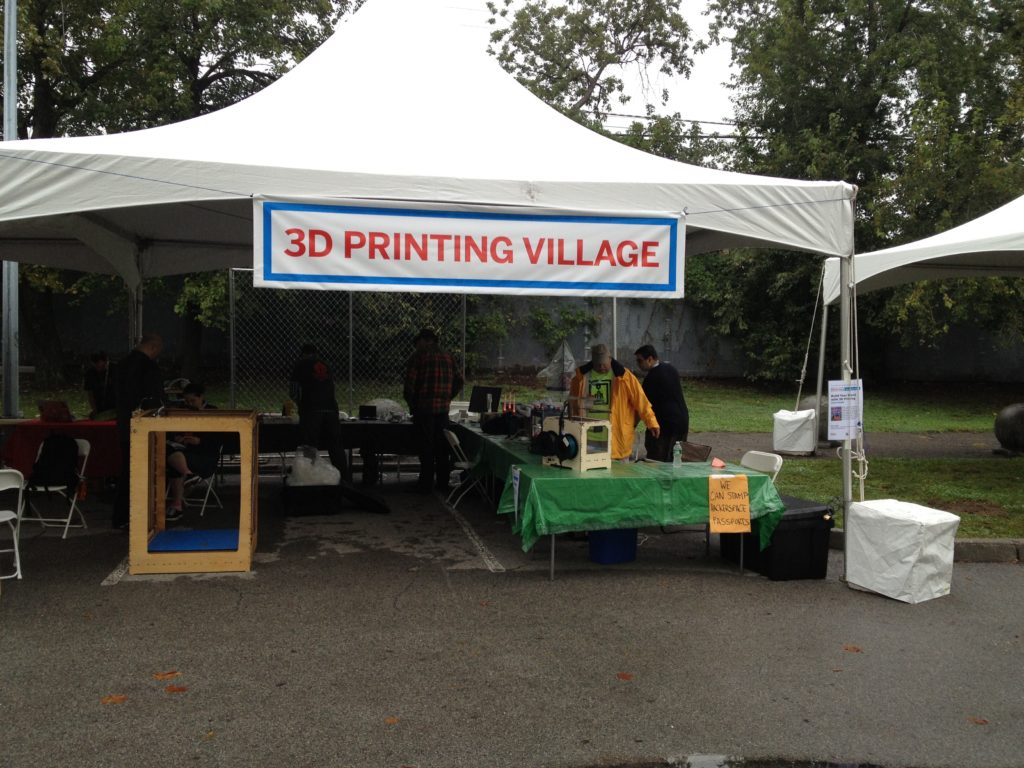
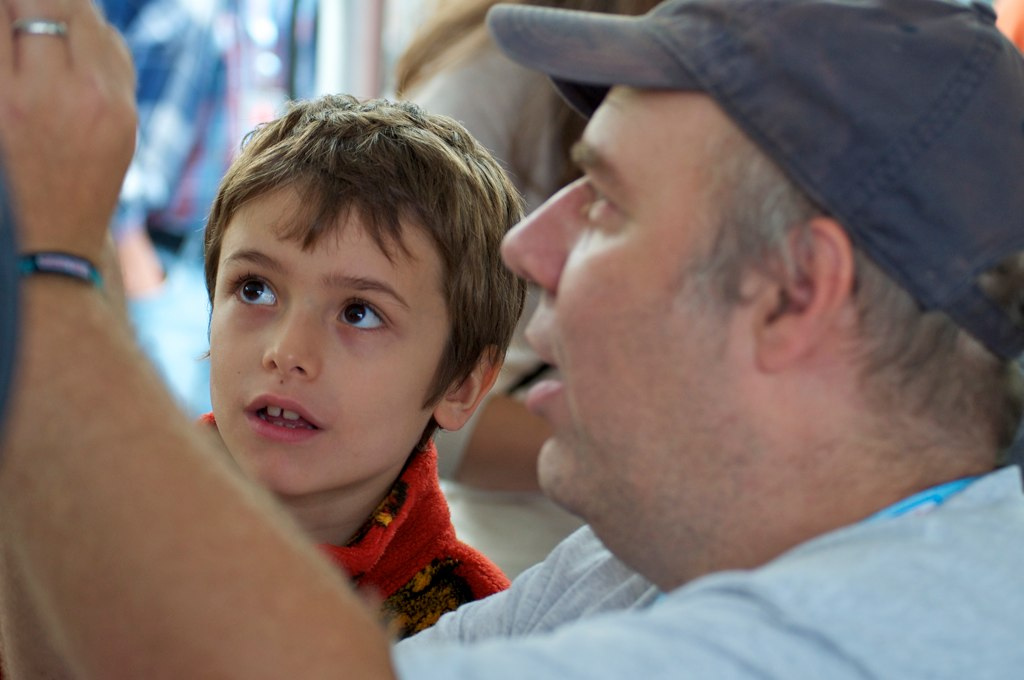
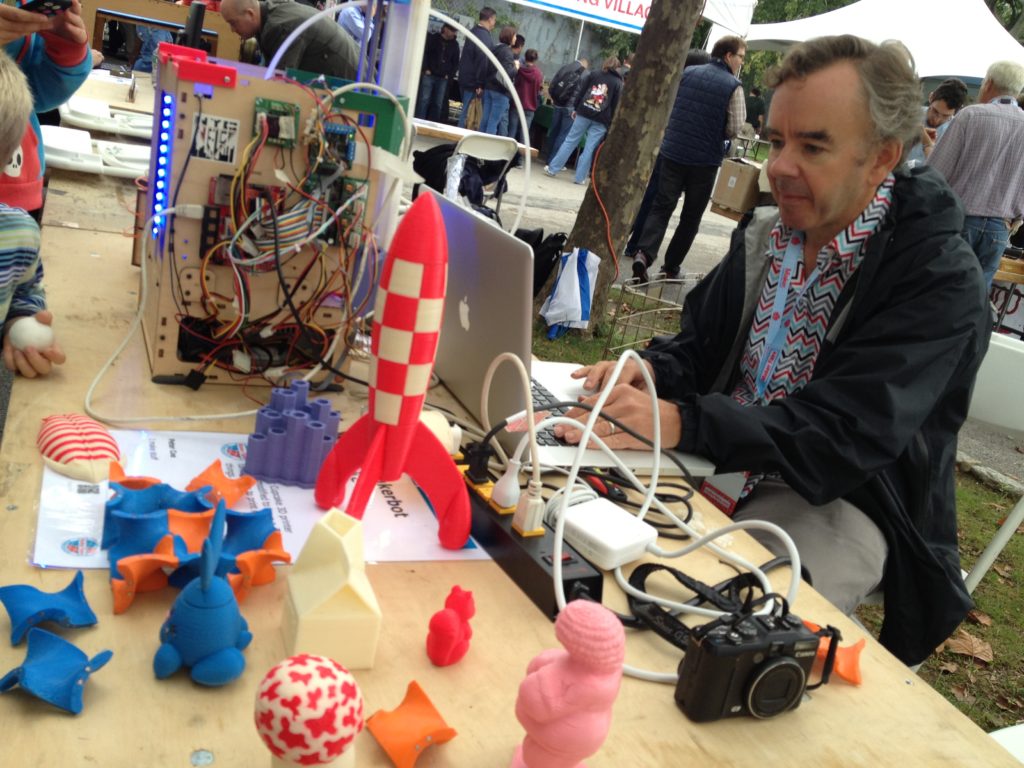
So even though my blog is still around 11 months behind, I’ve decided I absolutely have to post an out-of-order post describing what just happened this past weekend. This weekend (September 29-30, 2012) was Makerfaire NY 2012. I’ve attended the previous two Makerfaires in NY (in 2010 and 2011) as an attendee. This time, I finally brought my RepRap down and exhibited. I was booth 8736. It. Was. Awesome.
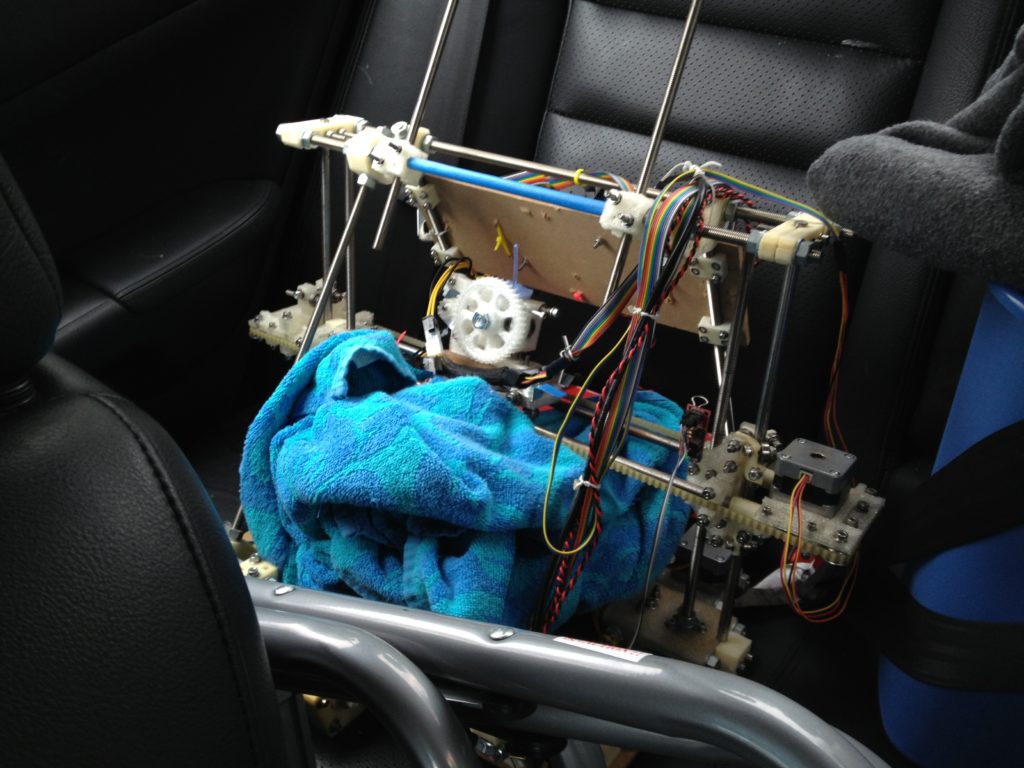
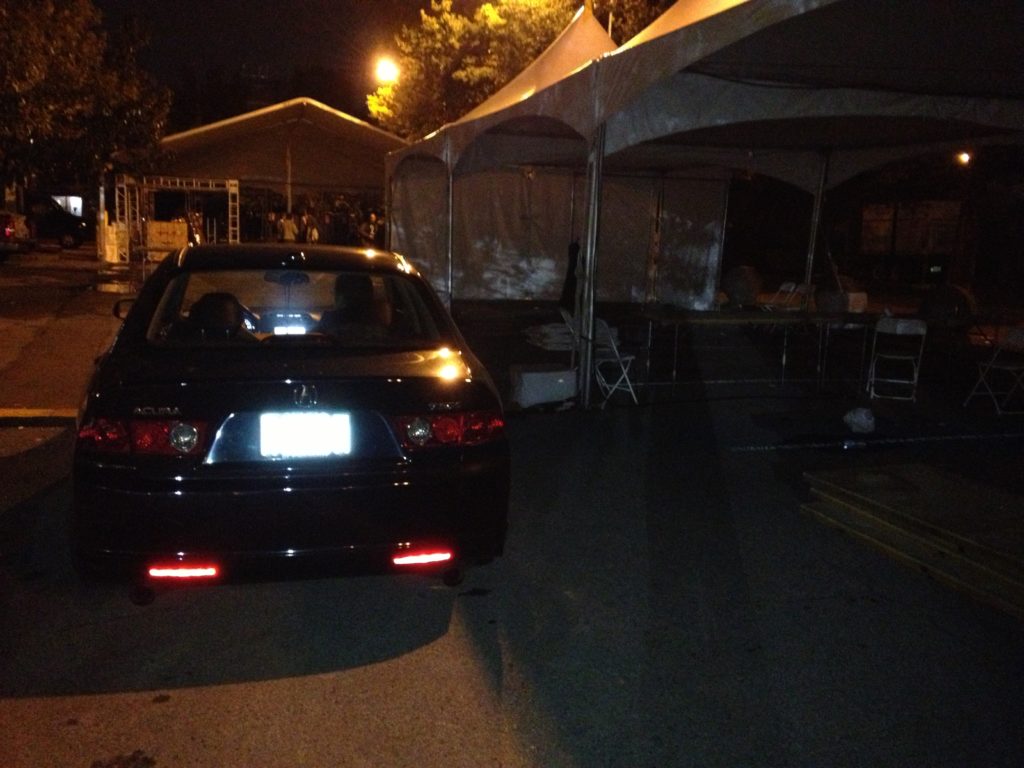
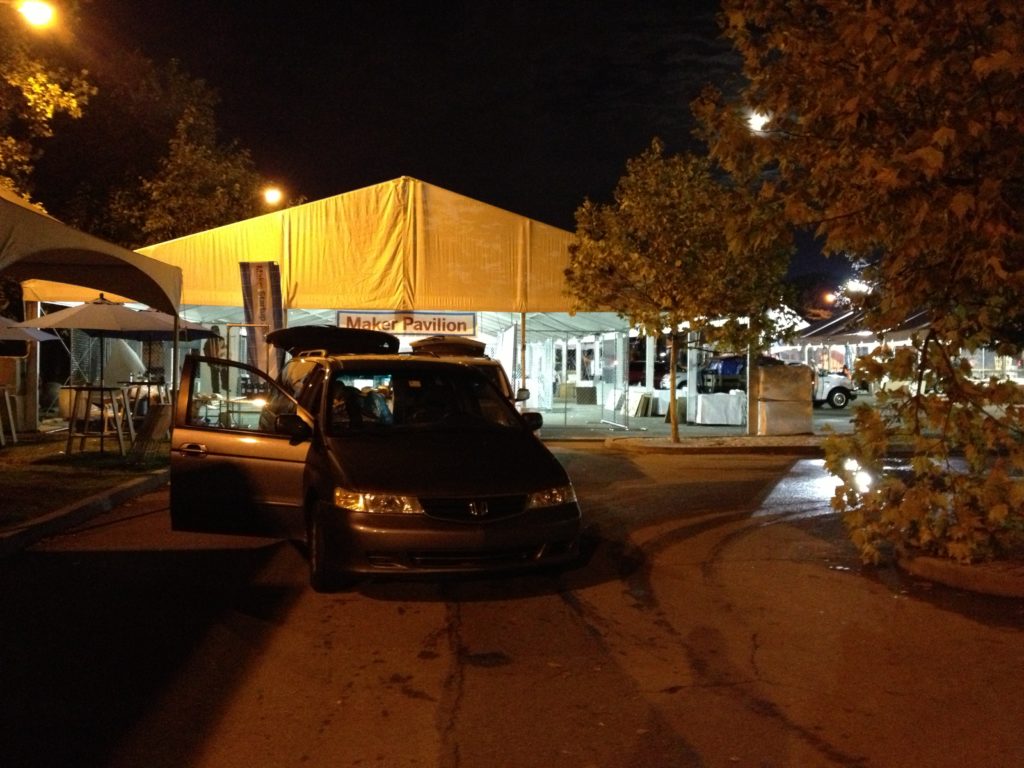
I live in Methuen, MA (which is about a 4 hour drive from NY). I bundled up my RepRap in the back seat with a blanket, packed the car completely full, drove to pick up my friend Chris Connelly who went down with me, and headed for New York.

Friday night there was a big party for all of the exhibitors, the day before everything started. I took this panoramic picture after things started dying down:

Got some sleep, headed over, and set up the table.

Here were my thoughts walking back from parking the car before it all started.

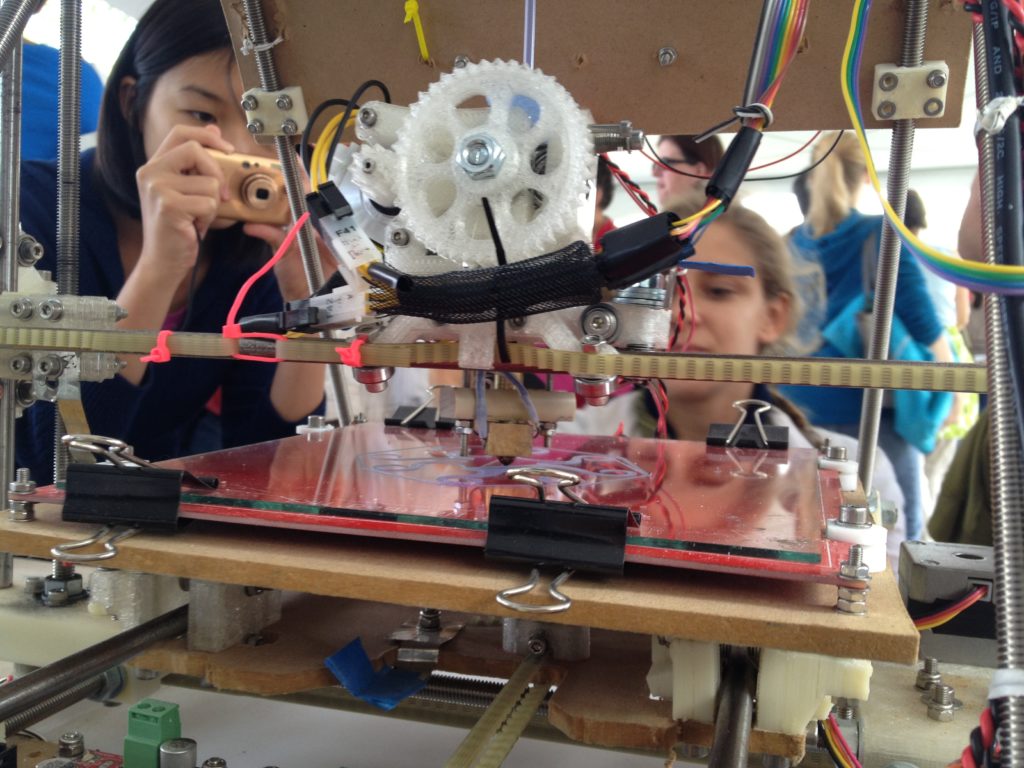
Here are some pics of the booth before the gates opened:

I started up my first print (thing 21555, which I forgot to pack, but I have a 3D printer!) and waited for the attendees to flood in.

That was the quietest it would be all day.

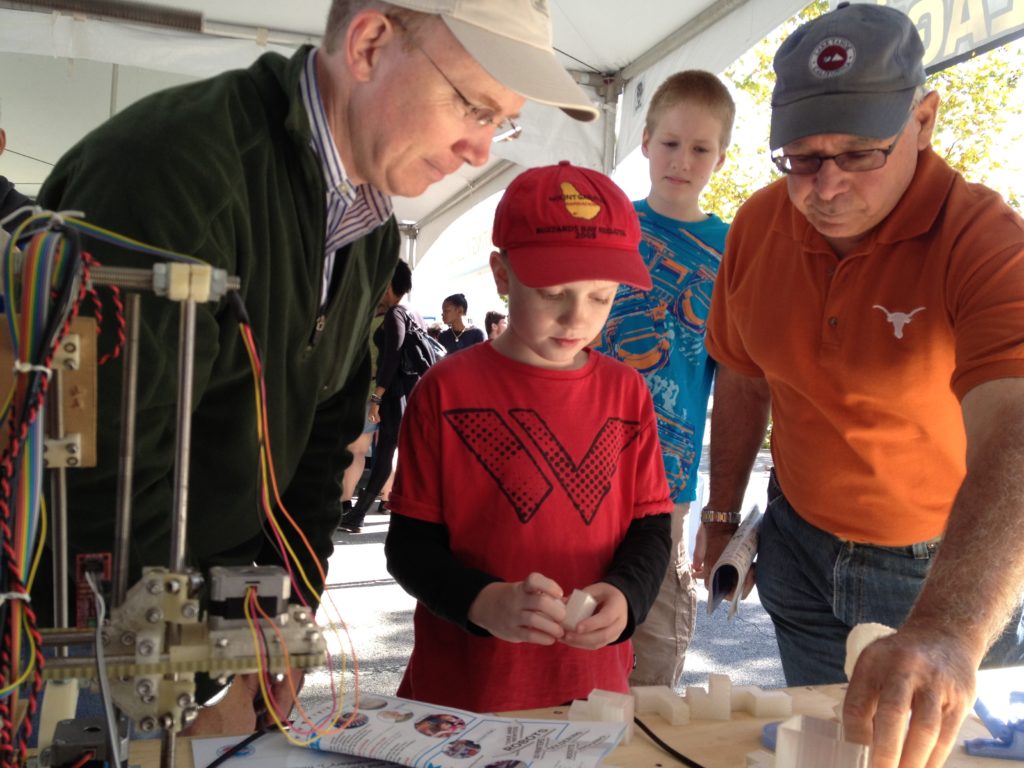
I barely got any pictures of the crowds of people on the first day, because it was just a sea of people. It’s reported that over 55,000 people attended Makerfaire NY 2012. I believe I spoke to at least half of them.

At some point my brother Jon and my nephew Blake arrived (who I’d gone with for the past two years).

He took a few great pics too, this first one being my favorite:

And Amy Buser took this one that shows Chris too:

[EDIT: HAD TO ADD ONE MORE AFTER THE FACT.. THIS NEXT PICTURE IS NEW – ANOTHER ONE FROM AMY THAT I LOVED]

There were so many great talking points I’d gravitate to while talking about RepRap. Some of my favorites:

  • “All of these things you see on the right were made by this 3D printer. But you know the coolest thing it can make? MORE 3D PRINTERS! This was made by another 3D printer, and it has made three other 3D printers!”
  • (in response to “well it can only make the plastic parts”) – “Humans can’t synthesize all of the molecules we need to live. The molecules that we can’t synthesize we have to get externally from our environment. We call those vitamins. That’s why these parts (metal, nuts/bolts, circuits, etc) are called vitamin parts. RepRap can make more of its own parts than humans can!” [Note: I’d like to verify that last point]
  • “Every 3D printer that you see here at Makerfaire, and the past 5 years of the 3D printing movement, all came from the RepRap project. 3D printing started back in the 80’s. The patents on that expired, and Adrian Bowyer in Bath University had access to these expensive machines and thought that everyone should have access to this technology. He realized that a great way to do that was to design a 3D printer that was made up of 3D printed parts, so it could print out copies of itself. The RepRap tradition is that the first thing you’re supposed to print, well, the very first thing is a shot glass that you use to toast the successful creation of your printer. Then you print a full set of spare parts and put them in a shoe box and put it in the closet, so if your printer ever breaks you can take the part out, fix the printer, IMMEDIATELY print a replacement part, put it in the shoebox, and put it back in the closet. But THEN, FINALLY, you’re supposed to print out at least two more full sets of parts, and give them to friends for the cost of a case of beer, and then they have printers. Now some people want to make money on that, so they’re trying to sell you printers that require something that you can only easily get from them. Don’t listen to anyone telling you that you need to buy something from them – I self-sourced everything on this except for the electronics (which is all open-source). Do you have a laser cutter? No? Neither do I. So be hesitant to buy a printer that’s made of a bunch of laser-cut parts unless it has a laser cutter in it. Everything on this could be bought at a hardware store (maybe except the electronics, stepper motors, and heated bed), but those are easy to get from multiple sources. Build a RepRap!”
  • “So, unfortunately, as it turns out, this machine – this very instance of this machine, right here, is the great great great great great great great great great grandfather of the machine that will eventually enable SkyNet to take control of the physical world and enslave mankind, which ultimately leads to our destruction. So, sorry about that. So actually, all we’d need to do really is destroy this one box, right here, and we’d be fine! But, we won’t, because it’s pretty. ๐Ÿ™‚
  • “So, about that Soma puzzle.. When I was a kid, I had that puzzle. Mine was blue pieces and a clear plastic box. I remember taking those out and putting them back together like a million times. Then as you grow older, you lose your toys. Maybe it’s in a bin somewhere, but, it’s gone. Then one day I checked thingiverse for new objects (I check it more than youtube now) and I saw that someone had uploaded it. I was like ‘That’s the puzzle I had as a kid!!!’, and that night I went home and downloaded then printed it. And then it was there. I had it. I didn’t have it, and then I DID have it. Just by pushing a button. And there I was, playing with the puzzle from my childhood that I hadn’t seen in 30 years. And then I gave it to my kids to play with, and they were playing with it for the first time. How damned awesome is that?! I didn’t have it, and then I did. 3D printers are awesome.”

At one point I got to take a break while Chris manned the booth so I could walk around briefly. I walked by a booth with two RepRaps and they had a broken carriage on one (while trying to fix the other for something). I asked if they wanted me to print them a new one, and they appreciatively said “Yes, please!”. The next thing my RepRap printed was that carriage. Kids asked what it was, and I got to explain that the guys in the other booth get to have me print them a free replacement part because we can, because their printer is made from printed parts! (people loved that)

The carriage:

Filmed this upon delivery:

I talked to so many people. A crazy amount of people. I got pretty good at reading their reactions. There were almost zero uninterested people. There were a lot of people who thought it was pretty cool and stuck around for a few minutes to aborb it all. There were a similar amount of people who thought it was really cool and hung around for a long time, playing with parts, and asking questions. I’ll skip one group now and go to the top, where there were also people who said they were already building a RepRap (or were in the process of deciding which to build etc) that also hung around and asked tons of questions. But right below that there was a small very rare group of people where I could tell, from the look in their eyes, their excitement level, and the questions they asked, that they were absolutely going to build one of these in the next month or so entirely from this conversation. That small group was people who didn’t know what a RepRap was before this, but they were absolutely immediately hooked (in a way that the others who still thought it was awesome were not).

I’d say at most I met 20 or so of those people over the two days (and that’s probably an exaggeration – maybe it was more like 8-10). The very first of those was on Saturday morning. The hook was absolutely there. Then came the “I need a business card”, followed by me saying “I’ve got nothing! I’m not selling anything, I’m just showing off my printer and my fun hobby!”. Panic set in, which I addressed with “Do you have a phone that records video?”. This was the awesome result, which I found uploaded on youtube a few days later:

Here’s a long video (about 4 minutes) that just shows how loud everything was. Most of the day the printer was printing, but in a few of these videos (like the beginning of this one) there are moments where I’m waiting for it to heat up between prints. If you decide to watch it, only do so if you promise yourself to watch the rest of the videos below (don’t let this slow one slow your momentum, especially when the video right after it is one of my favorites).

And here’s one to watch – this was my thoughts after the first day, while walking back to the car. I got kind of emotional recording it. My throat was destroyed:

Packed up, got dinner, saw a movie, and went to bed. Slept late, got in, set up again, parked the car miles away, took the shuttle back, and started it all over again.

Here was what my voice sounded like early on Sunday, after the constant talking of the day before (Saturday night I was literally coughing up blood):

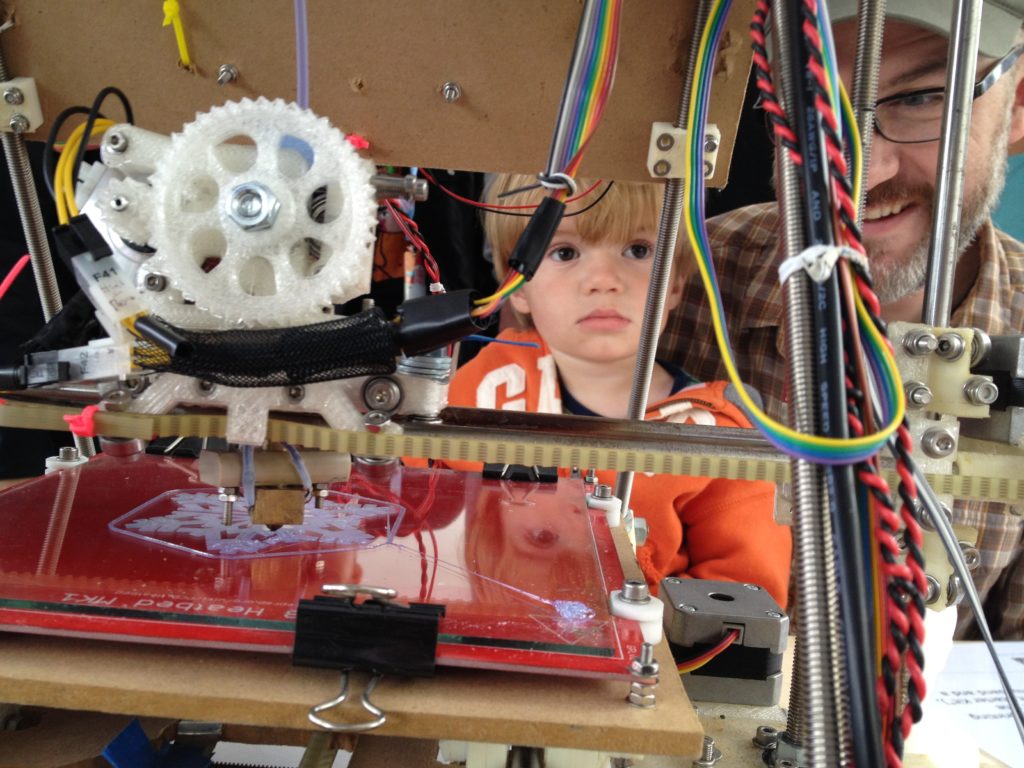
More pics:

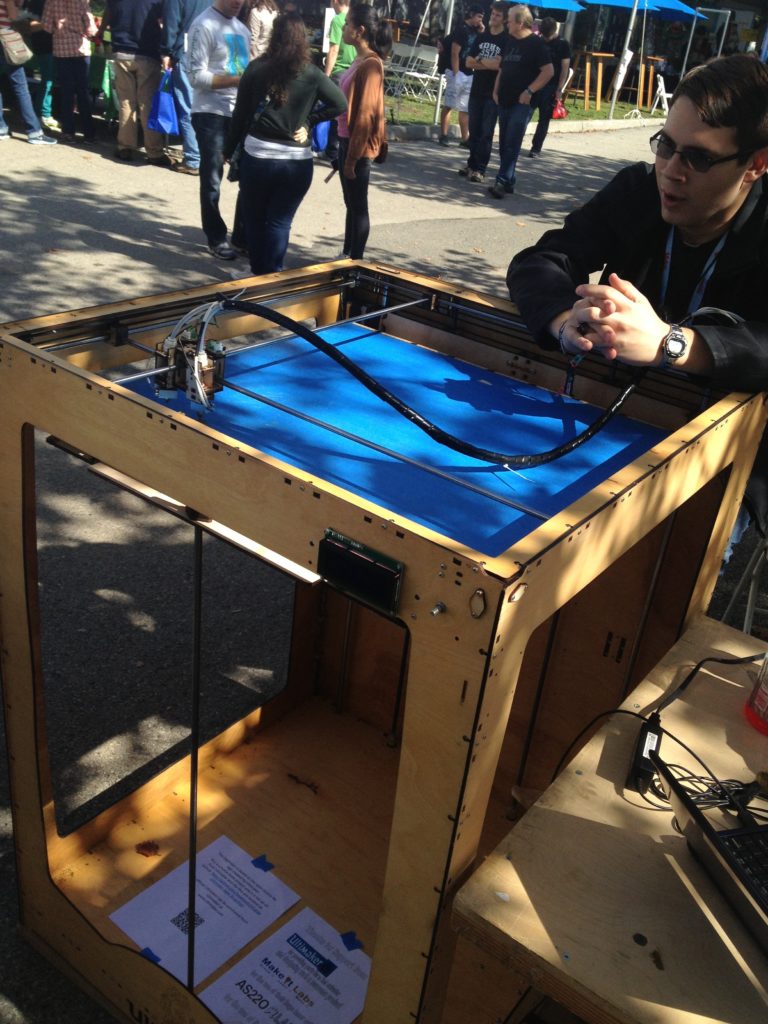
Then here’s a quick glide around the tent, then across the way to Bruce and Nicholas Wattendorf (and their absolutely crazy-awesome-sized version of the Ultimaker):

Sunday seemed even busier than Saturday, if that was possible.

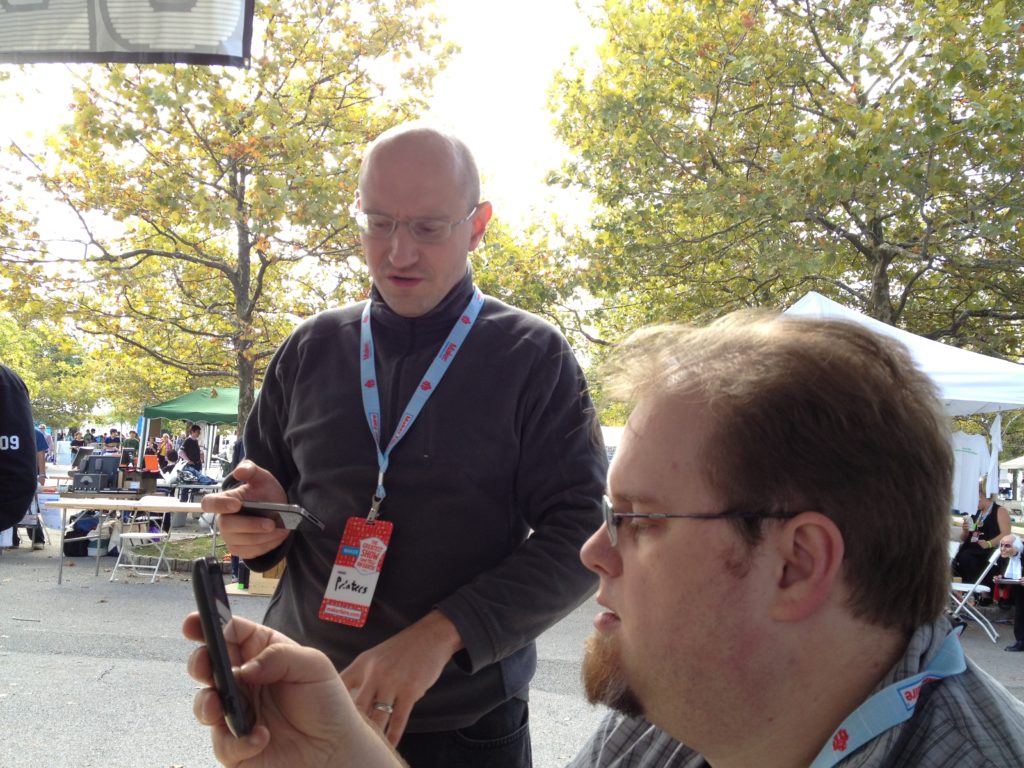
There were a bunch of people that I was glad to see on Sunday. (Mentioning them in no particular order). Aaron Double stopped by the booth (he’s up from my neck of the woods in Boston but we hadn’t met in person yet):

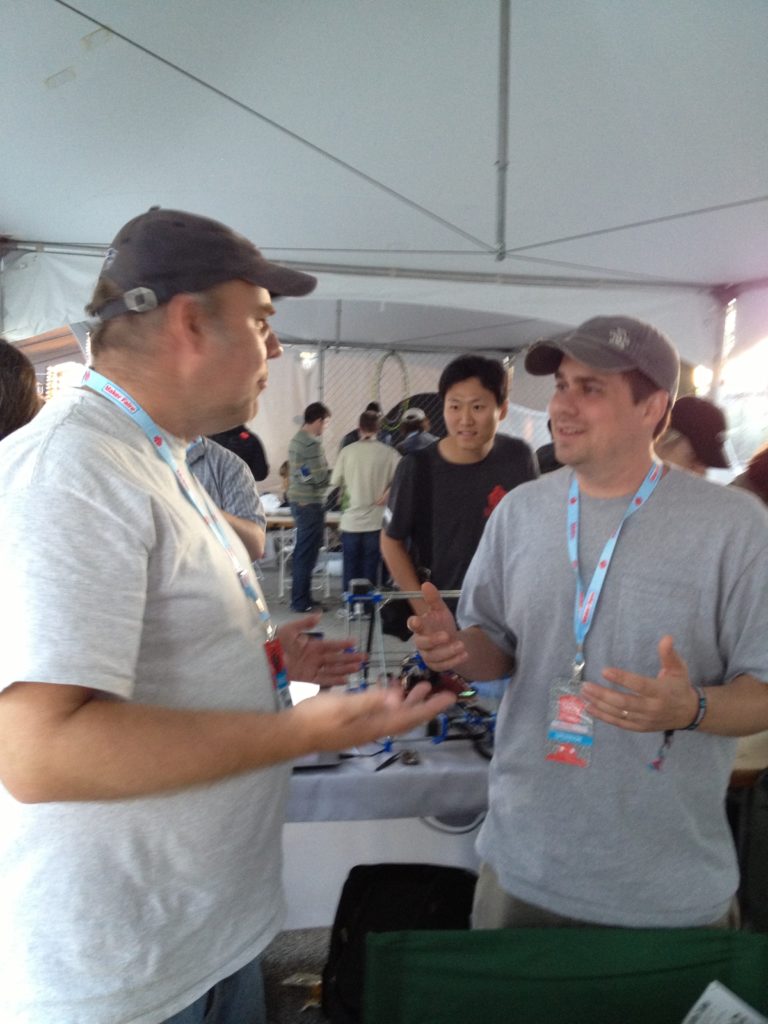
Then there was this guy (I forget his name):

..who if I’m remembering my faces right was the guy who talked to me for a while about the RepRap, loved the idea, seemed genuinely interested, and then said “listen, I hate to ask this if I’m wrong and you’re not related, but your name sounds so familiar. Did you have anything to do with the TiVo community?” With excitement I confirmed it, then pointed to the mention of it on my booth sign. He proceeded to tell me that he had my book (“the green one!”), had read it cover to cover (that was a 550 page book!), hacked his Series 1 to the max, but didn’t really bother with his Series 2 since it was such an additional pain. We talked for a while about that and then I told him with an ear to ear smile that he’d just made my day (which was something, since the day had already been incredible). That made me pretty damned happy.

I talked at great length with Tony and Amy Buser both days, and I’m always glad to see them.

Had a good talk with someone named Dimitri:

Here’s hoping he builds a RepRap and makes what we talked about privately (shhh). ๐Ÿ™‚

I had a damned good talk with Johnny Russell, where we realized that our journey had been almost exactly the same.. He’d also built a Makerbot Cupcake to try building a Mendel (around the same time as me), he had all of the same problems I had, he also tried doing direct drive by mutilating the shaft of a perfectly good stepper motor without luck, and he was also in the same IRC room the same day I was when we saw the first Mendel that I can remember seeing video of from the U.S. (Tonokip’s? maybe it was this one?), etc. Lots of good conversations there. His new RAMBo board (RAMPS but all in one board) looked pretty good!

Peter Coe was there again this year – I’d met him last year and admired his prints – I remember it revving me back up last year.

I got to finally meet whosawhatsis in person, but didn’t get to talk to him nearly as much as I wanted (next time!). Had a few discussions with Josef Prลฏลกa about his new machine, open source, and thingiverse. Got to see my friend Will Ware and the friend of his that I met last year (sorry, can’t remember his name). Loved seeing Bruce and Nicholas Wattendorf and the crazy big Ultimaker they made (see pic/video above). More shouts out to Tokonip, Andrew Plumb (Clothbot), the Hive76 guys, Anderson Ta (he had a Rostock printer that looked pretty sweet), John Abella Sr and John Abella for setting up our 3D printing villiage, and to anyone else I didn’t mention that I don’t mention somewhere between here and the end of this post.

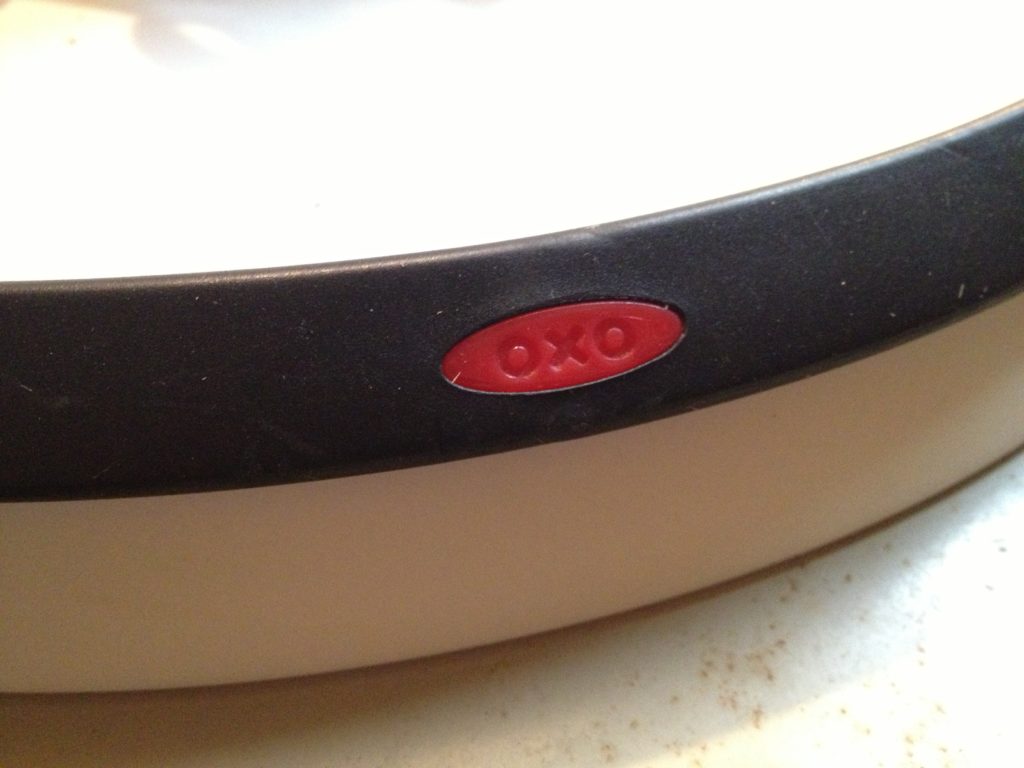
So it turns out that the guy next to us at the DIWire Bender booth actually designed the OXO turntable that I had my RepRap on! What a small world!

A special thanks to Mark Russell for not only coming out two days in a row to visit, but bringing me the closest you can buy to Excedrine Migrane (it seems it’s temporarily off the shelves until they can work out some contamination issue.. that caused pure panic that I buried away), and then helping us pack up the booth (including walking my keys out to me when I left them behind during a ridiculously long bus fiasco). Thanks man.

Obviously thanks to Chris Connelly for going down with me and sharing the experience. Booth 8736!

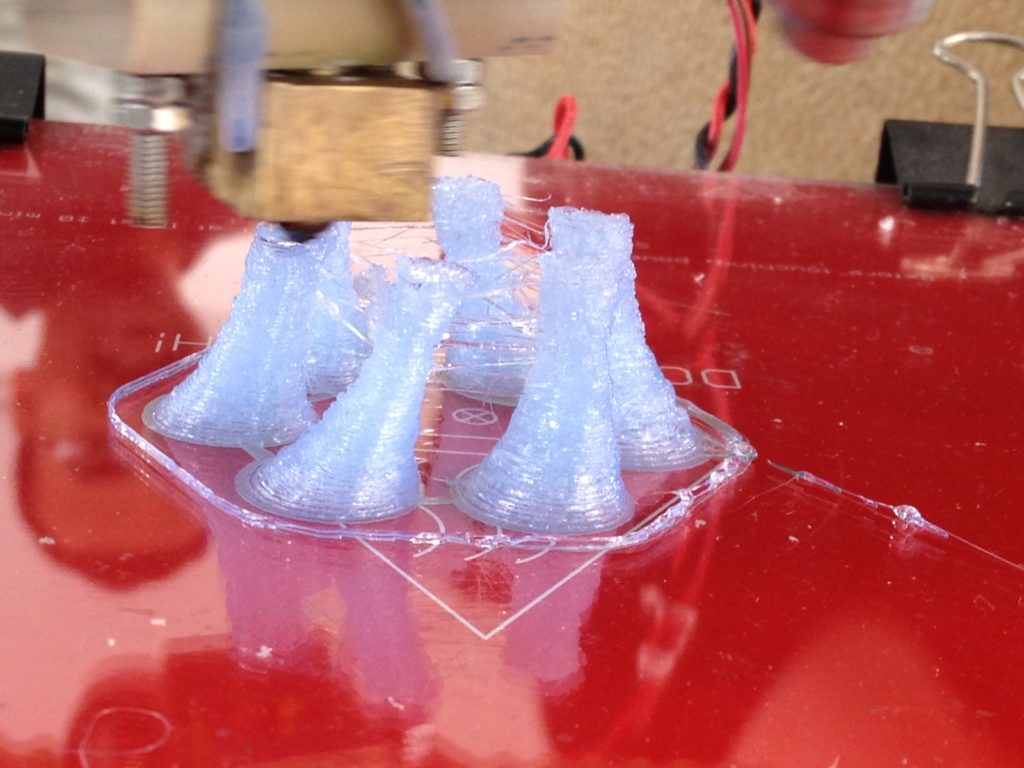
Ok so enough people. Finally started up the last print of the day (or at least I’m guessing that’s what it was from the fact that it’s the last print picture on my phone):

Walking out towards my car, I recorded two videos (one pointing the camera towards me, one using the front facing camera). Both are must-watches, so I’m putting them both here. Watch them both.

That was it! All done.

For dinner, rewarded ourselves after a crazy weekend of exhaustion with a trip to Five Guys Burgers and Fries. Dayum!

There was a lot of media attention and pictures of me, Chris, and my RepRap. Here was the one that I remember most:

NY Tech Scene — Rising (Week of 10/1/12)

There ya go! Next post I’ll jump back 11 months ago and catch you up on the stuff that led up to my feeling confident enough in my printer to bring it to Makerfaire this year.

So. Damned. Cool.

Four, no, Twenty months.. part 7 of ?

Wednesday, September 26th, 2012

[ AGAIN, BE SURE TO READ THE BIT AT THE END ABOUT MAKERFAIRE 2012 ]

Right on the heels of a blog post earlier this week, another post!

This is going to be a long one.. but with lots of pretty pictures.

Ok! In the last blog post things finally got awesome – I printed a money clip that looked absolutely flawless, out of PLA, on my RepRap. (As I type this it’s September 23rd, so I’m around 11 months behind, as I’m blogging about events from the end of October 2011).

I probably had my expectations cautiously dialed back (expecting something else to go wrong, so it wouldn’t be so bad when it did), but nope – there was a whole lot of smooth sailing from that point on. Feast your eyes on some of these prints.

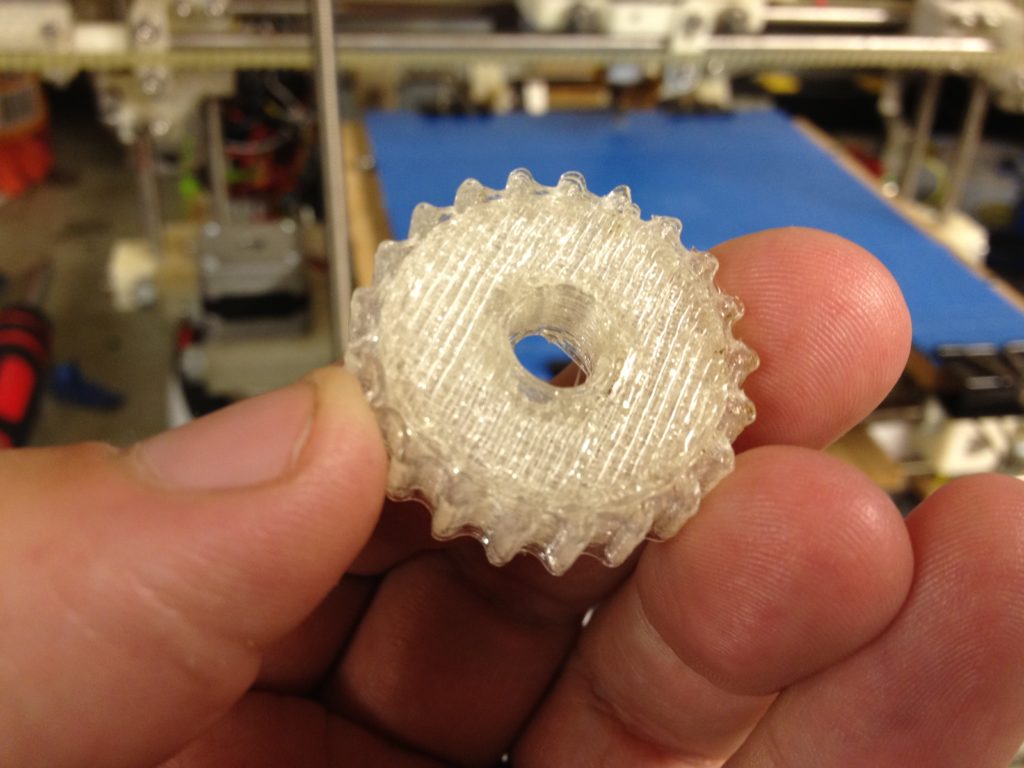
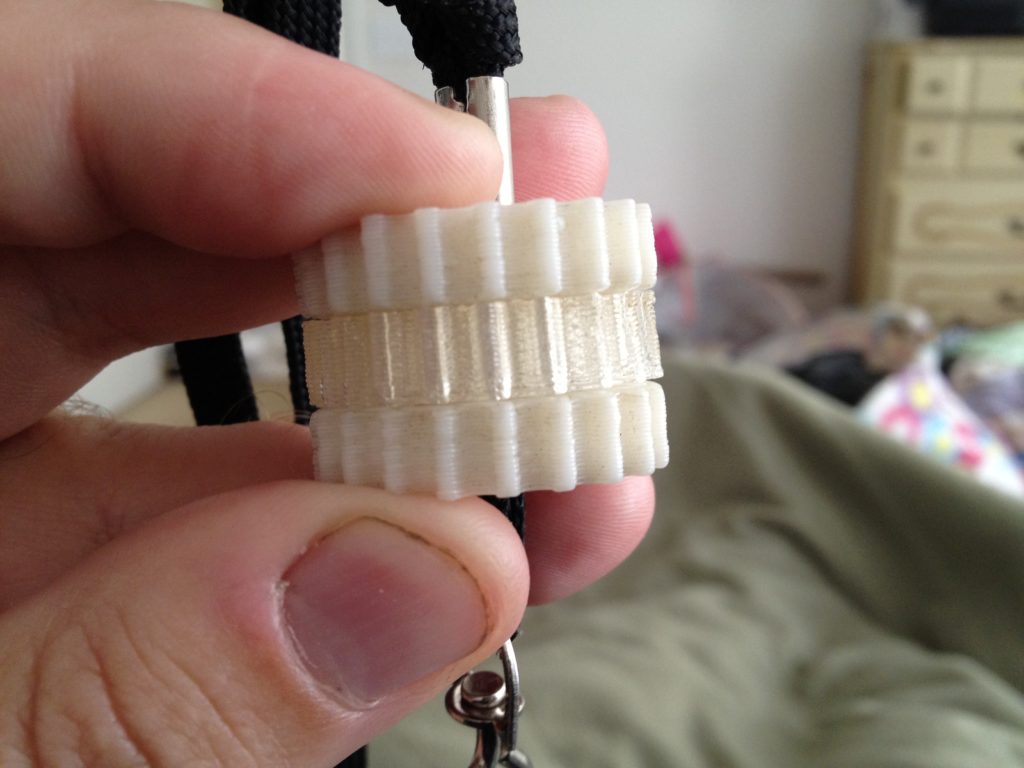
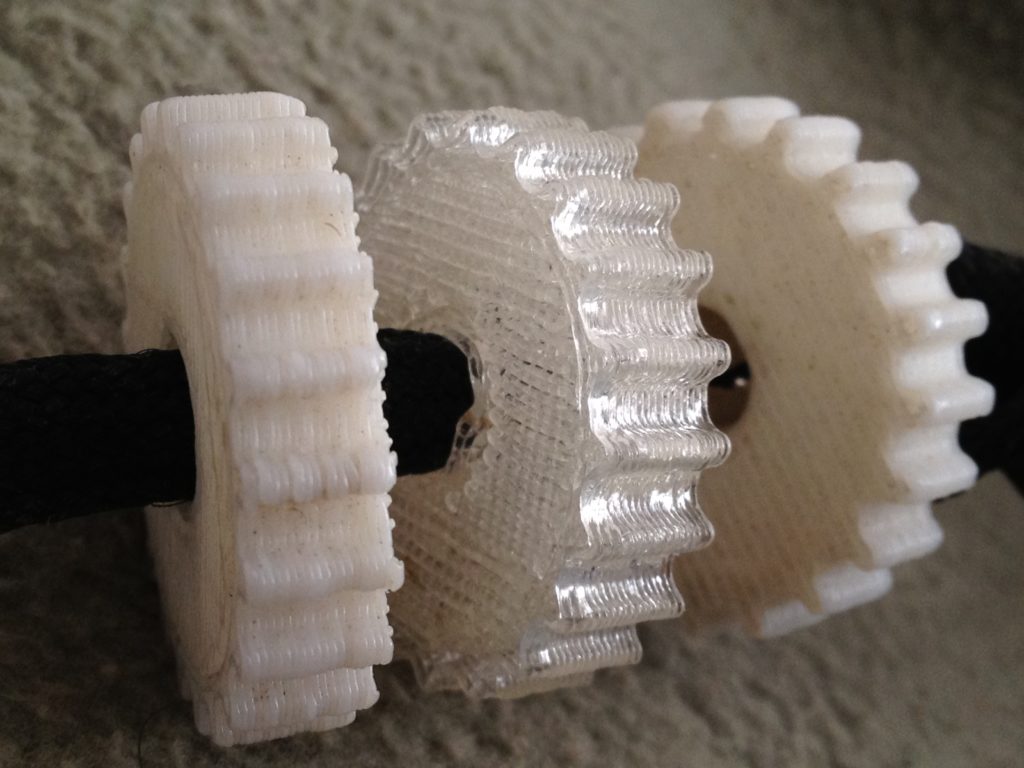
For years I’ve worn two gears on the lanyard that holds my badge for work. They’re printed out of ABS on the Makerbot Cupcake that I printed my RepRap’s actual parts on (specifically they’re the z-driven pulleys from the original Sells Mendel). I finally printed one out of PLA and put it on my badge between them, making a cool gear sandwich.

..and here it it on my badge between the ABS ones:

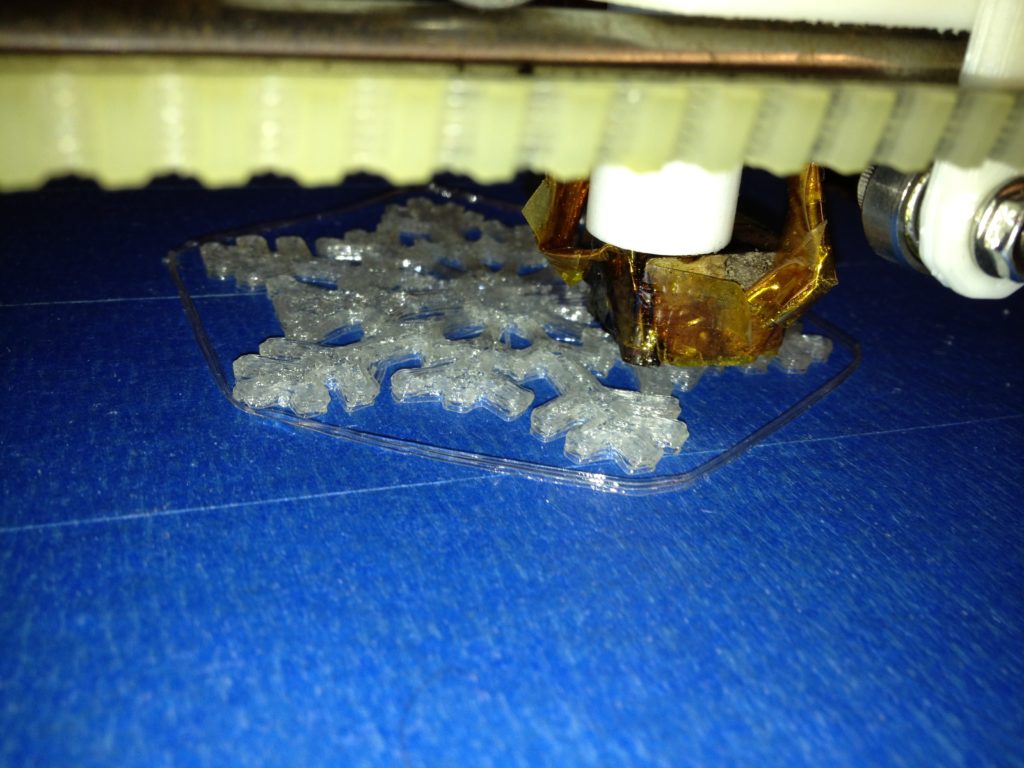
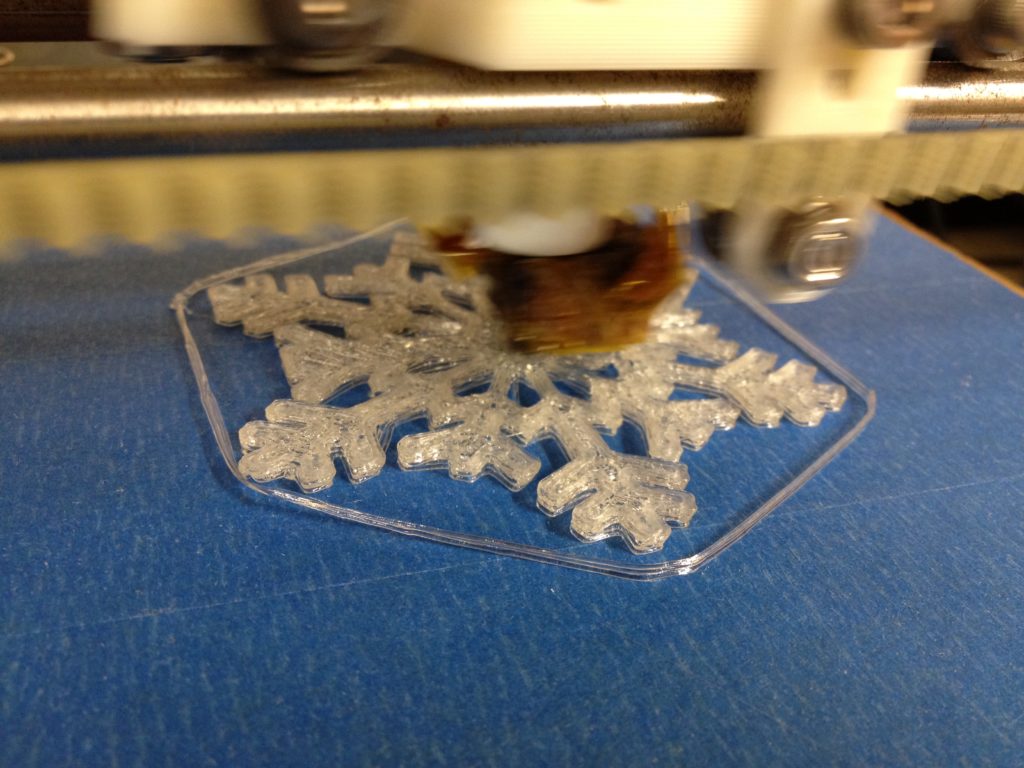
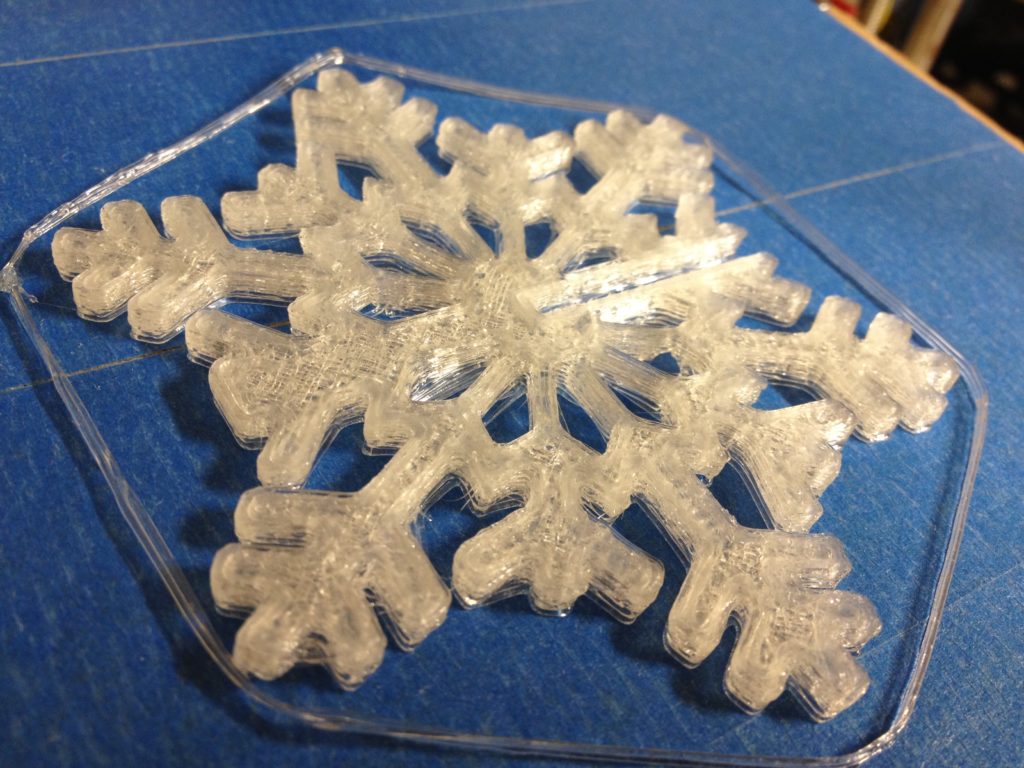
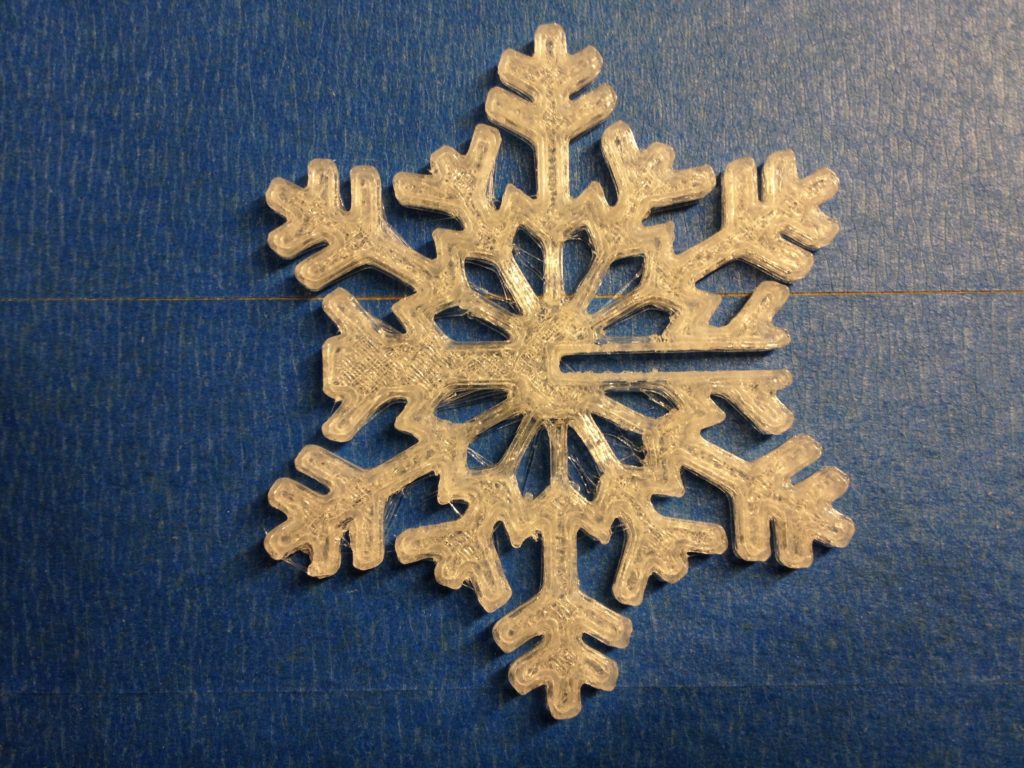
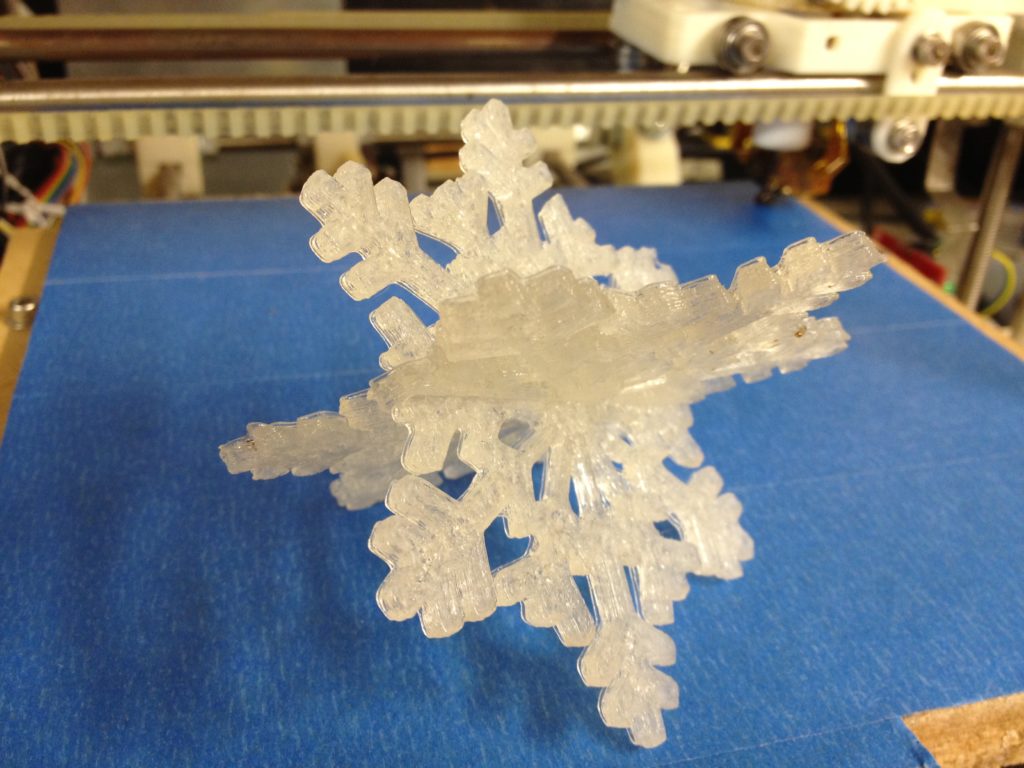
It was getting near winter, so next I printed out this snowflake ornament:

It is so cool watching this snowflake print:

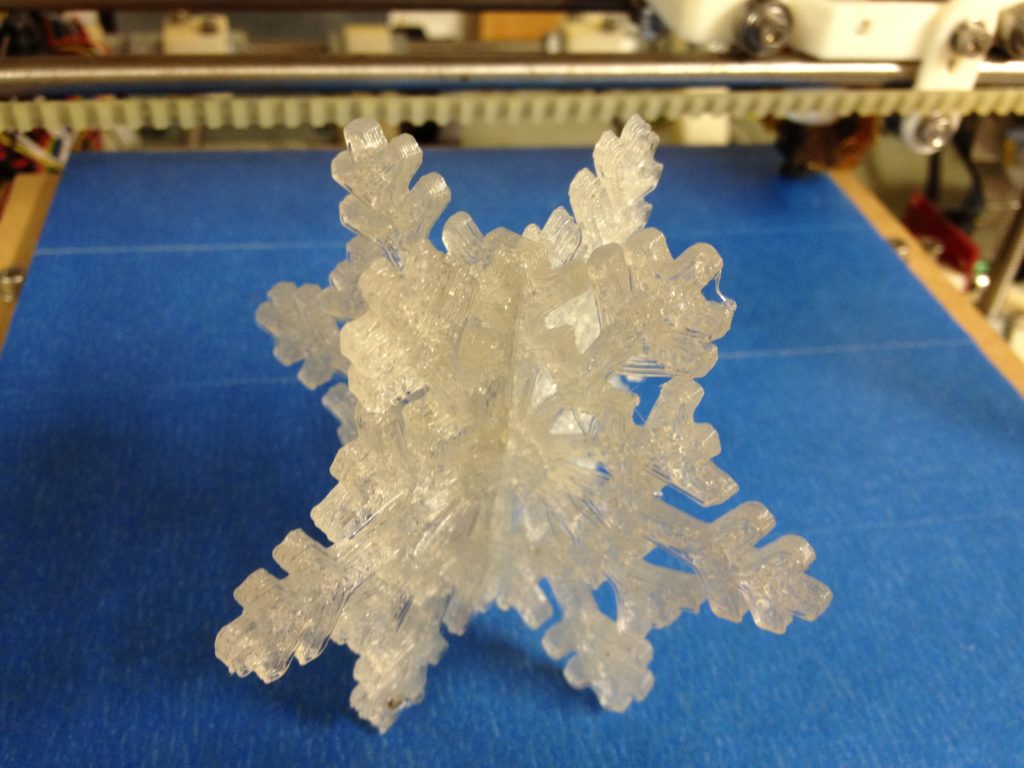
You print two and slide them together:

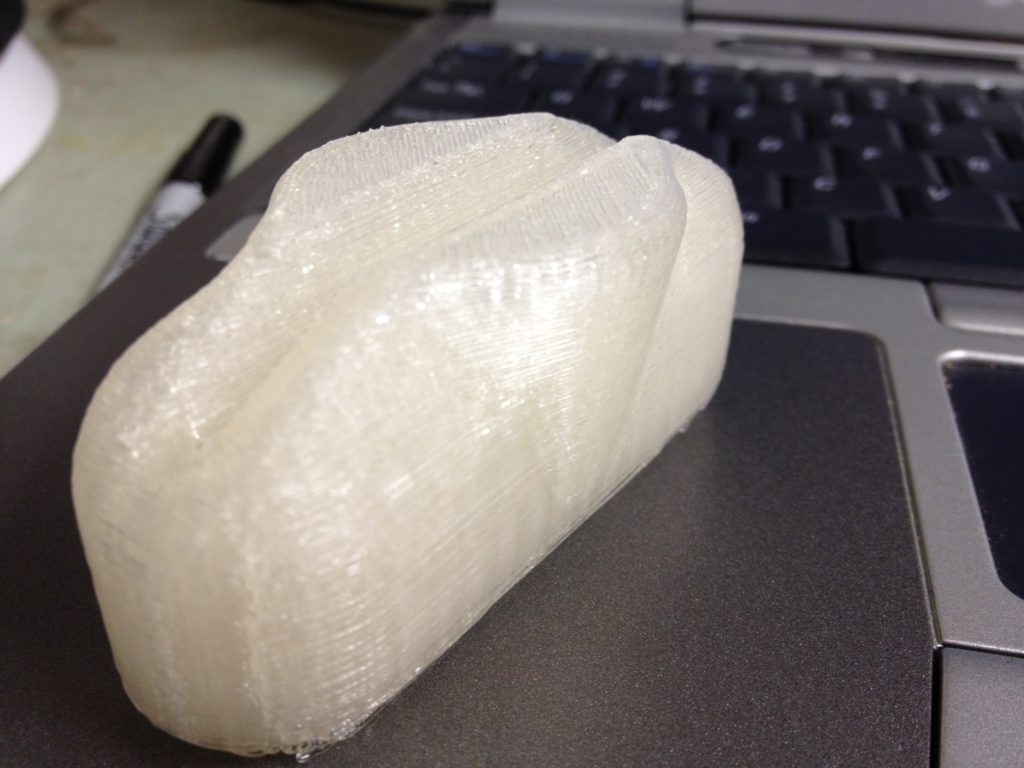
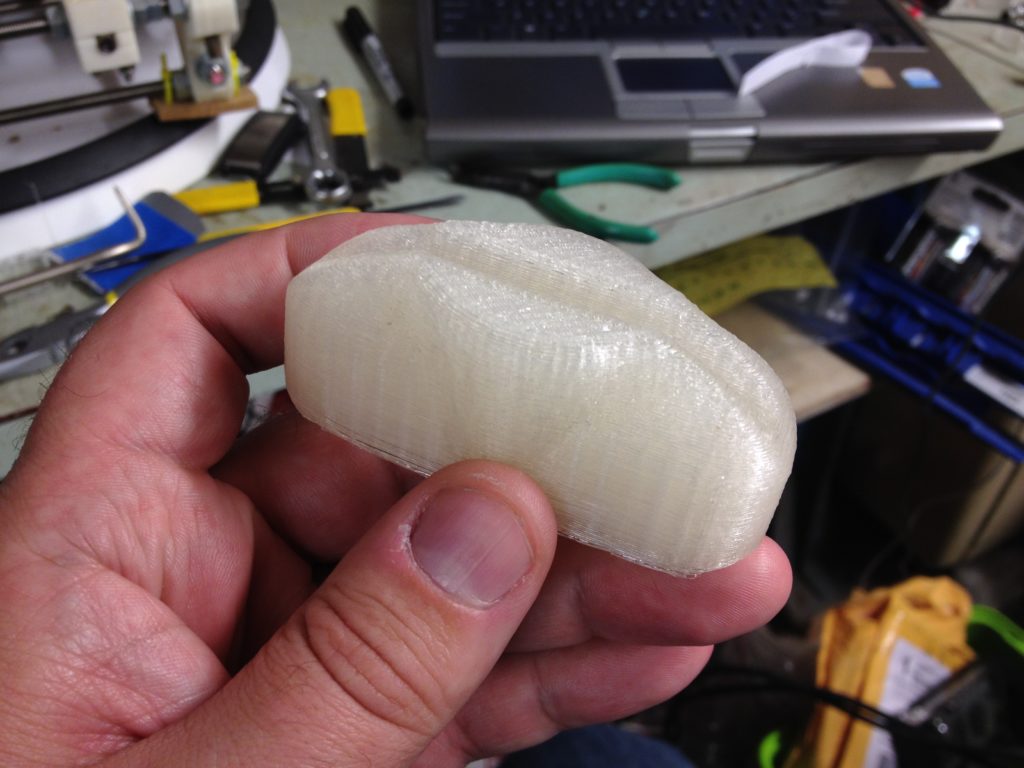
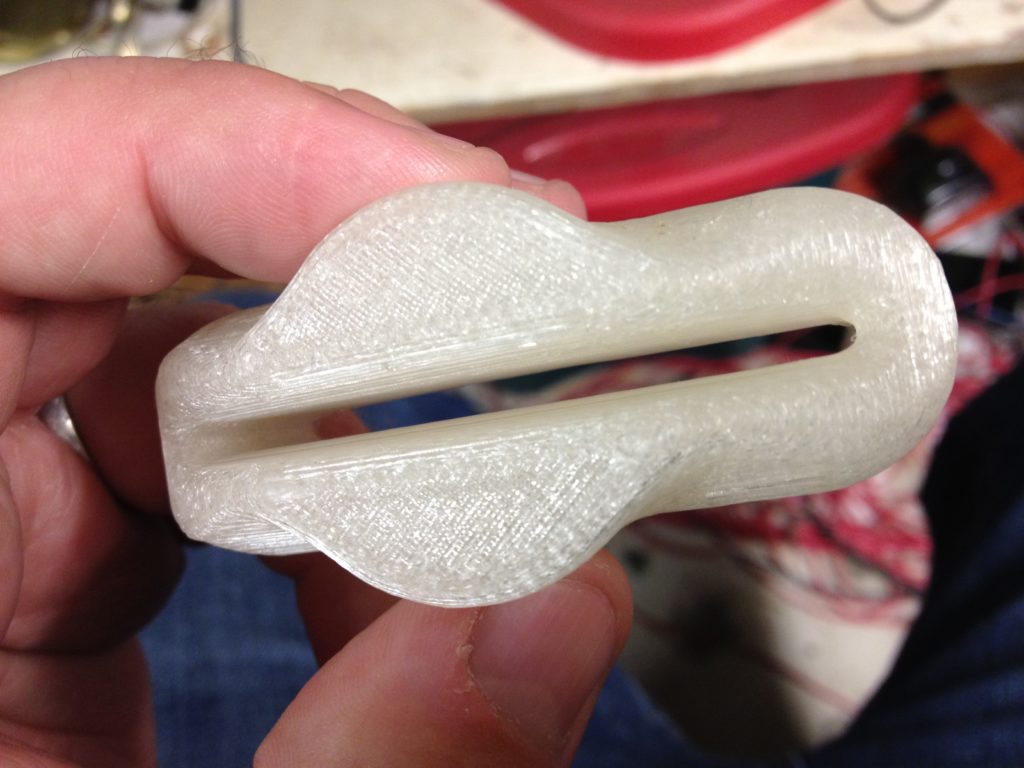
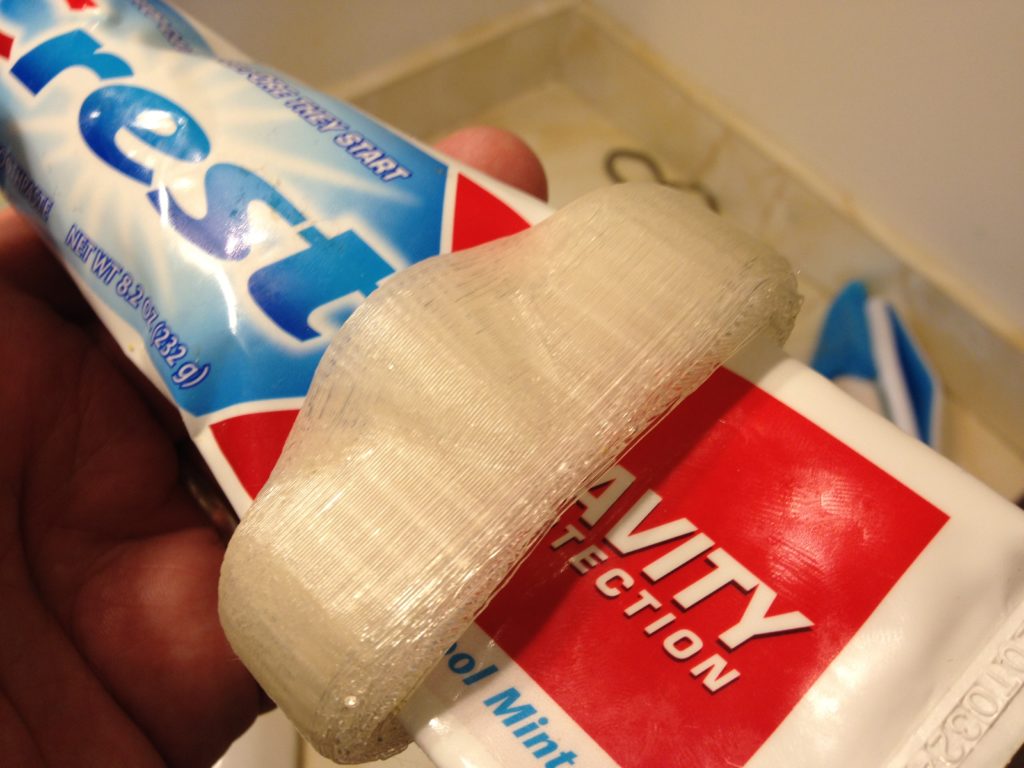
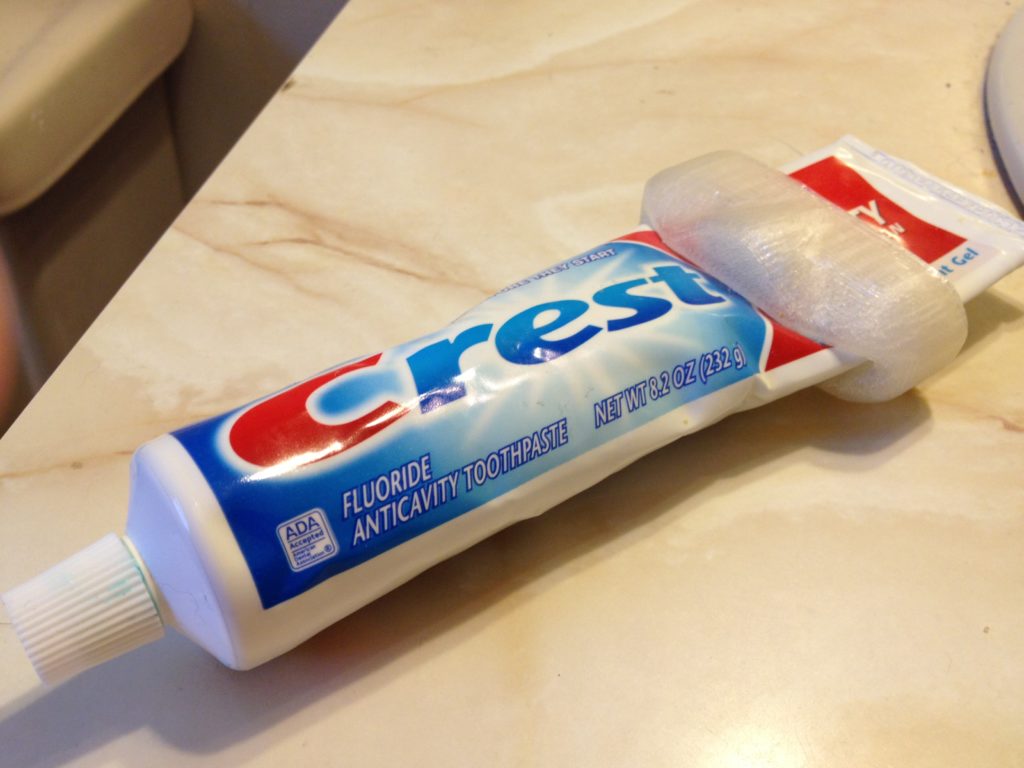
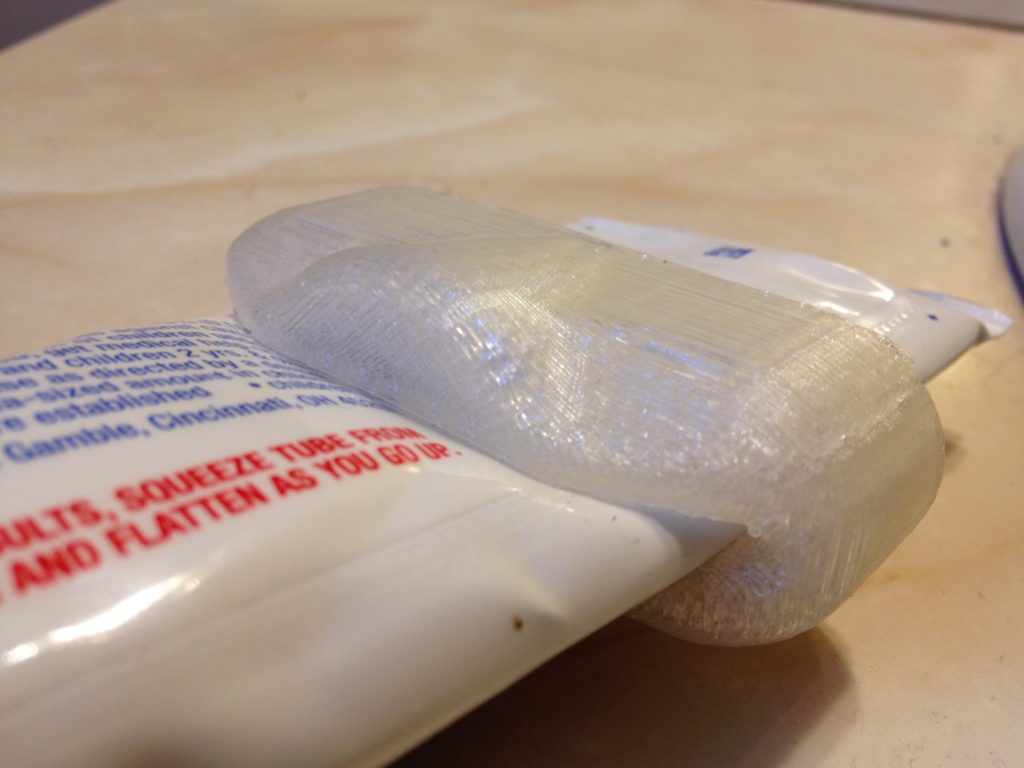
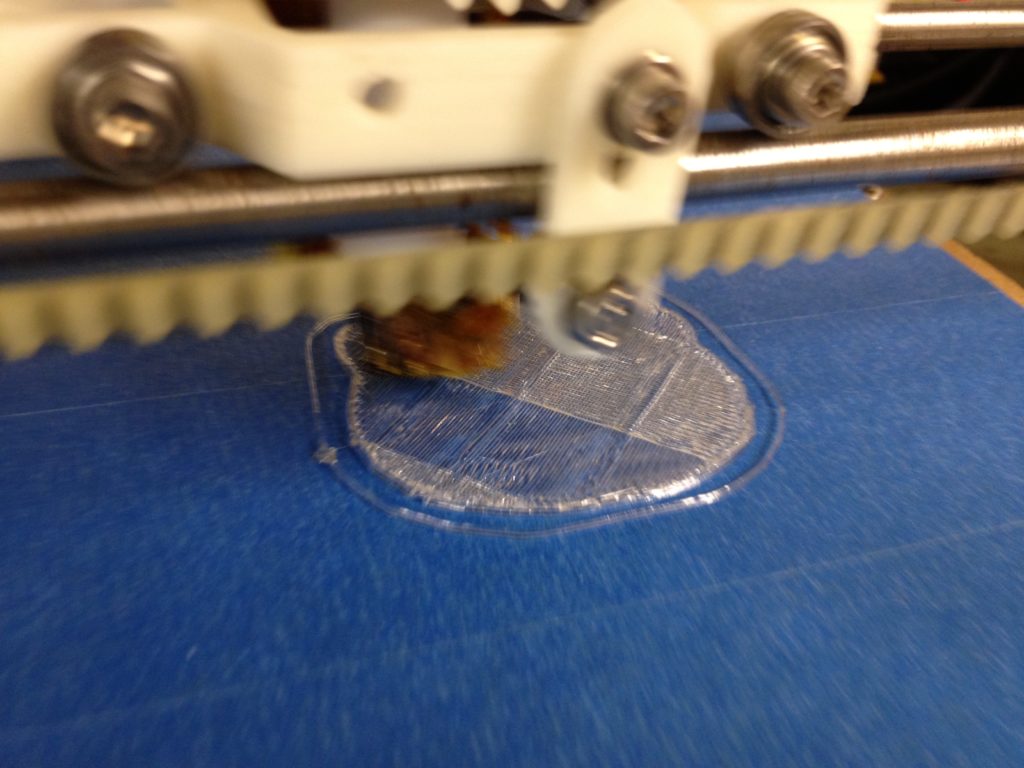
Next I went to an item I remember seeing from a long time ago – a toothpaste tube squeezer. Let’s just say that if there was some innuendo I was supposed to pick up on from the description, I didn’t quite notice it until it printed out (or maybe I’ve just got an active imagination). While it was a great quality print, it didn’t actually help much with the toothpaste. ๐Ÿ™‚

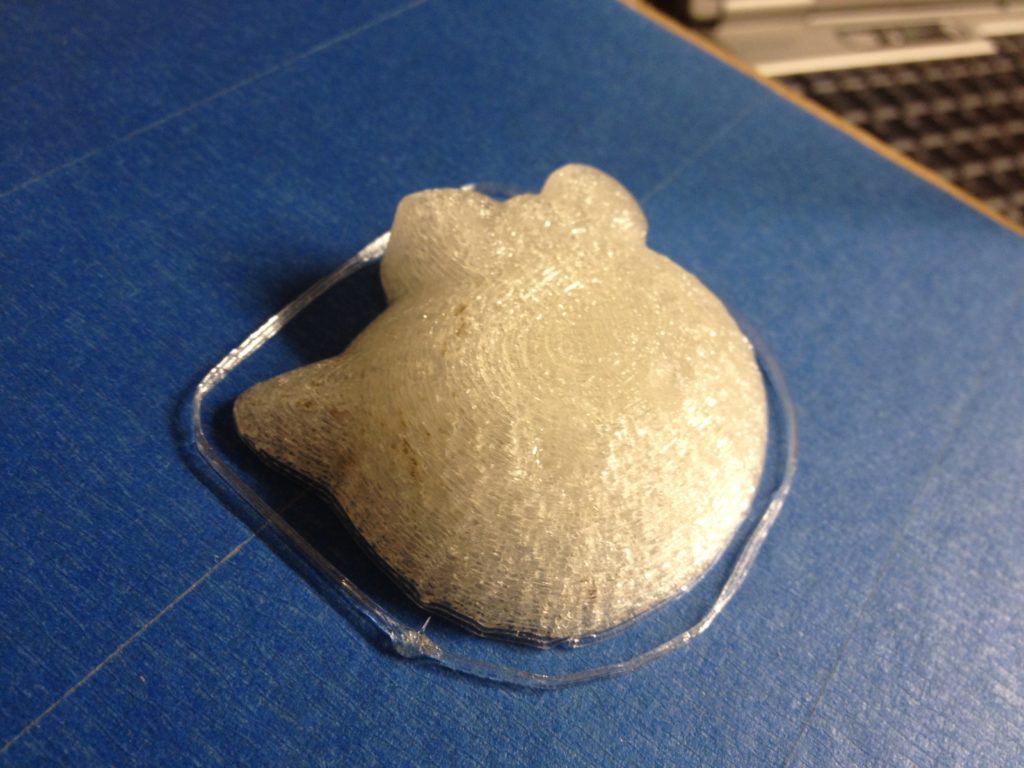
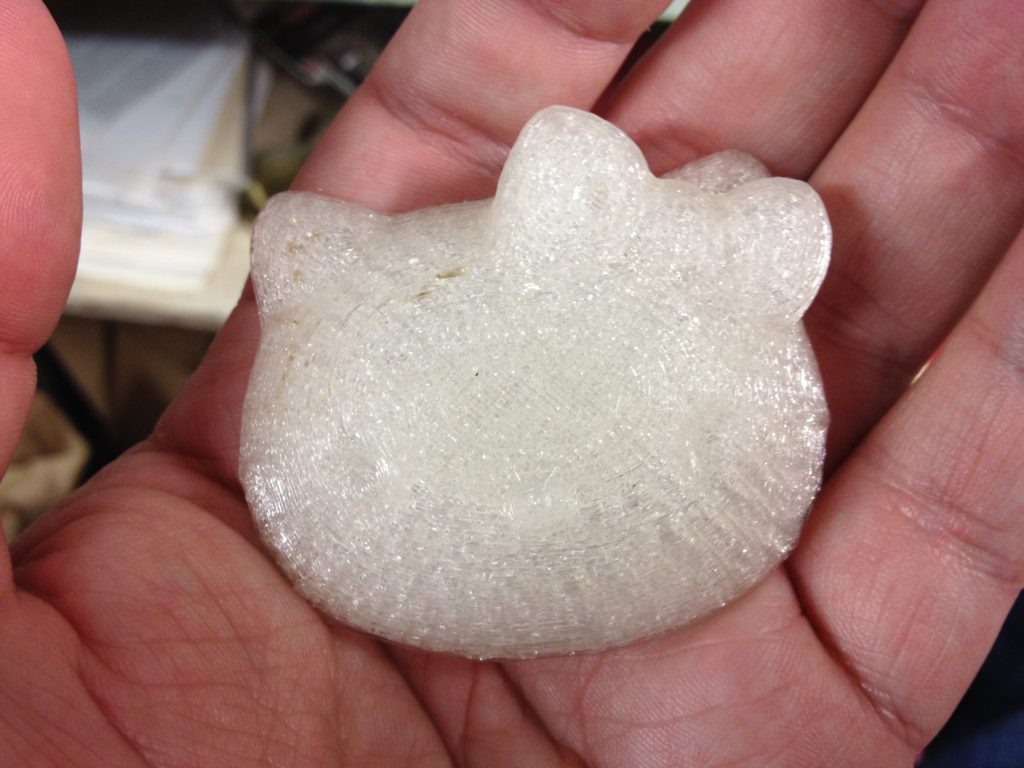
I ran out of plastic and switched over to old old plastic (I’d been using 4042, then I switched to 4032, which isn’t used anymore). I used it to print out a Hello Kitty for Alicia:

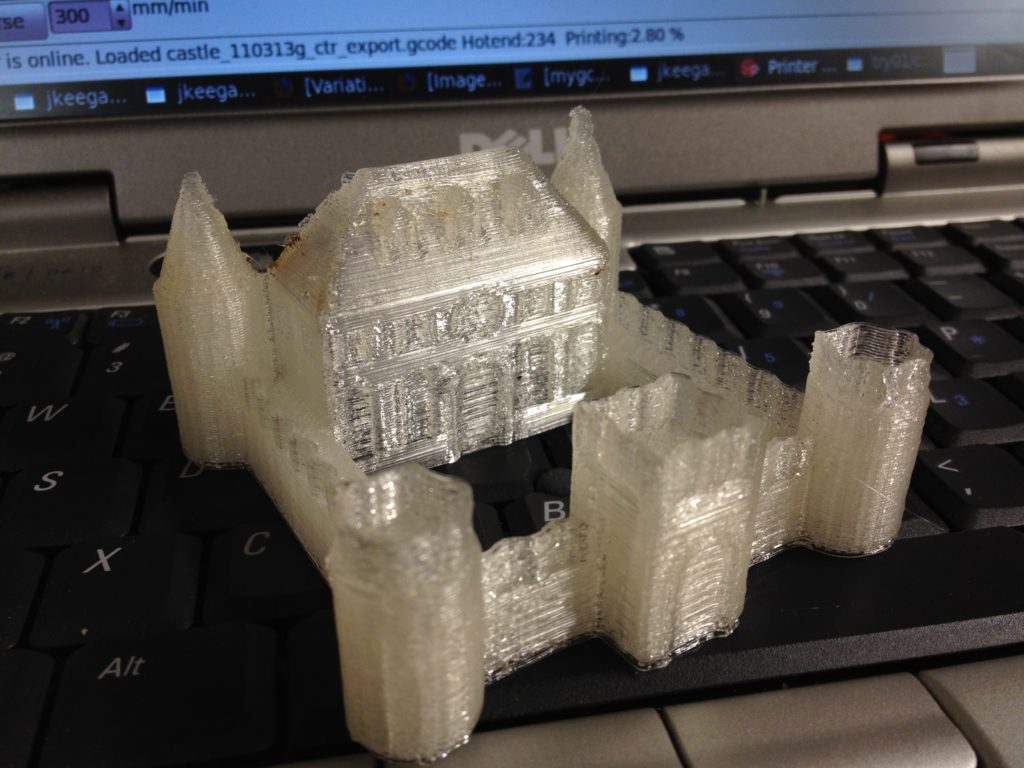
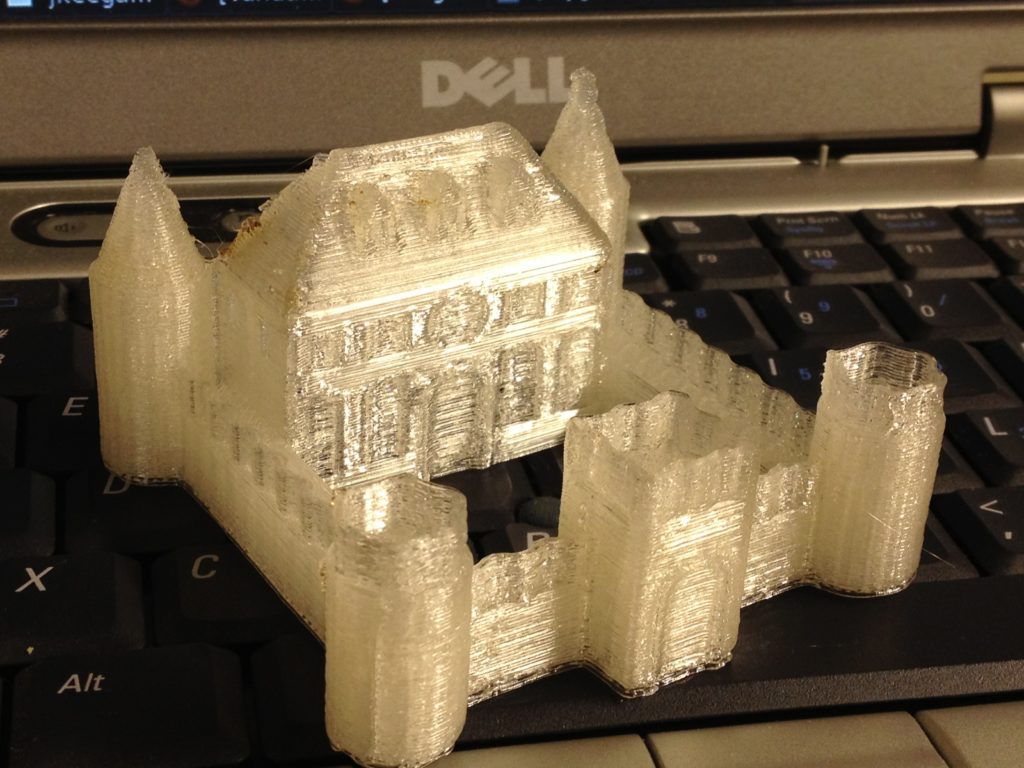
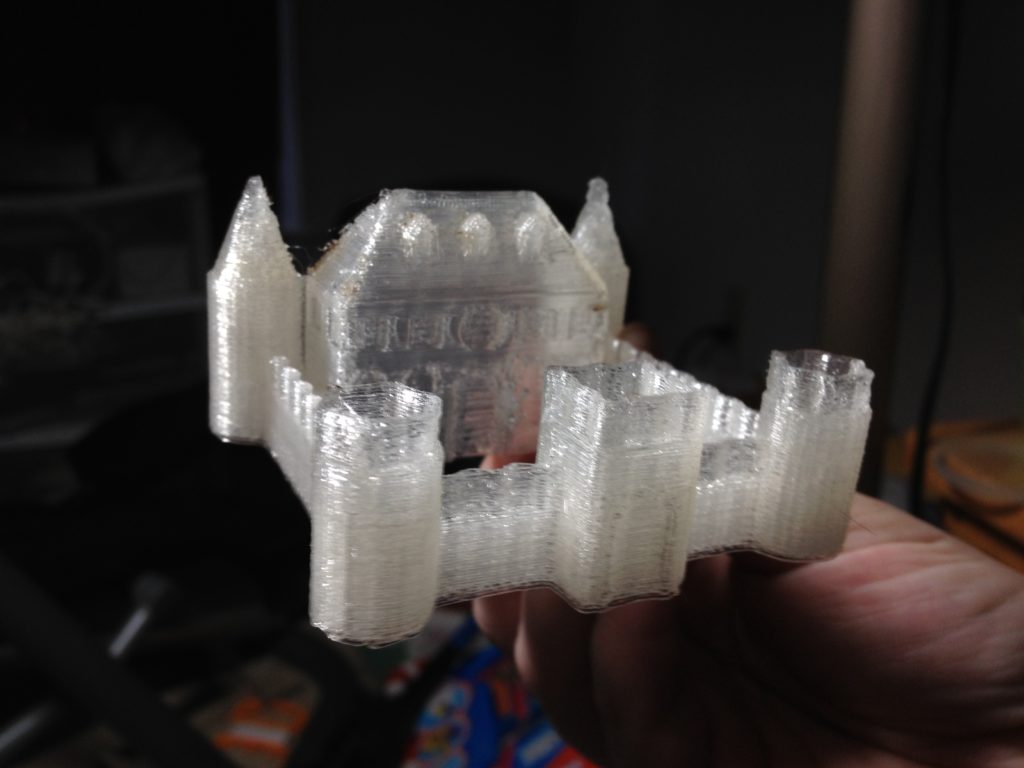
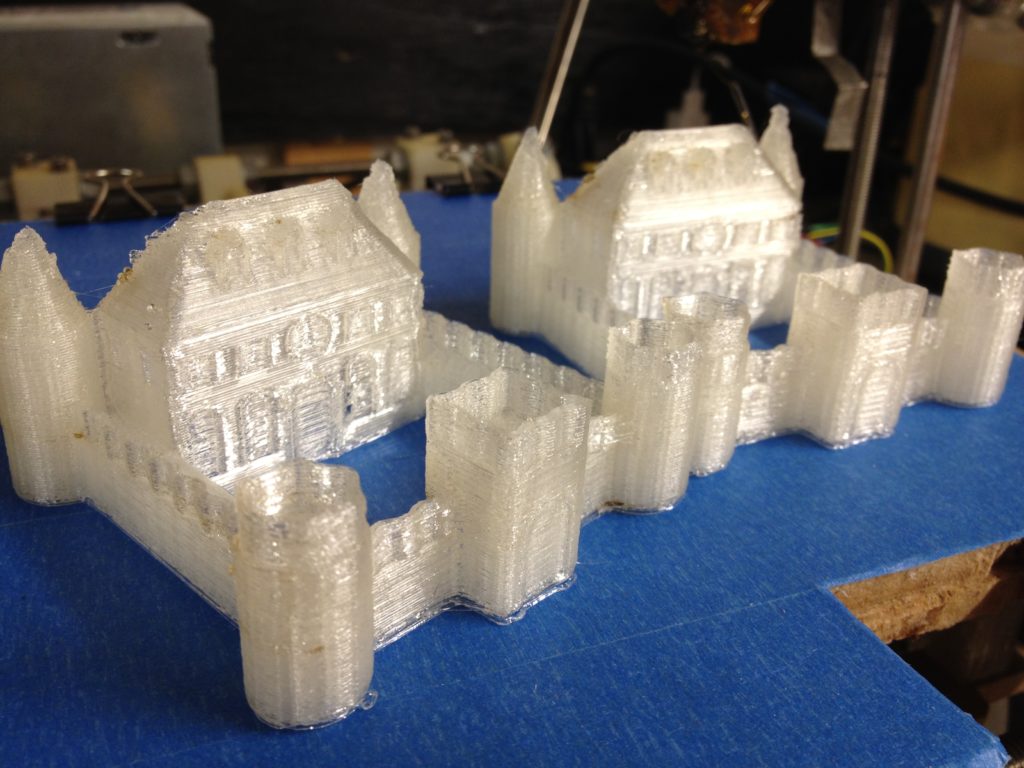
And then I moved on to an unbelievably great print.. The castle..
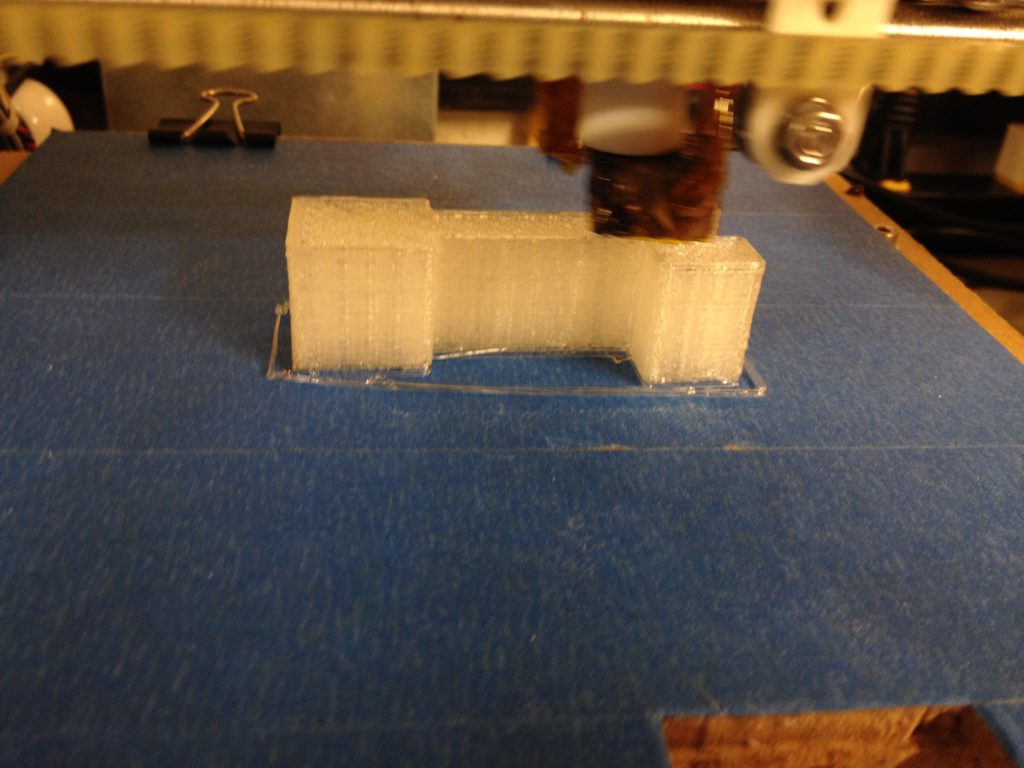
First, there was a slight failure, as I started getting slips on an axis.. (I believe it was the Y axis and I remember that giving me problems for a while). This made me slow down the speed of my prints.

I adjusted the speed, printed, and got this:

This first pic has a bit more perspective, then on the next I must have zoomed in:

Just to prove to myself that that wasn’t a fluke, I printed another.

Next.. can you guess what this is? (cover your ears)

(those of you who know what that is appreciate that, I’m sure)

Then I printed another (better quality) filament spindle holder (which I believe was my third?)

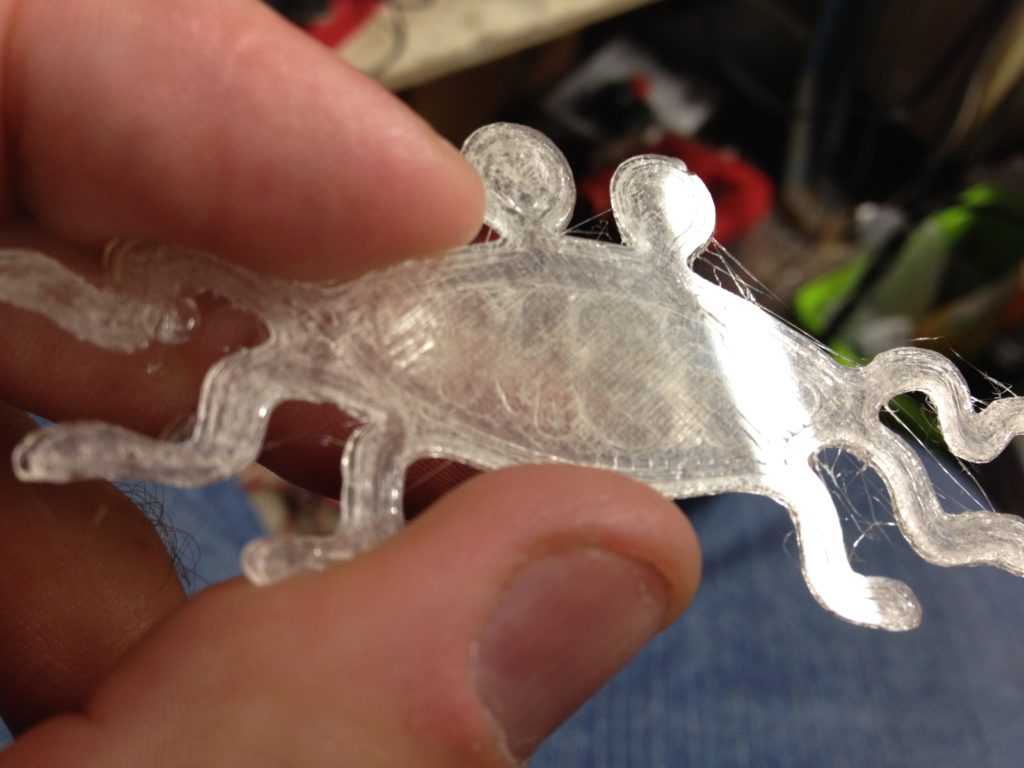
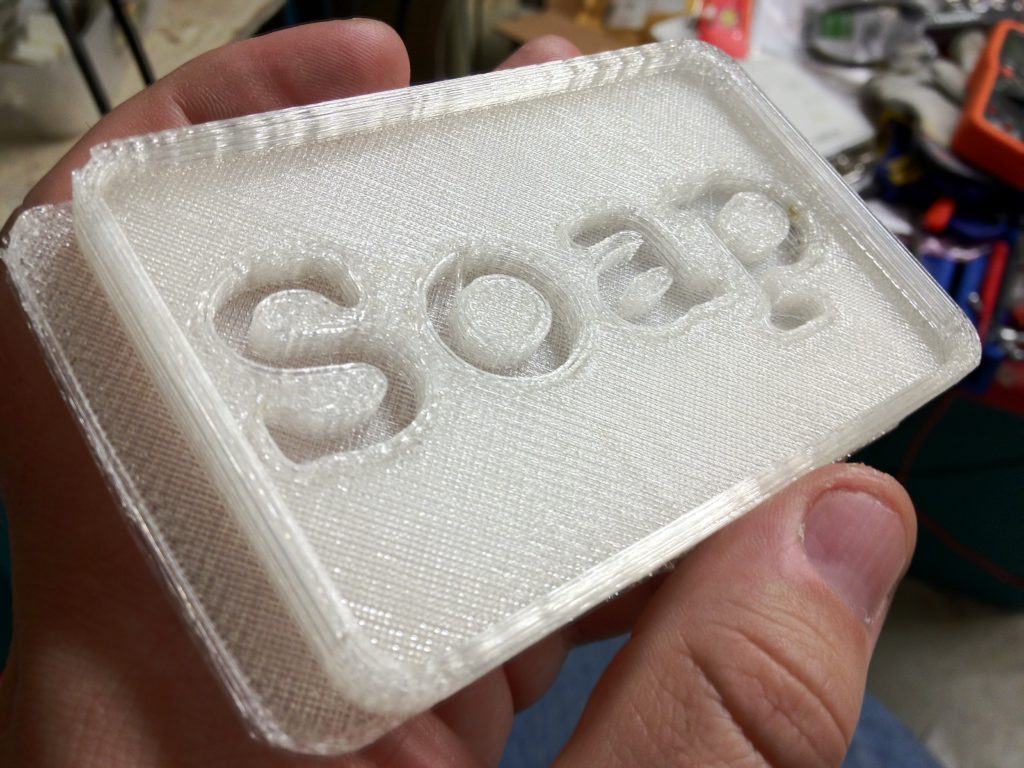
Then I tried printing a simple soap dish, which curled up and broke my extruder again.

It was at that time that I decided to switch to a heated bed. Part of me still pines for those old days because I loved that little plastic purge slot in the front, which I wouldn’t be able to use with the standard Prusa heatbed. But, the tradeoff was worth it.

I once again tore apart my printer:

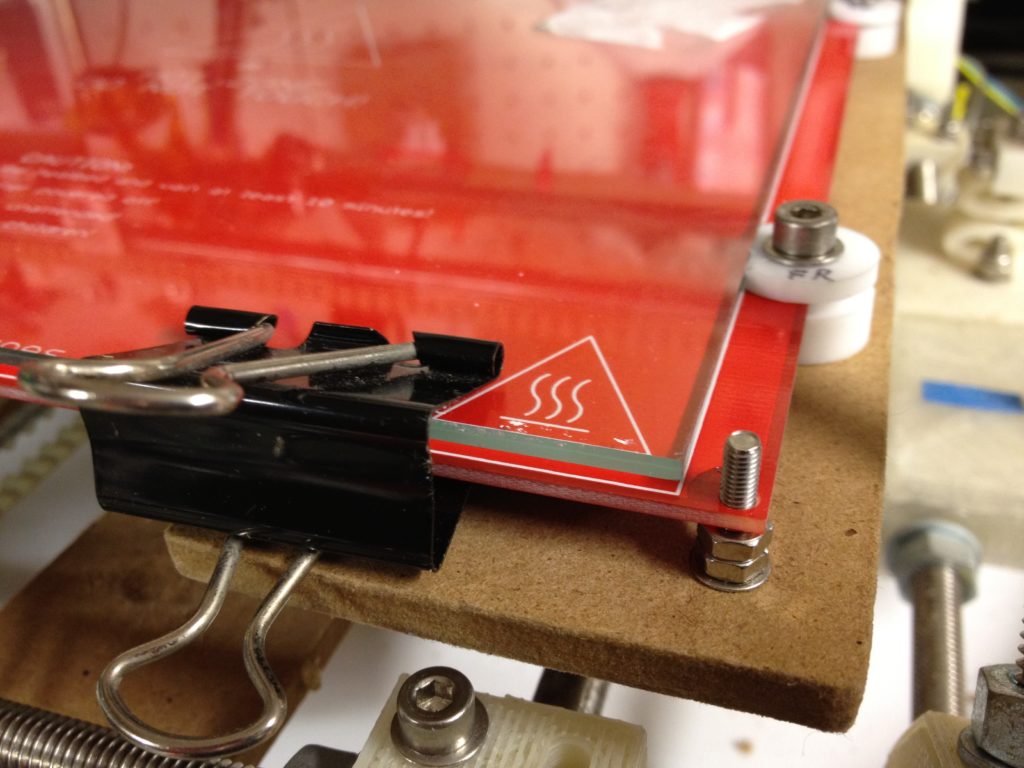
Prusa’s heated bed wasn’t designed for a Sells (original) Mendel – it was designed for his Prusa Mendel redesign. But I wanted to use it on my Sells Mendel. This posed a few problems for me to overcome (as well as an inconvenience – the purge area that I loved, which allowed completely automated prints, would now be inaccessible). Even mounting it though had issues.

Here was my plan for the heated bed:

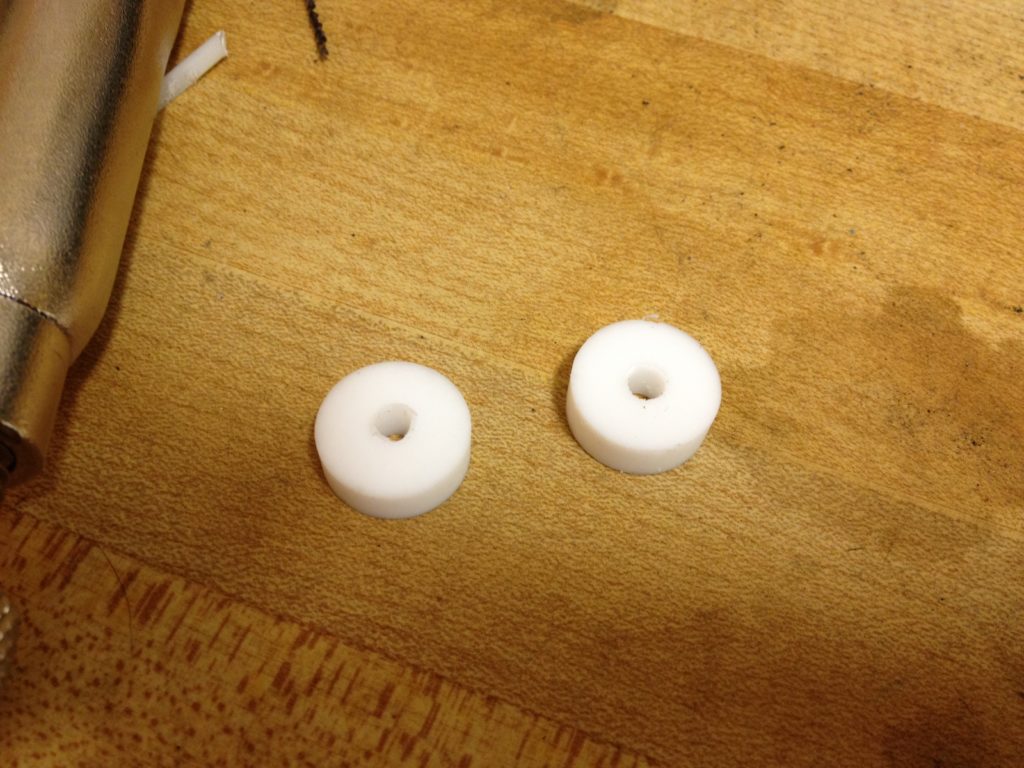
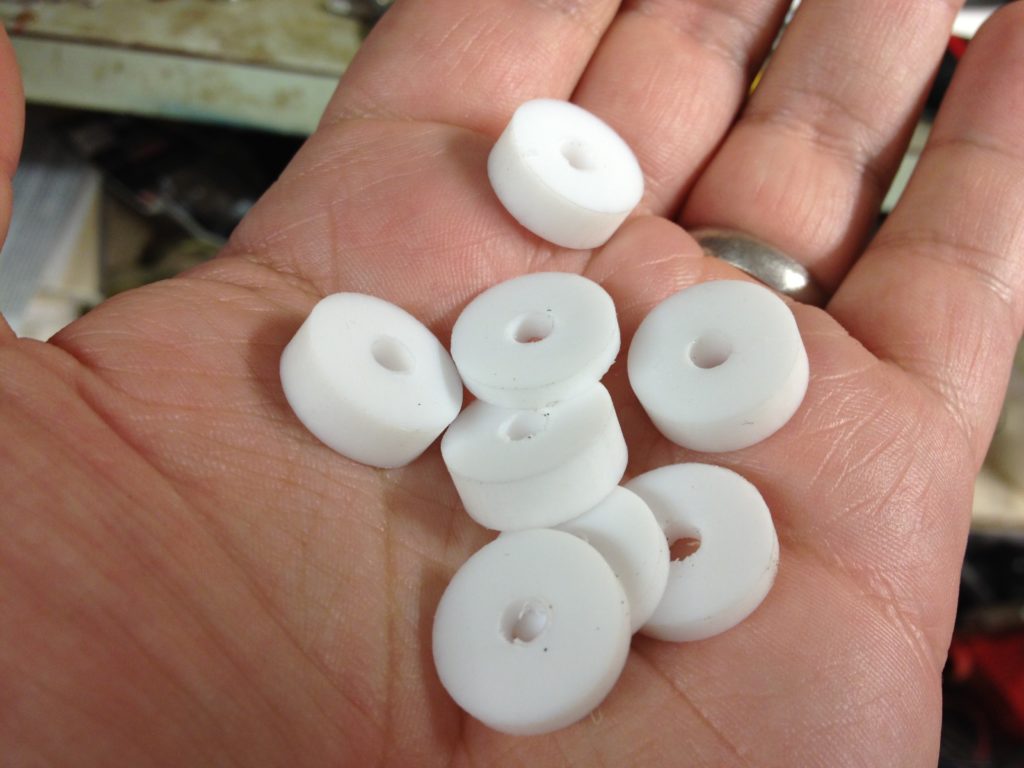
As I said in the video, I was worried about heat going down from the heatbed through the bed adjustment screws I had going down into PLA, so I decided to make some PTFE washers (I thought I’d made them out of old ruined PTFE insulators, but the video shows I made them from the raw PTFE rod that I make insulators from).

I know I’m repeating myself from the last post here, but what I say in this next video was worth saying again:

Here is the headbed set up, almost done:

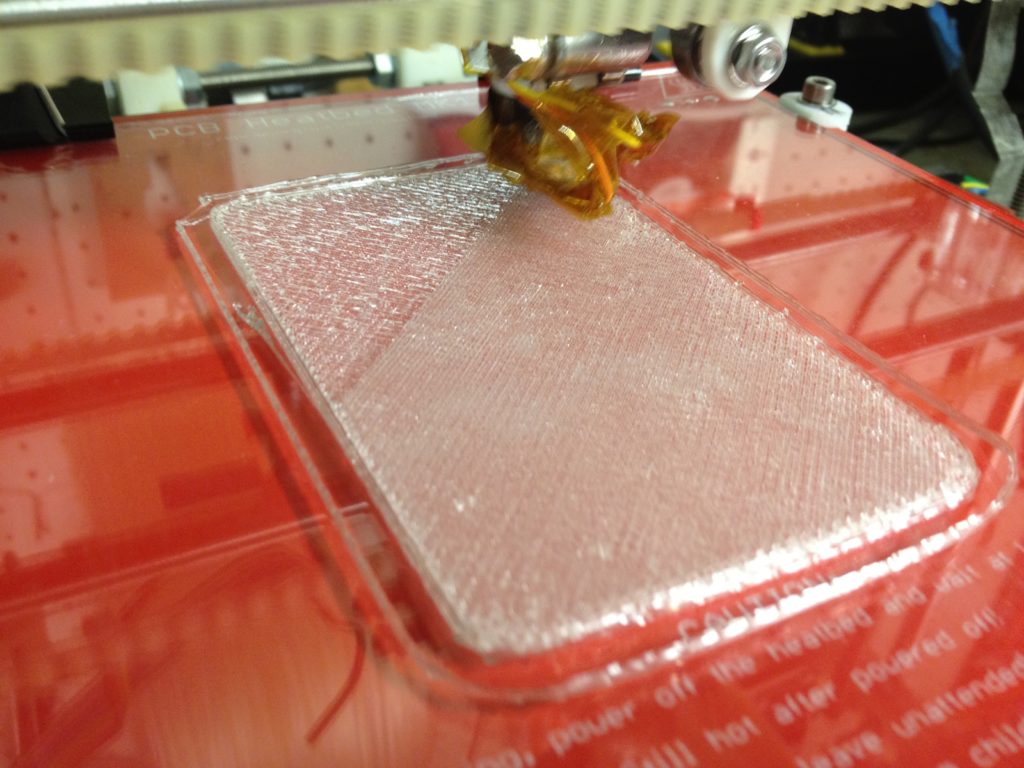
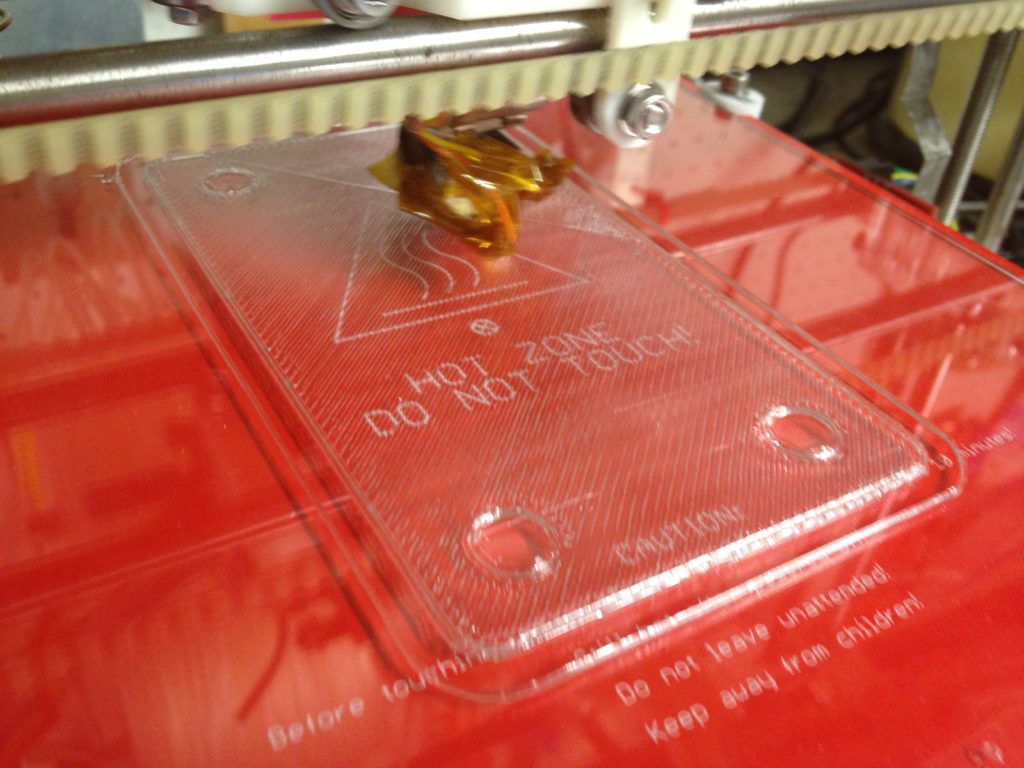
Here’s my first print onto a headed bed (although it was with a damaged PTFE insulator that I knew would fail).. No tape needed – just printed straight onto glass.

Then another print of it, this time with a rebuilt PTFE insulator:

I had a temperature problem during that print (video not worth showing), which I apparently fixed.
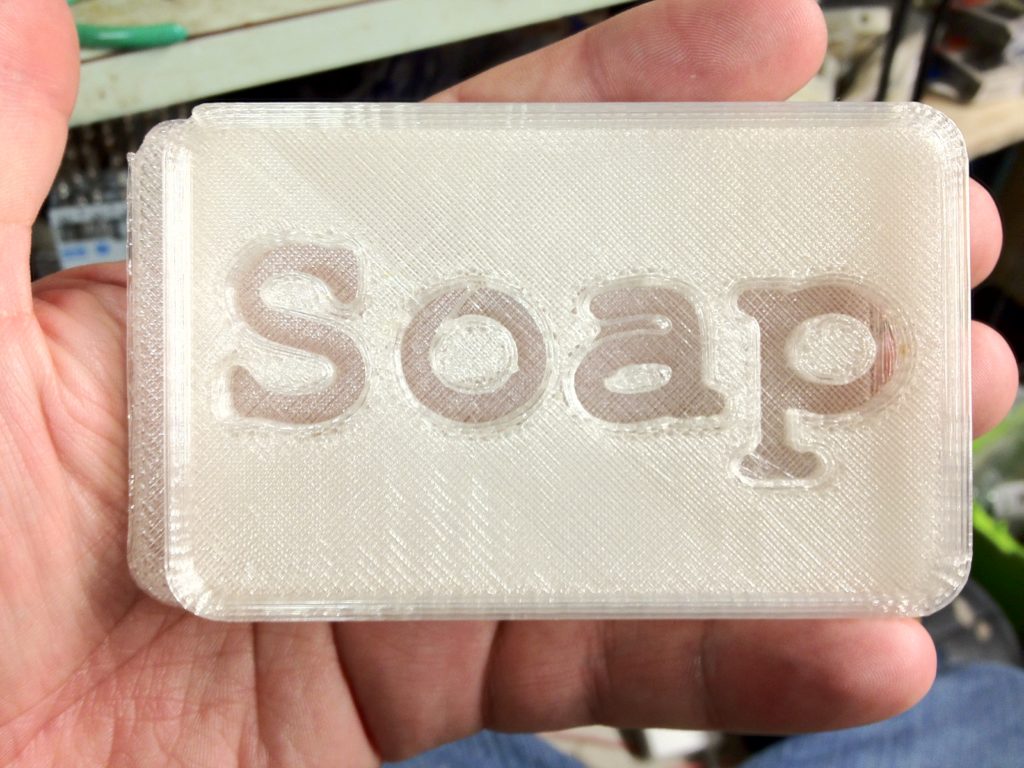
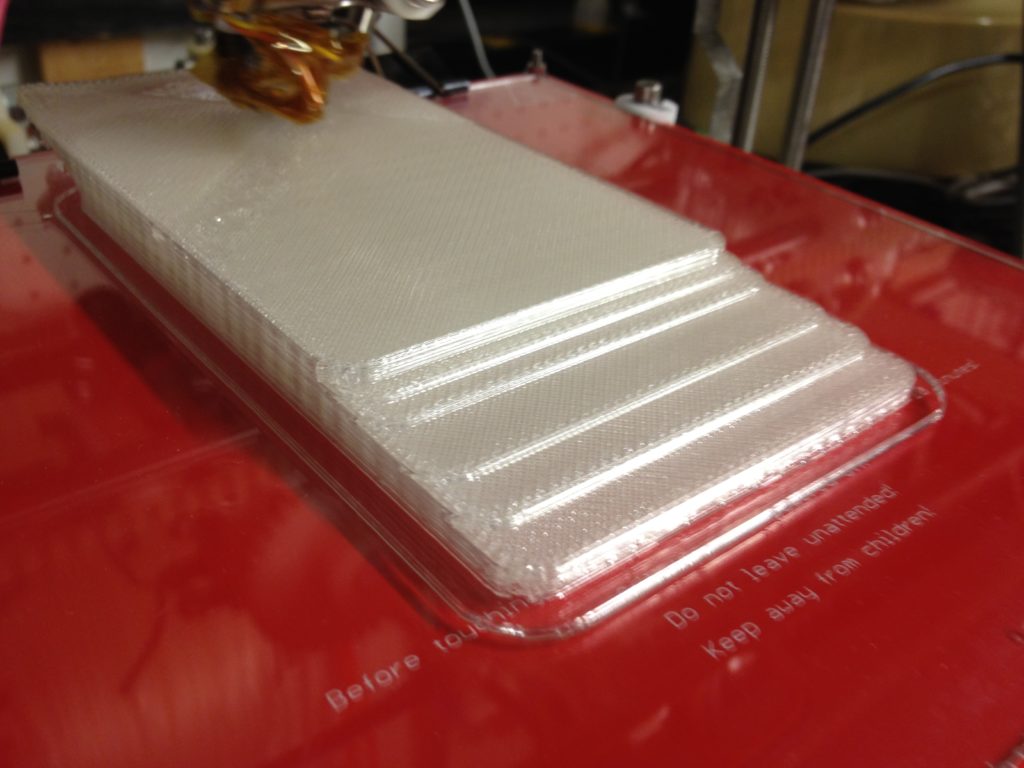
Then I tried the soap dish again:

Then the Y-axis skipping that I mentioned above reared its ugly head again:

By this point my friend Chris Connelly (who had built the original Makerbot with me that I used to print the parts for my RepRap) had decided (wisely, and with my encouragement) to stop waiting for me to get printing well enough to actually print him parts. He purchased printed parts for a Prusa Mendel (Iteration 1), and had been coming over for printing days where we’d work on the printers in the basement. Here is video I took of his first print:

There’s something to be said for a room filled with the sound of multiple 3D printers printing at the same time. ๐Ÿ™‚

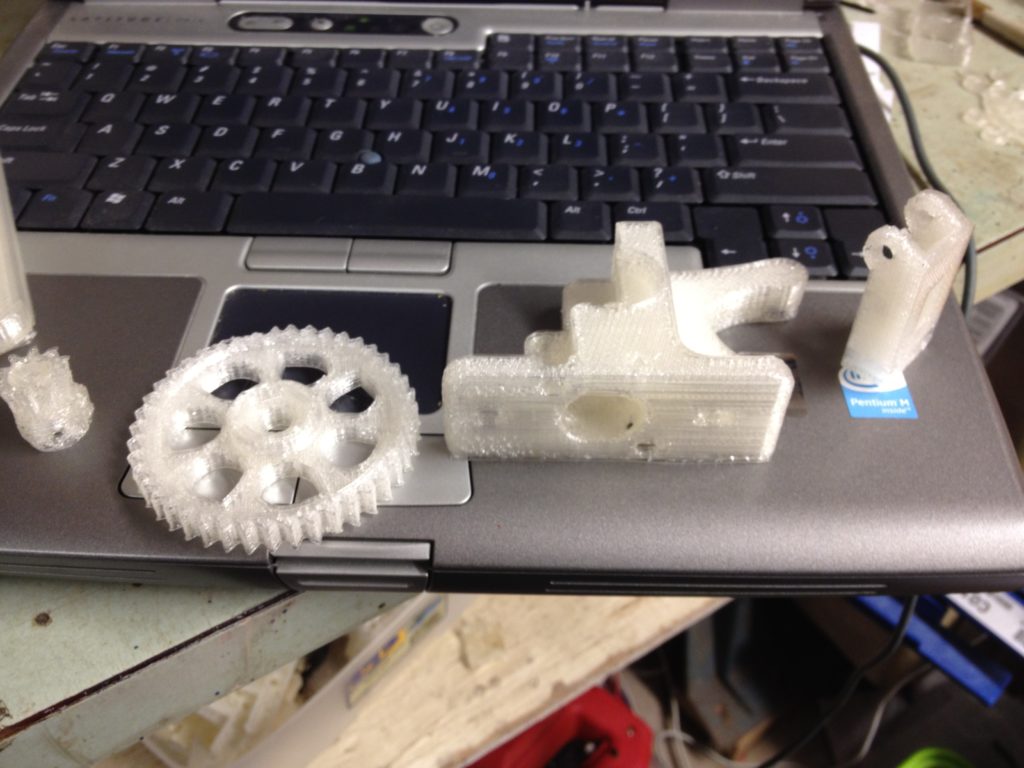
Next up: an extruder that supports holding up a PEEK block for an Adrian-styled extruder nozzle. Even though I was doing it out of PLA (a bad idea), I figured what the hell, and tried printing a Greg’s Accessible extruder from PLA (configured to support rods that hold up the PEEK block):

The result:

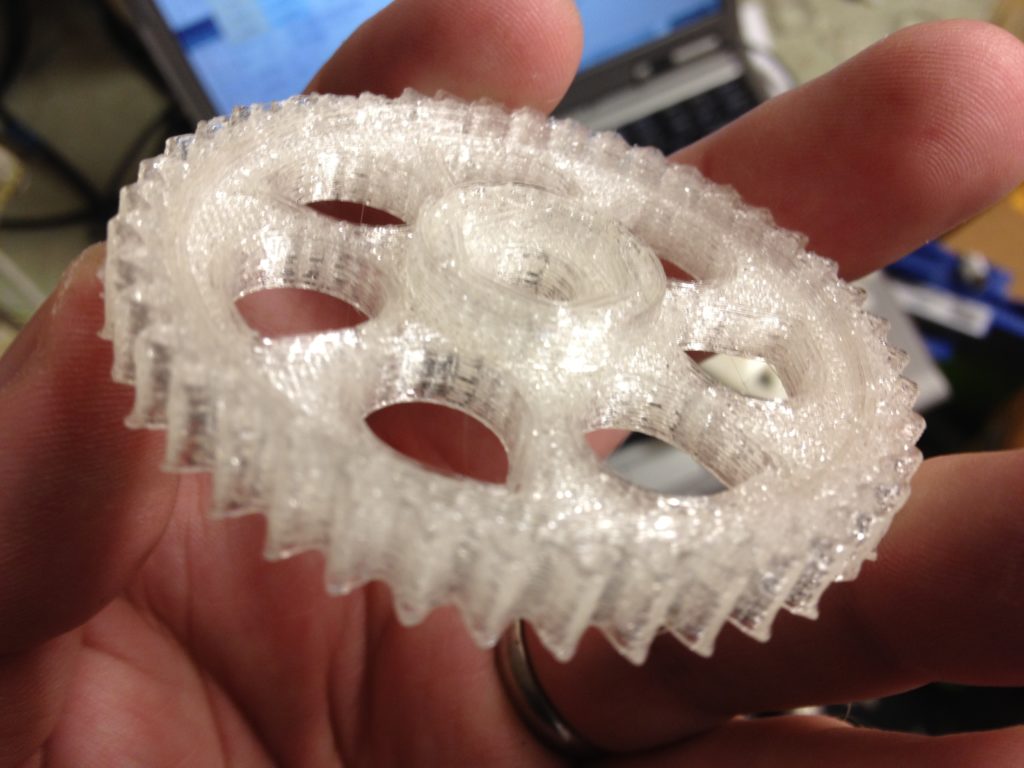
…and the large gear for that:

…and the idler:

All of it:

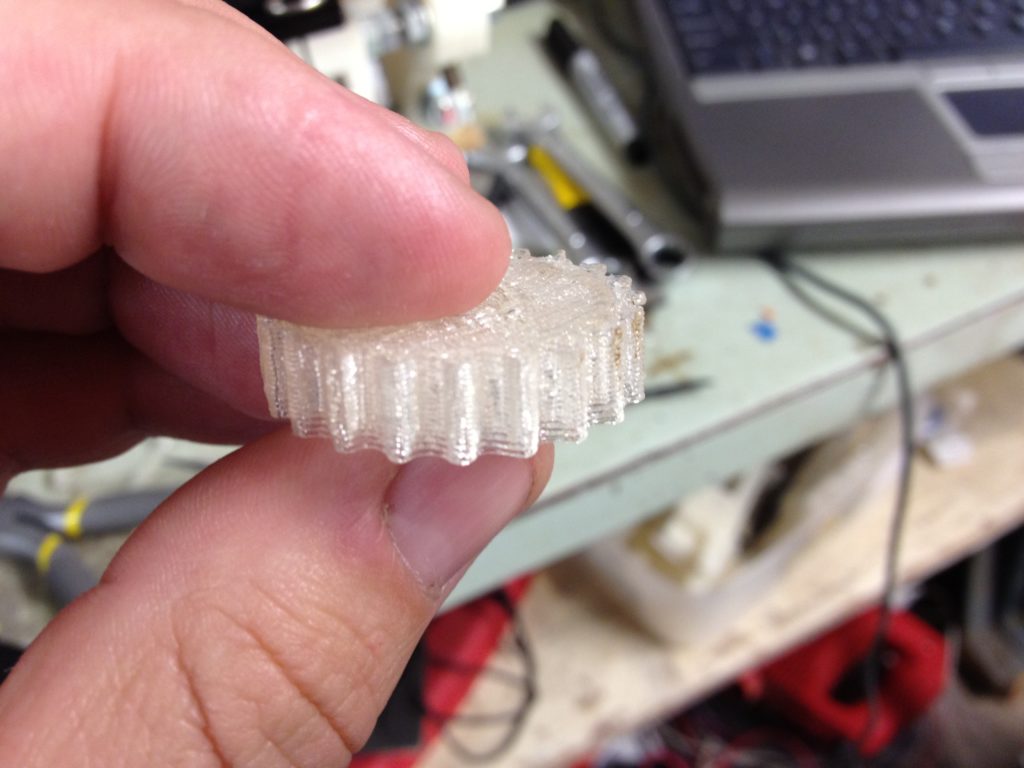
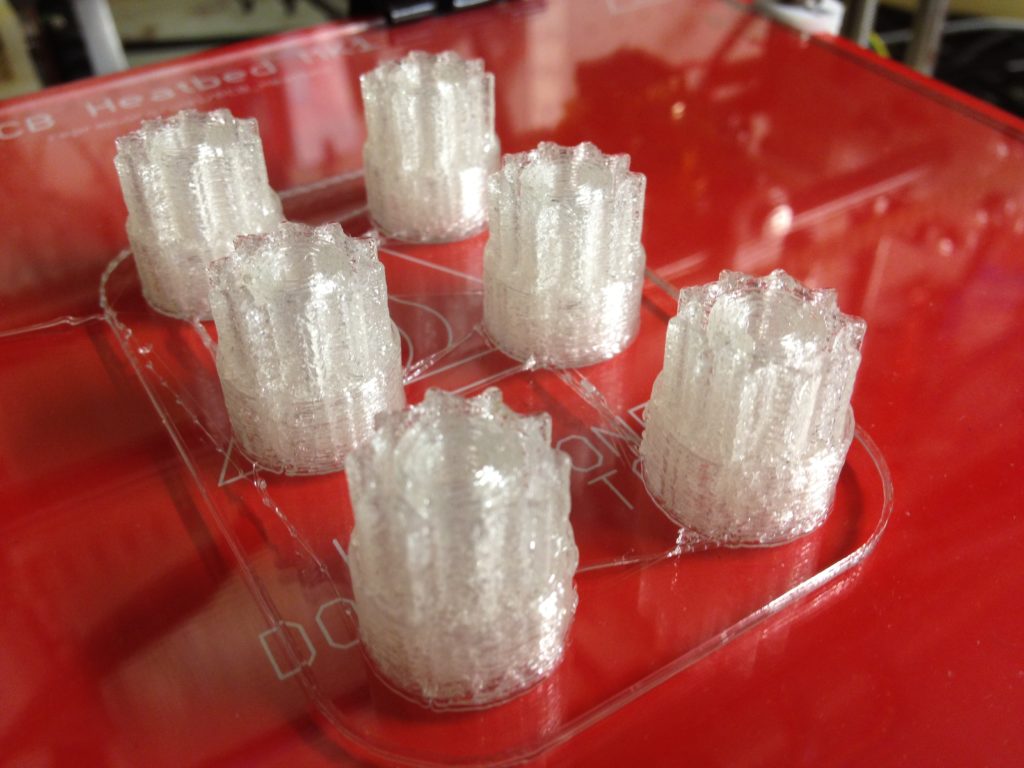
Small gear no good? No problem:

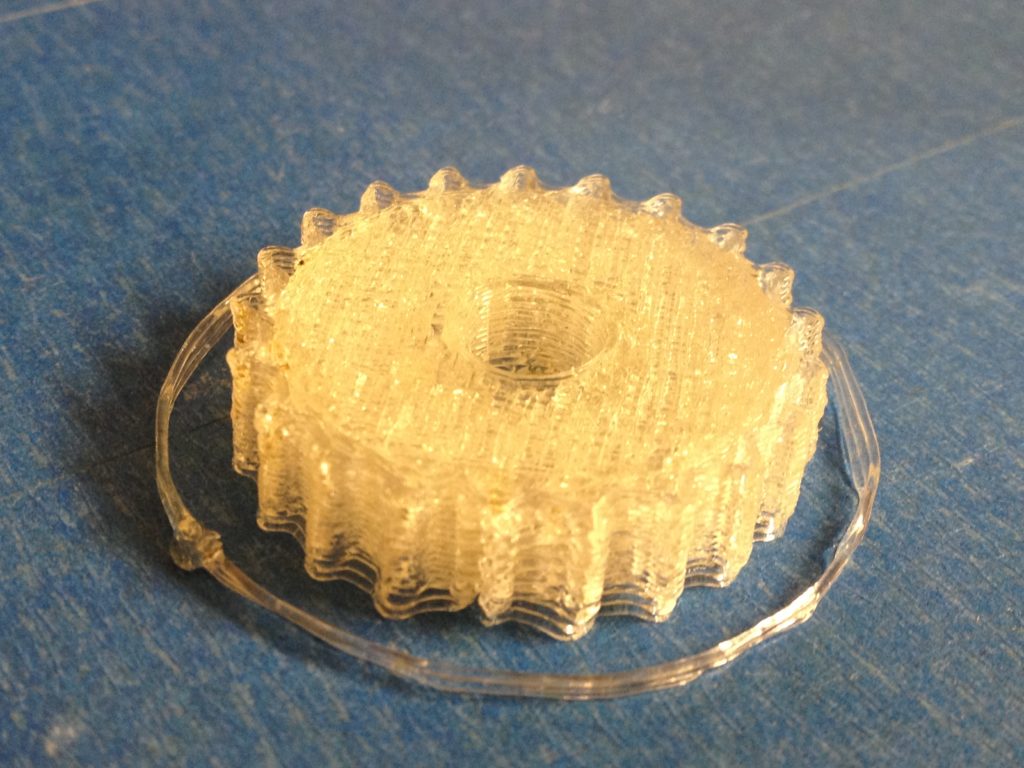
Perfect:

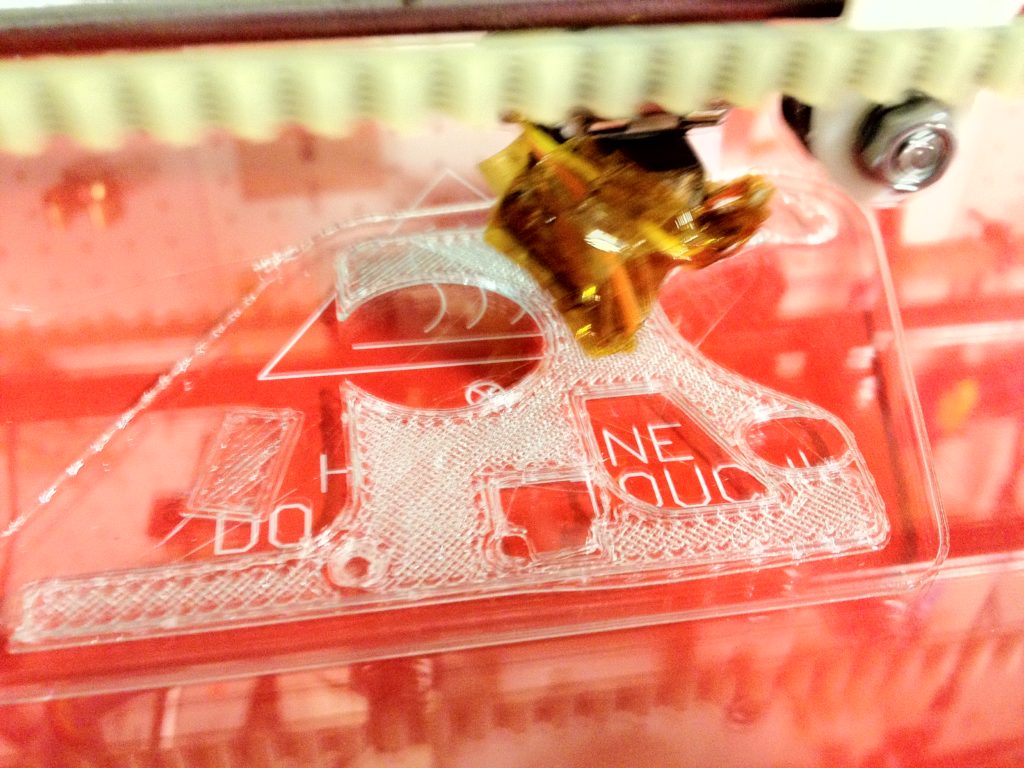
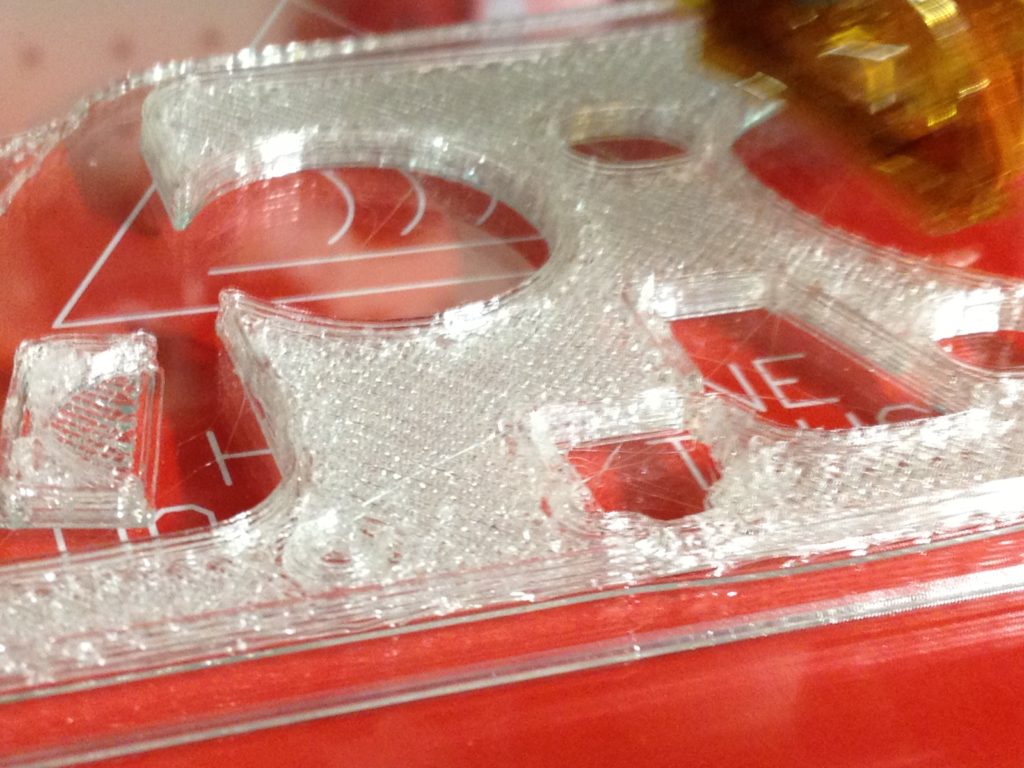
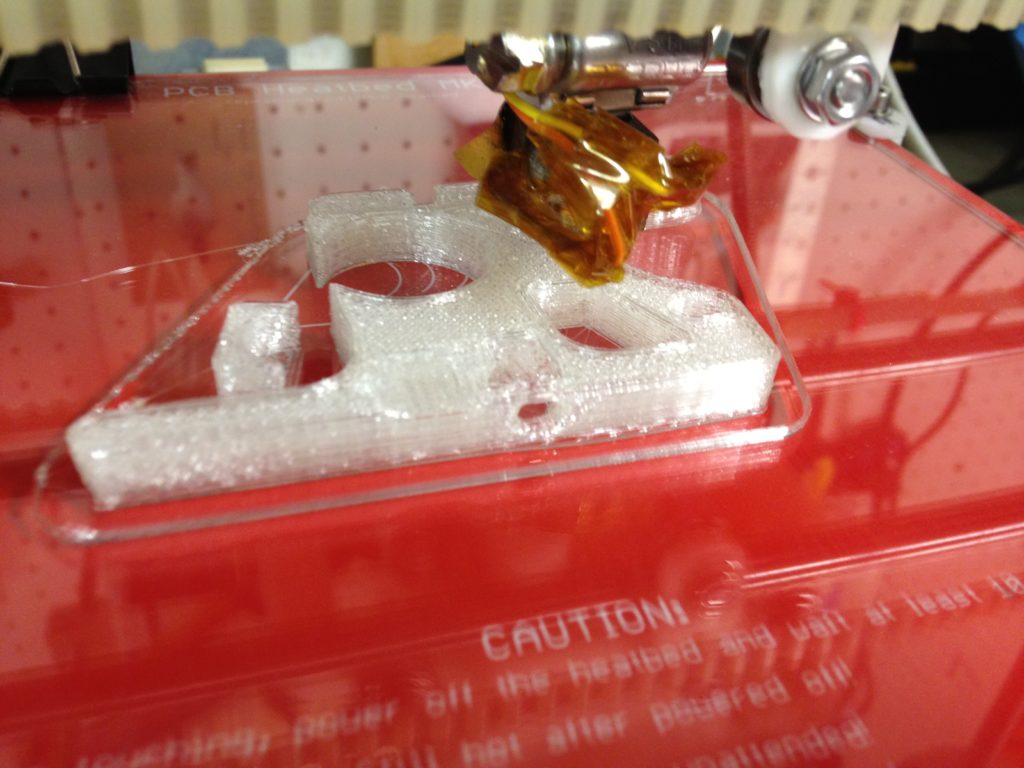
It’s amazing how when some part of something works so well, that you can end up ignoring other parts that don’t work. I kept forgetting about the Y-axis skipping problem I was having (or maybe after 11 months I’m just forgetting that I always remembered it but just didn’t know what to do about it). So even though the soap dish gave me problems, I tried designing an iPhone tray for me to rest my iPhone on while I slept (so it didn’t vibrate off of the table in the morning when the alarm went off). I designed holes at the bottom for Sugru, and it was basically going to just have a rim (like the soap dish) with a slot near the bottom.

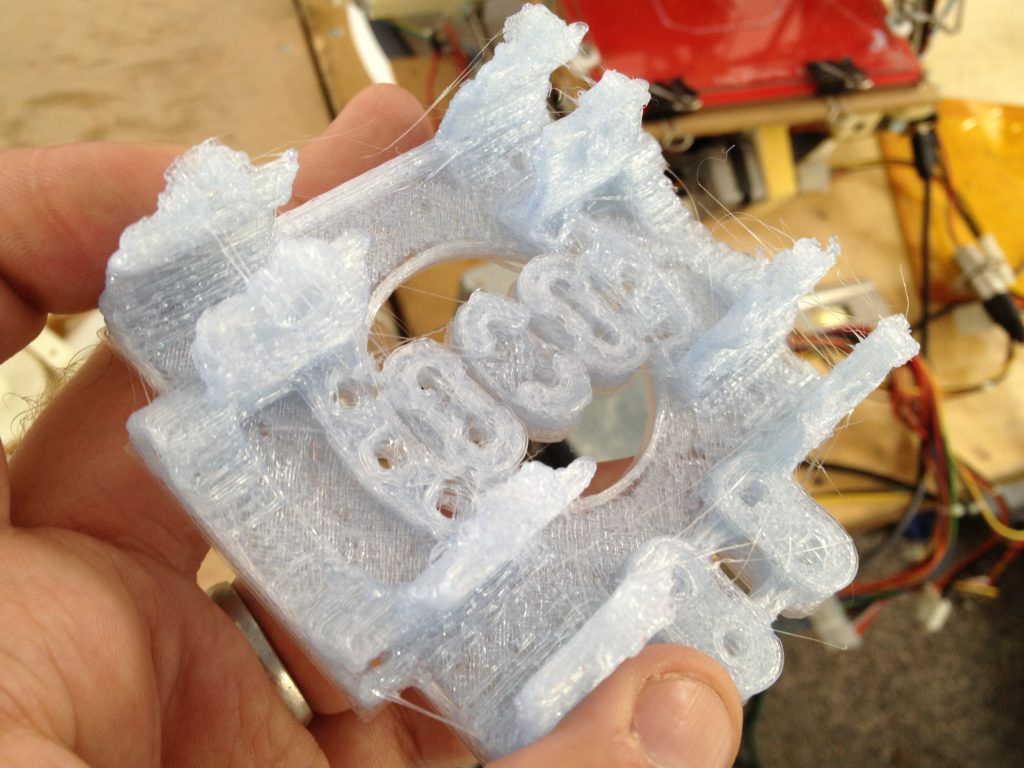
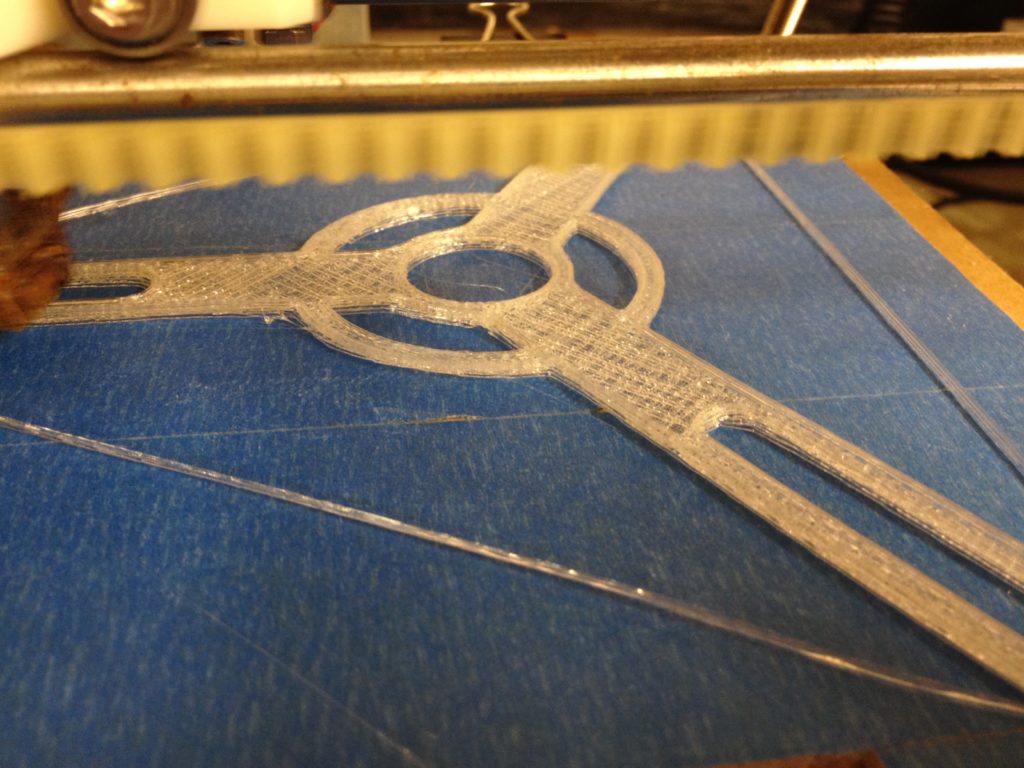
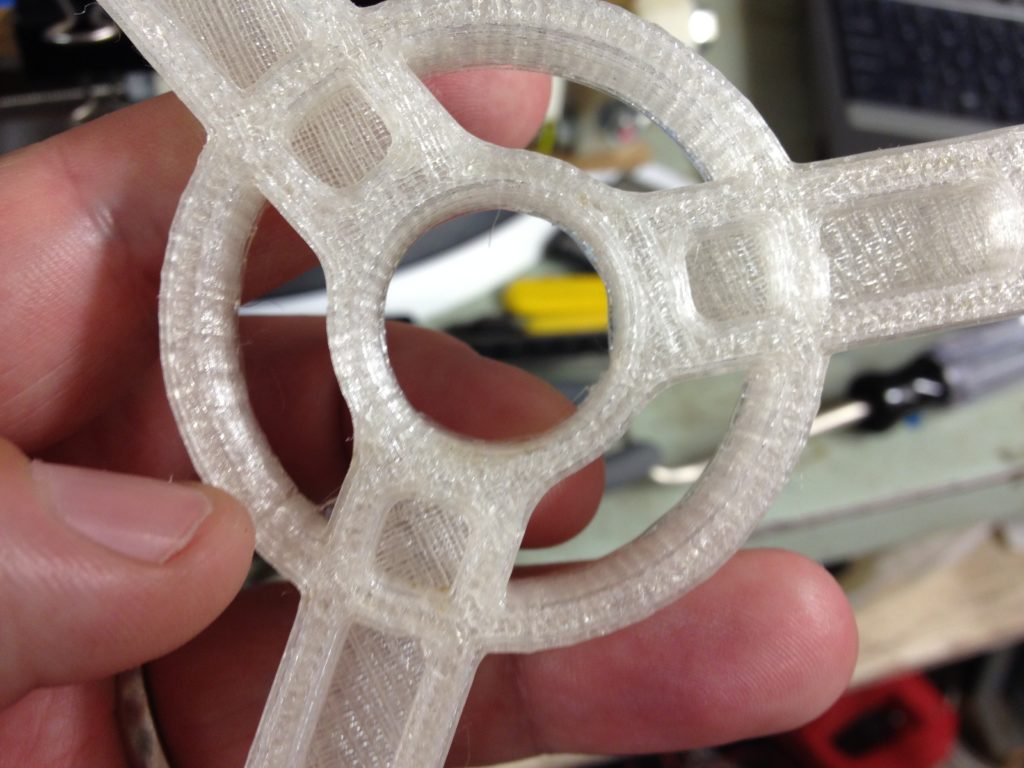
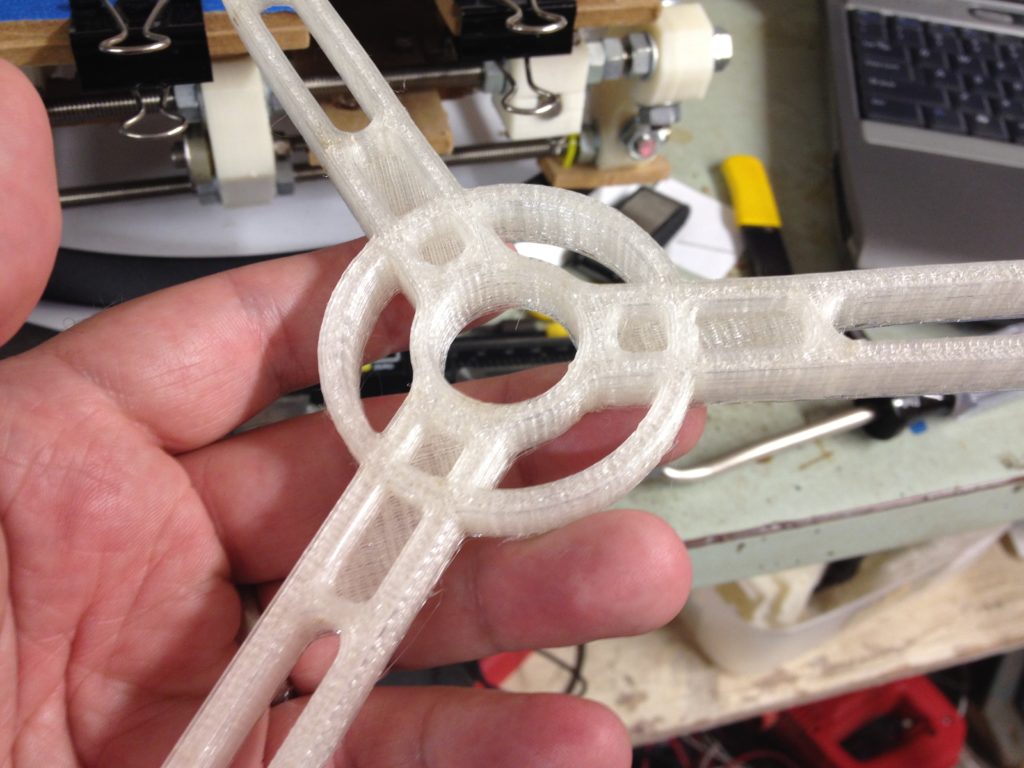
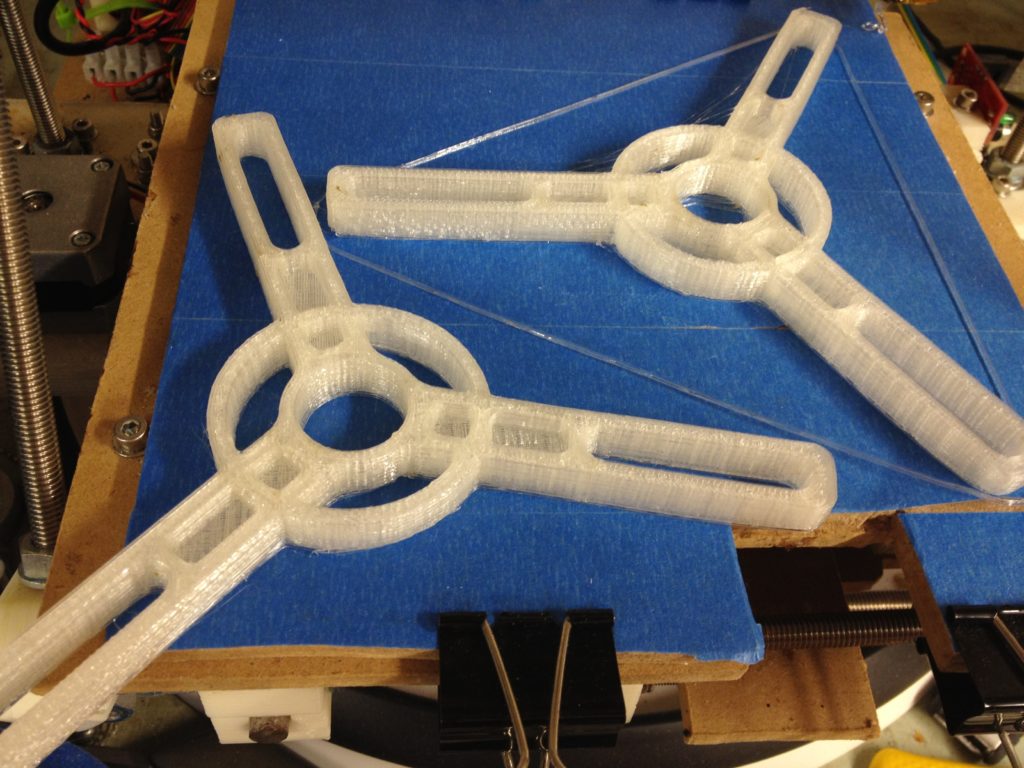
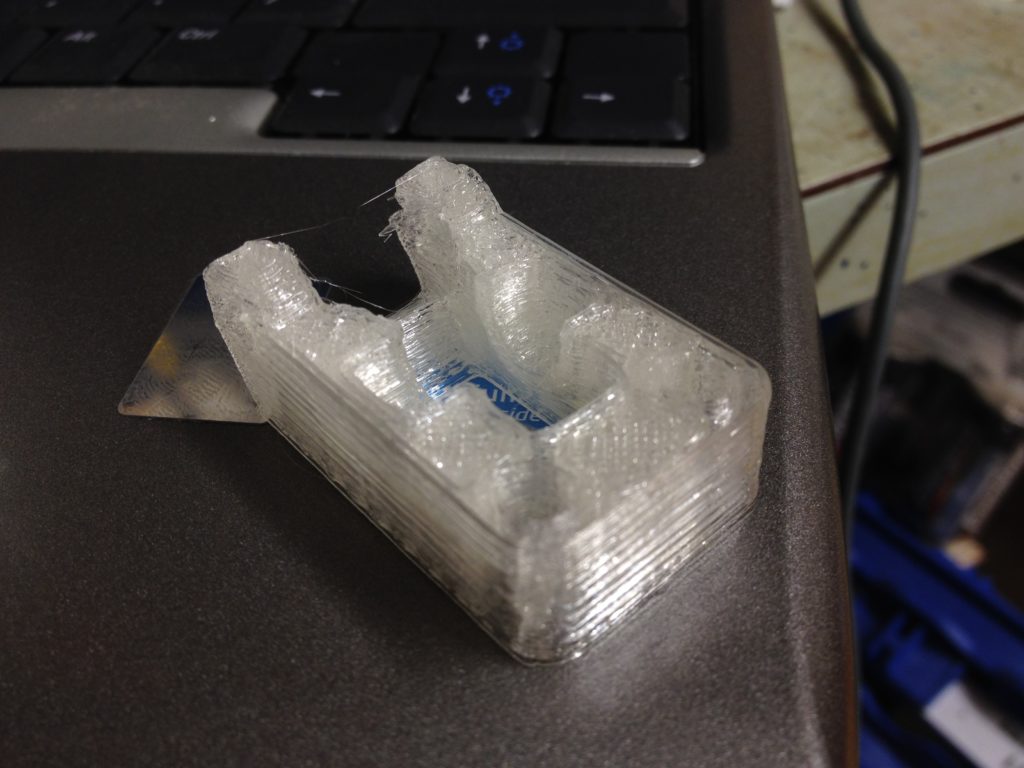
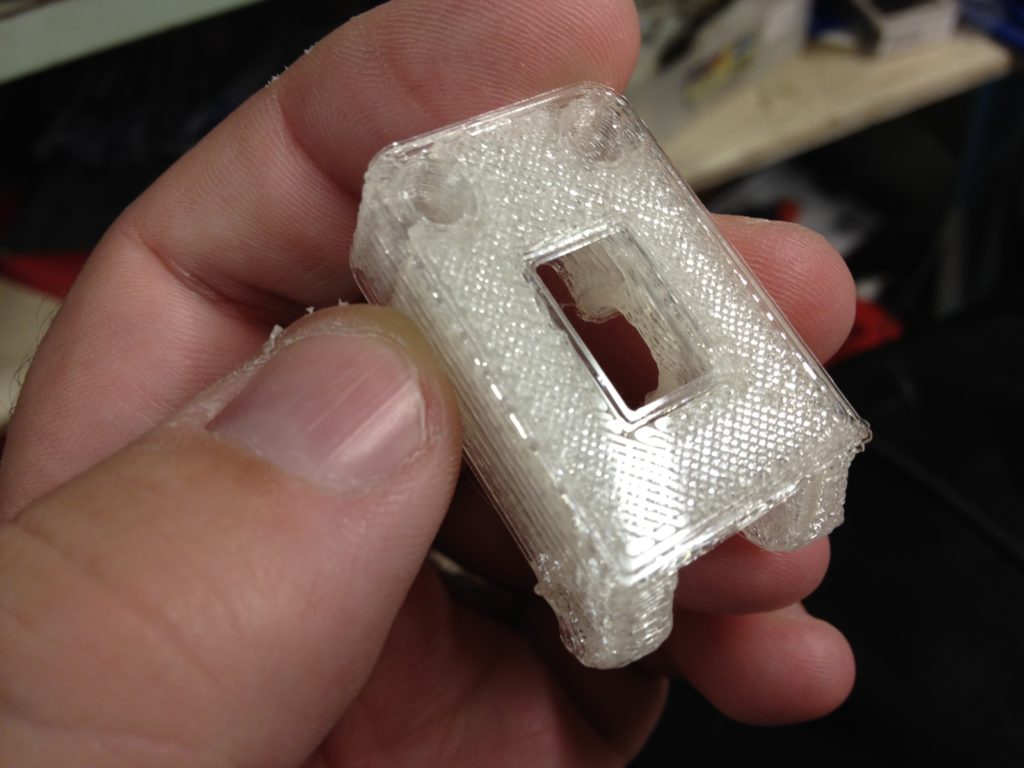
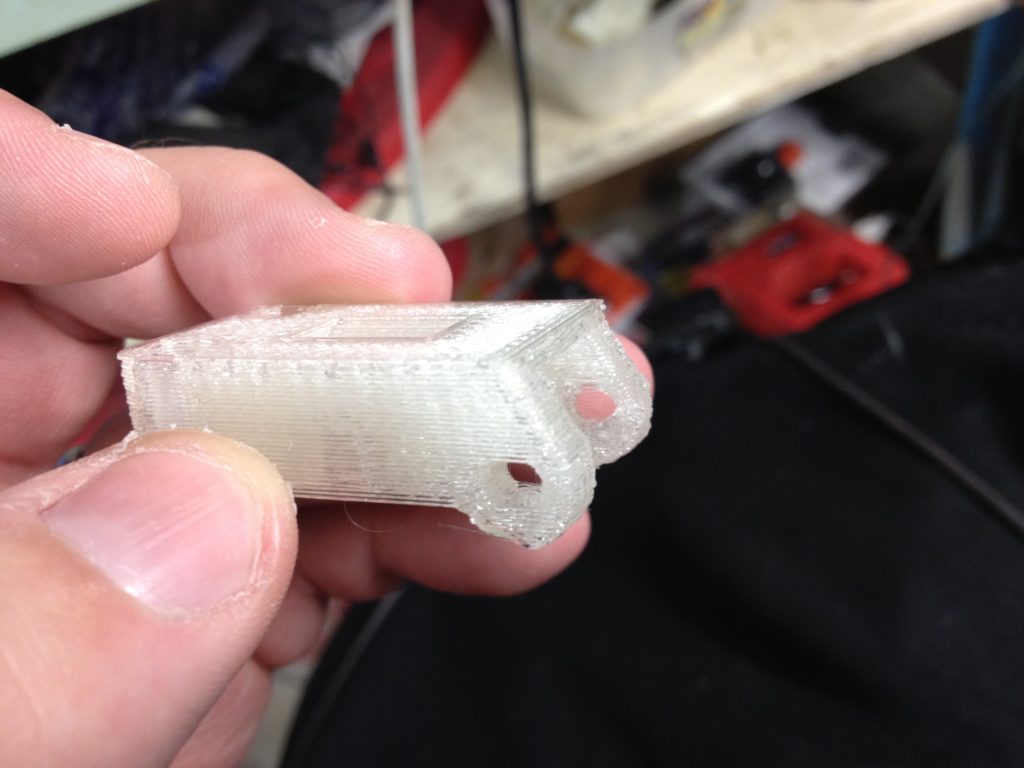
It failed, and the failure is worth showing (because even the failed object was still amazing to hold in your hand).

and.. failure:

Time to stop here I think (even on a failure). Now the blog is caught up to November 26, 2011 (today is September 26th, 2012) – so I’m still 11 months behind. Next up in the next post: it was time to try the new extruder.

As I said last post, in one week Iโ€™m heading down to Makerfaire NY 2012 to show off my RepRap (Iโ€™ve attended for the past two years but this is the first time I dragged my RepRap down there to exhibit). Iโ€™m booth #8736 in the 3D printing village. If youโ€™re in the area, come on down! Itโ€™s September 29th and 30th. Makerfaire NY 2012.