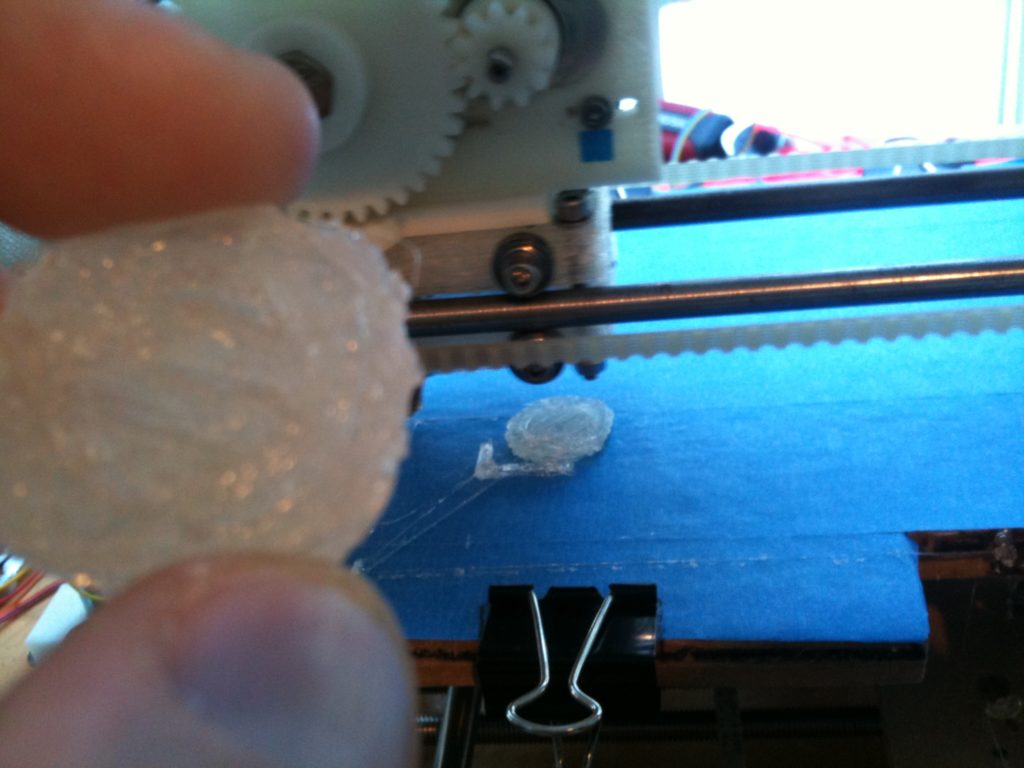
On January 3rd I posted my celebration about finally creating an alcohol-tight minimug, and I haven’t posted anything since then. That leaves four months worth of stuff to talk about. It’s a huge amount to blog, so I’ll be breaking it up into multiple parts, and I’ll post the parts on different days.
Stuff From Before My MiniMug Post
For my January 3rd post I jumped ahead and immediately posted the pic of me celebrating my minimug. I still have stuff from before then to post.. Here’s the best I can do from memory and piecing it all together from pictures (as always, there are a lot).
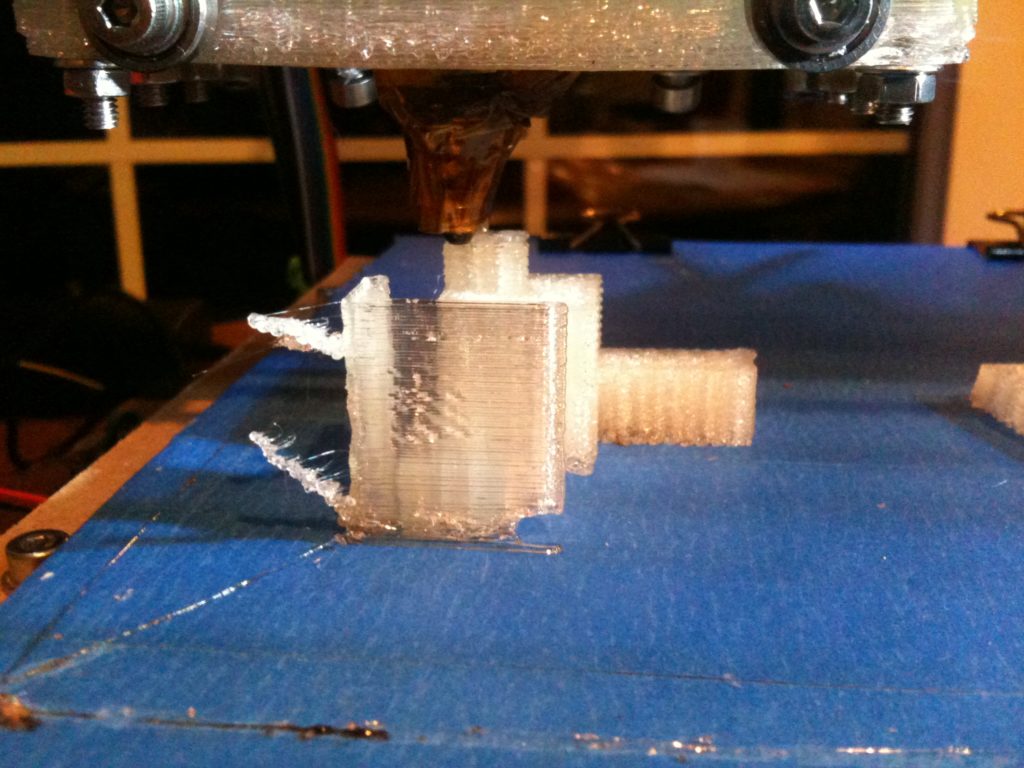
First of all, I’d fixed my X-axis problem as I said two posts ago, but little did I know that I had a subtle Y-axis problem too (that I just hadn’t noticed, because of my large X-axis problem). But I hadn’t figured that out yet. All I knew was that my horrible X-axis problem was solved, and parts looked way better.
So, I printed some parts (which, again, still weren’t perfect, but I didn’t fully realize that yet).
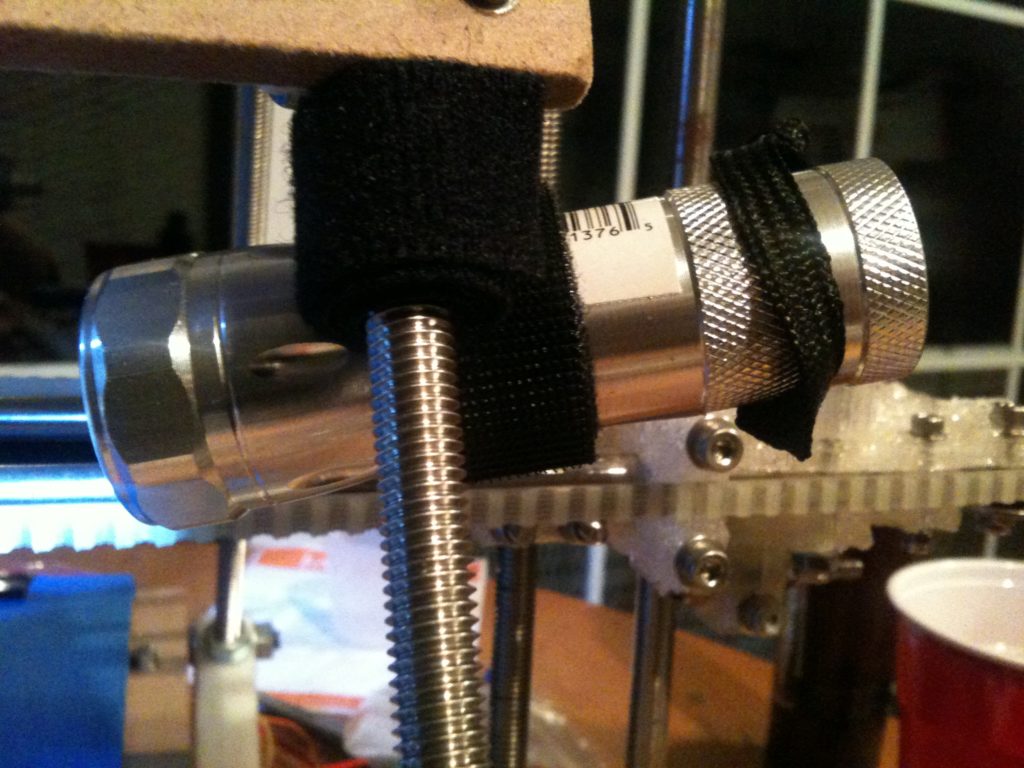
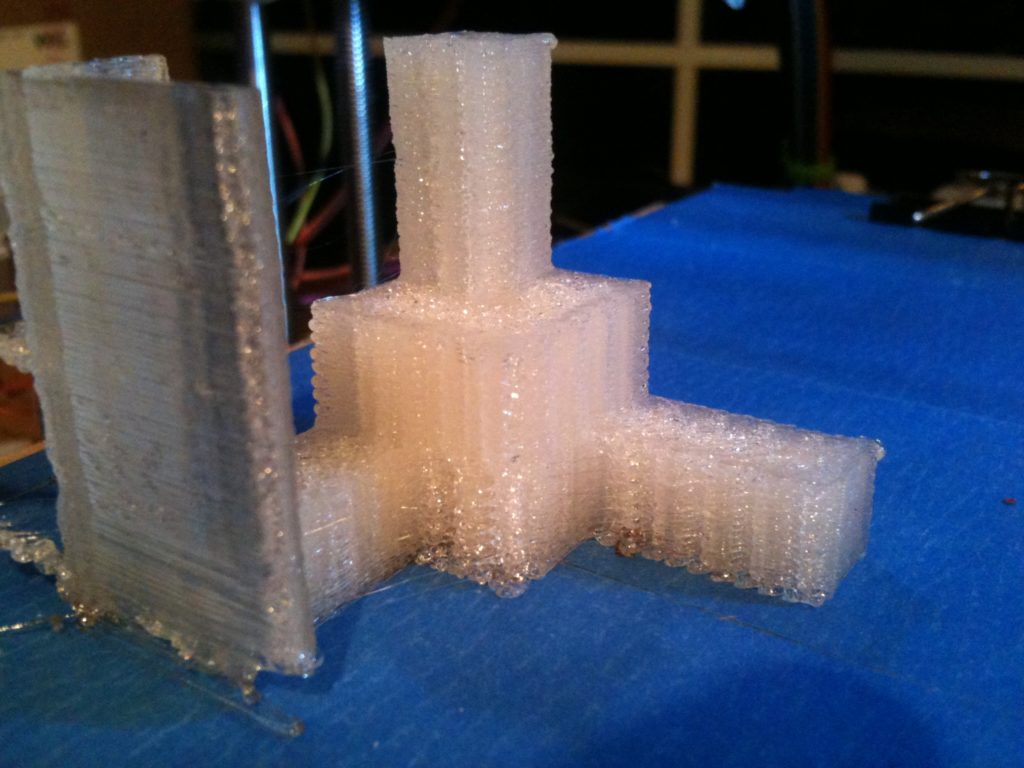
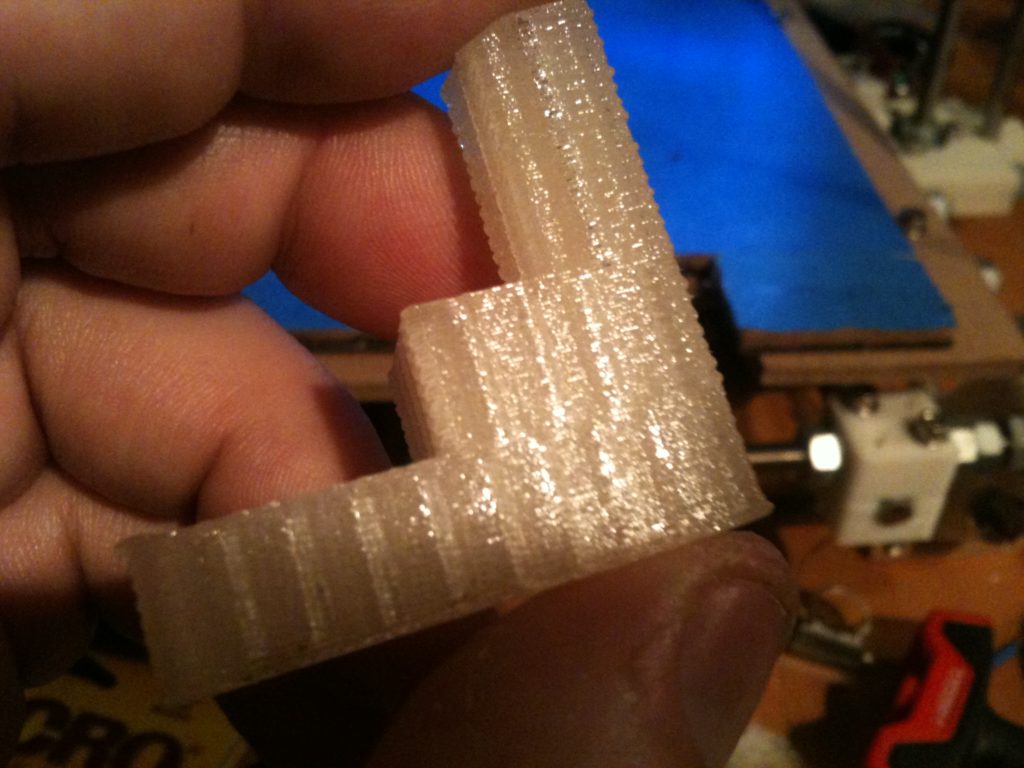
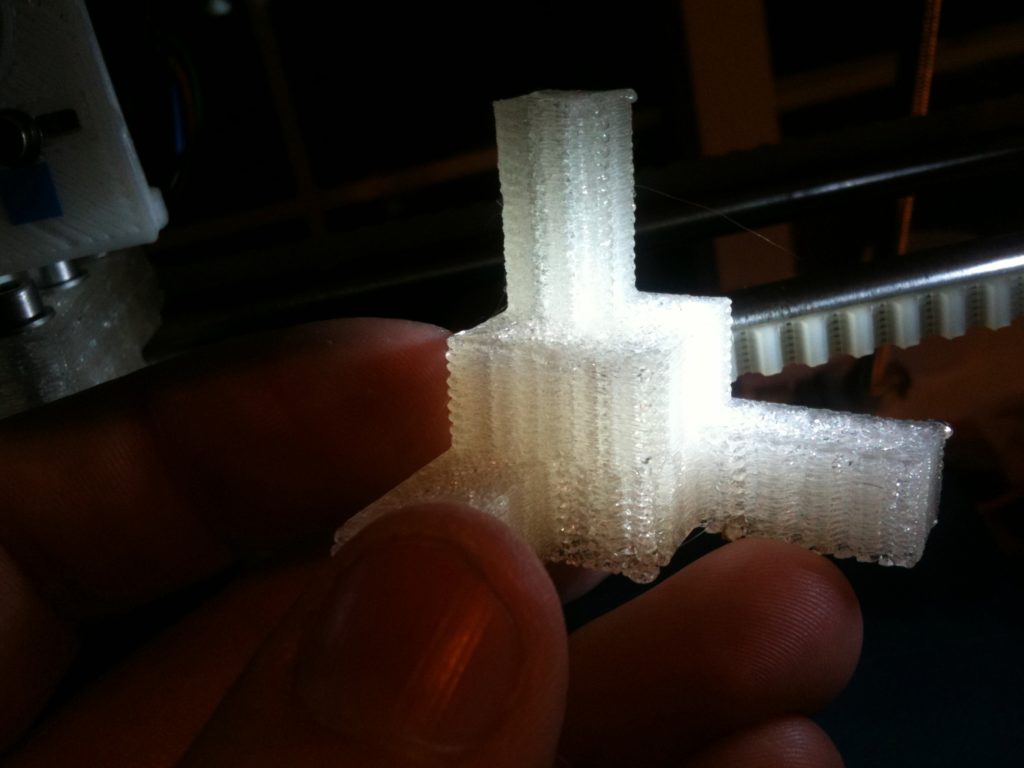
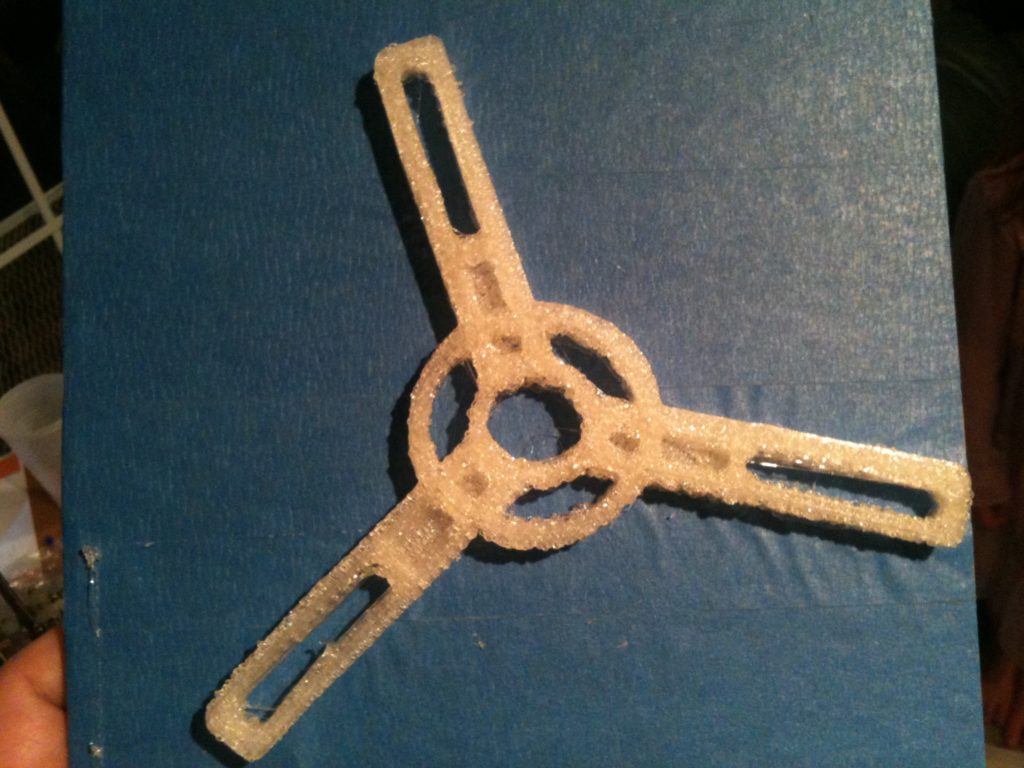
A calibration piece (lit by a flashlight I loosely attached to the frame):
There’s a subtle y-axis problem with that print (which I’ll get to below), but I wasn’t focused on that problem yet – I considered this print a success.
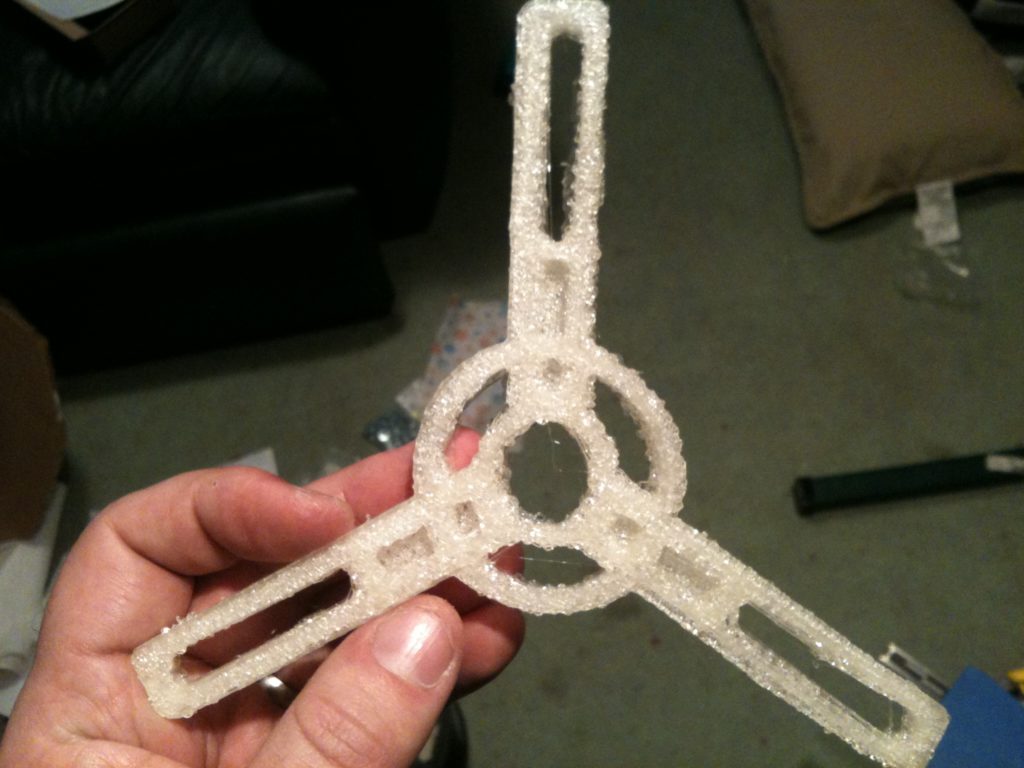
Encouraged by that relative success, I decided to try printing better quality versions of the filament spindle that I’d created before.
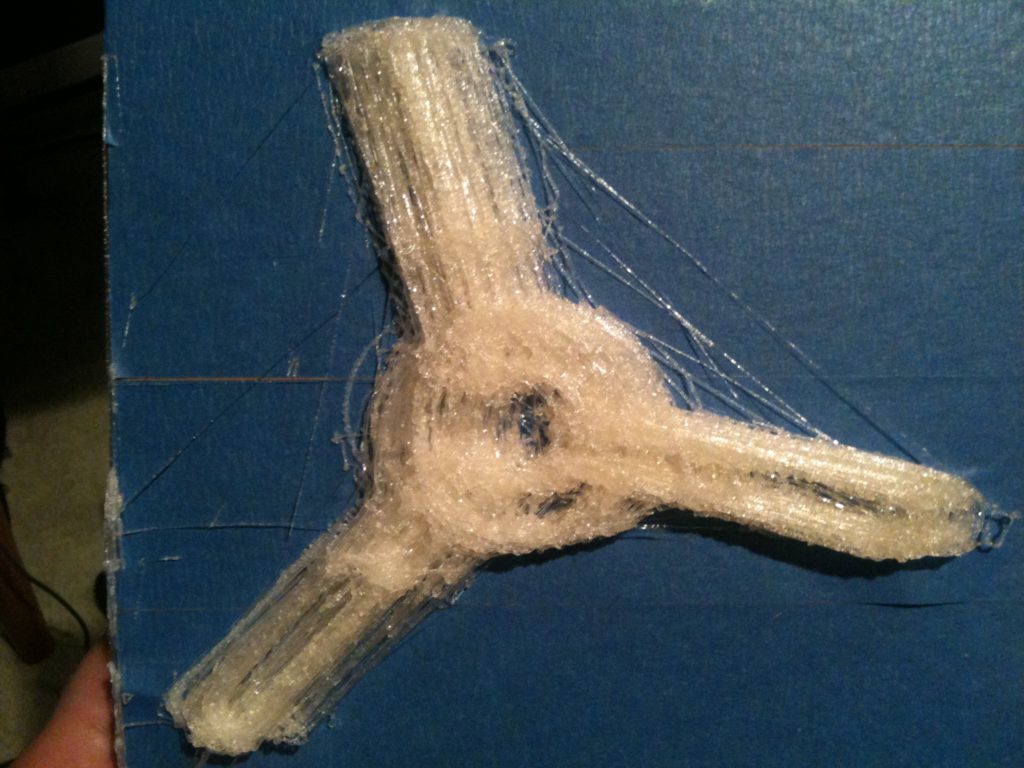
Compare that to this previous print from two posts ago, before I’d fixed my X-axis:
Here was video of it printing:
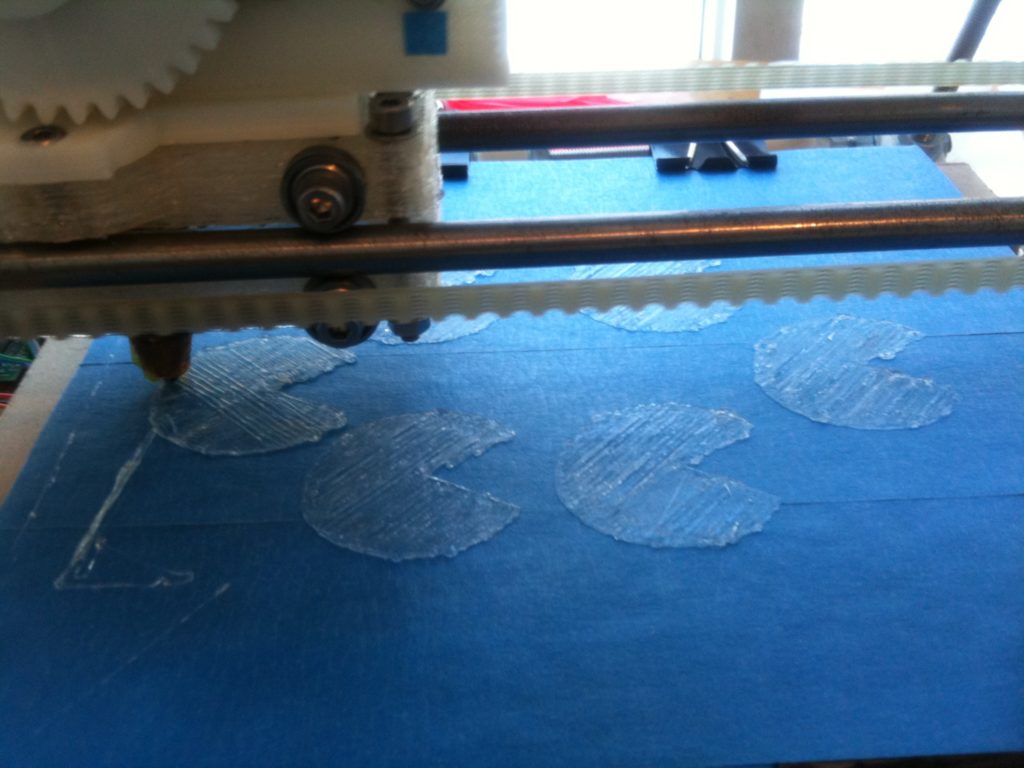
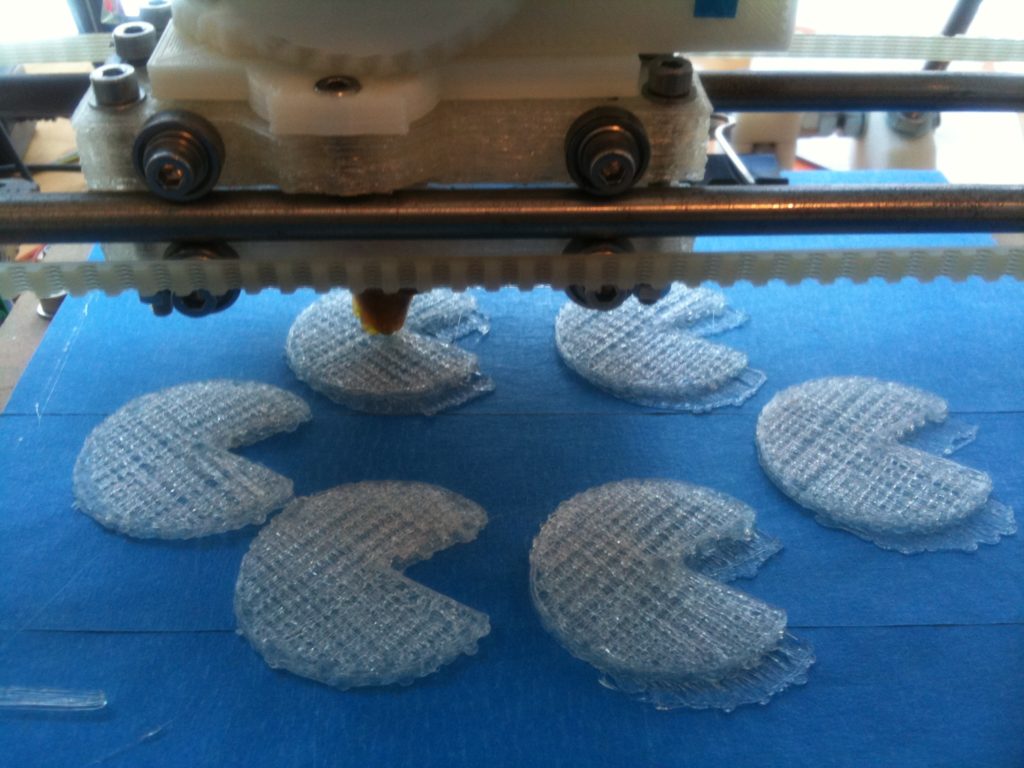
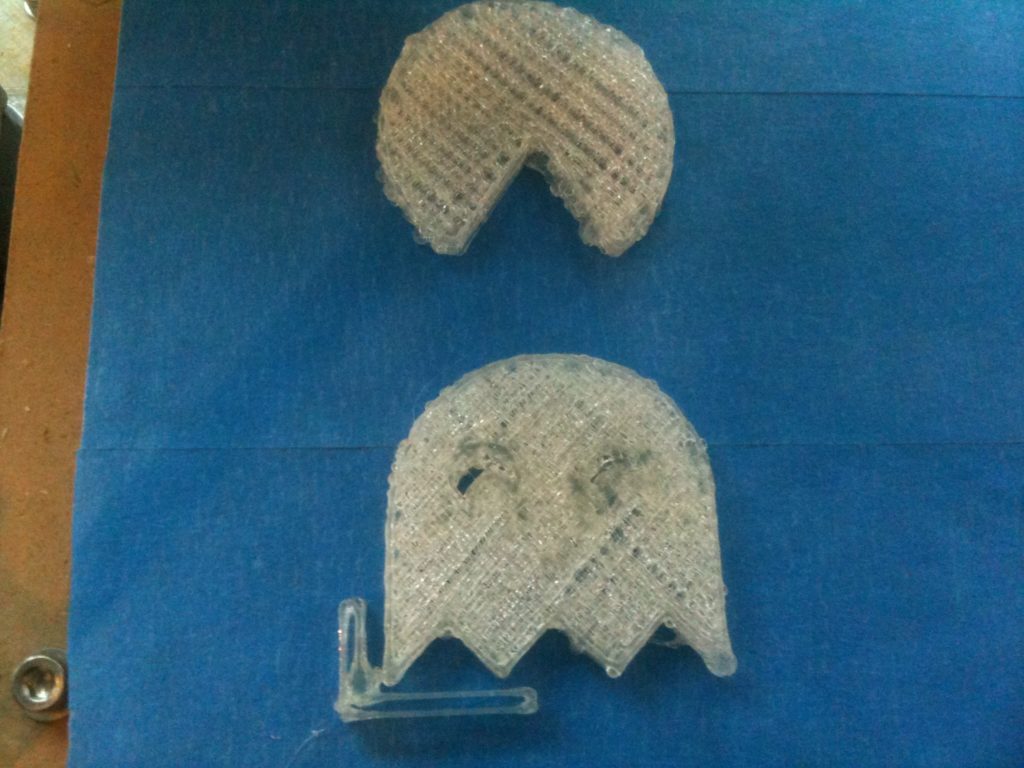
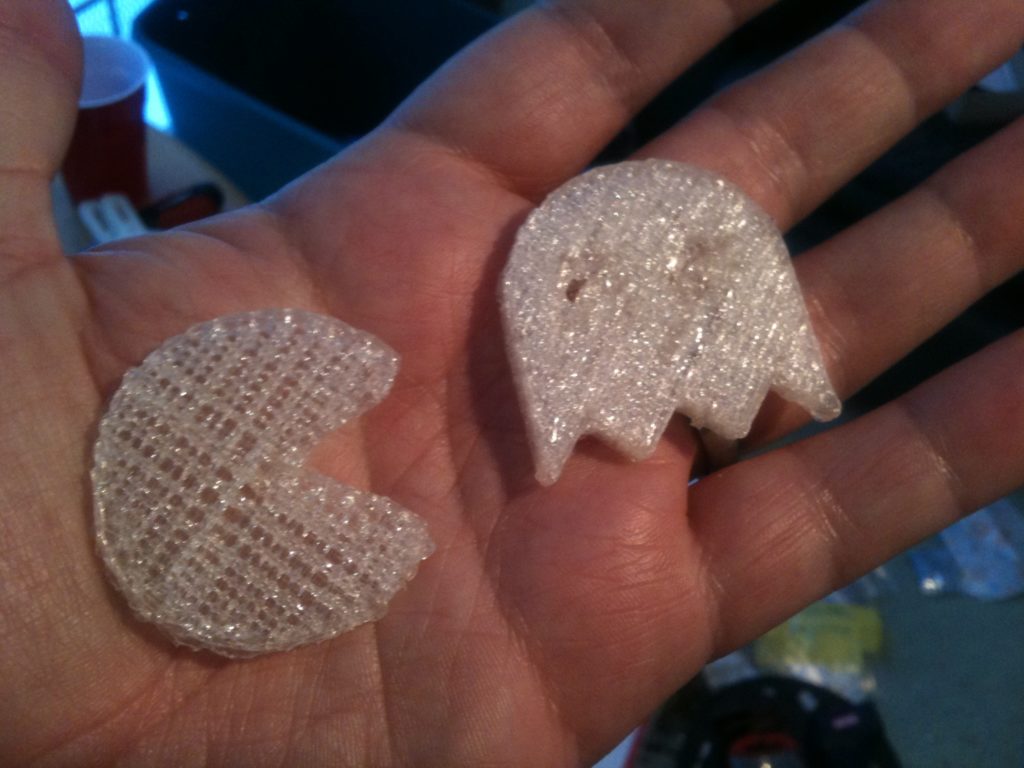
Then on December 30th the kids were playing one of the versions of PacMan we have on the xbox 360. I had an idea, pulled out my laptop, quickly designed a PacMan model in OpenSCAD, and started printing six of them (one for each of us).
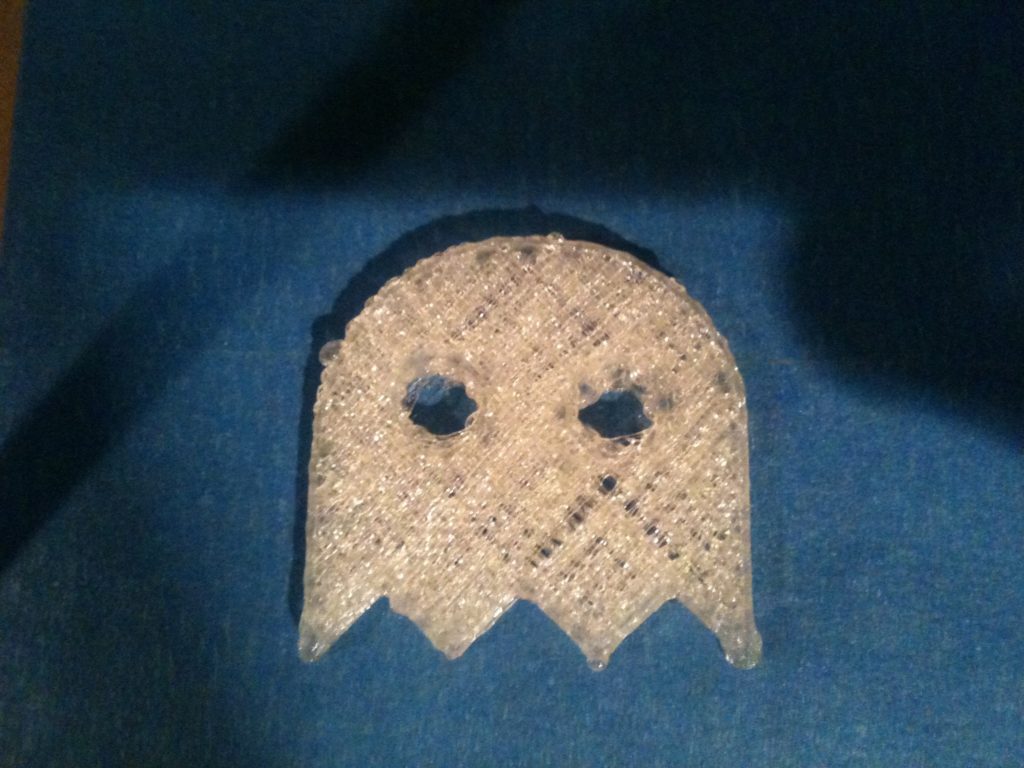
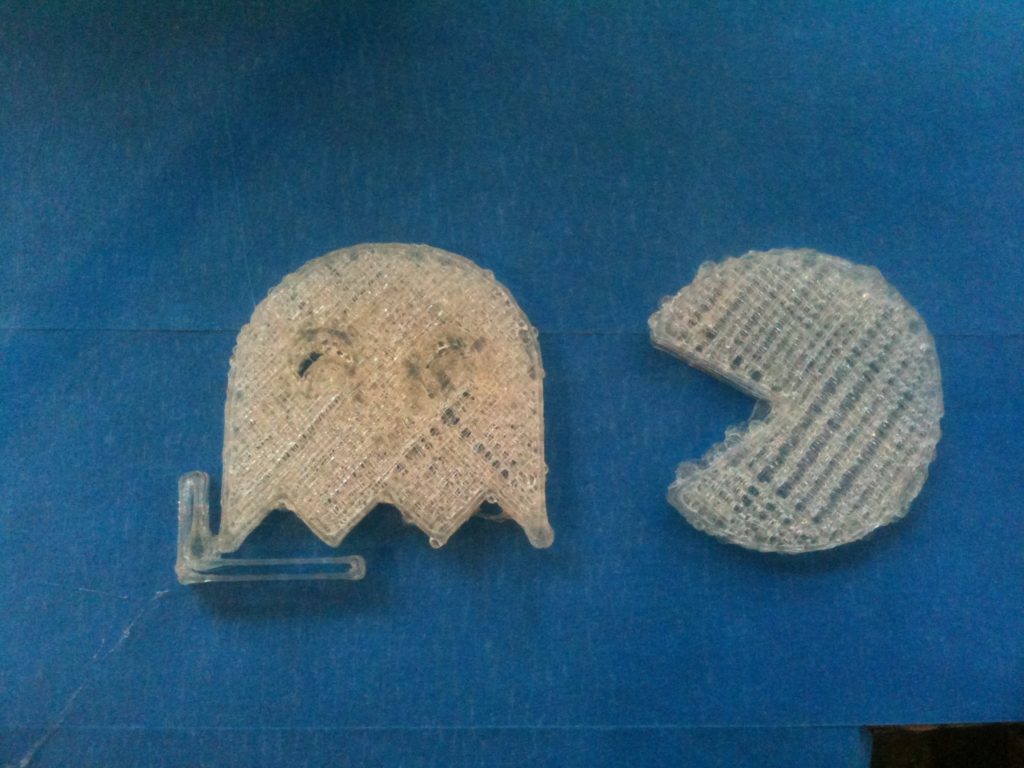
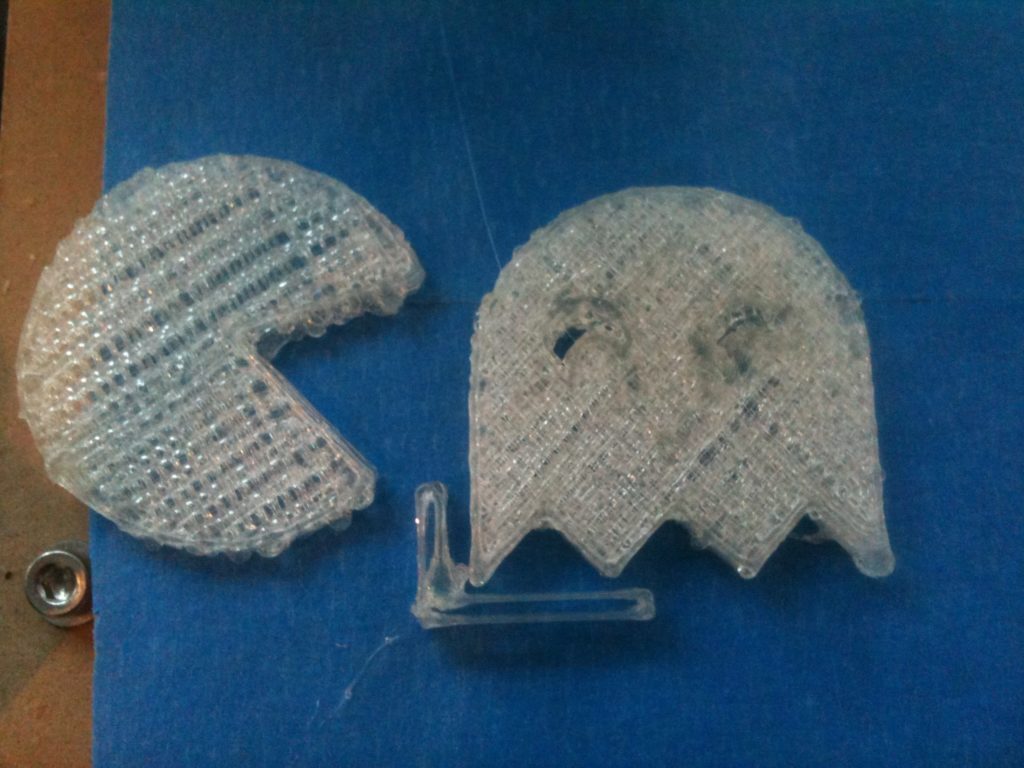
I gave them to Laurie and the kids, all of whom loved them, and asked if they wanted to see how I designed it. (At the time Emily was 7, Alicia 5, Cara 3, and David 1). They said yes and I showed them how we could make a cylinder, how we could extrude a triangle, how we could add those two with a union, and how we could subtract those with a difference. They immediately asked if we could design the ghosts. 😀
(For later ghost prints I made the “eye” part an optional OpenSCAD parameter, because it didn’t look as good with the pupil in it).
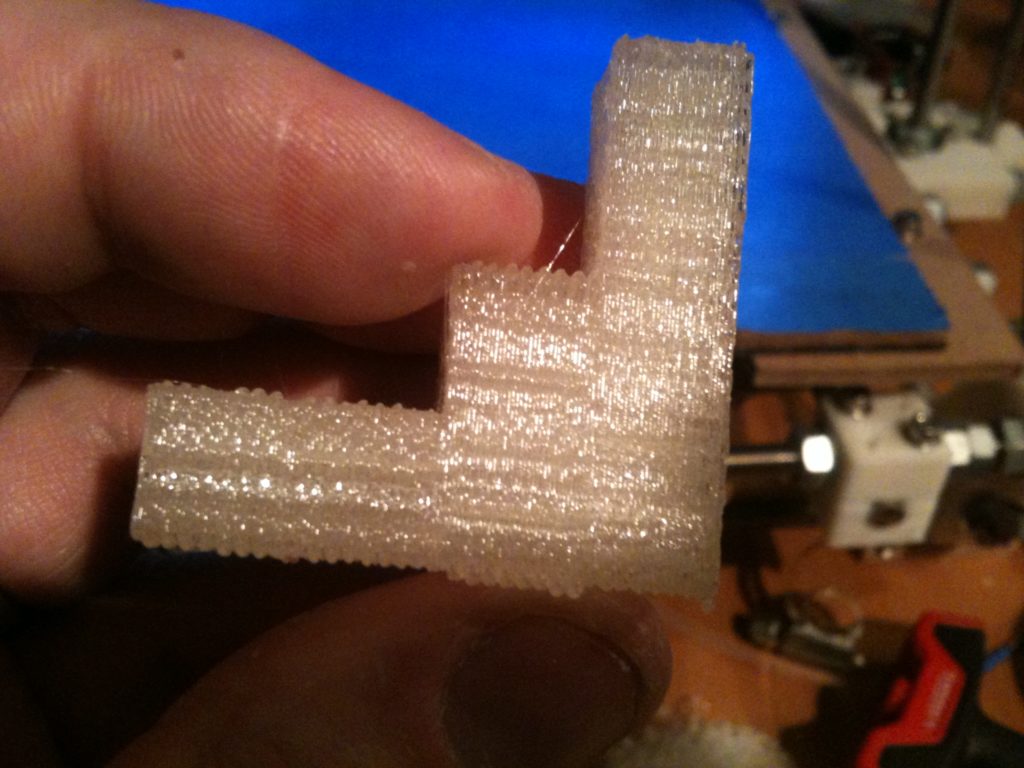
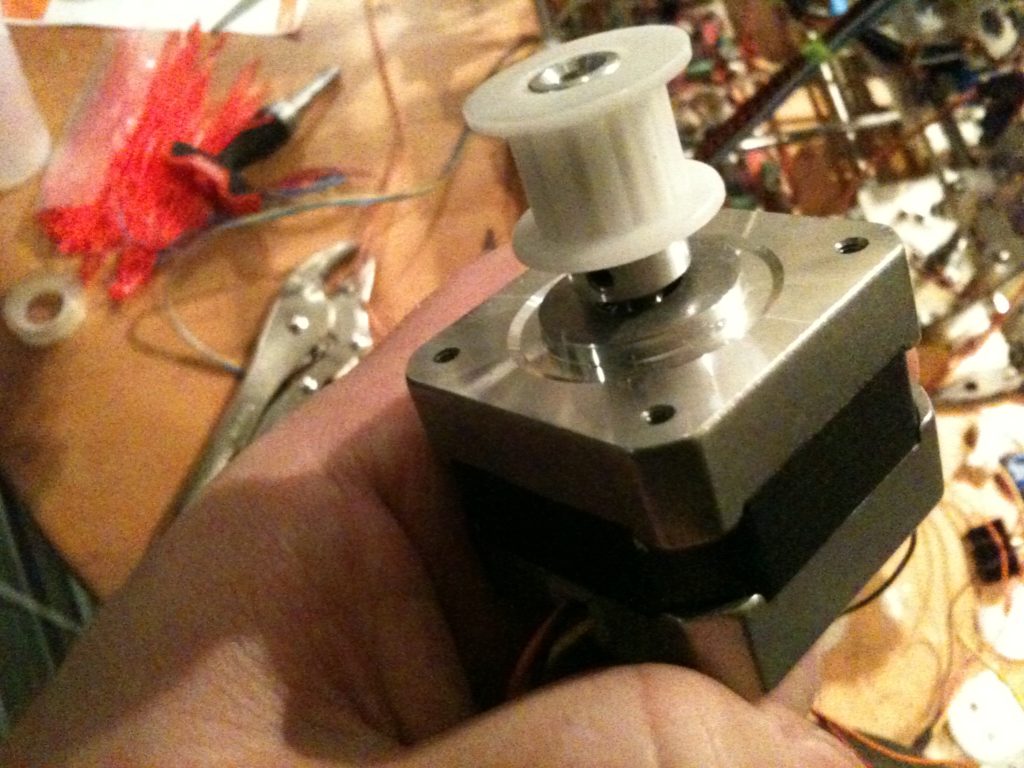
Next, I wanted to fix the subtle Y-axis problem I was having. My Y-axis was still using the old McMaster pulleys from before, and although it hadn’t caused any huge noticeable problems like my X-axis had, it did cause problems. The calibration piece at the top of this post shows it best – the infill of the object was crossing over the perimeter that had been drawn – I was accumulating Y-error. The fix involved removing my bed, so that I could loosen the belt, so that I could remove the Y-axis motor, so that I could get off the pulley, and replace it.
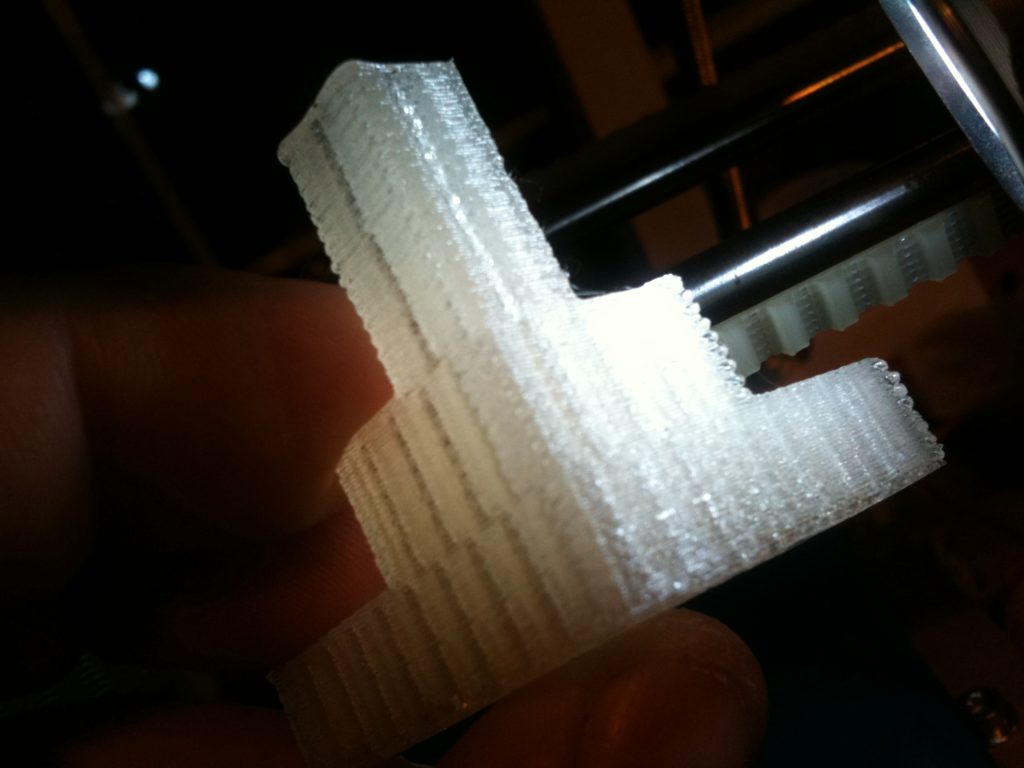
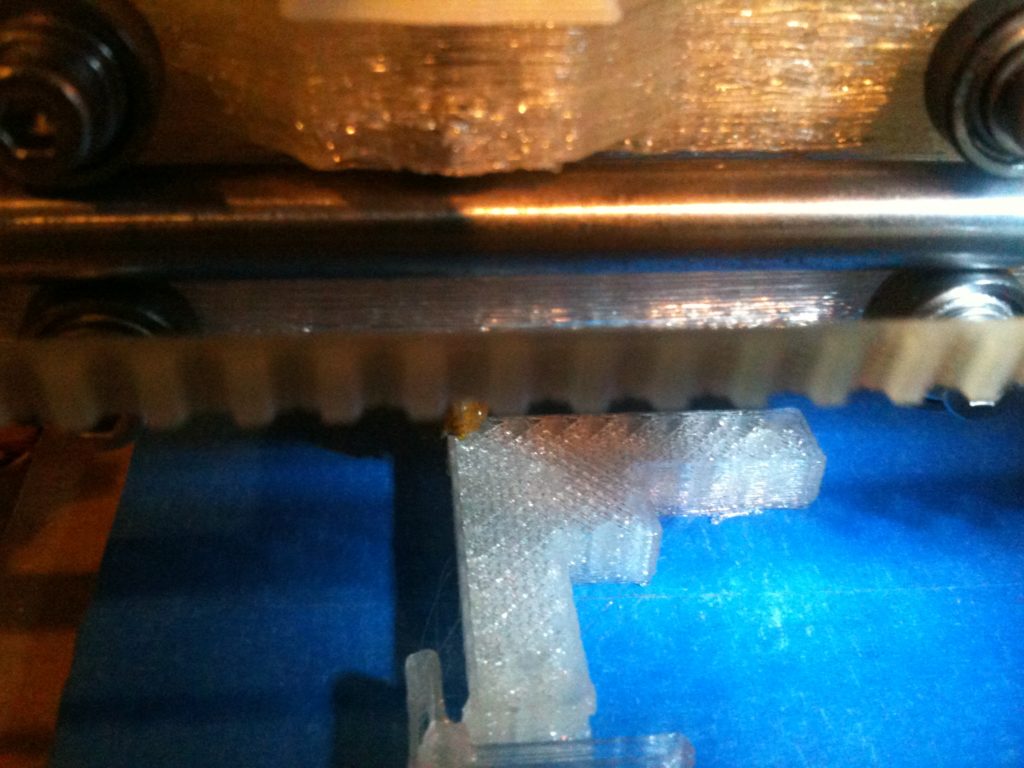
I replaced it with a printed pulley, put it all back together, and tried printing another calibration piece. Even though I had to abort the piece mid-print (because a loose connection caused the thermistor input to glitch, causing the temperature to drop and the plastic to stop flowing), the results before I aborted showed that I had indeed fixed my Y-axis problem. Pay particular attention to the front of the right-most part of the piece, and see how it’s smooth instead of bumpy.
Y-axis problem solved! X and Y now print beautifully!
That confidence led me to go back to trying to print a minimug again, which I did (and blogged about out of turn last time).
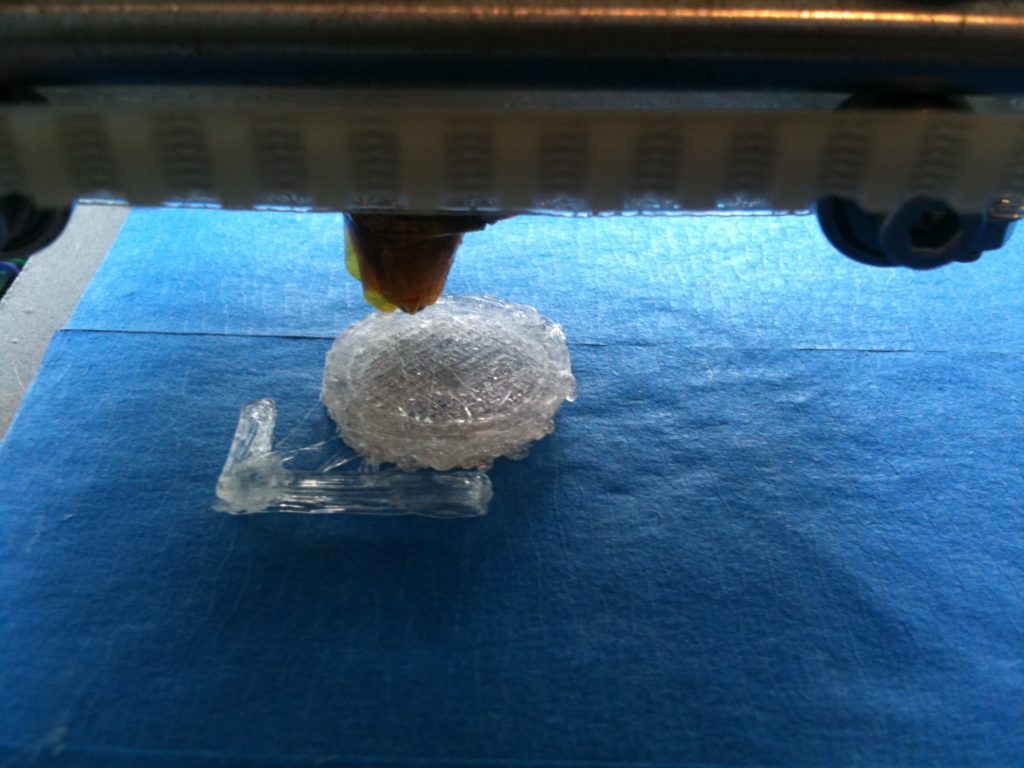
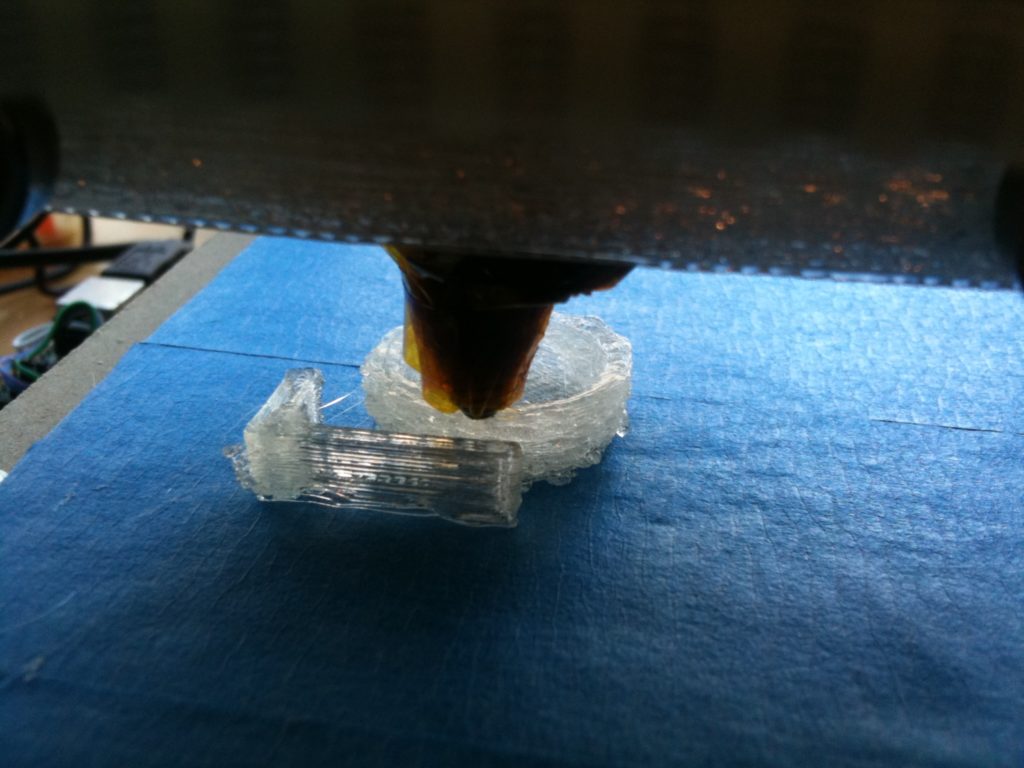
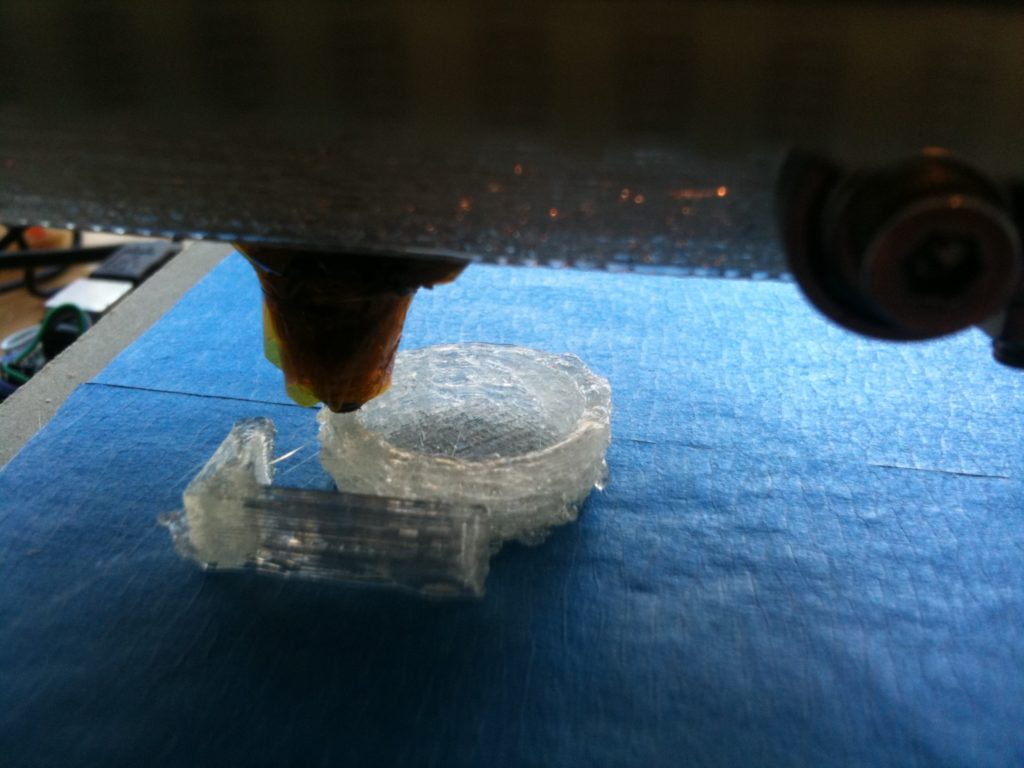
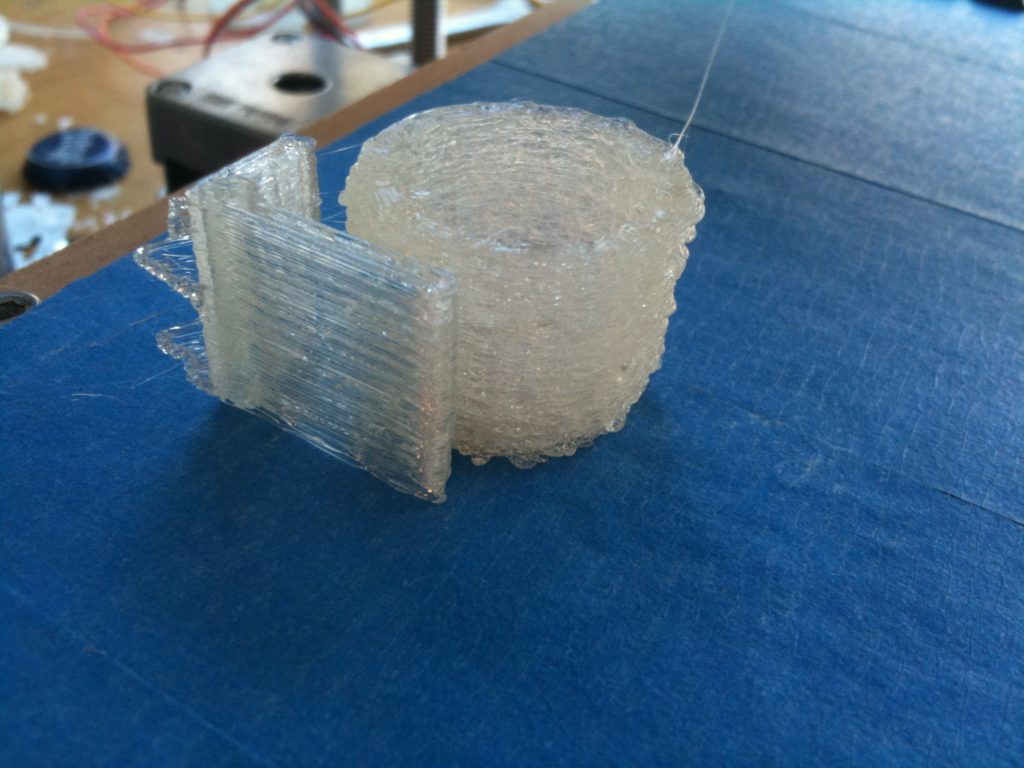
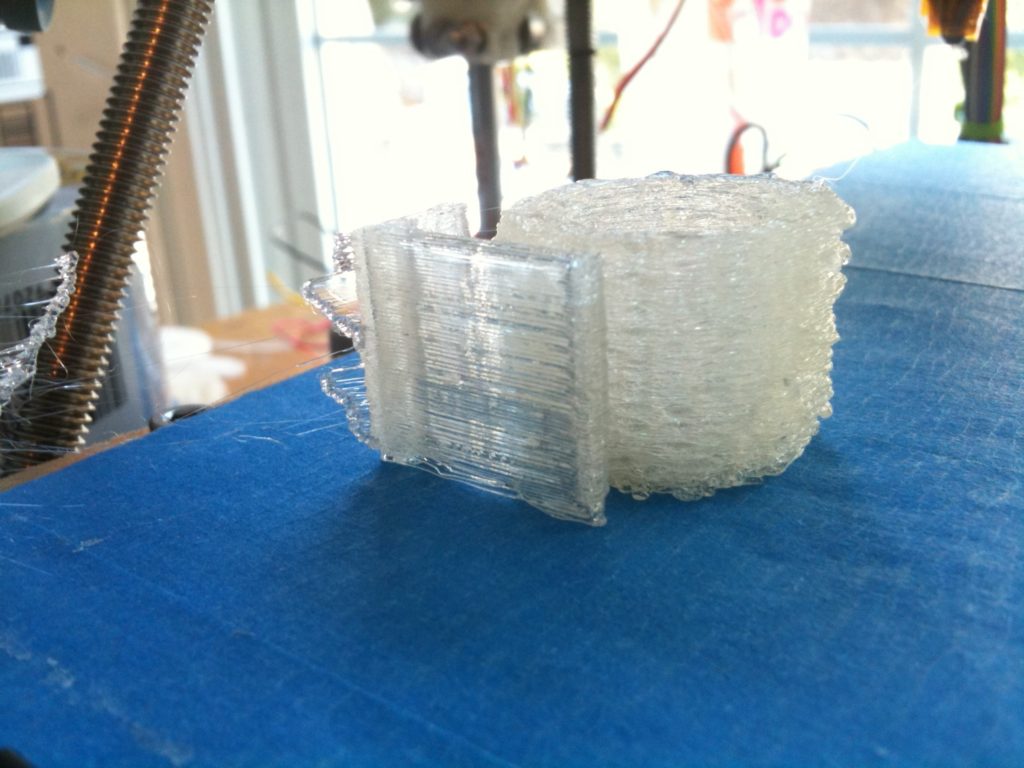
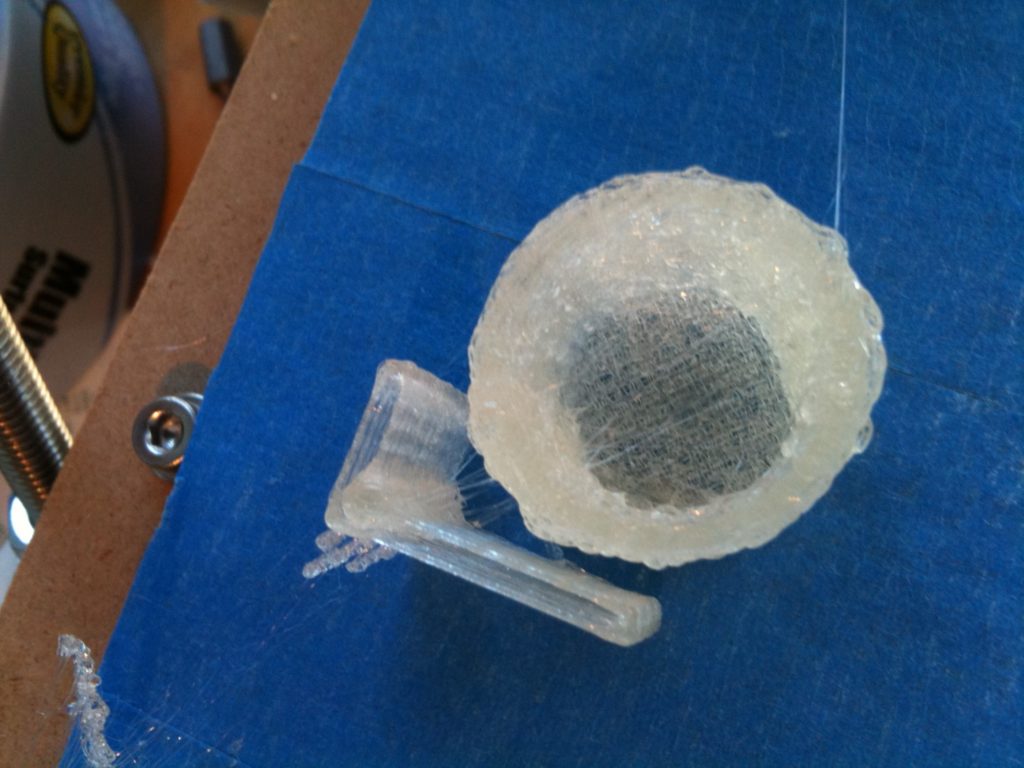
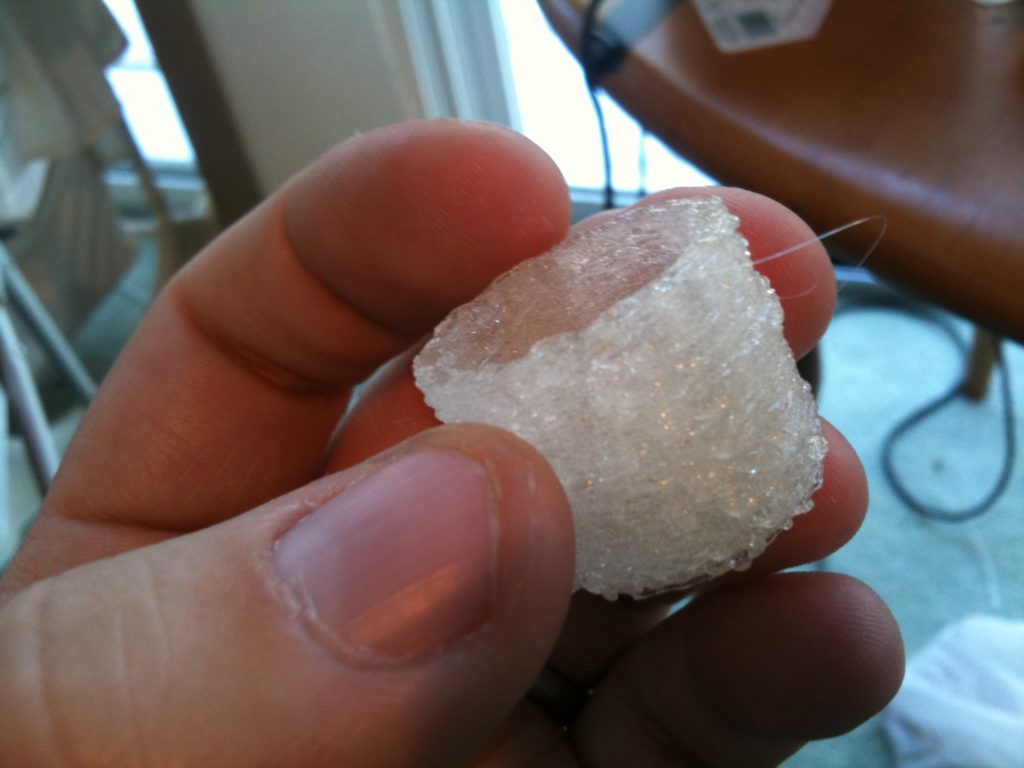
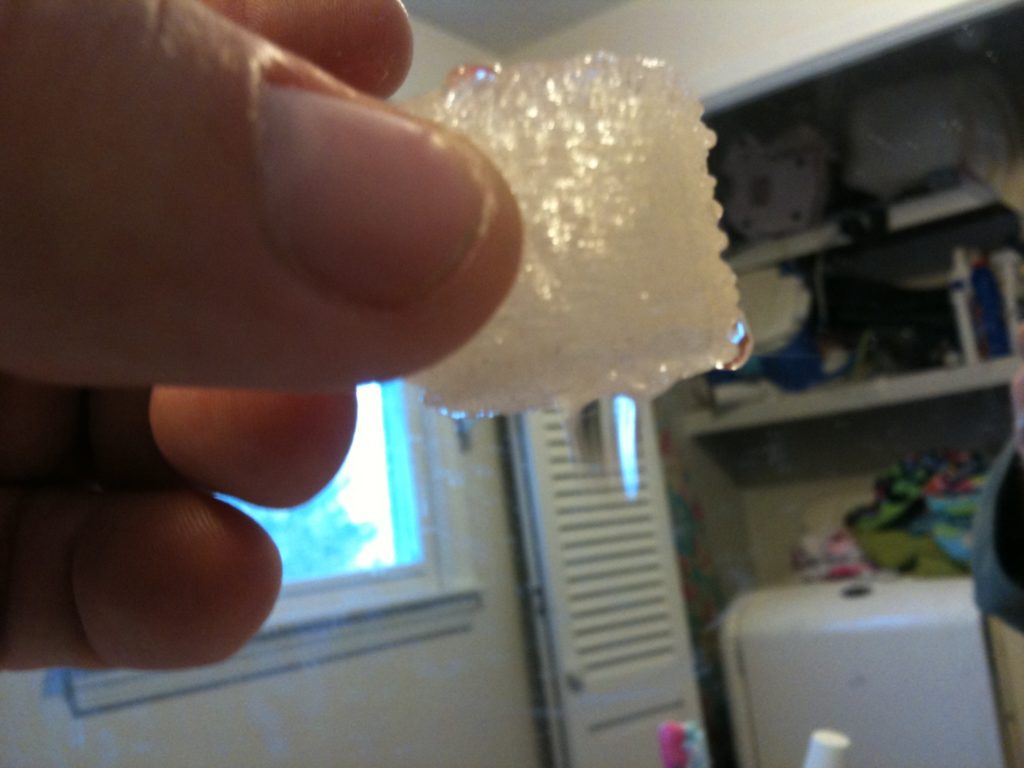
Even though I had these great smooth perimeters in the calibration piece above, that wasn’t what was needed for me to get an alcohol-tight minimug. I’d determined previously that in order for it to be alcohol-tight, I needed to cram plastic together. I changed the ExtrusionInfillWidth from 0.7mm to 0.5mm, and plastic globbed everywhere, making a nice alcohol-tight minimug (which looked much more bumpy on the outside).
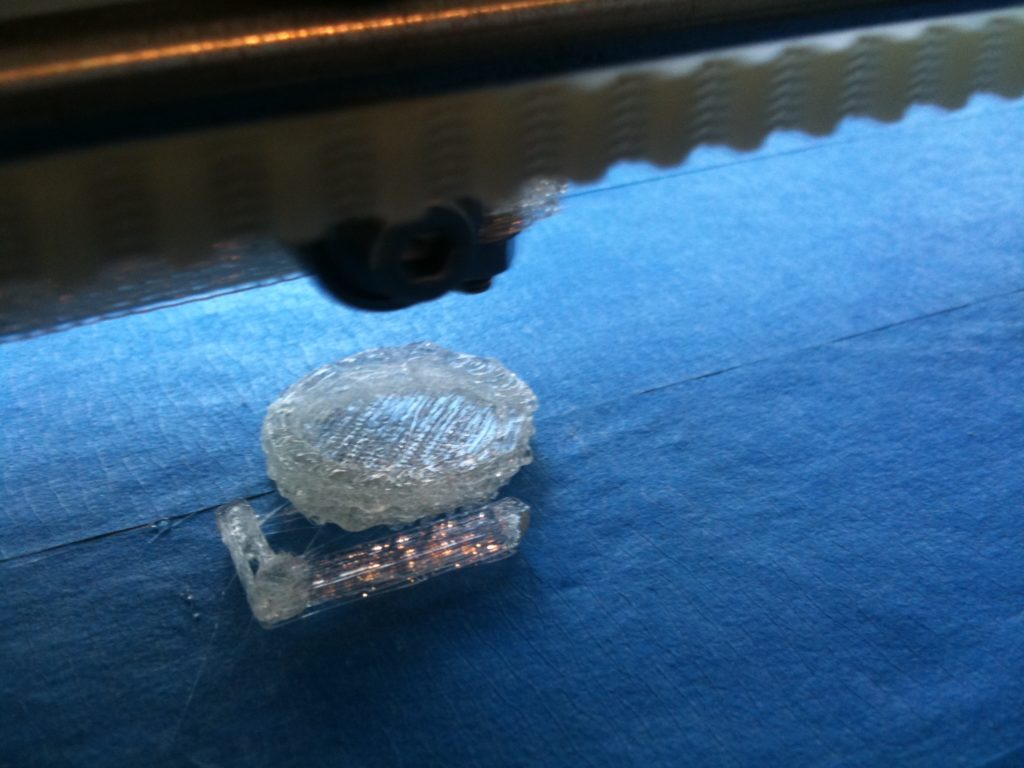
Here was the first of the recent attempts, which was close but not even water-tight:
…but, as you can see…
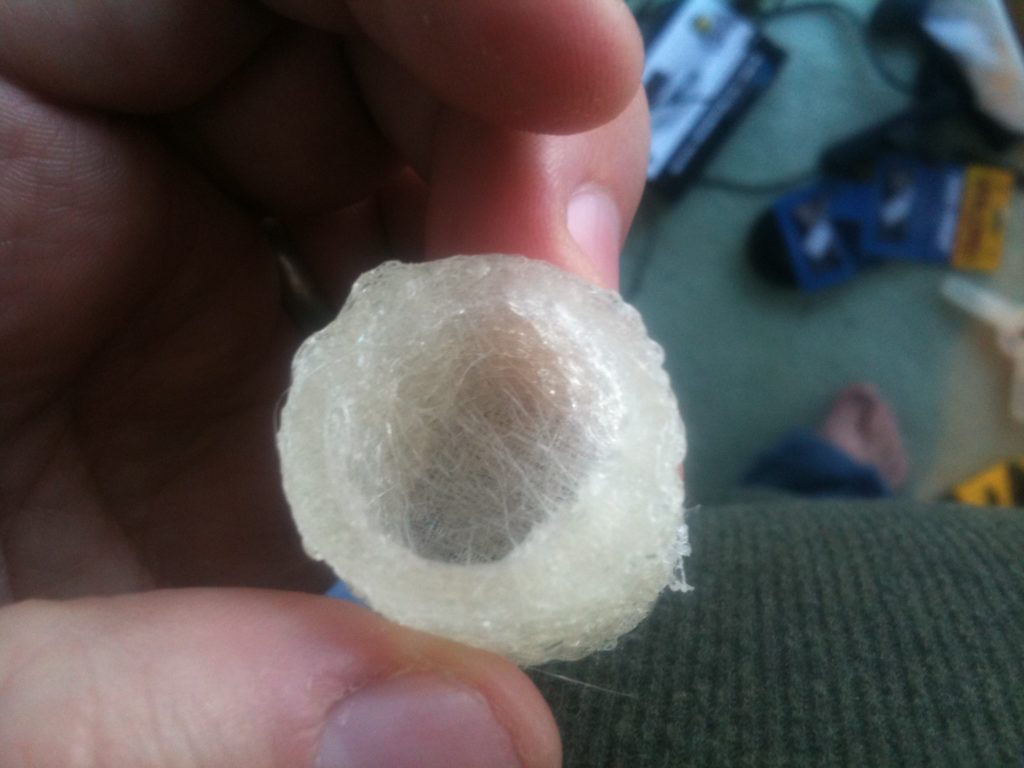
The next one started out much better, and had a promising base.
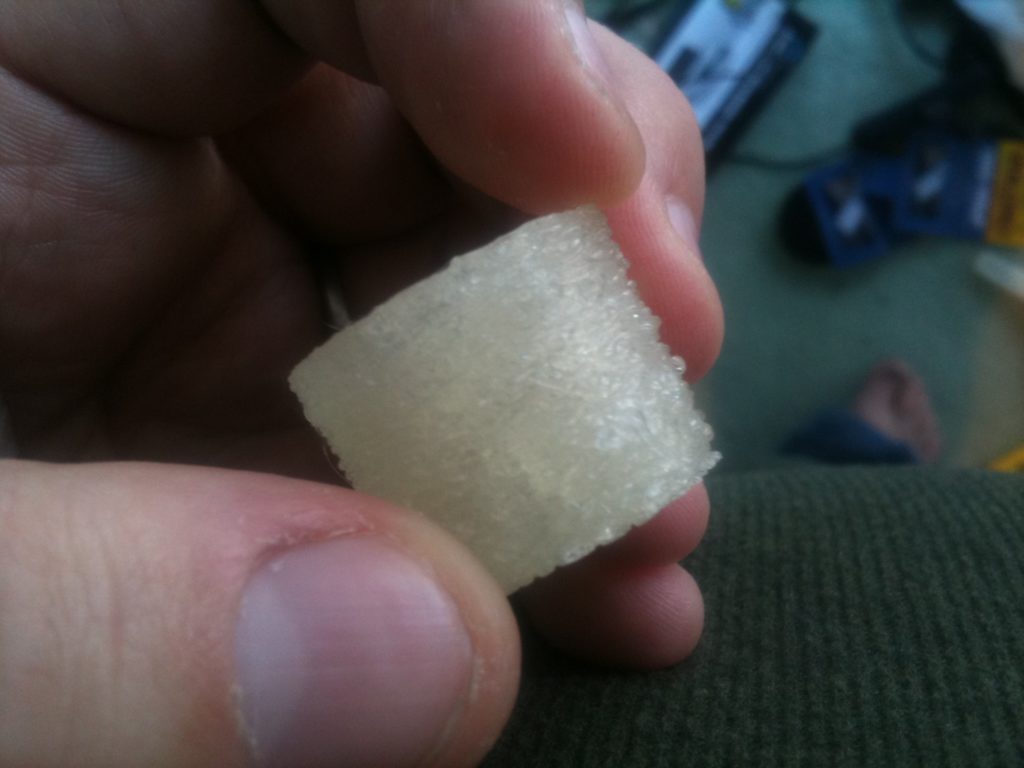
It seemed water tight at first:
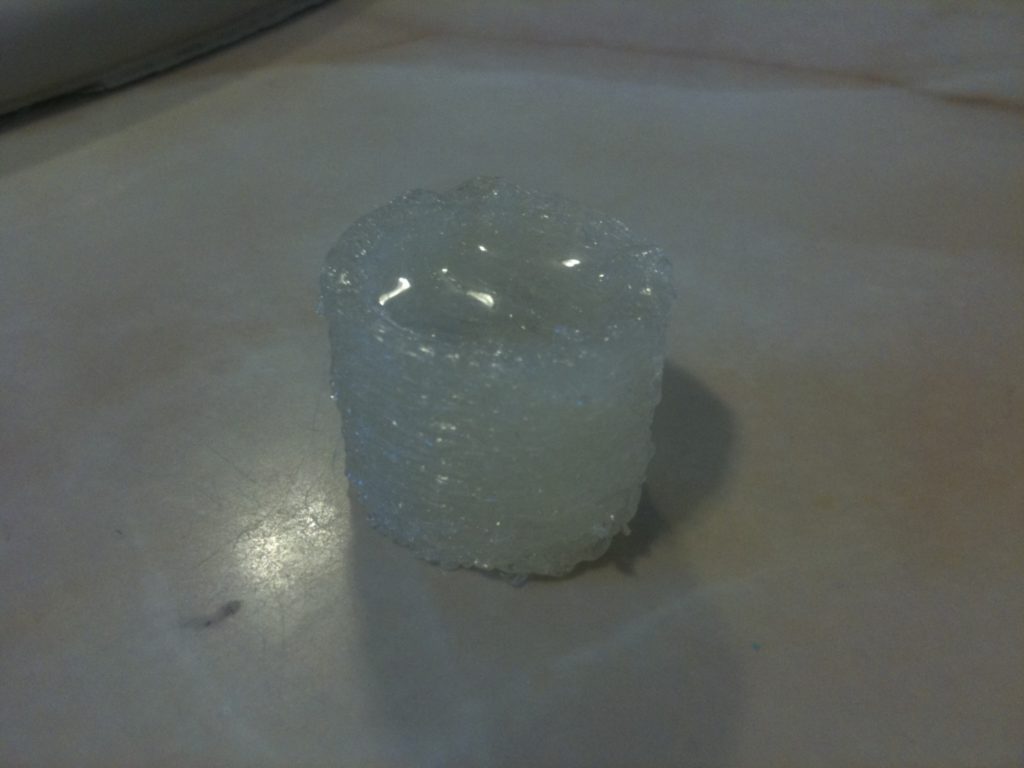
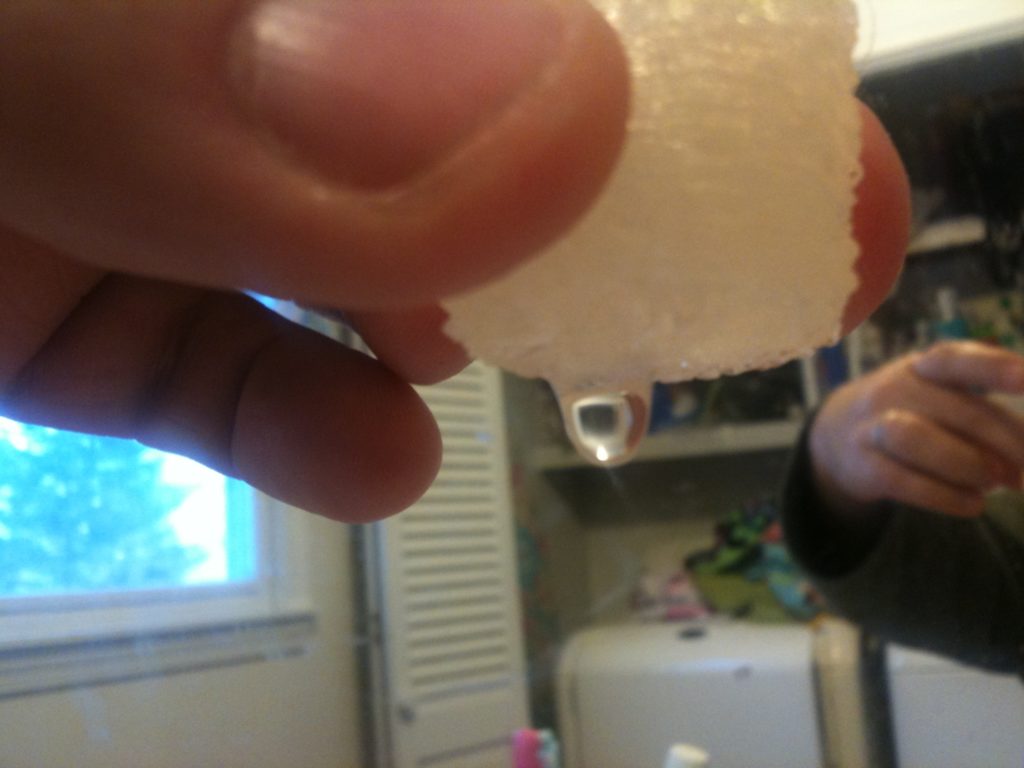
but then it leaked:
That made me try an infill width of 0.3mm, which was WAY too small. Here’s a horrible video of the extruder just plowing through plastic (not a good idea – don’t try this at home):
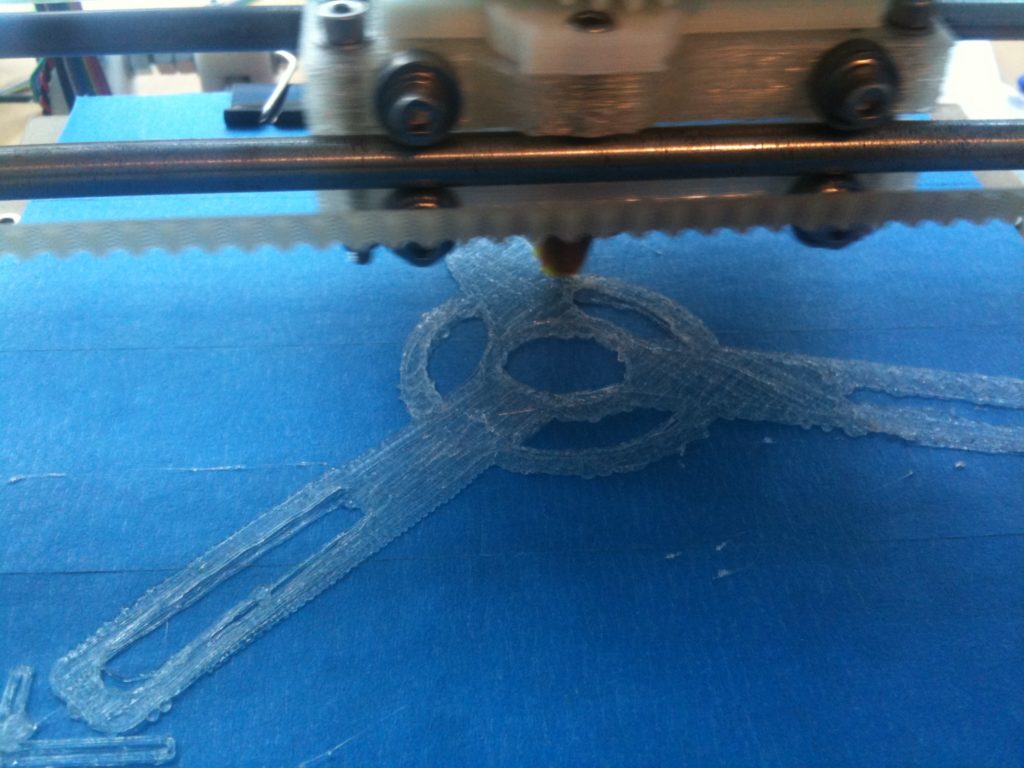
I aborted that one (in the foreground of the next pic), then started printing what would be my first alcohol-tight minimug (the star of my last post from January) in the background on the bed:
The successful minimug (0.5mm infill width) was born. If you missed it, you can see that post here, with its pictures and video.
Now you’re caught up on everything that happened before the last post. And this seems like a good place to end this one. Coming up next, more of what’s happened since January – I start trying to print parts, my new lathe arrives (!), etc. Woohoo!
