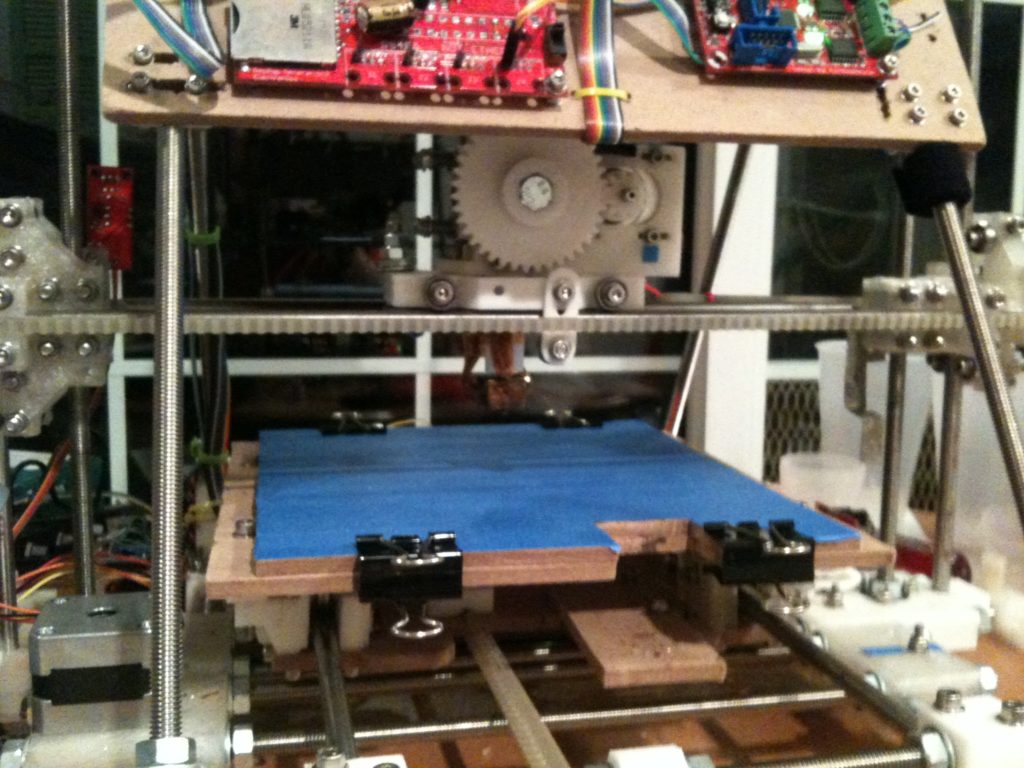
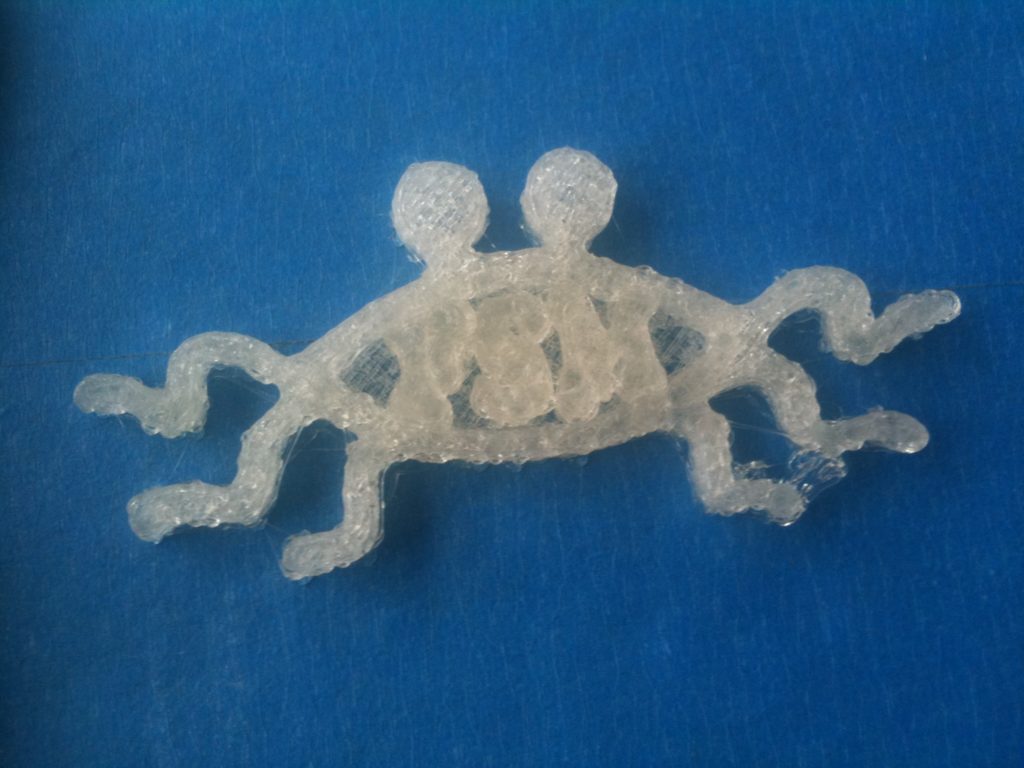
In this post I’ll cover the RepRap disaster that happened in February of 2011 (last year) that set me back motivation-wise for several months, which is most of the reason for this Twelve Months part x of x stuff.
(Note: I’m a YEAR BEHIND on blogging now, and I really don’t want to cover these old times where things weren’t working well (since I have such better stuff to get to that came later), but I firmly believe in showing failures as well as success, so I feel compelled to blog it all. Just know – I’m way, way ahead of this now.)
At the end of my last post everything was looking good. I was using my new lathe, I made a new heater block, and I was printing again. Here was the flower I was printing for Laurie:
Well, that print failed because of a bad Y opto-endstop connection – RepRap host homes after every layer, so all later layers had constantly tried homing and then missed seeing the opto-flag, and printed all of the top layers off.. That print looked horrible (but I believe I gave it to Laurie nevertheless).
So, I tried fixing that connection, then started a new build, set up the webcam, and went up to bed. I checked on the print periodically before falling to sleep.
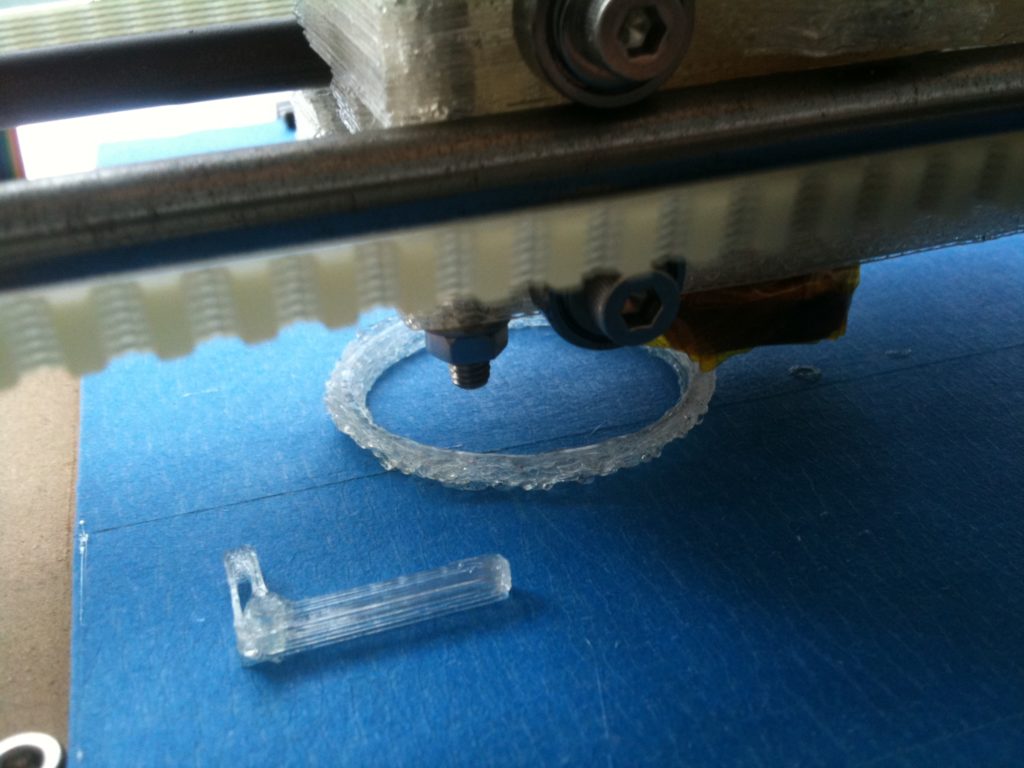
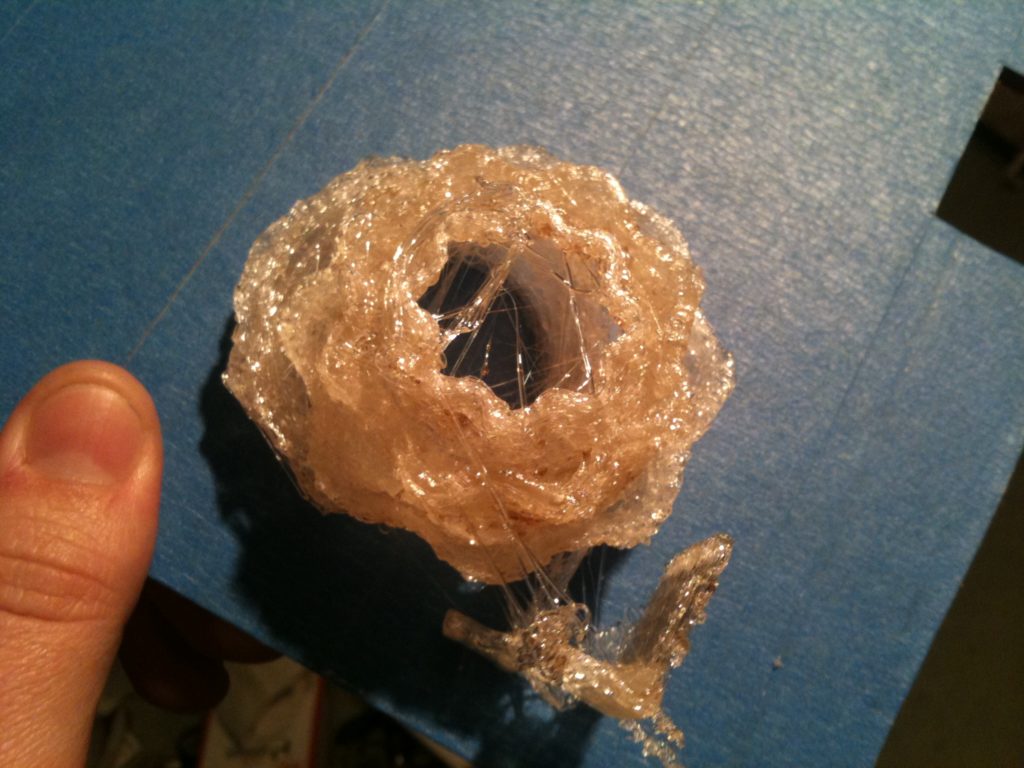
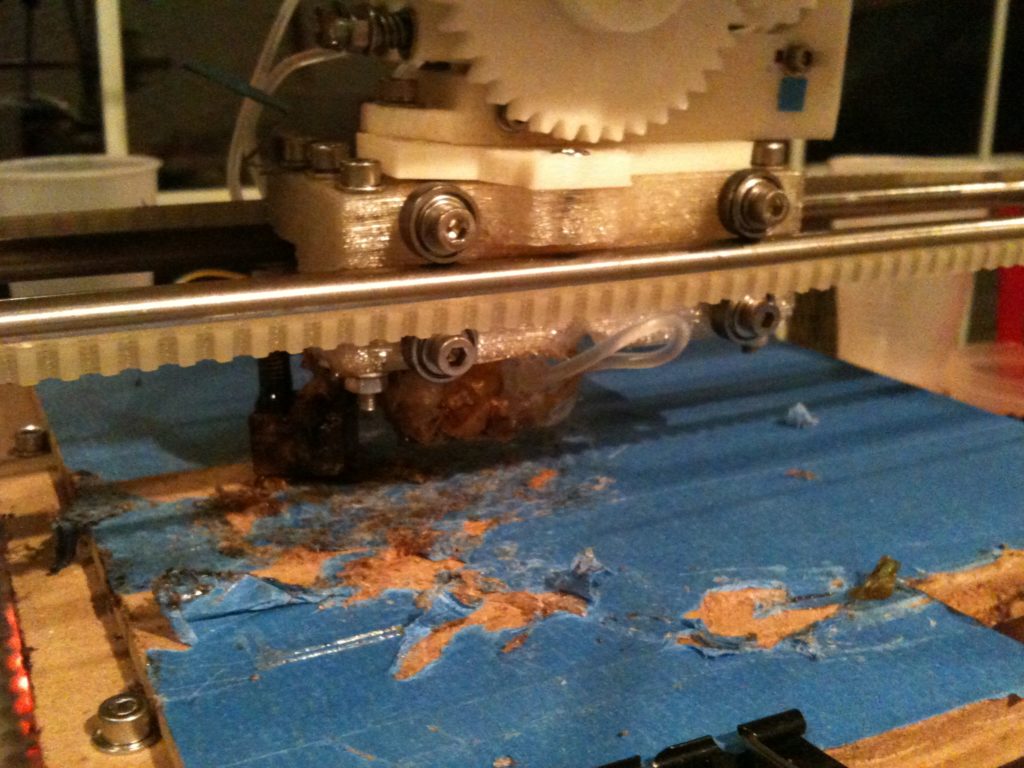
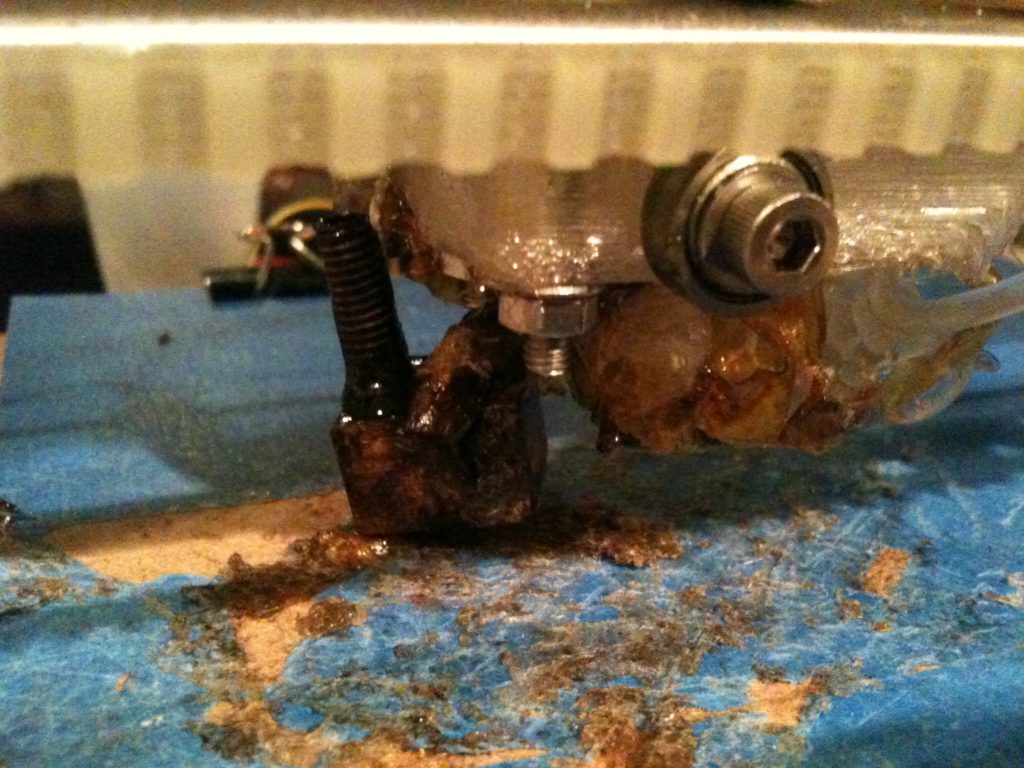
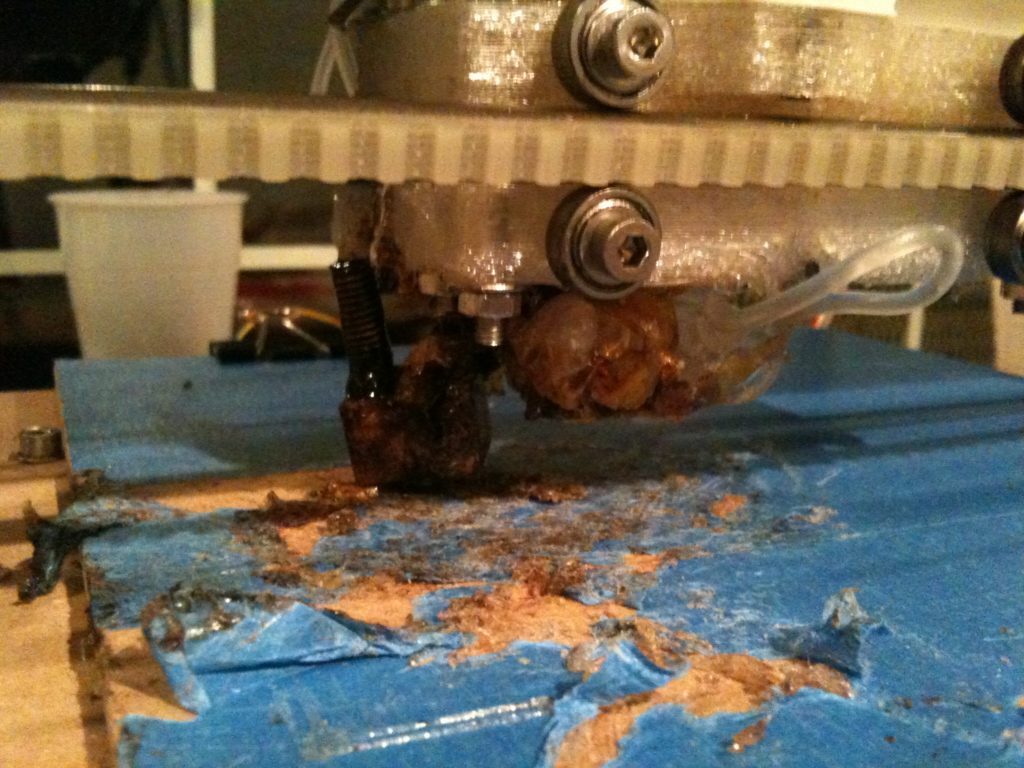
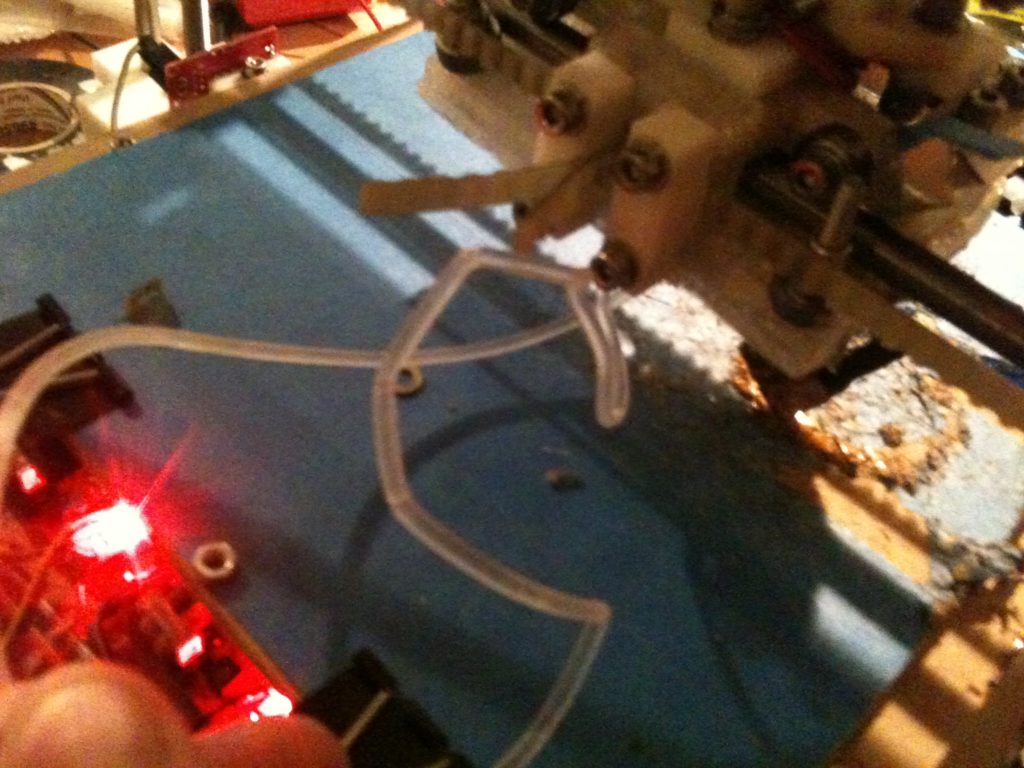
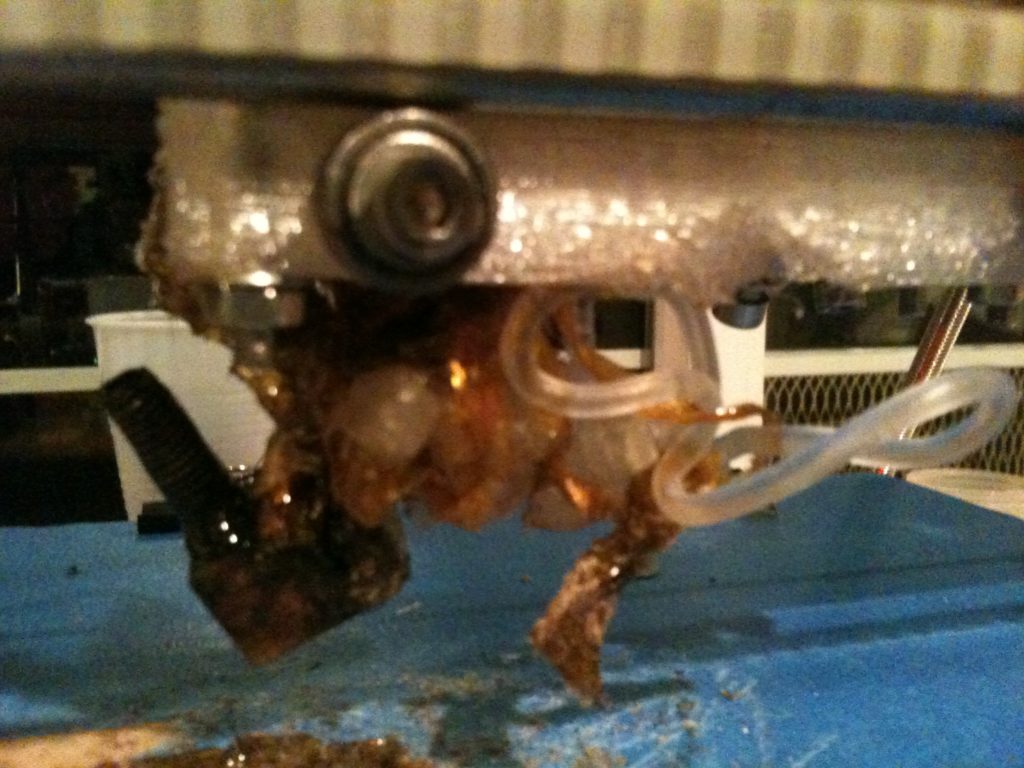
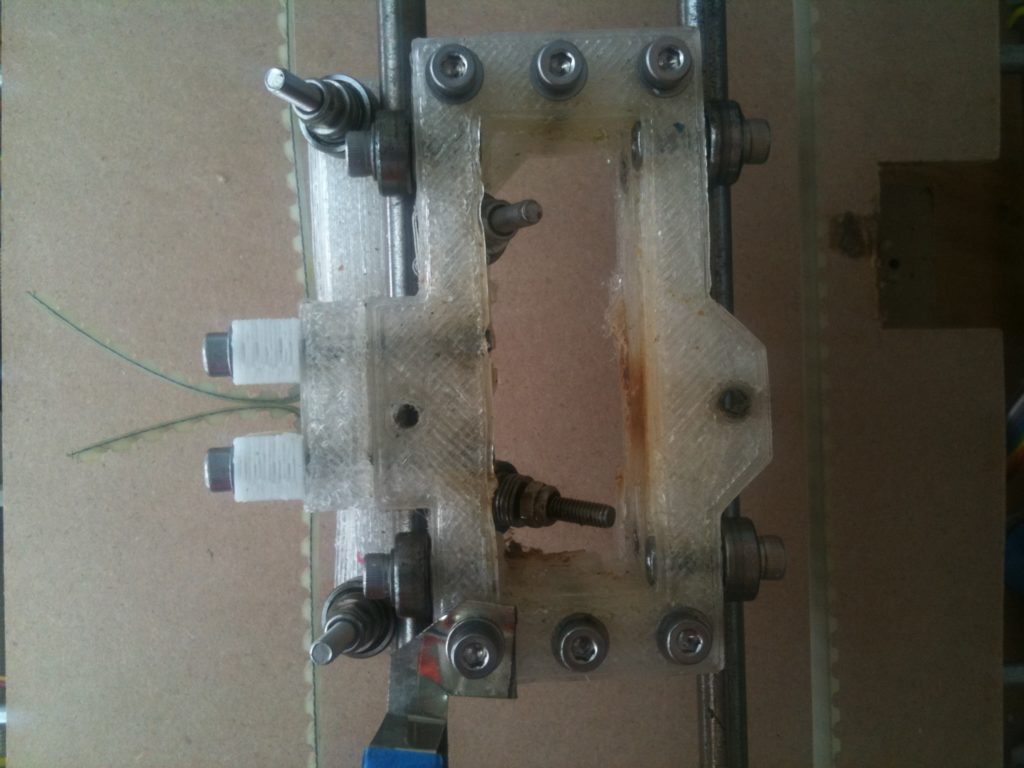
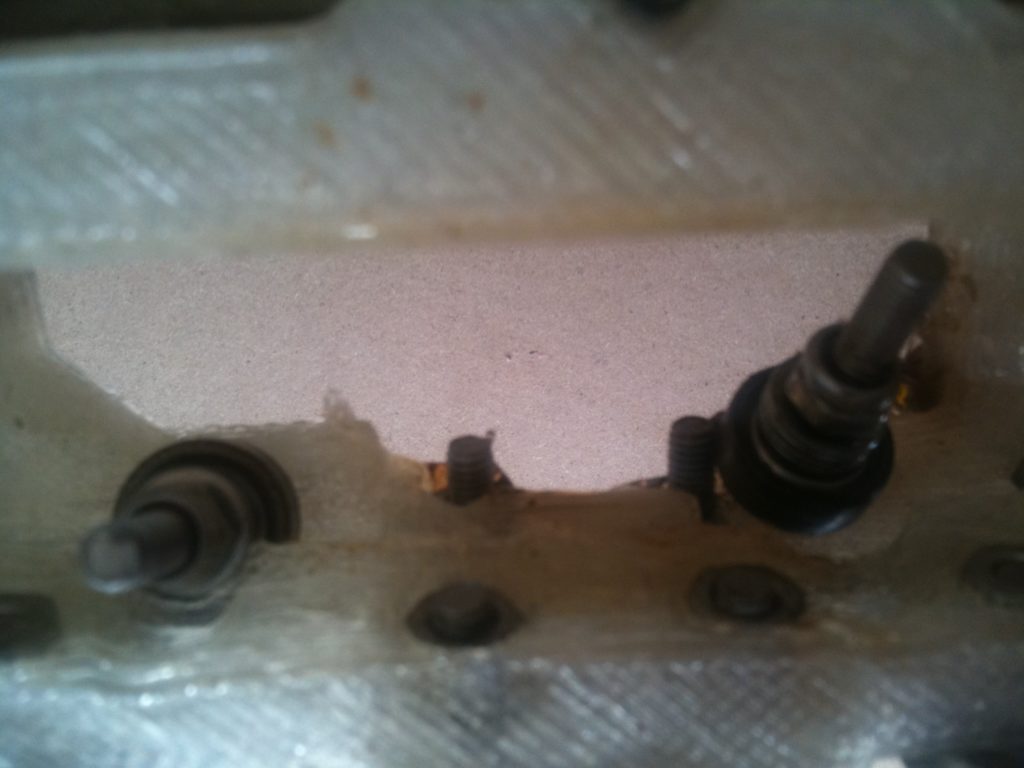
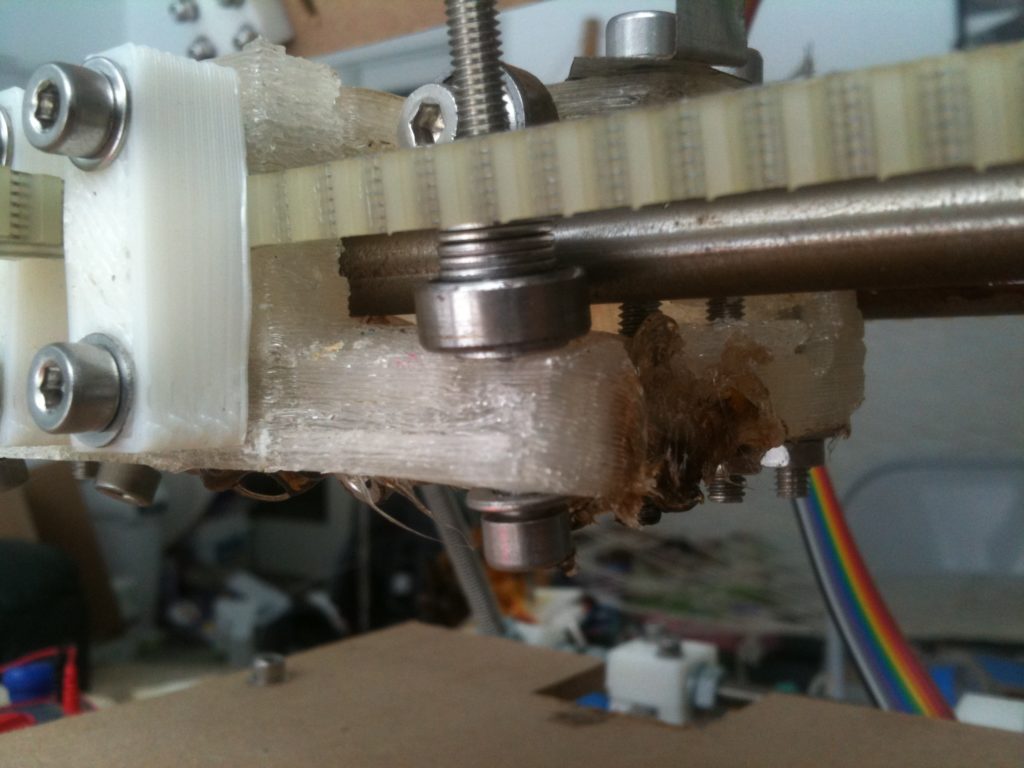
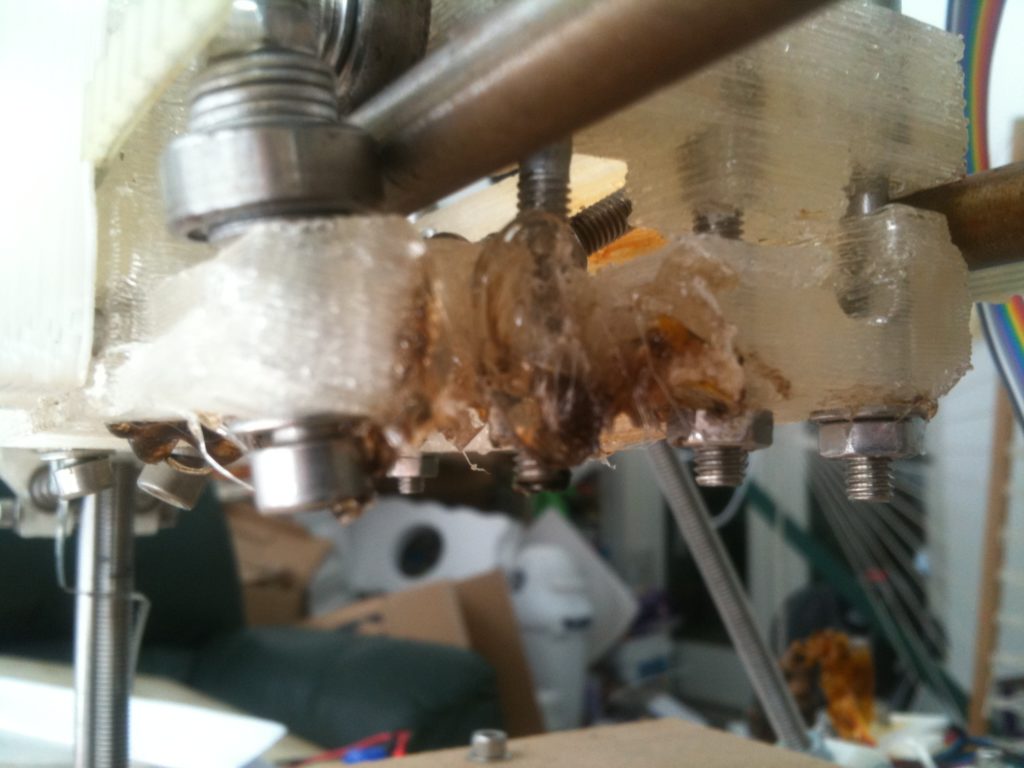
The way I remembered it, I fell asleep and came down the next morning to the following images. Looking at the pictures now, though, it seems everything was fine on February 19th, 6:55pm, and then these pictures were taken starting at 8:42pm. Here’s what I saw:
Near the end of my last post I hinted at what would be the problem – I’d re-used an existing PTFE insulator, because it felt “tight enough” when I screwed back in the heater barrel, even though I’d just created a brand new (perfect) one on my lathe. What clearly happened was the barrel pushed out of the PTFE insulator, the extruder kept pushing, and the heat block stayed powered.
The damage was even worse than it first appeared.. Here’s a picture from above the X carriage, taken two days later:
My X-carriage was destroyed. For comparison, here’s what that X-carriage looked like in January of 2010 – this was one of the coolest parts of the assembly for me – I couldn’t believe I’d made that.
This crushed me. The fact that the X-carriage was broken, before I got to the point where I could print well enough to print replacements, felt like a truck had pressed up against my chest. I remember thinking that I didn’t want to work on it anymore for a while – that I didn’t want to spend months more time working just to have it break again. This affected me way more than it should have.
Here’s video:
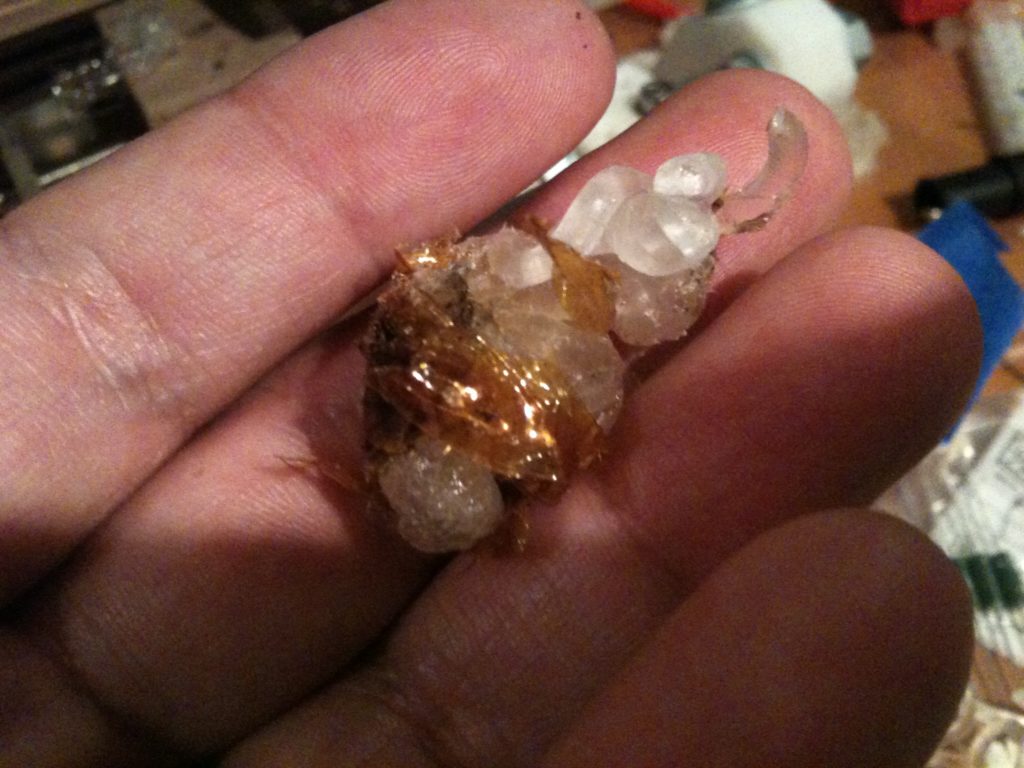
Here is a gruesome postmortem I performed later:
The day I filmed the first of those two videos (February 21st, 2011) was the last time I’d touch my RepRap Mendel for over a month.
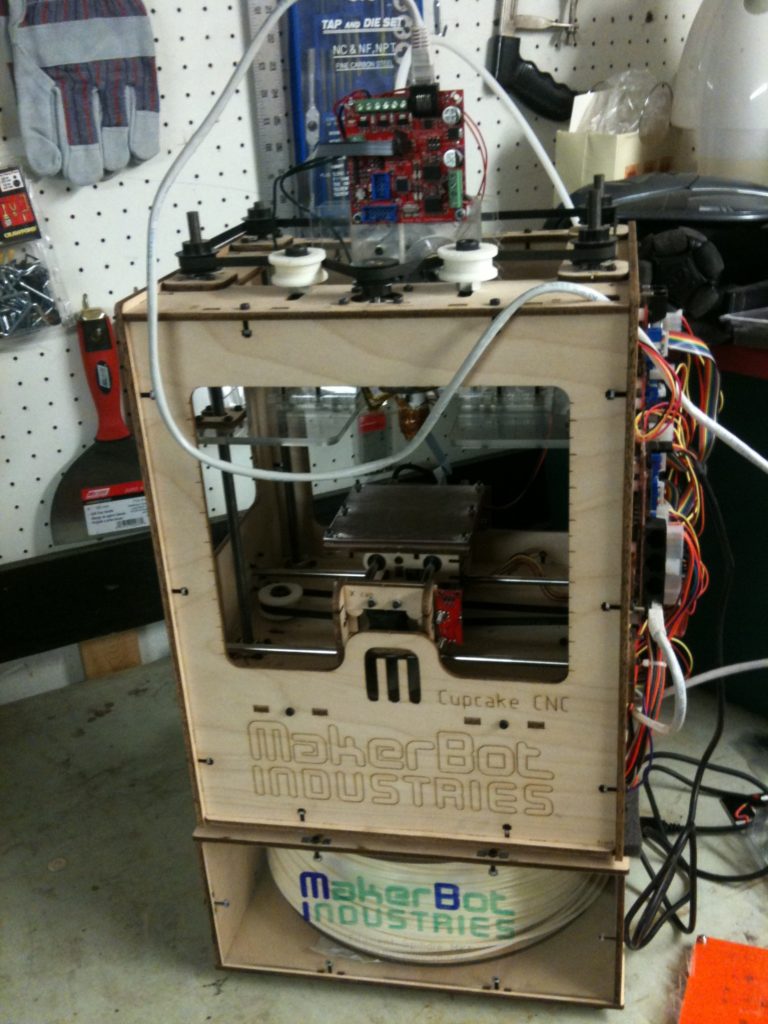
But the next day, I went into work, and borrowed back our original Makerbot CNC that made the parts for my Mendel RepRap (a Makerbot which I and my friend Chris built in 2009, owned by work). Followers of this blog (are there actually “followers”? cool!) remember that towards the end of my printing parts with the MakerBot, it was performing rather poorly. I’d switched to PLA because all of the large parts would warp under ABS (and we’d had no heated bed), and the extruder would just stop extruding right in the middle of a 2-hour-long print, ruining it.
But recently I had heard stories about why so many of the original MakerBot Cupcake CNC machines had been so bad (and had stopped extruding). The story I read somewhere was that the old DC gearmotor that they shipped was not that great a motor, and apparently over the life of the motor, it would actually change characteristics… later in its life the motor would draw more current than before. I also heard that the extruder controller on the 3rd gen electronics had a current limiting feature built in that would cut out after 2 amps, if I remember correctly.
From what I’d heard, the motor would still function if you gave it more current.
Hearing this made me want to see if I could fix up the machine we’d made, and use it to print out a new x-carriage for myself. I borrowed it back from work (some other guy had been using it after us, and had had very little luck because the extruder kept stopping). After so many hours of trying to figure out what the problem was, I wanted to see if indeed that was the problem, and whether I could fix it by making a relay board.
So I brought it home into my basement, once again.
Originally I planned to go into great detail here about attempts I made to fix the MakerBot that Chris and I had built so long ago.. but I’m a year behind in blogging, so I’ll try to cut to the chase, with a small amount of description and a few pictures at most.
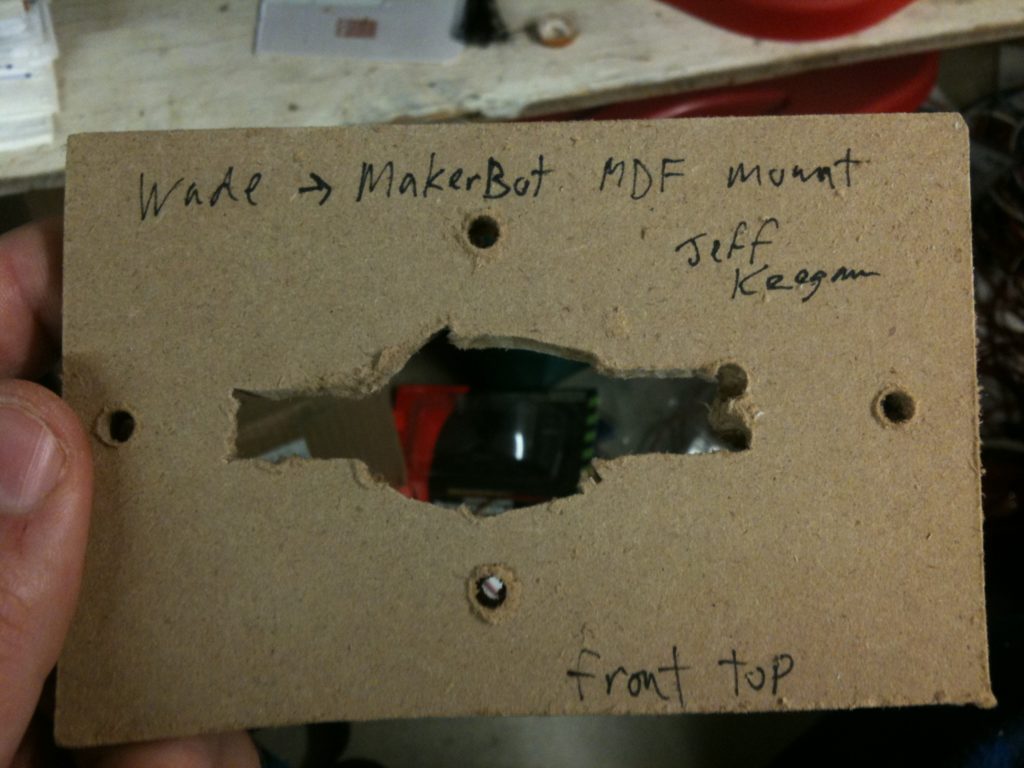
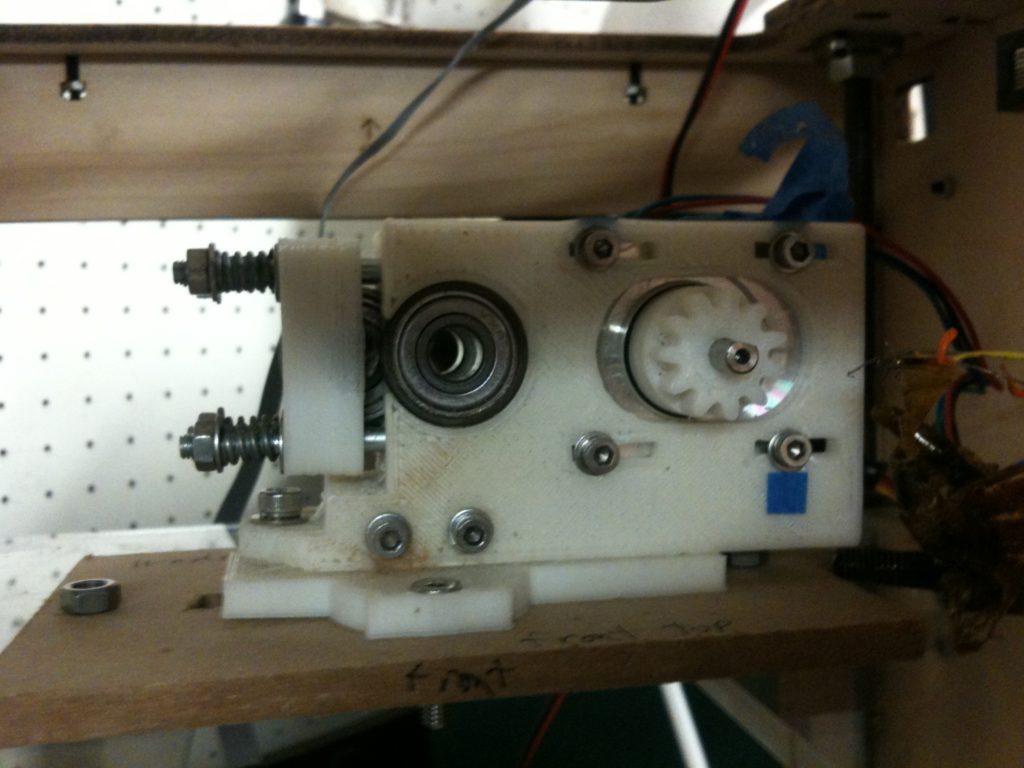
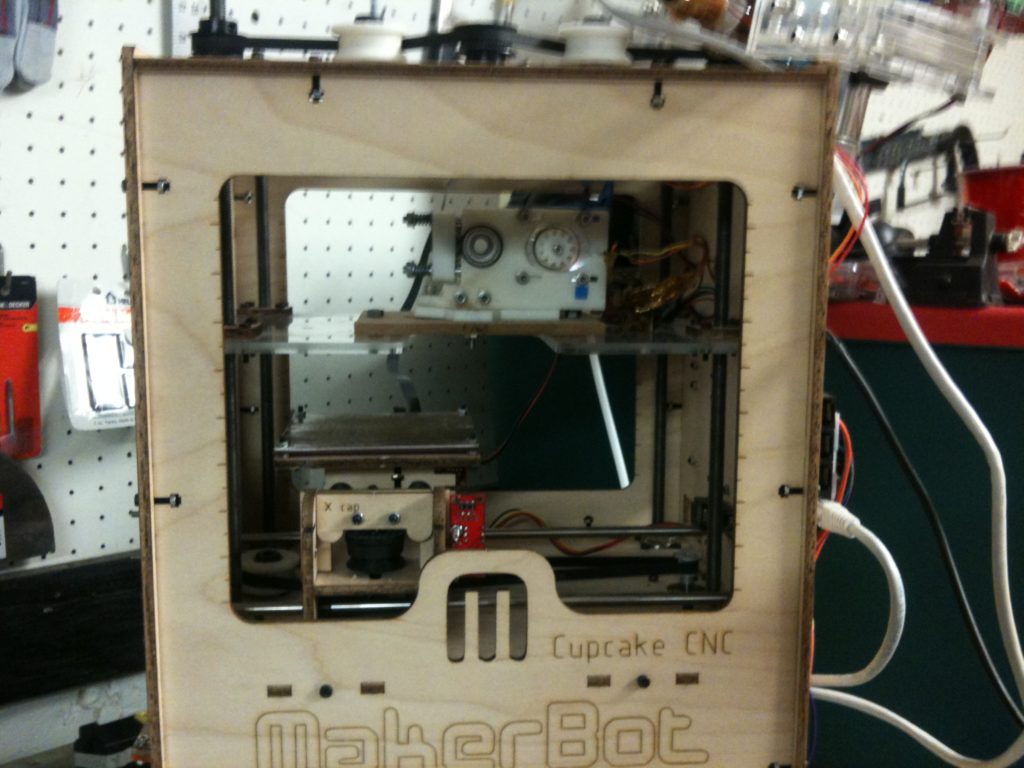
First I tried mounting my Wade’s extruder on the MakerBot. I got pretty far into setting up the firmware to use a stepper motor for the extruder, but at some point realized I was spending way too much time on this MakerBot and not fixing my RepRap. But here was the mount I made for it, quick and dirty:
I have video of it barely extruding. In retrospect I think it was a poor-quality hobbed bolt which was cut deep enough to work well with PLA but not so much with ABS, but who knows.
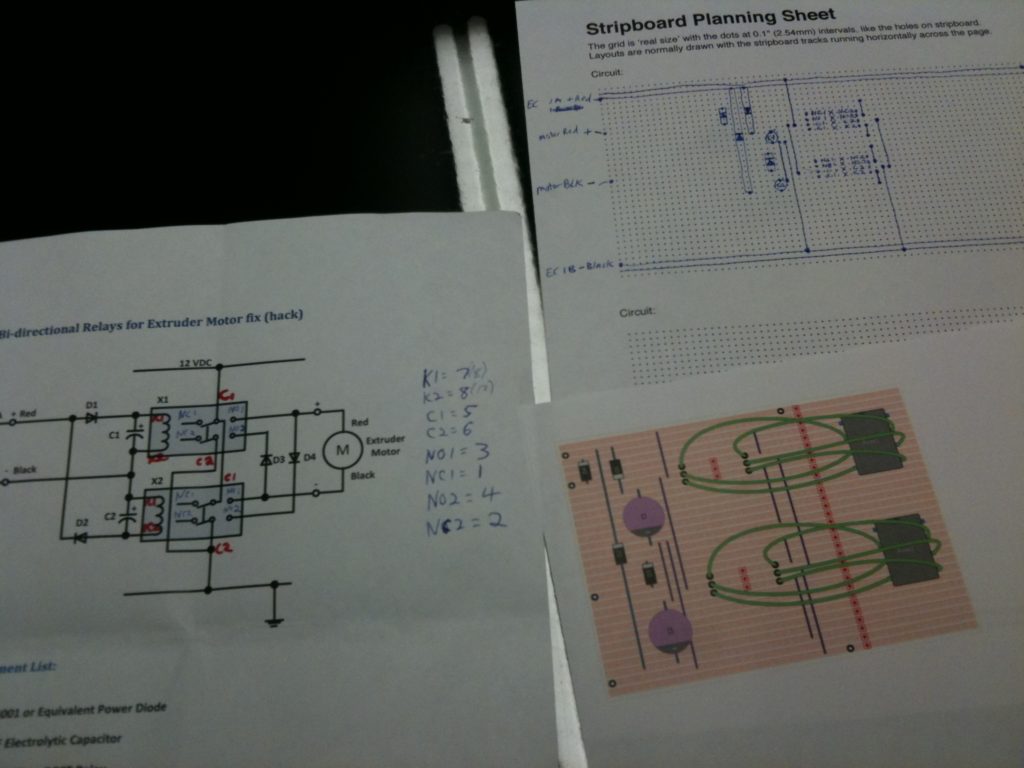
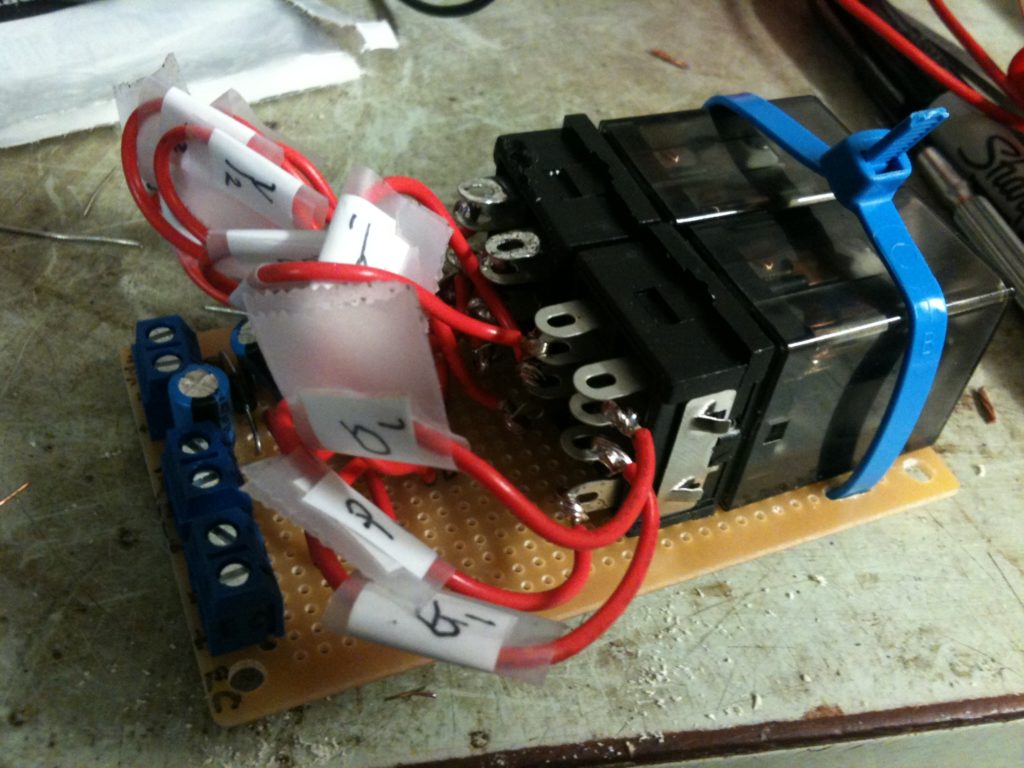
So I moved on to trying to get the Makerbot plastruder driven straight from 12V instead. I found a simple design for a relay board circuit that would preserve polarity, then designed and built my own stripboard version of that (using a tool I found called diy-layout-creator), so the extruder controller would only be triggering a relay, and then far more current could flow to the motor.
That did seem to fix the problem, but then I ran into other mundane printing issues like a clogged insulator, which I then replaced. The final straw that made me give up was when the plastruder inexplicably raised about 4-5 layers at once, ruining a print.
As I type this a year later, I think I know what the problem was, after seeing a later video. The bowden cable used by the filament spool (which I hadn’t used before – it was added after my last use of the MakerBot) had fallen to the side somehow, and basically the feedstock stopped feeding smoothly, and the plastruder did such a good job not quitting that it pulled itself up off of the leadscrew nuts into the air. But I didn’t know this at the time, got frustrated, and realized that – again – I was spending time on the MakerBot and not my own RepRap.
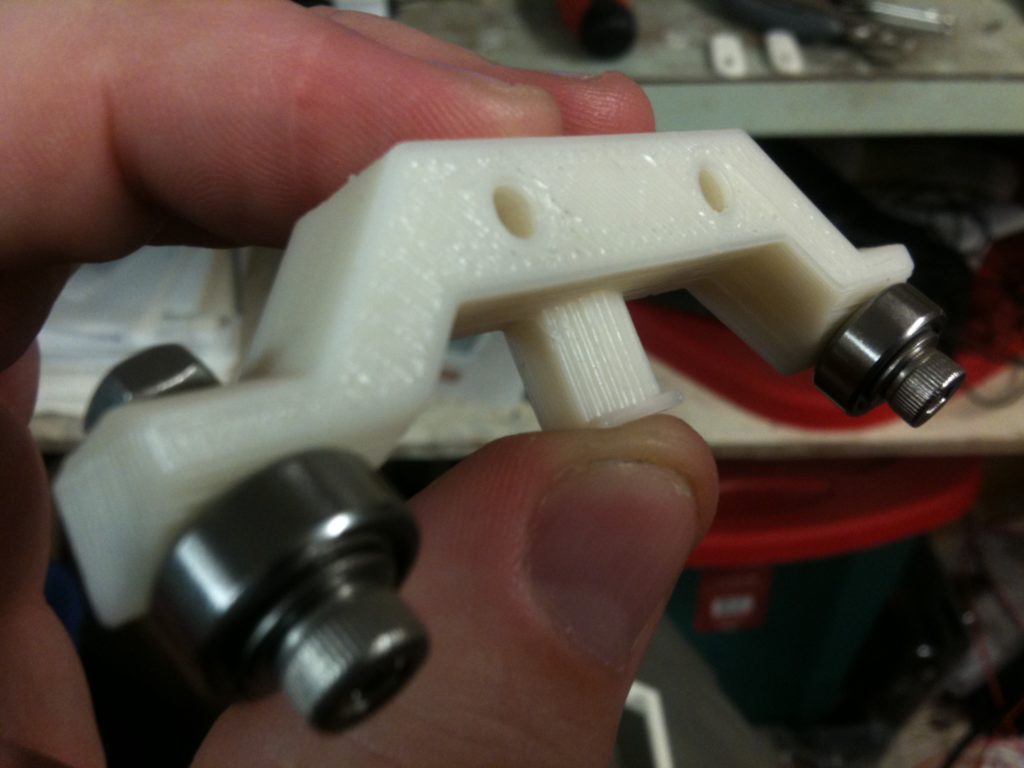
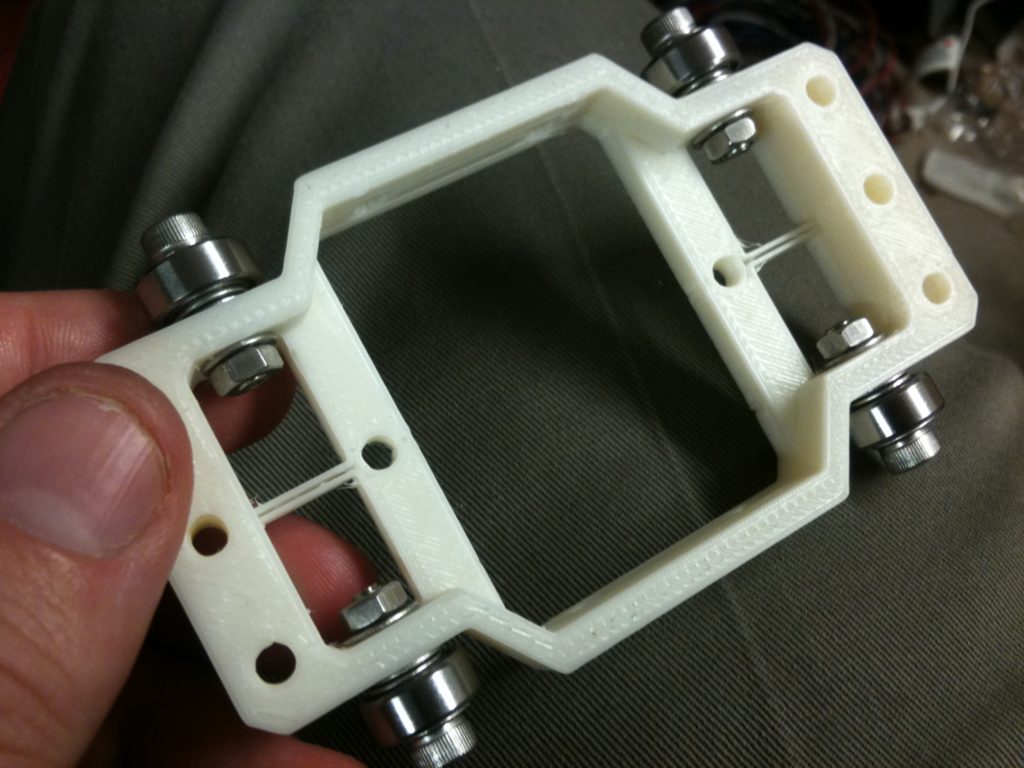
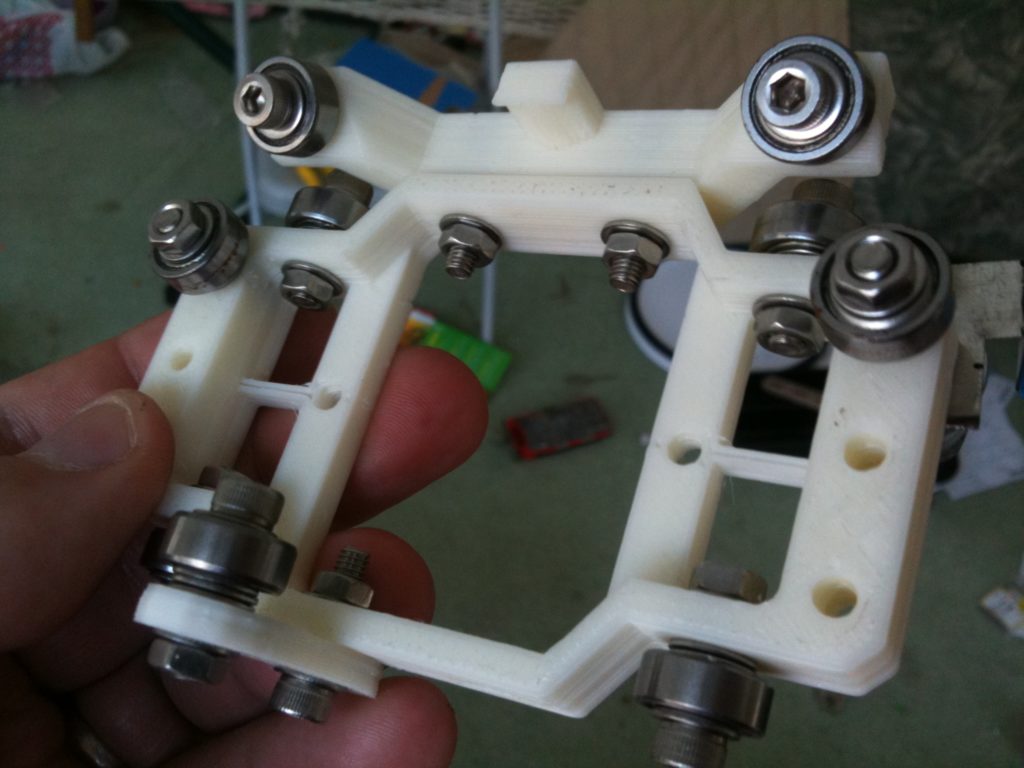
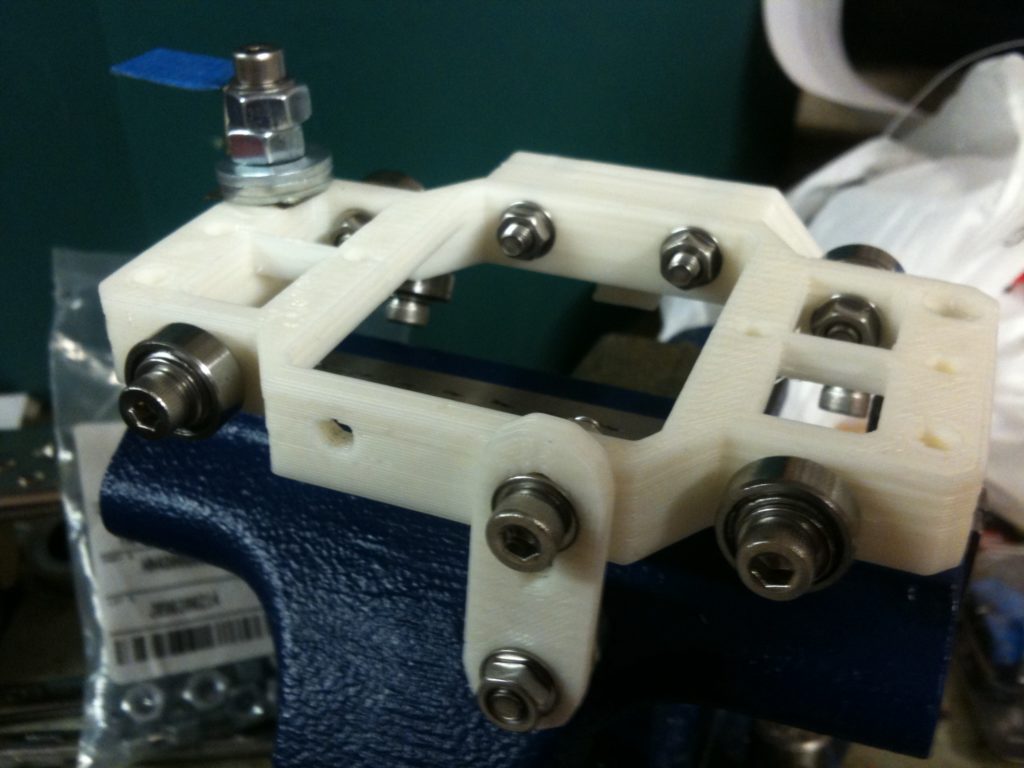
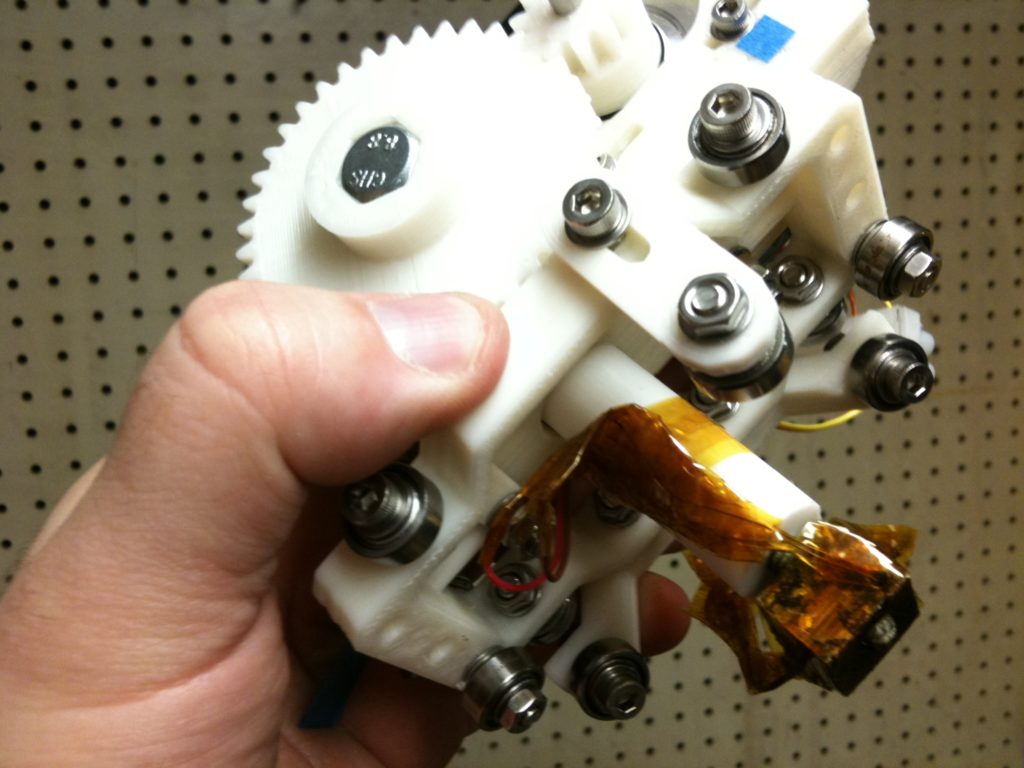
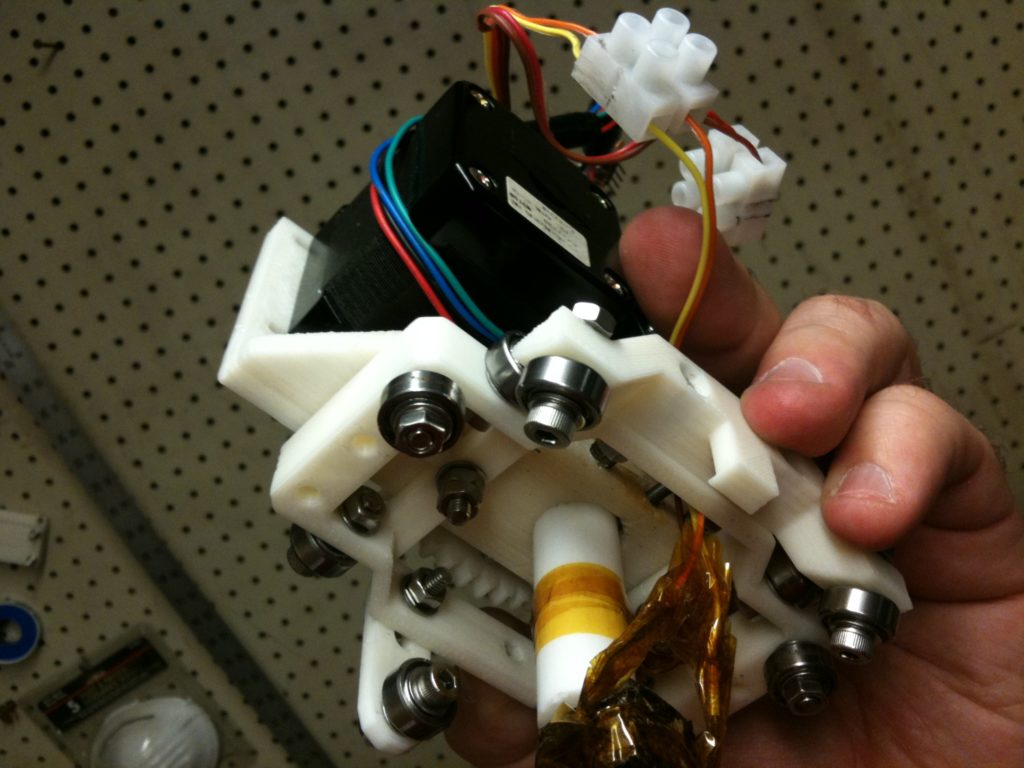
So I stopped trying to fix the MakerBot, and ordered a printed carriage from Tony Buser. I originally asked for the same X-carriage I’d been using, but thankfully he suggested trying what at the time was a brand new carriage, the OpenX Carriage by Buback. I LOVE this carriage. Here is what it looked like as I was putting it together:
The three main features of this carriage are that it’s got a much wider hole in the center (my disaster is proof that that’s a good idea!), it CLICKS onto and off of the rails easily, and it’s supposed to grab onto the X-carriage belt without any belt clamps. Here’s video showing how cool the carriage is:
So then I mounted my Wade’s extruder:
April 2nd, I was printing again, and by the 10th I was printing well again.
Unfortunately I found that the third feature of the OpenX Carriage – the ability to grab onto the belt without any clamps, didn’t work for me as well (it slipped during a print or two), so I reenforce it with a new ziptie every time I take it off and put it on. That slightly robs from the whole idea of being able to put on and take off the carriage, but it’s still WAY easier than the old carriage, and I like it way more than the snappable PLA bushings that the Prusa Mendel uses (and also way more than LM8UU linear bearings, but that’s me saying that now in 2012.. let me get back into my 2011 mindset).
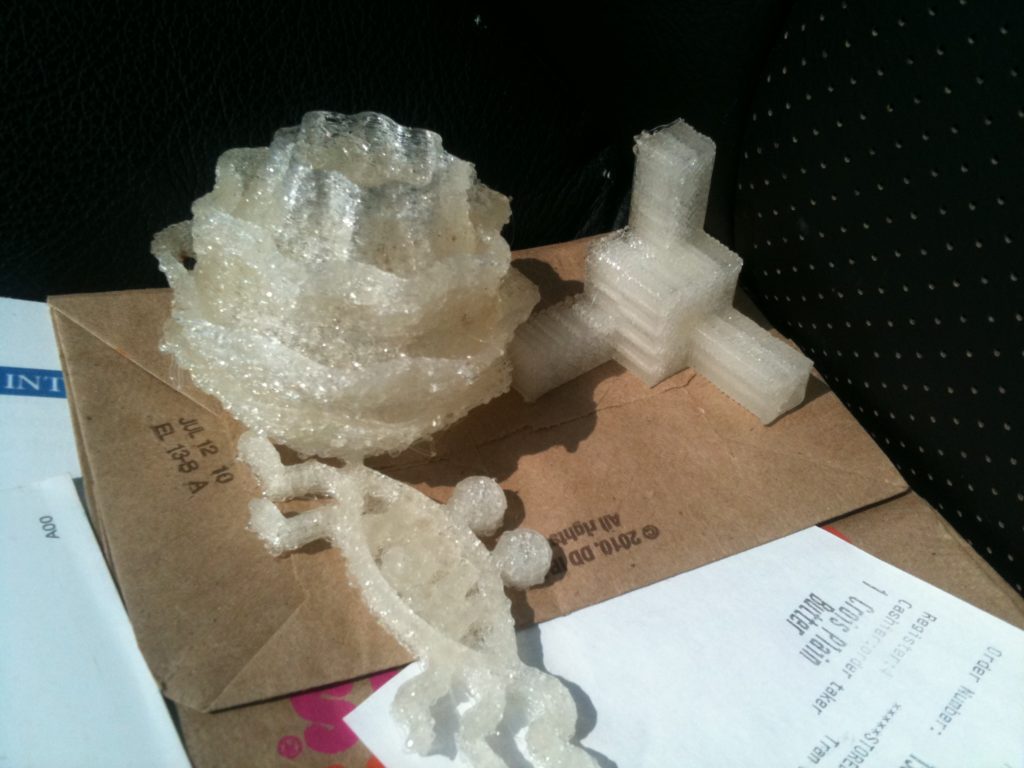
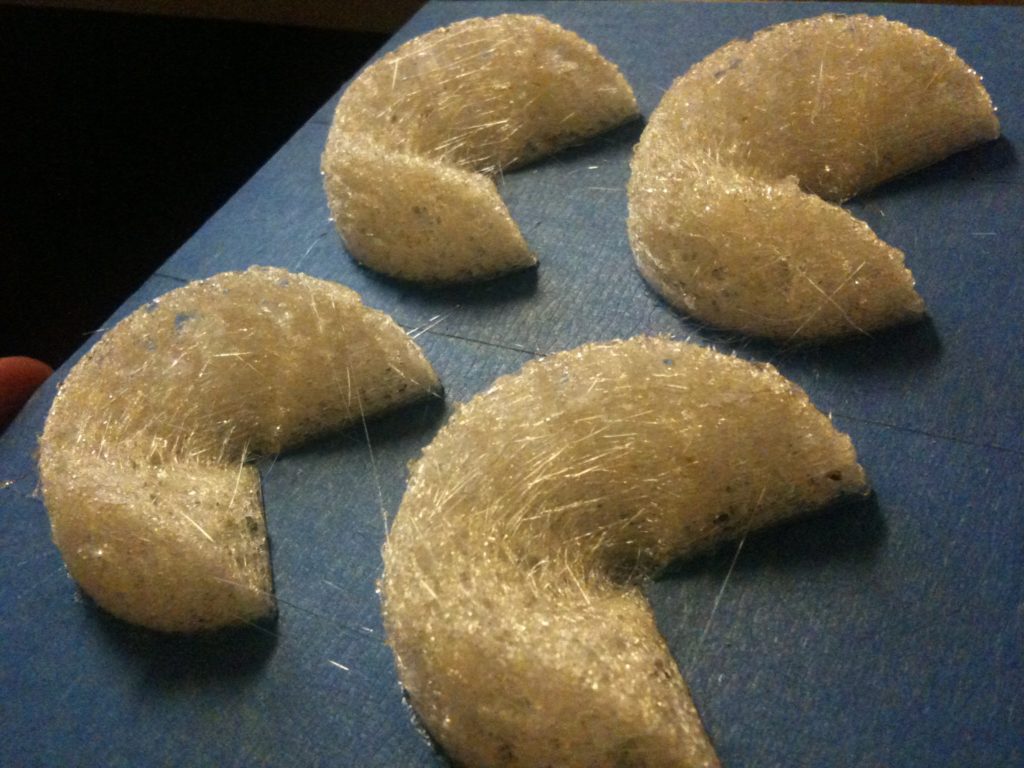
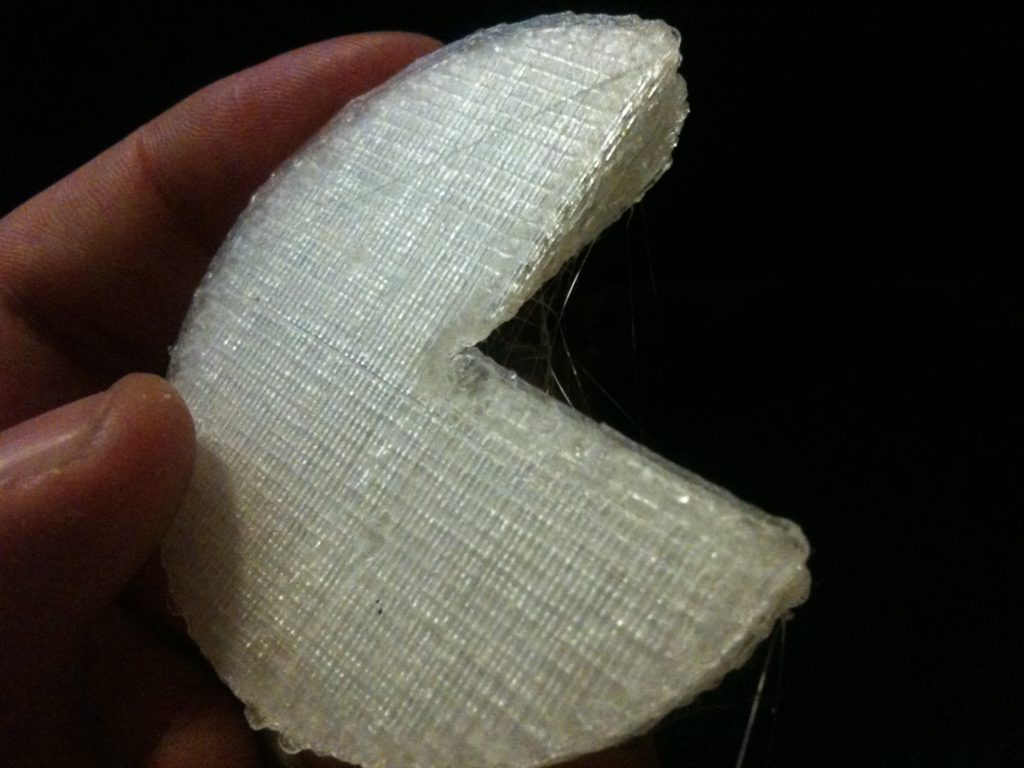
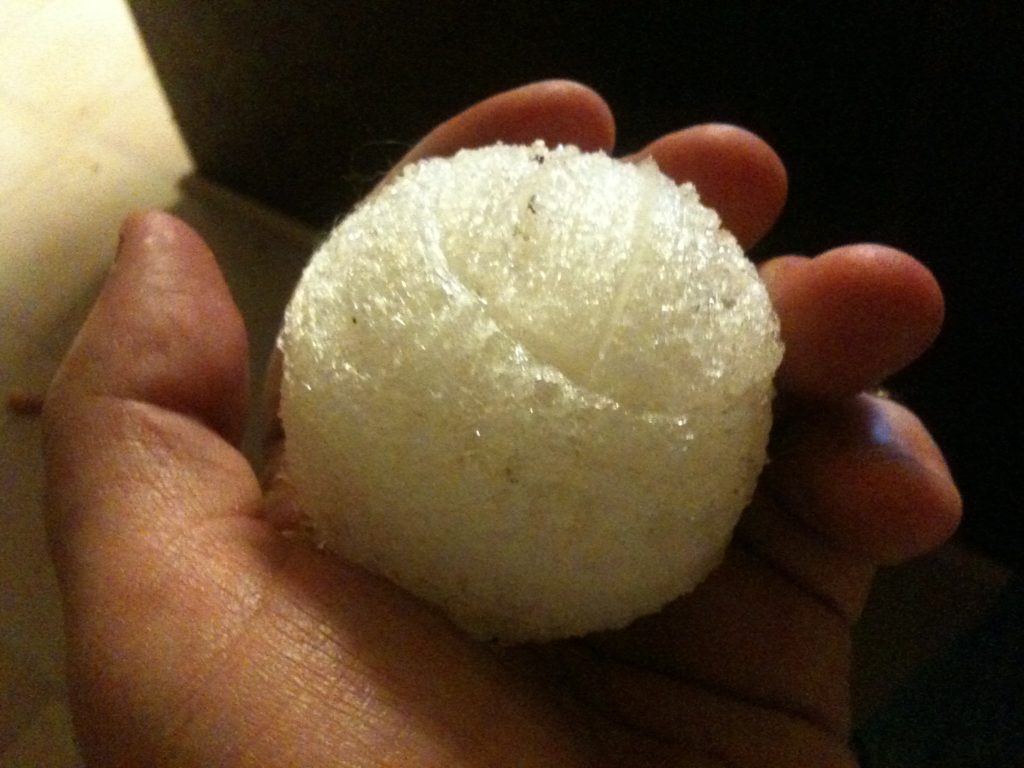
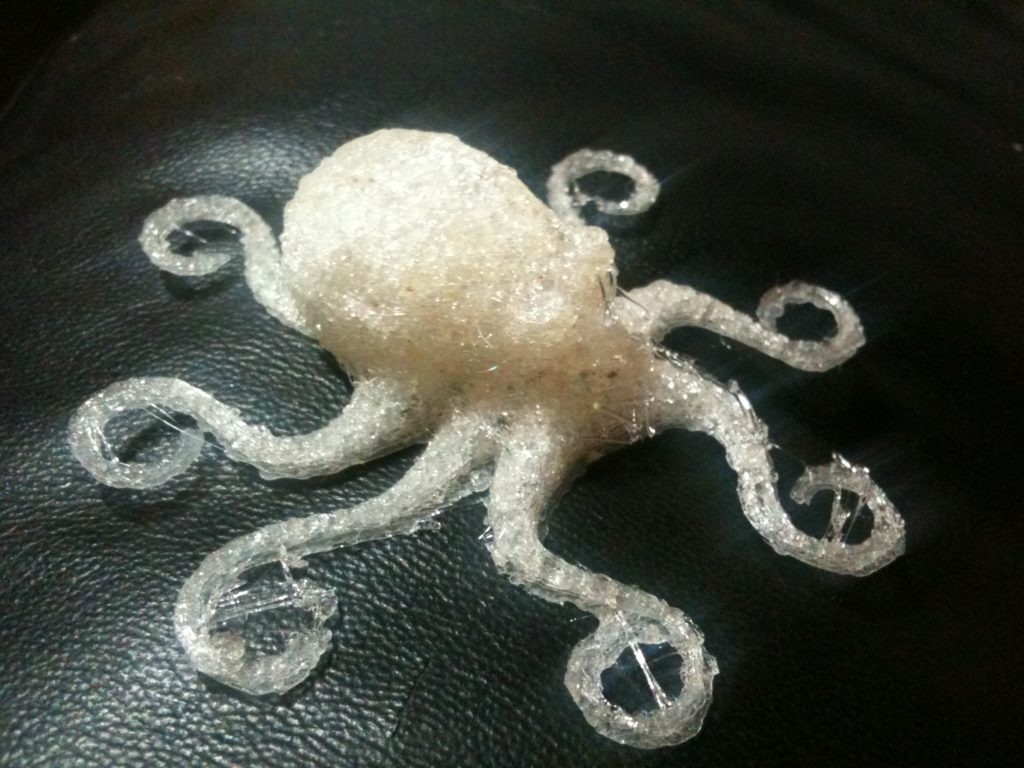
Then I tried some prints, with some mild level of success.
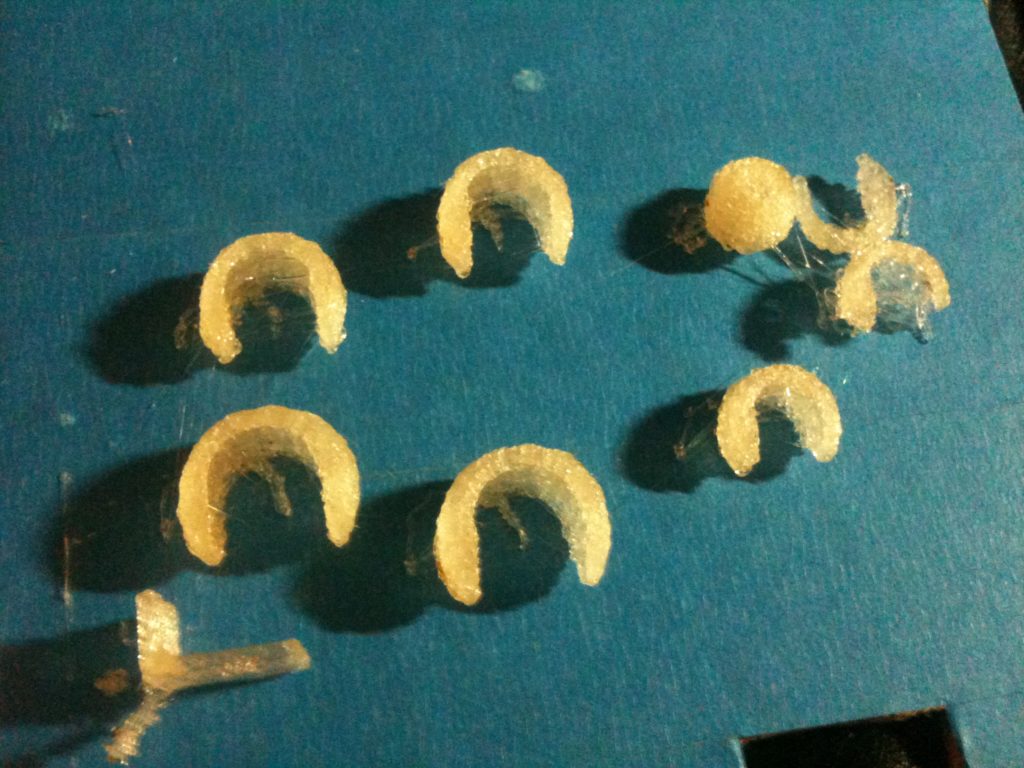
You’ll note that those last two prints (the hemi-demi-sphere and the octopus) don’t look that great. They’re perfectly lined up in X and Y and there’s no slipping, but plastic wasn’t extruding consistently at this point. Here was an example of just how bad this new extrusion problem was getting:
That got me to around April. In wanting to wrap this post up quickly I almost threw in here a picture or two of lathe work, a hobbed bolt, another octopus, a minecraft pickaxe, and a video showing what seems to be a bug in either RepRap Host or in the 5D firmware where pausing can sometimes render very slow speeds after a resume, but then I realized I have too much to cover. So this will just take more posts than I thought/want. Ending it here.
Trust me, it gets way better for me. Now at least I’m caught up to April of 2011 (even though it’s February 2012 now). Only 10 months behind! 🙂
But most importantly, I finally got that printing disaster story out of the way. Wasn’t looking forward to posting that. And, I finally got to praise Buback’s OpenX Carriage!
I do want to leave you with some sort of ending though.. So I’ll use this: while posting this blog that’s so far behind, I’m constantly reminded of this sketch. Watch it and enjoy:
