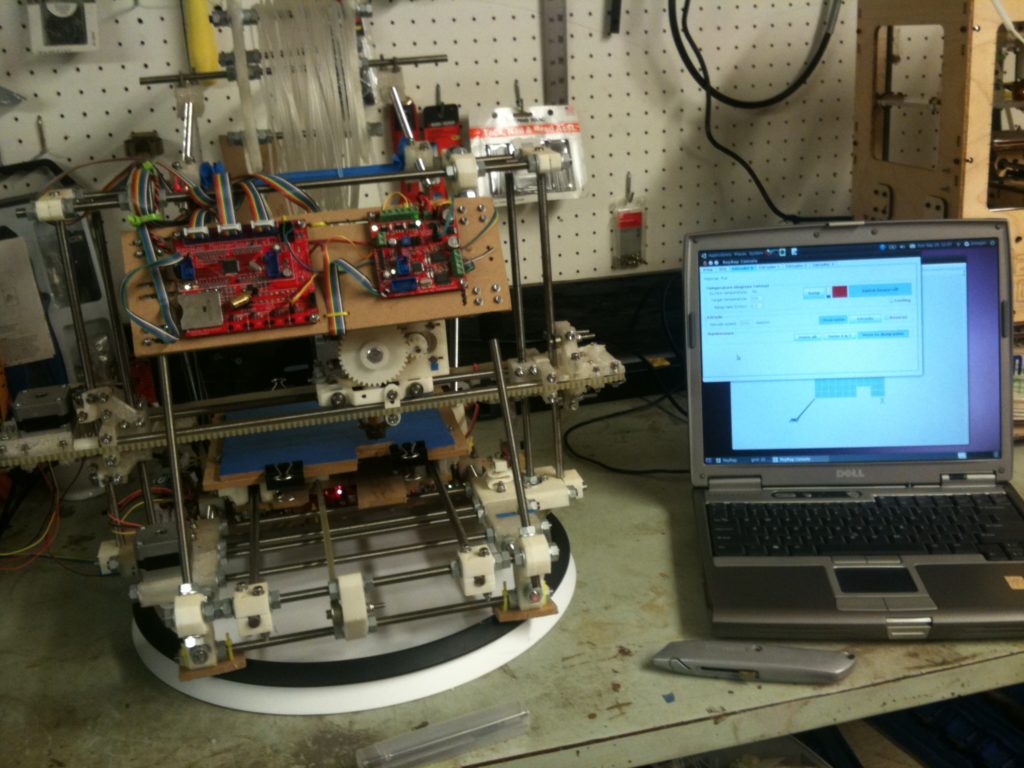
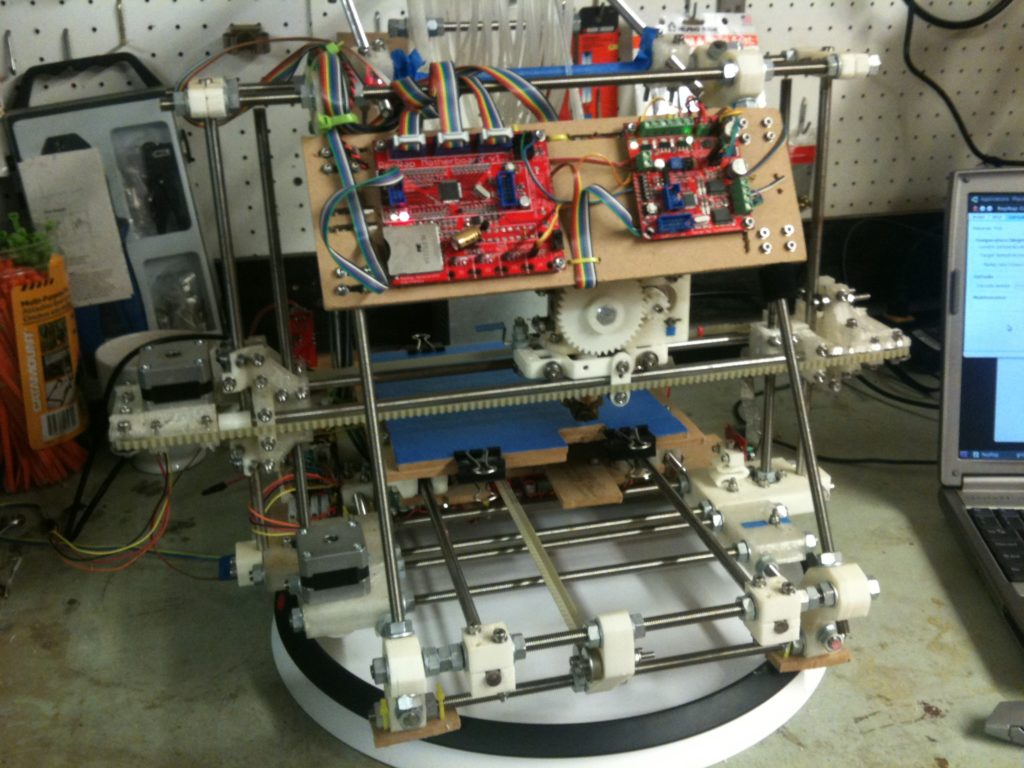
I’m catching up! I’m not as far behind as I was before. Hopefully with just a few more blog posts I can catch you all up to my current state of RepRap (which, again, is far ahead of what I’m currently blogging about – April of last year (2011)!
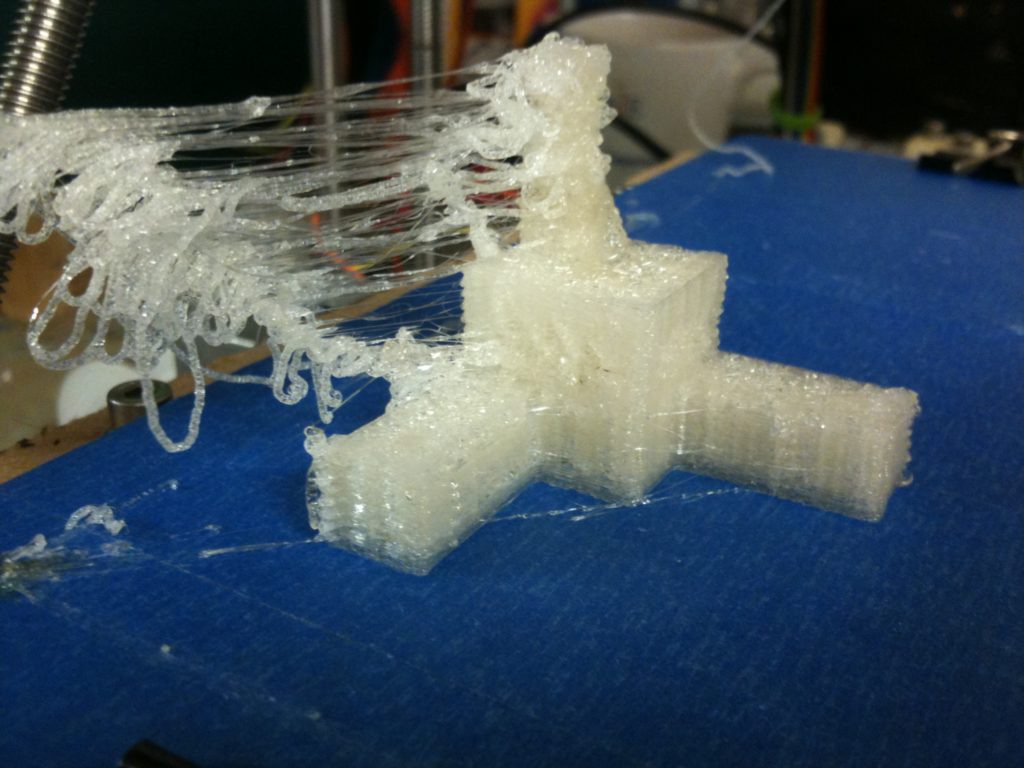
Ok, so where was I.. At the end of the last post, I had just recovered from a catastrophic failure – I replaced my old melted X-carriage with a brand new OpenX carriage and had started printing. I was having extrusion problems again (resulting in rice-krispie consistency), but at least I was printing again.
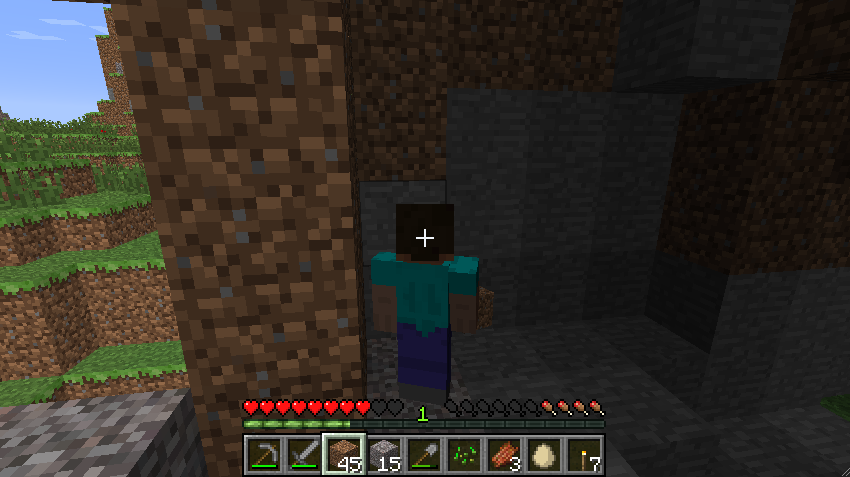
This seems like a good place to post something I often talk about regarding having printing problems and not knowing what to do about it. When doing RepRap printing, there seem to be times where something isn’t working and you have no idea what exactly is causing it. The problem is that there are so many things that potentially could be a problem that you have no idea which one needs fixing. I liken it to being lost inside a cave or mountain in the game Minecraft. For those of you who aren’t familiar with Minecraft, all you need to know right now is that it’s a blocky cube-based video game with a custom world for you, with hills, valleys, caves, mines, and you can dig and climb. Sometimes with RepRap it feels like you’re inside a mountain in Minecraft, and you’re lost, and you just want to dig your way out. When you’re lost in a mountain in Minecraft, for all you know, you’re right up against an outside wall, and if you just dug West by one block you’d be outside, but instead you arbitrarily decide to dig East instead, and dig yourself deeper into the mountain, still lost. (leave aside Minecraft tips like digging upwards in this scenario!).
It feels like that with RepRap sometimes. Hey, this print is awful.. should I adjust the tension on this belt? Or maybe a variable in the firmware about my rate of extrusion is wrong? What if I got a heated bed? The extruder! Maybe I need a new extruder!
That. That problem where there are so many dimensions of variables that it’s tough to know what to do to improve your situation. Maybe all you needed to get back to working was adjust the tension on that one screw on the extruder idler (just half a turn!), but you instead decide to take apart your extruder to floss the hobbed bolt. That’s how I felt for a long time. It’s not entirely how I feel now, which is good, but I’m blogging about back then. So if you’re reading this and you’re like “YES! THAT’S HOW I FEEL!”, you’re not alone – you at least have the last-year-version-of-me in your camp too. 🙂
Looking back on my pictures, the next dimension that I tried tackling was the extruder. I arbitrarily picked East.
One extruder that I wanted to build (which, spoiler alert, I still haven’t yet built) is the RepRap Universal Mini Extruder (also here on Thingiverse). That extruder uses 1.75mm filament.
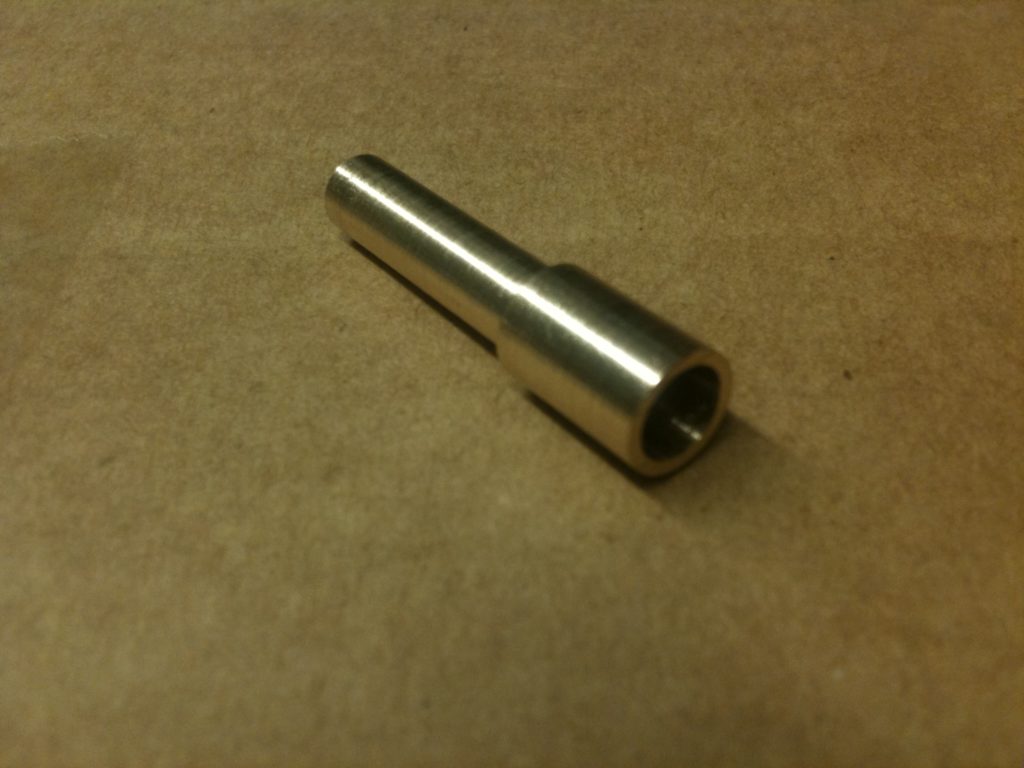
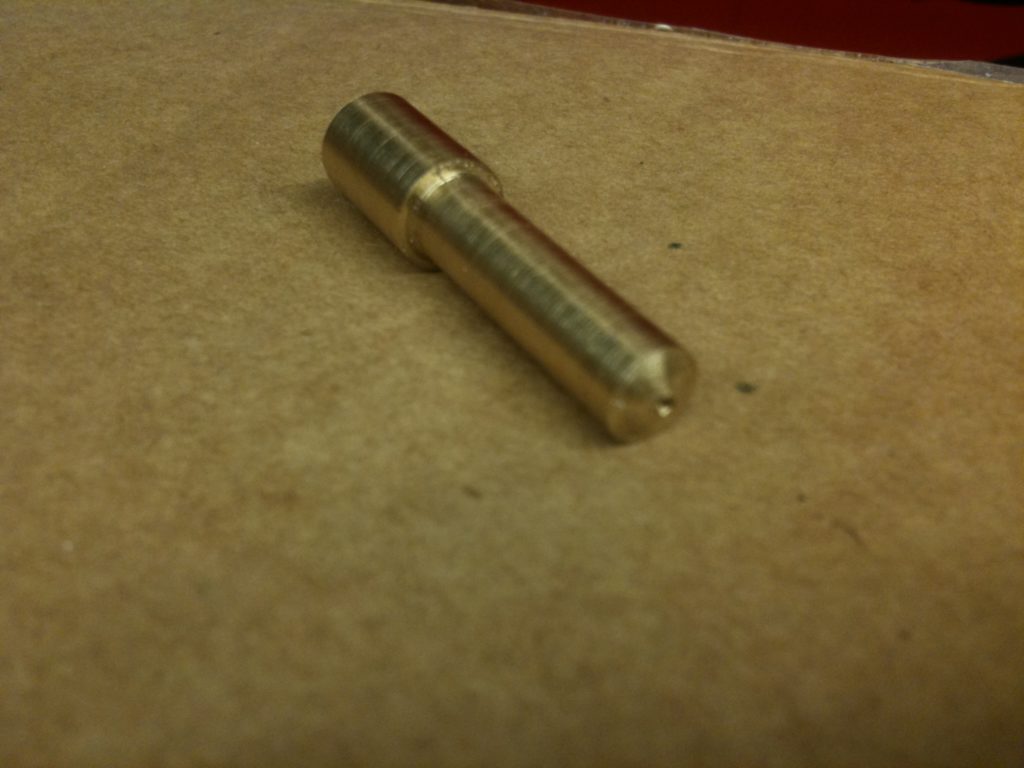
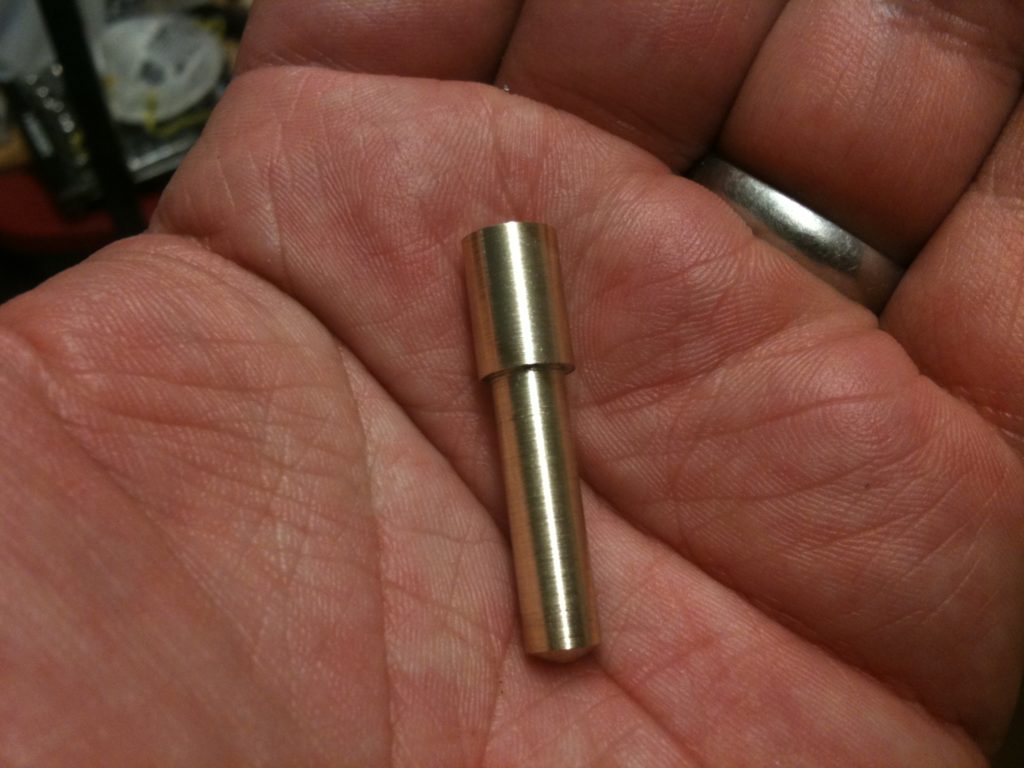
So I started with its heater barrel. I needed to make this on my lathe.
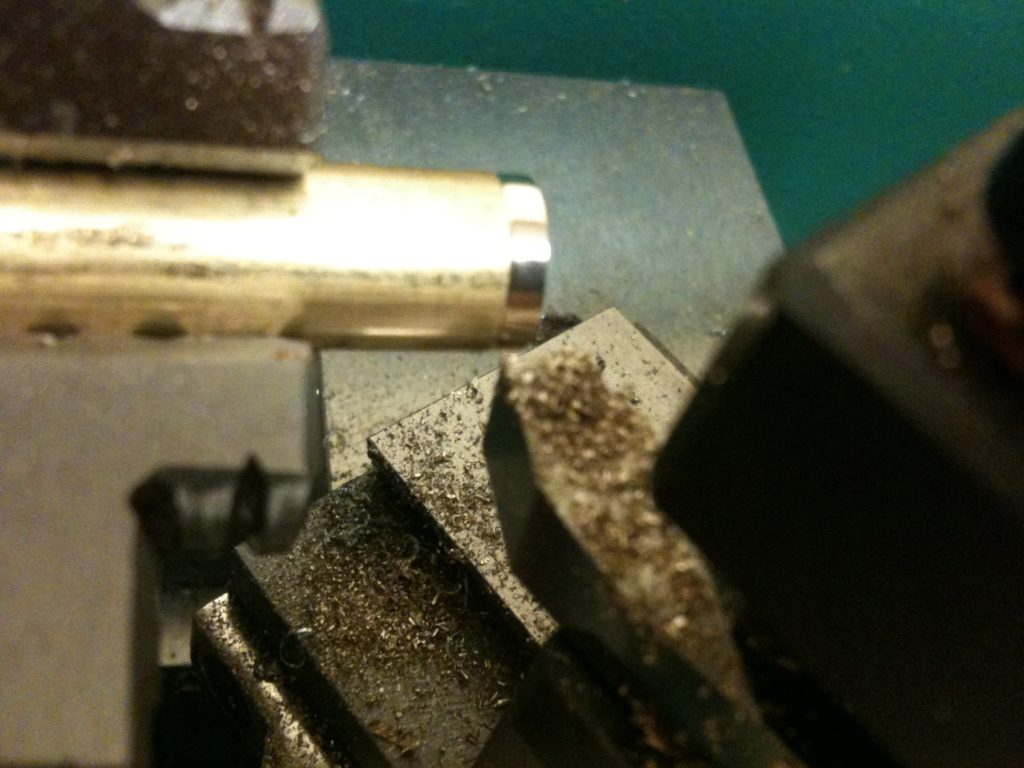
First I figured out the angle for the cone at the tip.
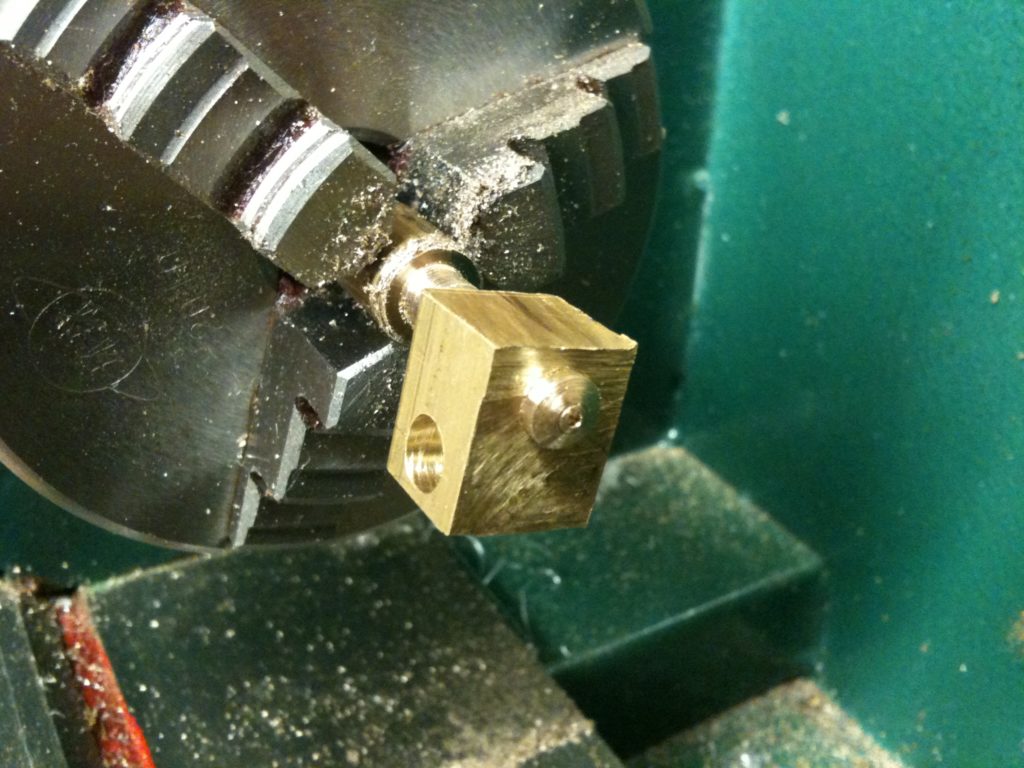
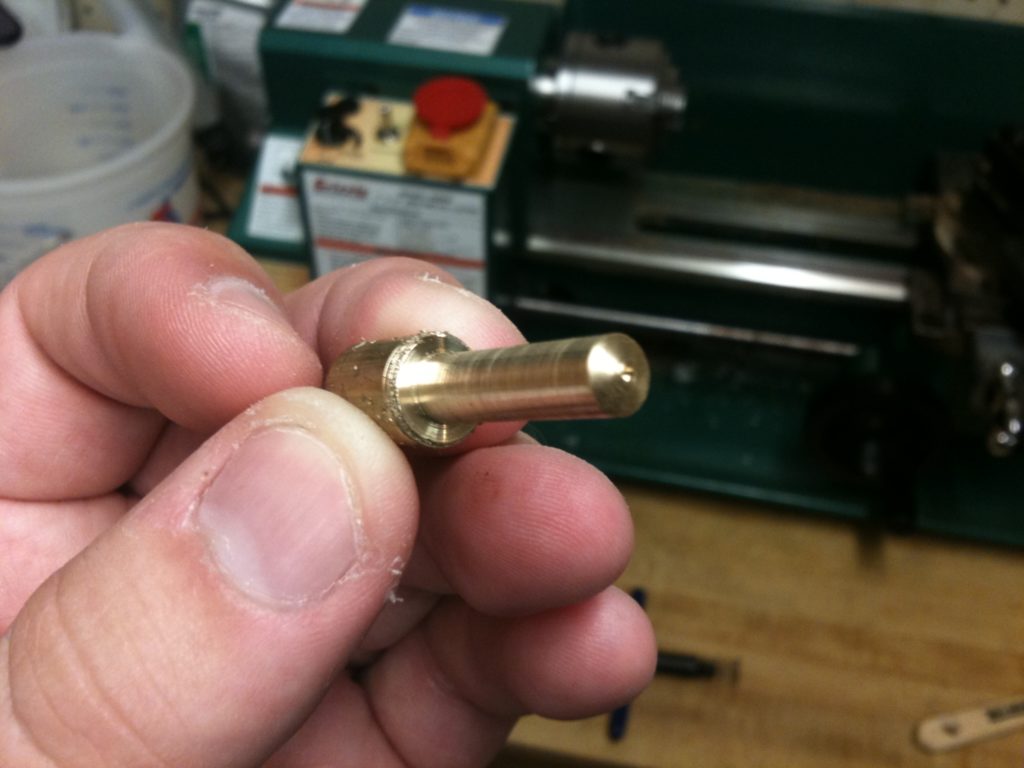
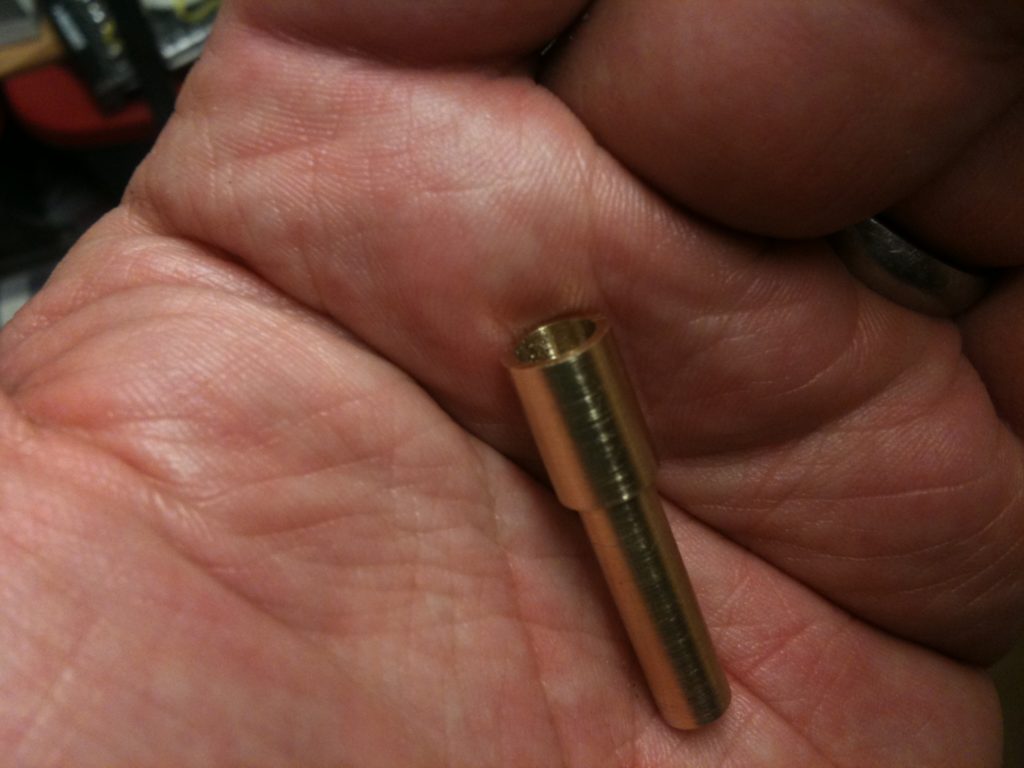
After turning the cone, I had something that looked like this:
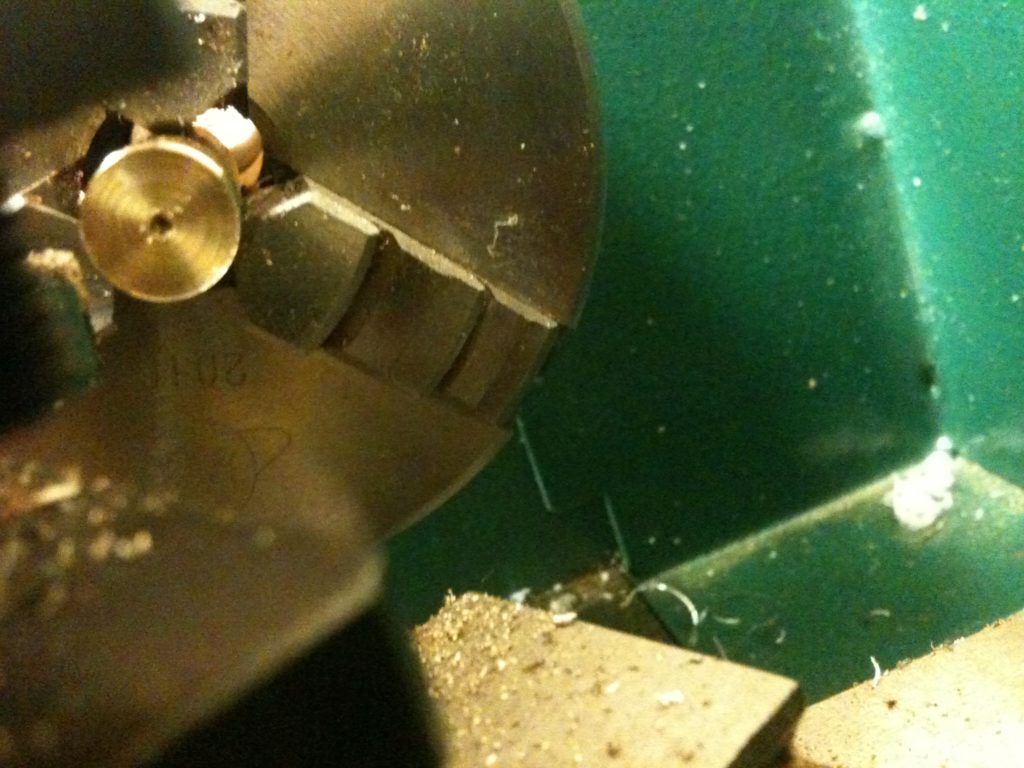
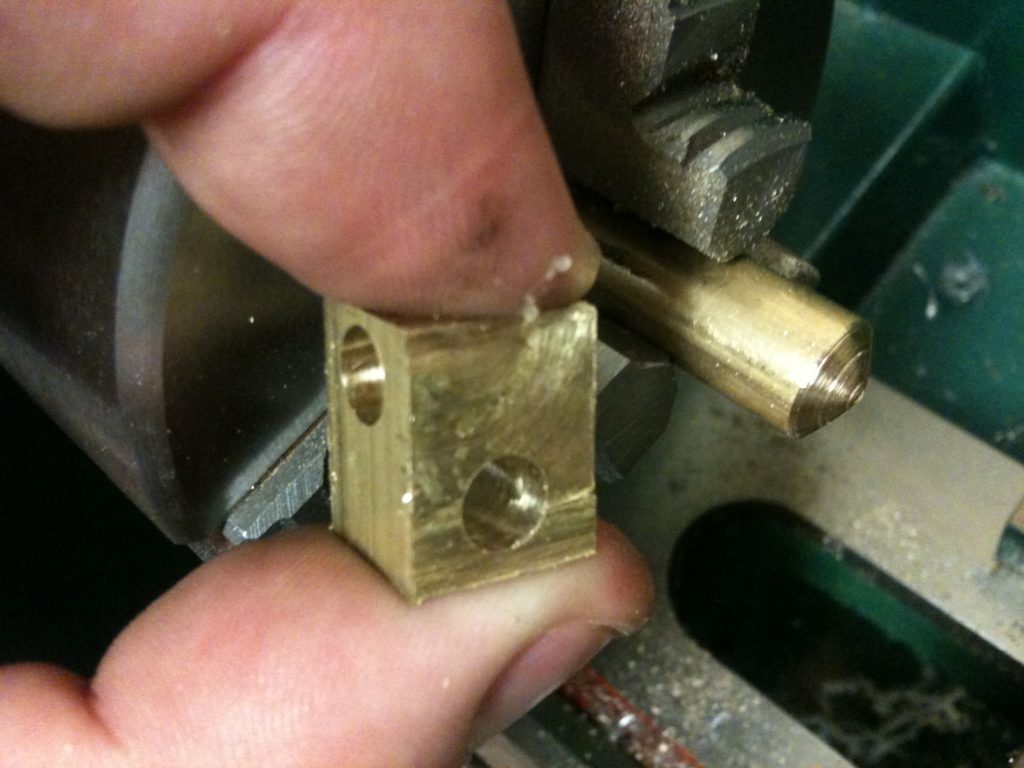
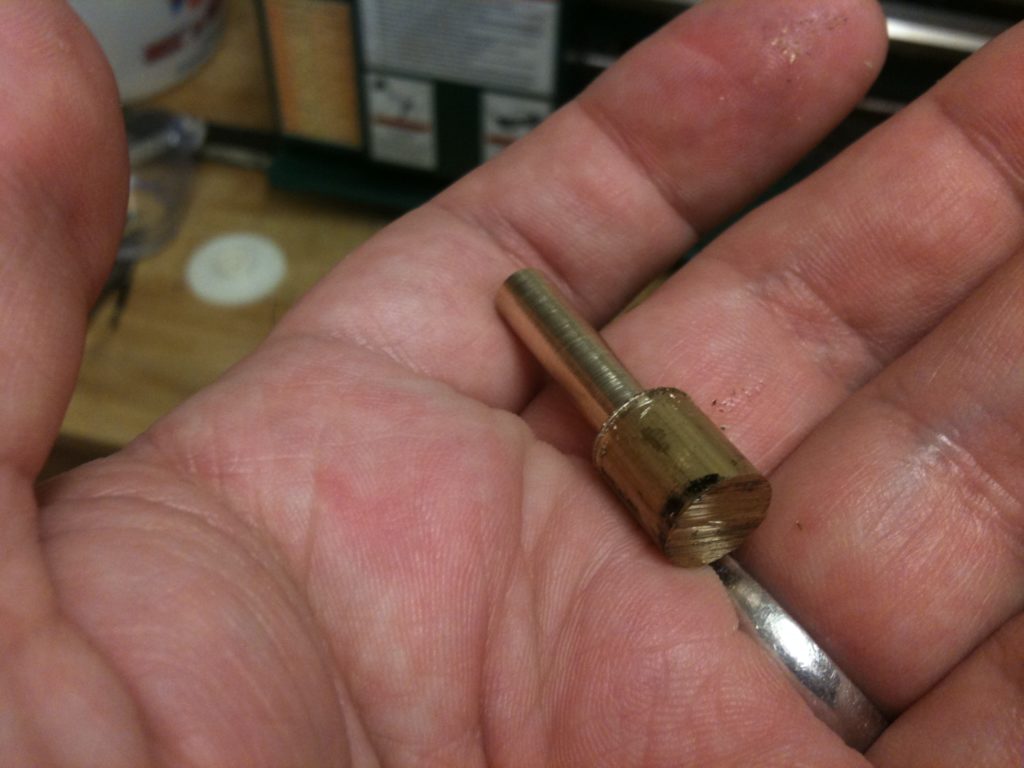
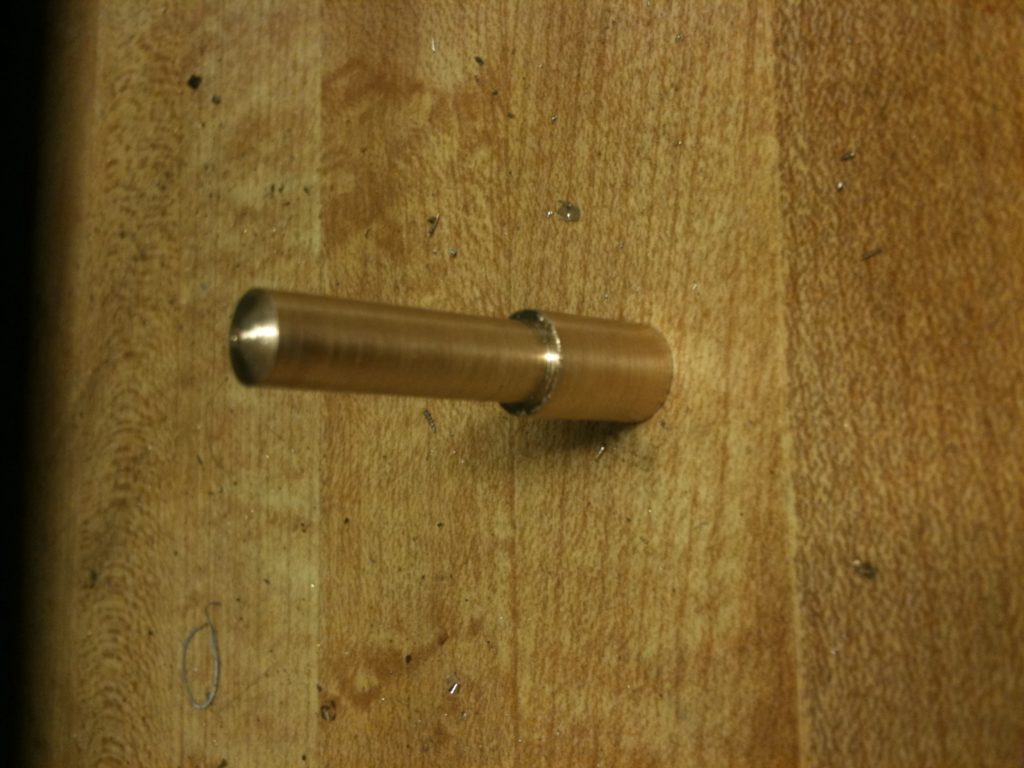
I then cut the brass for the heater block for it:
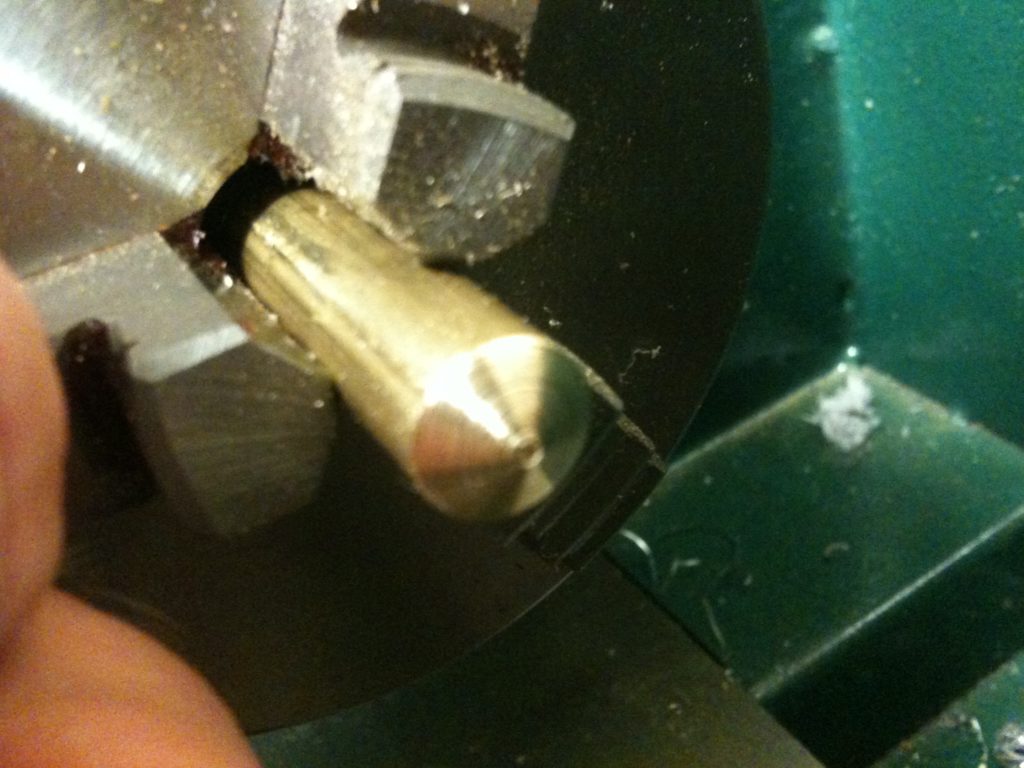
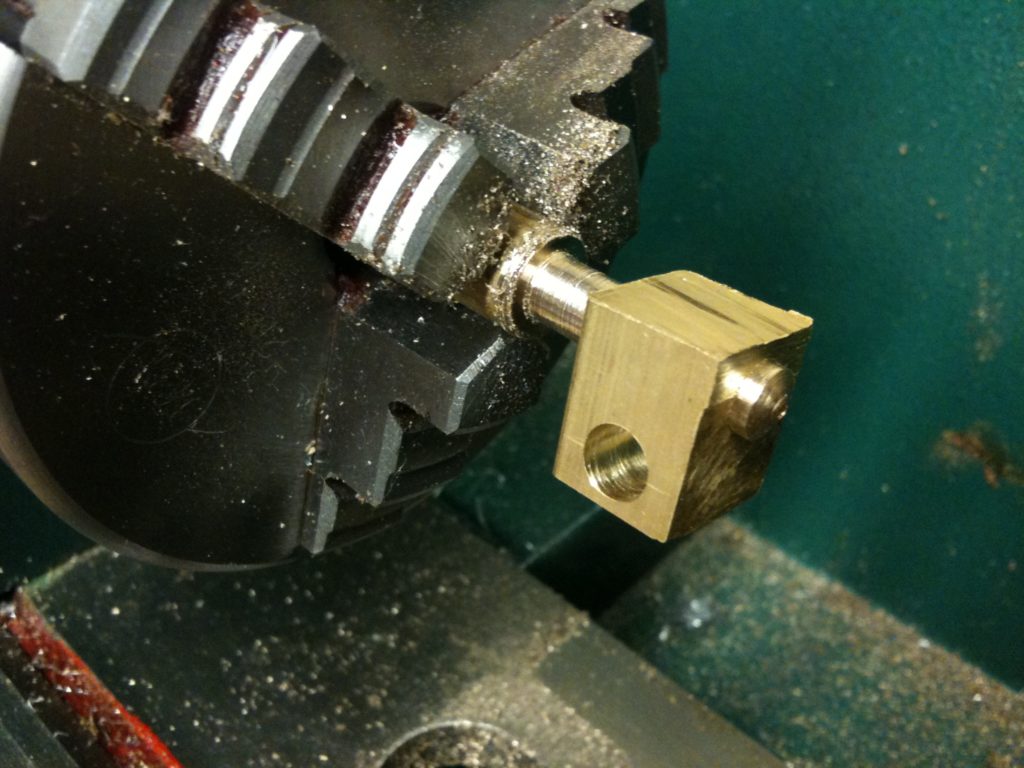
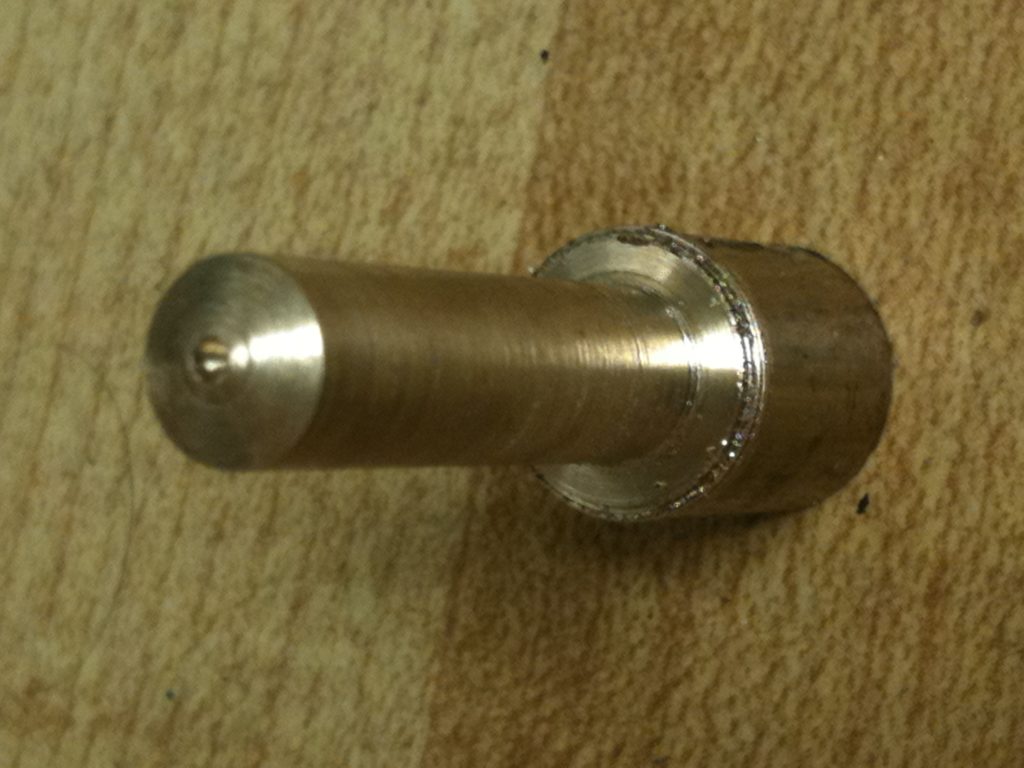
Here’s a better view of the barrel at this point:
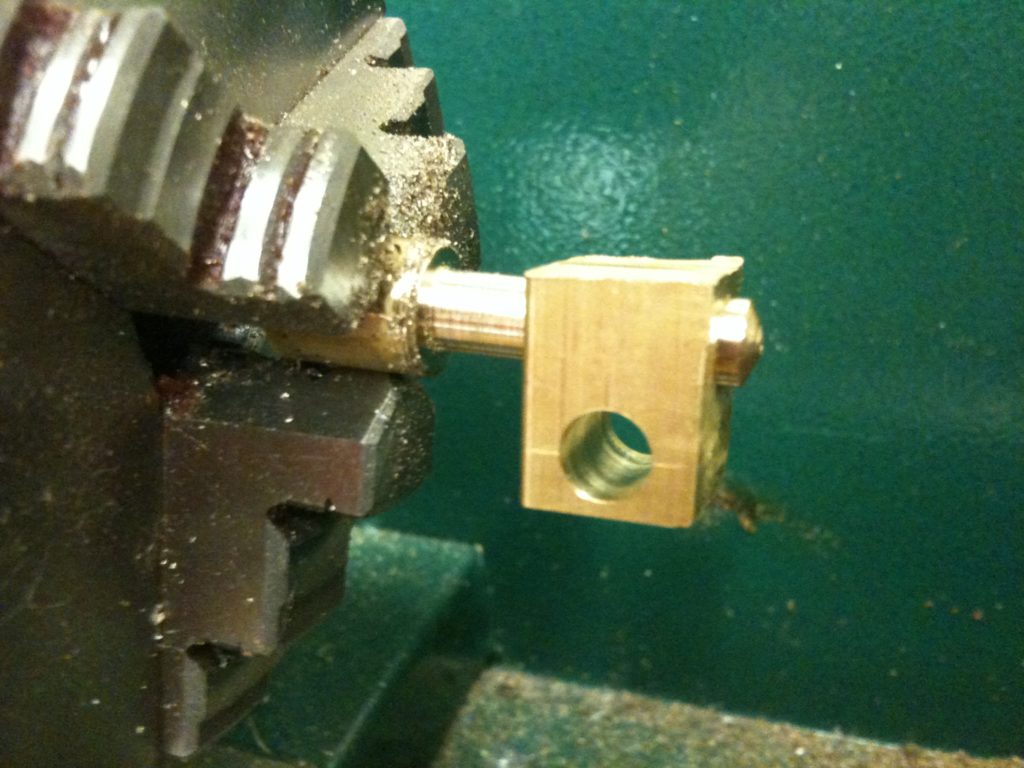
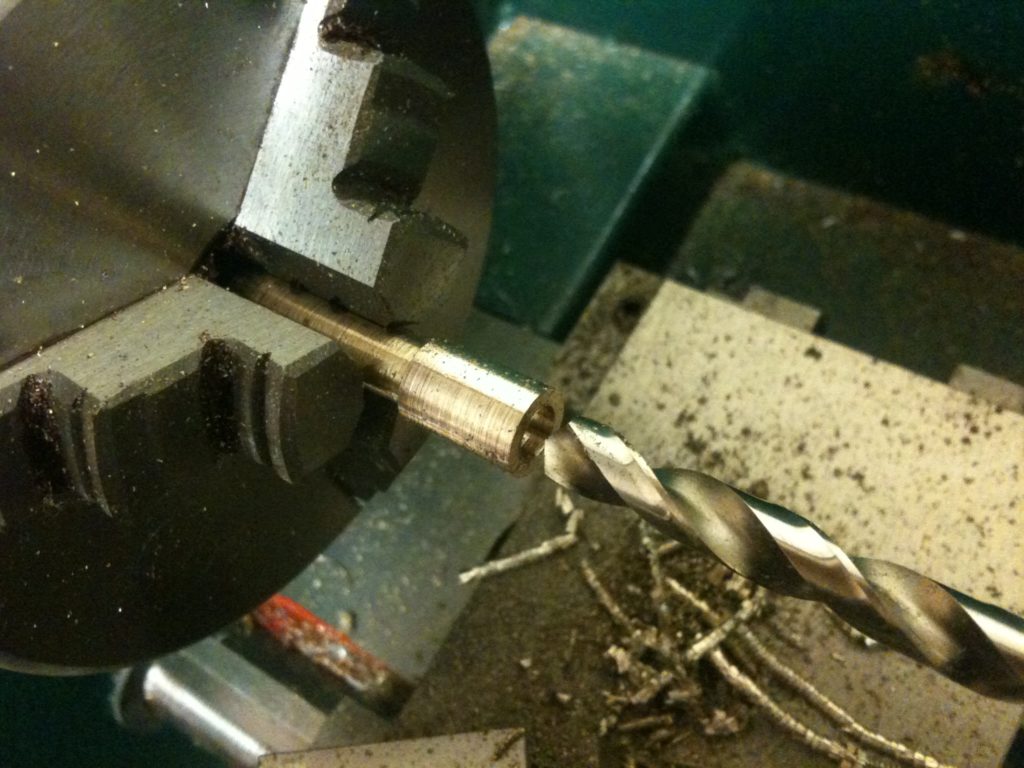
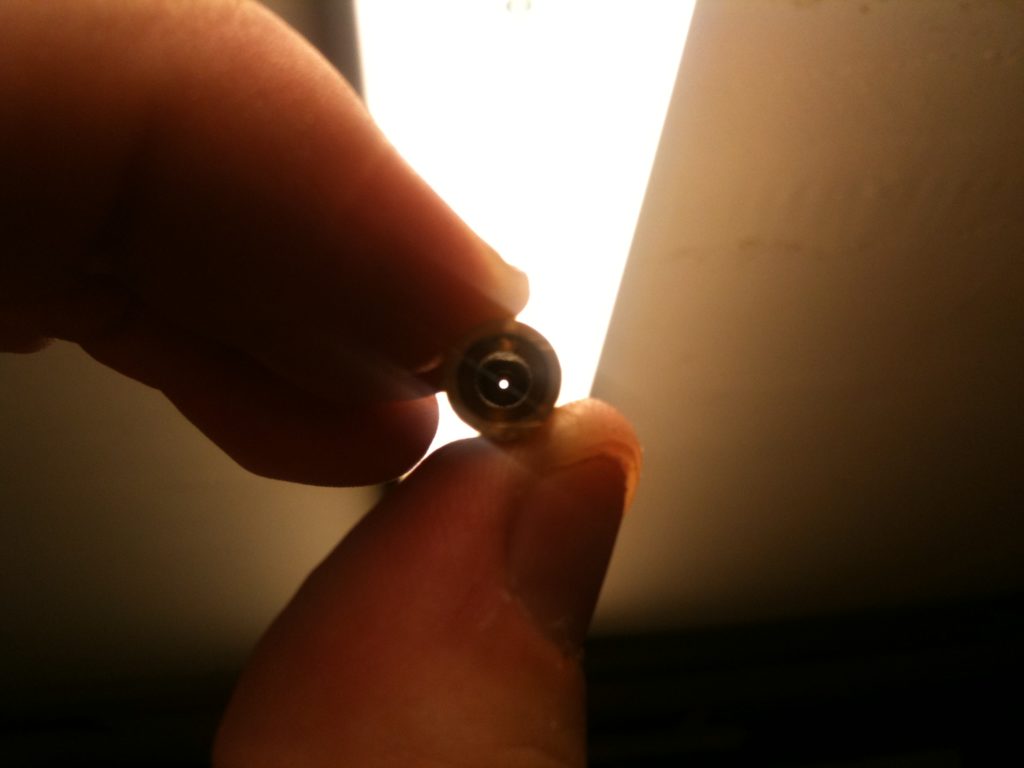
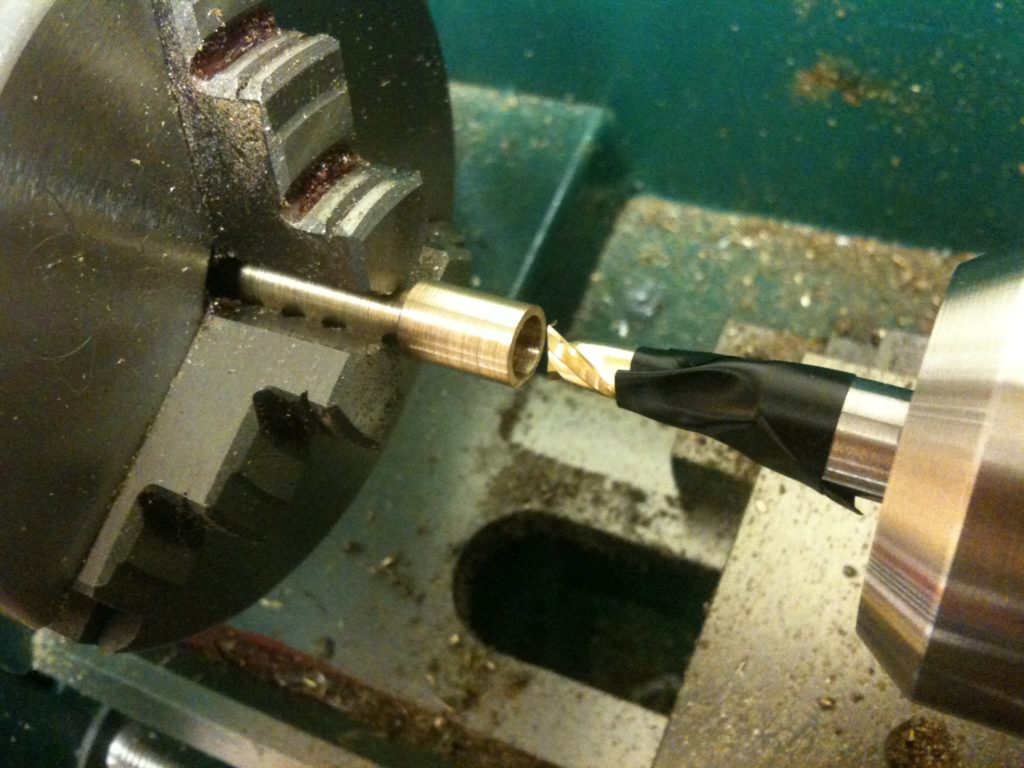
Then I drilled out the back, with progressively larger drill bits.
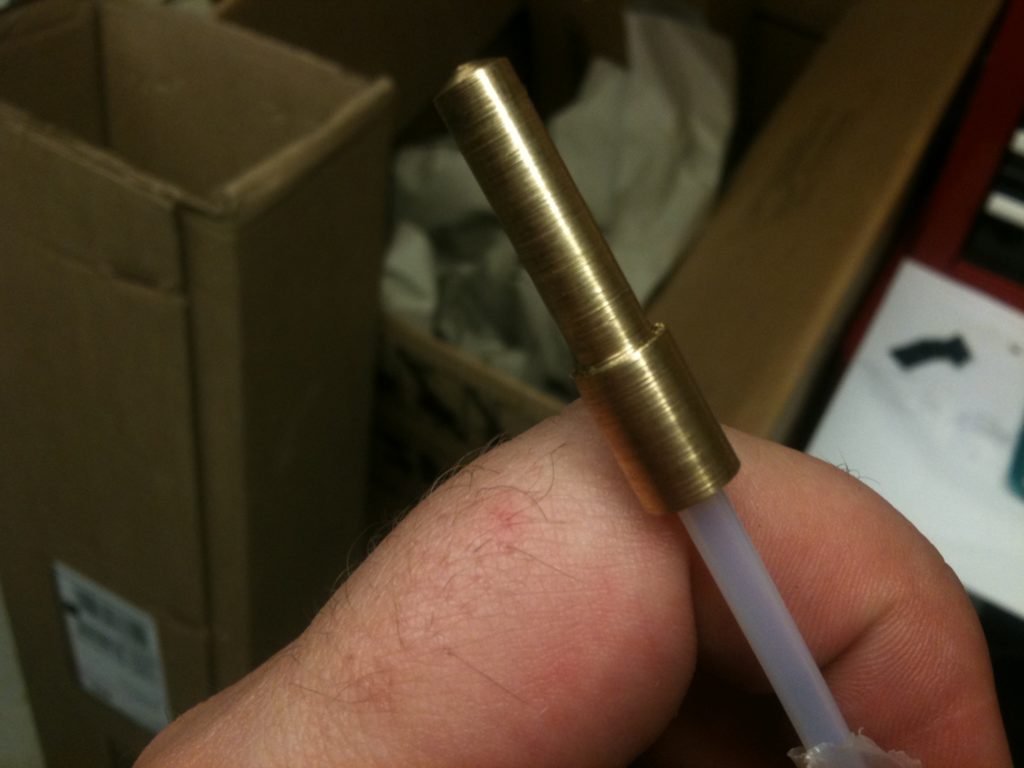
The way this barrel will work is that a PEEK section will actually rest inside the brass, and inside both of those will be a PTFE tube. Here’s the PTFE tube inside just the heater barrel for show:
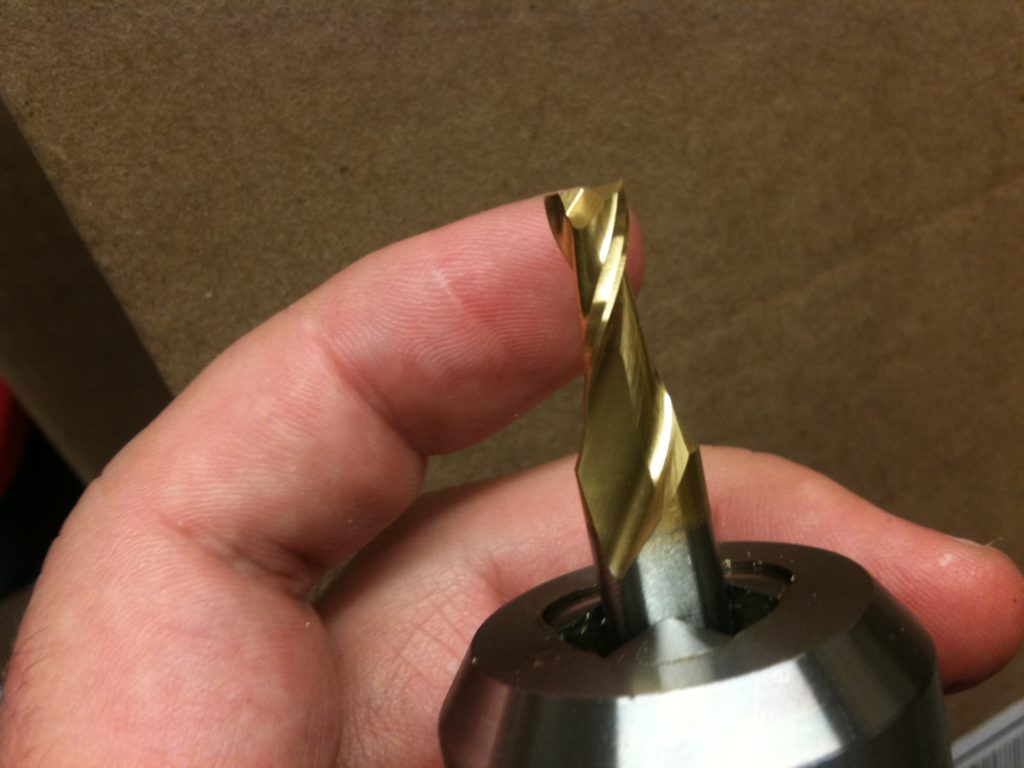
To have the PEEK rest inside the barrel nicely, the big hole in the heater barrel is a flat counterbore (as seen in the hot end drawings), not drilled with a standard drill bit. I purchased a 6mm end mill from mcmaster to flaten out that hole:
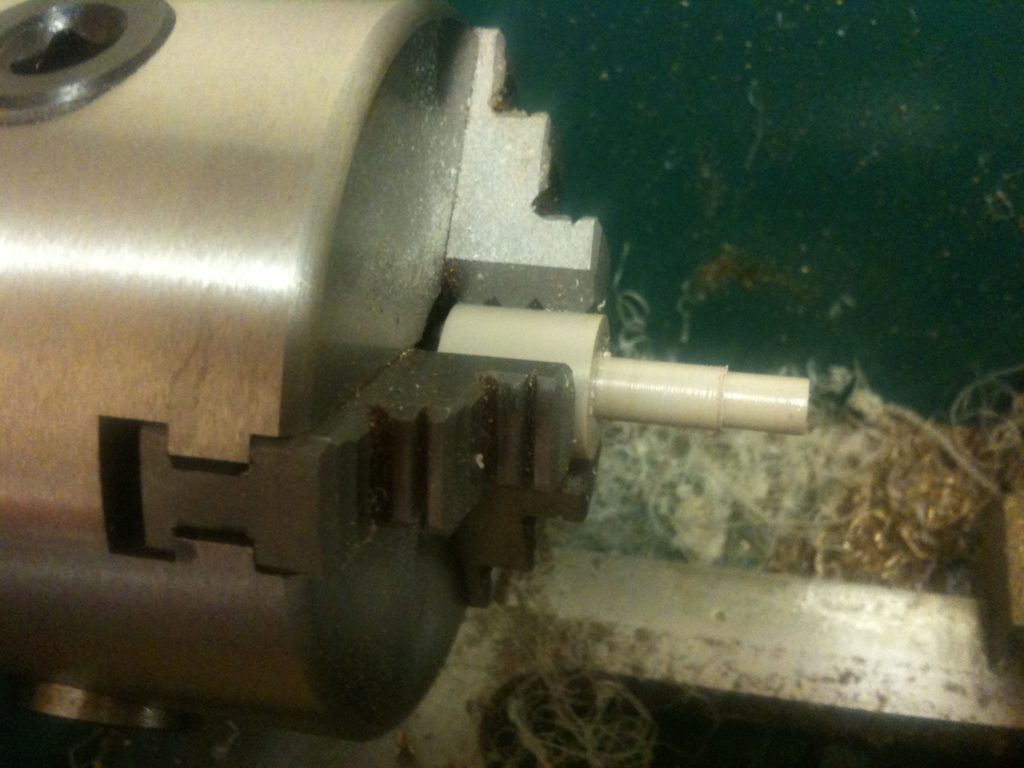
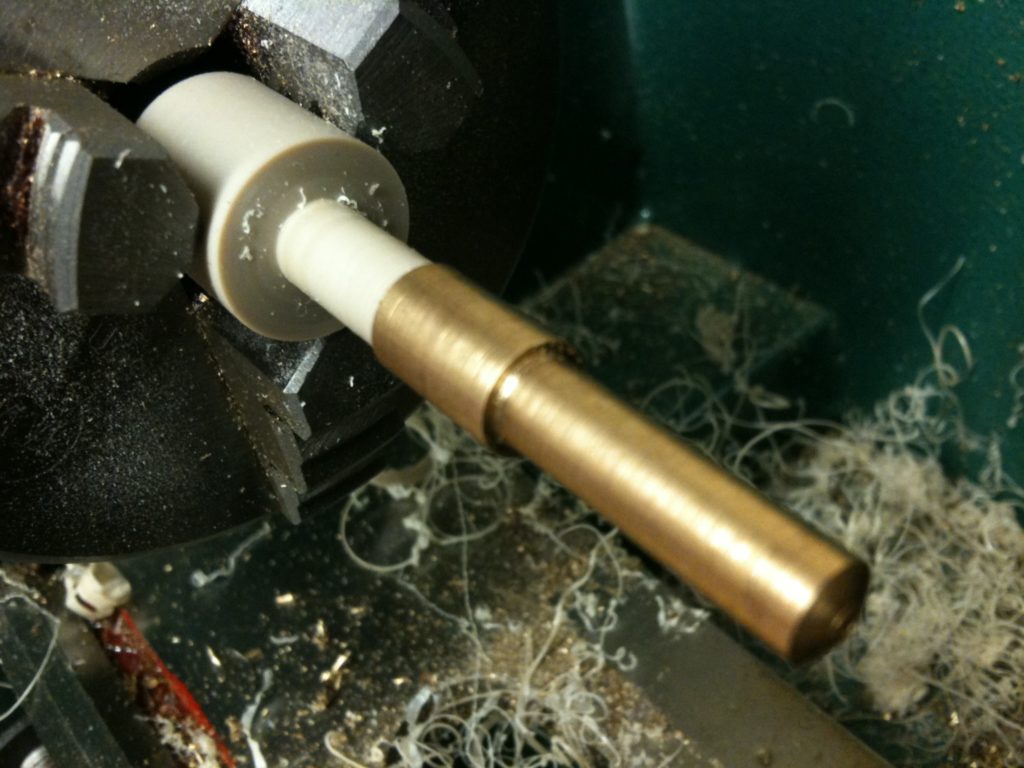
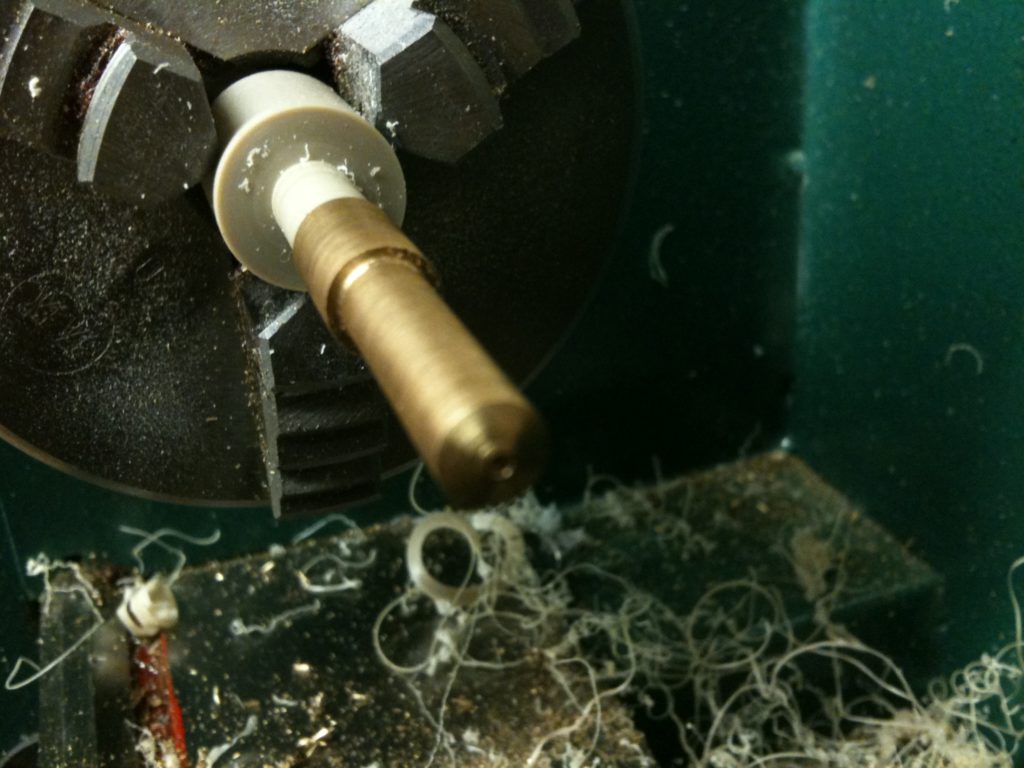
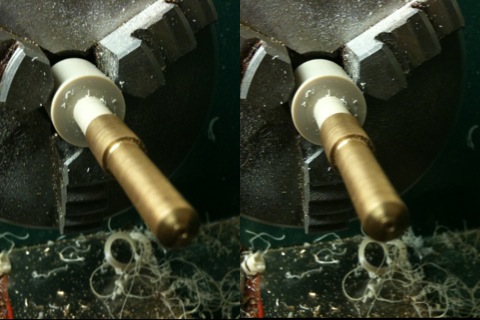
A few weeks later (after unrelated quadcopter, telescope, and pool opening fun) I then got on to the PEEK part:
..and for fun, here’s a 3D view of that (let your eyes drift until both images overlap on top of each other):
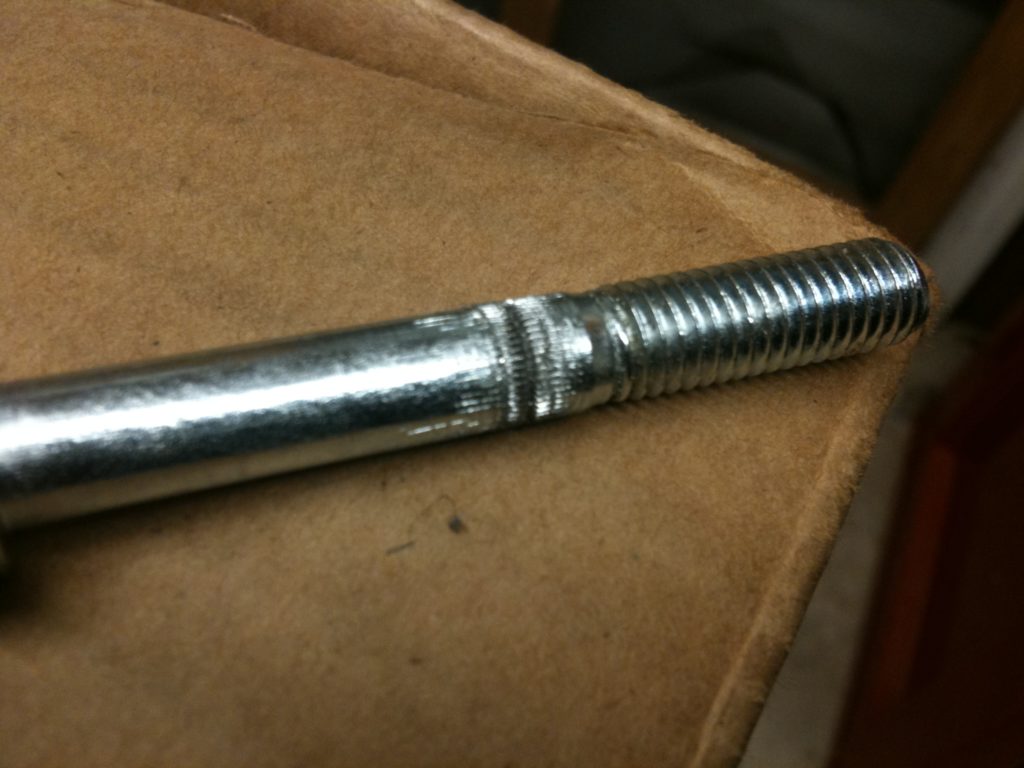
That was all around the May/June timeframe. That’s the last RepRap photo I took until August 21st (now I’m only around 7 months behind in blogging again!). Then I seemed to lose track for a while of the new extruder barrel, and instead just tried printing again. The next pictures I have of are a hobbed bolt:
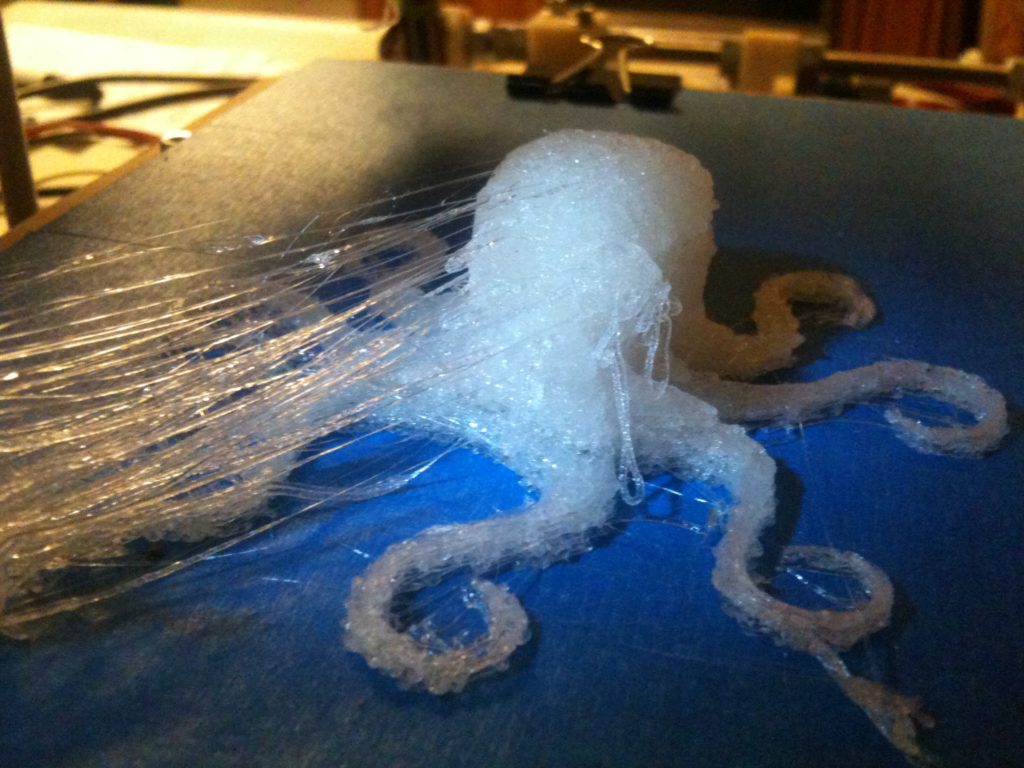
… a horrible octopus attempt:
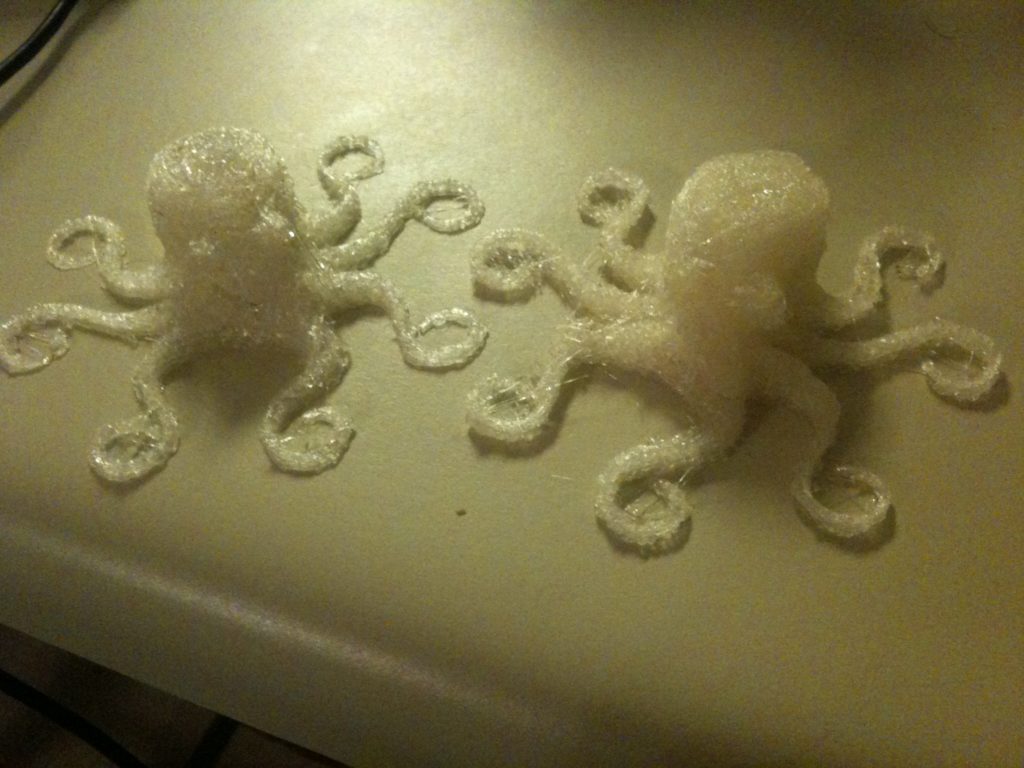
(which wasn’t quite as bad after cleanup):
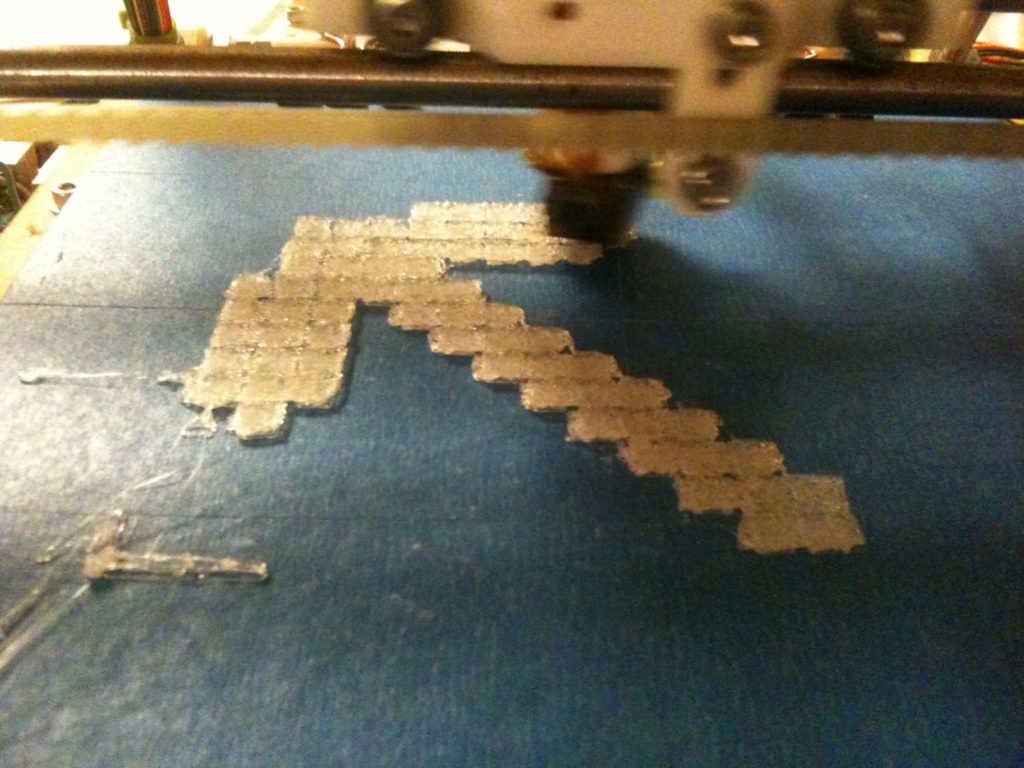
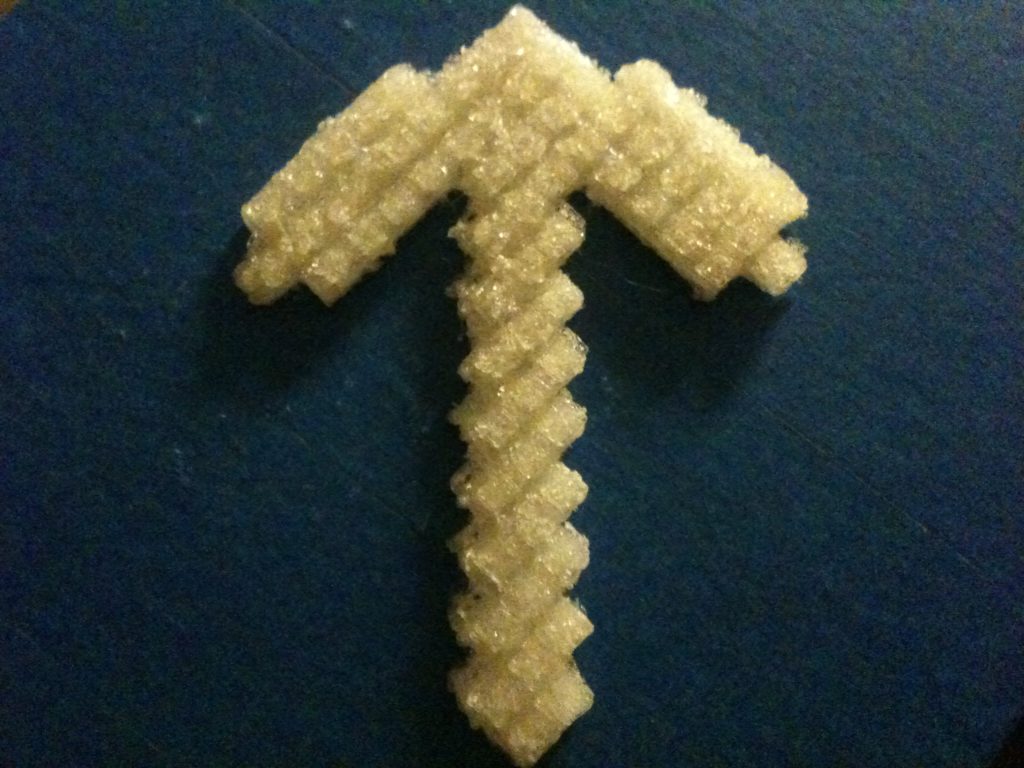
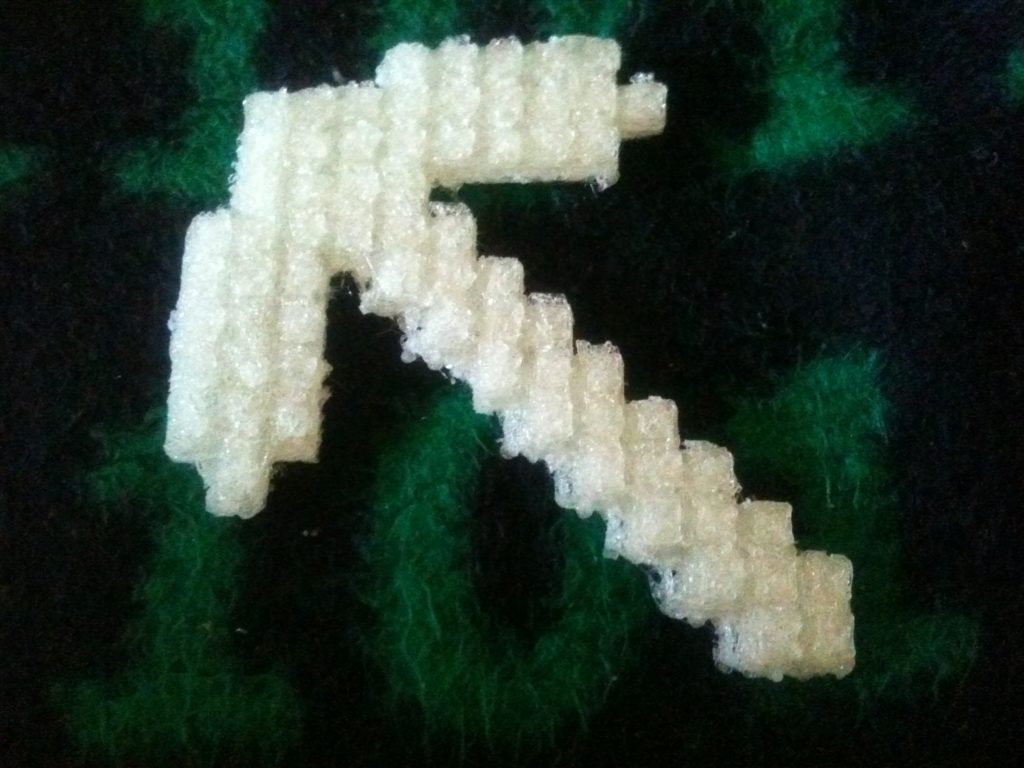
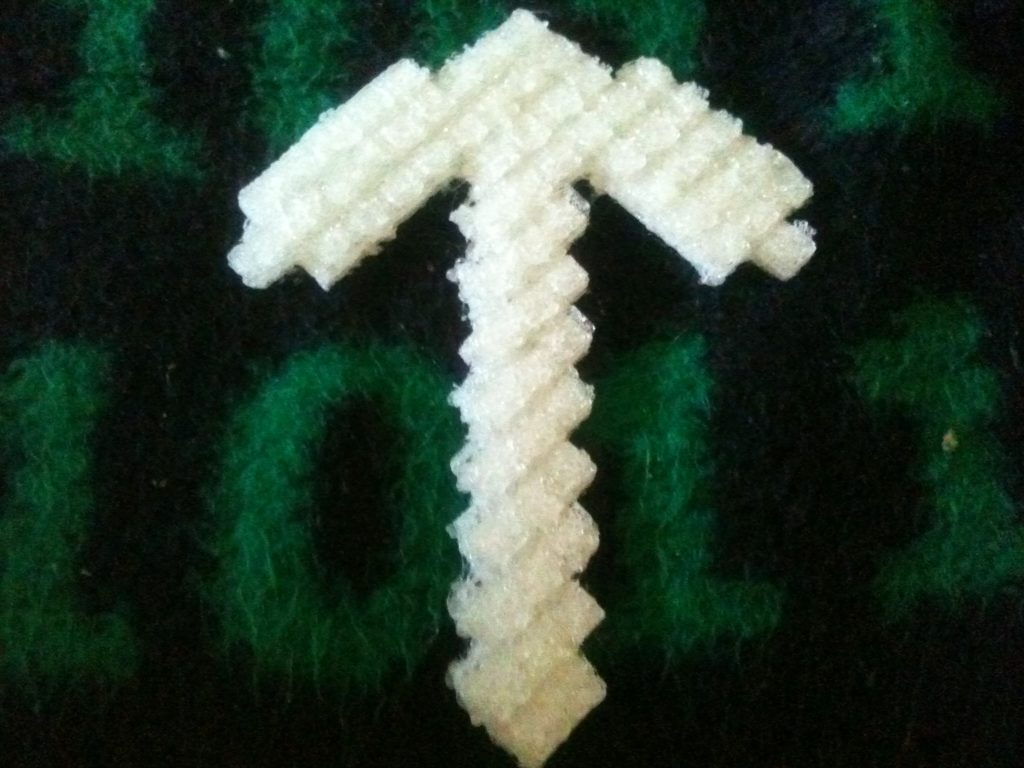
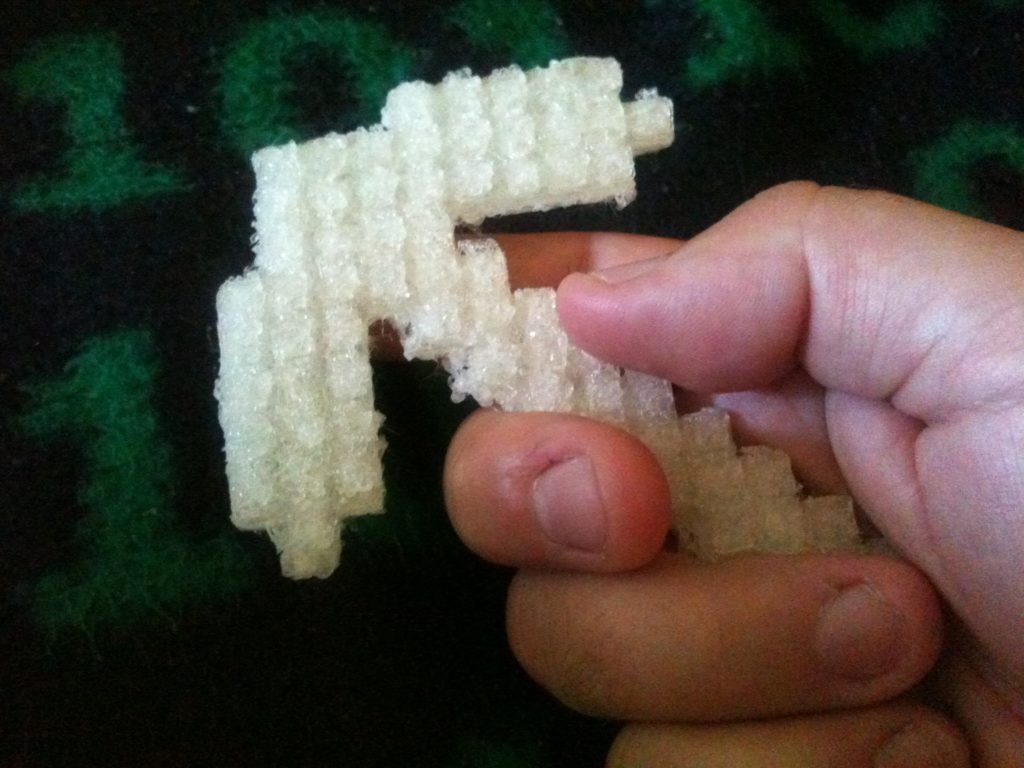
… and then the Minecraft pickaxe I printed. 😀 :
The Minecraft pickaxe print did not go without incident. At one point I paused, triggering a bug I’d seen in either the RepRap Host software or the 5D firmware where it would print at incredibly slow speeds:
Despite that, I ended up with my deliberately-heavily-pixelated pickaxe:
Maybe I could use this pickaxe to dig West. 🙂
Then sometime in August, I saw a Google+ post by Forrest Higgs saying how he finally bought a proper crimping tool and was now making harness cables about ten times faster. Ever since the time that I’d initially found header housings/pins on mouser and shuddered at the crazy crimper price I saw there ($267.45 on mouser.com! AAGH!), I’d dreamed of being able to crimp correctly (but I wasn’t spending that crazy money on some professional crimper). It turns out an excellent crimper can be found for about a tenth of the price. He pointed me at these URLs:
Crimping Tool: 0.08-0.5 mm² Capacity, 20-28 AWG
http://www.pololu.com/catalog/product/1929
($29.95)
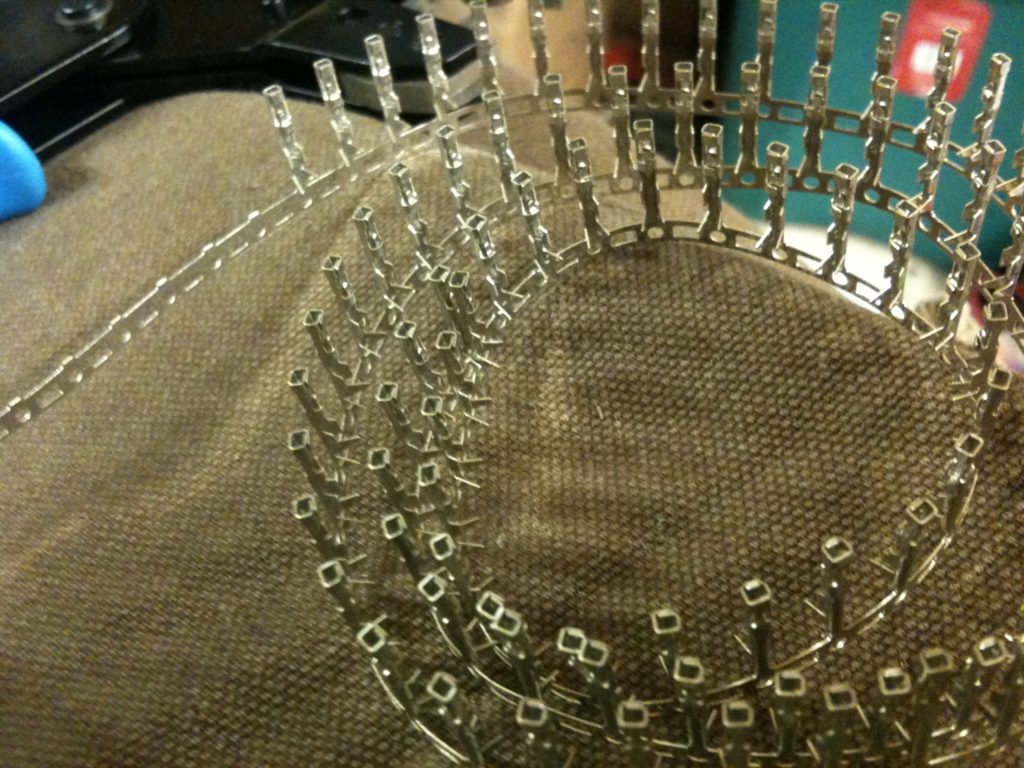
Female Crimp Pins for 0.1″ Housings 100-Pack
http://www.pololu.com/catalog/product/1930
($5.95 for 100)
0.1″ (2.54mm) Crimp Connector Housing: 1×2-Pin 25-Pack
http://www.pololu.com/catalog/product/1901
($0.69 for 25)
(and there are 1×3, 1×4, and 1×1 housings too).
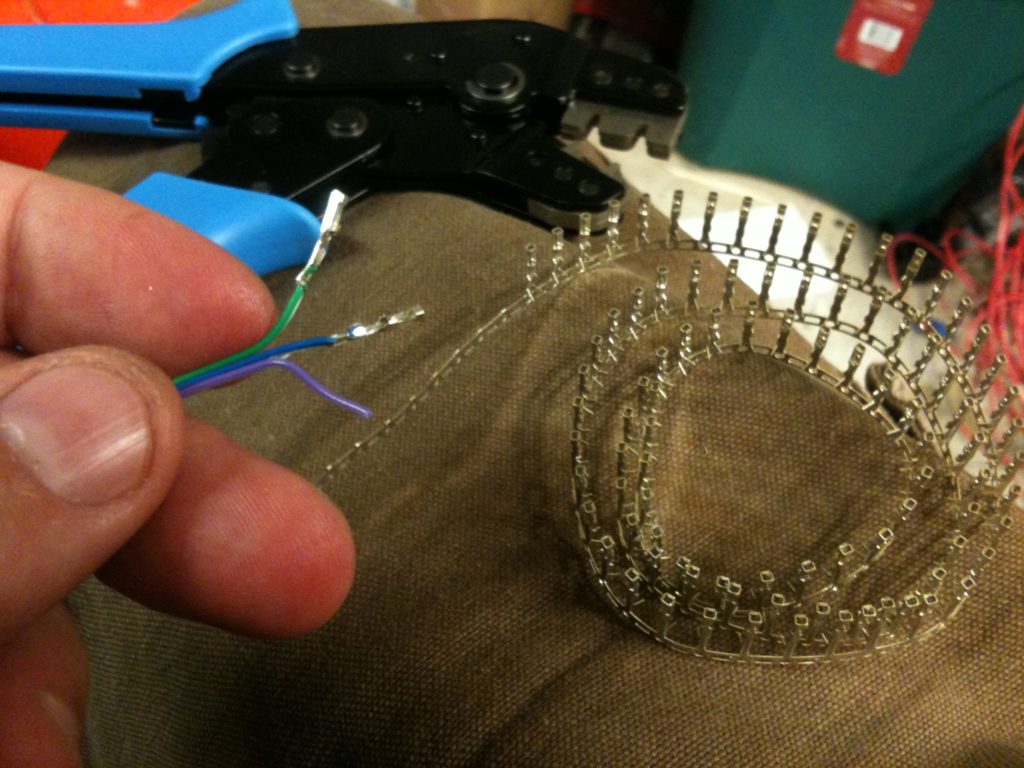
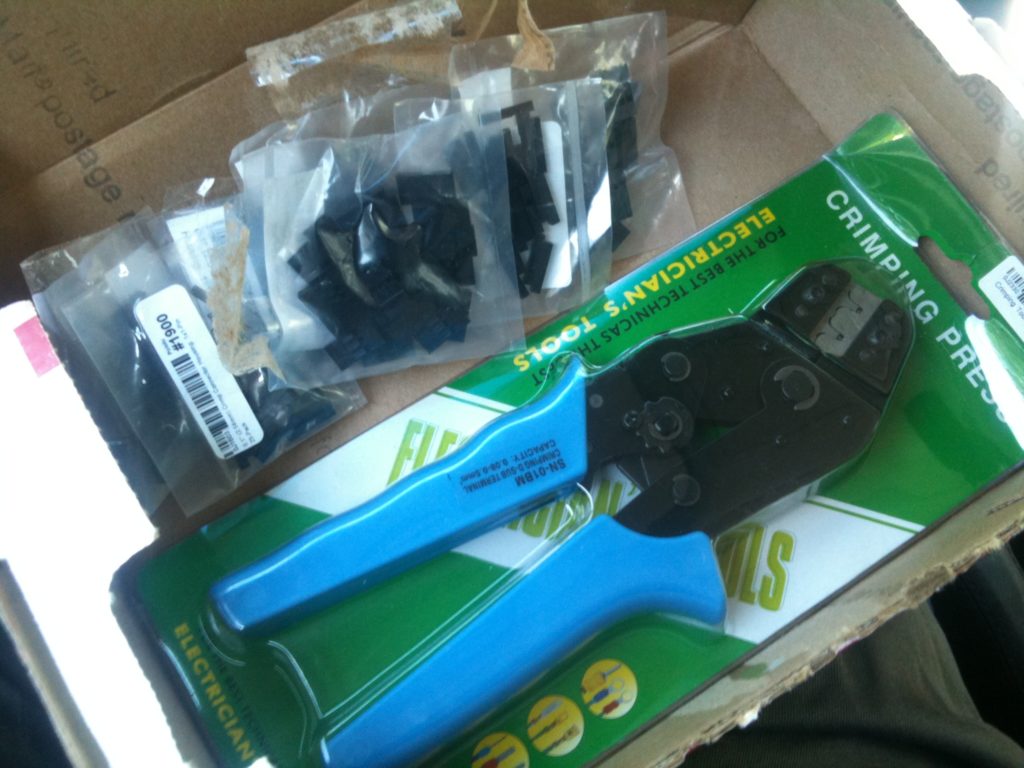
These changed everything. They took crimping headers from a painful headache experience to something easy and satisfying. You’re insane if you don’t go buy one of those crimpers now. It ratchets, tightens everything exactly as tight as it needs to be, and the pins just slide perfectly into those housings and make that satisfying “click”.
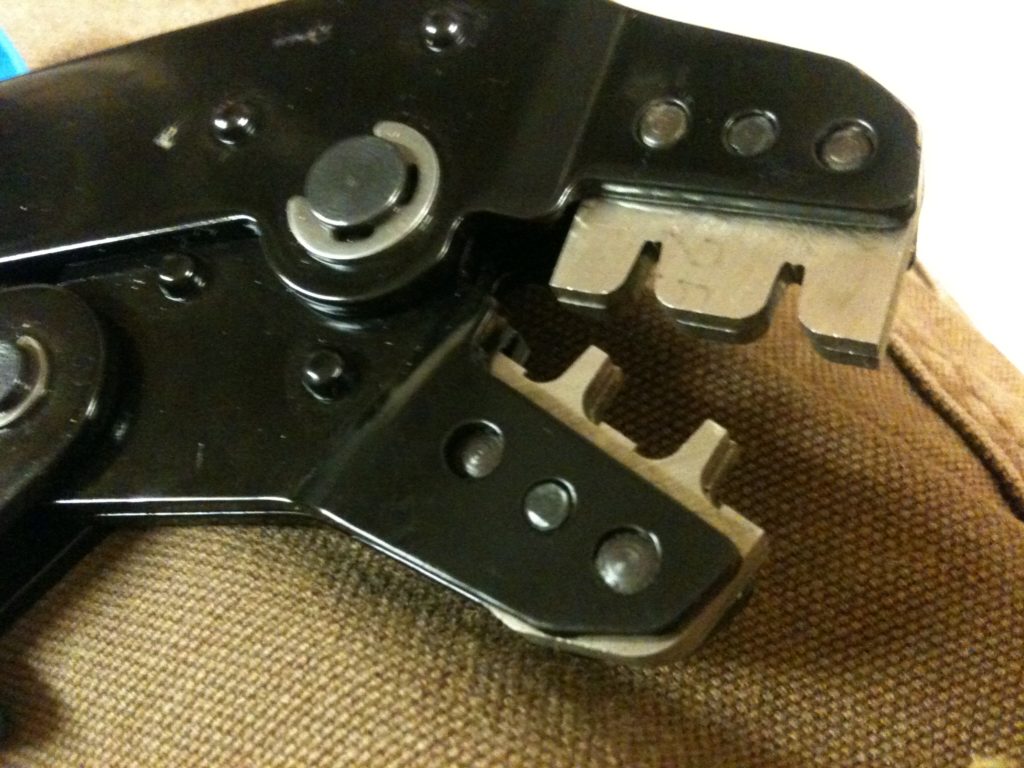
Here is the crimper that arrived at my house:
Here was video that Forrest pointed me to as well that shows how to properly use one of these crimpers:
The only things about that video that aren’t as good as they could be are:
1) The crimper shown is one of the cheap horrible kinds that don’t even ratchet.
2) It seems like he’s skipping a step. I, at least, first crimp the clip around the insulation, then I crimp the inner piece around the wire. To crimp the clip around the insulation, I usually hold the female pin on the wire and use regular pliers to make a temporary crimp against the insulation, then I crimp the insulation part, then I crimp the smaller conductive wire part with another sized notch in the crimper.
Ok so I moved my RepRap back down into my basement, and put it on the lazy susan that I used to use for filament. I know, it seems like that would react to the vibrations while printing, but it didn’t. What it DID do is give me easy access to all sides of the printer, by simply unplugging the power and USB. It’s like my RepRap is a car up on the lift at a mechanic’s station!
It certainly felt like it needed to be at a mechanic’s station. Here was a horrible horrible calibration print I did right after moving downstairs:
I’ll end it there. Things are about to get a lot better. A lot better.
