[ AGAIN, BE SURE TO READ THE BIT AT THE END ABOUT MAKERFAIRE 2012 ]
Right on the heels of a blog post earlier this week, another post!
This is going to be a long one.. but with lots of pretty pictures.
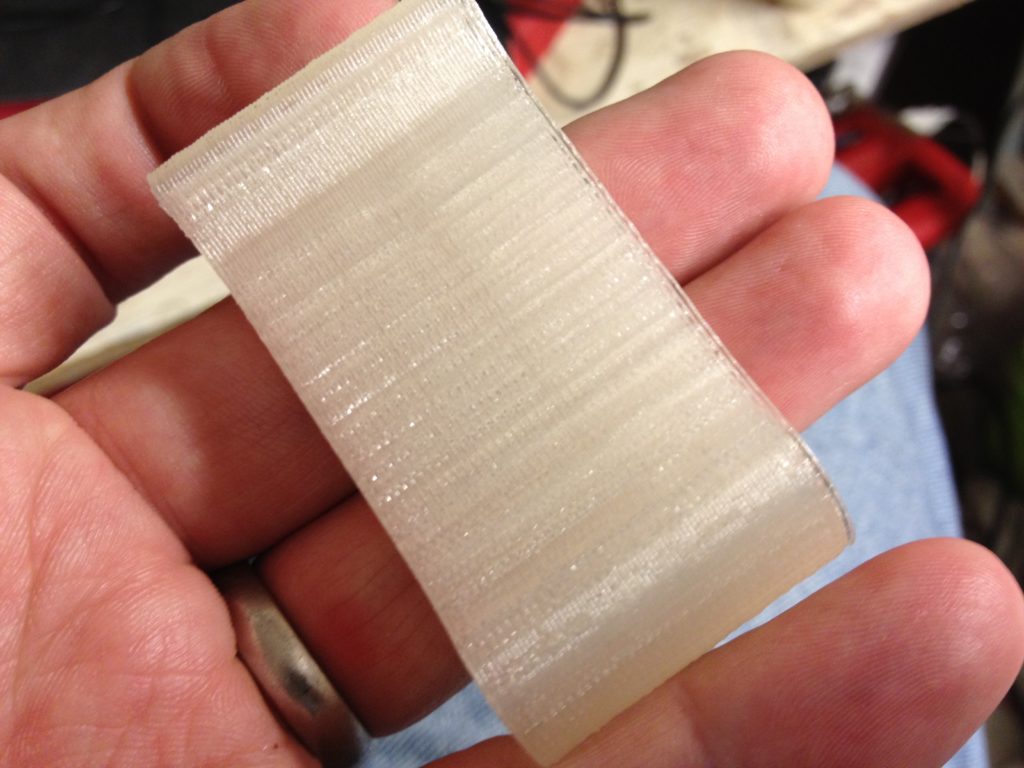
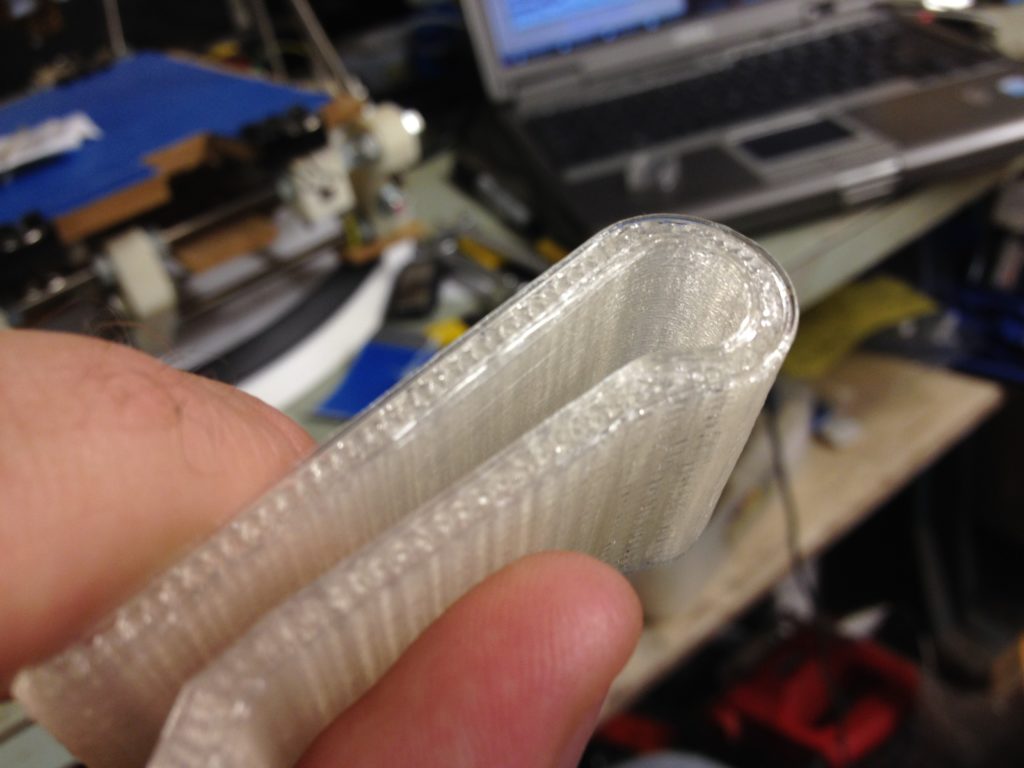
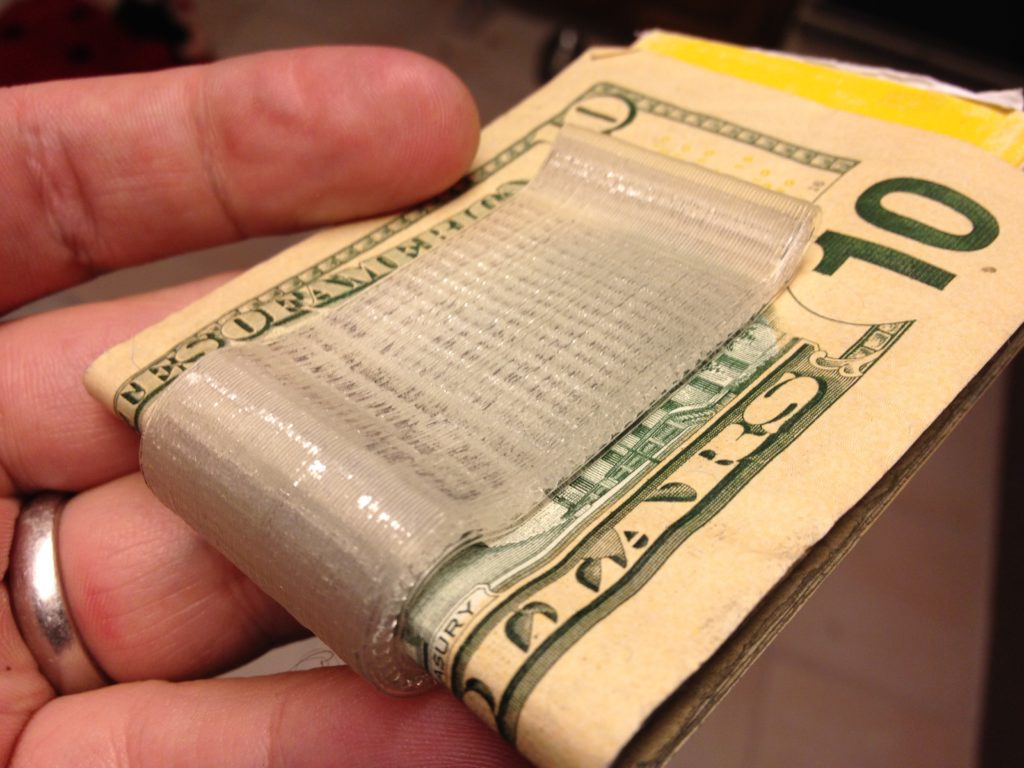
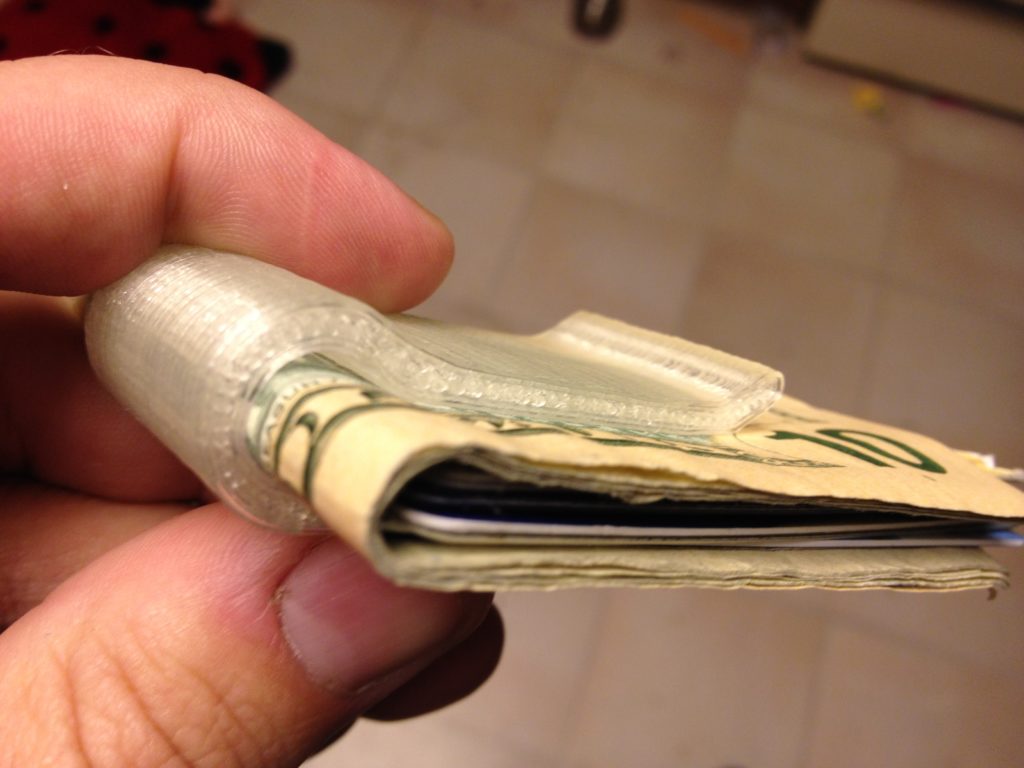
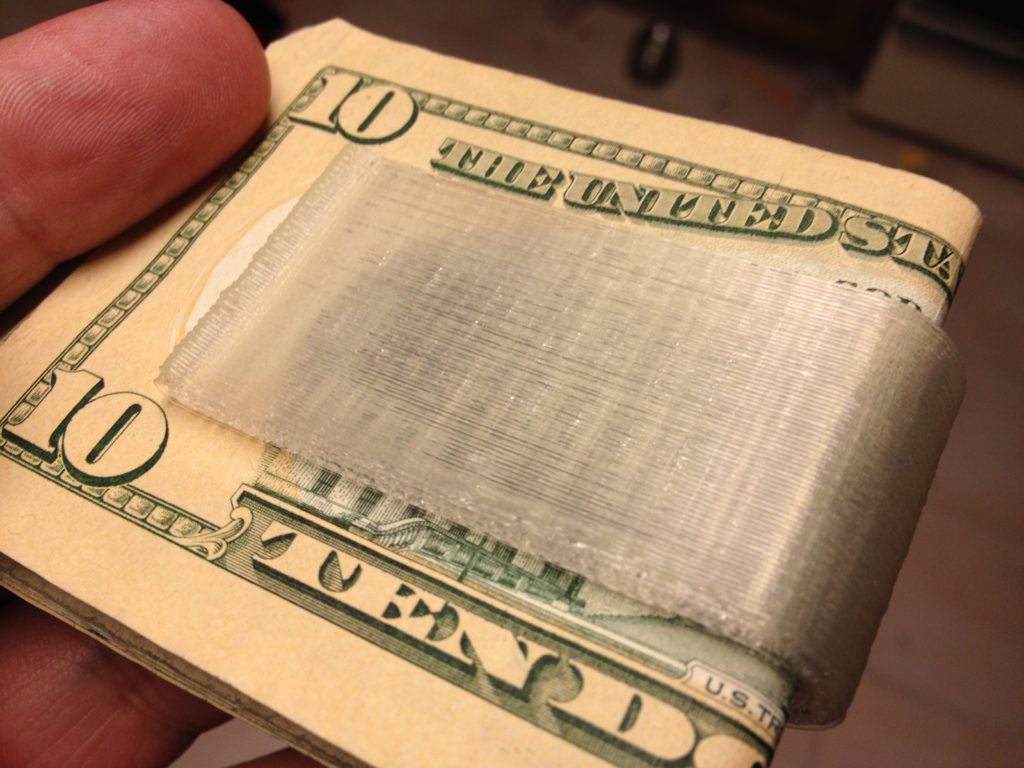
Ok! In the last blog post things finally got awesome – I printed a money clip that looked absolutely flawless, out of PLA, on my RepRap. (As I type this it’s September 23rd, so I’m around 11 months behind, as I’m blogging about events from the end of October 2011).
I probably had my expectations cautiously dialed back (expecting something else to go wrong, so it wouldn’t be so bad when it did), but nope – there was a whole lot of smooth sailing from that point on. Feast your eyes on some of these prints.
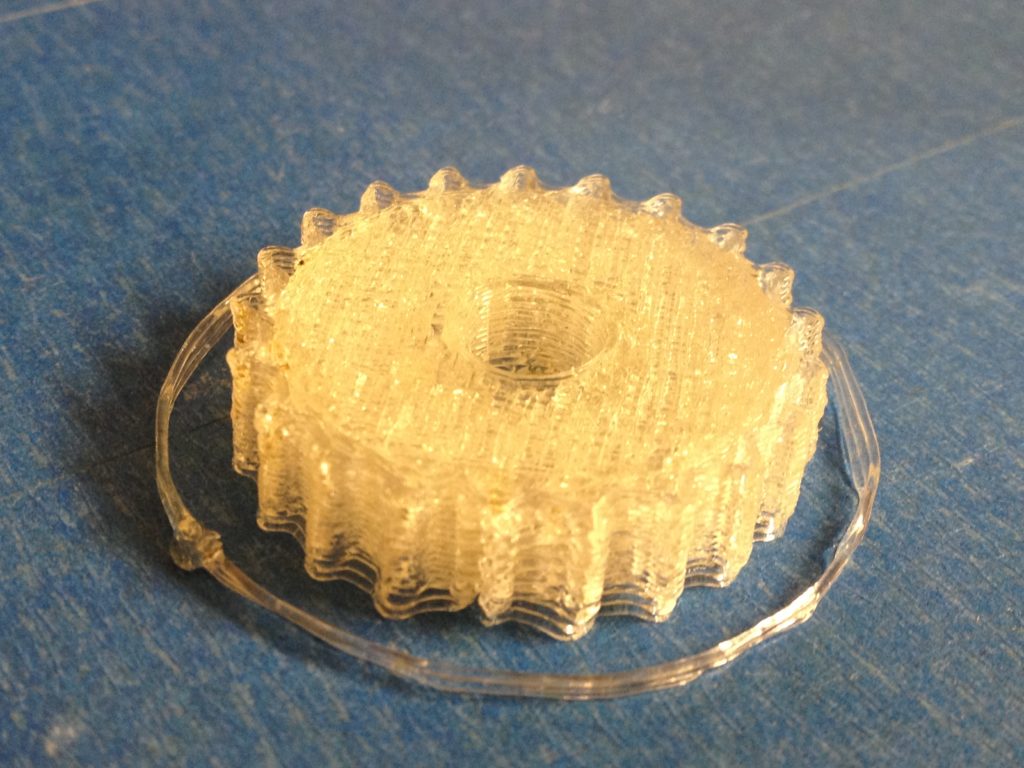
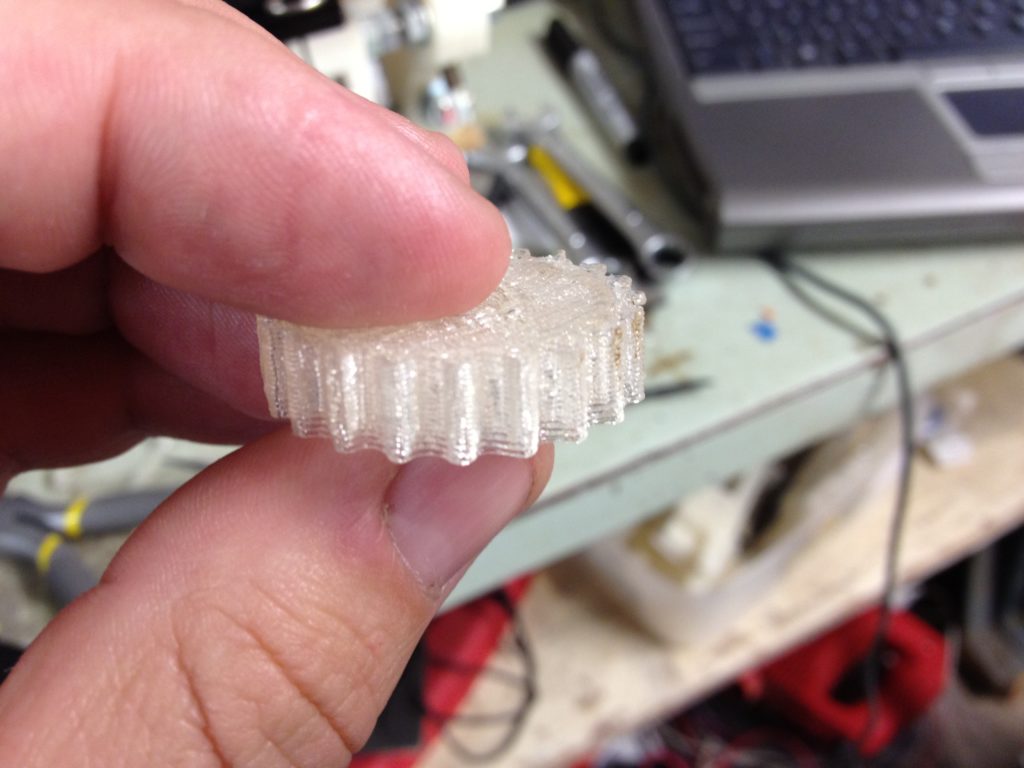
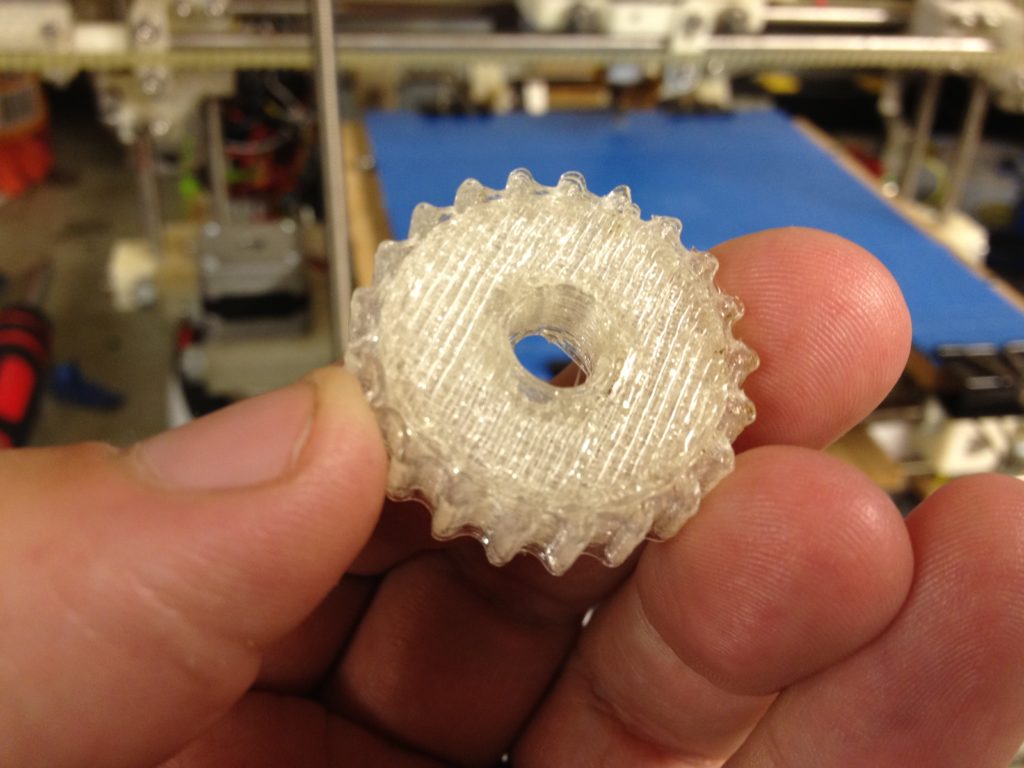
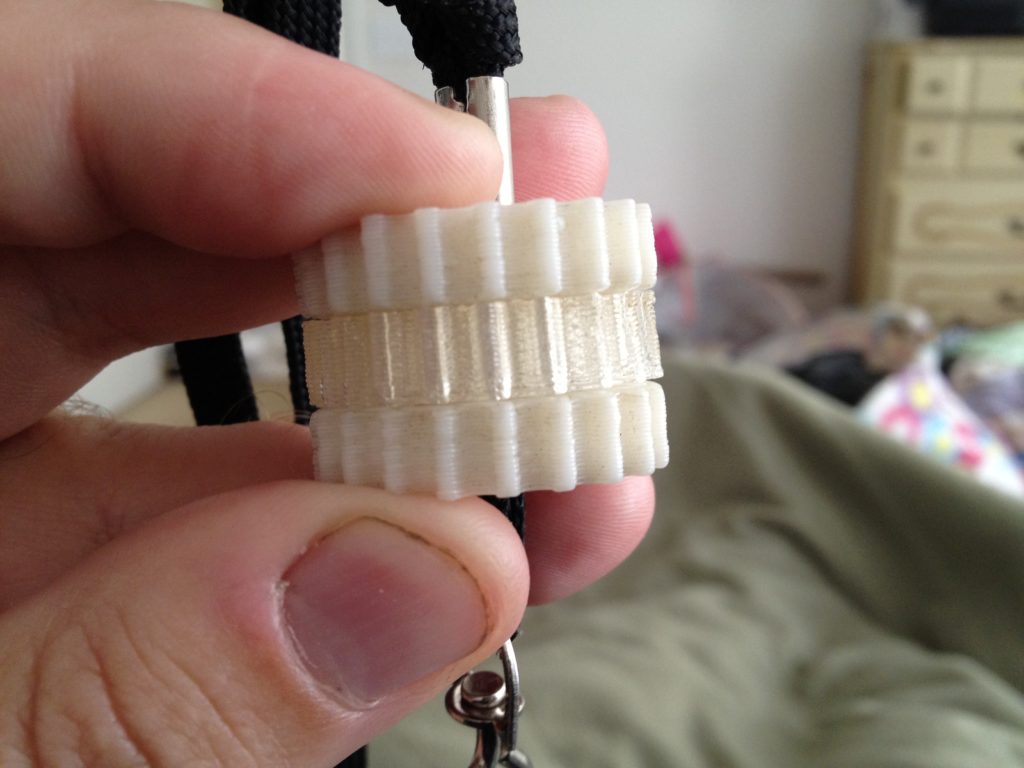
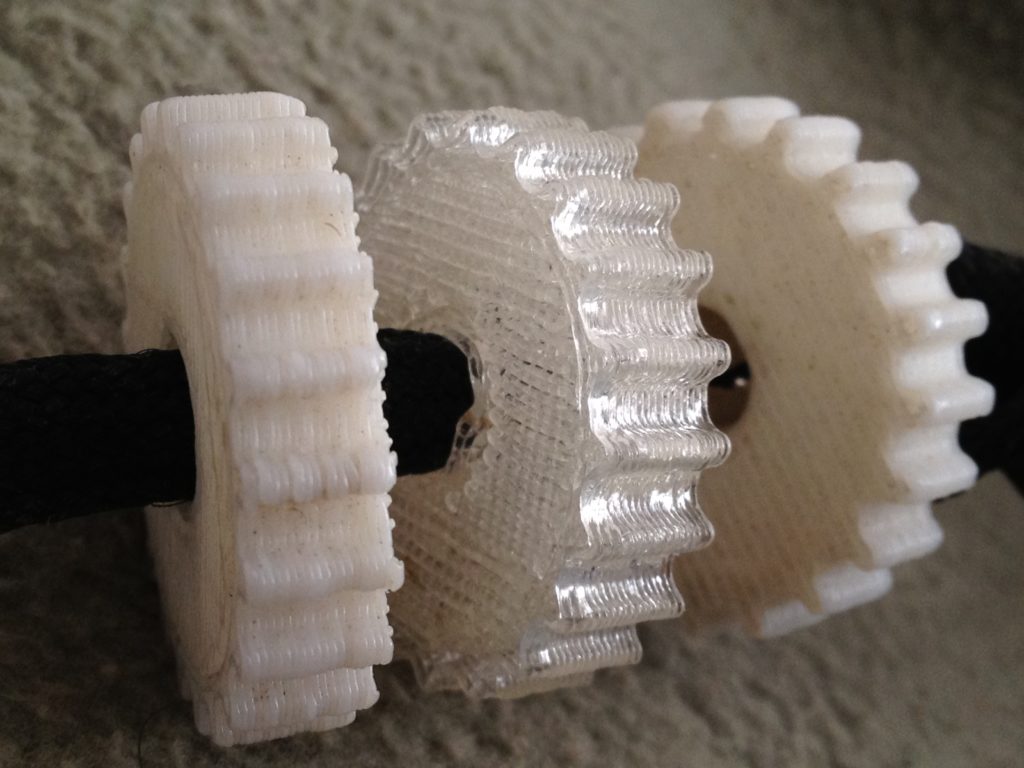
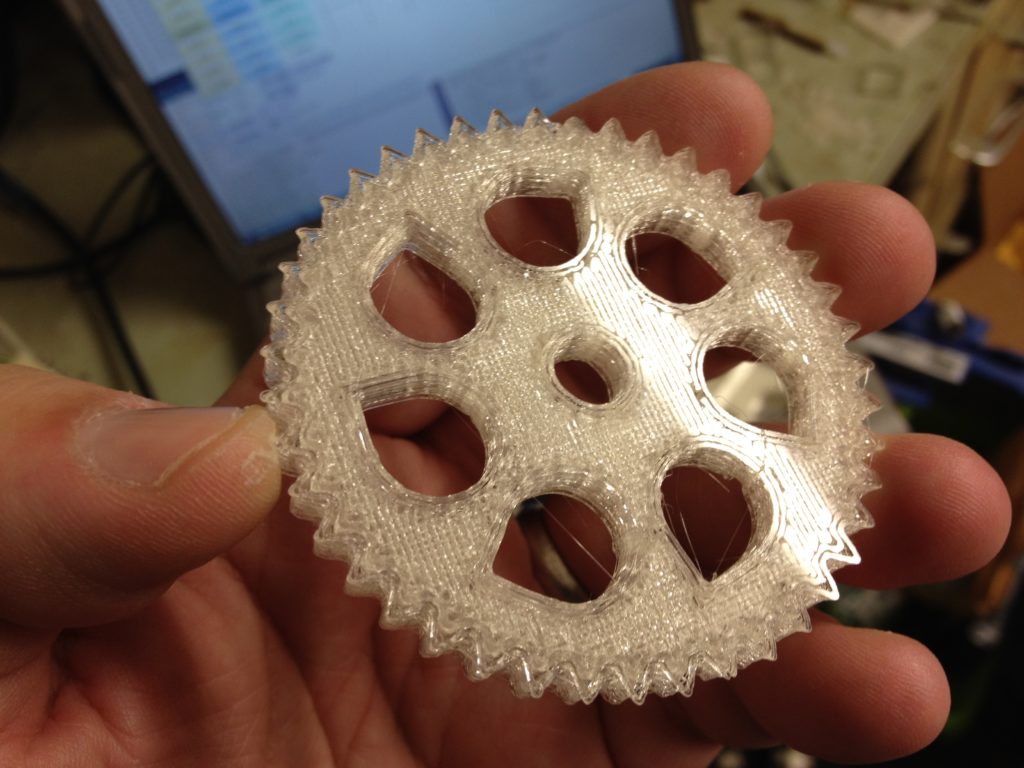
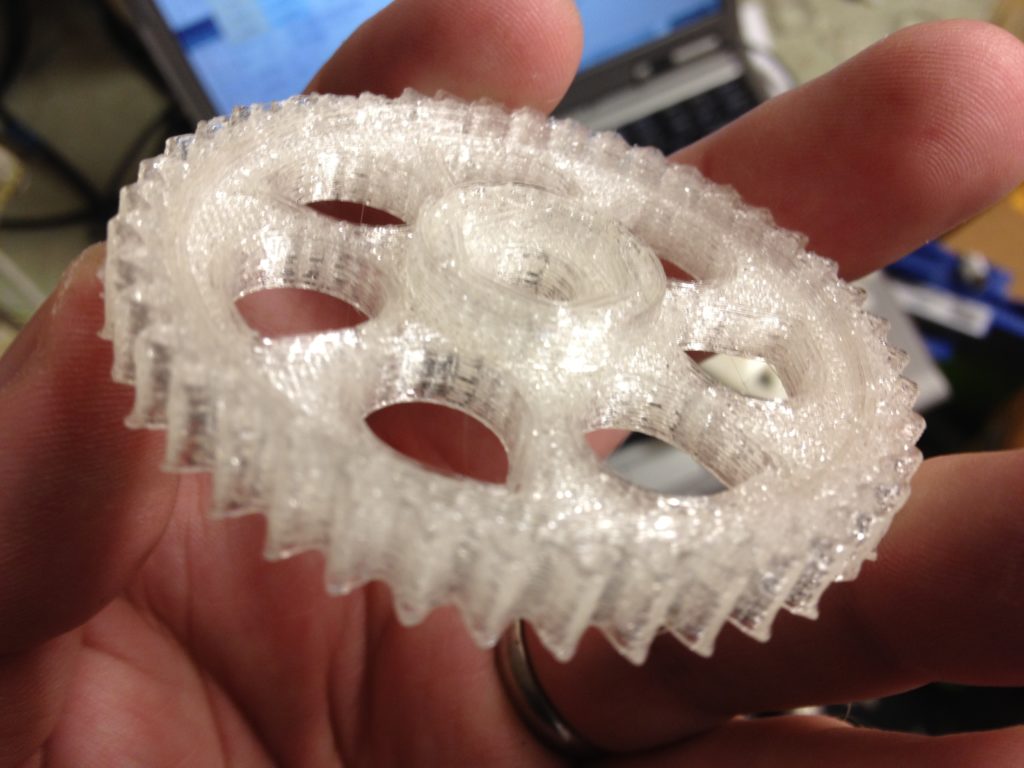
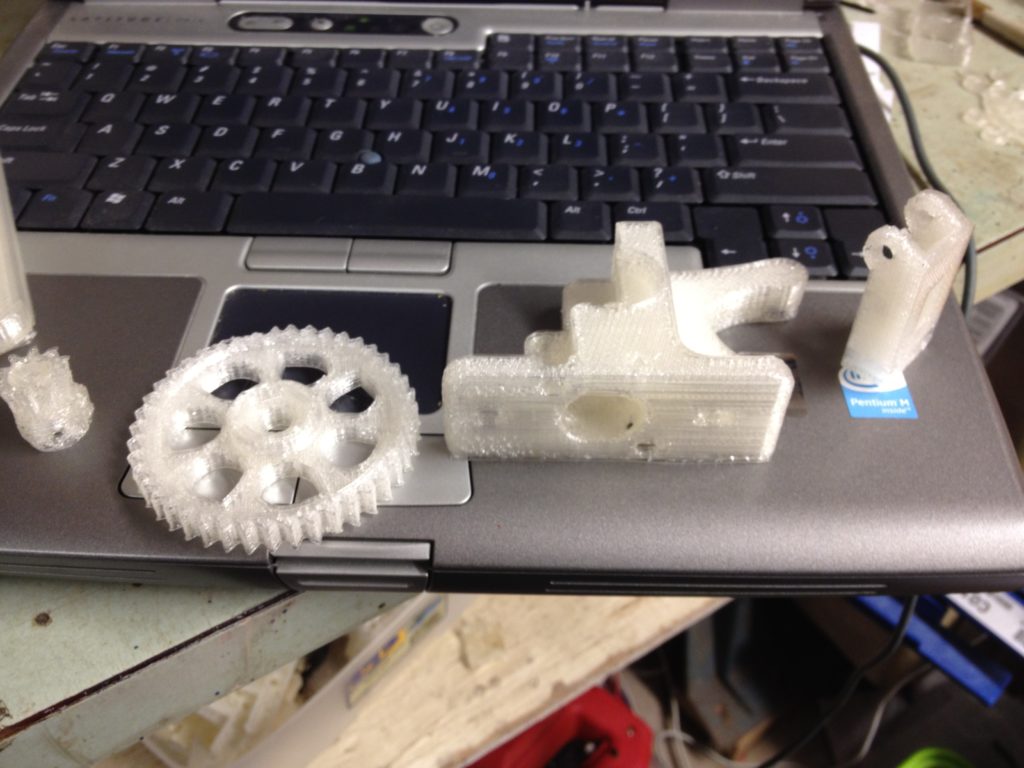
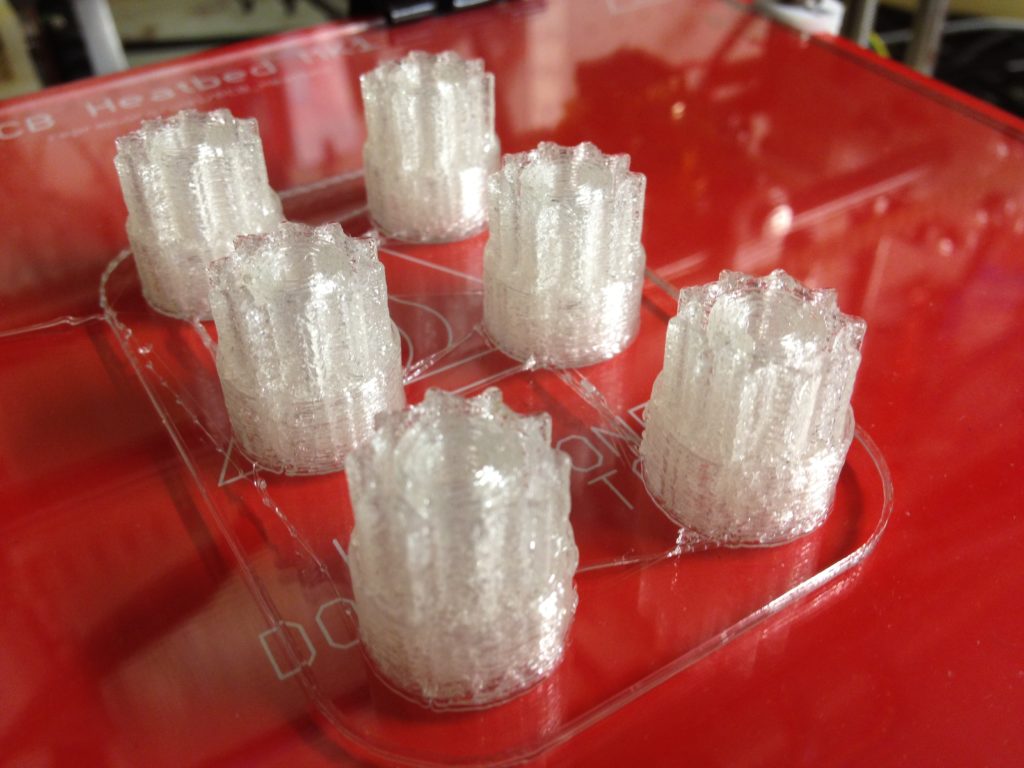
For years I’ve worn two gears on the lanyard that holds my badge for work. They’re printed out of ABS on the Makerbot Cupcake that I printed my RepRap’s actual parts on (specifically they’re the z-driven pulleys from the original Sells Mendel). I finally printed one out of PLA and put it on my badge between them, making a cool gear sandwich.
..and here it it on my badge between the ABS ones:
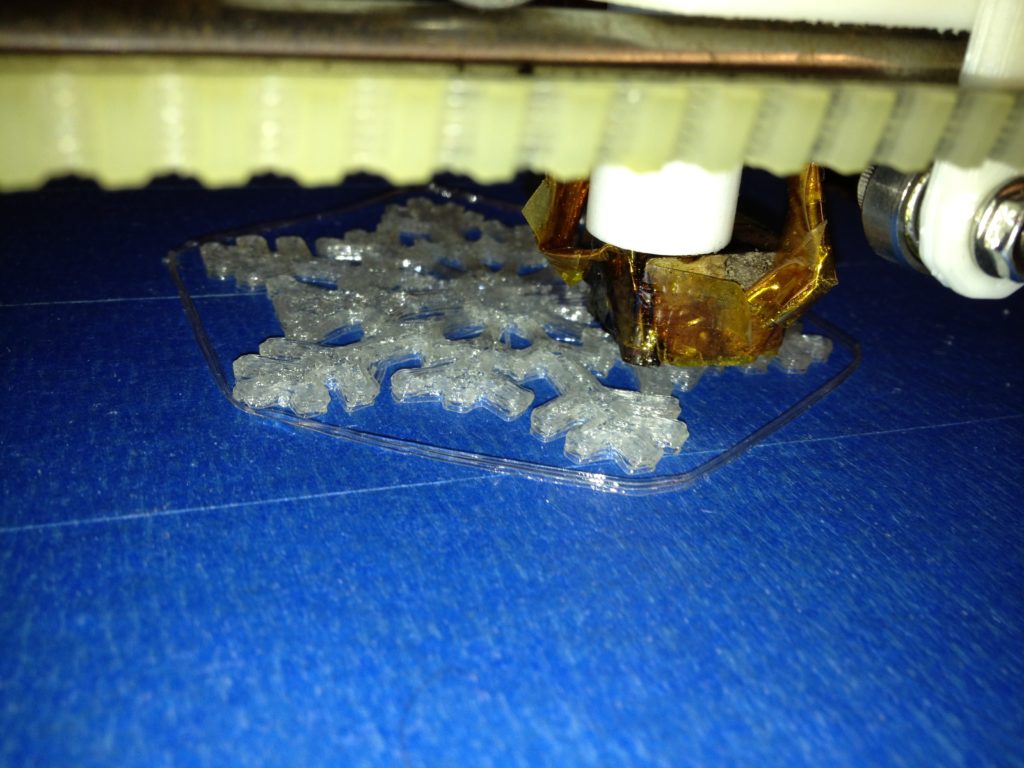
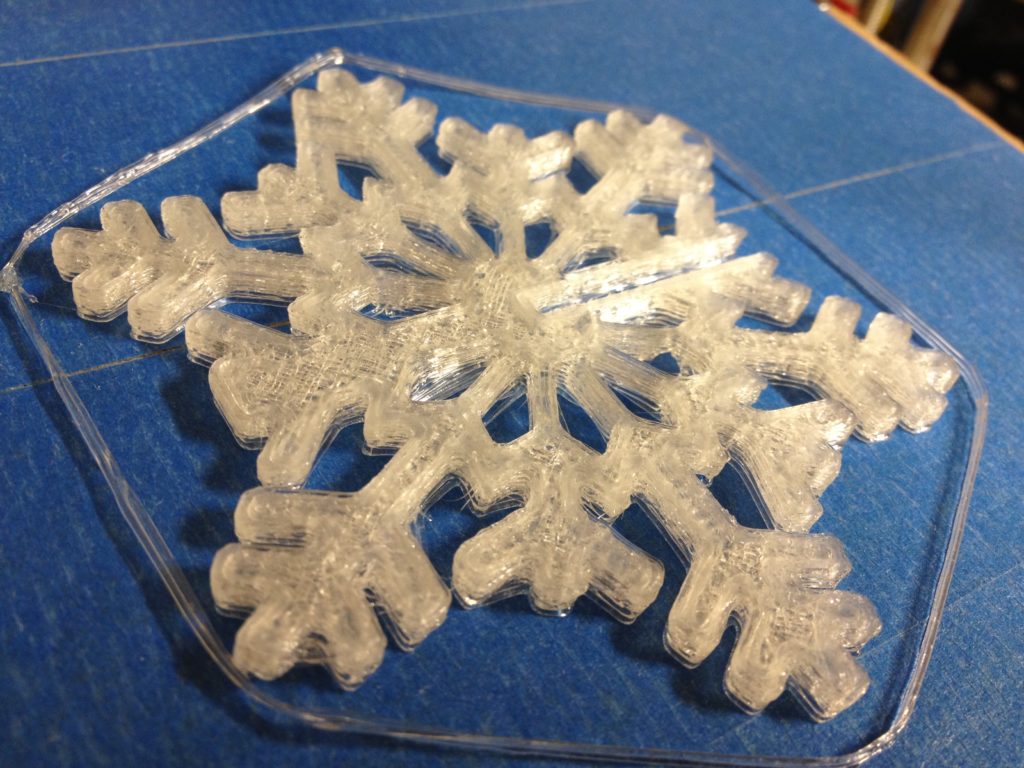
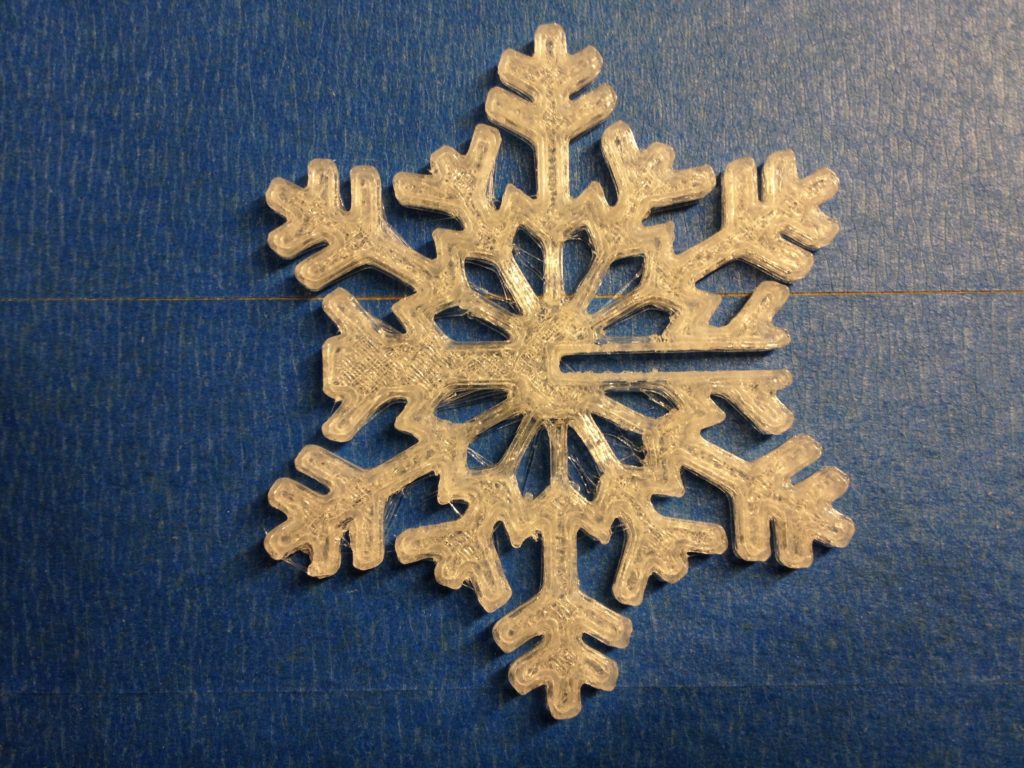
It was getting near winter, so next I printed out this snowflake ornament:
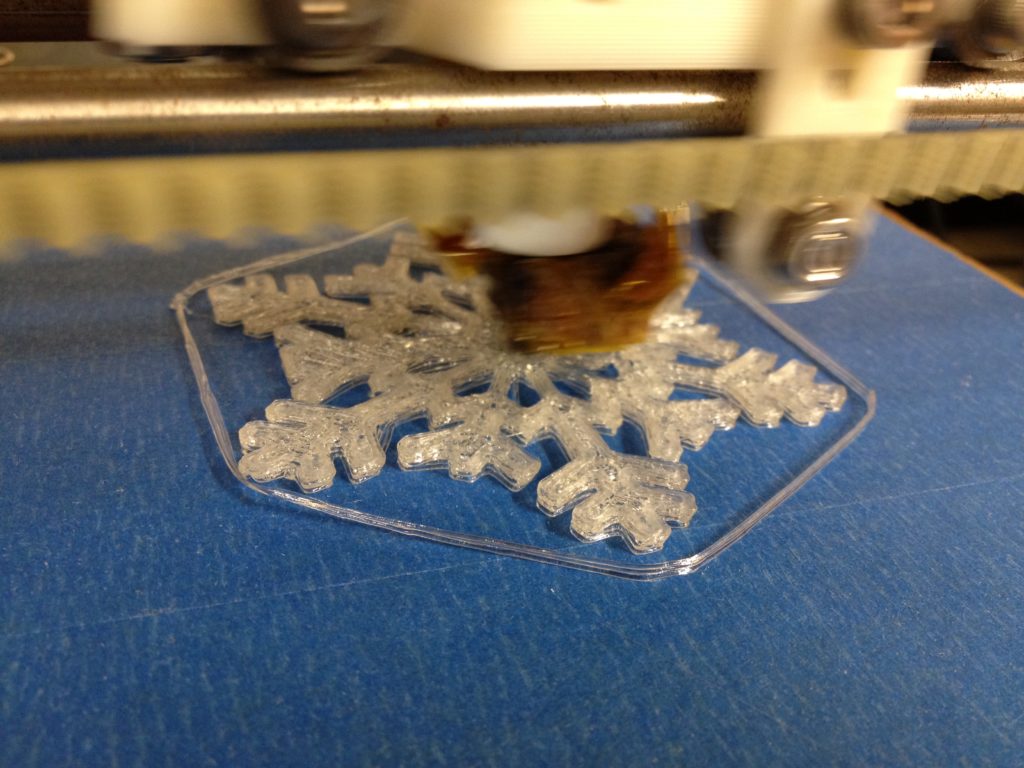
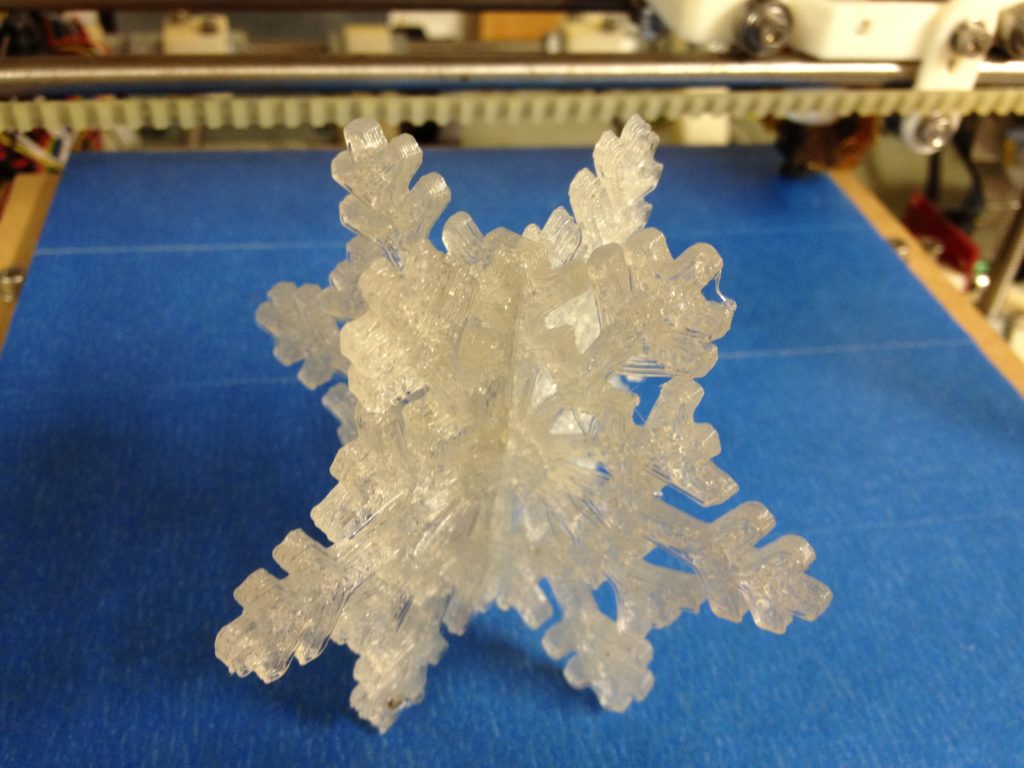
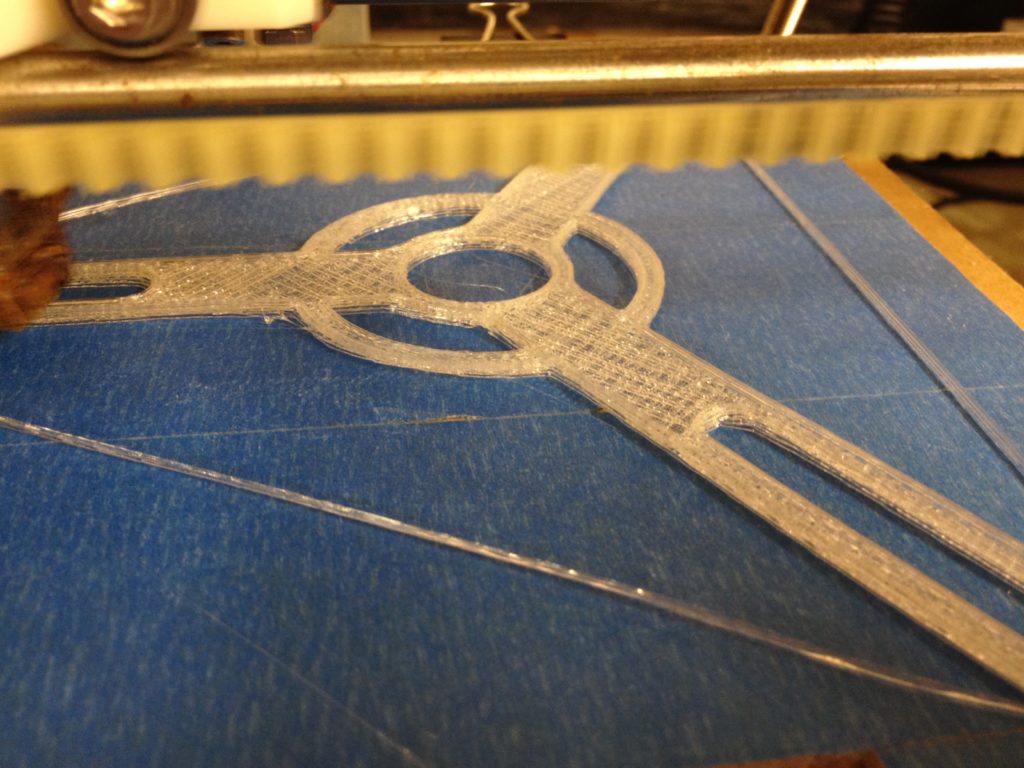
It is so cool watching this snowflake print:
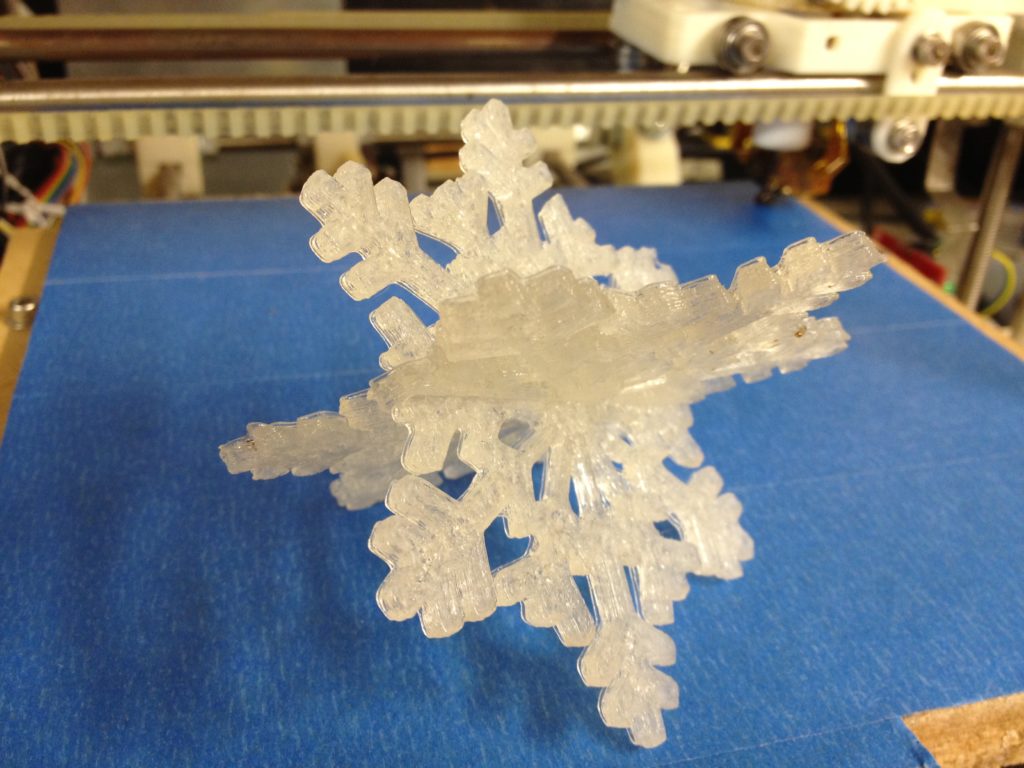
You print two and slide them together:
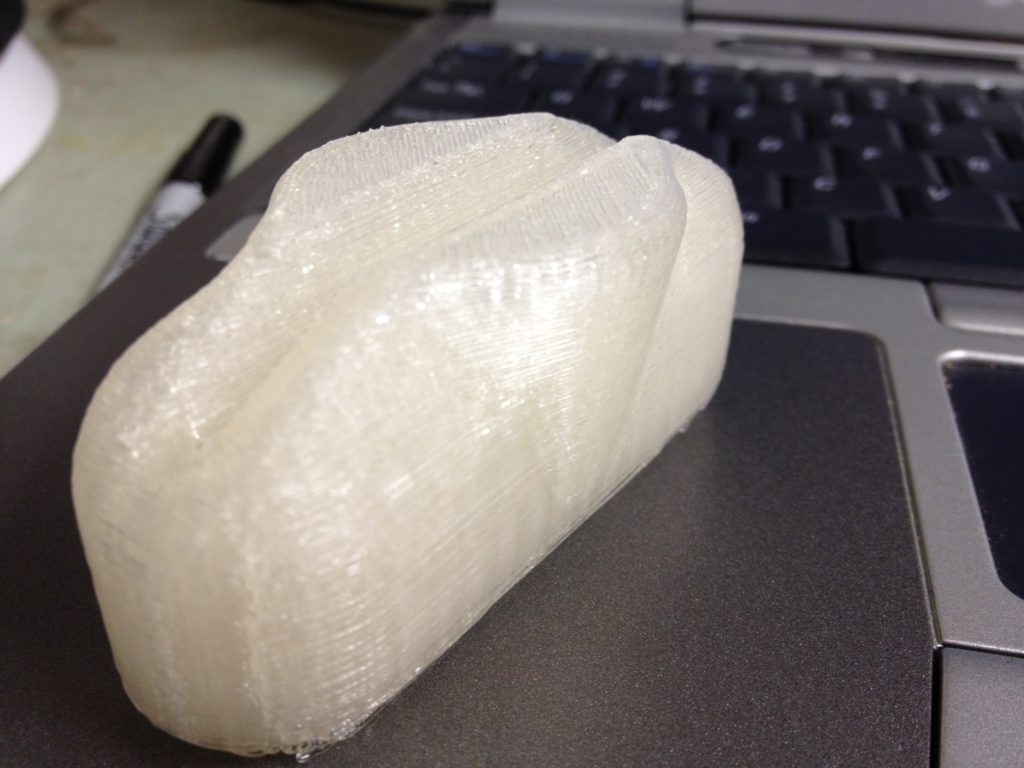
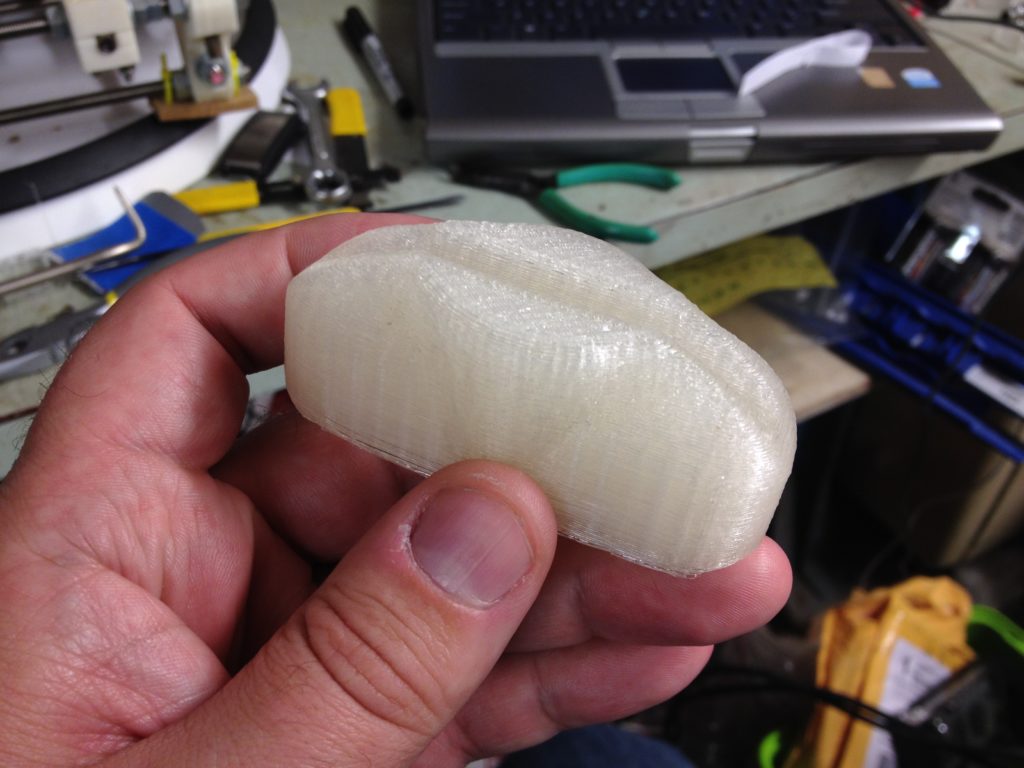
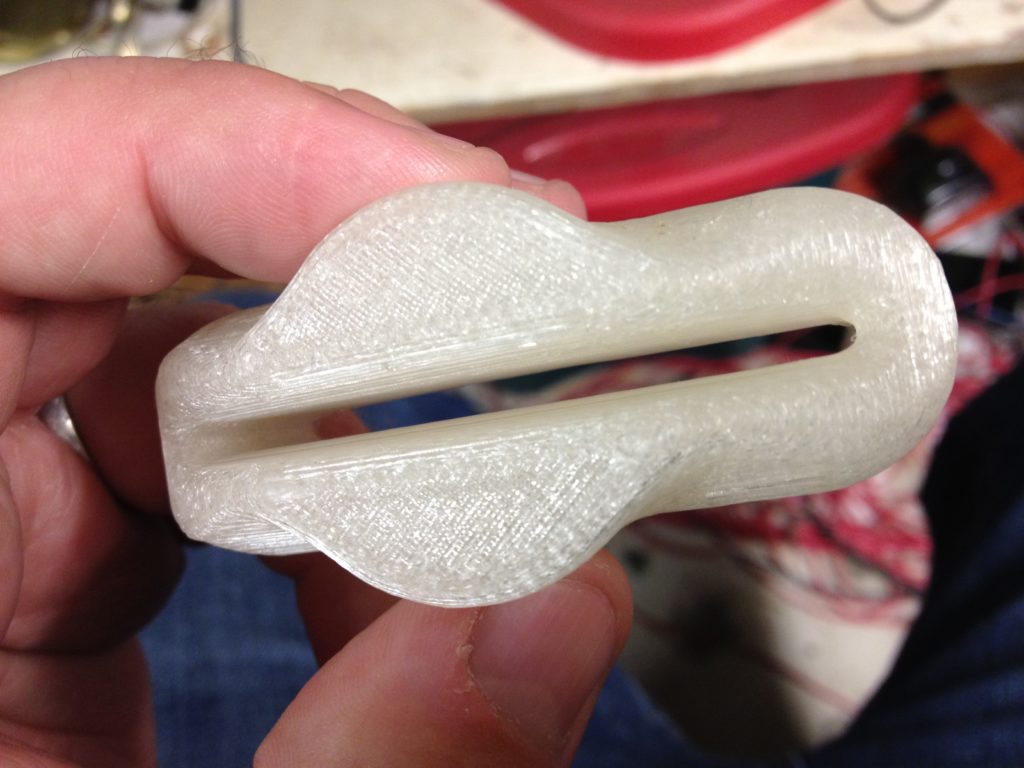
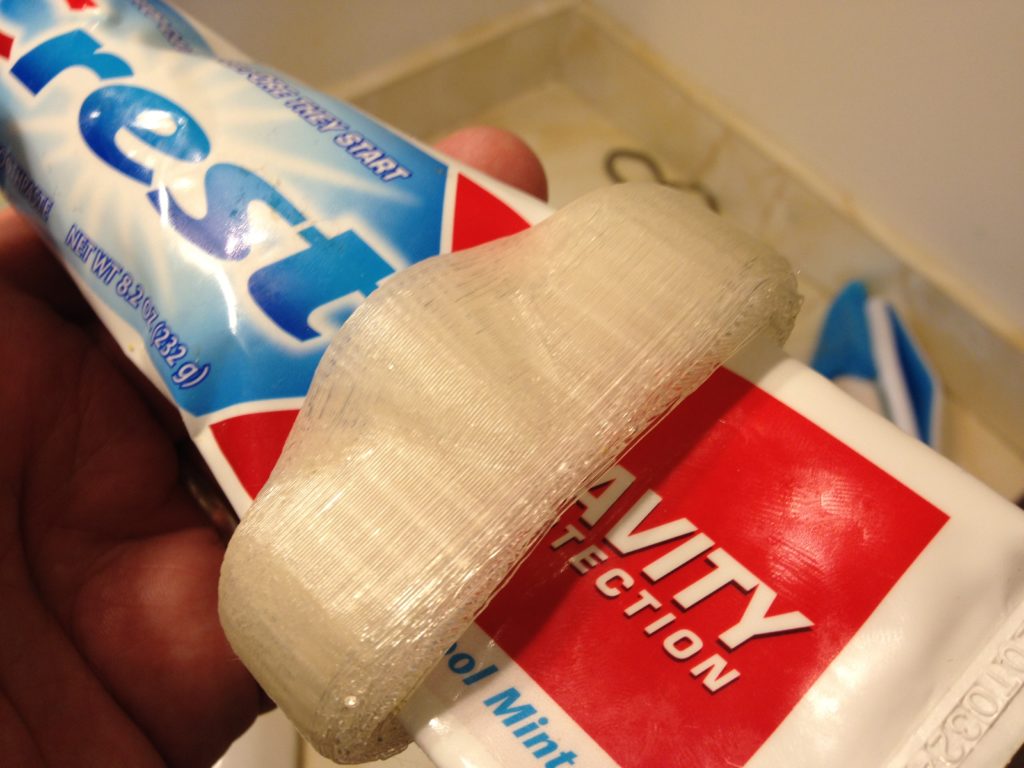
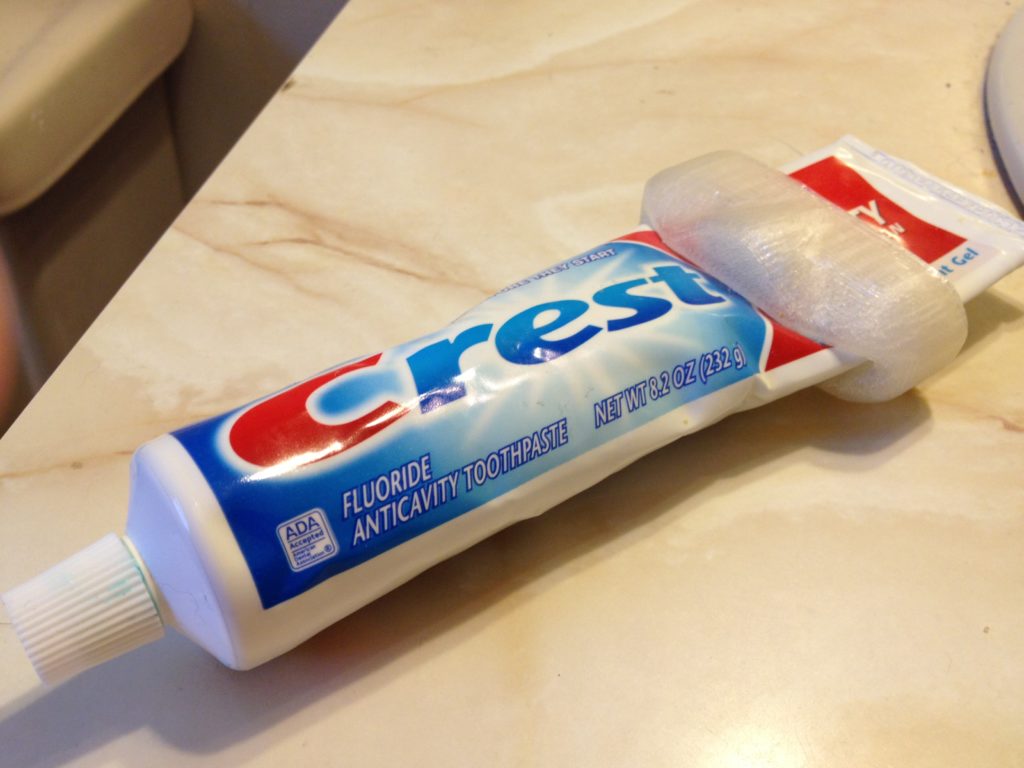
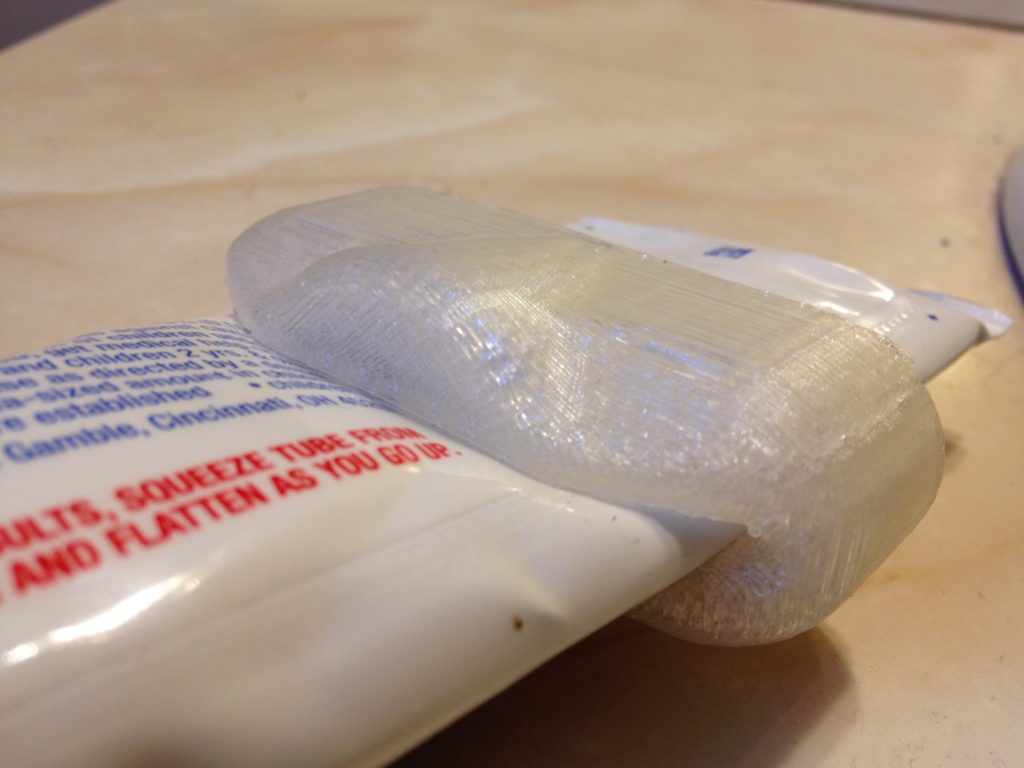
Next I went to an item I remember seeing from a long time ago – a toothpaste tube squeezer. Let’s just say that if there was some innuendo I was supposed to pick up on from the description, I didn’t quite notice it until it printed out (or maybe I’ve just got an active imagination). While it was a great quality print, it didn’t actually help much with the toothpaste. 🙂
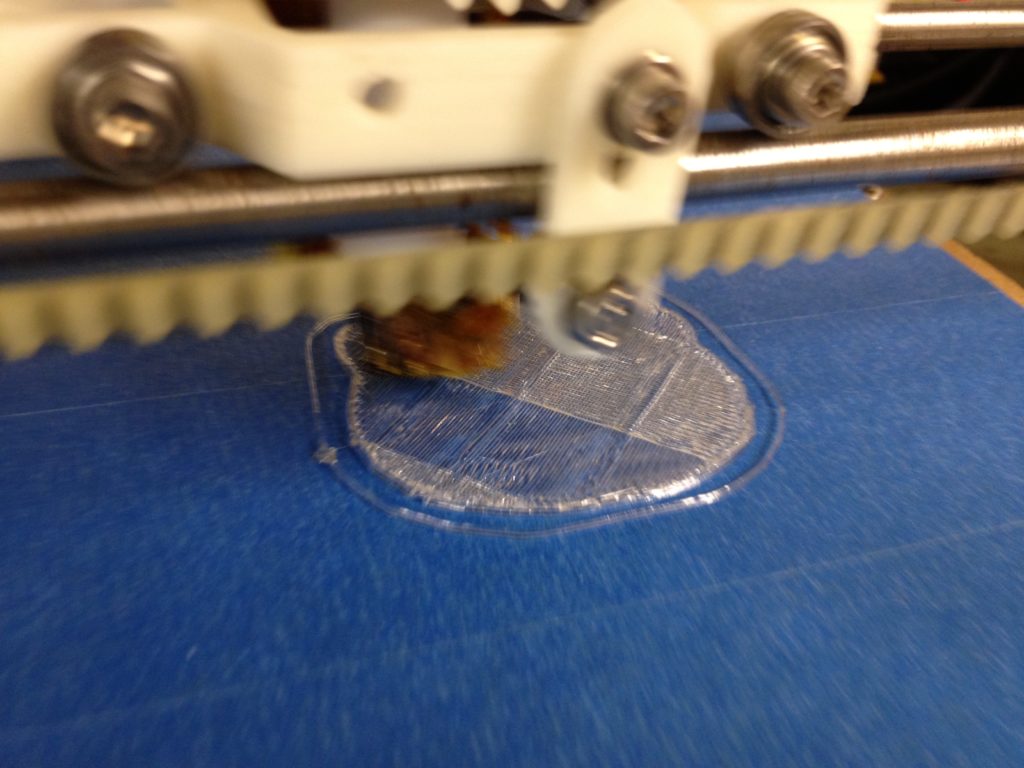
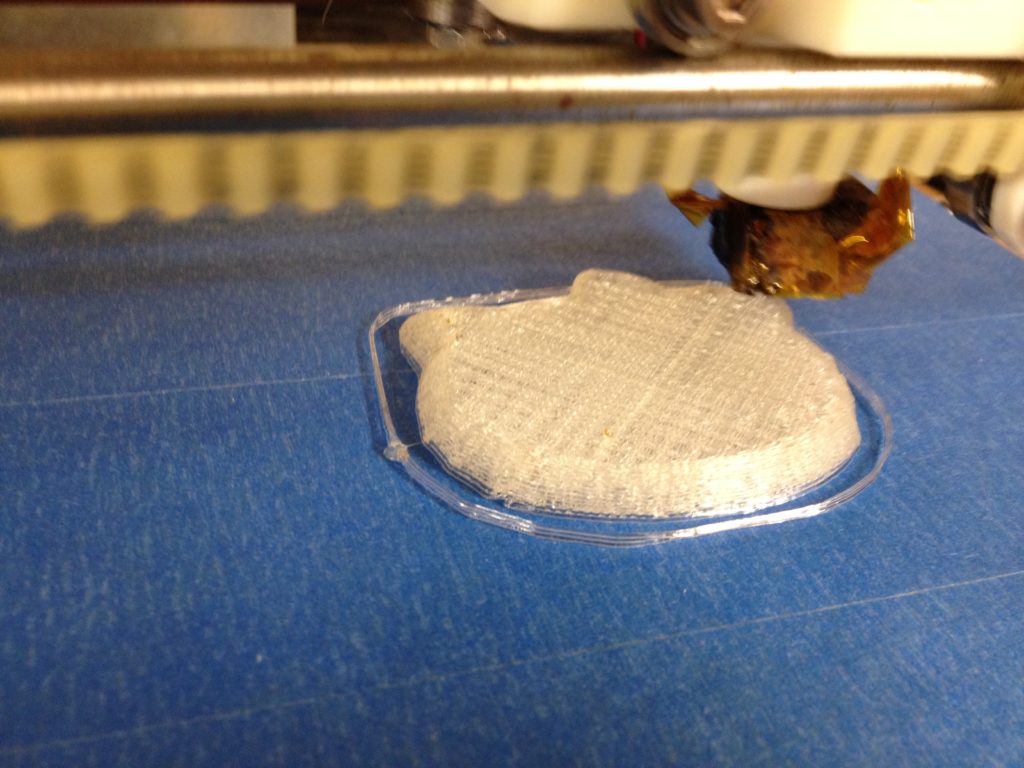
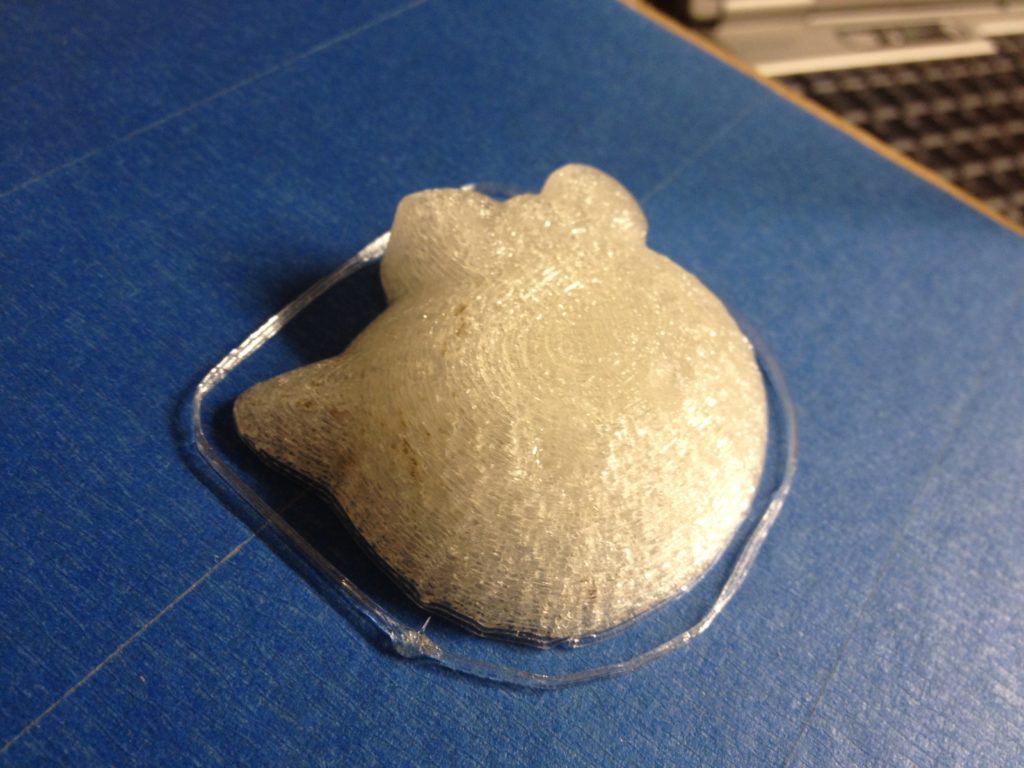
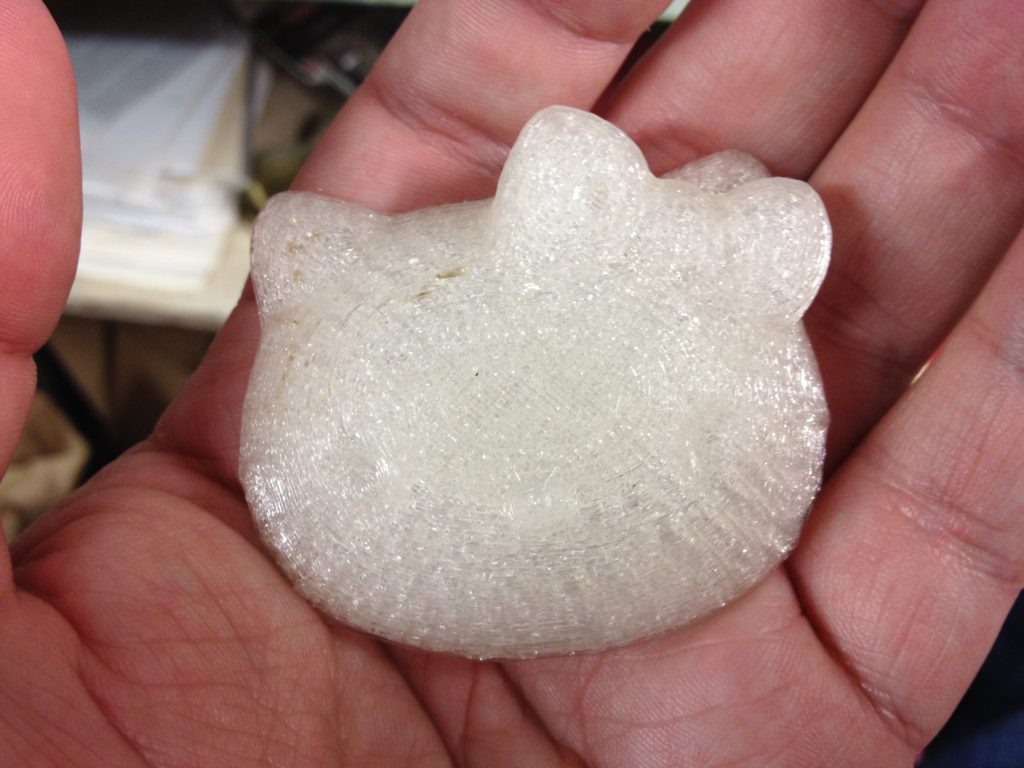
I ran out of plastic and switched over to old old plastic (I’d been using 4042, then I switched to 4032, which isn’t used anymore). I used it to print out a Hello Kitty for Alicia:
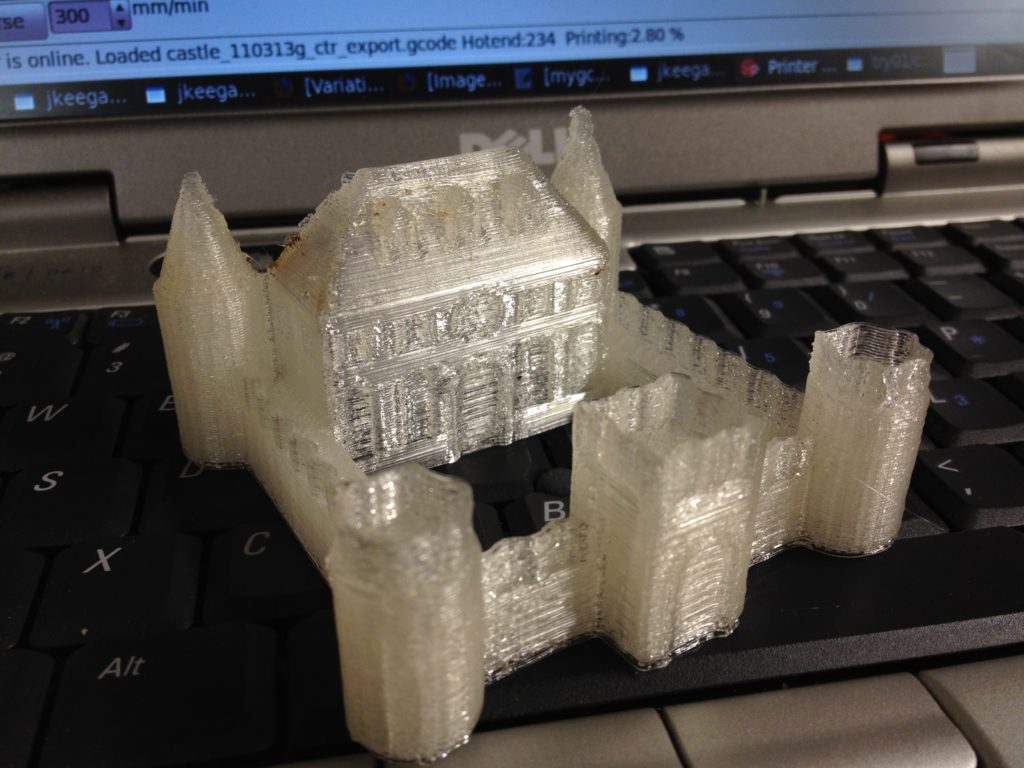
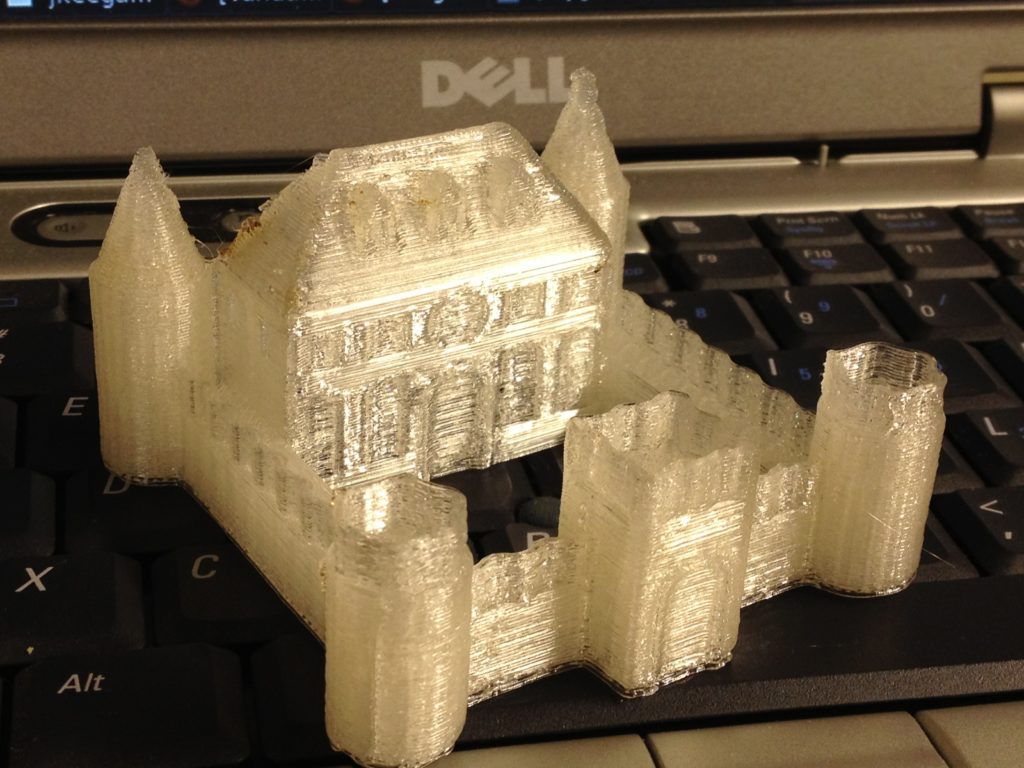
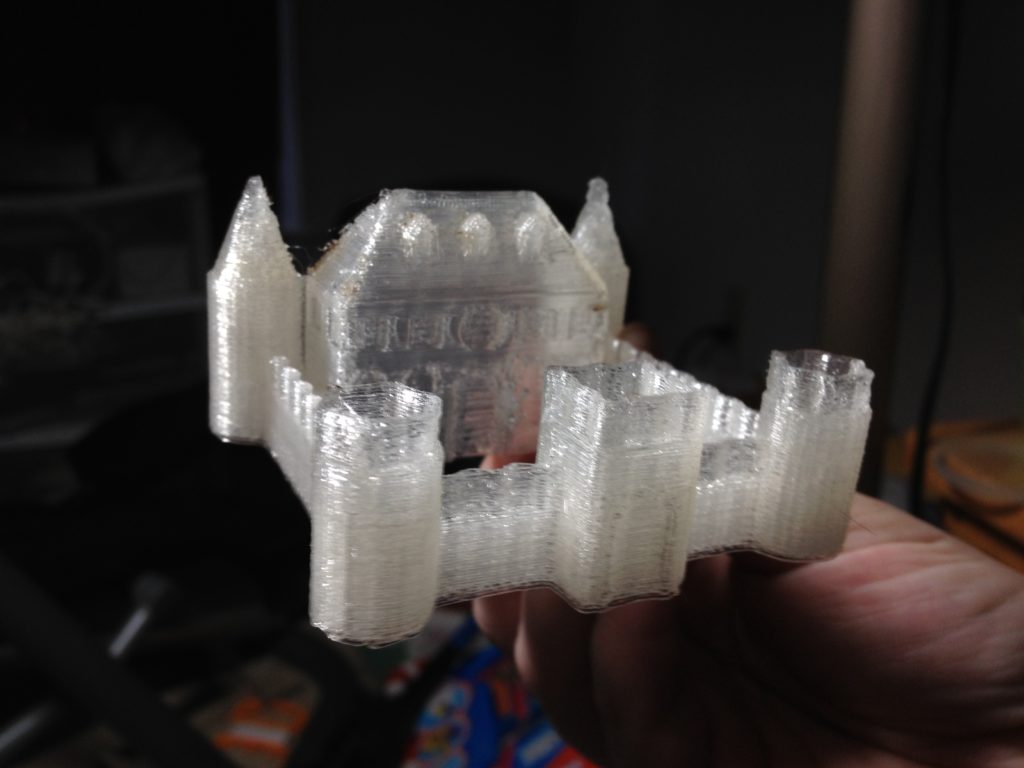
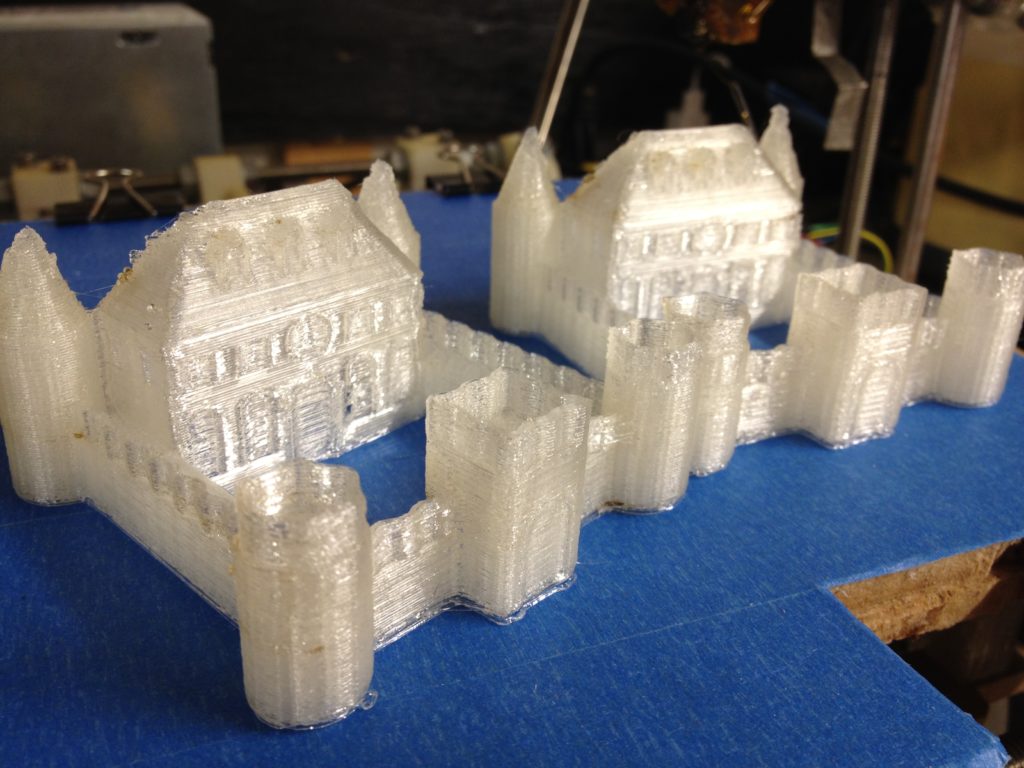
And then I moved on to an unbelievably great print.. The castle..
First, there was a slight failure, as I started getting slips on an axis.. (I believe it was the Y axis and I remember that giving me problems for a while). This made me slow down the speed of my prints.
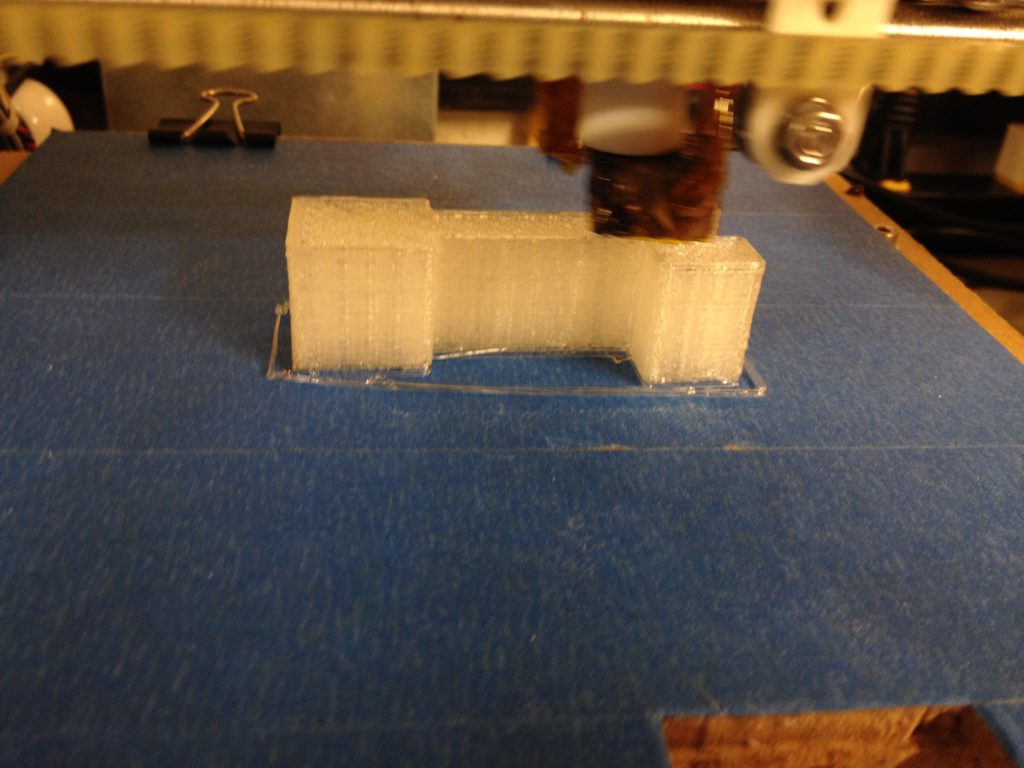
I adjusted the speed, printed, and got this:
This first pic has a bit more perspective, then on the next I must have zoomed in:
Just to prove to myself that that wasn’t a fluke, I printed another.
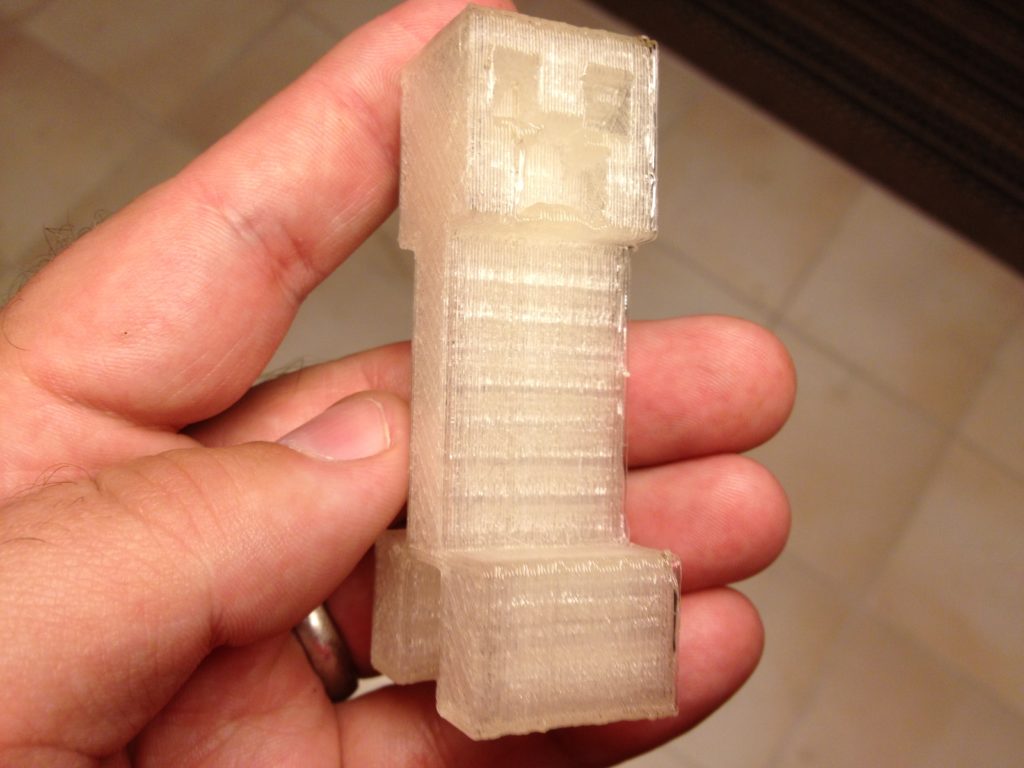
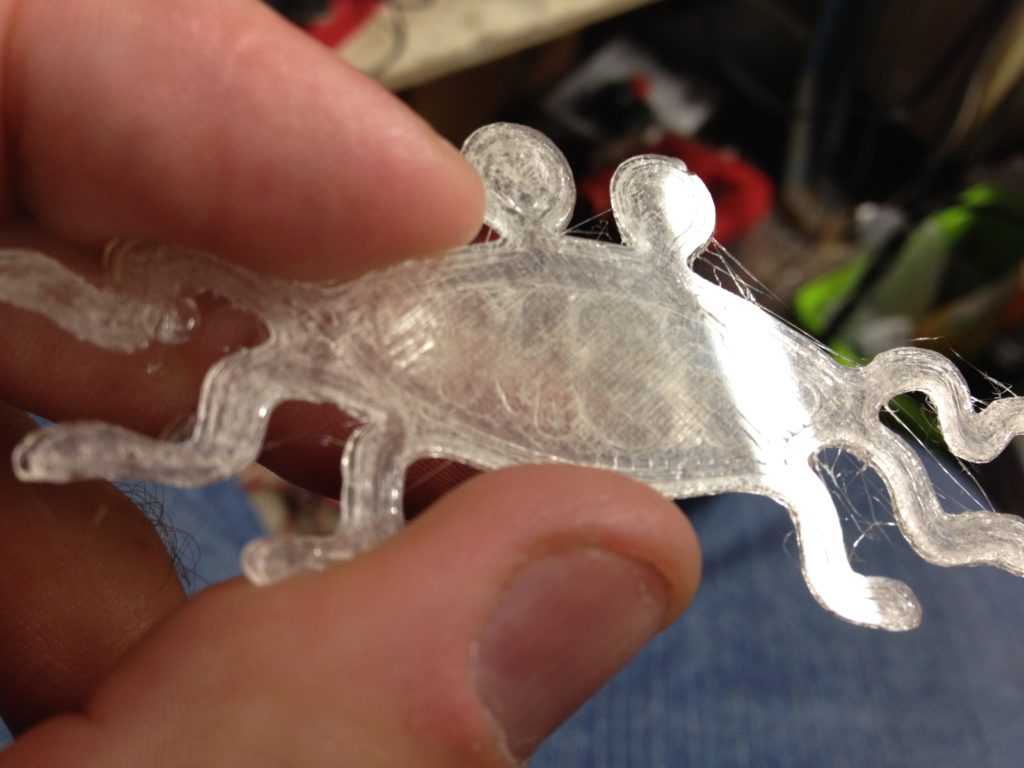
Next.. can you guess what this is? (cover your ears)
(those of you who know what that is appreciate that, I’m sure)
Then I printed another (better quality) filament spindle holder (which I believe was my third?)
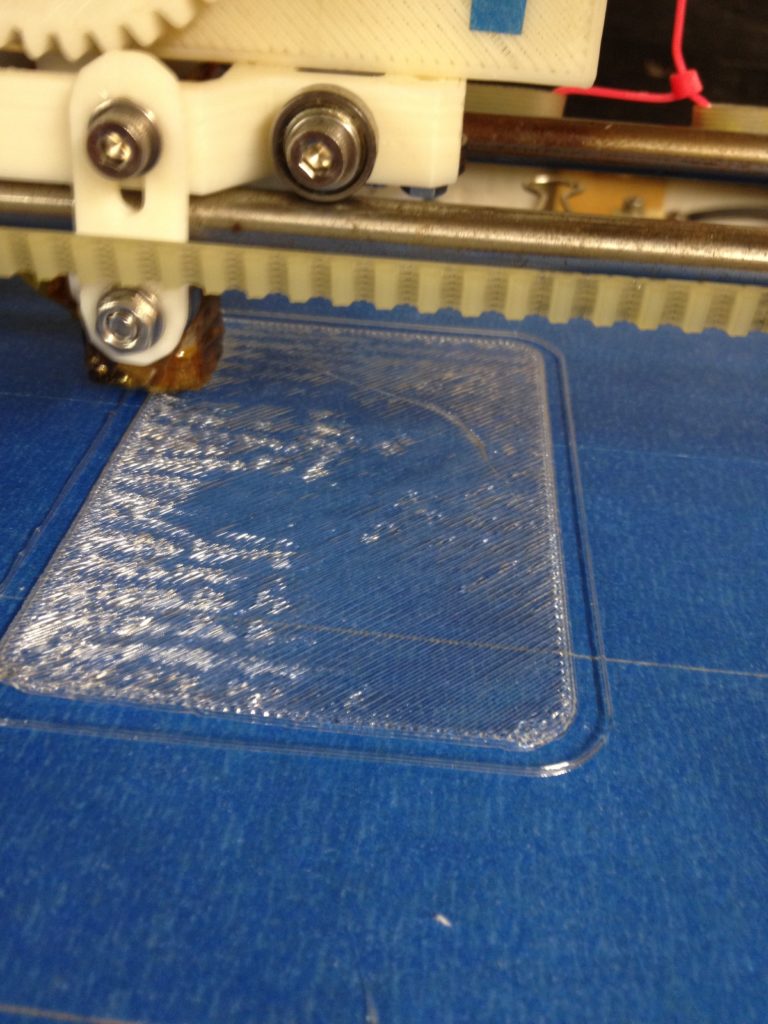
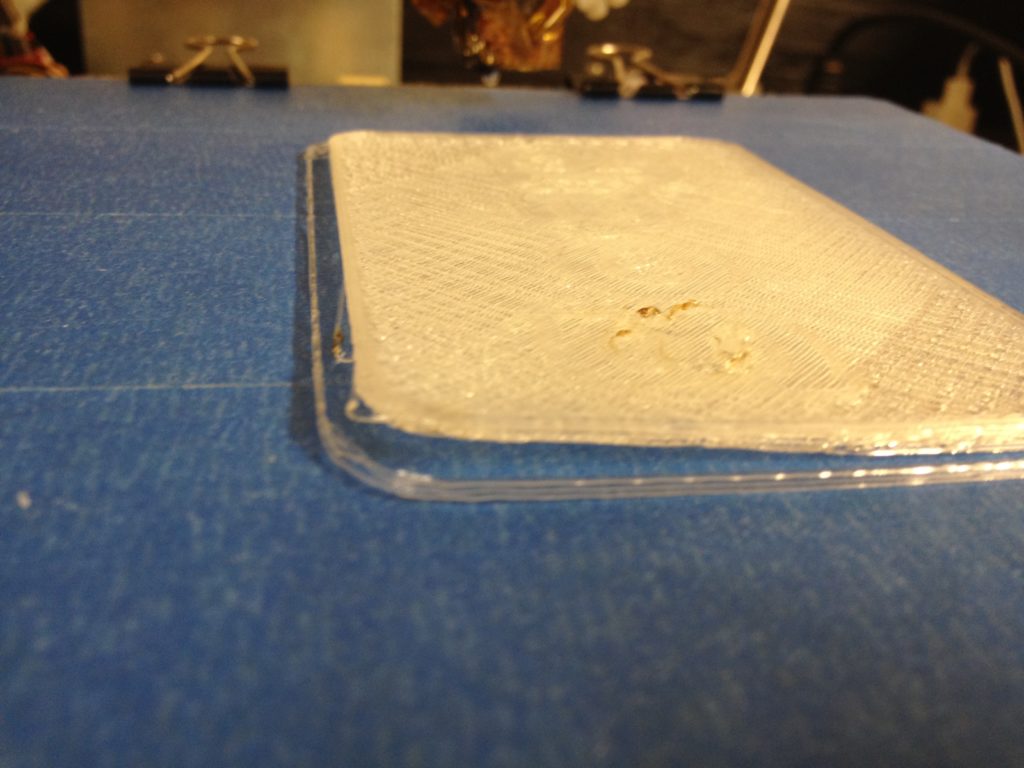
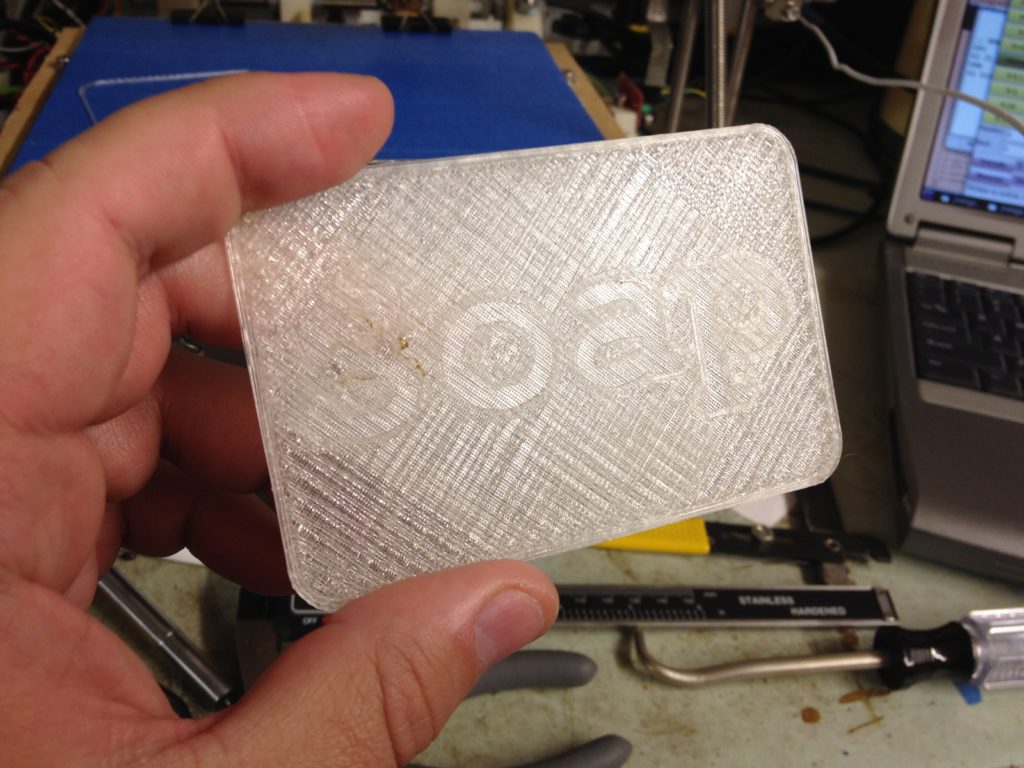
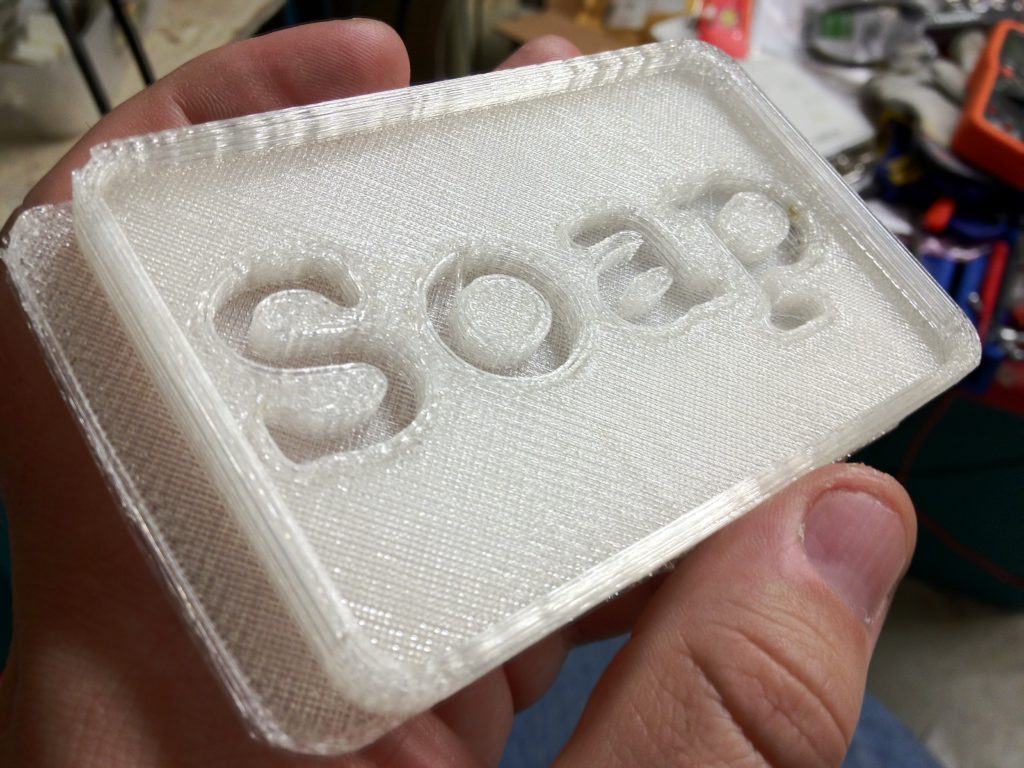
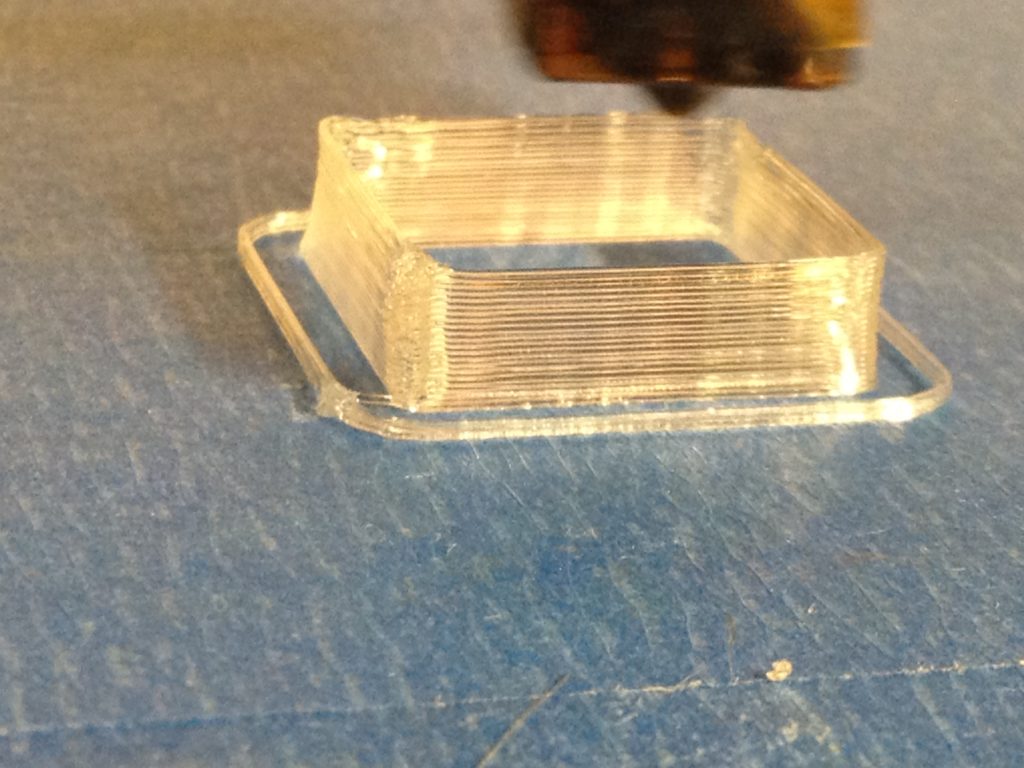
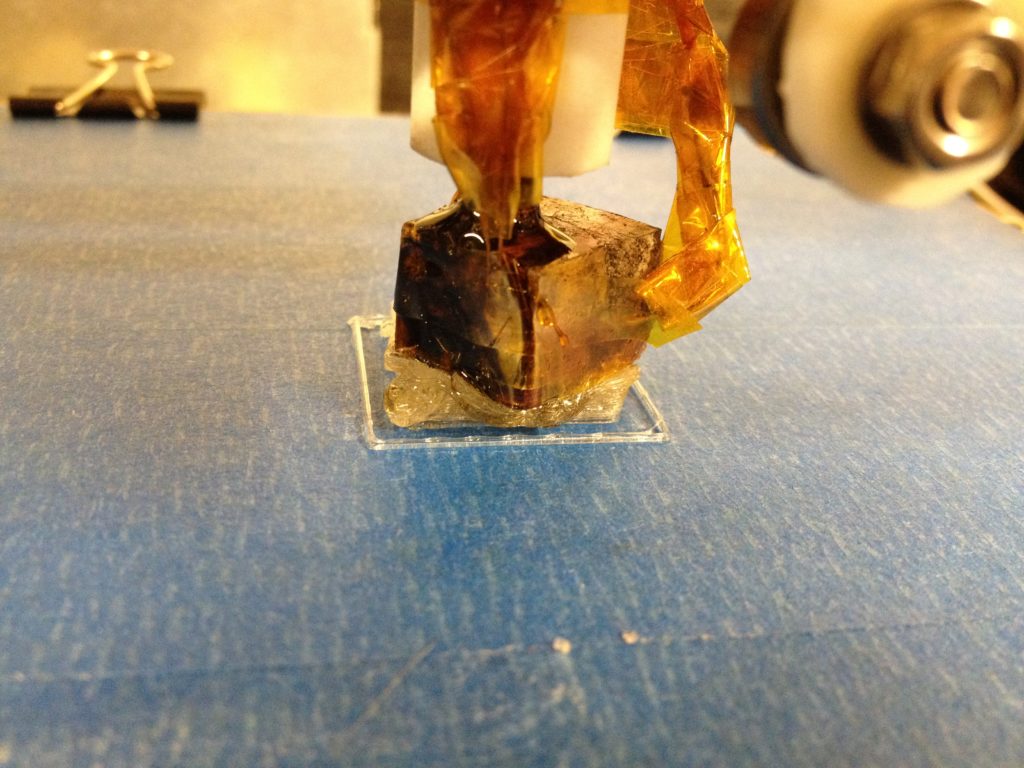
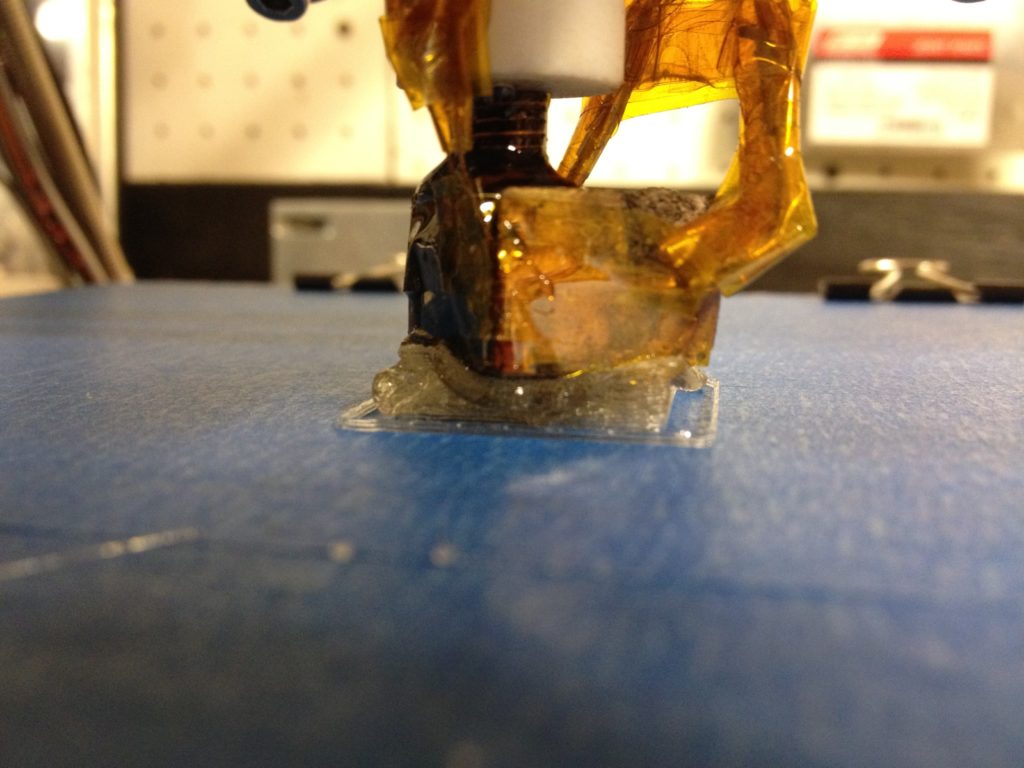
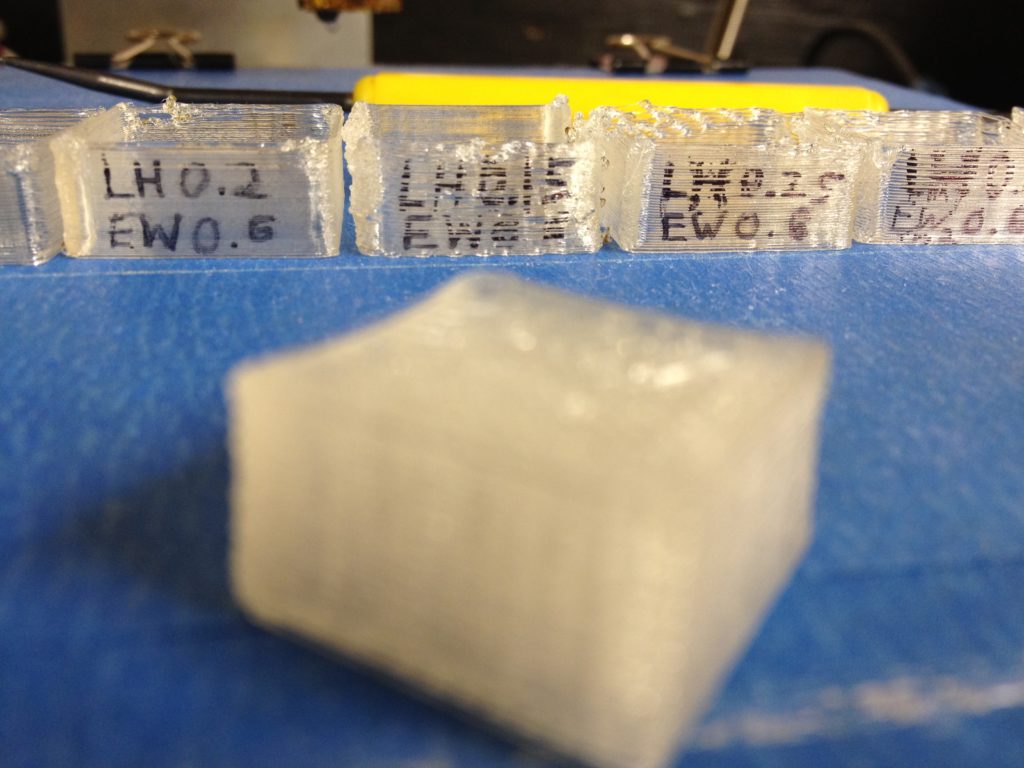
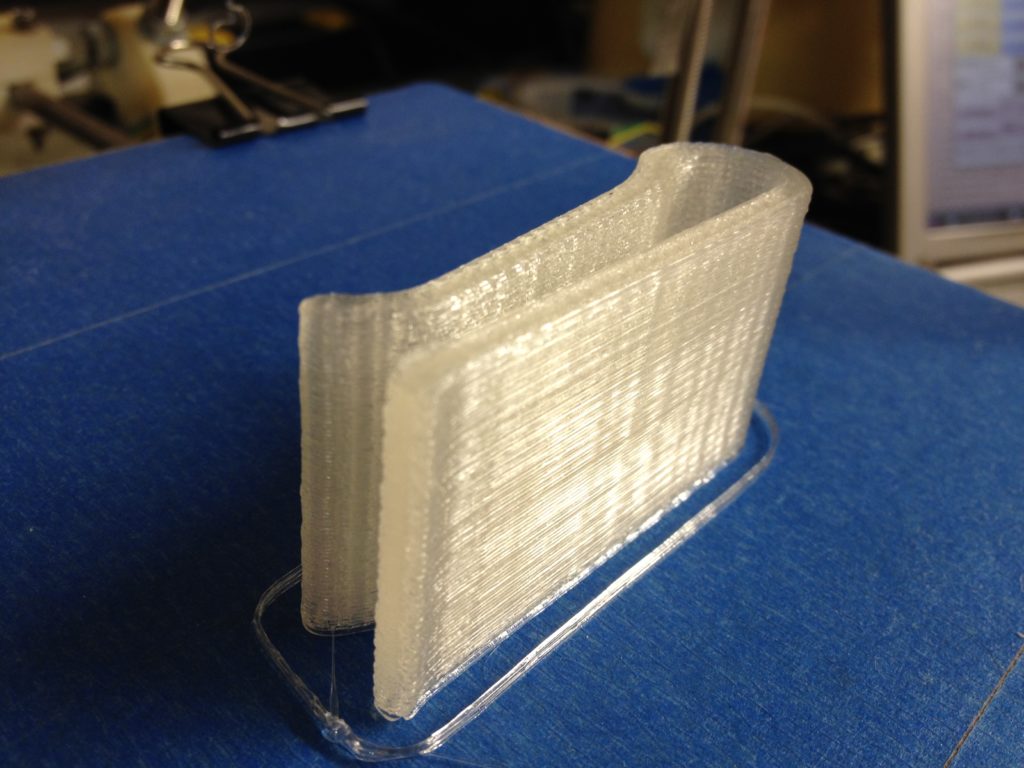
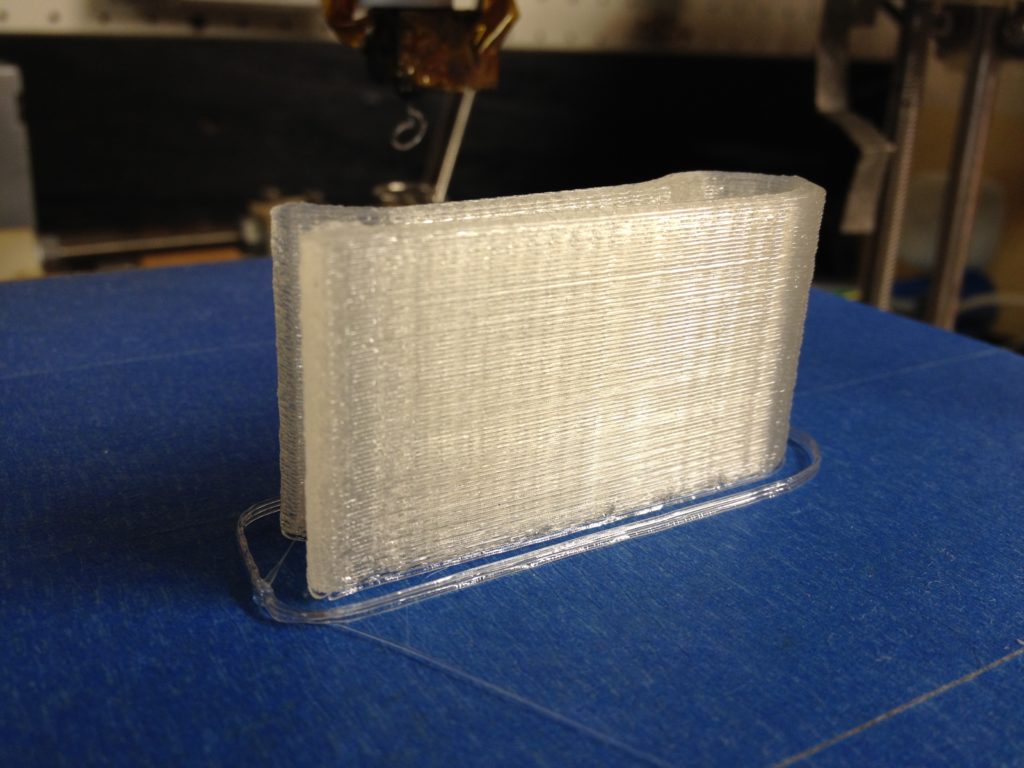
Then I tried printing a simple soap dish, which curled up and broke my extruder again.
It was at that time that I decided to switch to a heated bed. Part of me still pines for those old days because I loved that little plastic purge slot in the front, which I wouldn’t be able to use with the standard Prusa heatbed. But, the tradeoff was worth it.
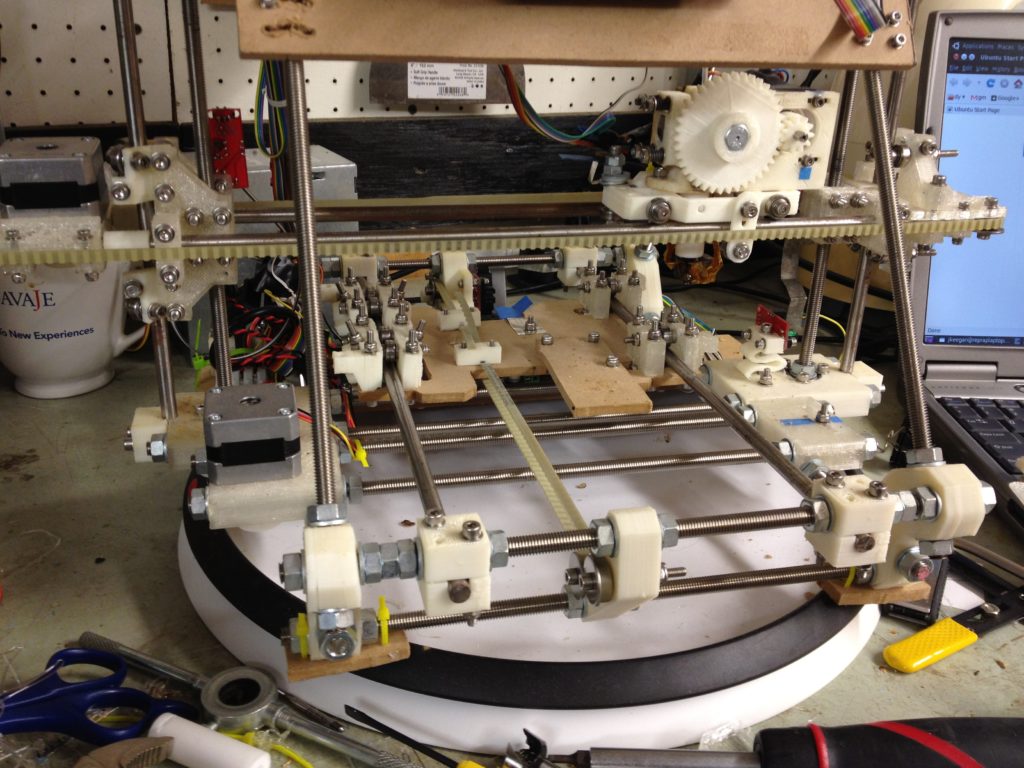
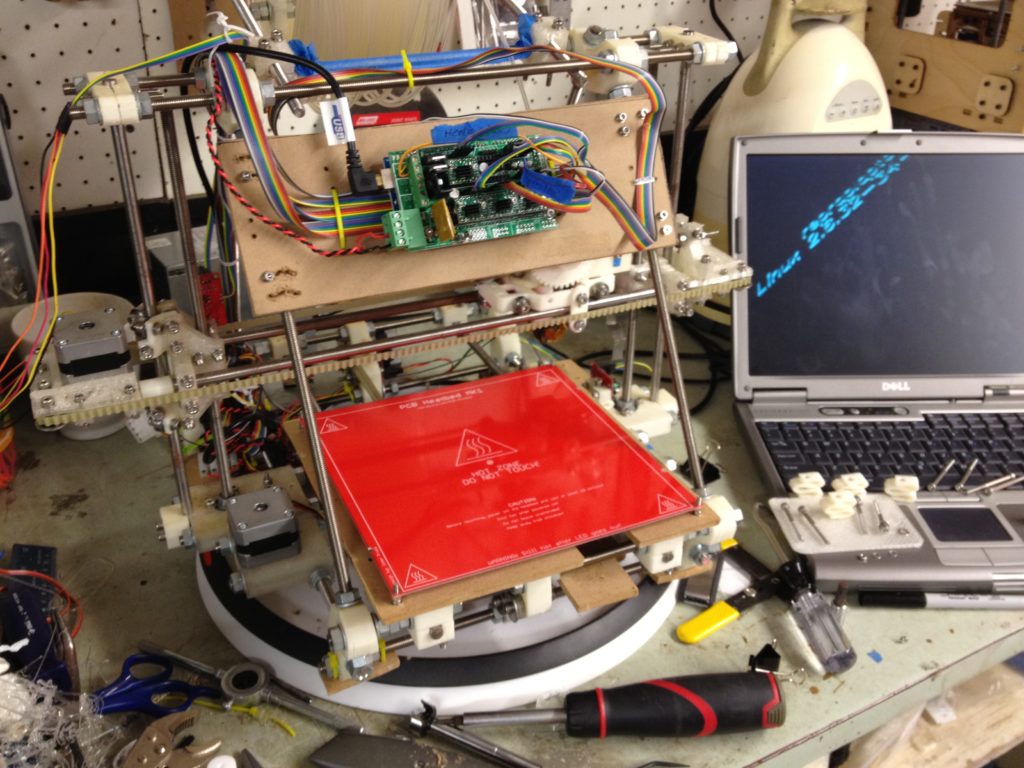
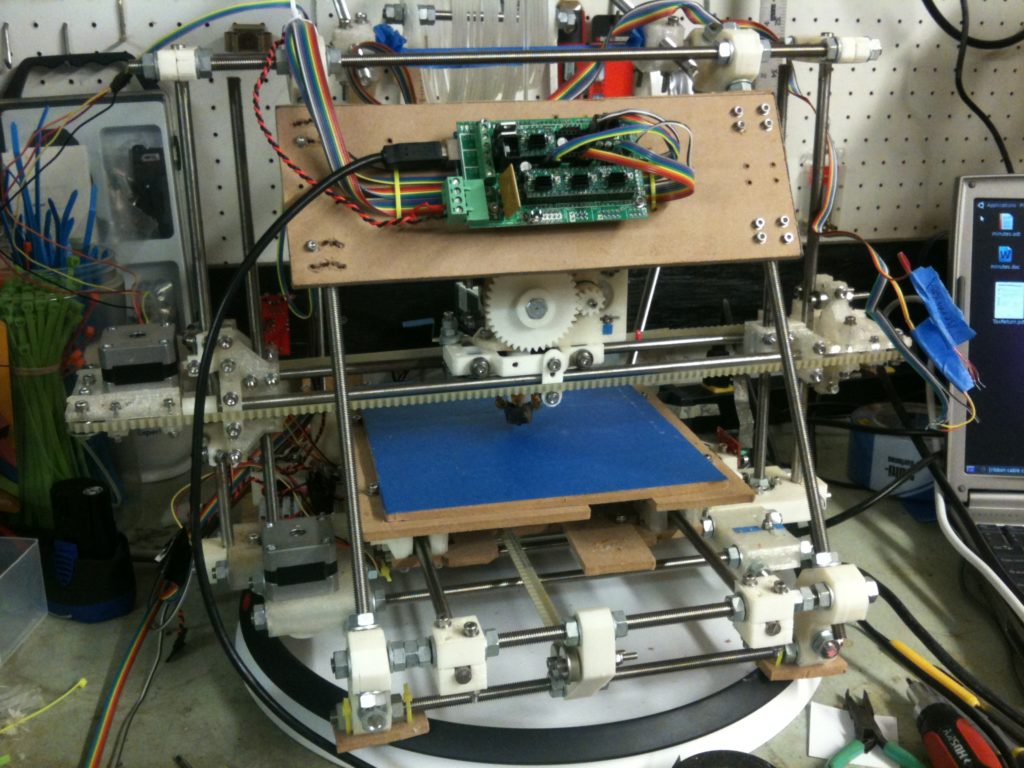
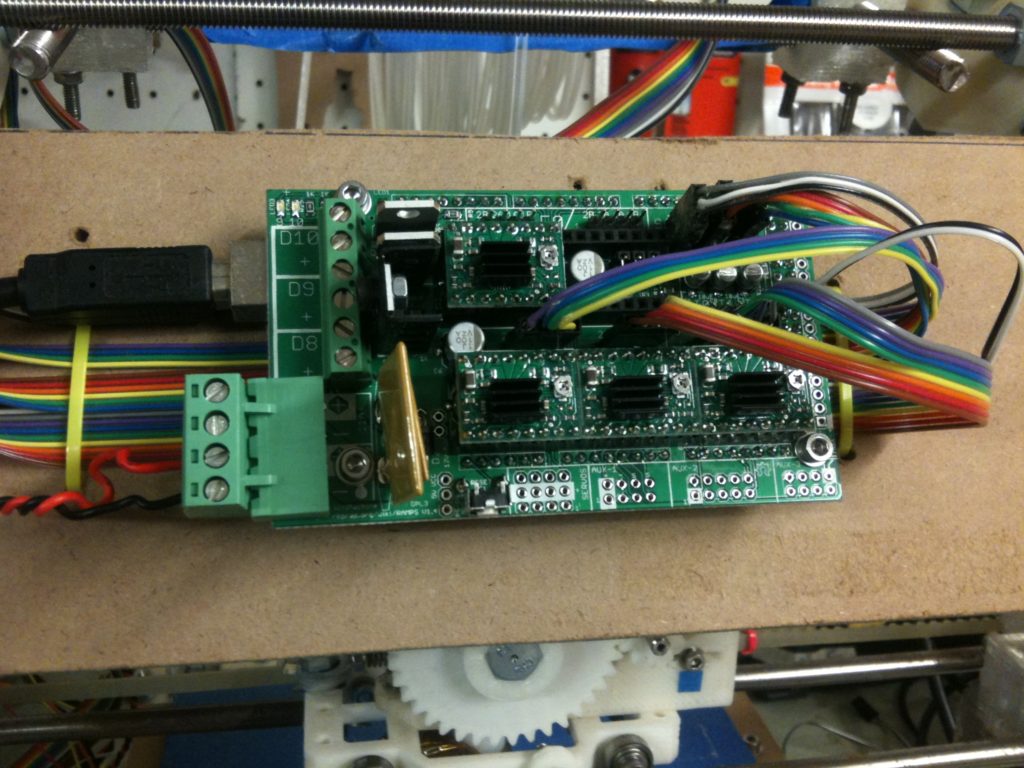
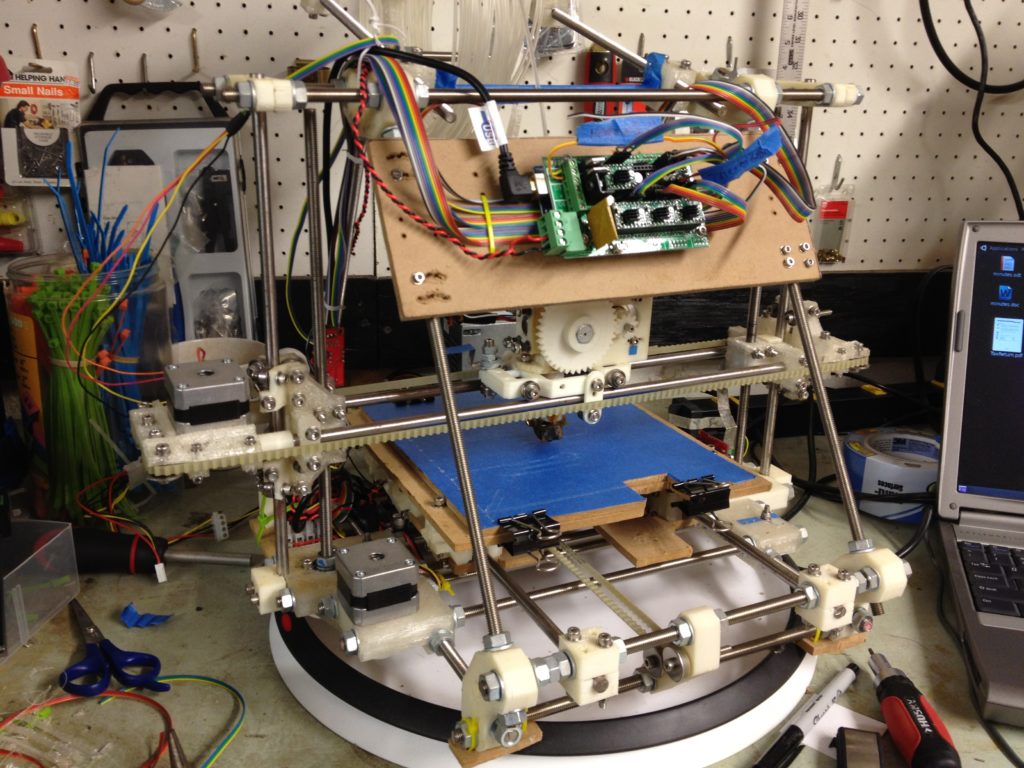
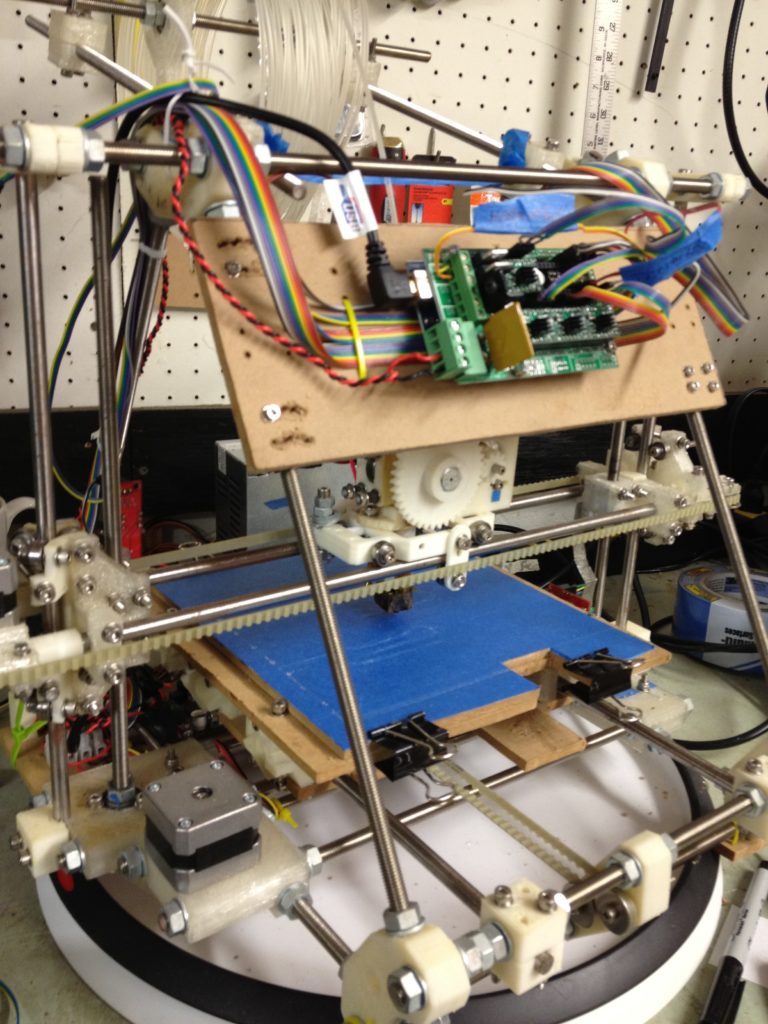
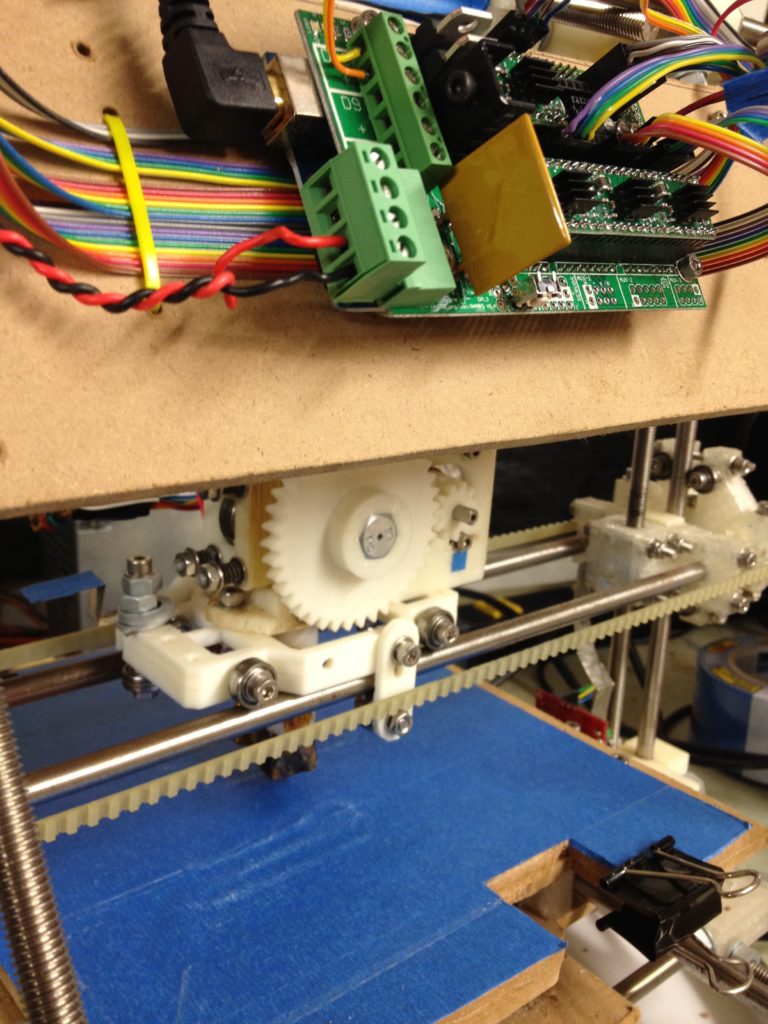
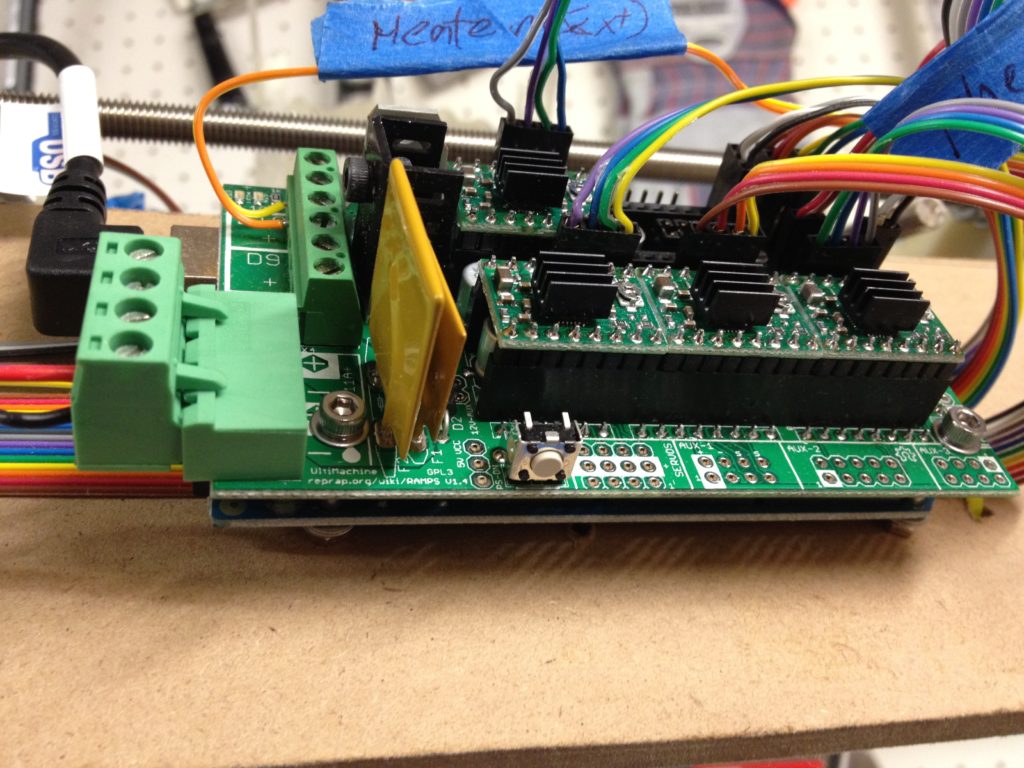
I once again tore apart my printer:
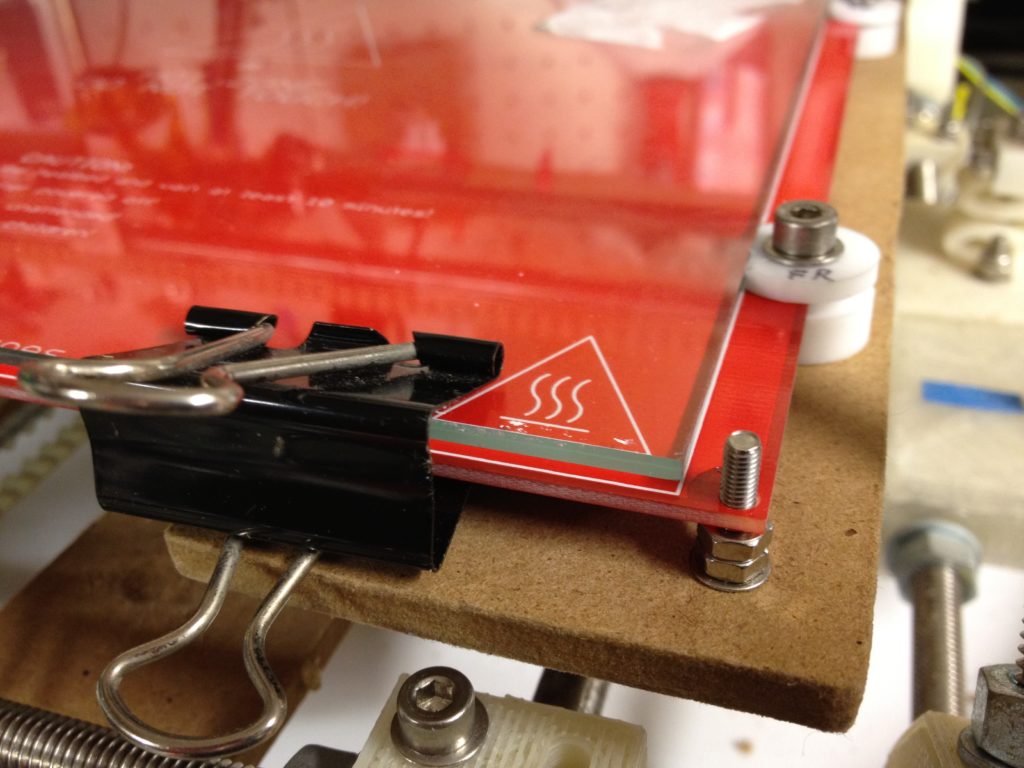
Prusa’s heated bed wasn’t designed for a Sells (original) Mendel – it was designed for his Prusa Mendel redesign. But I wanted to use it on my Sells Mendel. This posed a few problems for me to overcome (as well as an inconvenience – the purge area that I loved, which allowed completely automated prints, would now be inaccessible). Even mounting it though had issues.
Here was my plan for the heated bed:
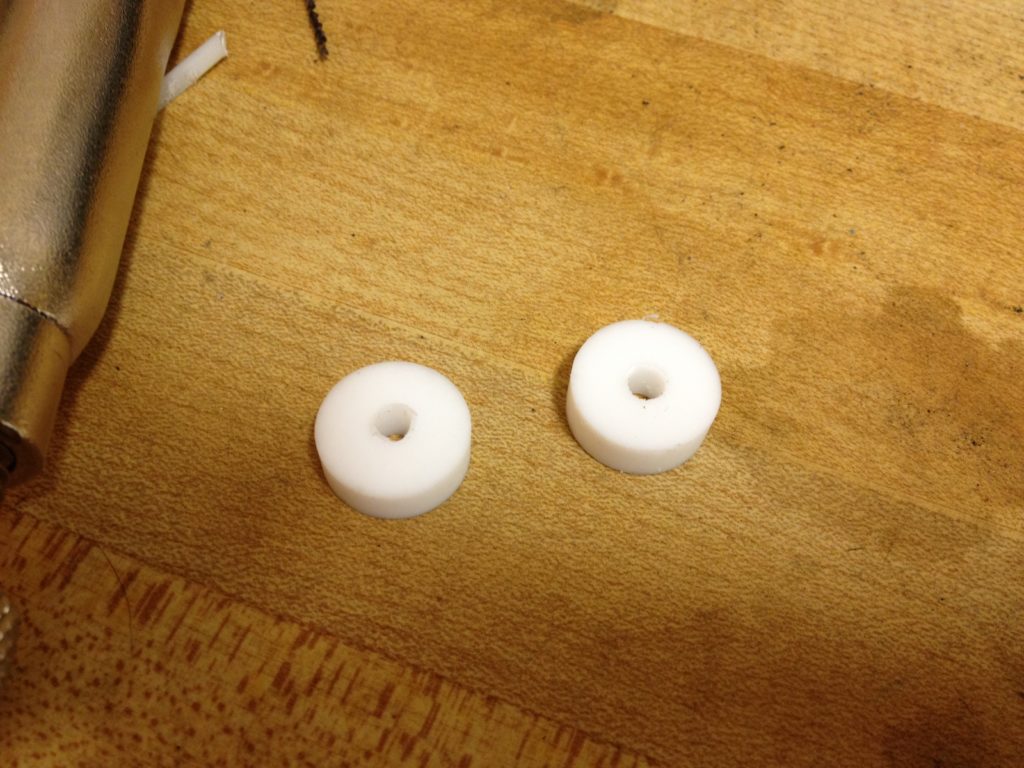
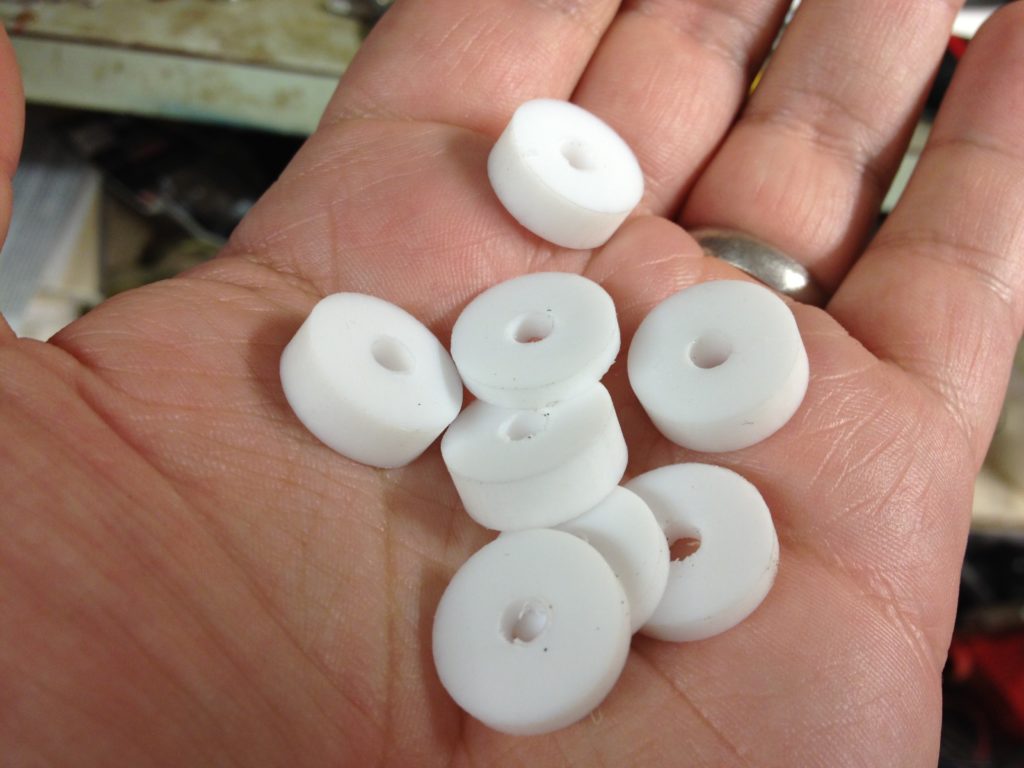
As I said in the video, I was worried about heat going down from the heatbed through the bed adjustment screws I had going down into PLA, so I decided to make some PTFE washers (I thought I’d made them out of old ruined PTFE insulators, but the video shows I made them from the raw PTFE rod that I make insulators from).
I know I’m repeating myself from the last post here, but what I say in this next video was worth saying again:
Here is the headbed set up, almost done:
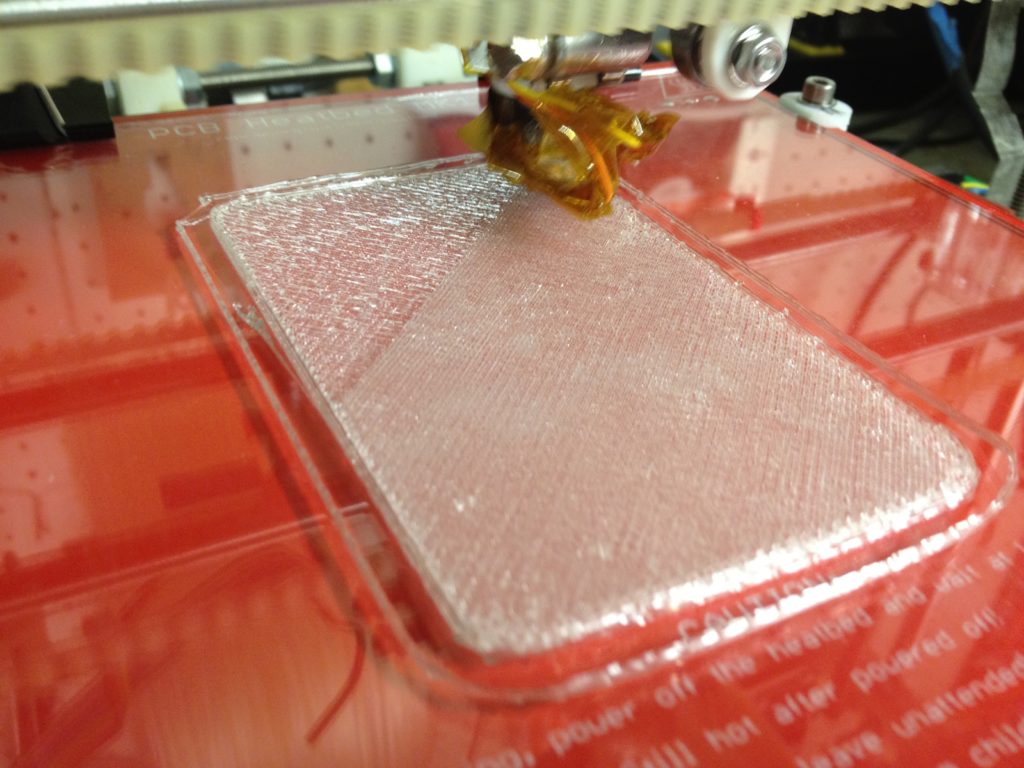
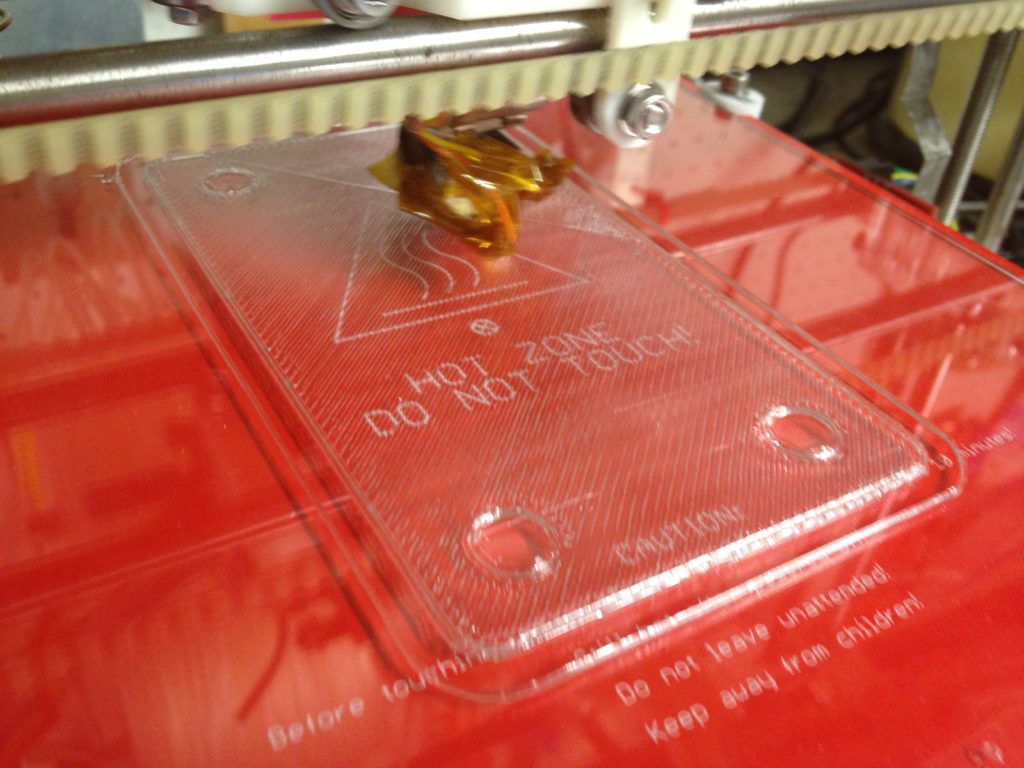
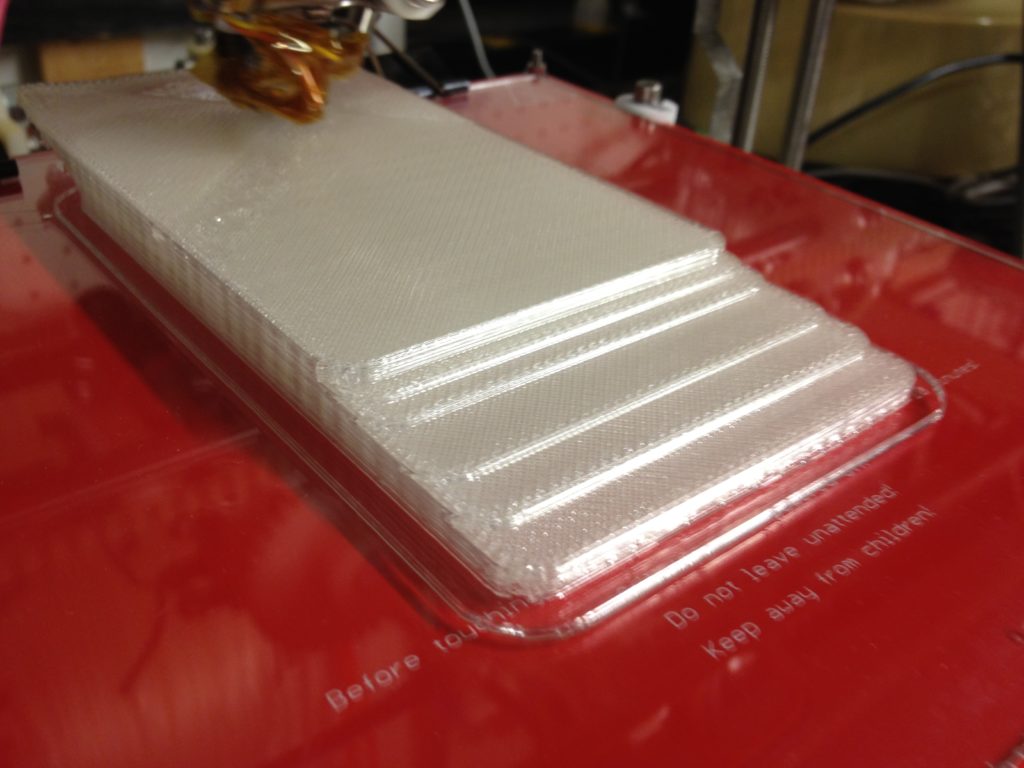
Here’s my first print onto a headed bed (although it was with a damaged PTFE insulator that I knew would fail).. No tape needed – just printed straight onto glass.
Then another print of it, this time with a rebuilt PTFE insulator:
I had a temperature problem during that print (video not worth showing), which I apparently fixed.
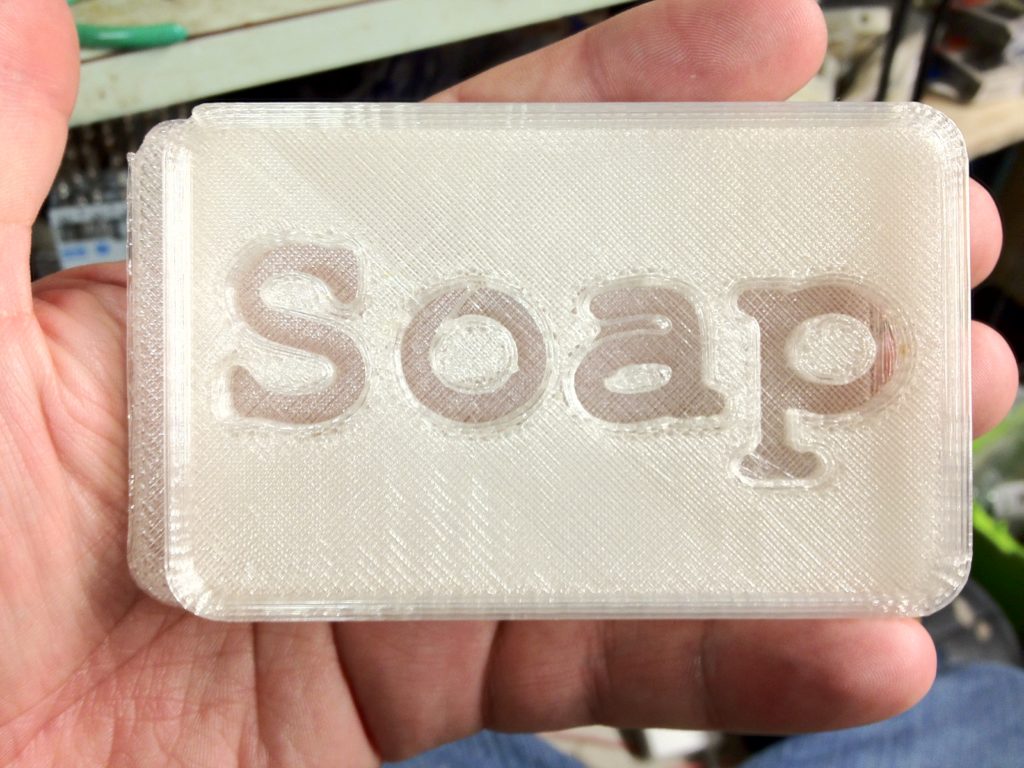
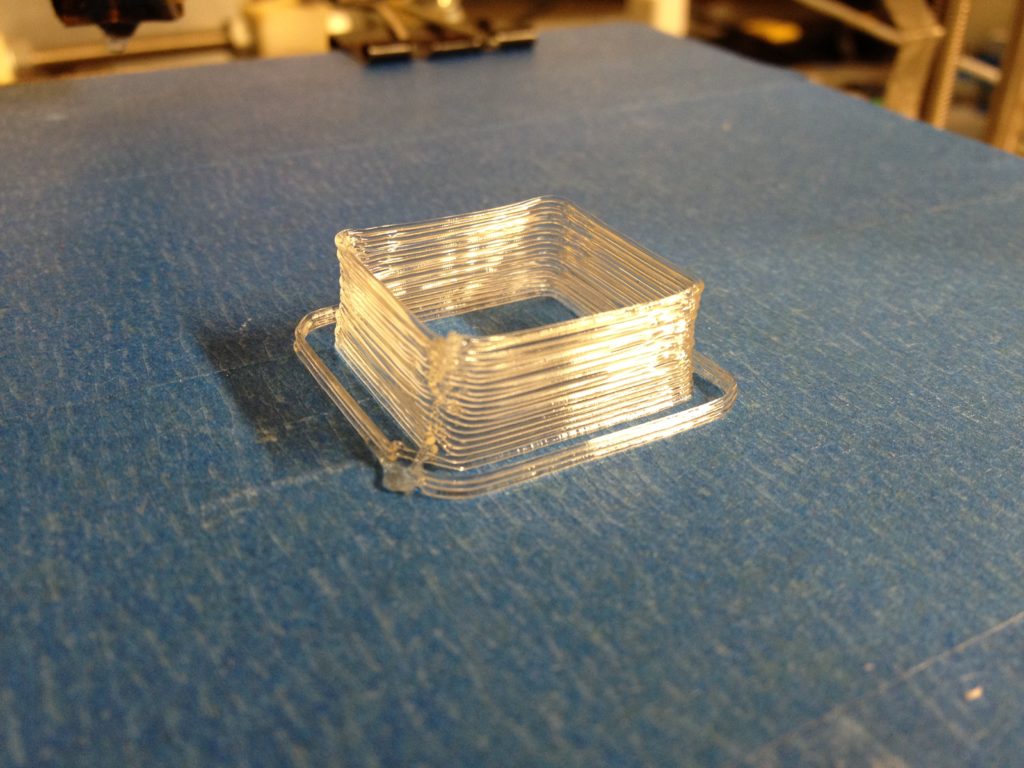
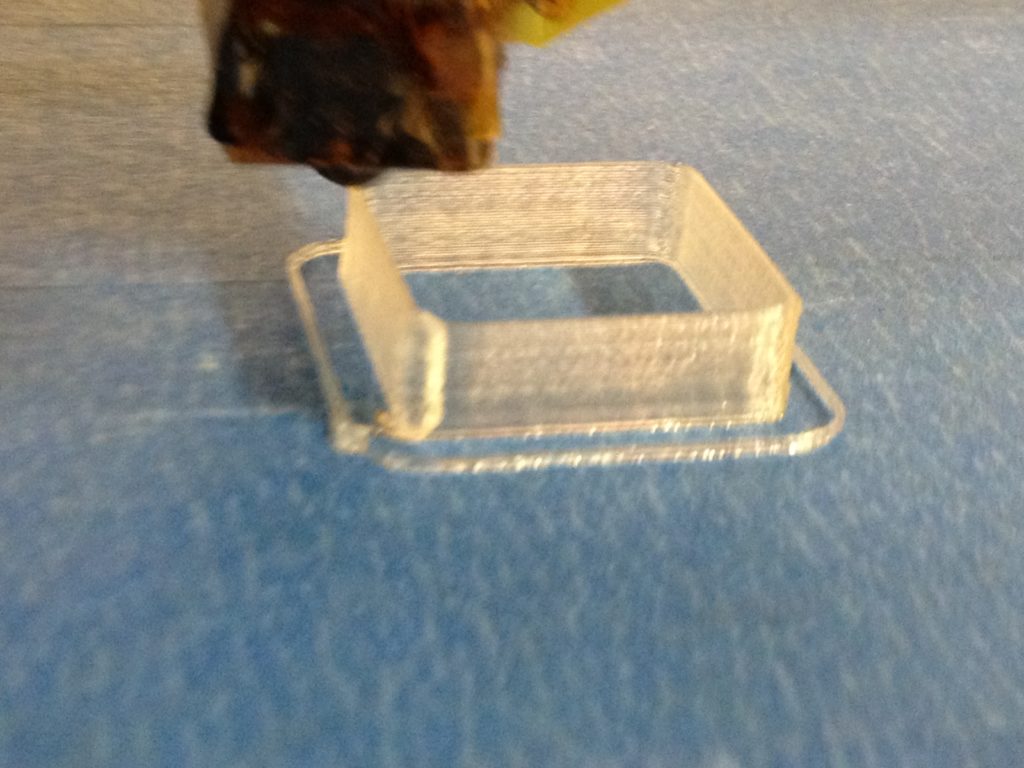
Then I tried the soap dish again:
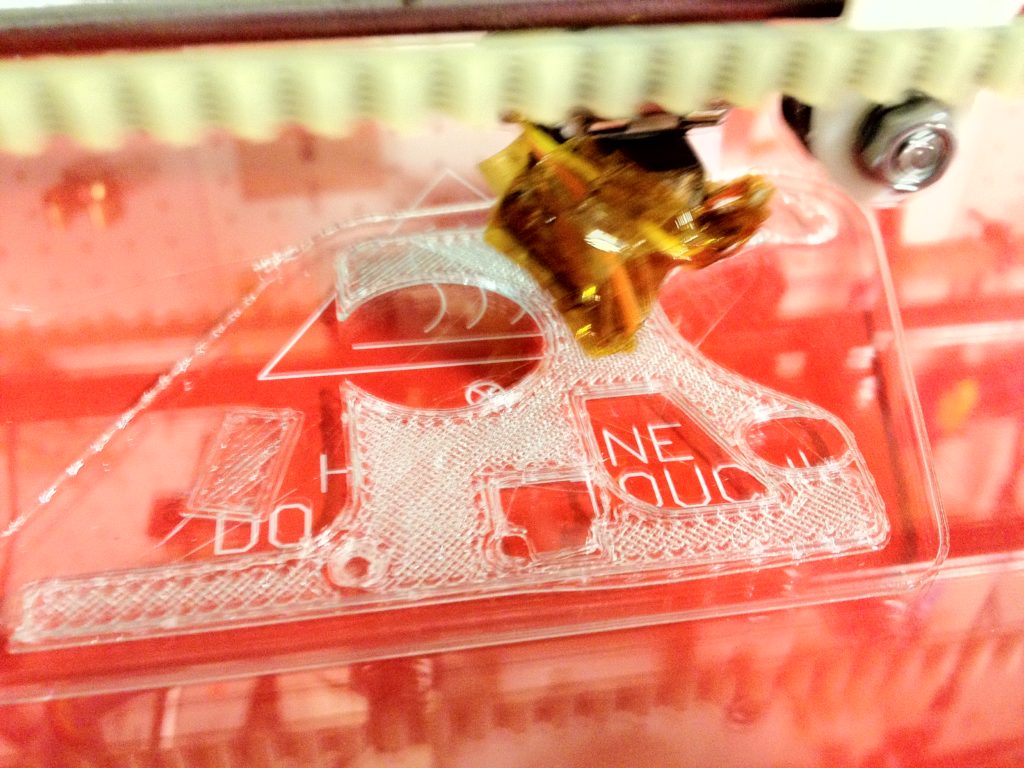
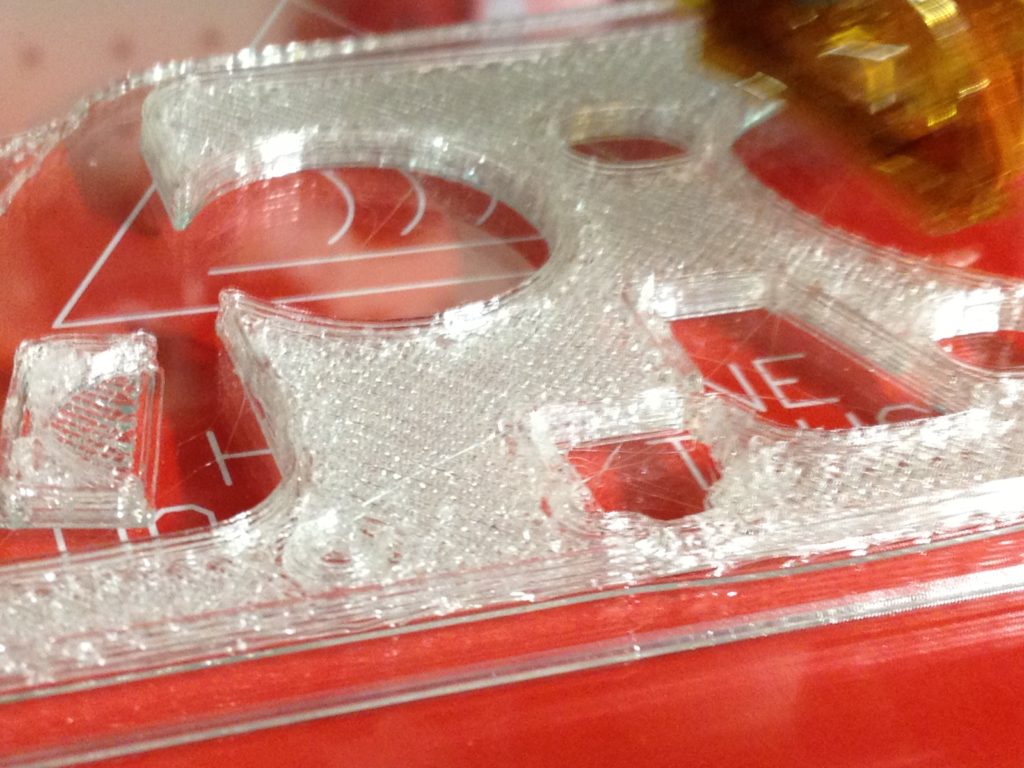
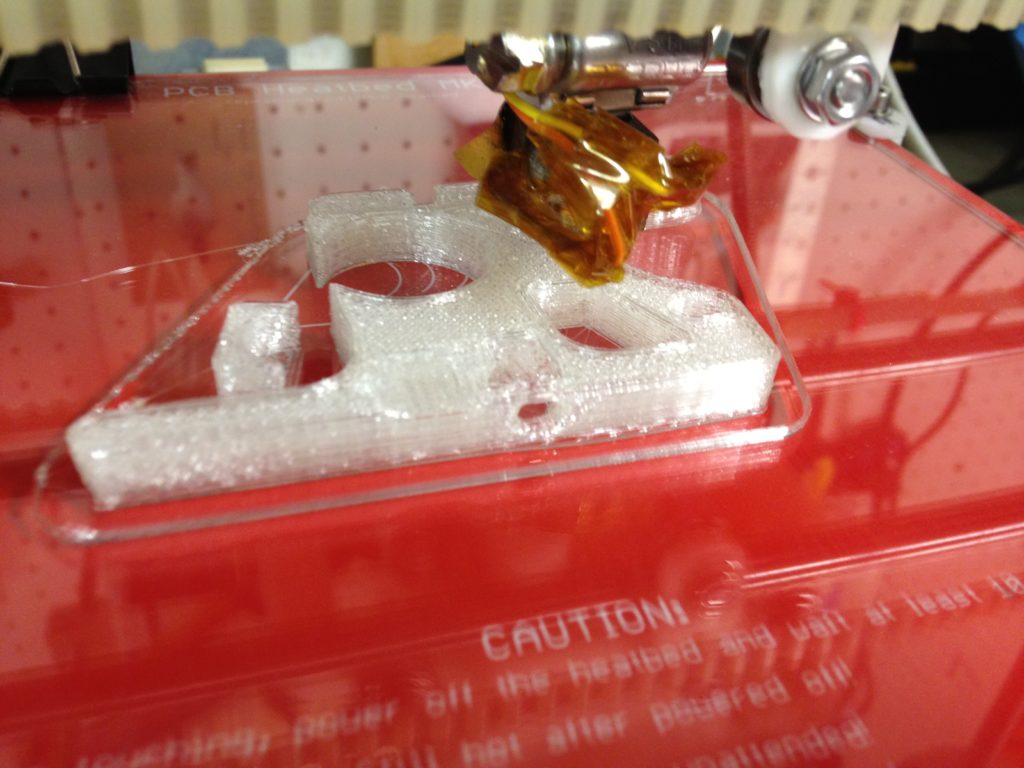
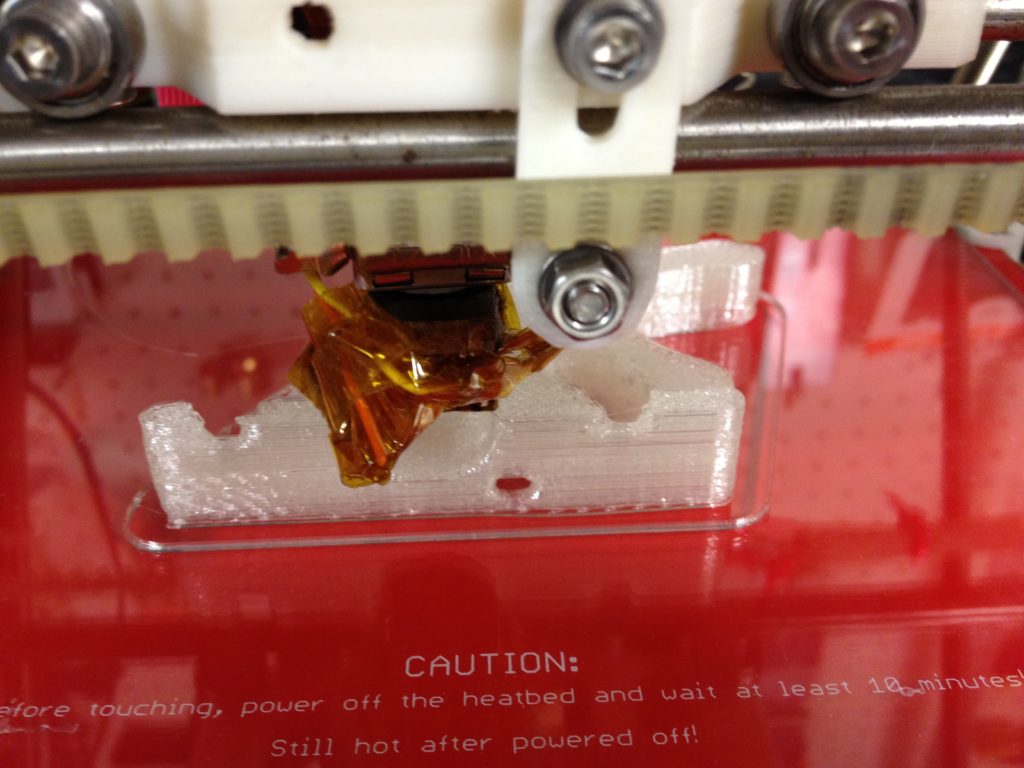
Then the Y-axis skipping that I mentioned above reared its ugly head again:
By this point my friend Chris Connelly (who had built the original Makerbot with me that I used to print the parts for my RepRap) had decided (wisely, and with my encouragement) to stop waiting for me to get printing well enough to actually print him parts. He purchased printed parts for a Prusa Mendel (Iteration 1), and had been coming over for printing days where we’d work on the printers in the basement. Here is video I took of his first print:
There’s something to be said for a room filled with the sound of multiple 3D printers printing at the same time. 🙂
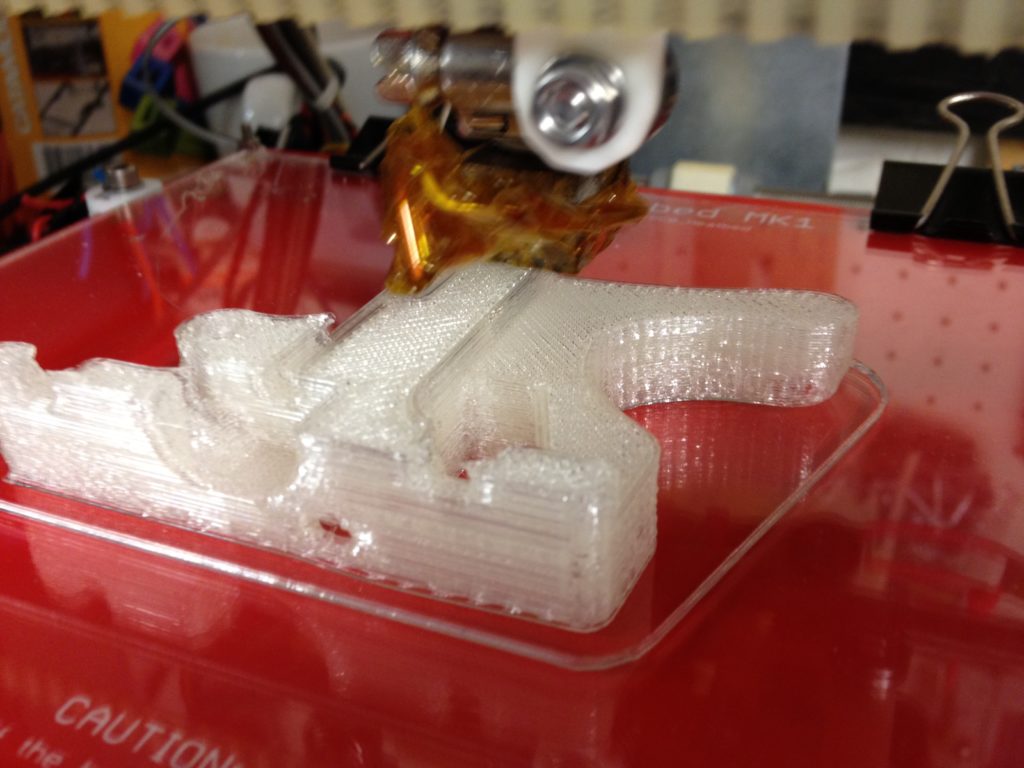
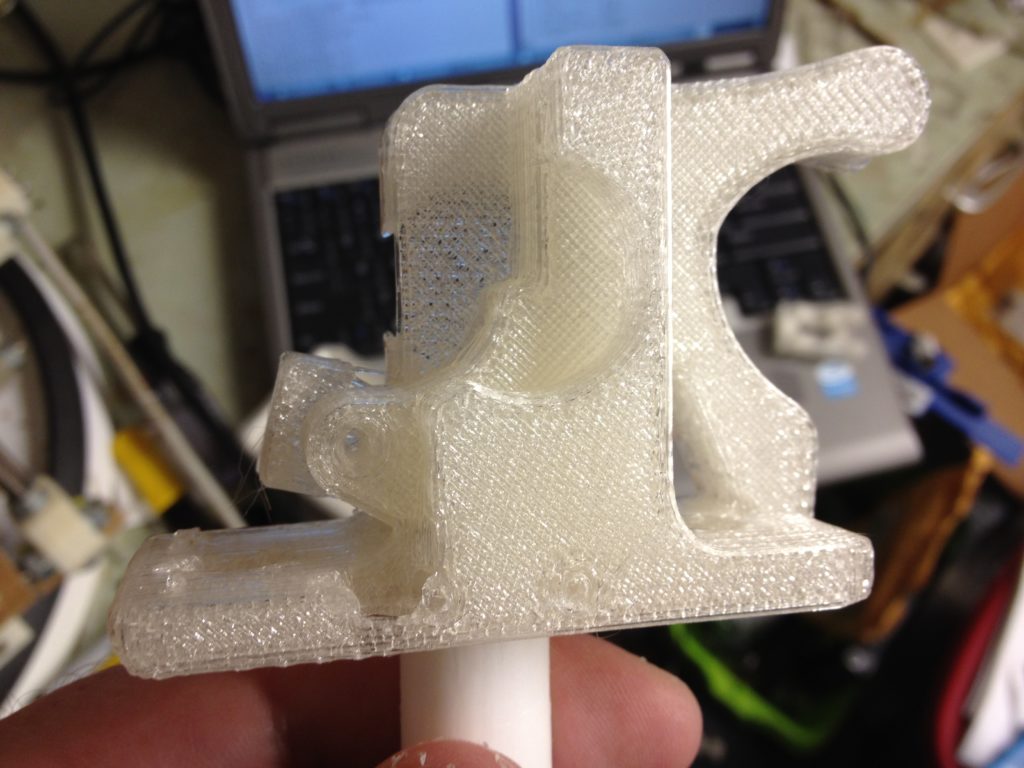
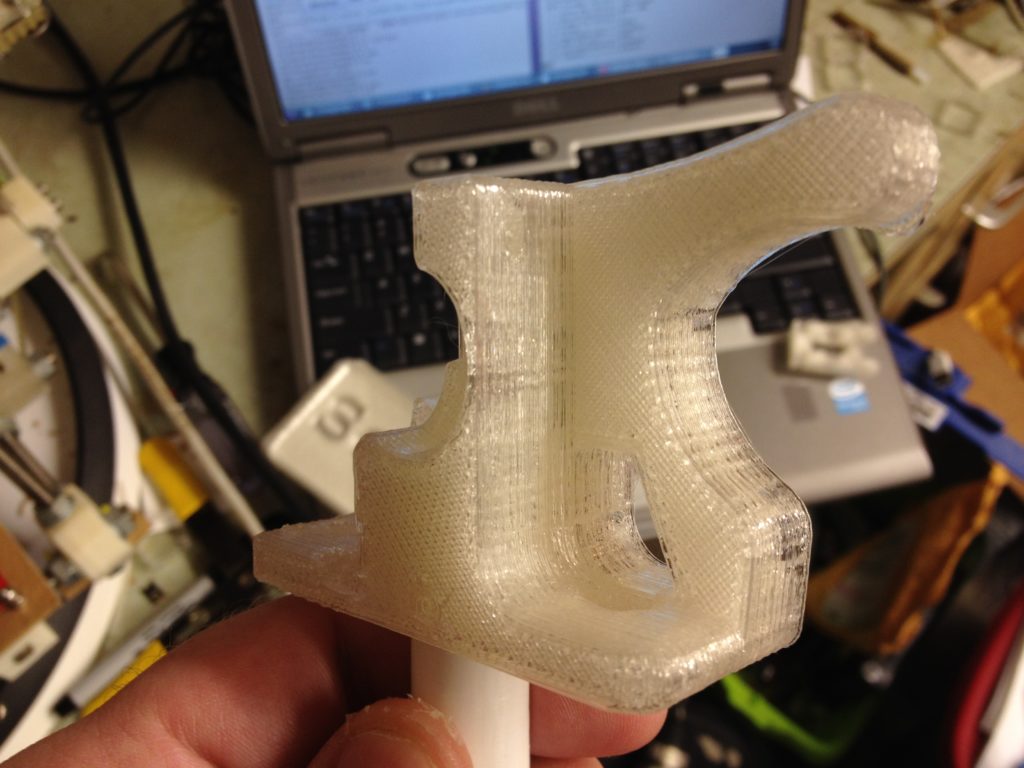
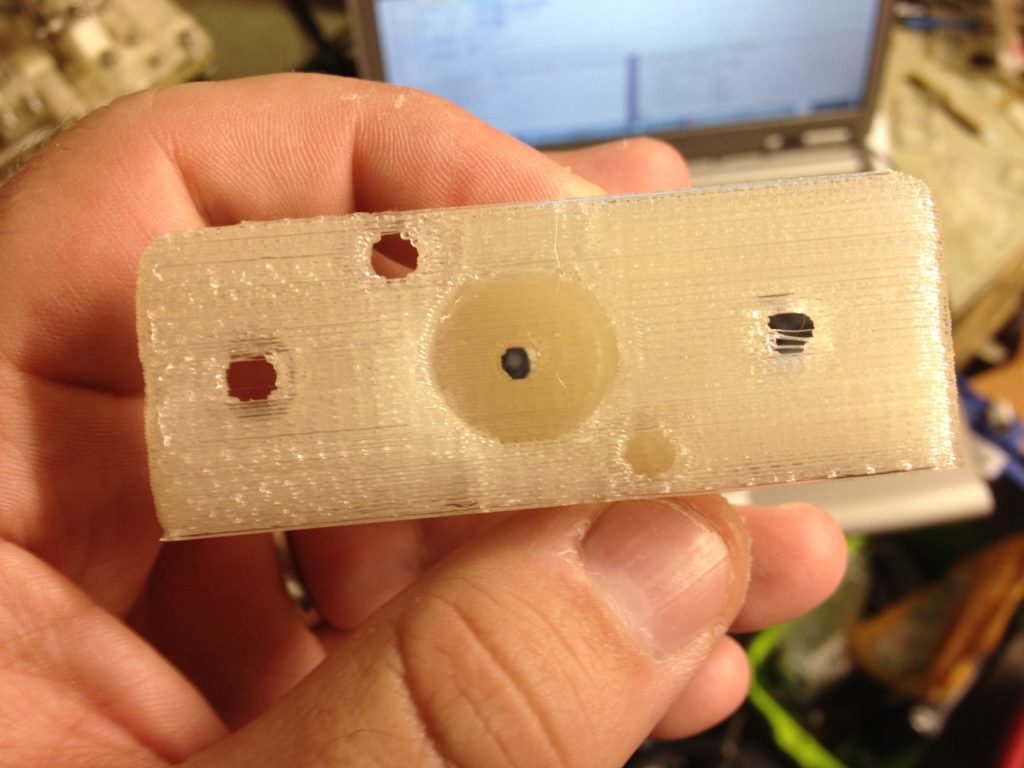
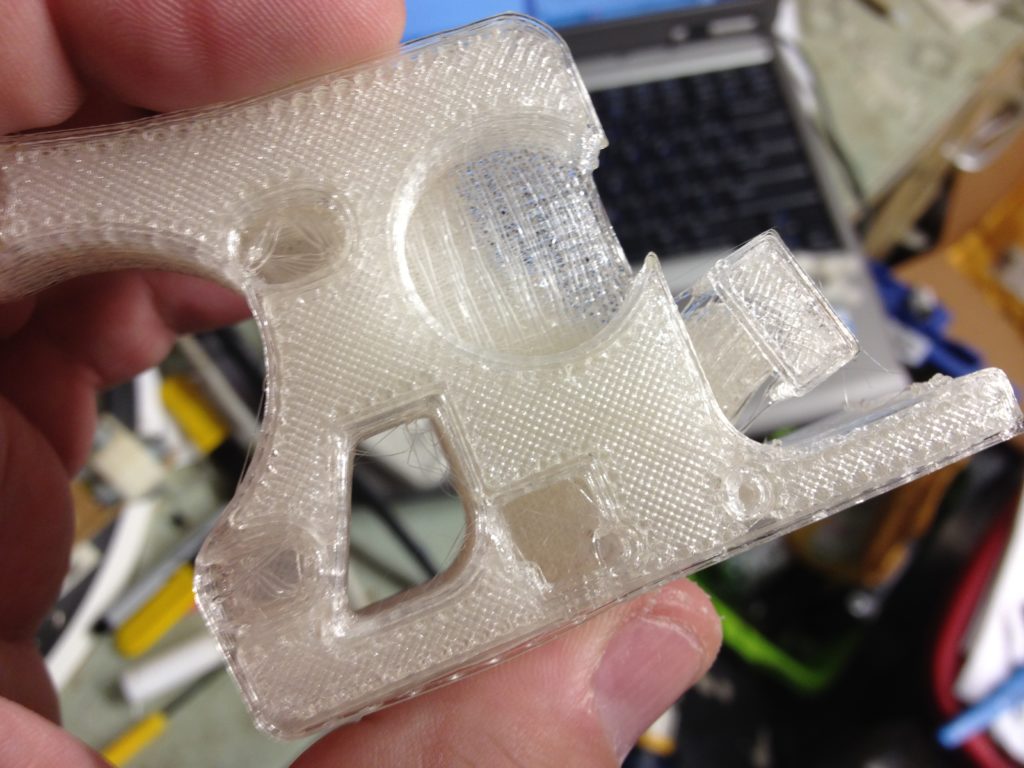
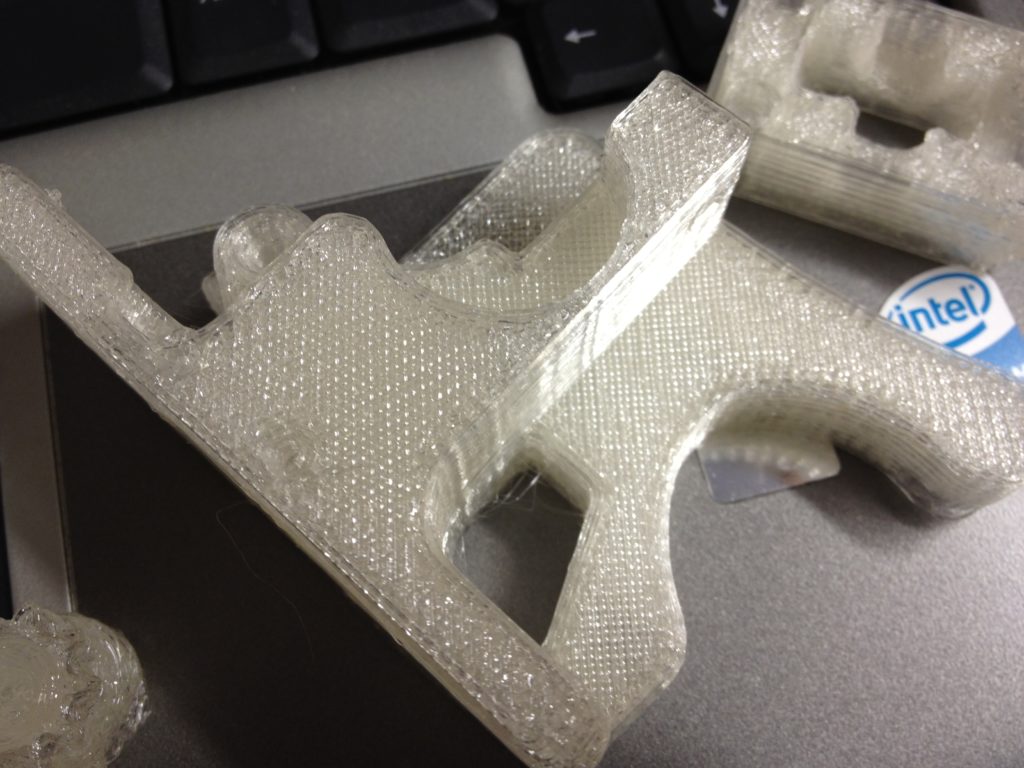
Next up: an extruder that supports holding up a PEEK block for an Adrian-styled extruder nozzle. Even though I was doing it out of PLA (a bad idea), I figured what the hell, and tried printing a Greg’s Accessible extruder from PLA (configured to support rods that hold up the PEEK block):
The result:
…and the idler:
All of it:
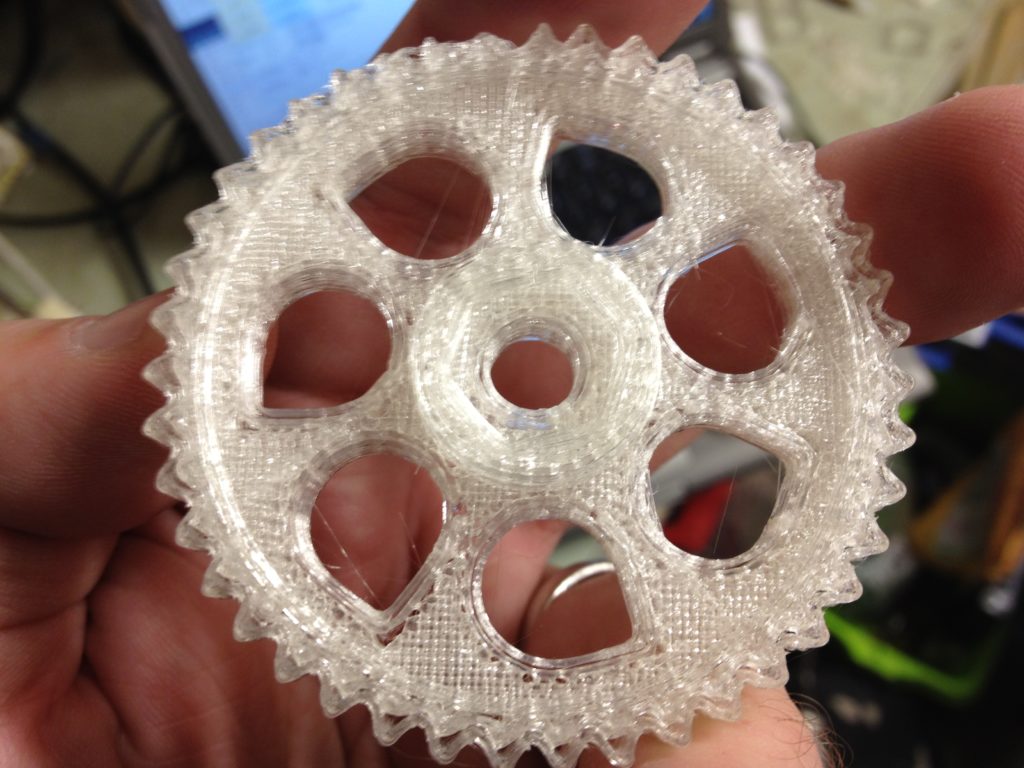
Small gear no good? No problem:
Perfect:
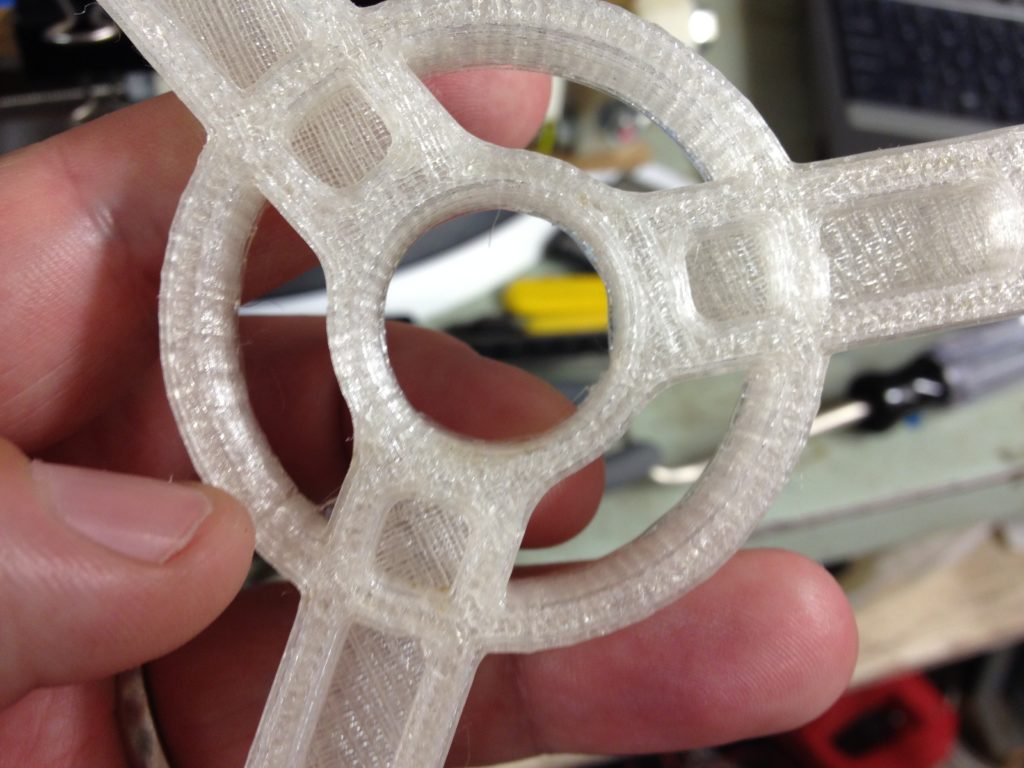
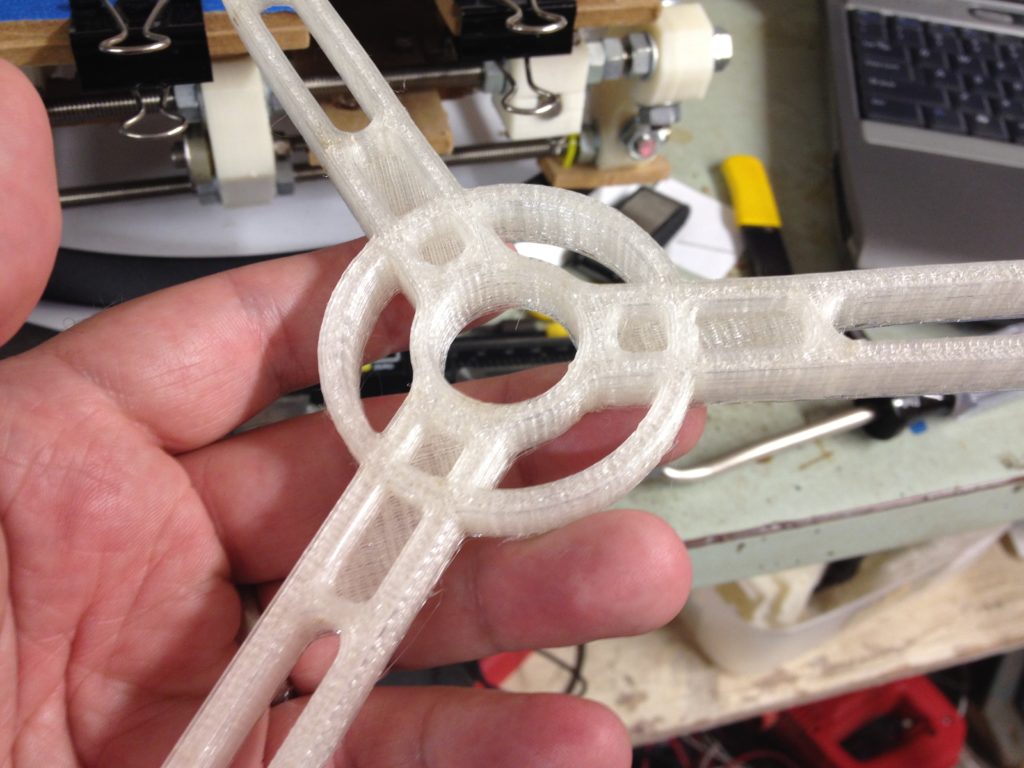
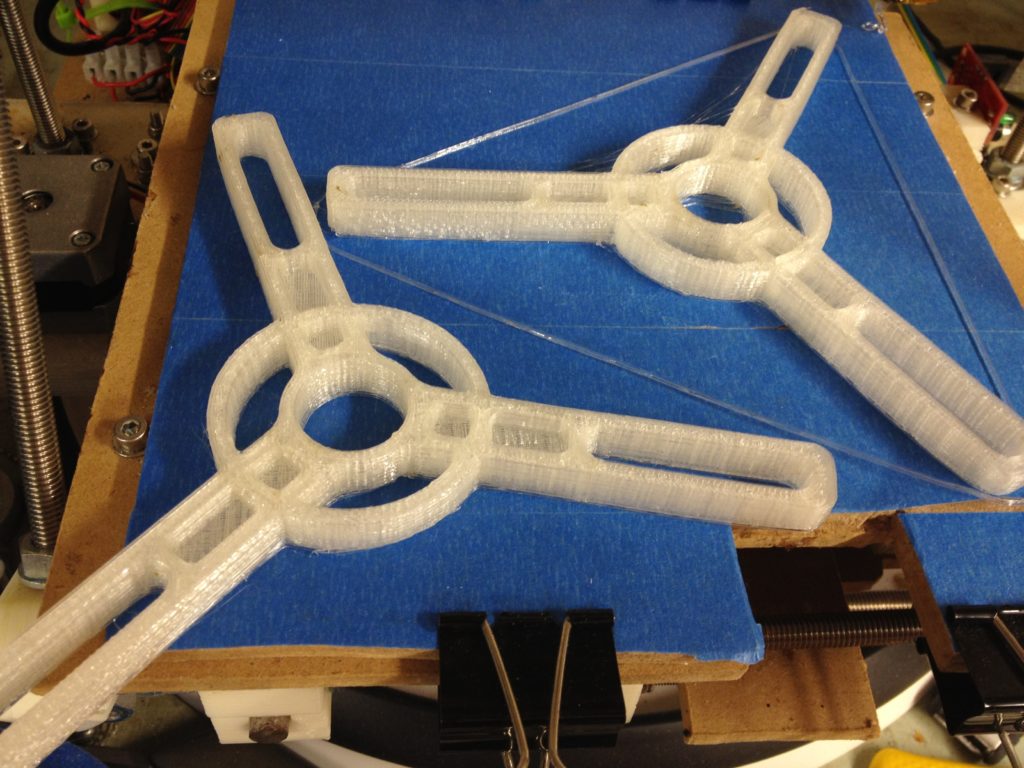
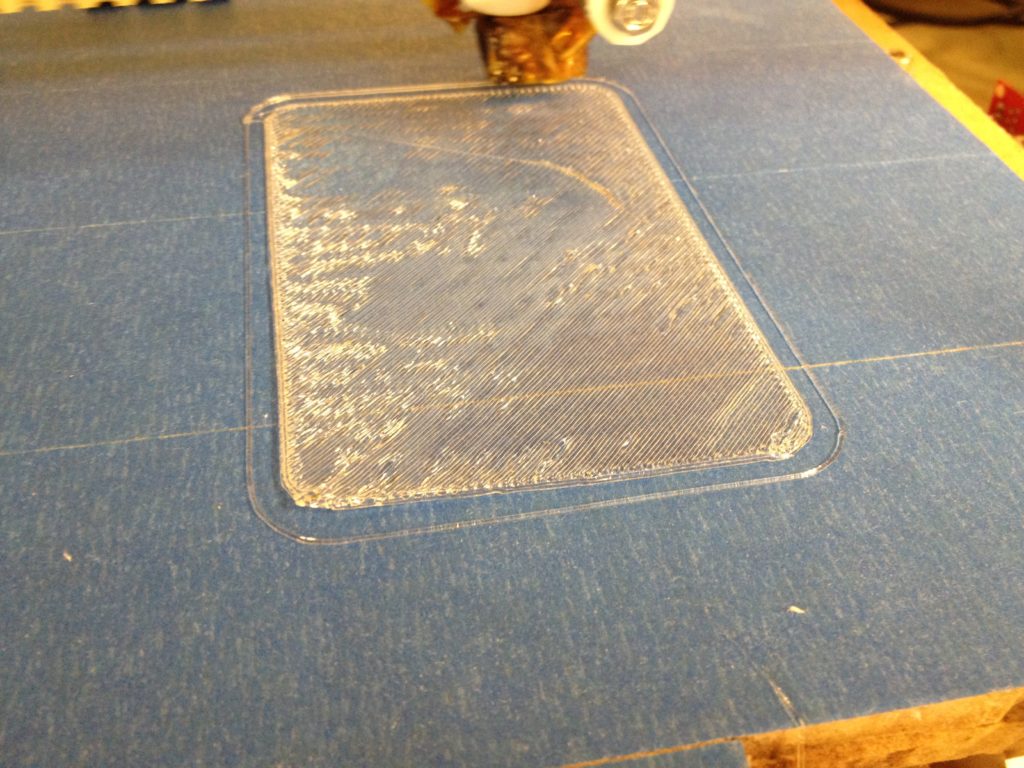
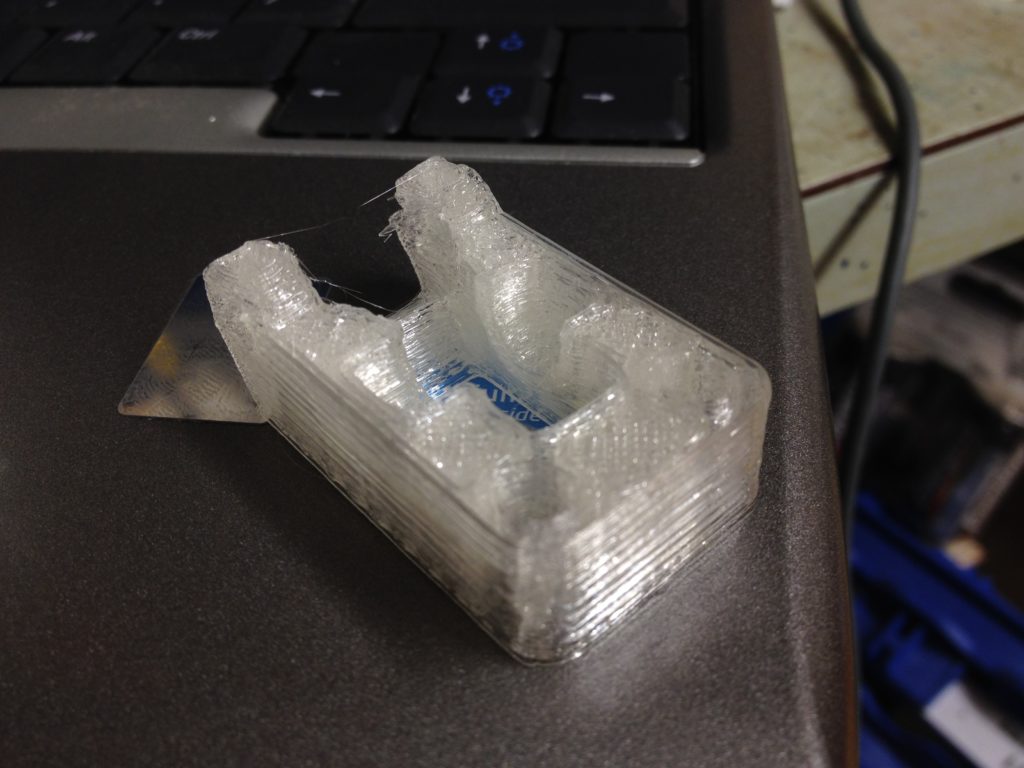
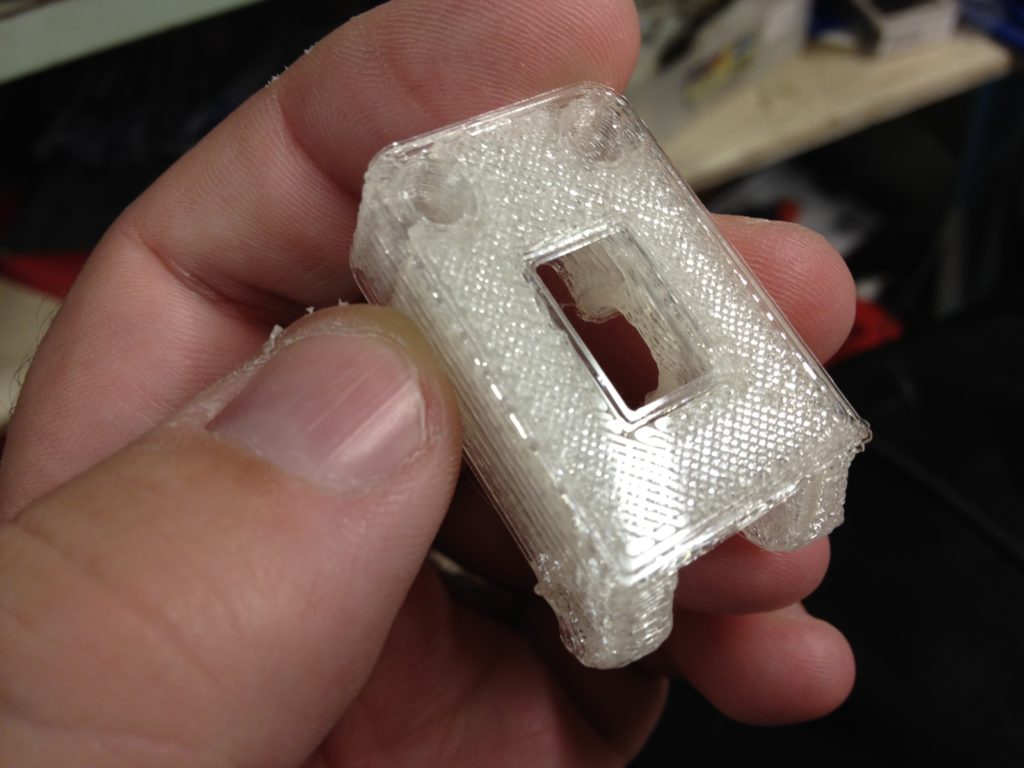
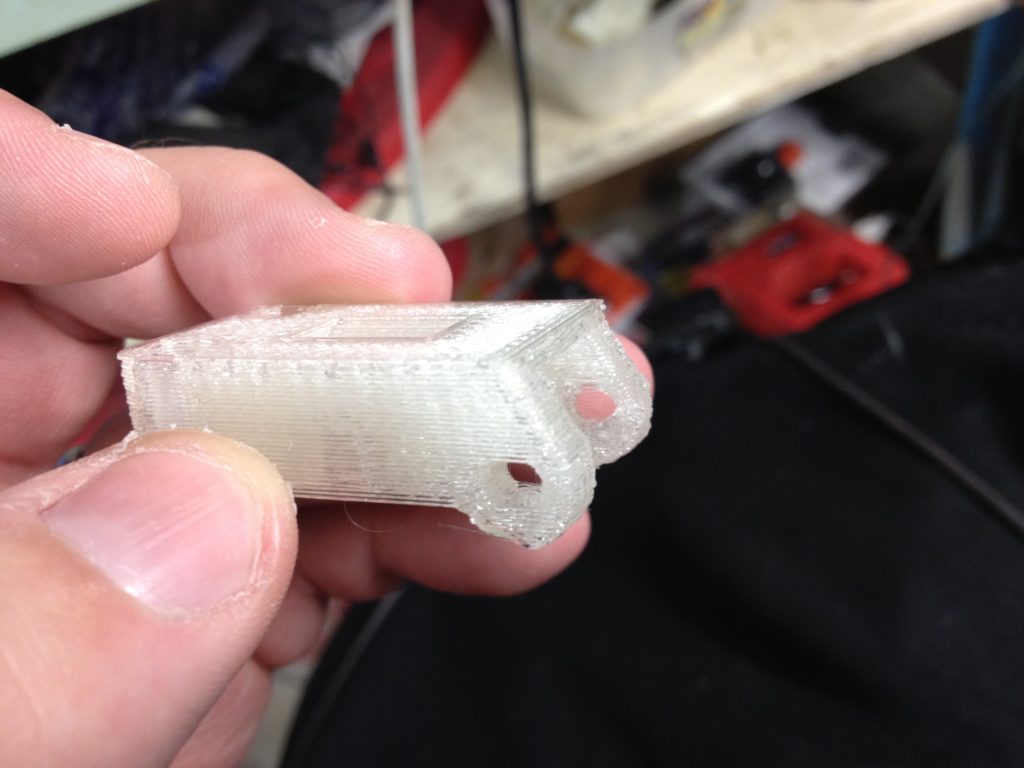
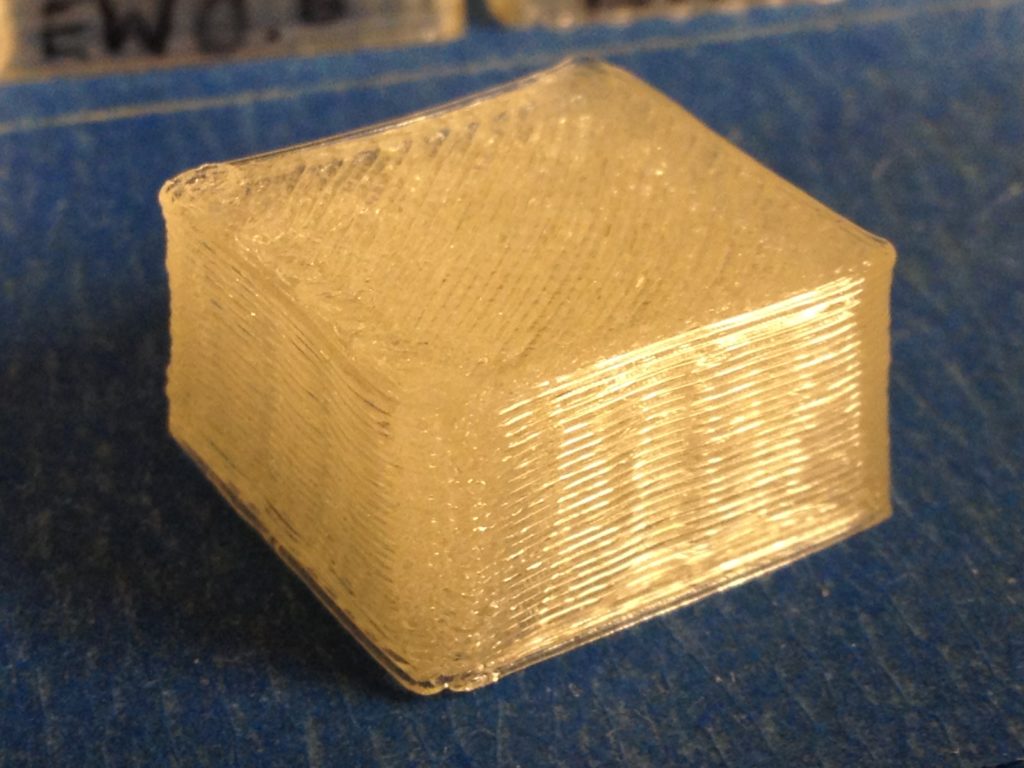
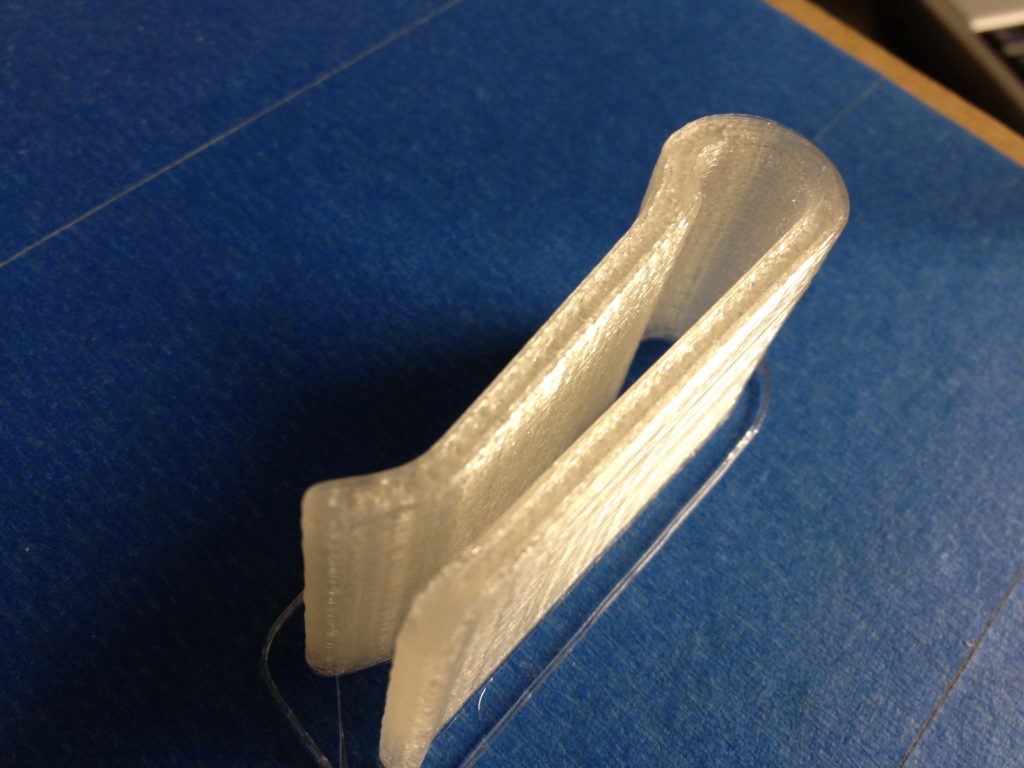
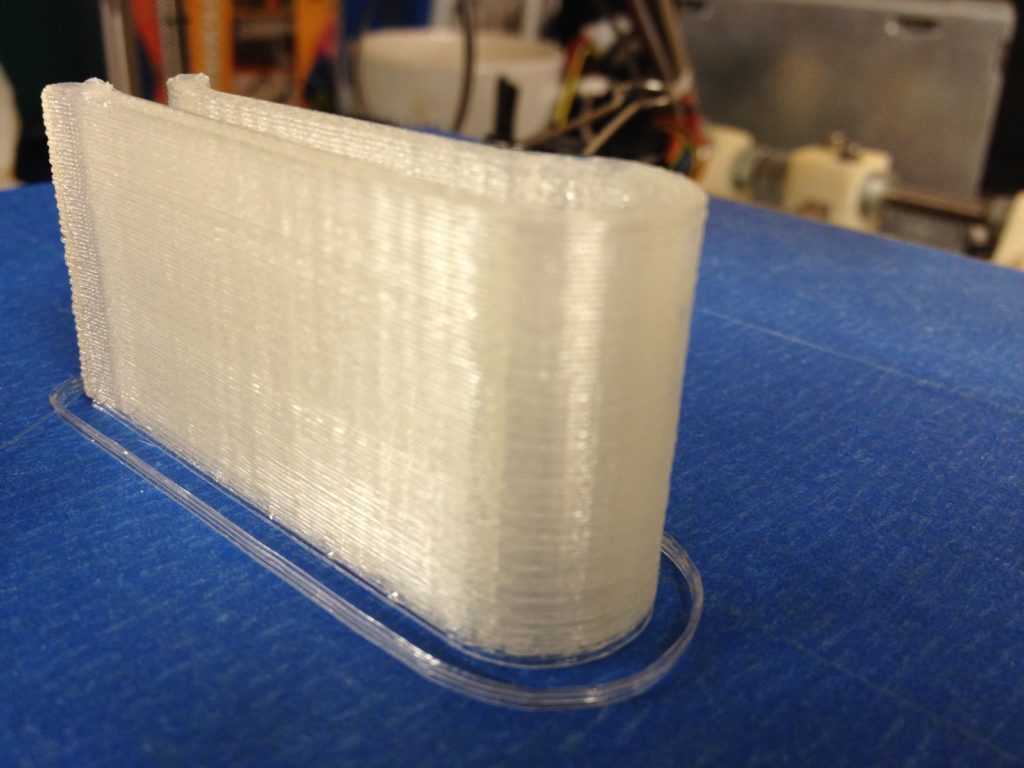
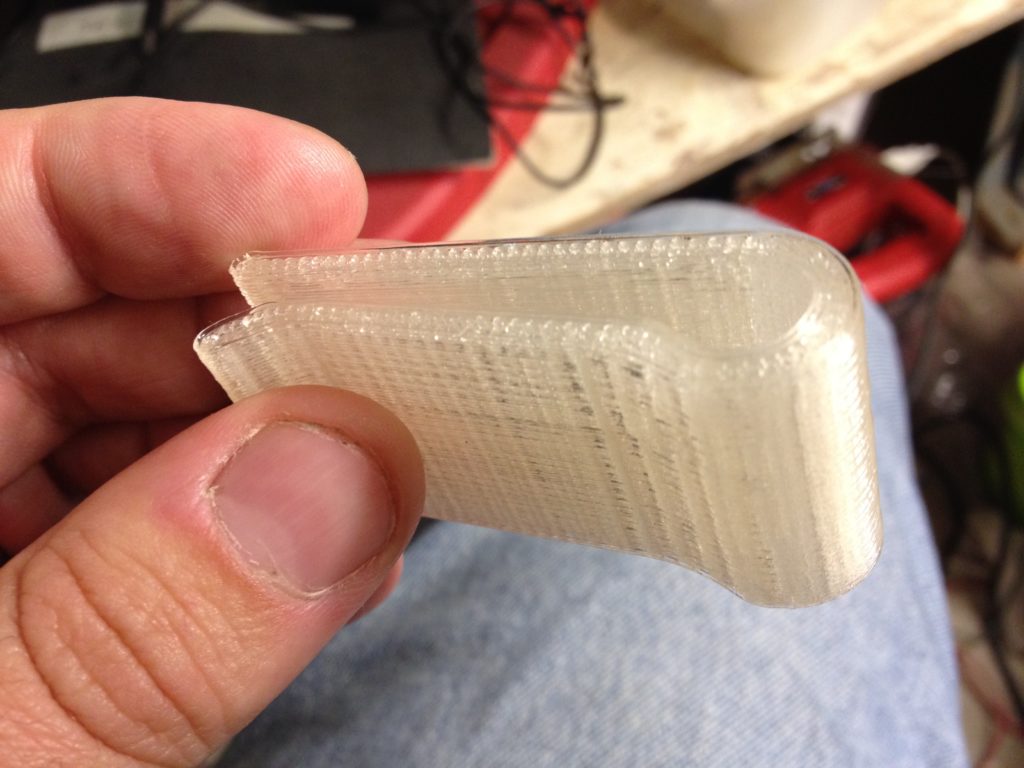
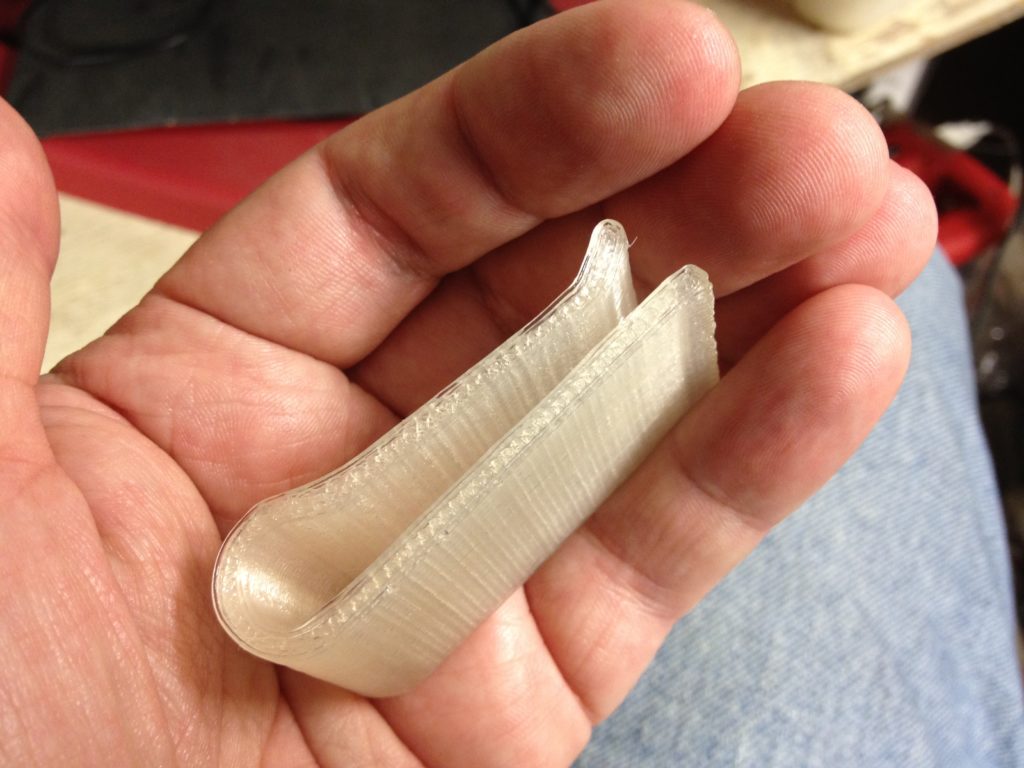
It’s amazing how when some part of something works so well, that you can end up ignoring other parts that don’t work. I kept forgetting about the Y-axis skipping problem I was having (or maybe after 11 months I’m just forgetting that I always remembered it but just didn’t know what to do about it). So even though the soap dish gave me problems, I tried designing an iPhone tray for me to rest my iPhone on while I slept (so it didn’t vibrate off of the table in the morning when the alarm went off). I designed holes at the bottom for Sugru, and it was basically going to just have a rim (like the soap dish) with a slot near the bottom.
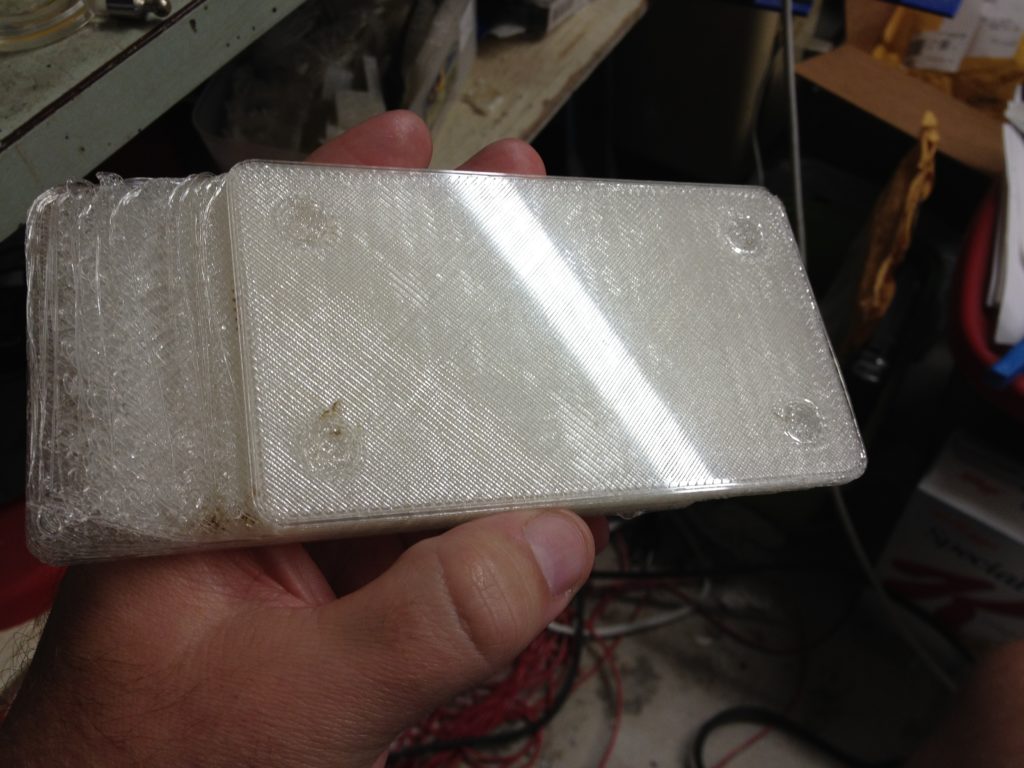
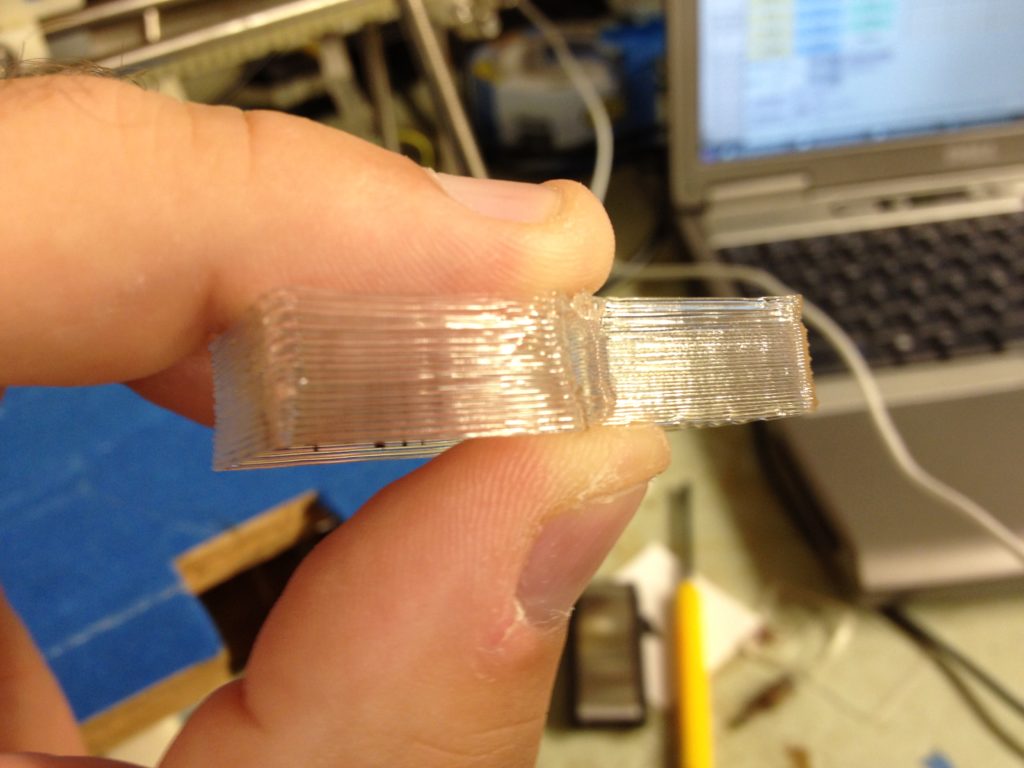
It failed, and the failure is worth showing (because even the failed object was still amazing to hold in your hand).
and.. failure:
Time to stop here I think (even on a failure). Now the blog is caught up to November 26, 2011 (today is September 26th, 2012) – so I’m still 11 months behind. Next up in the next post: it was time to try the new extruder.
As I said last post, in one week I’m heading down to Makerfaire NY 2012 to show off my RepRap (I’ve attended for the past two years but this is the first time I dragged my RepRap down there to exhibit). I’m booth #8736 in the 3D printing village. If you’re in the area, come on down! It’s September 29th and 30th. Makerfaire NY 2012.
