I am so unbelievably behind with my RepRap blog, but I refuse to skip anything. 🙂 I WILL catch up, and end this ridiculous post naming scheme (it’s been going on long enough that it’s actually a scheme!).
Today is March 19th, 2013, and where we last left off was talking about the events up to November 26, 2011 (that blog post was made in September 26th, 2012). Actually, after that post, I cheated and skipped ahead, blogging about me bringing my RepRap down to Makerfaire NY 2012. Now to go back and catch up on stuff before and after that.
Ok events from 16 months ago – the end of 2011.. I’d been having beautiful prints (including an extruder printed out of PLA), then an iPhone tray I designed failed due to Y-skipping, and worse, it broke my printer because I was foolish enough to let it keep printing “just for the hell of it”. The warped part pushed up against the nozzle, plastic backed up into the PTFE insulator, and the extruder pushed out. This was using my old Wade’s extruder, a PTFE insulator, and a simple hollowed out M6 rod as my heater barrel (at least it was using a brass heater block, and not the ancient nicrome wire trick!).
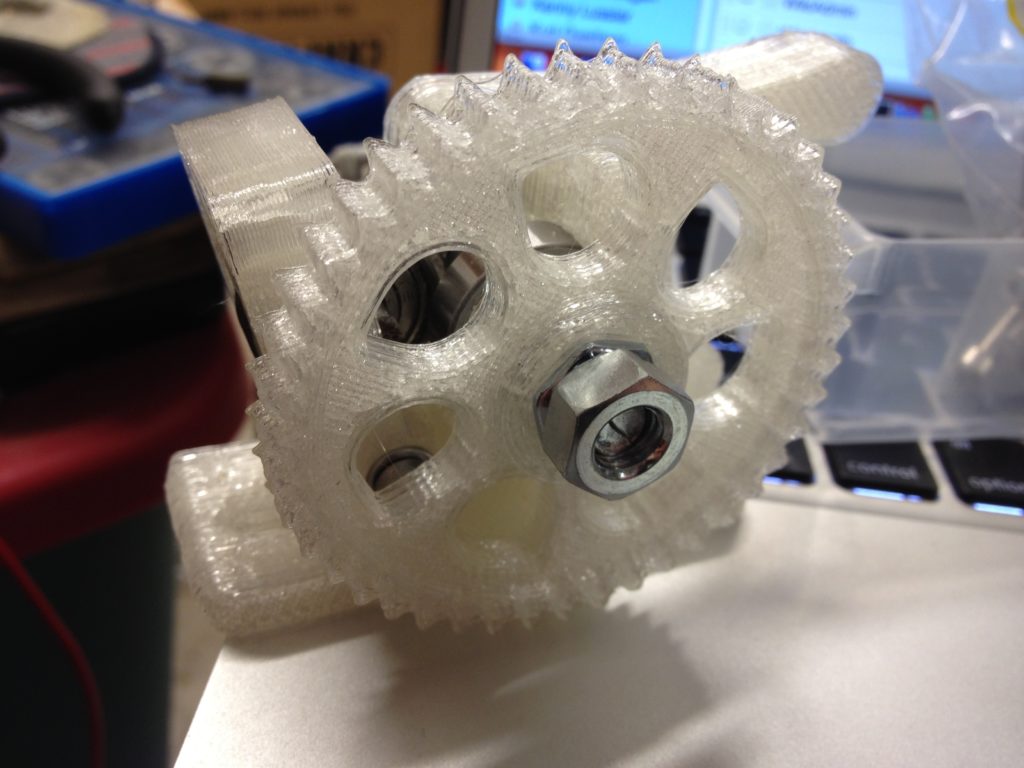
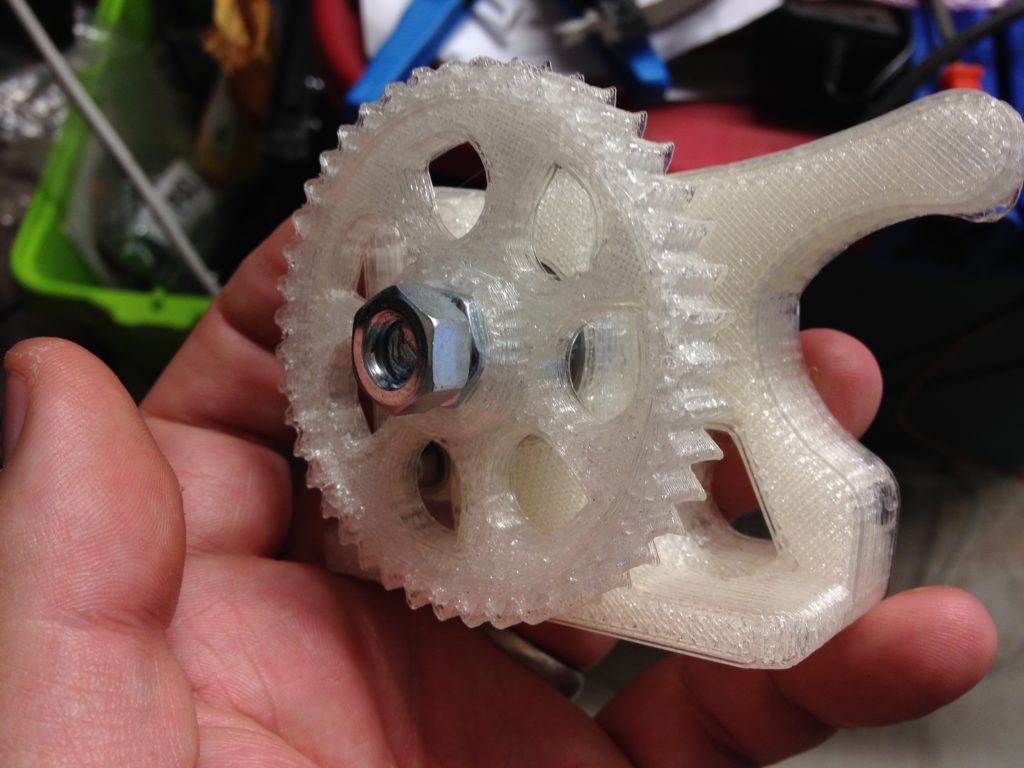
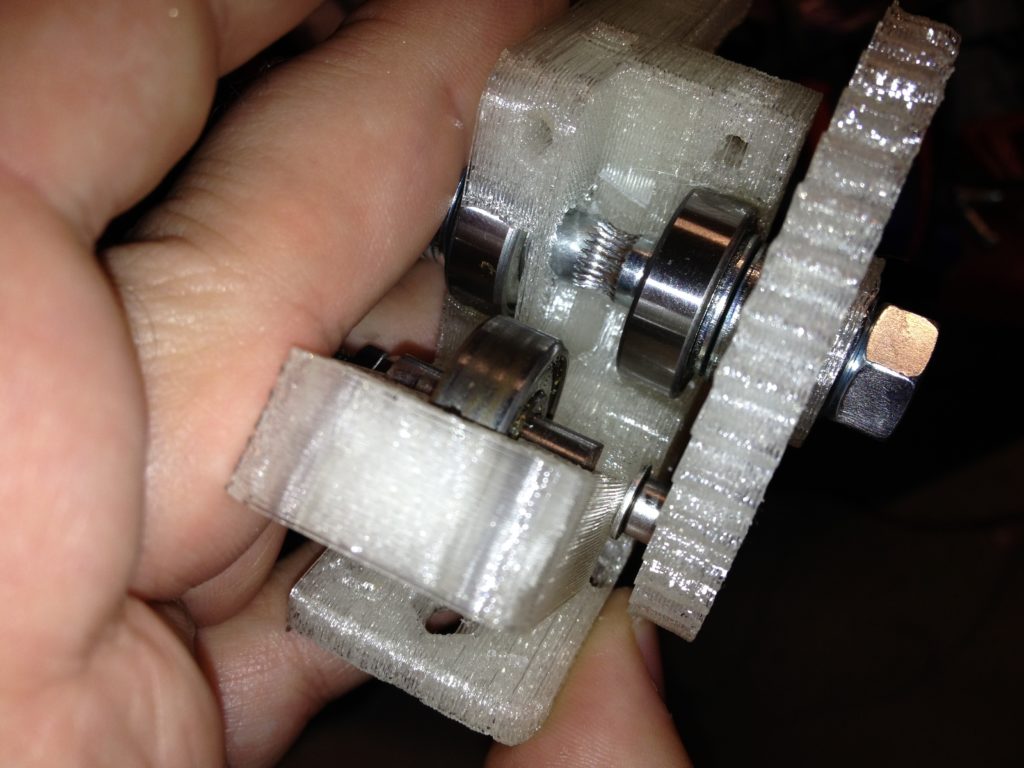
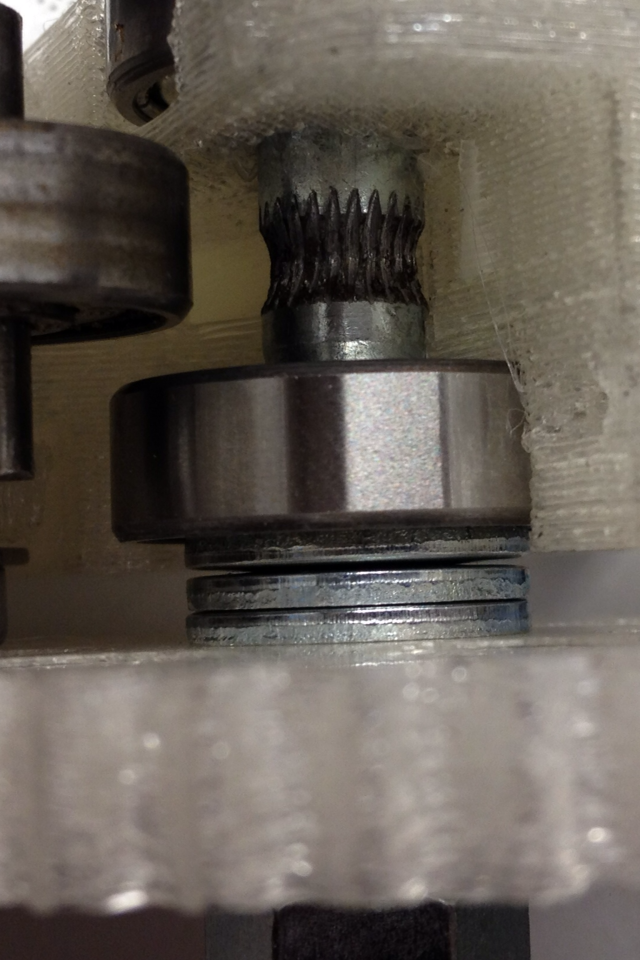
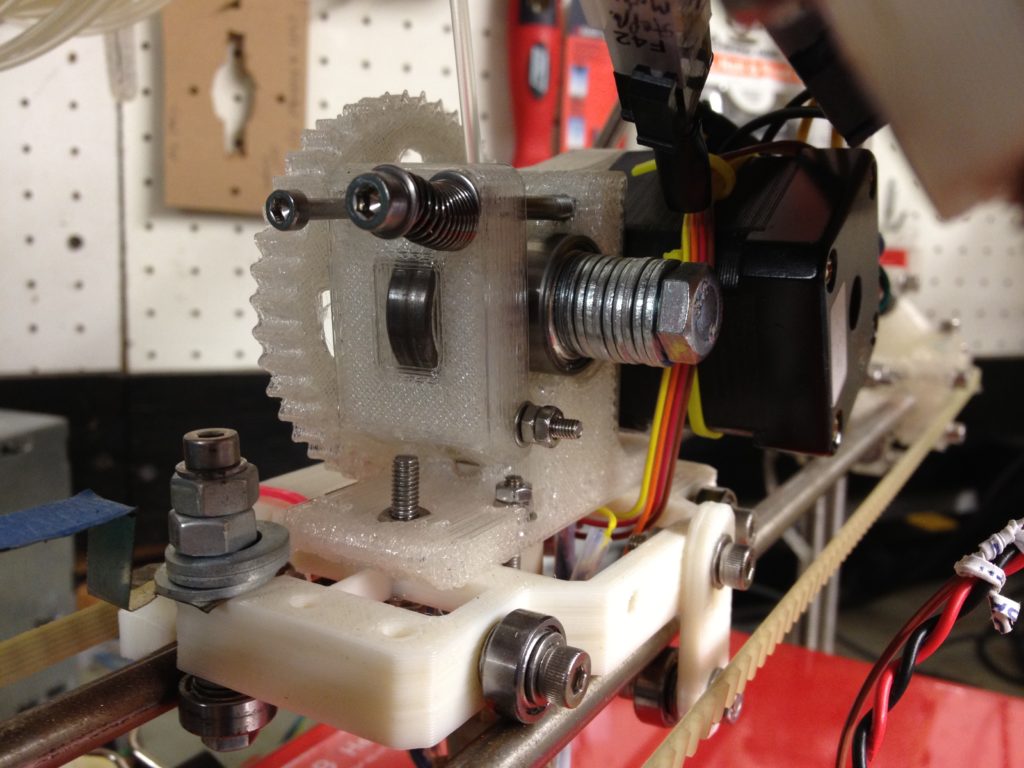
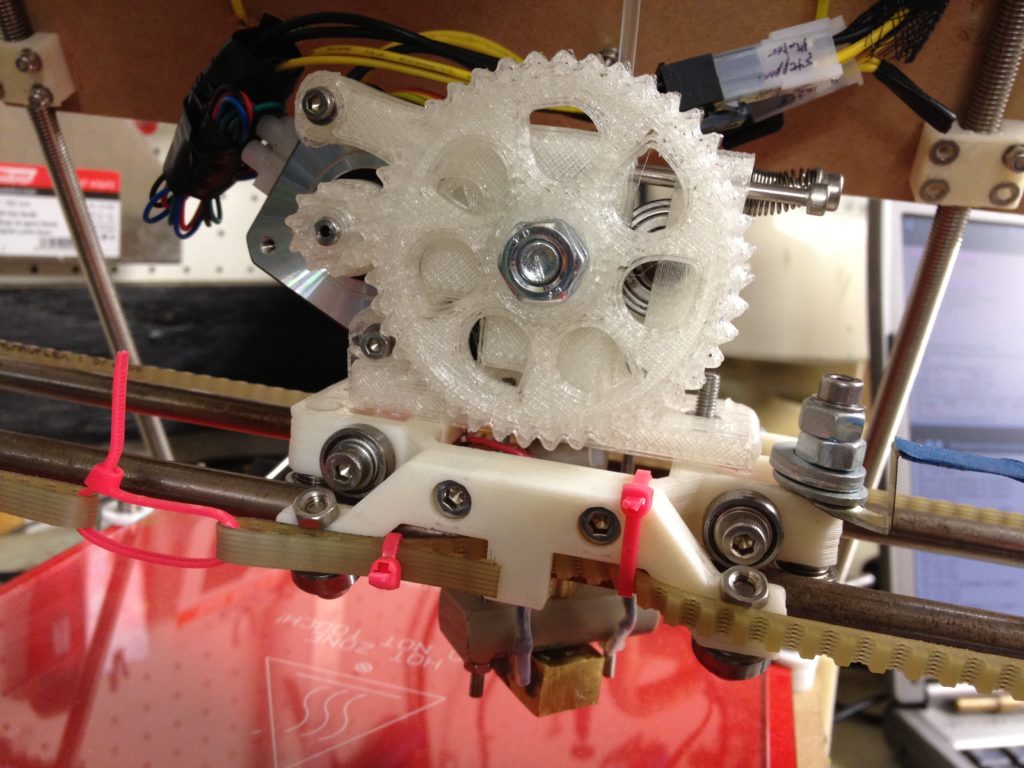
Since I had to take everything apart again, I figured why not try assembling the Greg’s Accessible extruder I’d printed, even if it was printed out of PLA (a very bad idea, because not only is the melting temperature of PLA lower, but it softens even lower than that). Still, I tried it.
In these pictures, you’ll see the head of the hobbed bolt is on the opposite side of the extruder from the big gear, and two locked nuts are on the gear side. This is opposite how I’d done it previously, and was an idea passed along by a friend that made it easier to remove herringbone gears. I’ve since decided that I don’t like it that way (plus I’m not even using herringbone gears) and I’ve gone back to having the head of the bolt in the gear, but that’s why these pictures look the way they do.
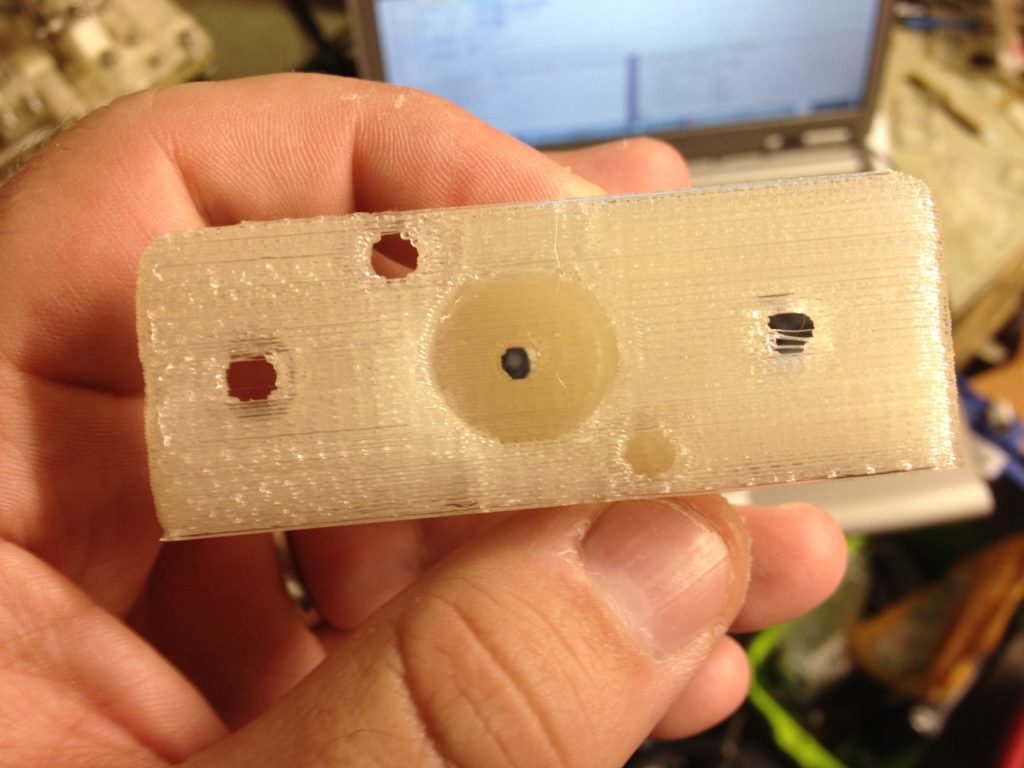
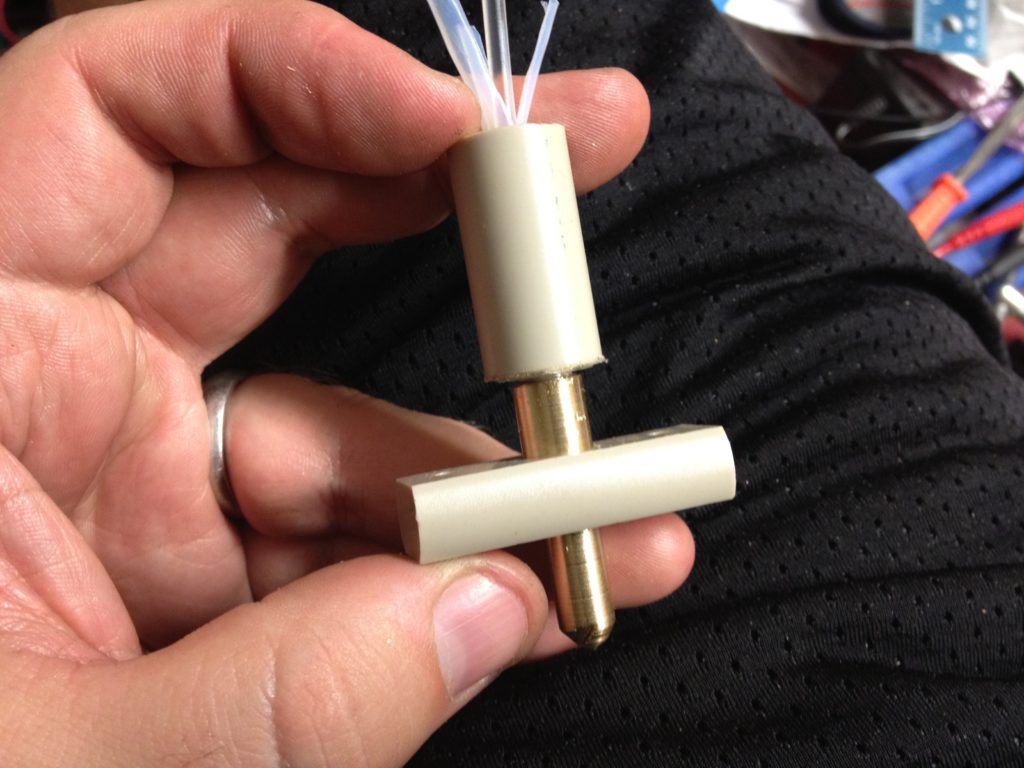
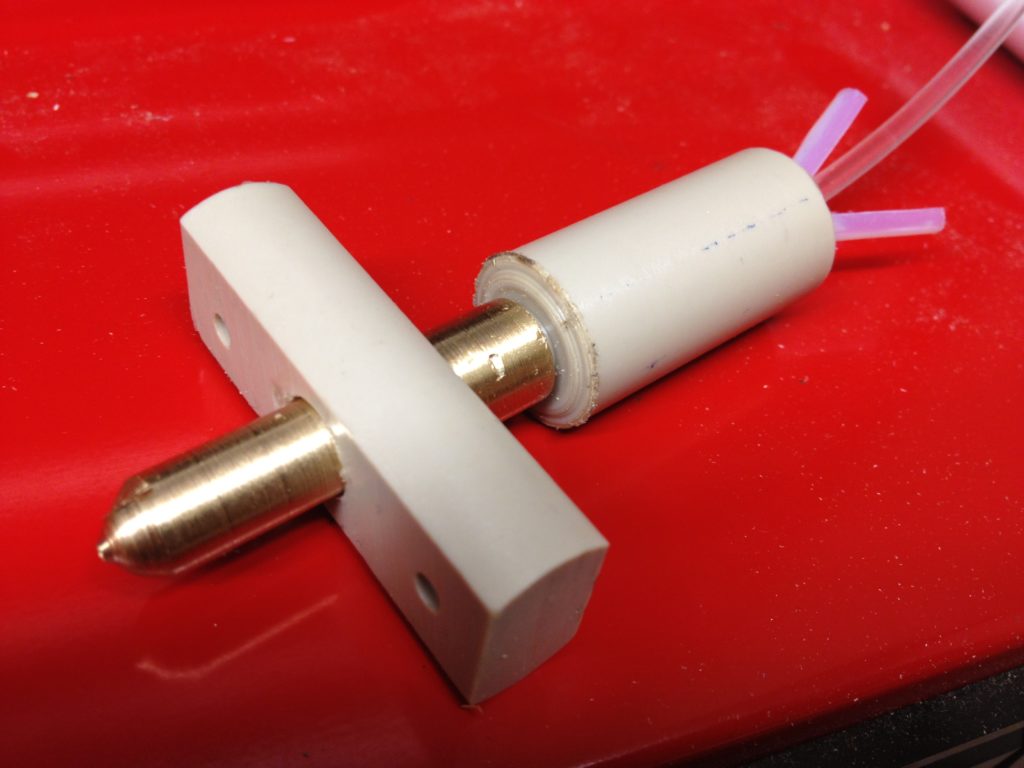
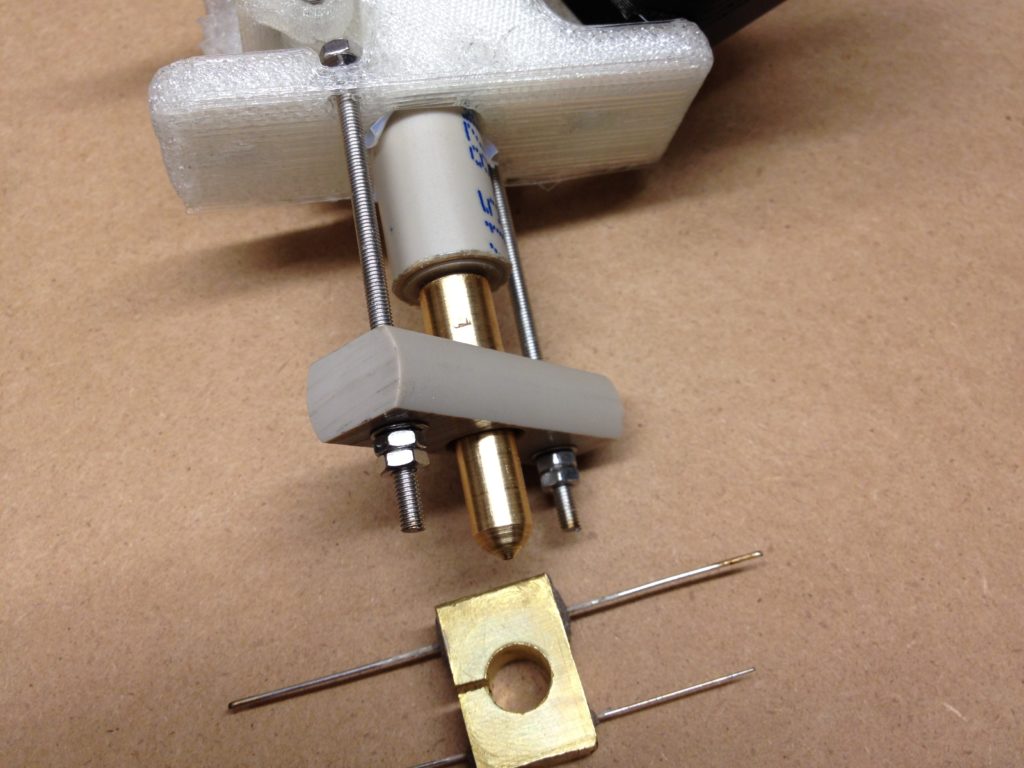
One of the reasons I printed a new extruder was that I wanted to try making Adrian’s Geared Extruder Nozzle. (Remember, this is 16 months ago). I’d had enough of PTFE insulators not holding a thread and pushing out the extruder nozzle onto the bed. This one would be held in by M3 threaded rod holding onto a PEEK block, which in turn would hold the nozzle up. The bottom of the extruder I made had two holes for those rods.
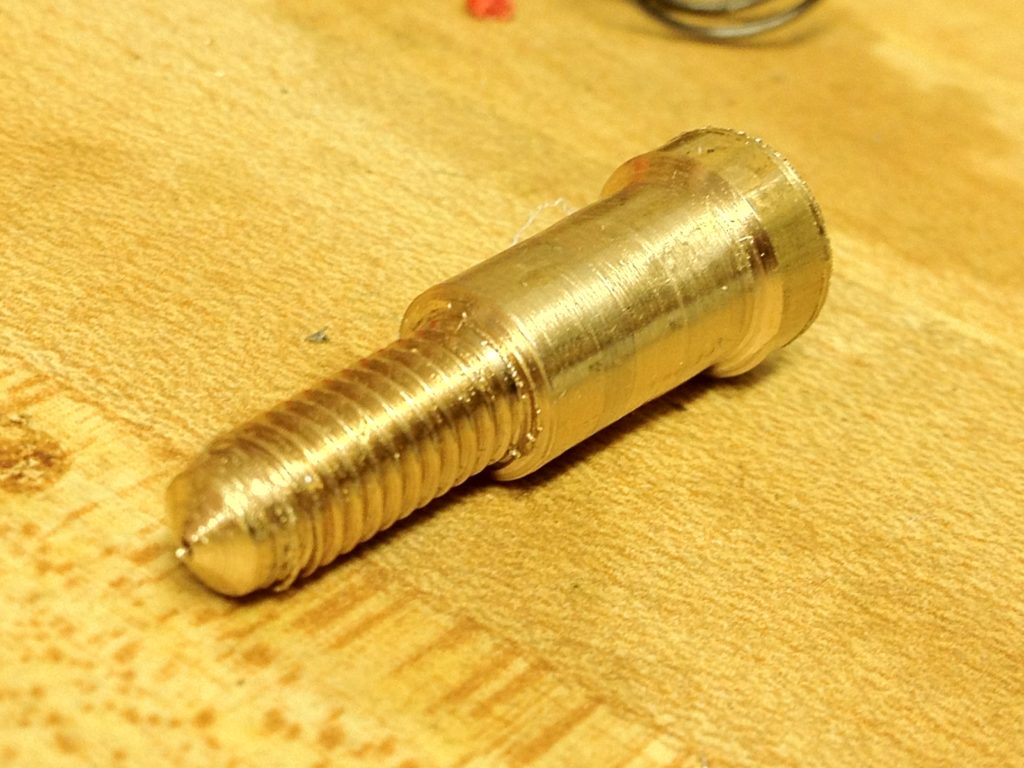
I then let myself have fun with my lathe, making that extruder nozzle I’d wanted to make for so long. (I previously described making the nozzle for a RepRap Universal Mini Extruder, but I haven’t made that extruder yet).
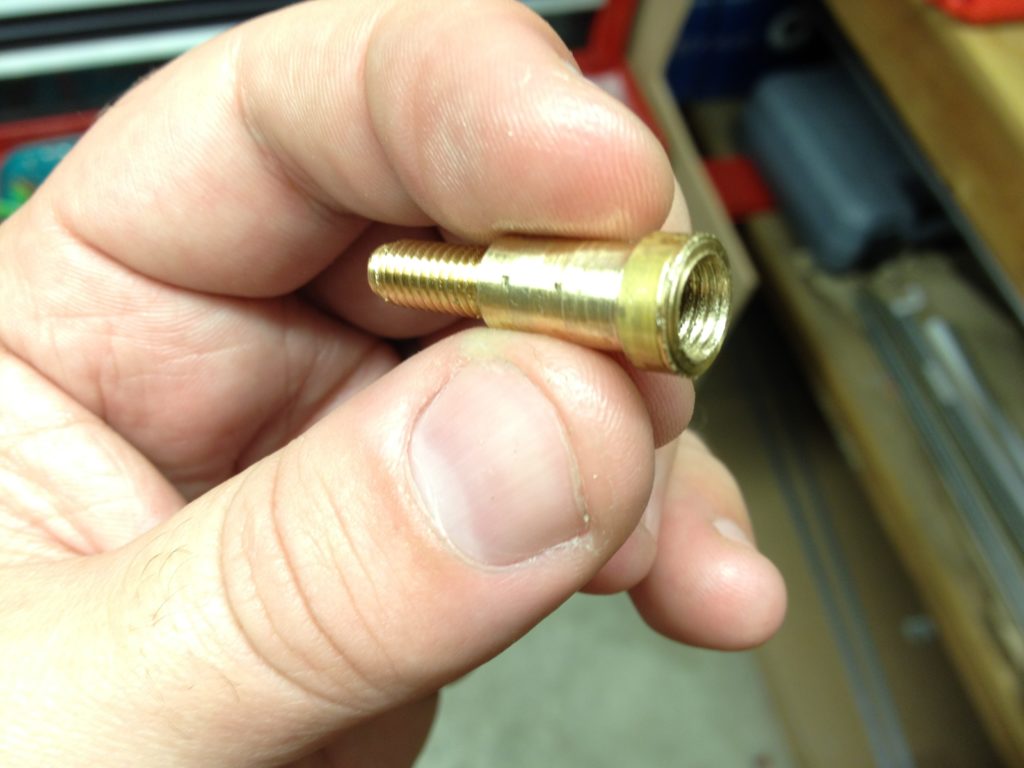
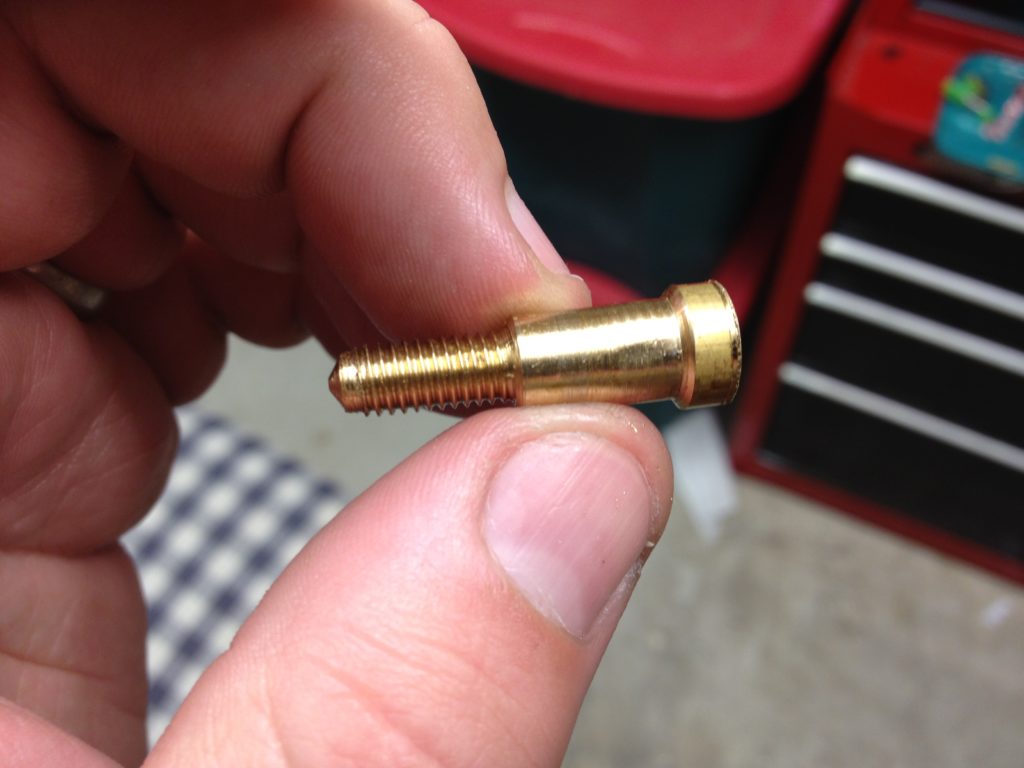
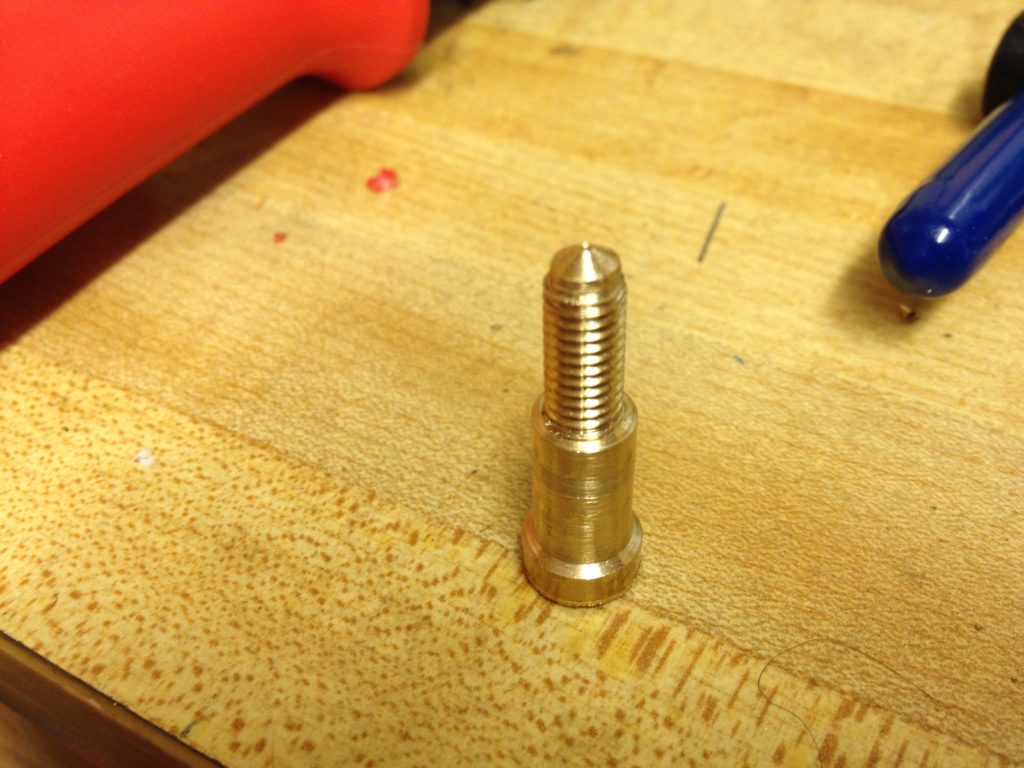
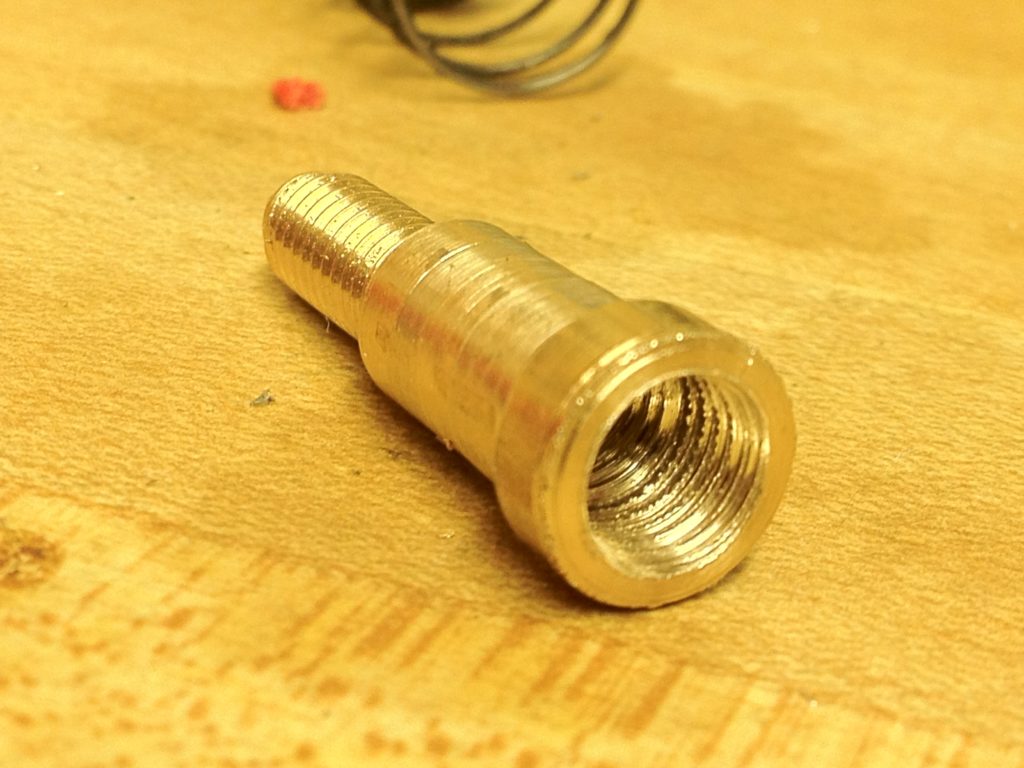
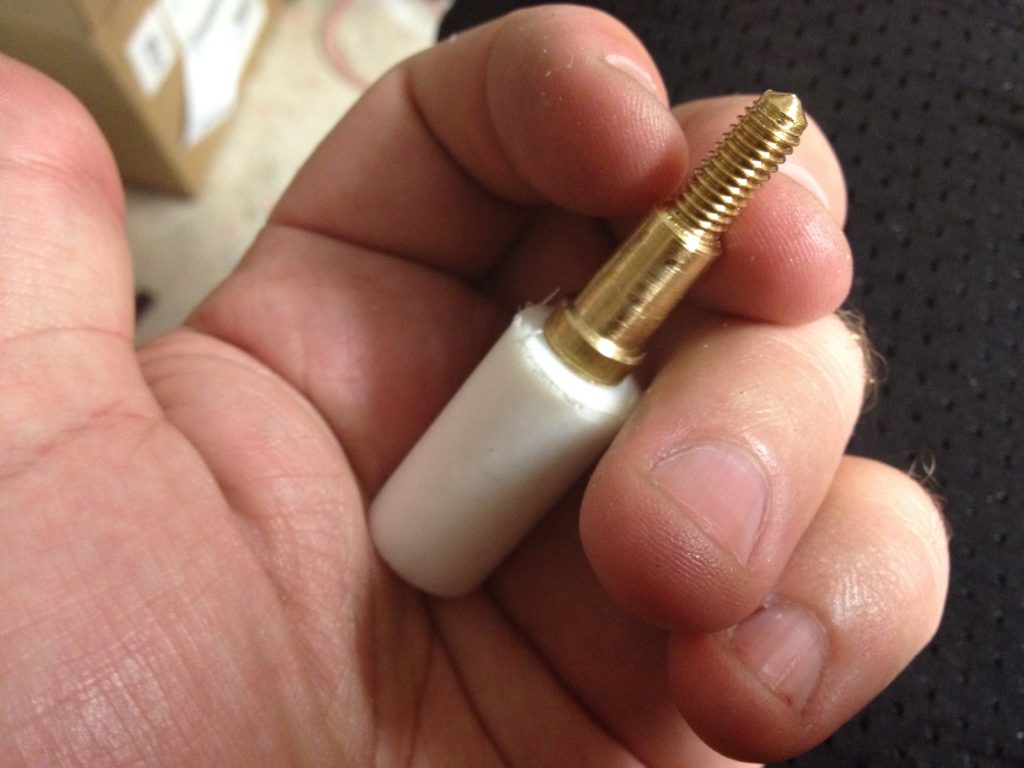
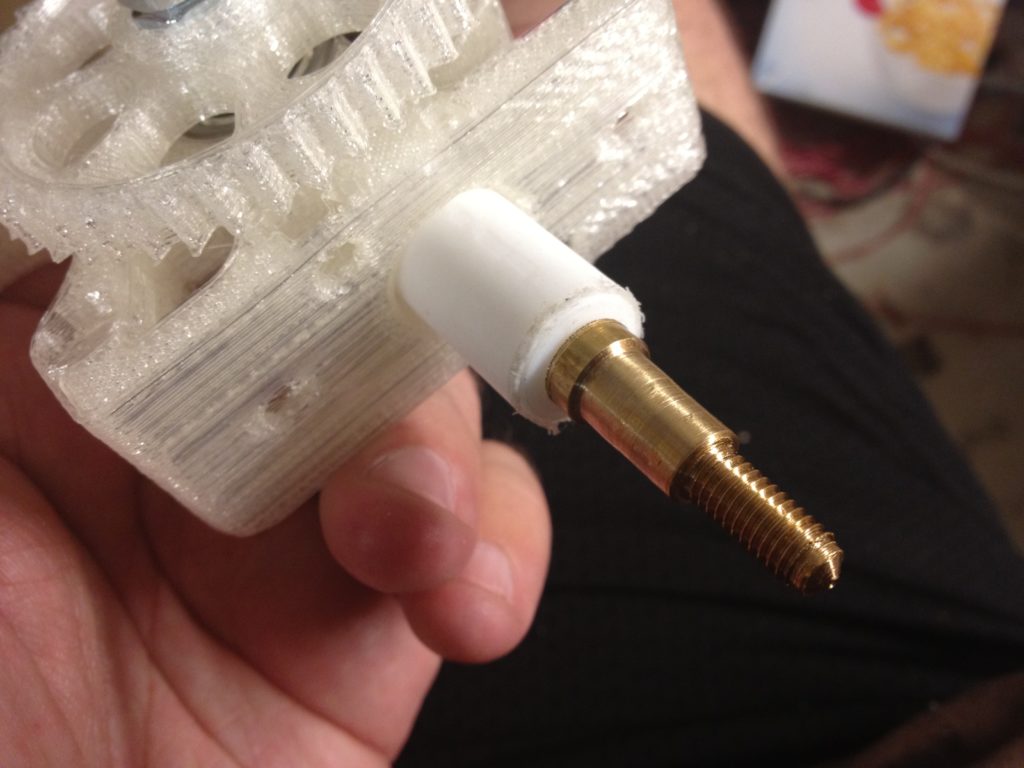
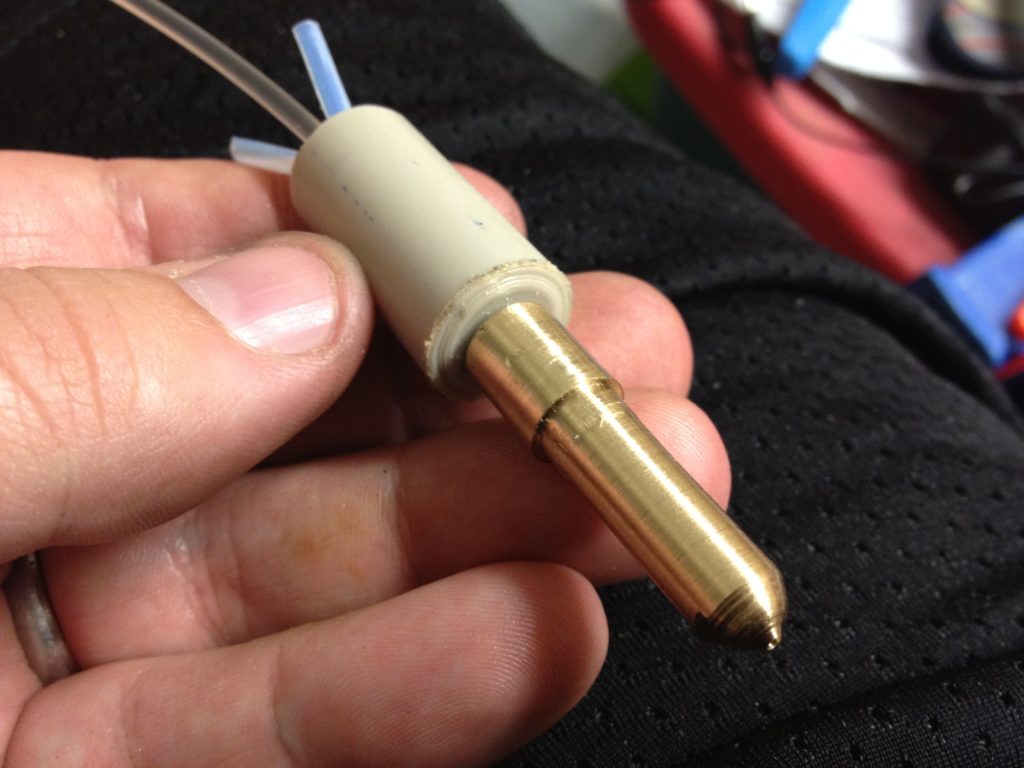
Here was the result of my lathe work:
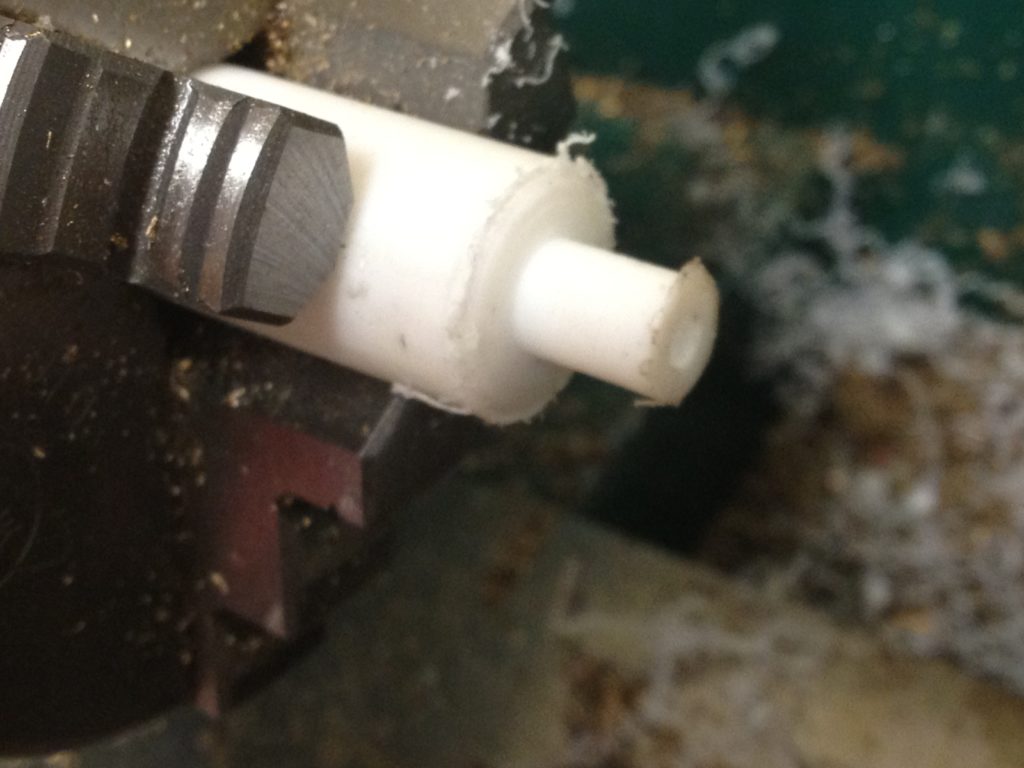
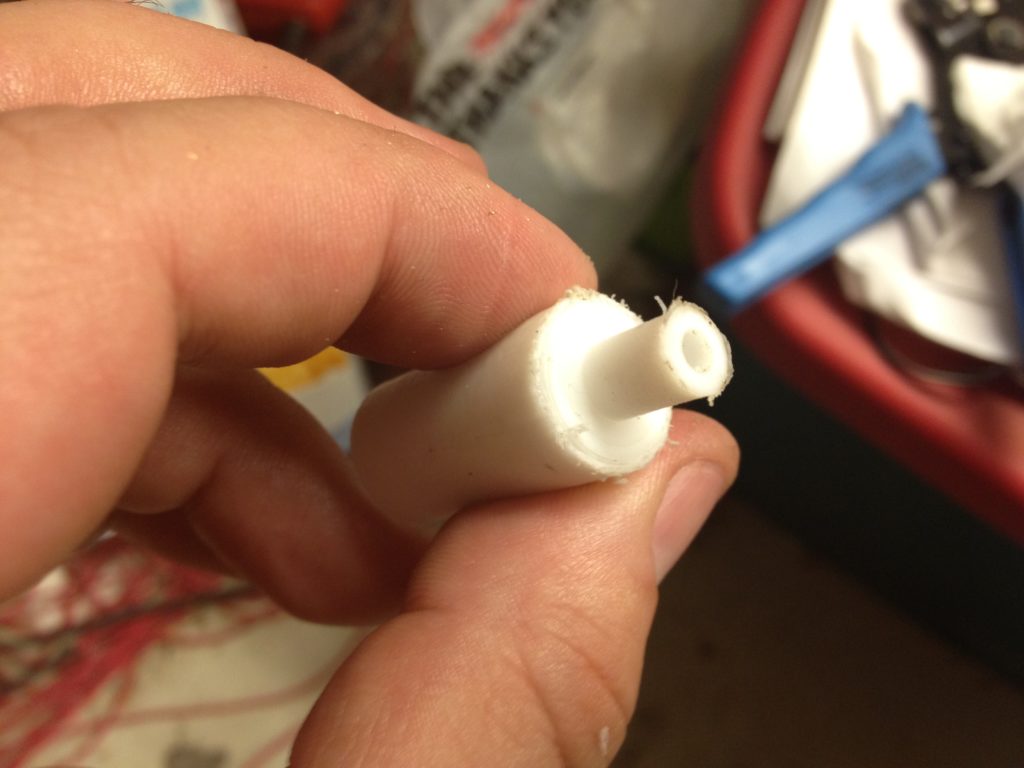
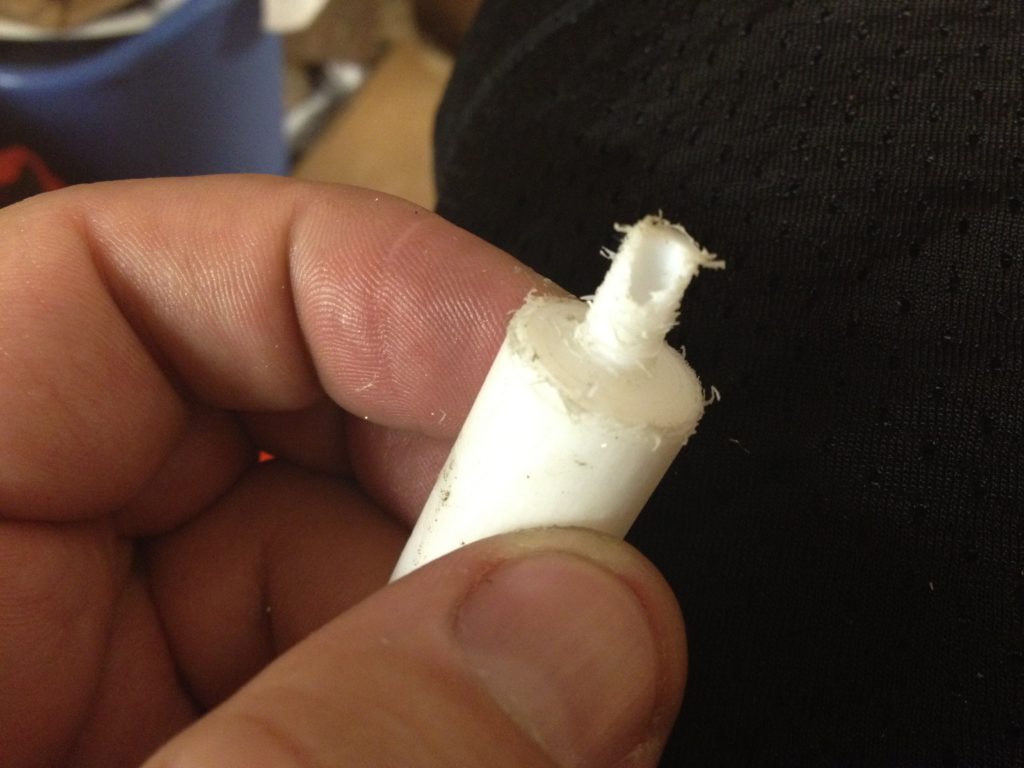
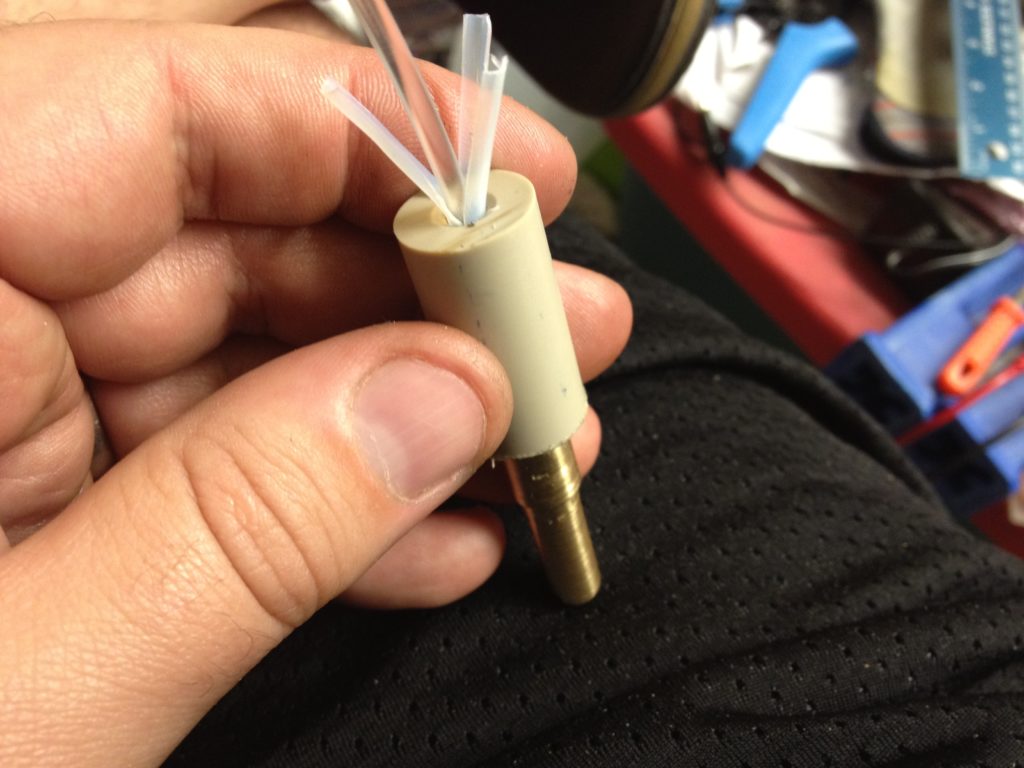
The idea of this nozzle was that you’d still have a PTFE insulator, but that it would screw into the nozzle, not the other way around, so if it expanded it would only make things better by sealing the join rather than having them fall apart. That meant I had to create a PTFE insulator with actual threads on the outside of part of it, which wasn’t easy. My first try broke.
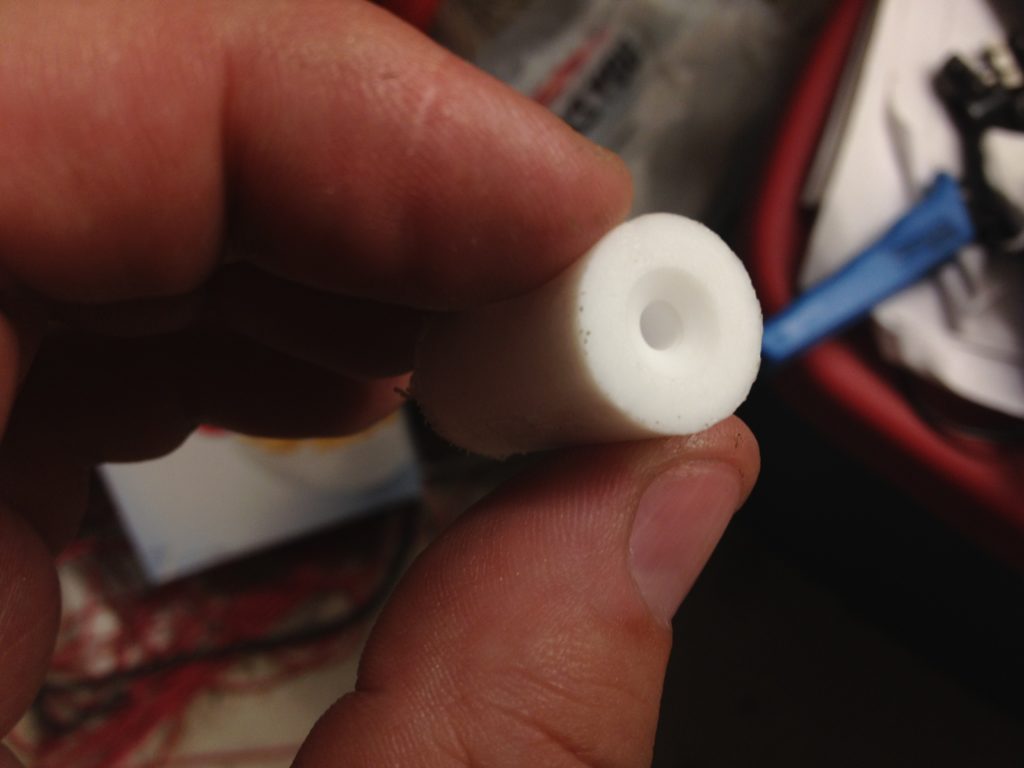
Still, eventually I had it.
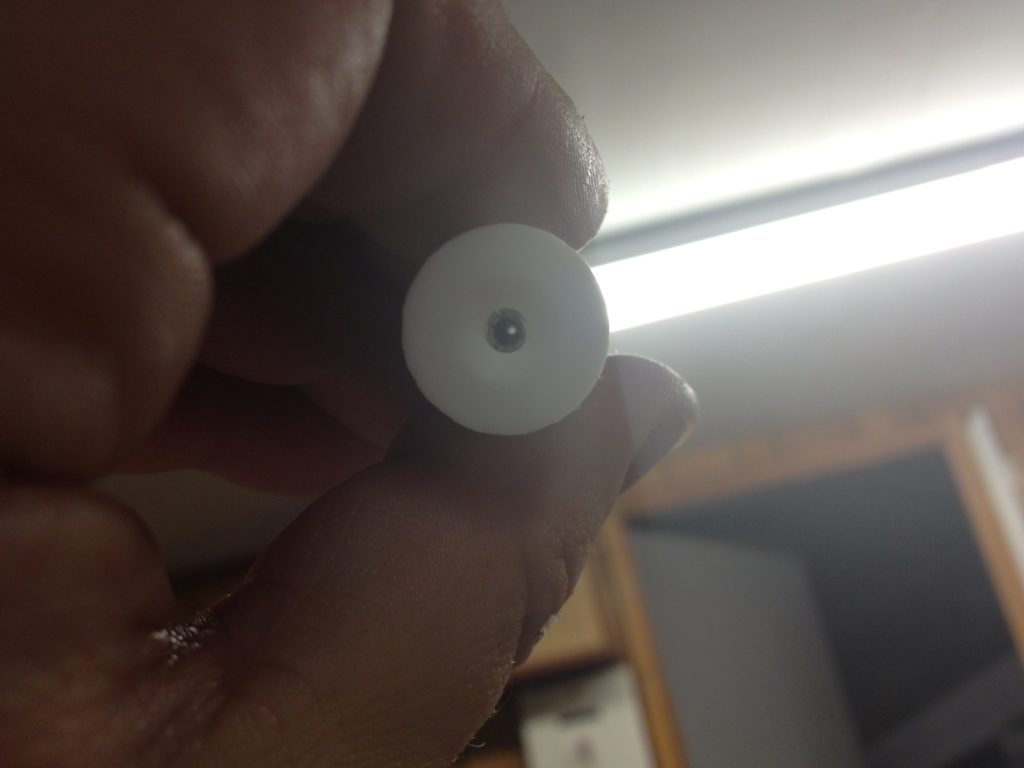
Here’s looking down through the extruder, out the nozzle hole:
PEEK in bar form is particularly expensive, so on the Extruder Nozzle Variations page of the RepRap wiki, it was suggested that you could cut the PEEK bar from a piece of PEEK rod. Here are a few concatenated videos showing how I cut the rod into bar:
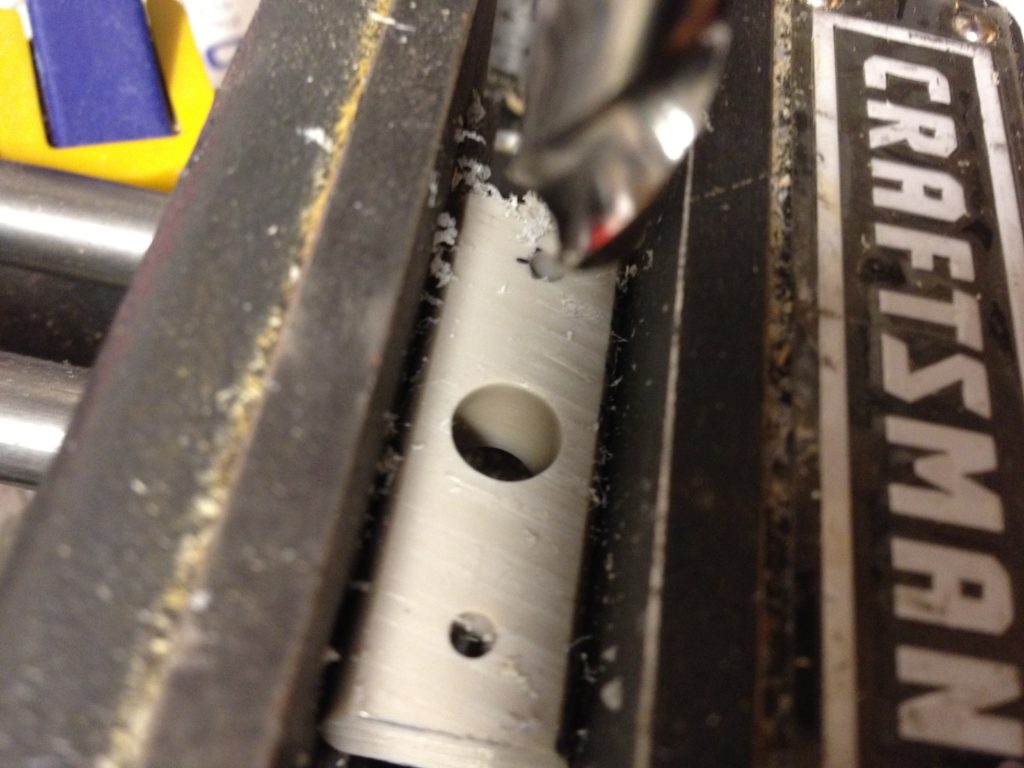
I then put the bar in a vise attached to my drill press, and drilled out the holes.
Here’s a phrase that happens a bunch on my blog: “And then this happened…”
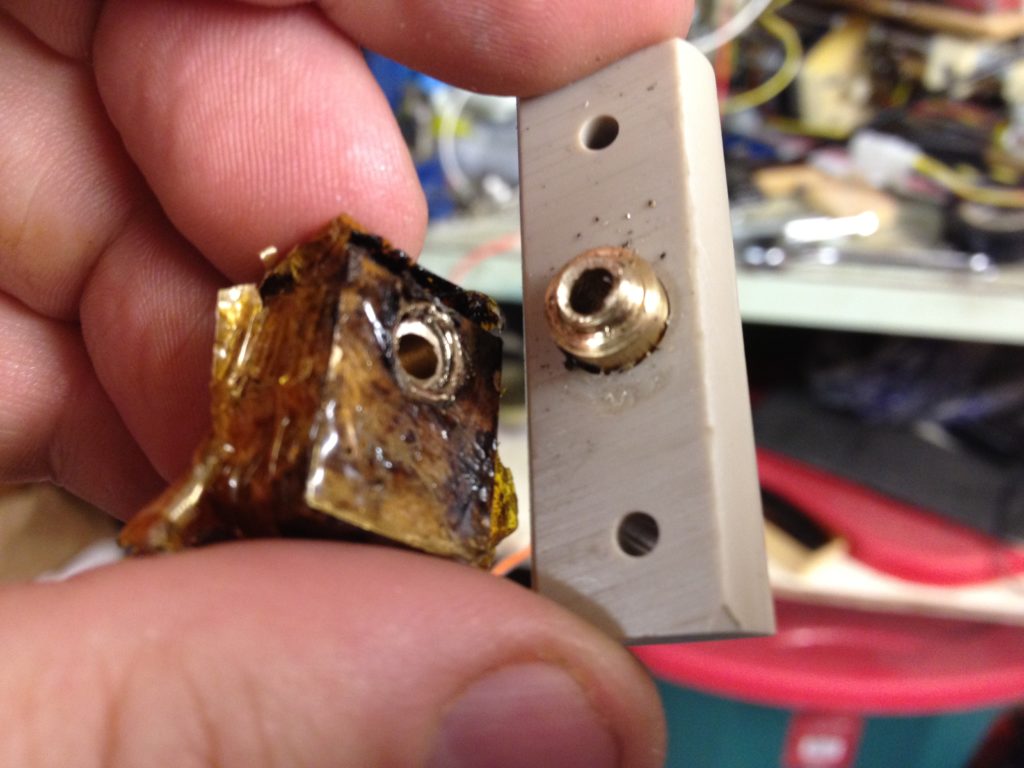
And then this happened…
As I said in the video, I was crushed.
So… I got up again, and did something better!
That’s the PTFE sleeve nozzle variant of the Geared Extruder Nozzle. It’s closer to the nozzle I’d made previously for the RepRap Universal Mini Extruder (which is still unused), but bigger. It’s push-fit, so no threads, and uses a strong PEEK insulator.
Here are the schematics (copied from here):
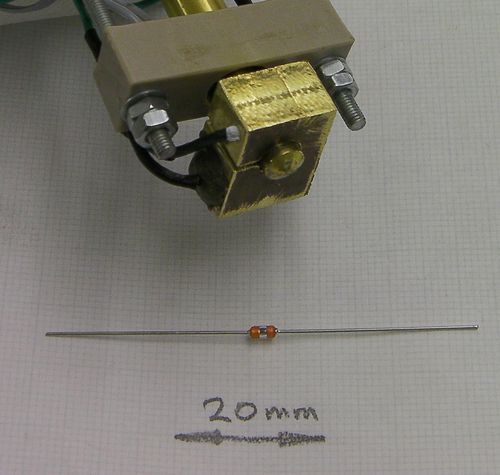
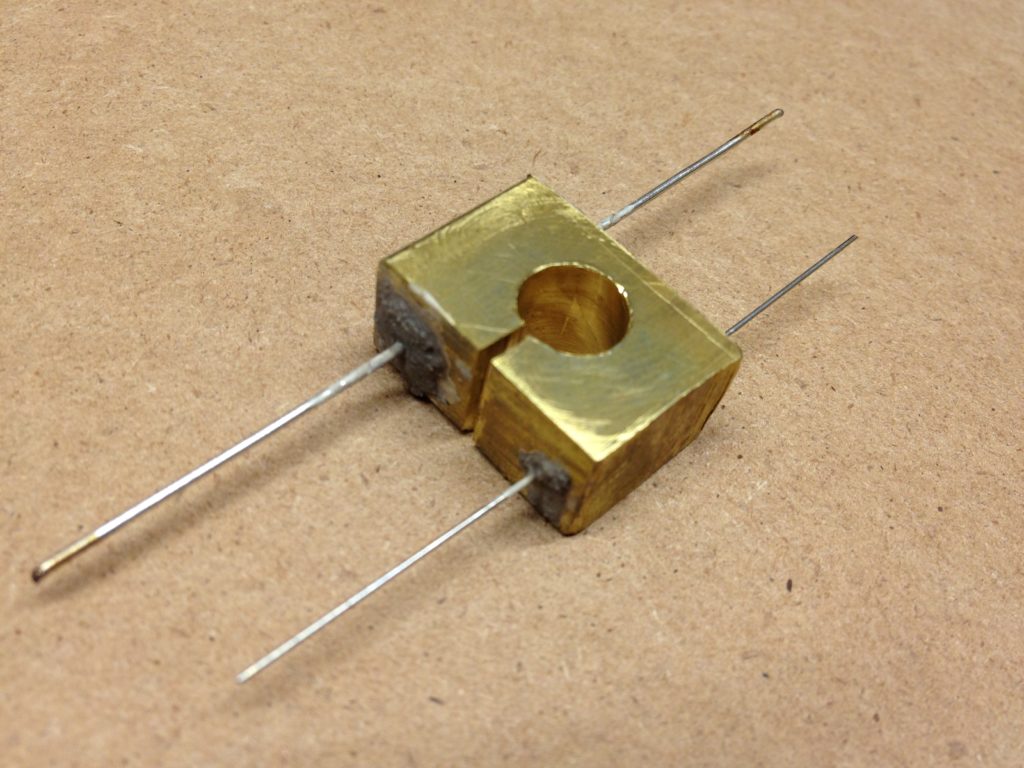
I wanted to use a slightly different design for the heater block though. Rather than continuing to have the tip of a thermistor pushed into the side of the block (with the risk of it coming out), I’d rather have a through-hole thermistor embedded in the block itself. Taking inspiration from this variation of the smaller RepRap Universal Mini Extruder heater block, I decided to make something similar, sized for this nozzle.
Another picture copied from that page:
And here’s what I made:
Before going any further, I wanted to figure out how I’d do the wiring to my RepRap. Ever since having a removable carriage, I’ve wanted and planned to have multiple swappable extruders. Here I ran into a snag though because this Greg’s Accessible extruder needs the extruder motor to rotate in a different direction from my Wade’s extruder. There needed to be a standard (even in a field where “RepRap doesn’t do standards”), at least for me and my extruders.
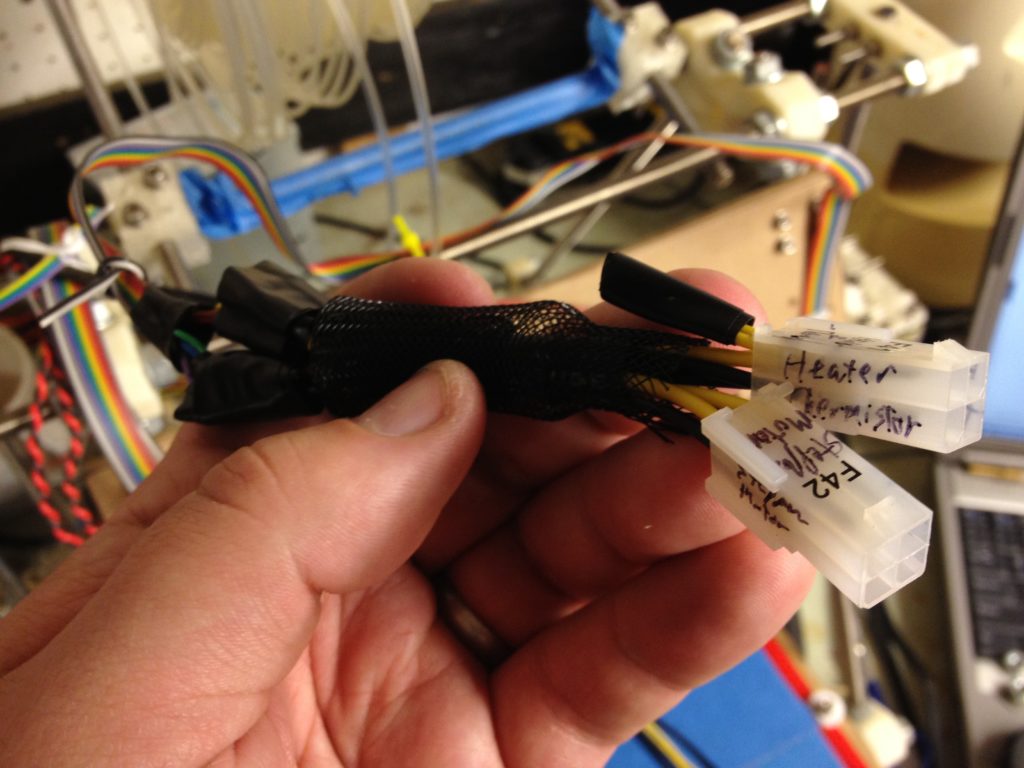
Chris Connelly told me about the idea of using these video-card PCI-e power cables as a connection point. When I ordered these Athena Power Cable (M84M84F) extension cables for like $5 USD, I found that they’re keyed.. There are two male socket shapes and two female socket shapes, which aren’t physically compatible. This was good – it let me designate one to be for the heater and thermistor line, and another for the extruder motor, without any risk of having them accidentally plug into each other.
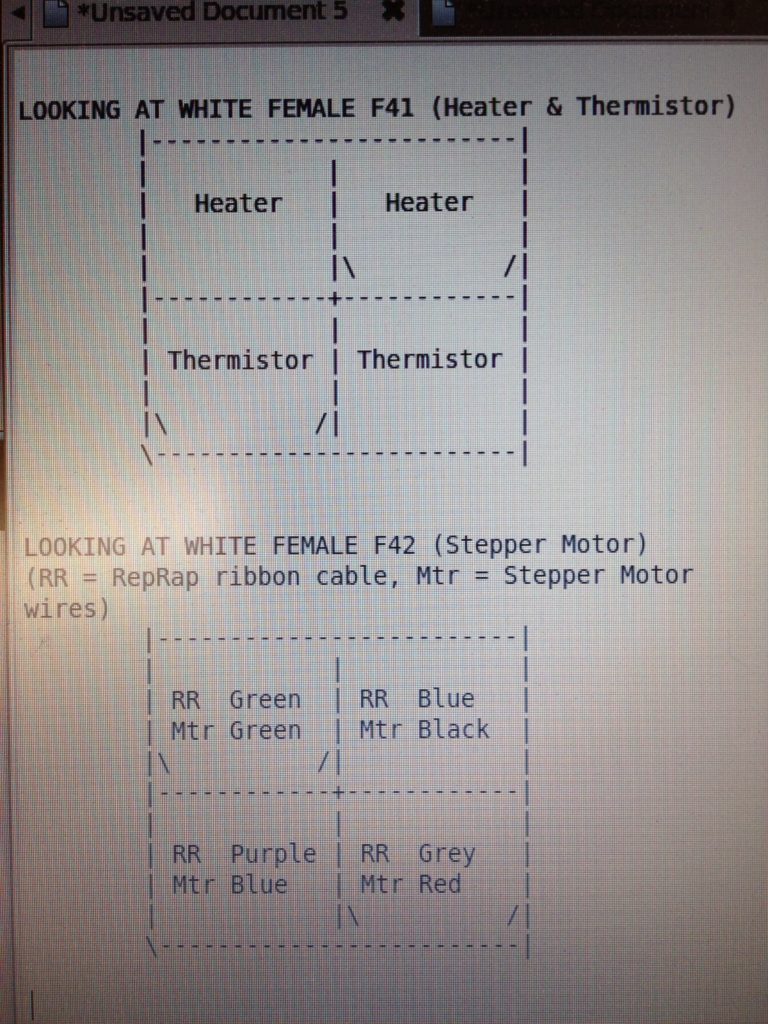
I needed to create a standard for the pinouts, such that I could wire my Wade’s interface one way and my Greg’s interface another way, and they’d still be the same at this junction point.
And thus, the RepRap Extruder Connector Standard was born. I wired up both my Wade’s and Greg’s to this standard, as did Chris, and our extruders are completely swappable (except for perhaps some thermistor settings.. grumble).
Here’s a video I recorded about it:
Here is a picture of the female white side of the cables, permanently connected to my RepRap motherboard:
Chris finally got around to putting it on the RepRap wiki:
http://www.reprap.org/wiki/Extruder_Pluggable_Wiring_Convention
..and here was a picture of my original notes about the pin order (with specific-to-me color-coding, which we fixed for the reprap.org page above):
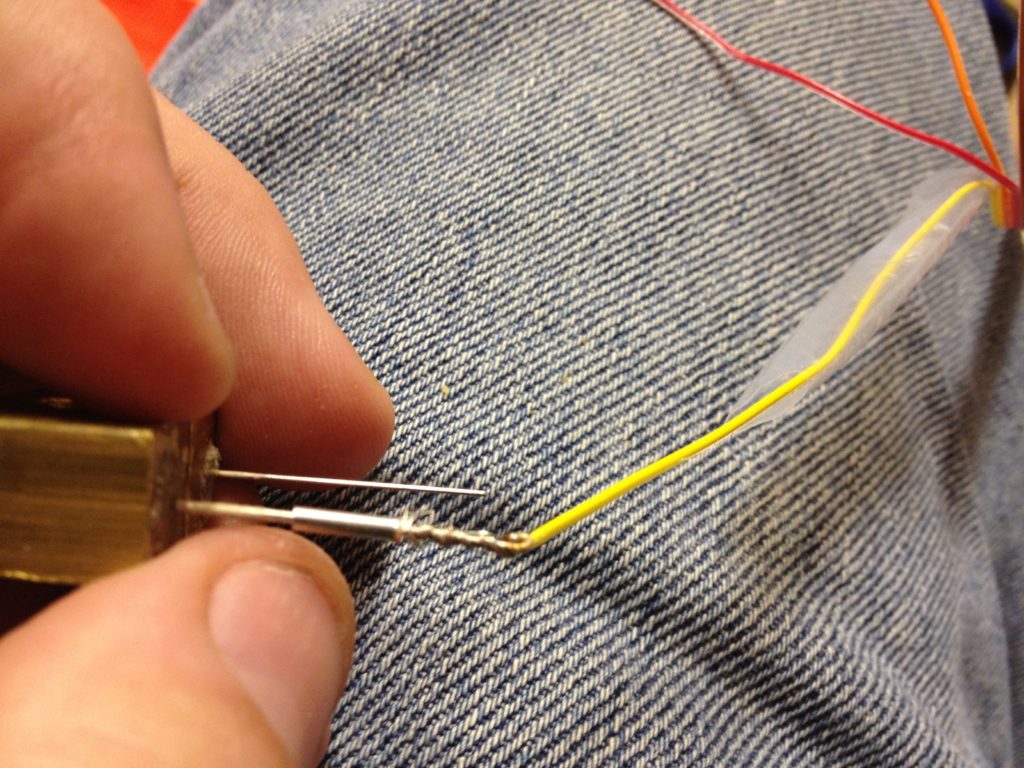
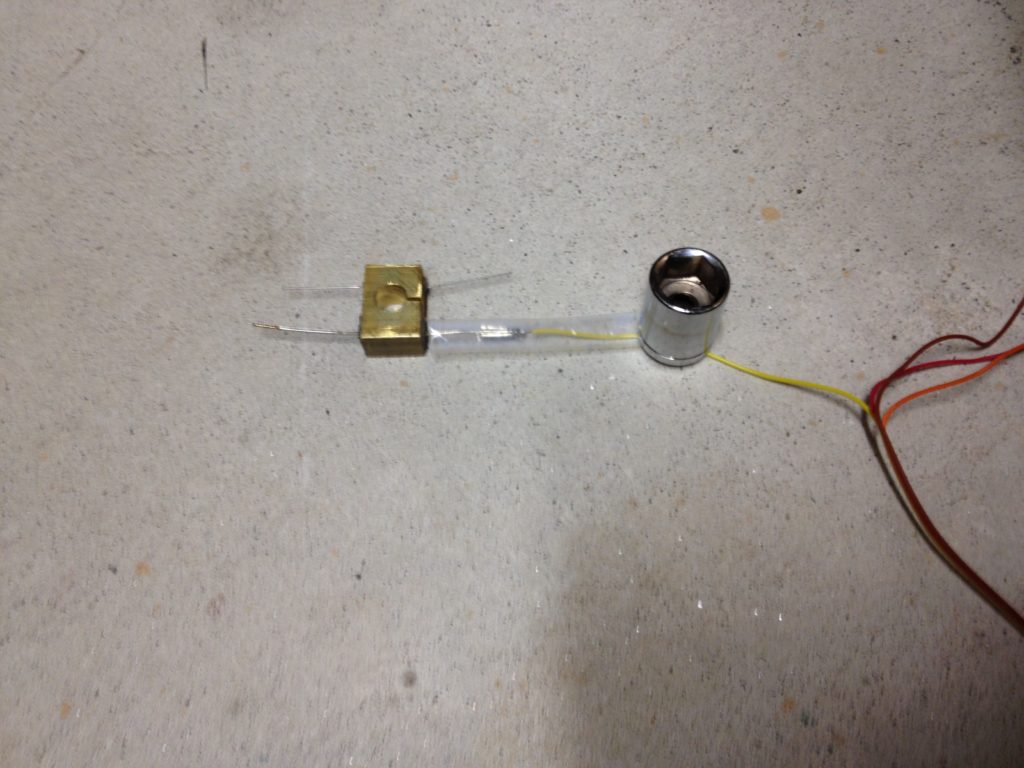
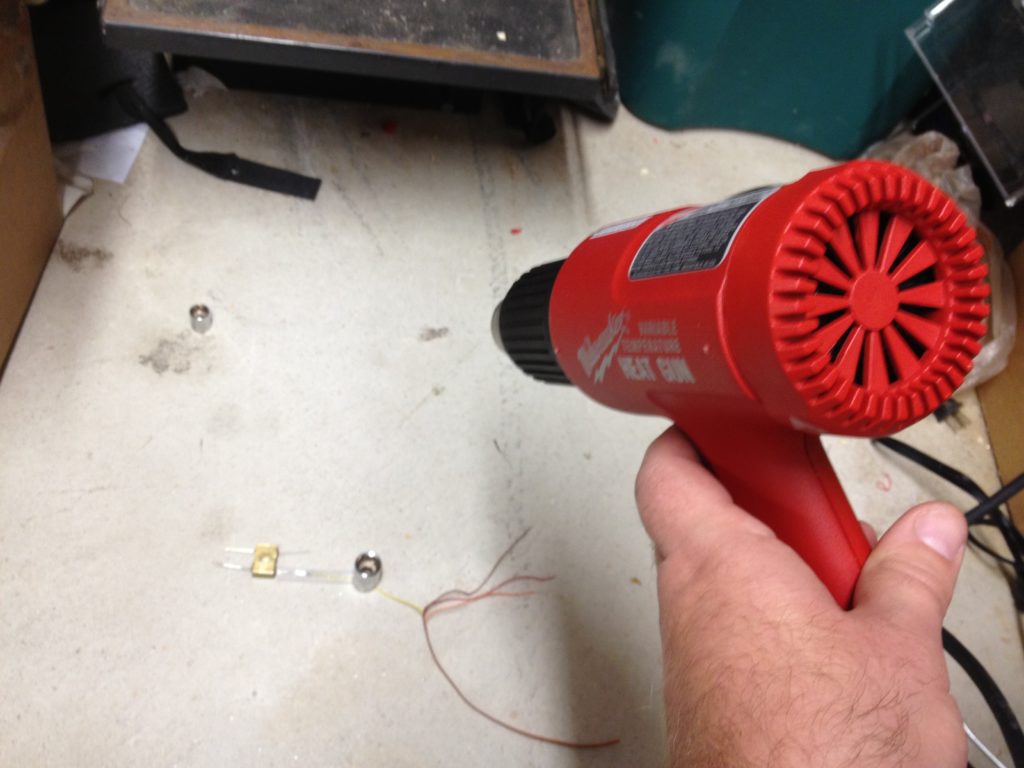
With all of that decided, on to my wiring. I had done shrink-wrap around solder connections before, but I’d never used a heat gun, nor PTFE sleeving.
Having crimped it, I put it on the ground (cement) and shrunk the sleeving with the heat gun.
I assembled everything and mounted the extruder in the RepRap again. Even though this first picture doesn’t even show the extruder, I wanted to point it out – I love this photo.. It’s so bright, and it’s nice crisp high definition (click for full resolution):
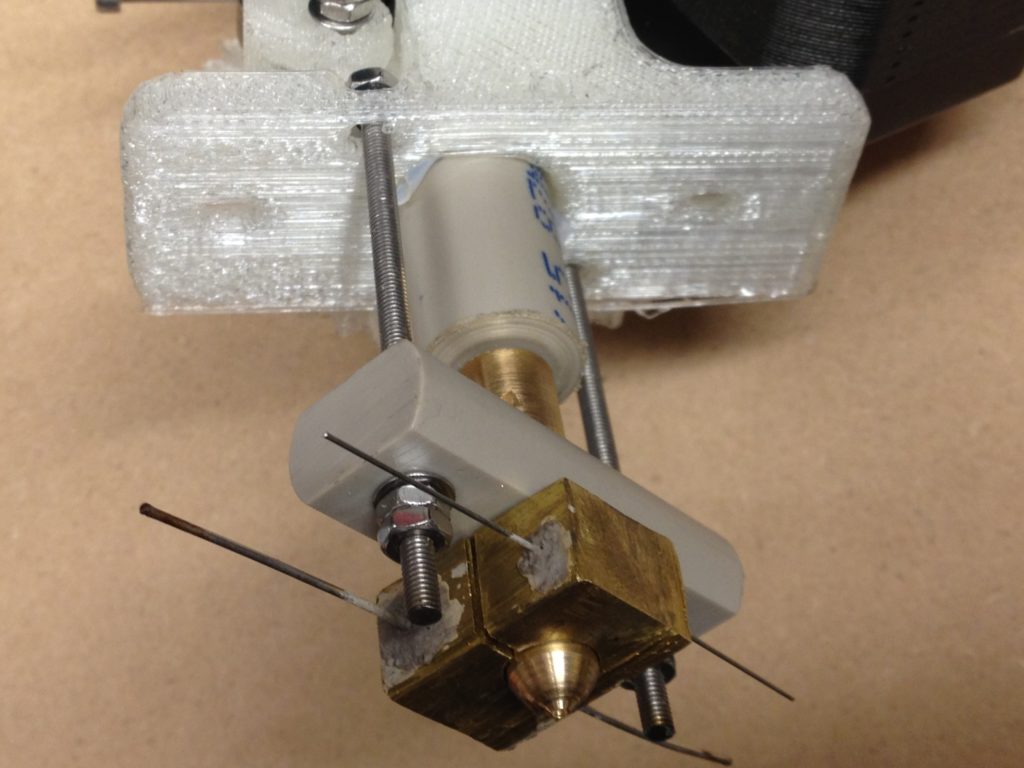
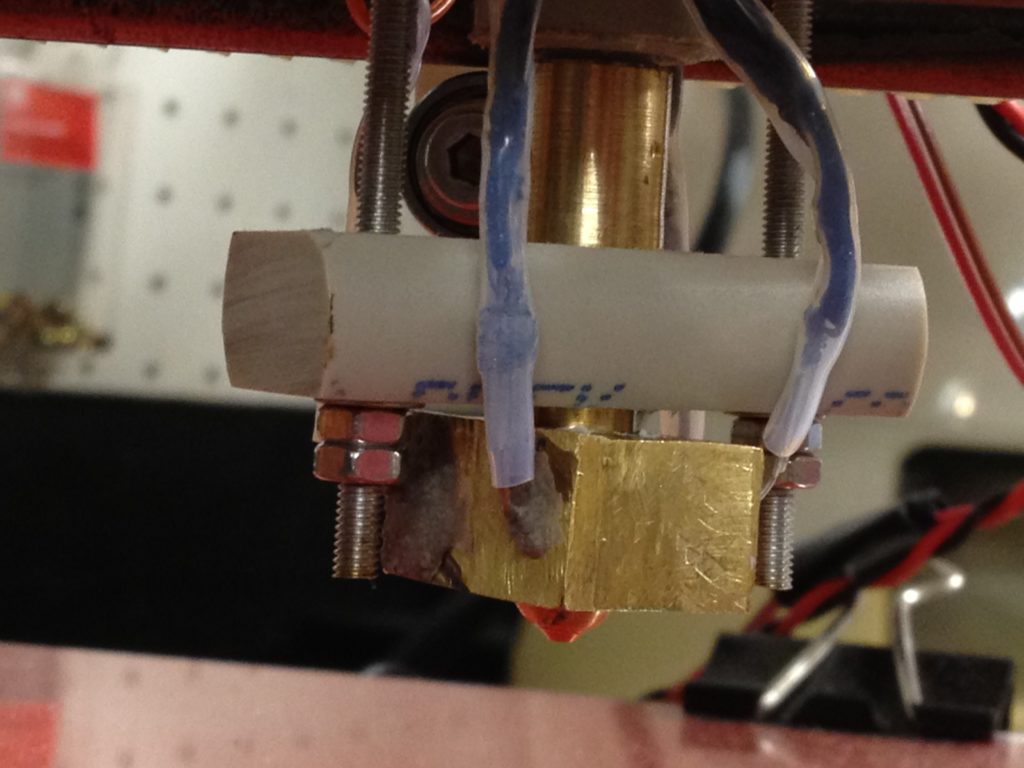
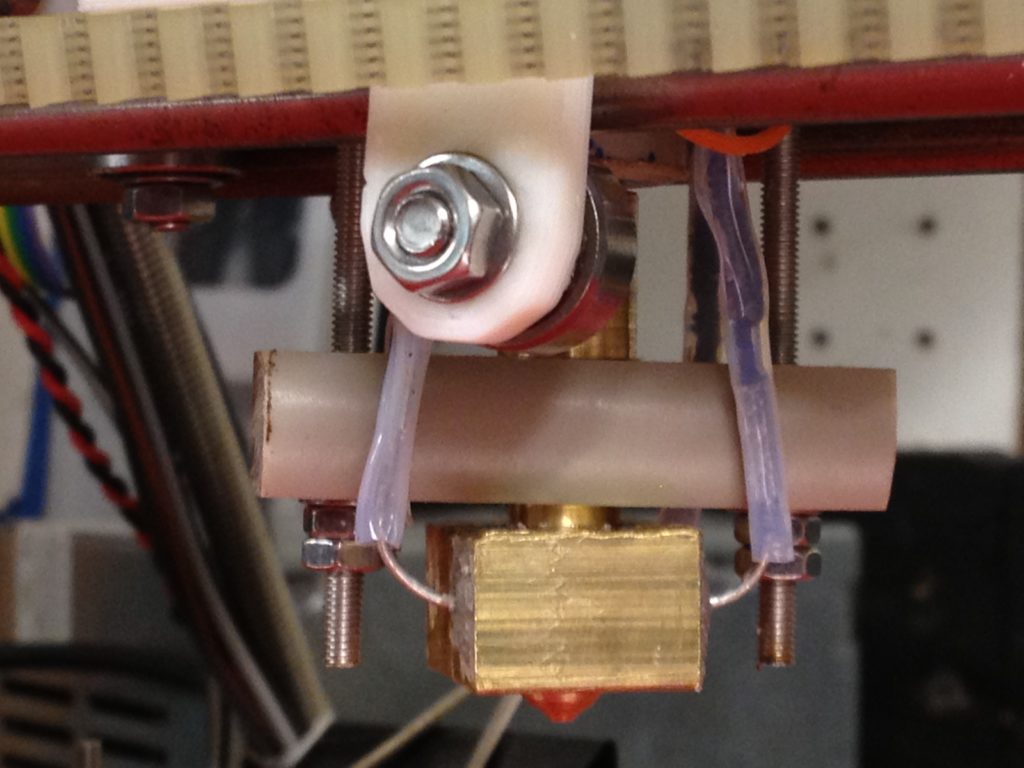
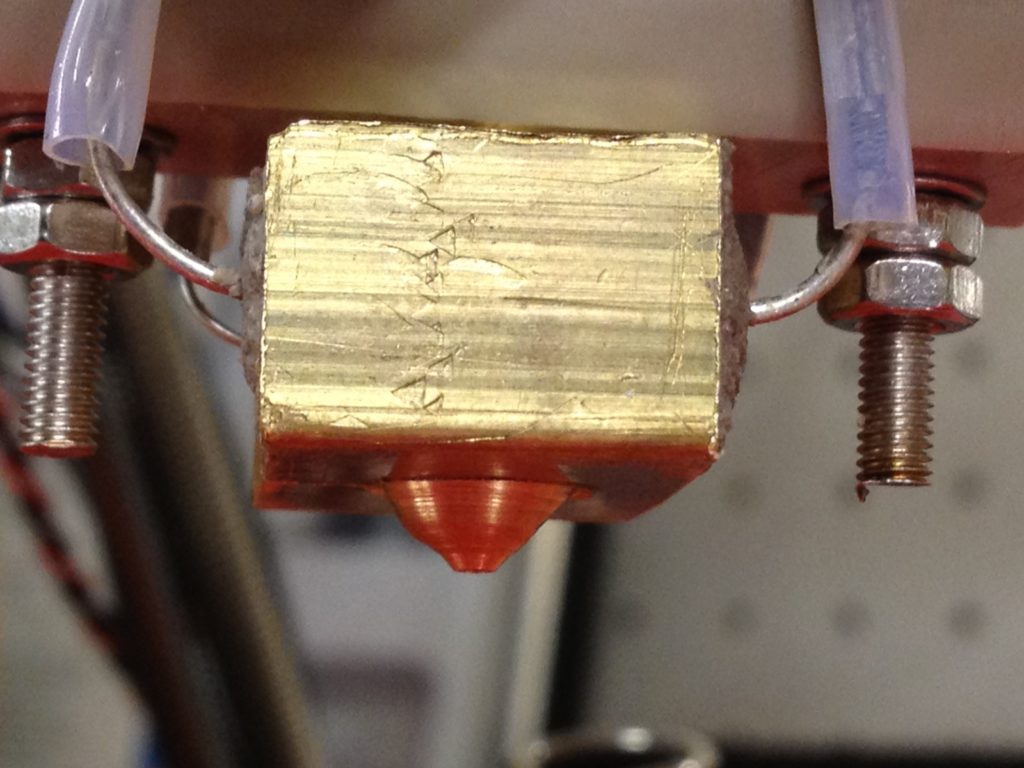
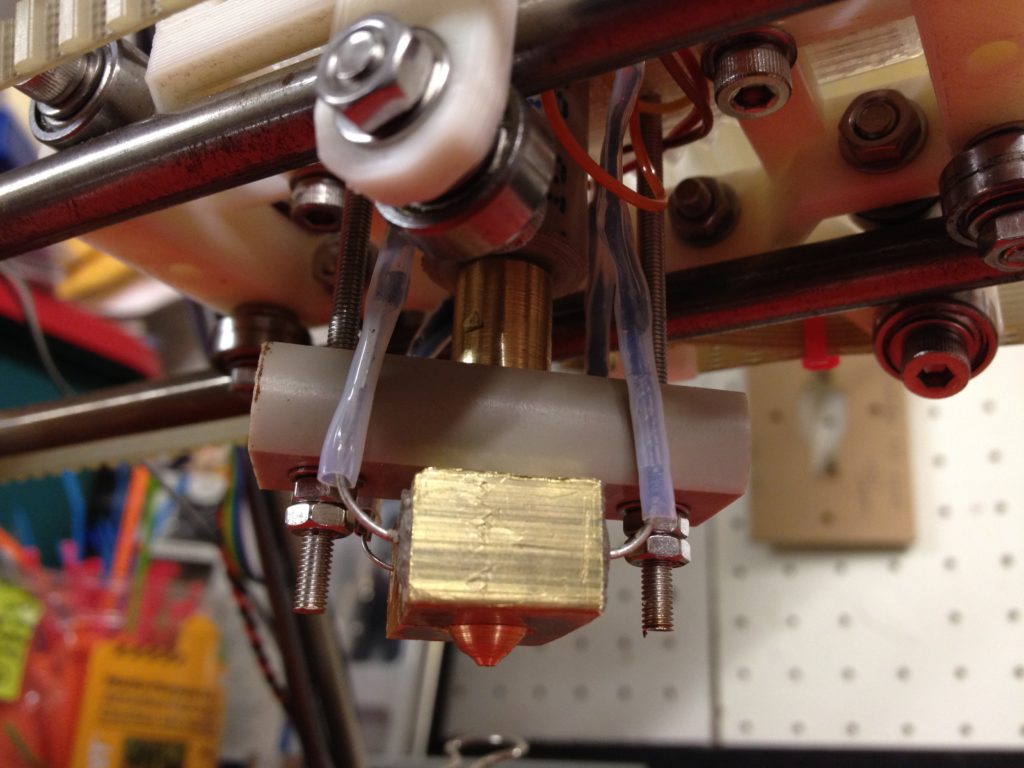
Here are some more pictures, this time showing the extruder, nozzle, and heater block:
Here’s another one that I love that’s worth clicking through for a high-resolution version of:
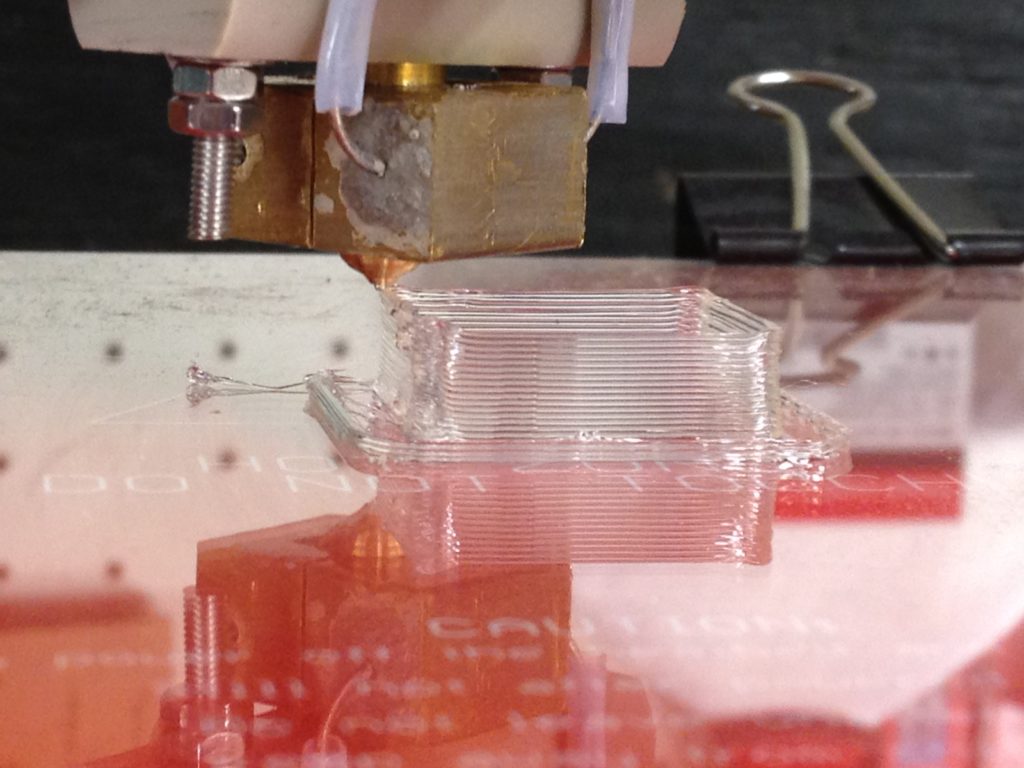
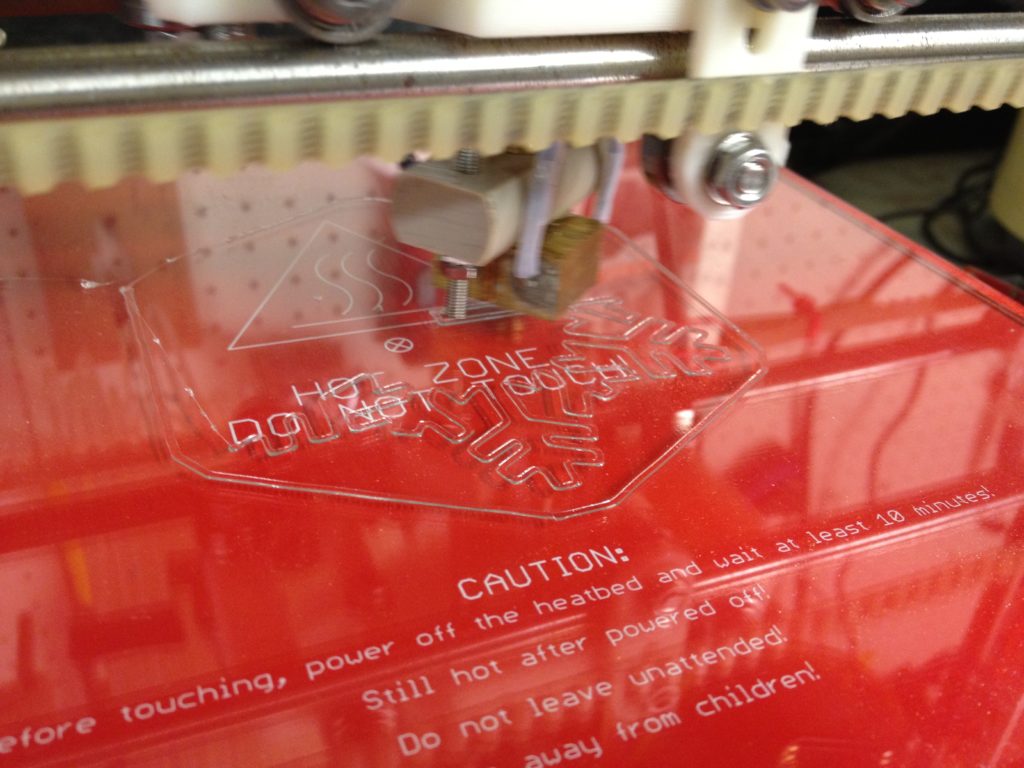
And here it is printing:
Well there ya go. That brings us up to December 21st, 2011.. (Today is March 19th, 2013). So while I’m 15 months behind on the calendar, there are large periods of time in those 15 months where I did almost no printing work at all, so I’m really hopeful I’ll catch up soon. Thanks for reading!
(And it still gets better… 😀 )
