Gotcha! The April 2nd RepRap follow up…

April 1st, 2010

Man, some of you are pretty gullible! πŸ˜€

Congratulations to everyone who recognized yesterday’s blog post for what it was (given the date of the post).

I’d closed off comments before posting so that I’d catch them all in a moderator trap so no one spoiled it too early.
(I’m going to release them now.. the prior post is here, and the now-approved comments are here).

For those of you who don’t know me personally, I suppose I can understand you falling for it, although I thought the bit about melting the 106 pieces that I spent months printing into a “melted sculpture of failure” was enough of a giveaway (as was the specific date calculation hint).. Sorry to all of you who thought there were parts to scavenge.

As to the roughly 50% of you that do know me that also believed it, whoa! (extends hand for handshake).. Jeff Keegan.. Nice to meet you.. Hello? All I’ve talked about for 6+ months was RepRap! I think I talk about RepRap more than I talk about Lost!! Thanks for believing I’d quit! LOL

If so many of you weren’t so concerned, I’d have omitted this post and let you all figure it out on your own.. I like my humor nice and dry. But especially with there being so many people on the rss aggregate feeds reading this that don’t know me and my personality, I suppose I owe you the smiley face at the end.

Here’s my illustrative comment: I’d probably stop using my TiVos before I quit my RepRap project.

..and for those who don’t understand THAT, my name is Jeff Keegan – look here, here and here:

πŸ™‚

Always check the date of articles that you read in the spring, lest you be fooled.

..Jeff

p.s. Somehow, I even managed to fool my wife, who couldn’t believe what she was hearing. I practically bit through my tongue on the phone trying to keep from laughing. So the rest of you, don’t feel too bad, but still.. πŸ™‚

p.p.s. Progress is coming along nicely!
Giving Up on my RepRap

April 1st, 2010

Well, at long last I’ve decided to give up on building my Mendel. It’s been several months, and all I have to show for it is some hunks of plastic, a bunch of metal rods, and lots of circuit boards.

I think the main thing that pushed me over the edge was the many times that I’ve described RepRap to people, and they ask “so what are you going to build with it?”. I have trouble justifying building such an expensive machine just to make my own coat hook, which although it would be mine, I could have bought for a few dollars at Walmart.

I’ve spent so much time building this thing. What a waste.

I’m not even interested in mailing out the Mendel parts I’ve made, because I don’t want anyone else to follow in my footsteps and waste months of their lives. I think I’ll build a big pile of them, light a fire, and melt them all into one cool melted sculpture of failure.

Here endeth my journey. I started around 10/20/2009, so by today’s date that makes it 5 months and 10 days that I wasted on this unimaginative dull project. Sigh.

..Jeff Keegan, disallusioned.

[Edit: Gotcha! Man, some of you are pretty gullible (and/or don’t own calendars). πŸ˜€

See the next post for a followup.

I’d blocked comments yesterday so no one would spoil it too early. I’m now passing those comments through, after this one (I’m not sure if WordPress will put those before or after this). ]

Done cutting rod, continuing X axis build

March 19th, 2010

Since the last blog post I’ve finished cutting all of the smooth and threaded rod, and I’m on to assembling more of my Mendel.

One thing I learned was that the diamond cutting wheel wasn’t the right thing to use to cut steel rod. They sell fibreglass reinforced cutting wheels which cut through much quicker.. I did go through three of them, but it was worth it.

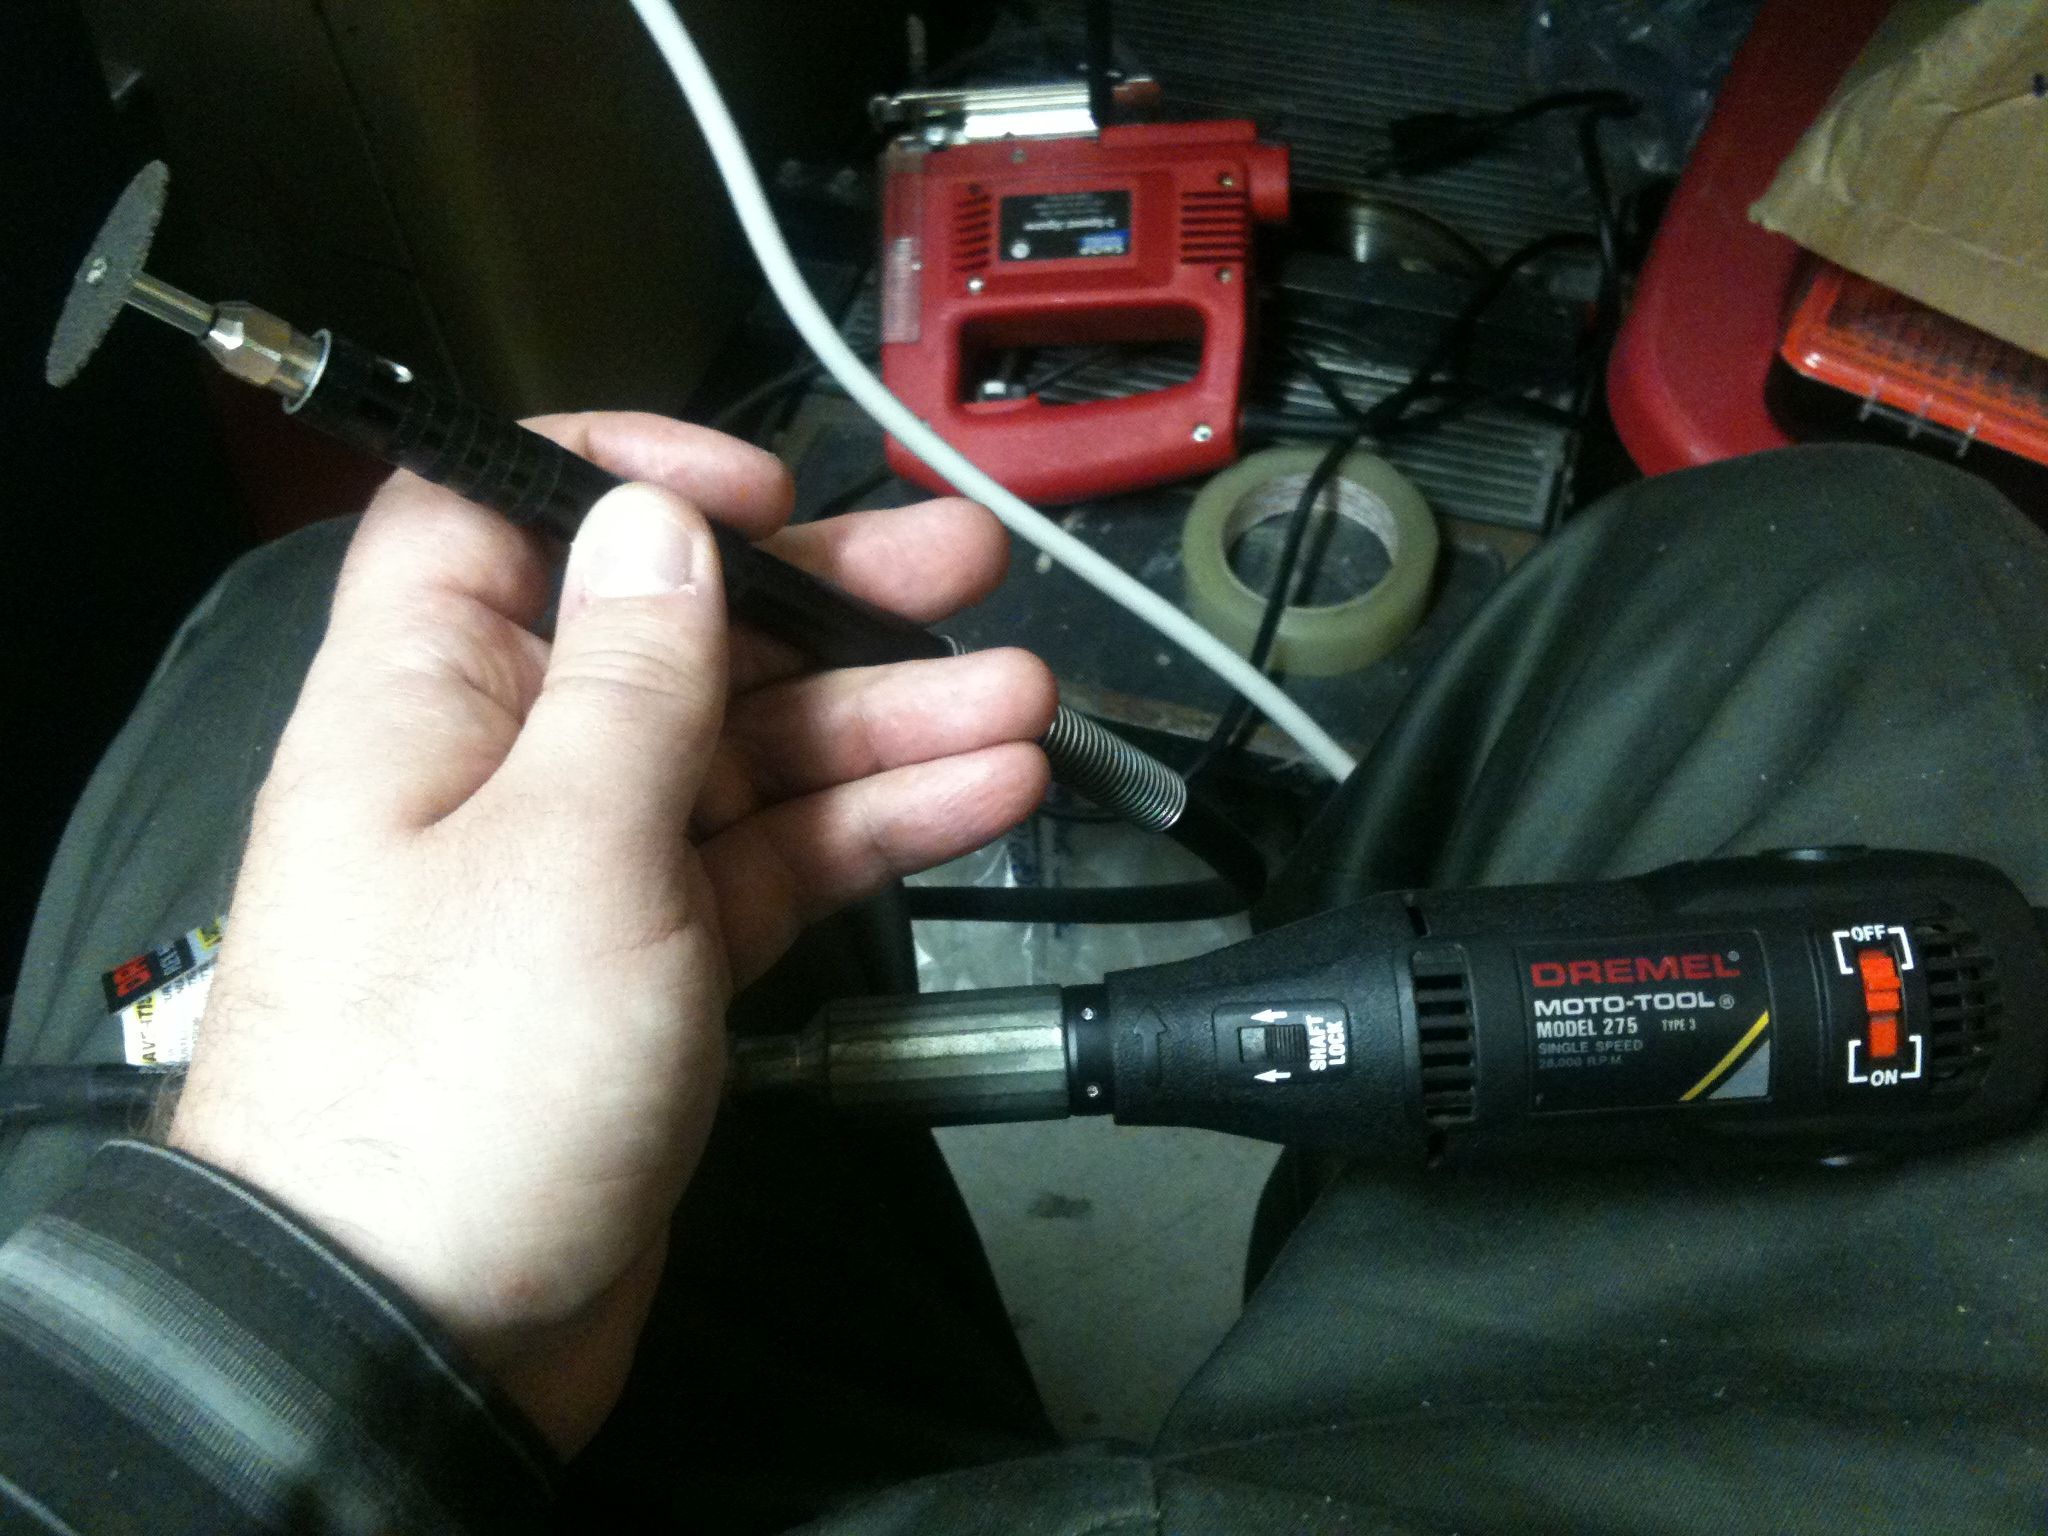
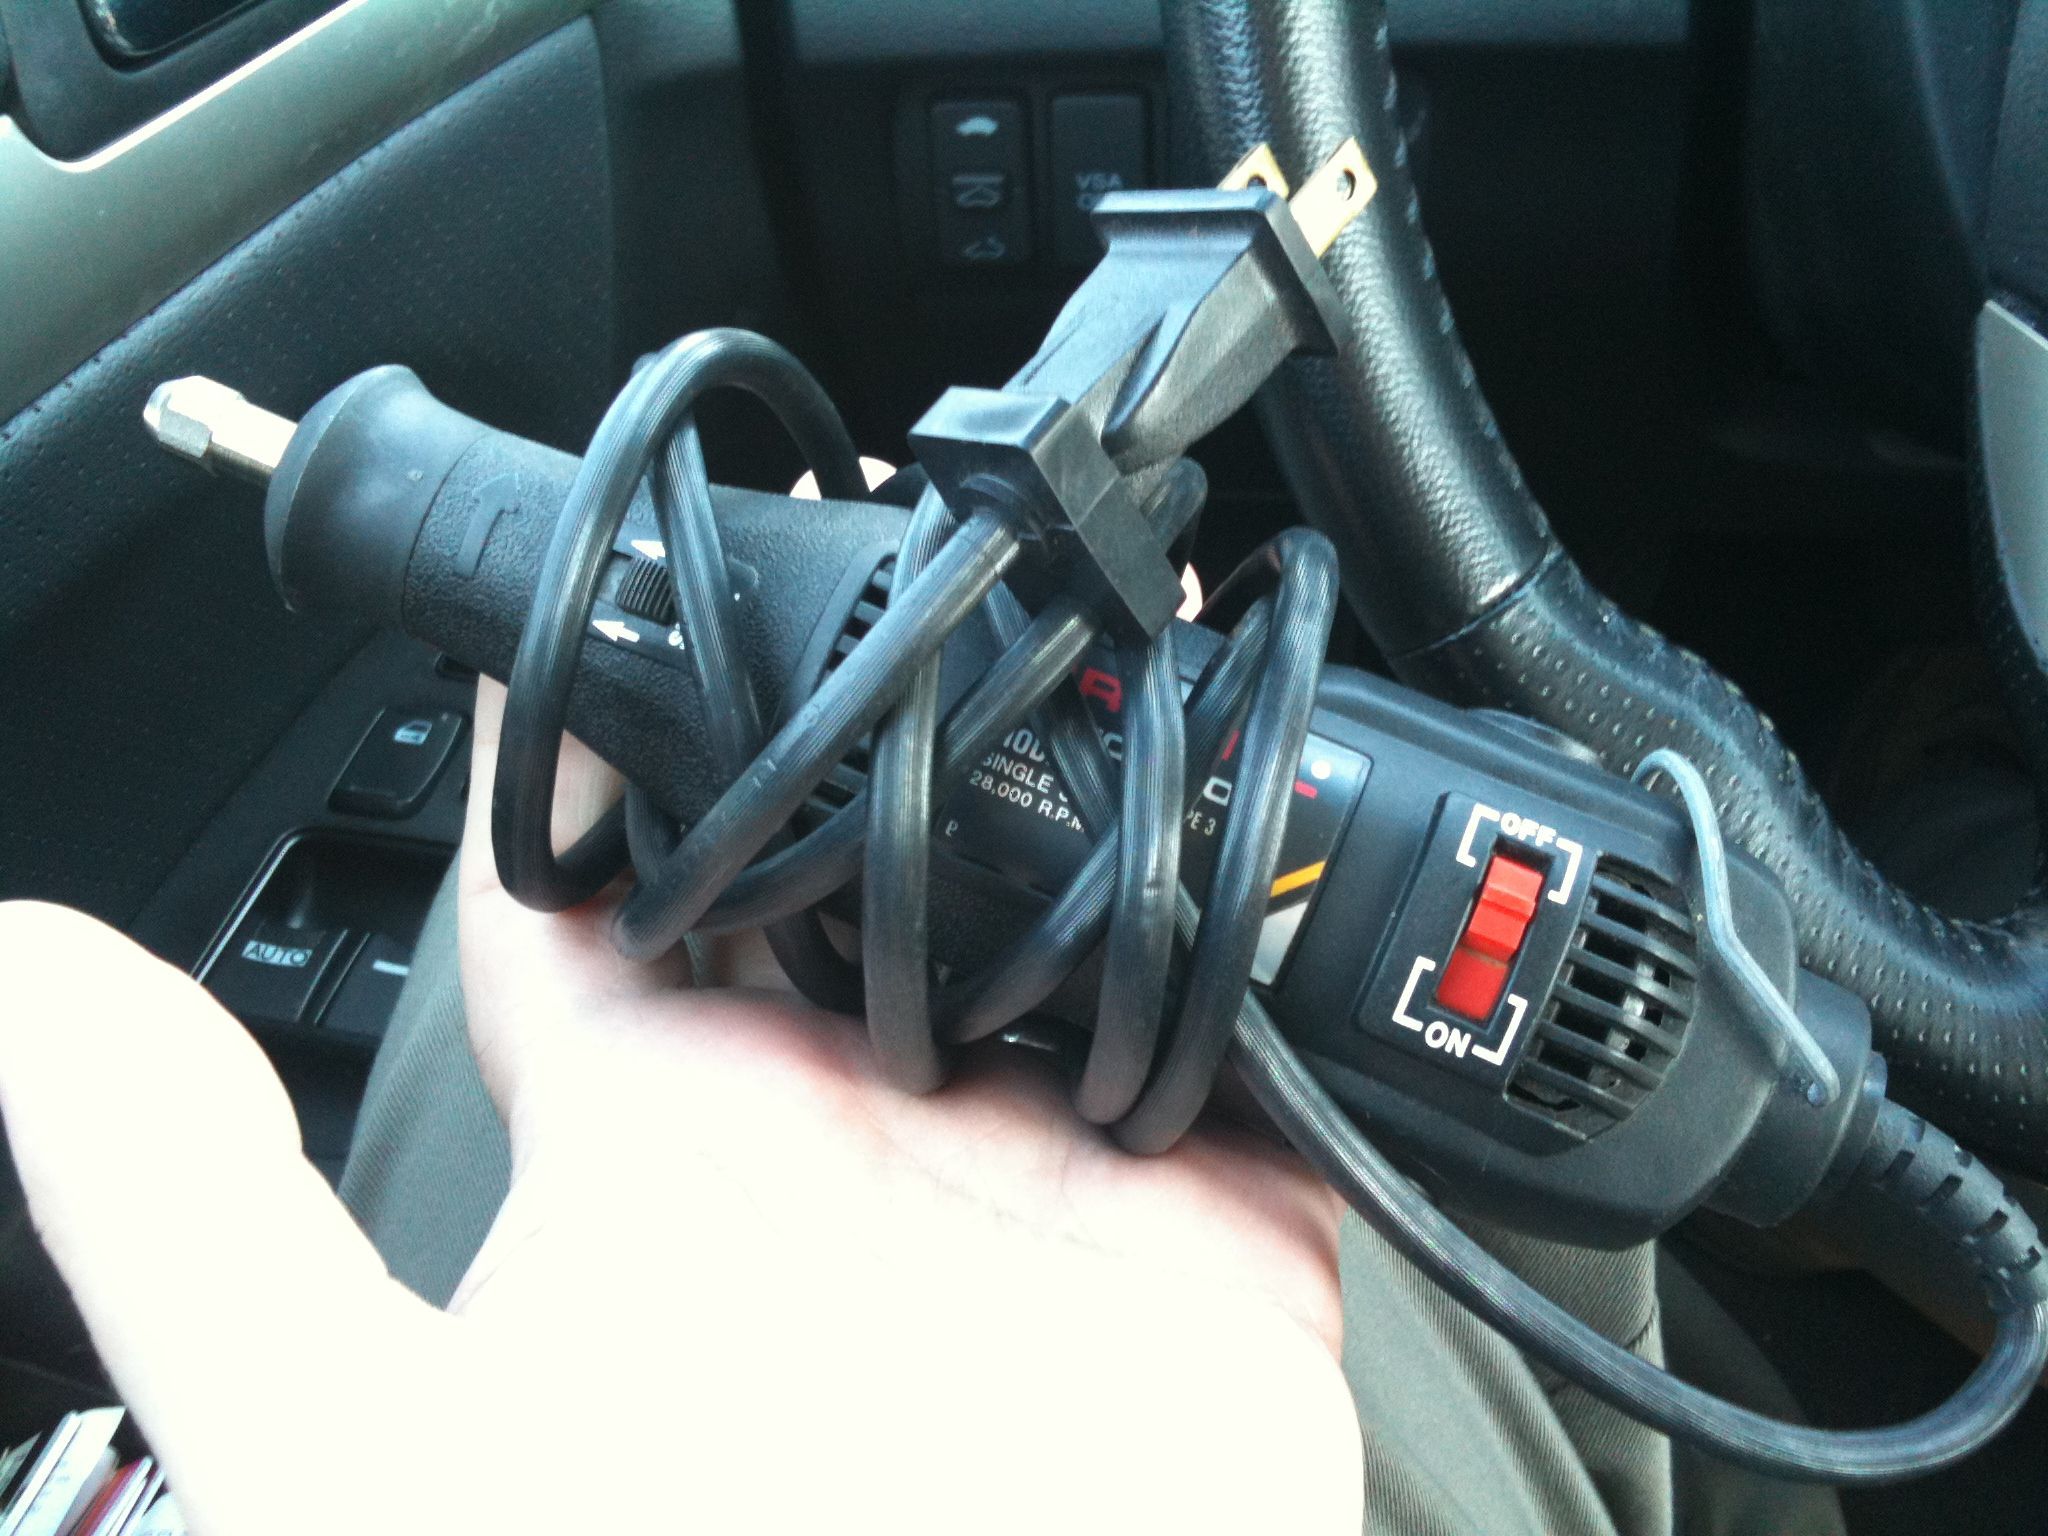
I also learned that my lithium ion rechargeable Dremel wasn’t the way to go. My friend Tom Royer offered to lend me his corded Dremel, which I took him up on:

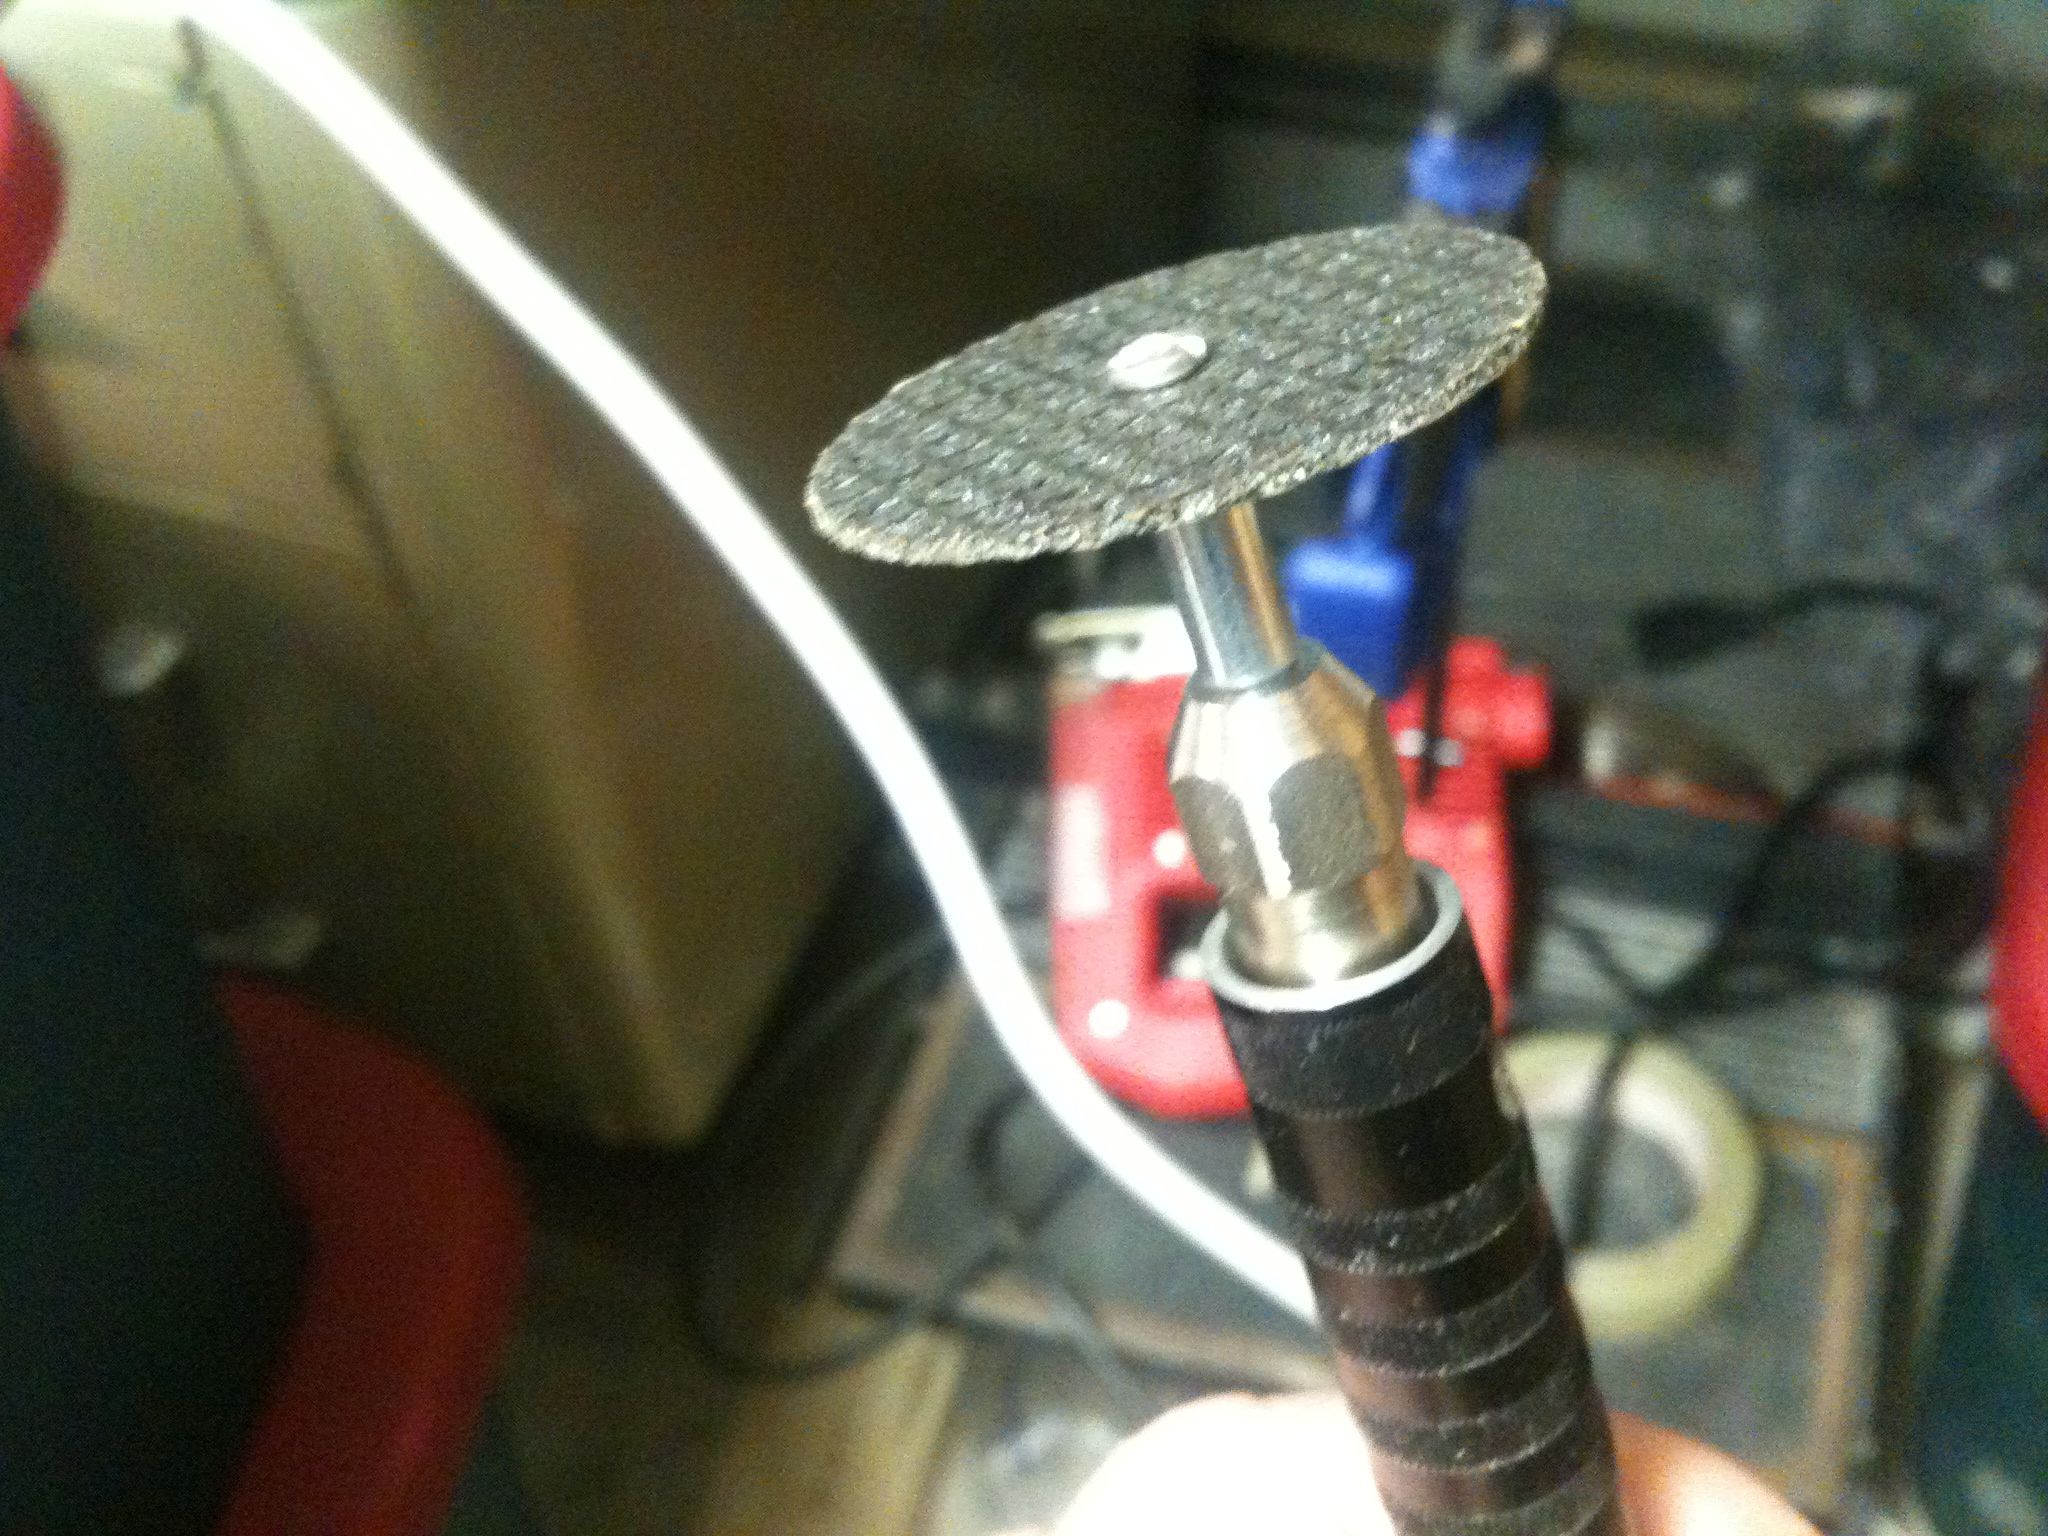
Then another friend at work offered to lend me the Dremel Flex-Shaft extension, which lets you cut straighter through the rod because the body of the drill doesn’t hit the bar you’re cutting. Here are the two combined, with a fibreglass reinforced cutting wheel, then a closeup of the wheel:

(I’ve since ordered a Flex-Shaft extension to have one of my own. I haven’t bought a corded Dremel yet)

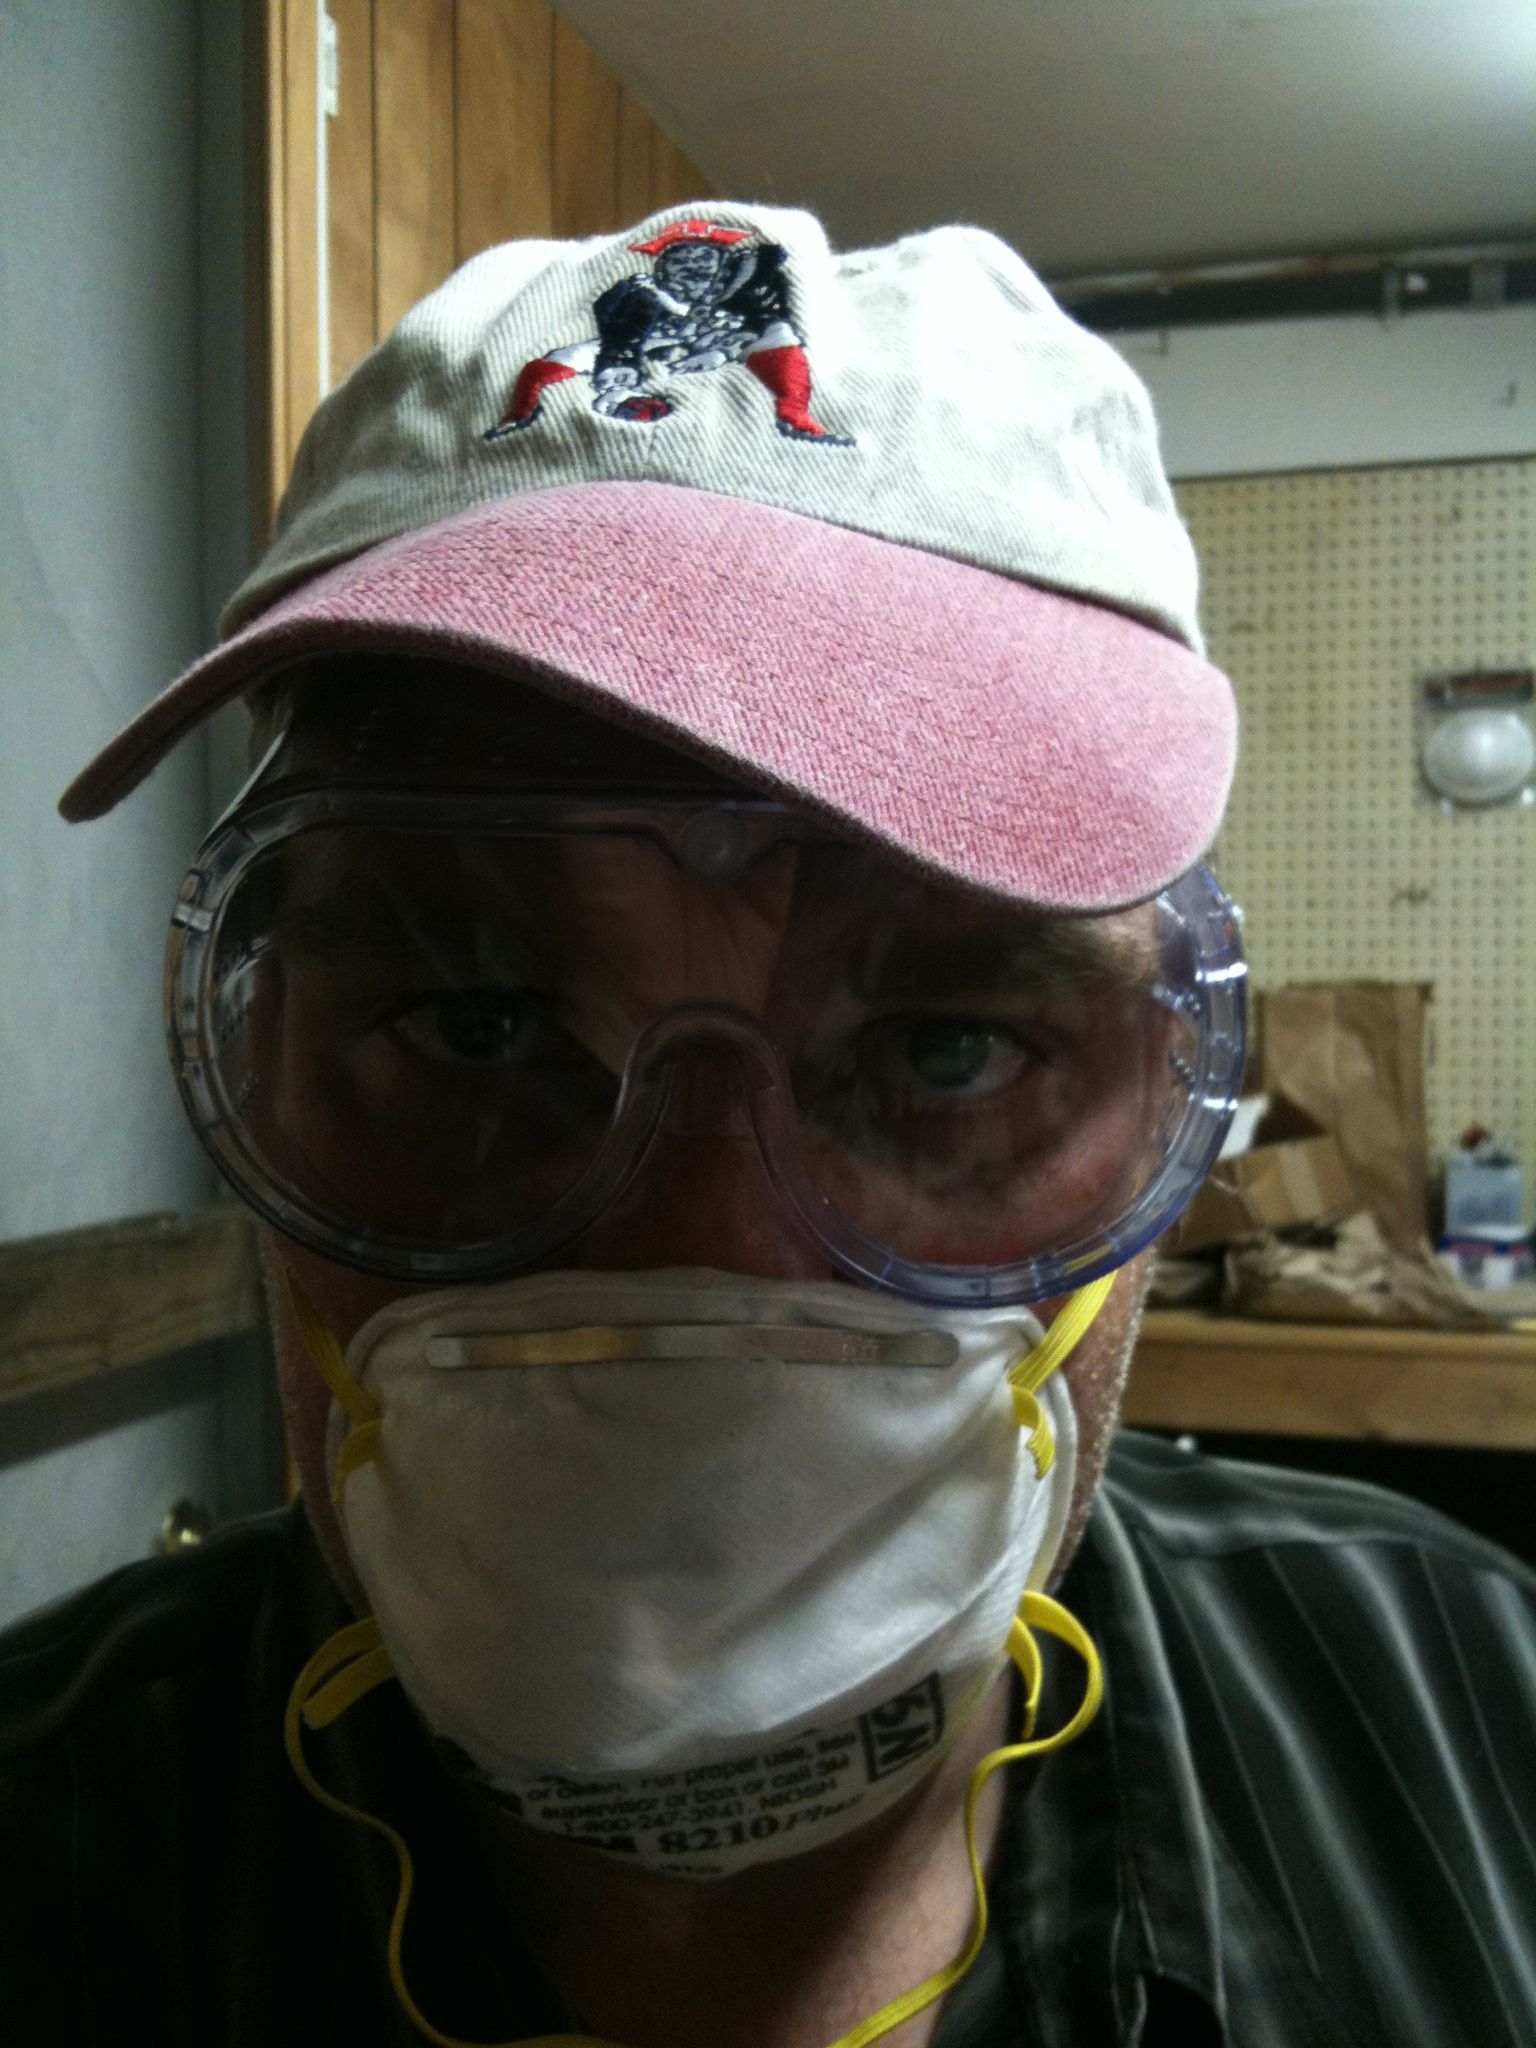
Here’s a picture of how I protect my face from a stream of sparks and small bits of metal, looking like I’m straight out of a serial killer horror movie:

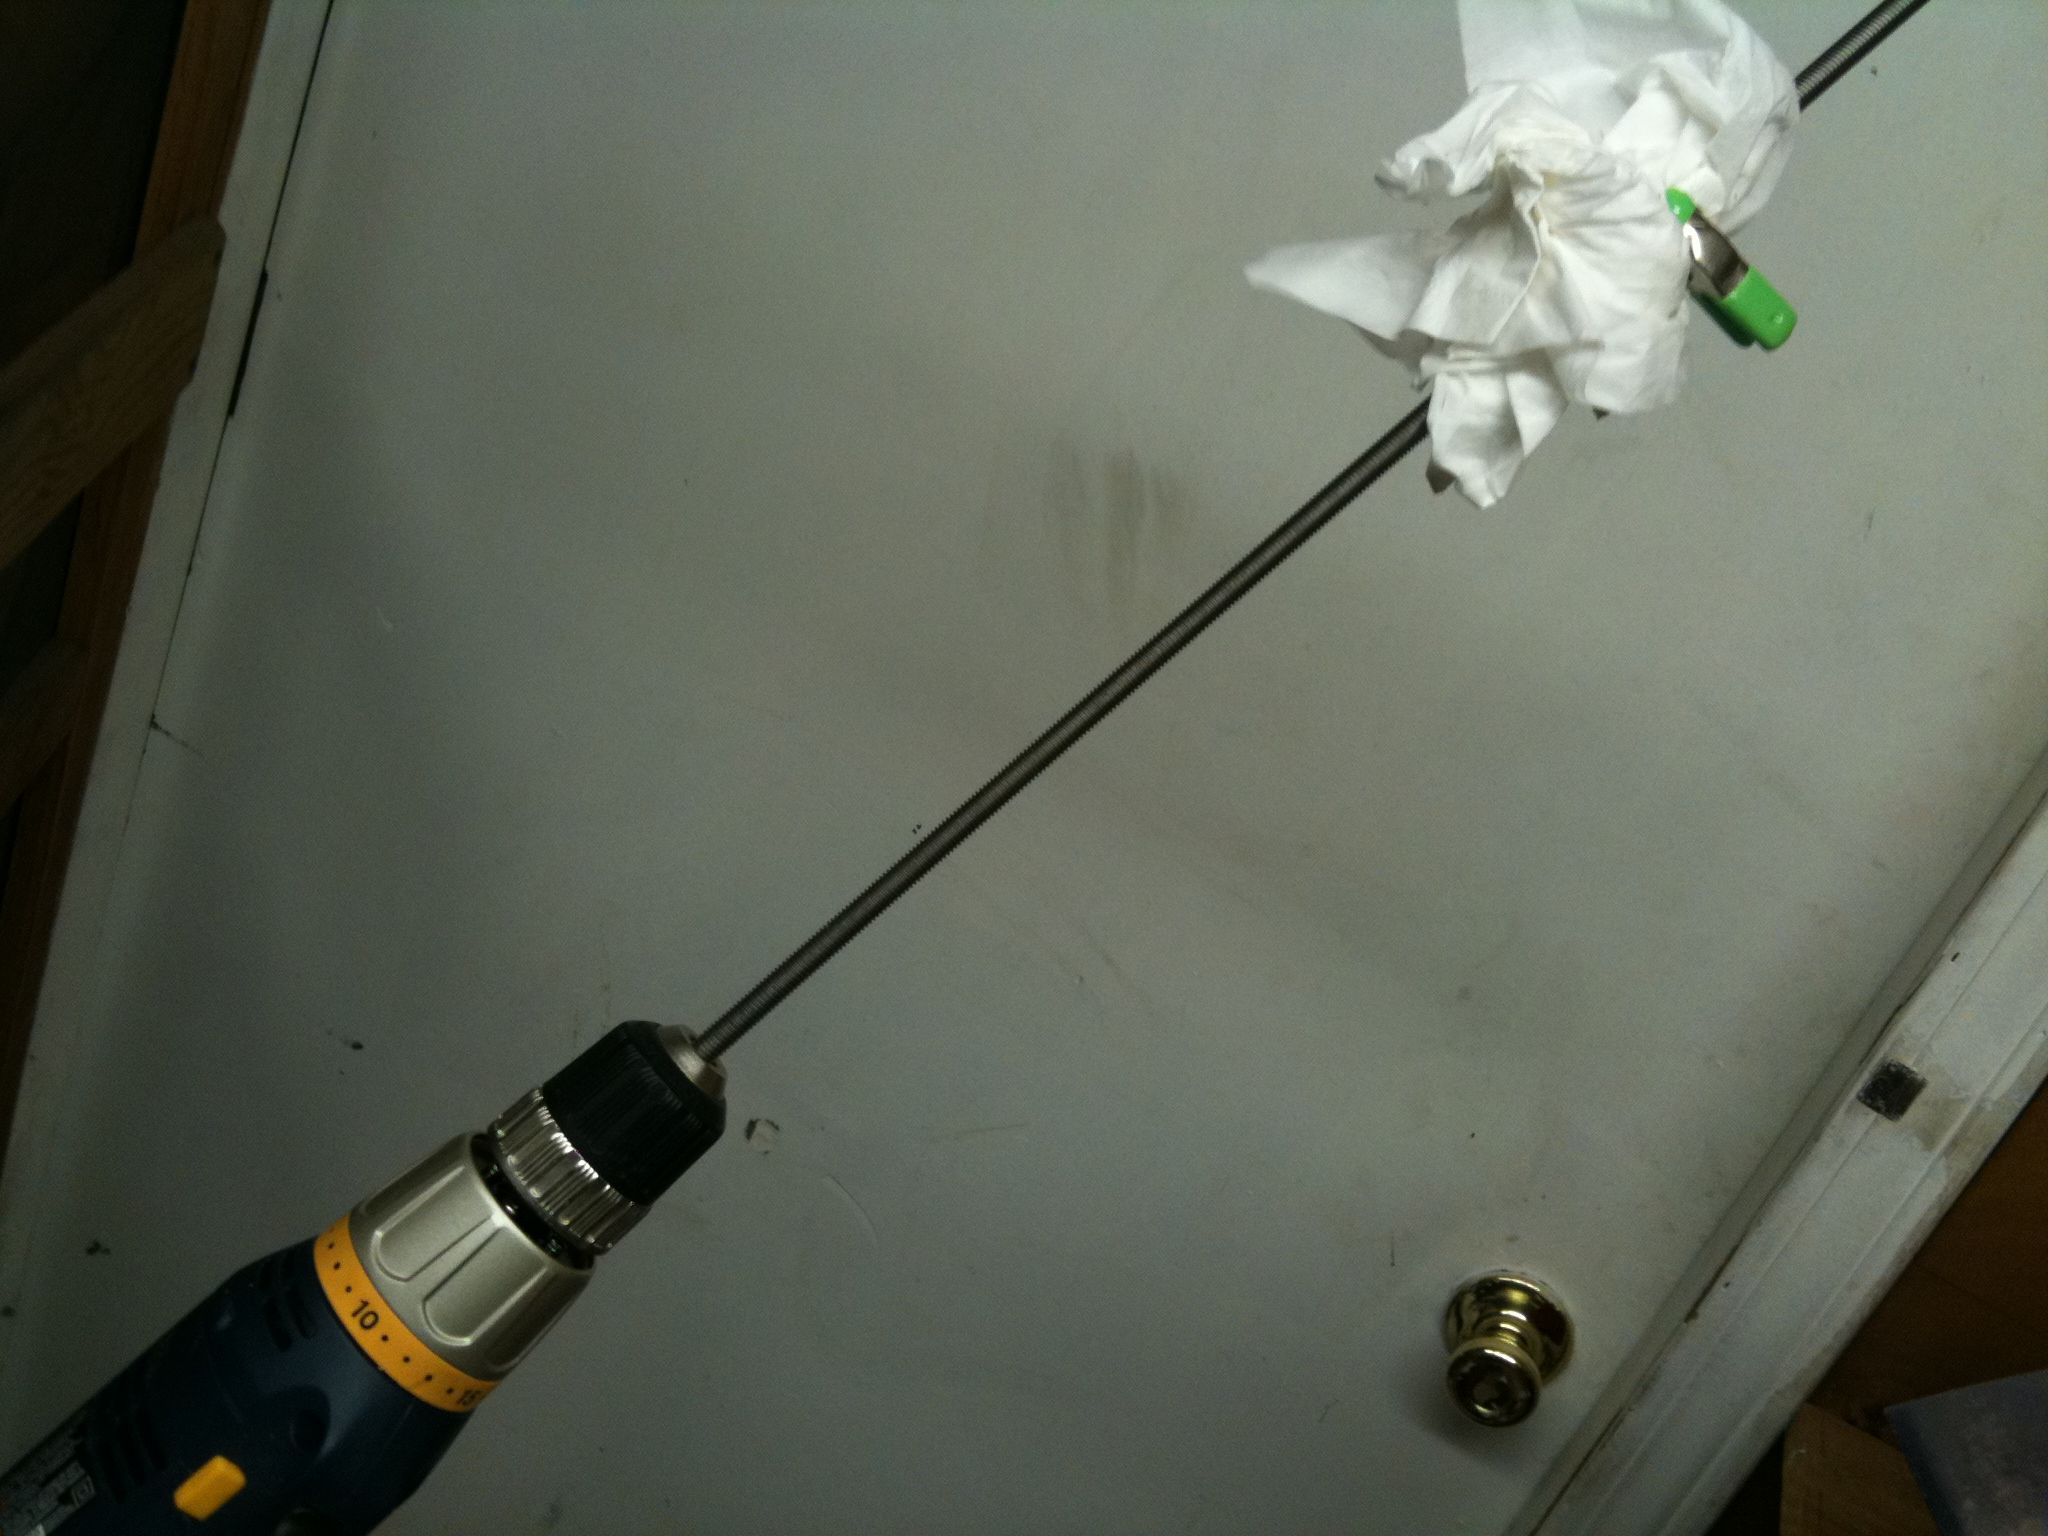
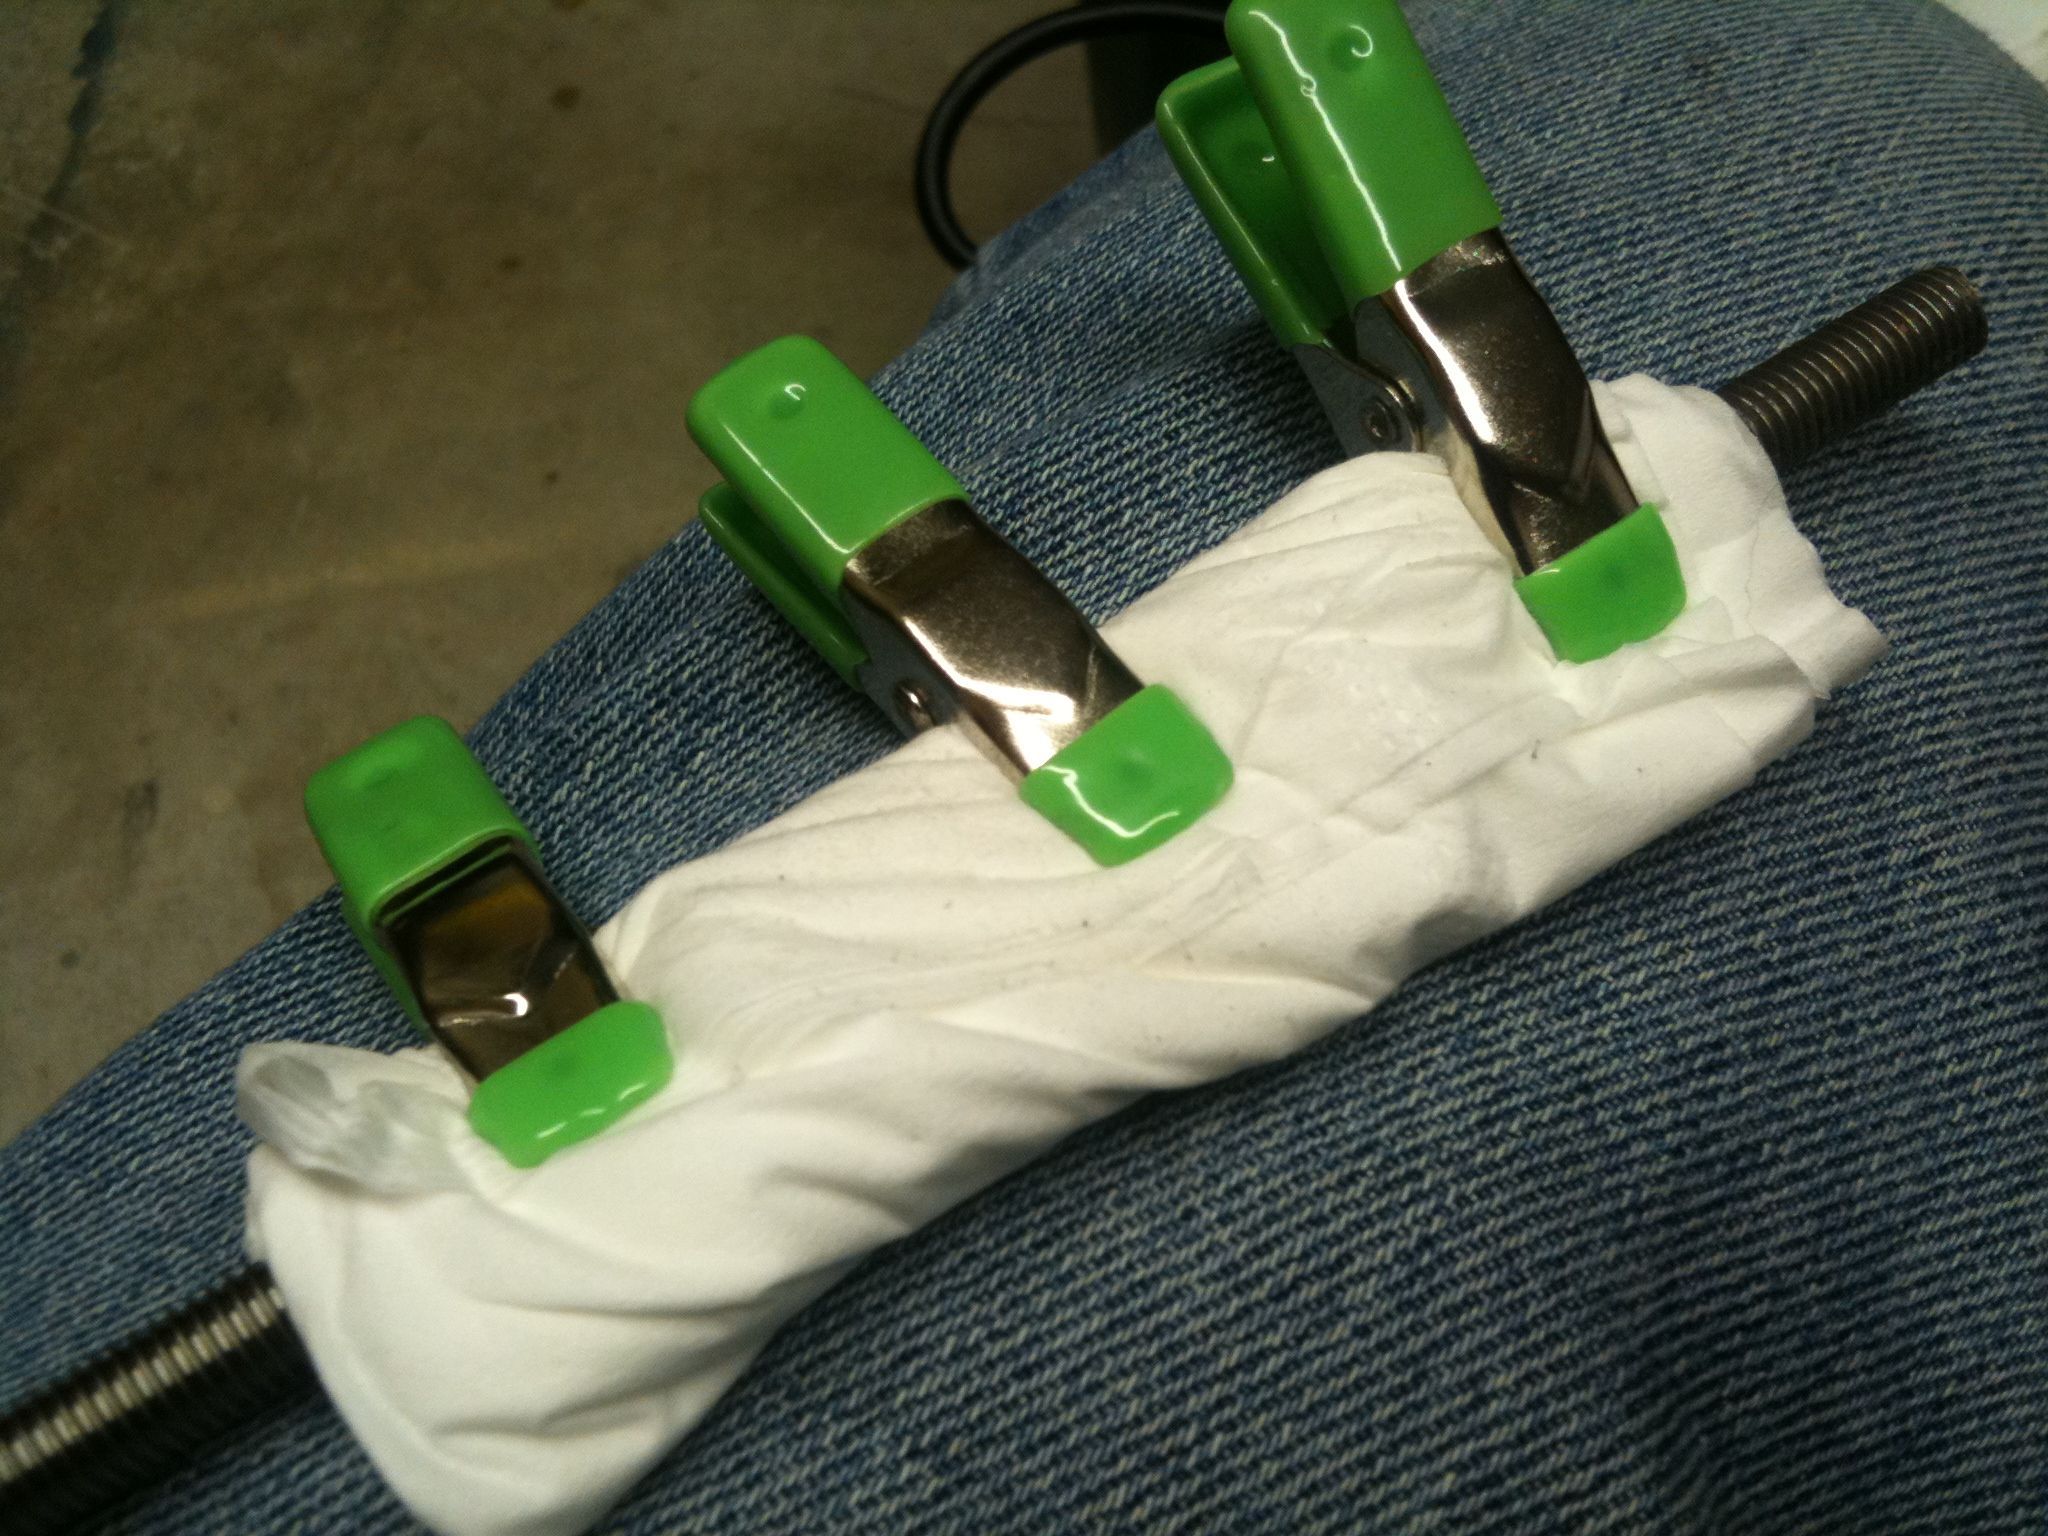
But before I can cut, I need to clean the dirty protective grease they coat these with before shipping. For the smooth rods that was easy enough, but for the threaded rods it wasn’t trivial. I put the rod in the chuck of a drill, wrapped some tissues around the other end of the rod, and started running the drill at some medium speed which would cause the tissues to ever so slowly lower on the rod while cleaning.

Later I realized it was easier if I had three clamps on the tissues, and that I could run the drill faster that way and still actually clean it.

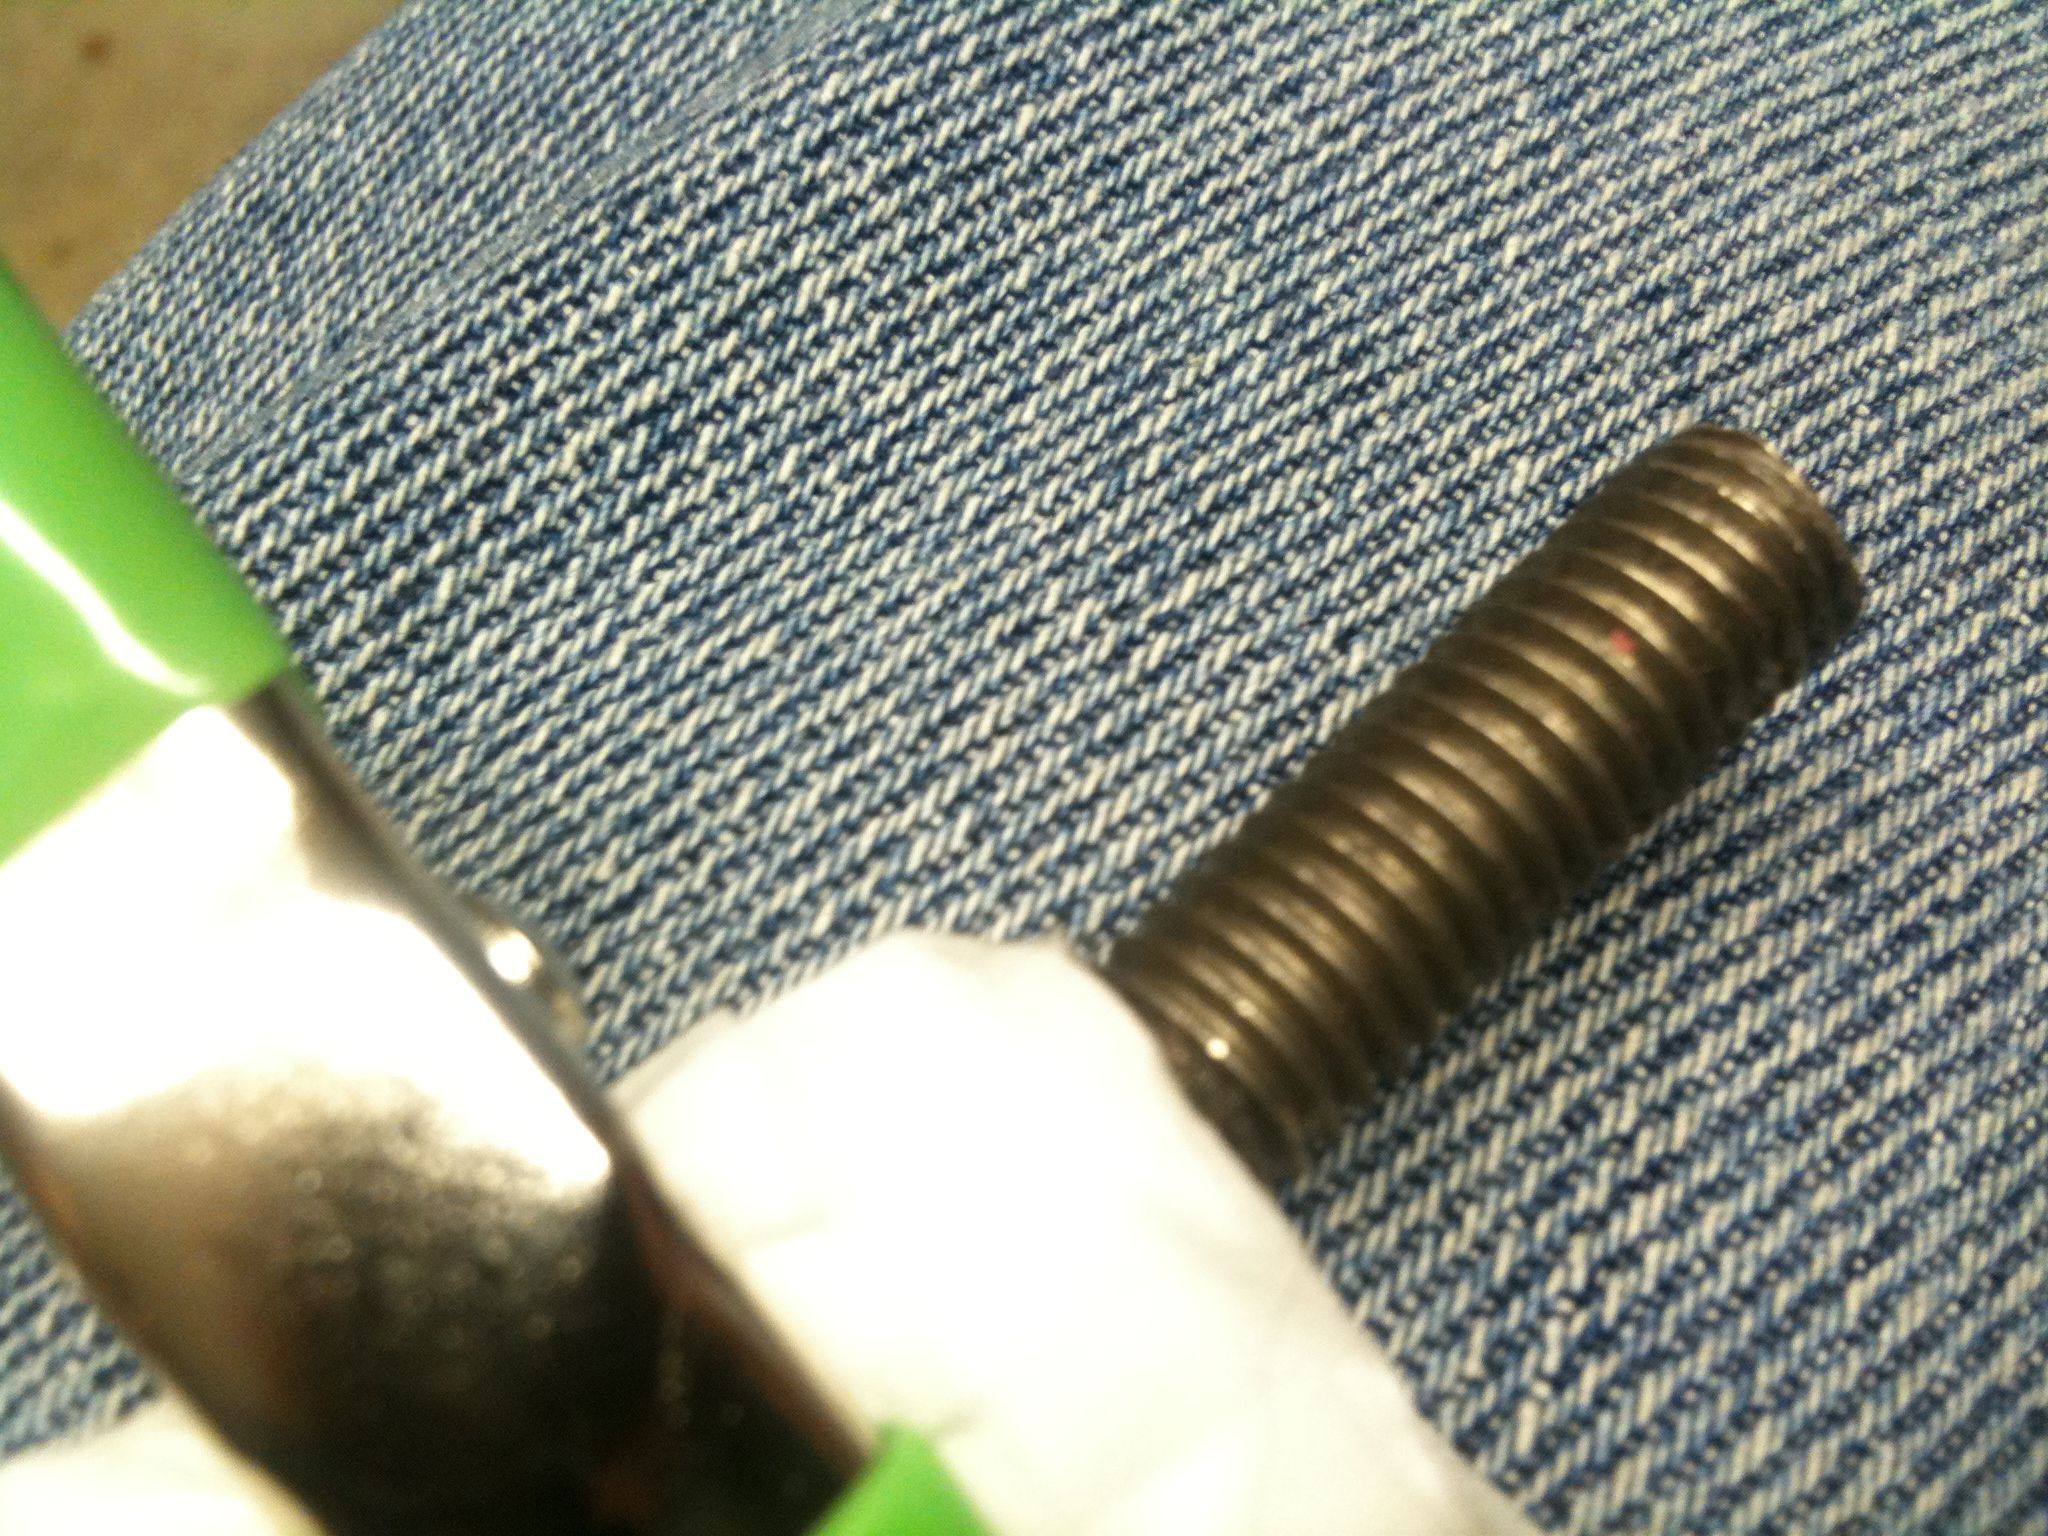
Here’s what the rod looked like before:

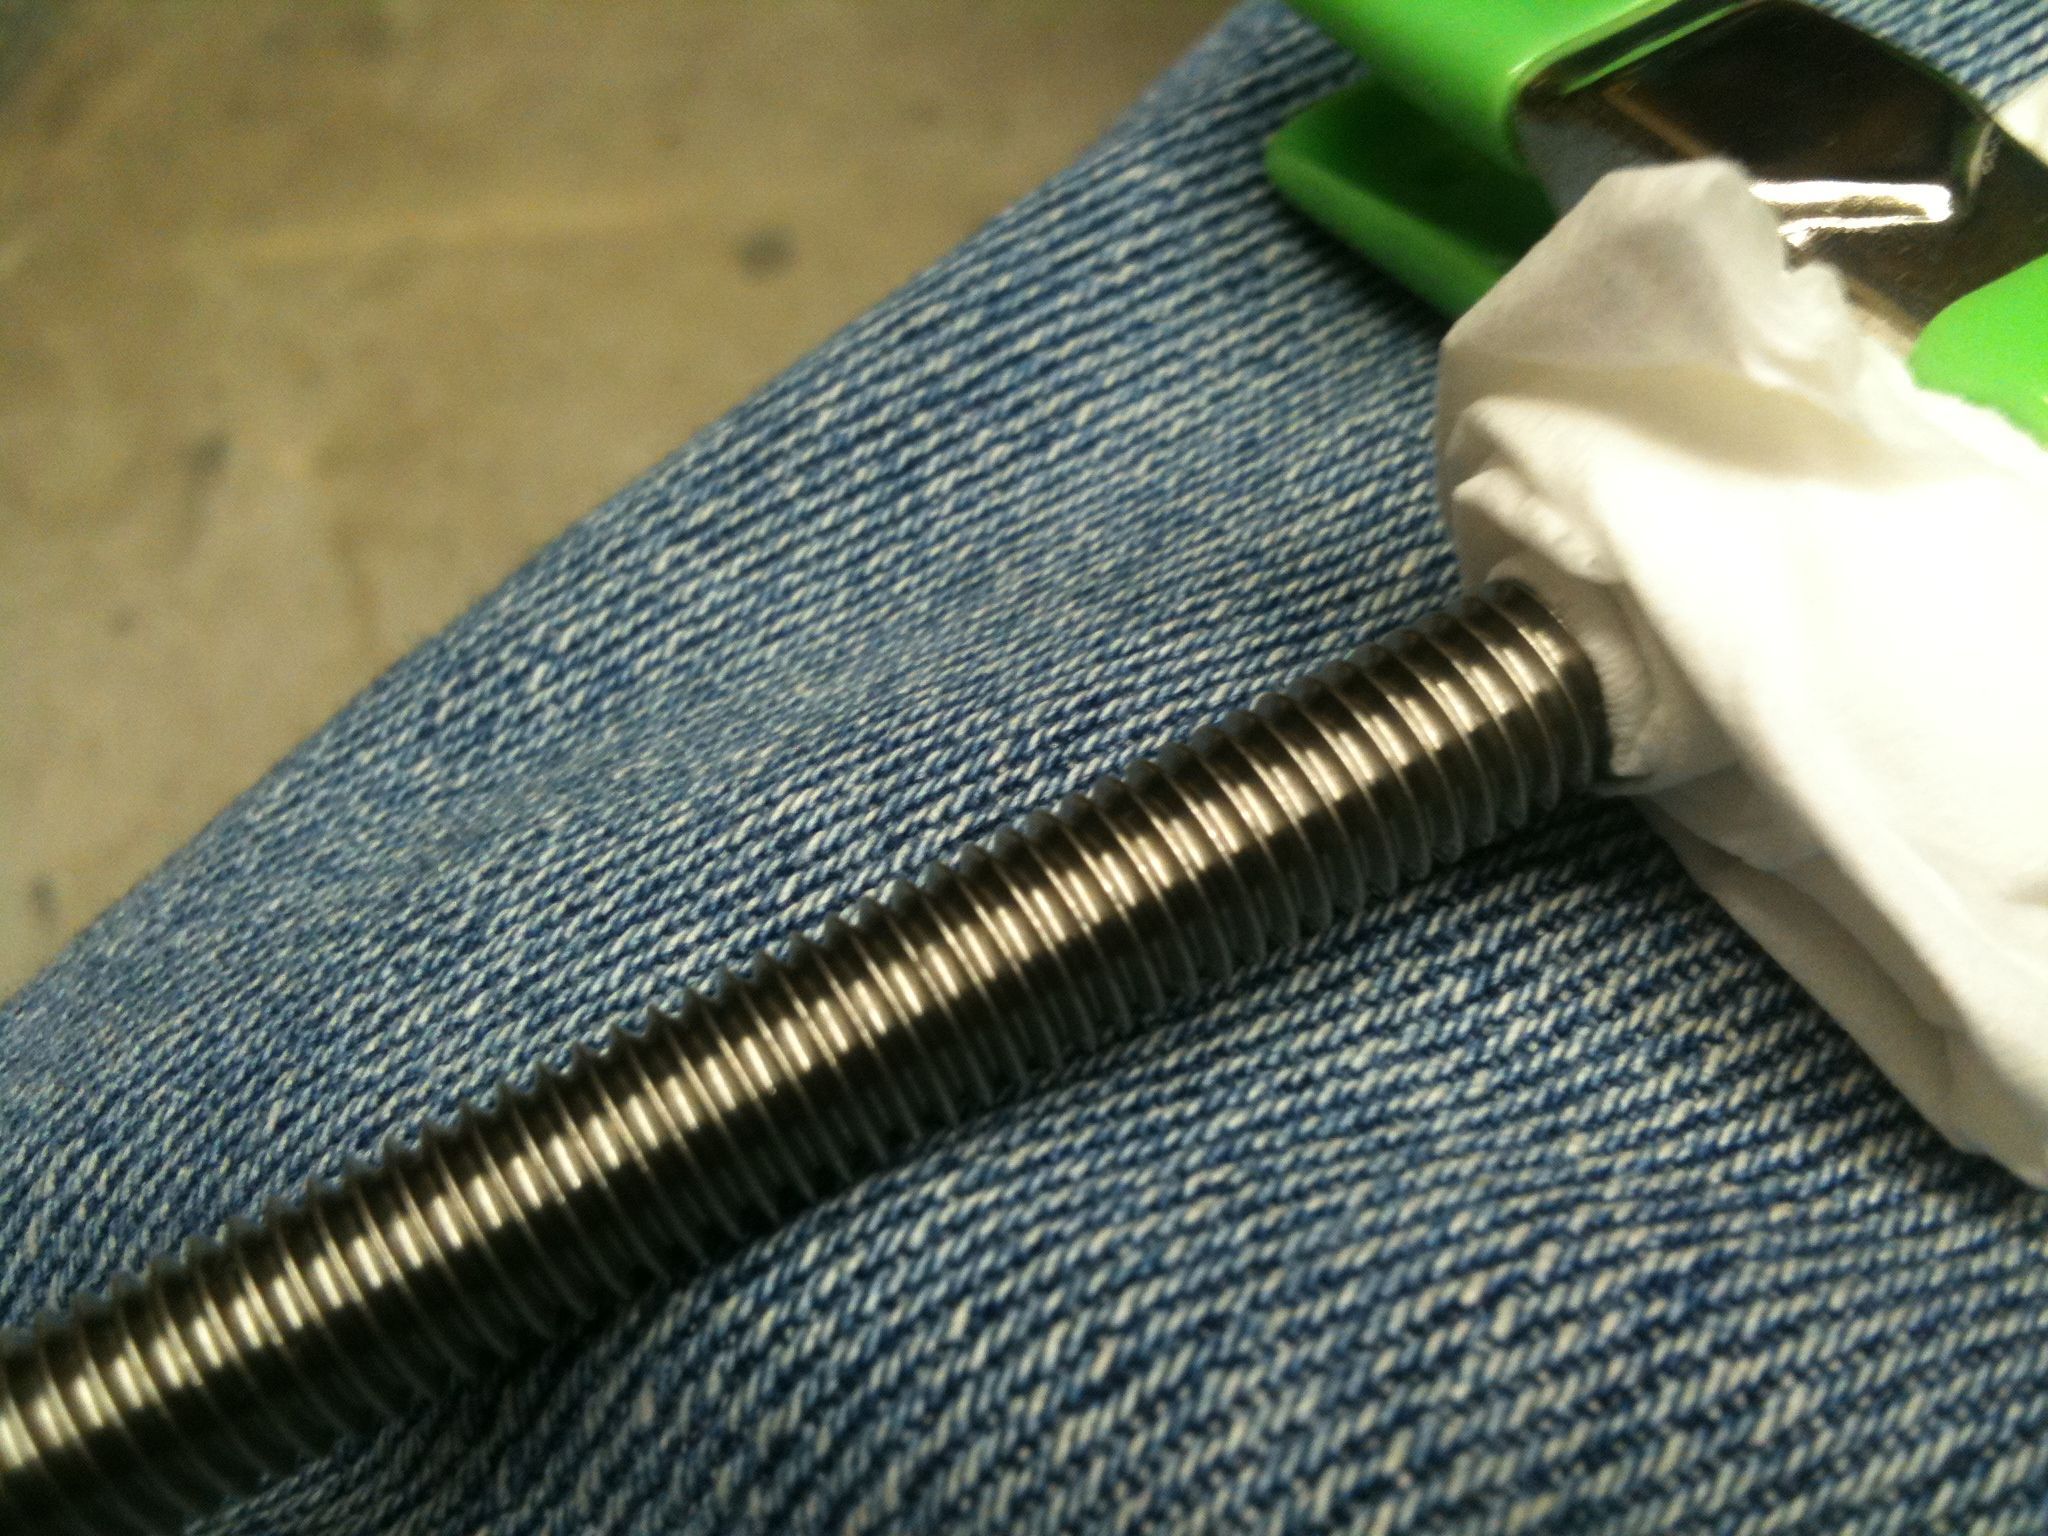
..and here’s after cleaning:

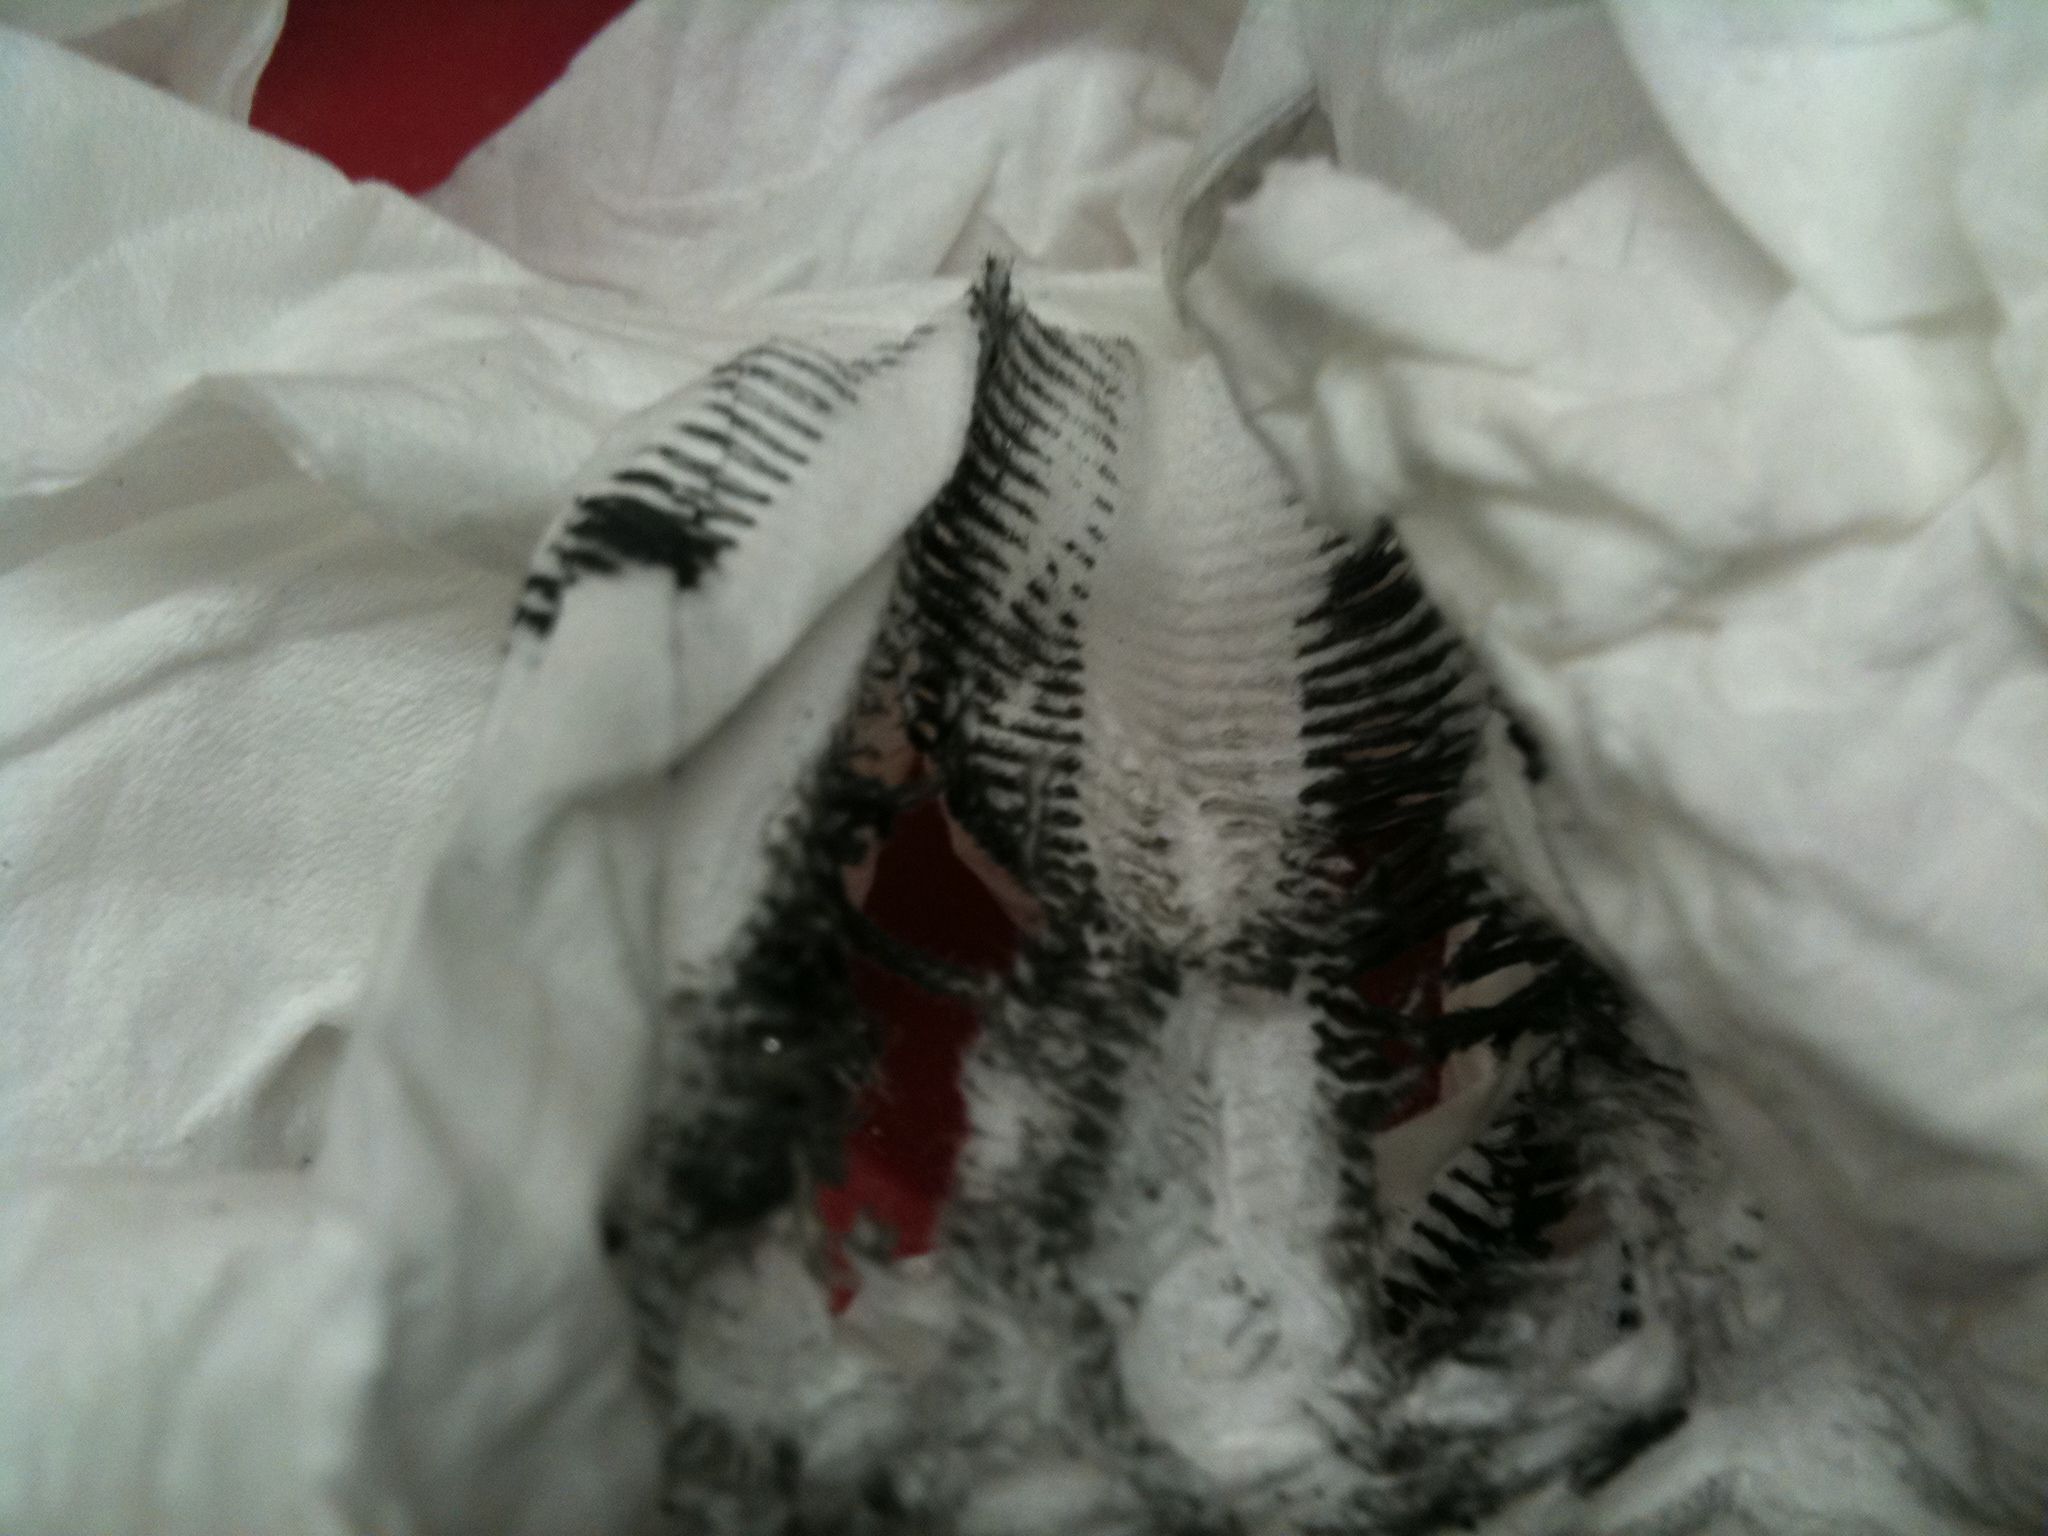
The inside of the tissue shows exactly what gunk I just cleaned off:

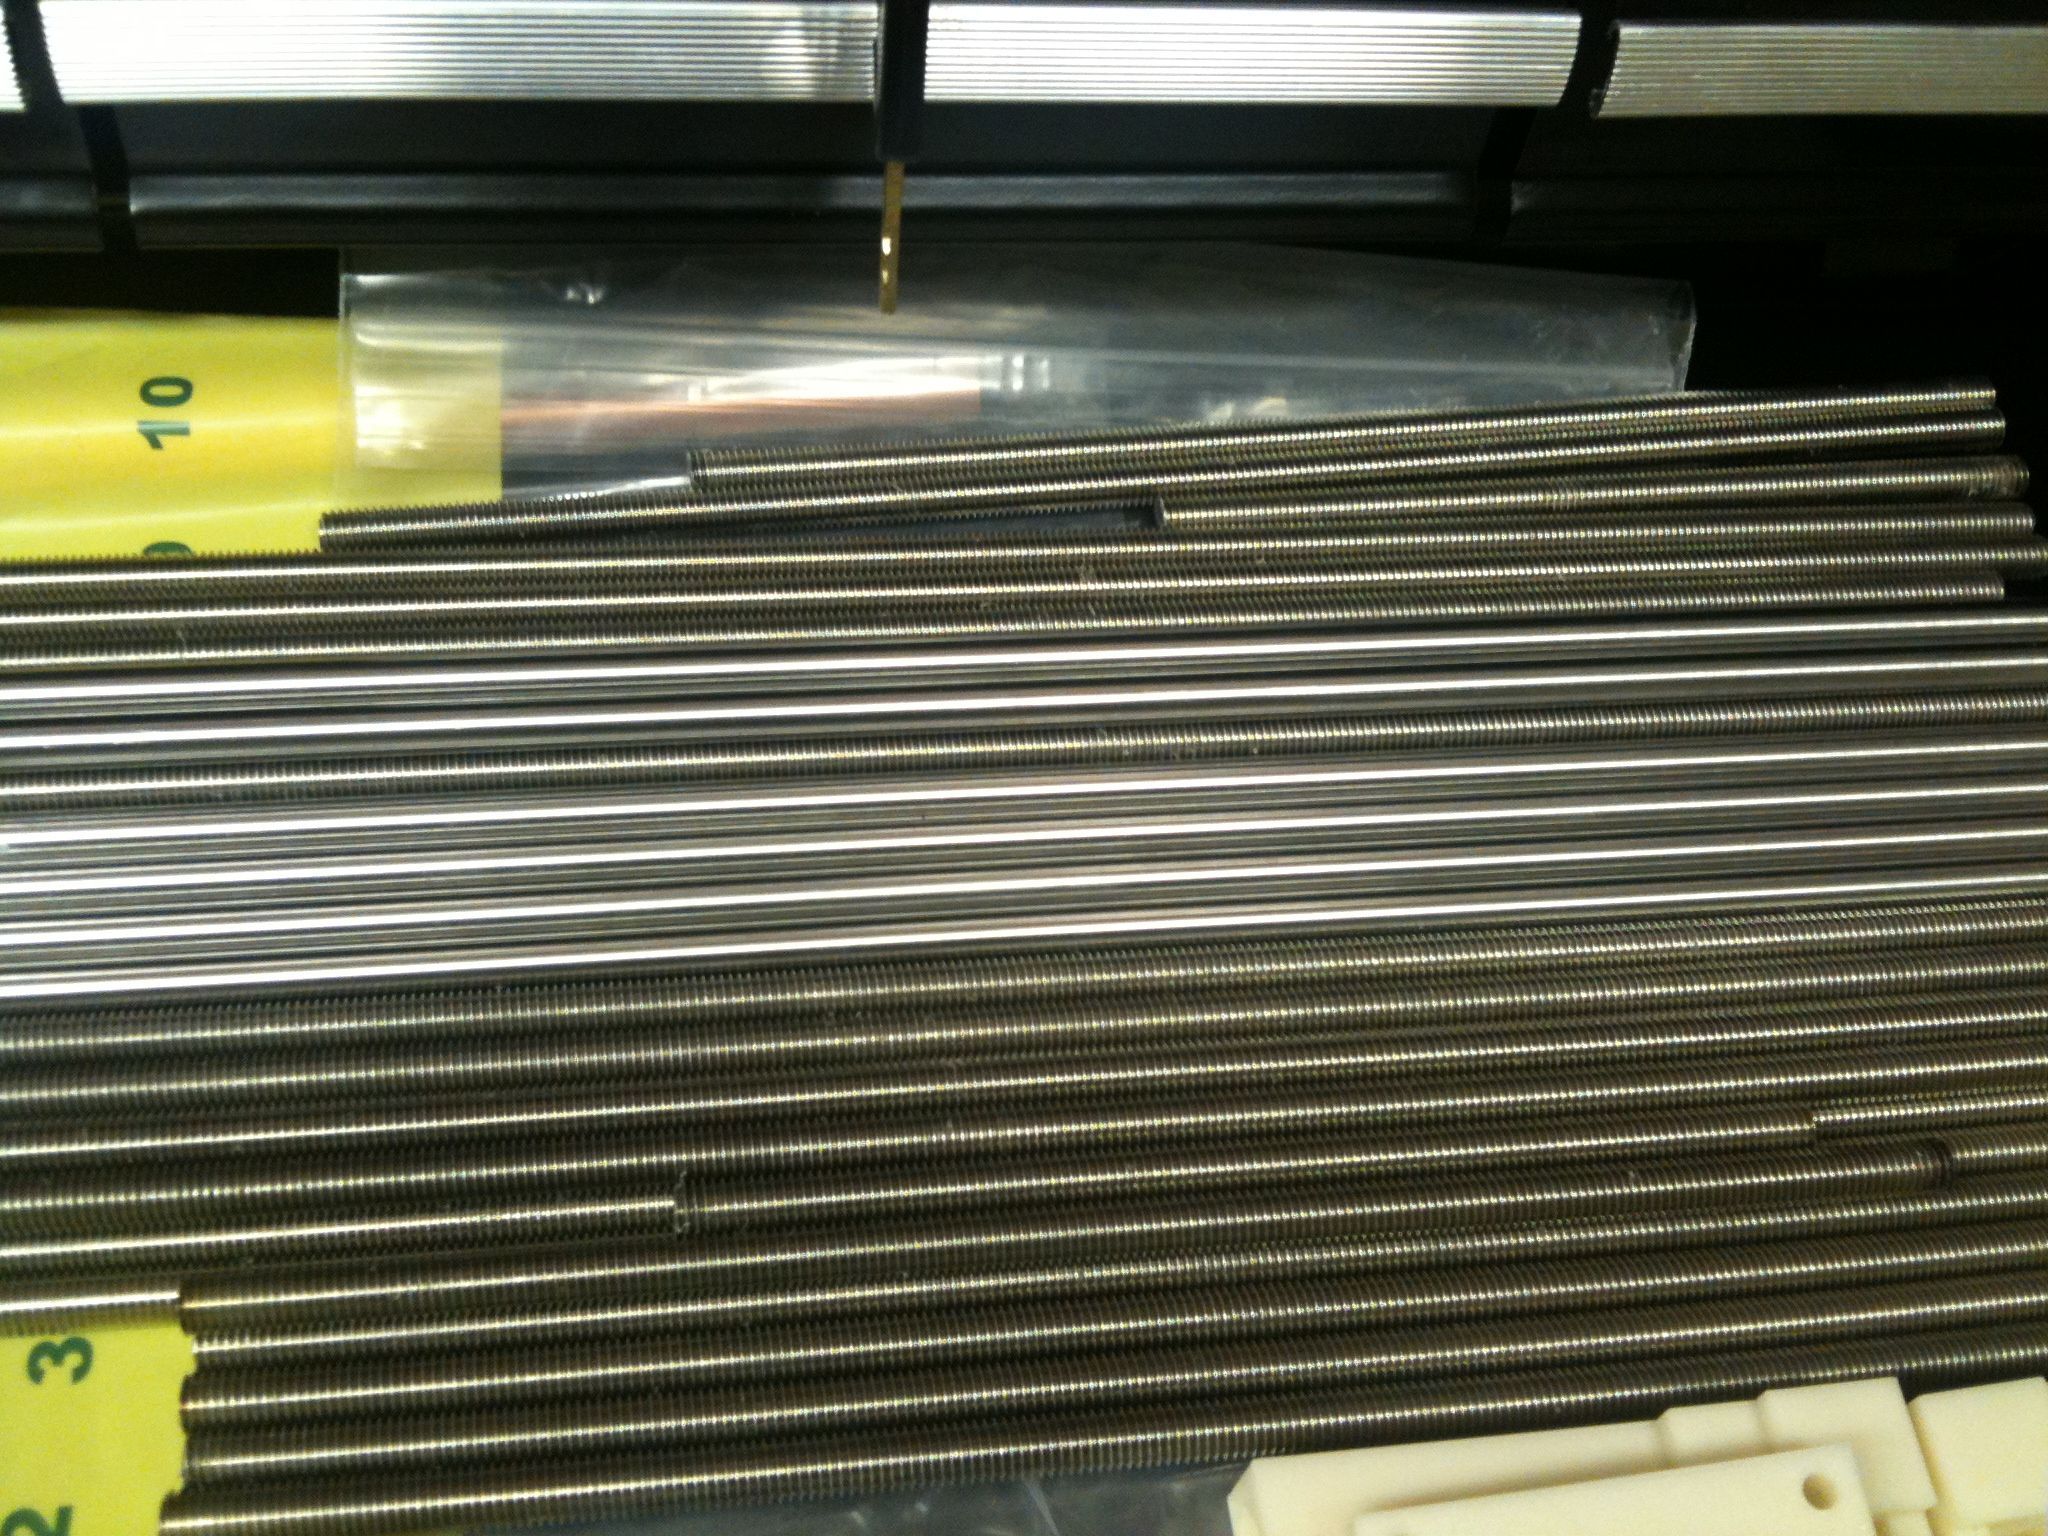
Here are all the completed rods (at least I think this picture was of all of them – they’re all done now):

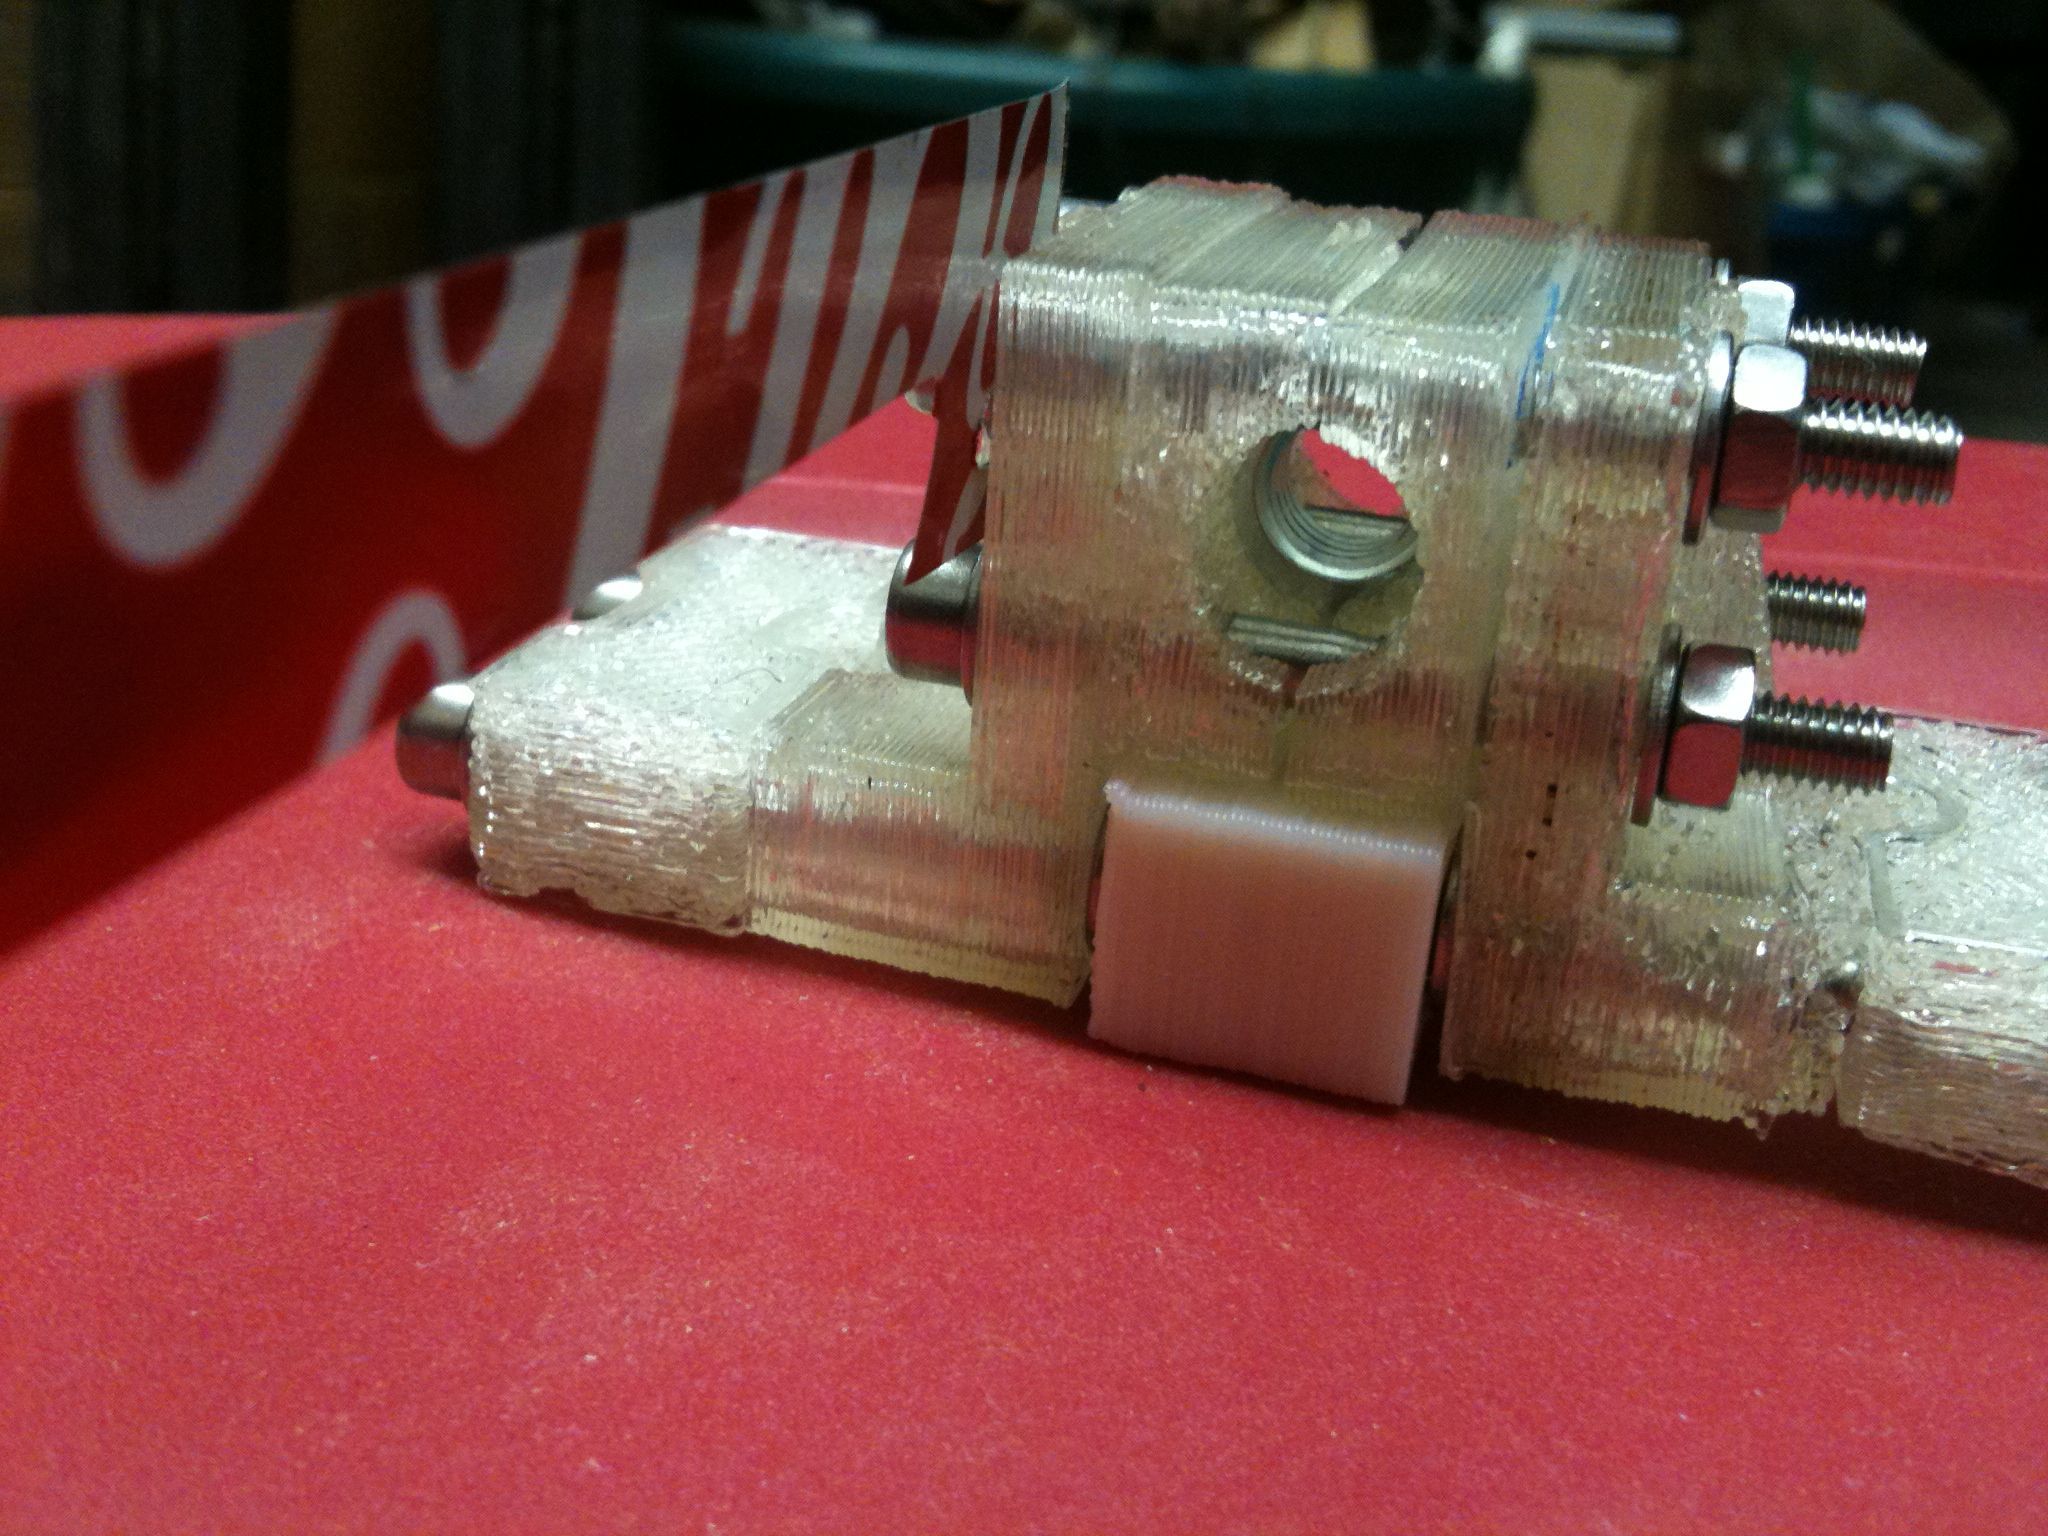
Once I had the rods all cut to size, I was actually a bit overwhelmed about the amount of things I have left to do, and more specifically the choices I had as to what to work on next. It didn’t take long before I went back to assembling the X axis. First, I adjusted the spacer bolts on the X carriage and mounted the extruder piece, skipping the attachment of the stepper motor, PTFE insulator, and heater barrel for now. (I need to design some equivalent of a retainer to hold the heater barrel into the PTFE (and hold that into the extruder piece) similar to how the MakerBot’s extruder does it, because I can’t afford to glue a PTFE insulator into one of my only extruder RP pieces until I have a working printer). I also mounted the opto endflag, made out of a Coke can. That will be used in conjunction with an optical sensor to home the device.

Then I assembled the “Vert bearing 180” assembly:

Here’s a truncated video (I ran out of space on my phone again) showing a few of the pieces:

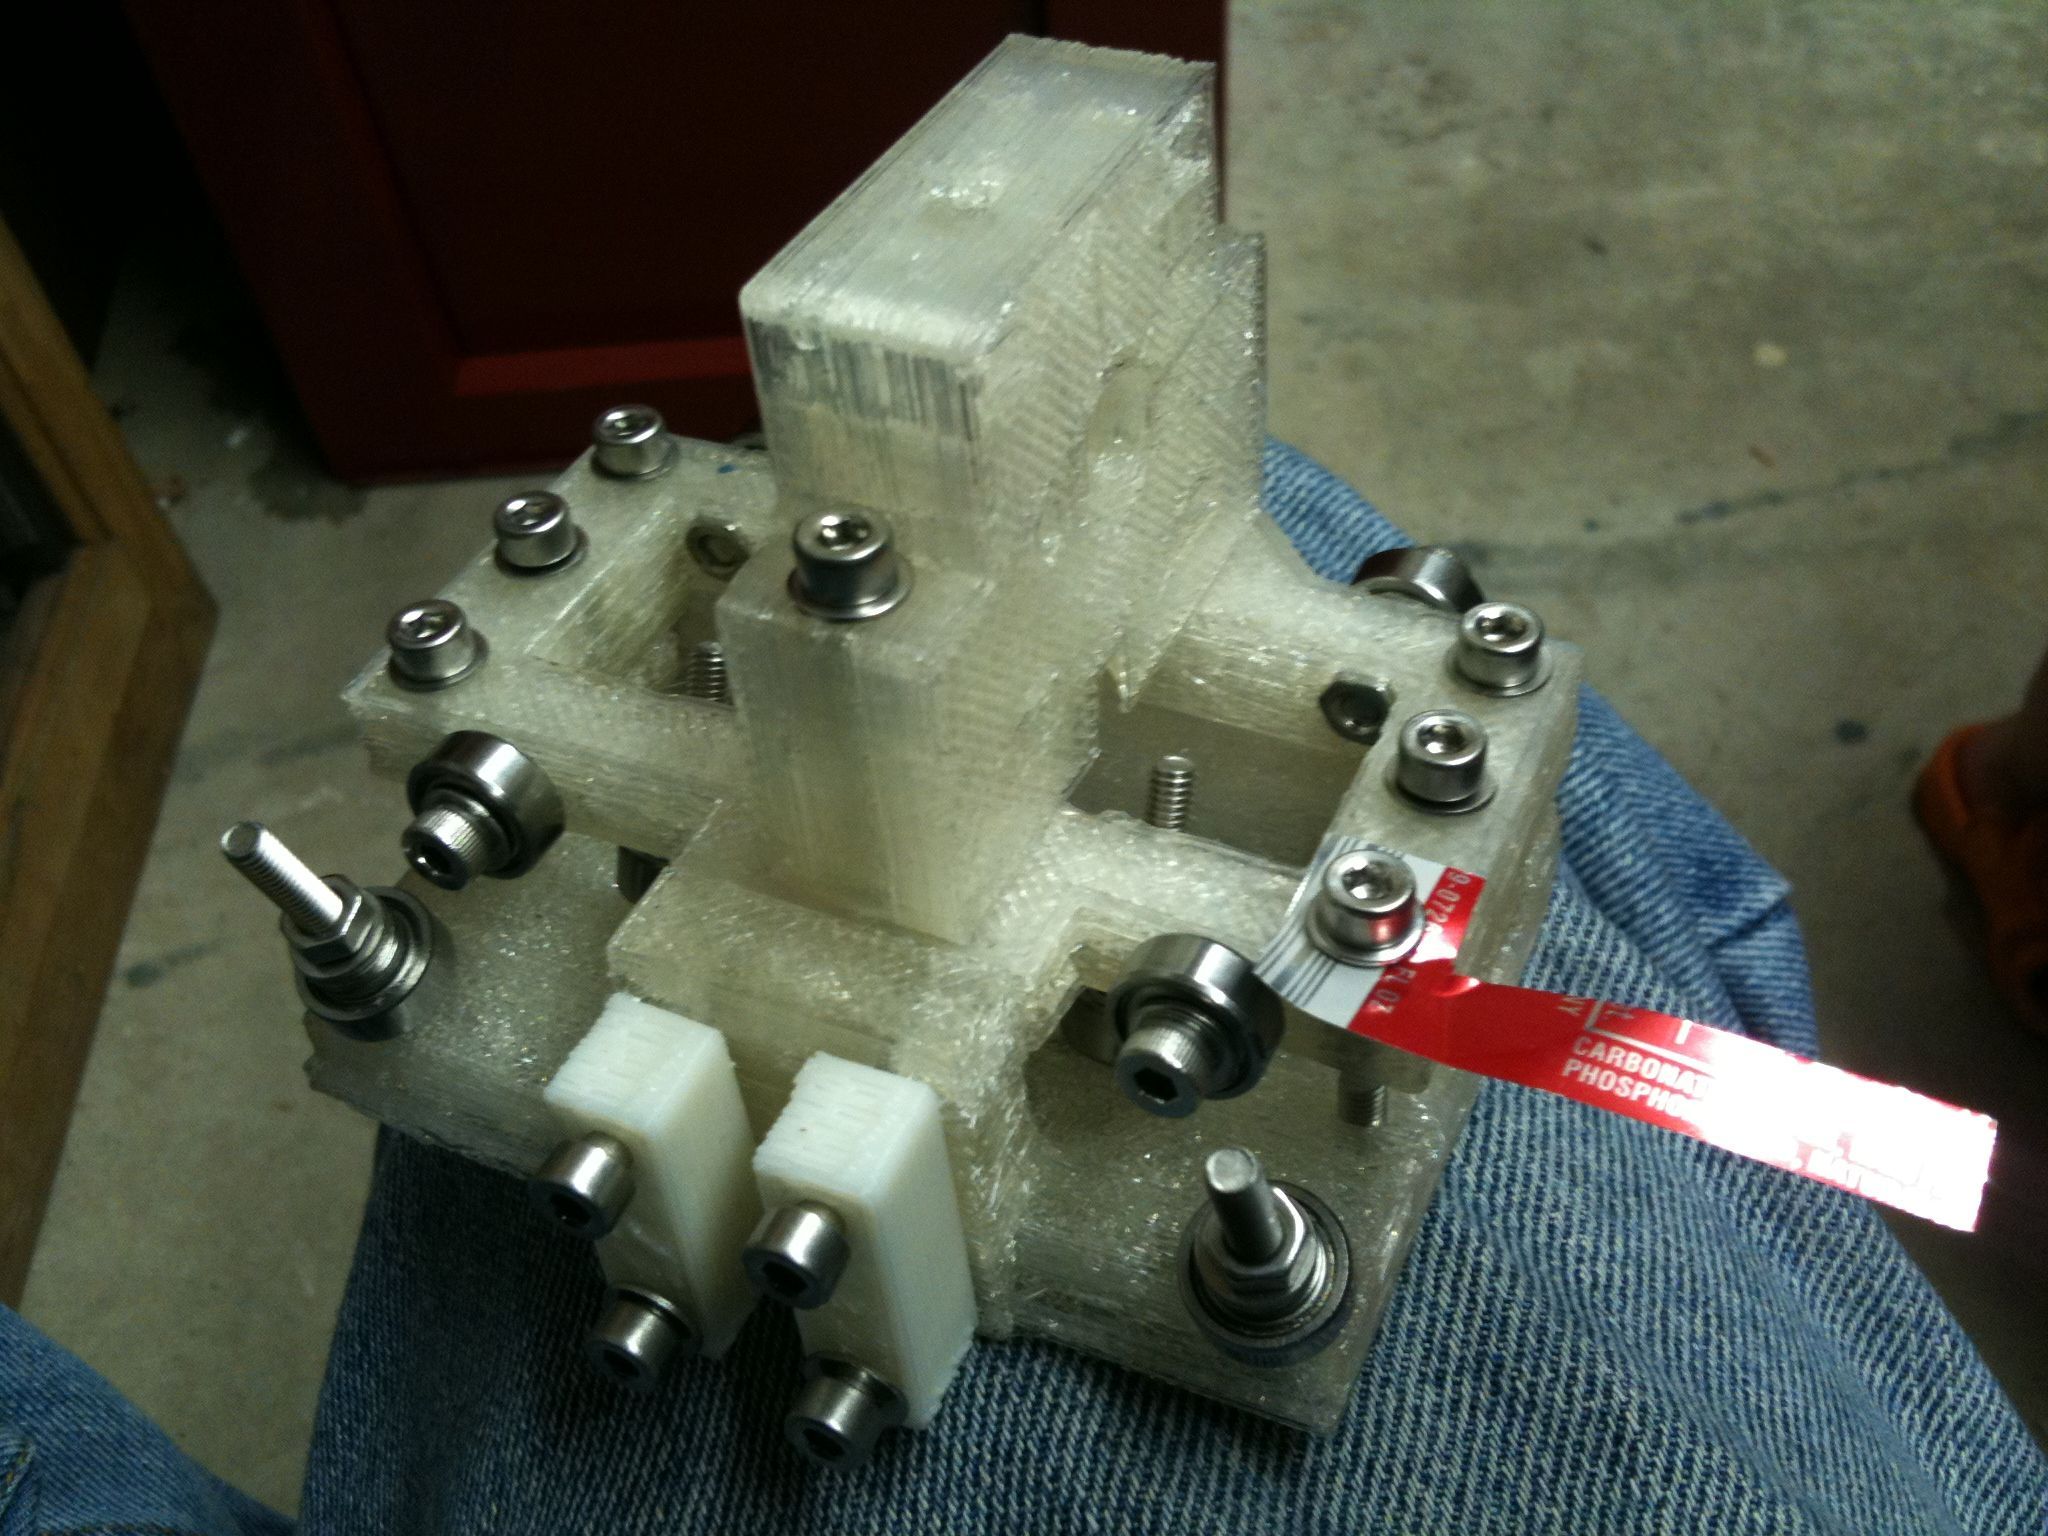
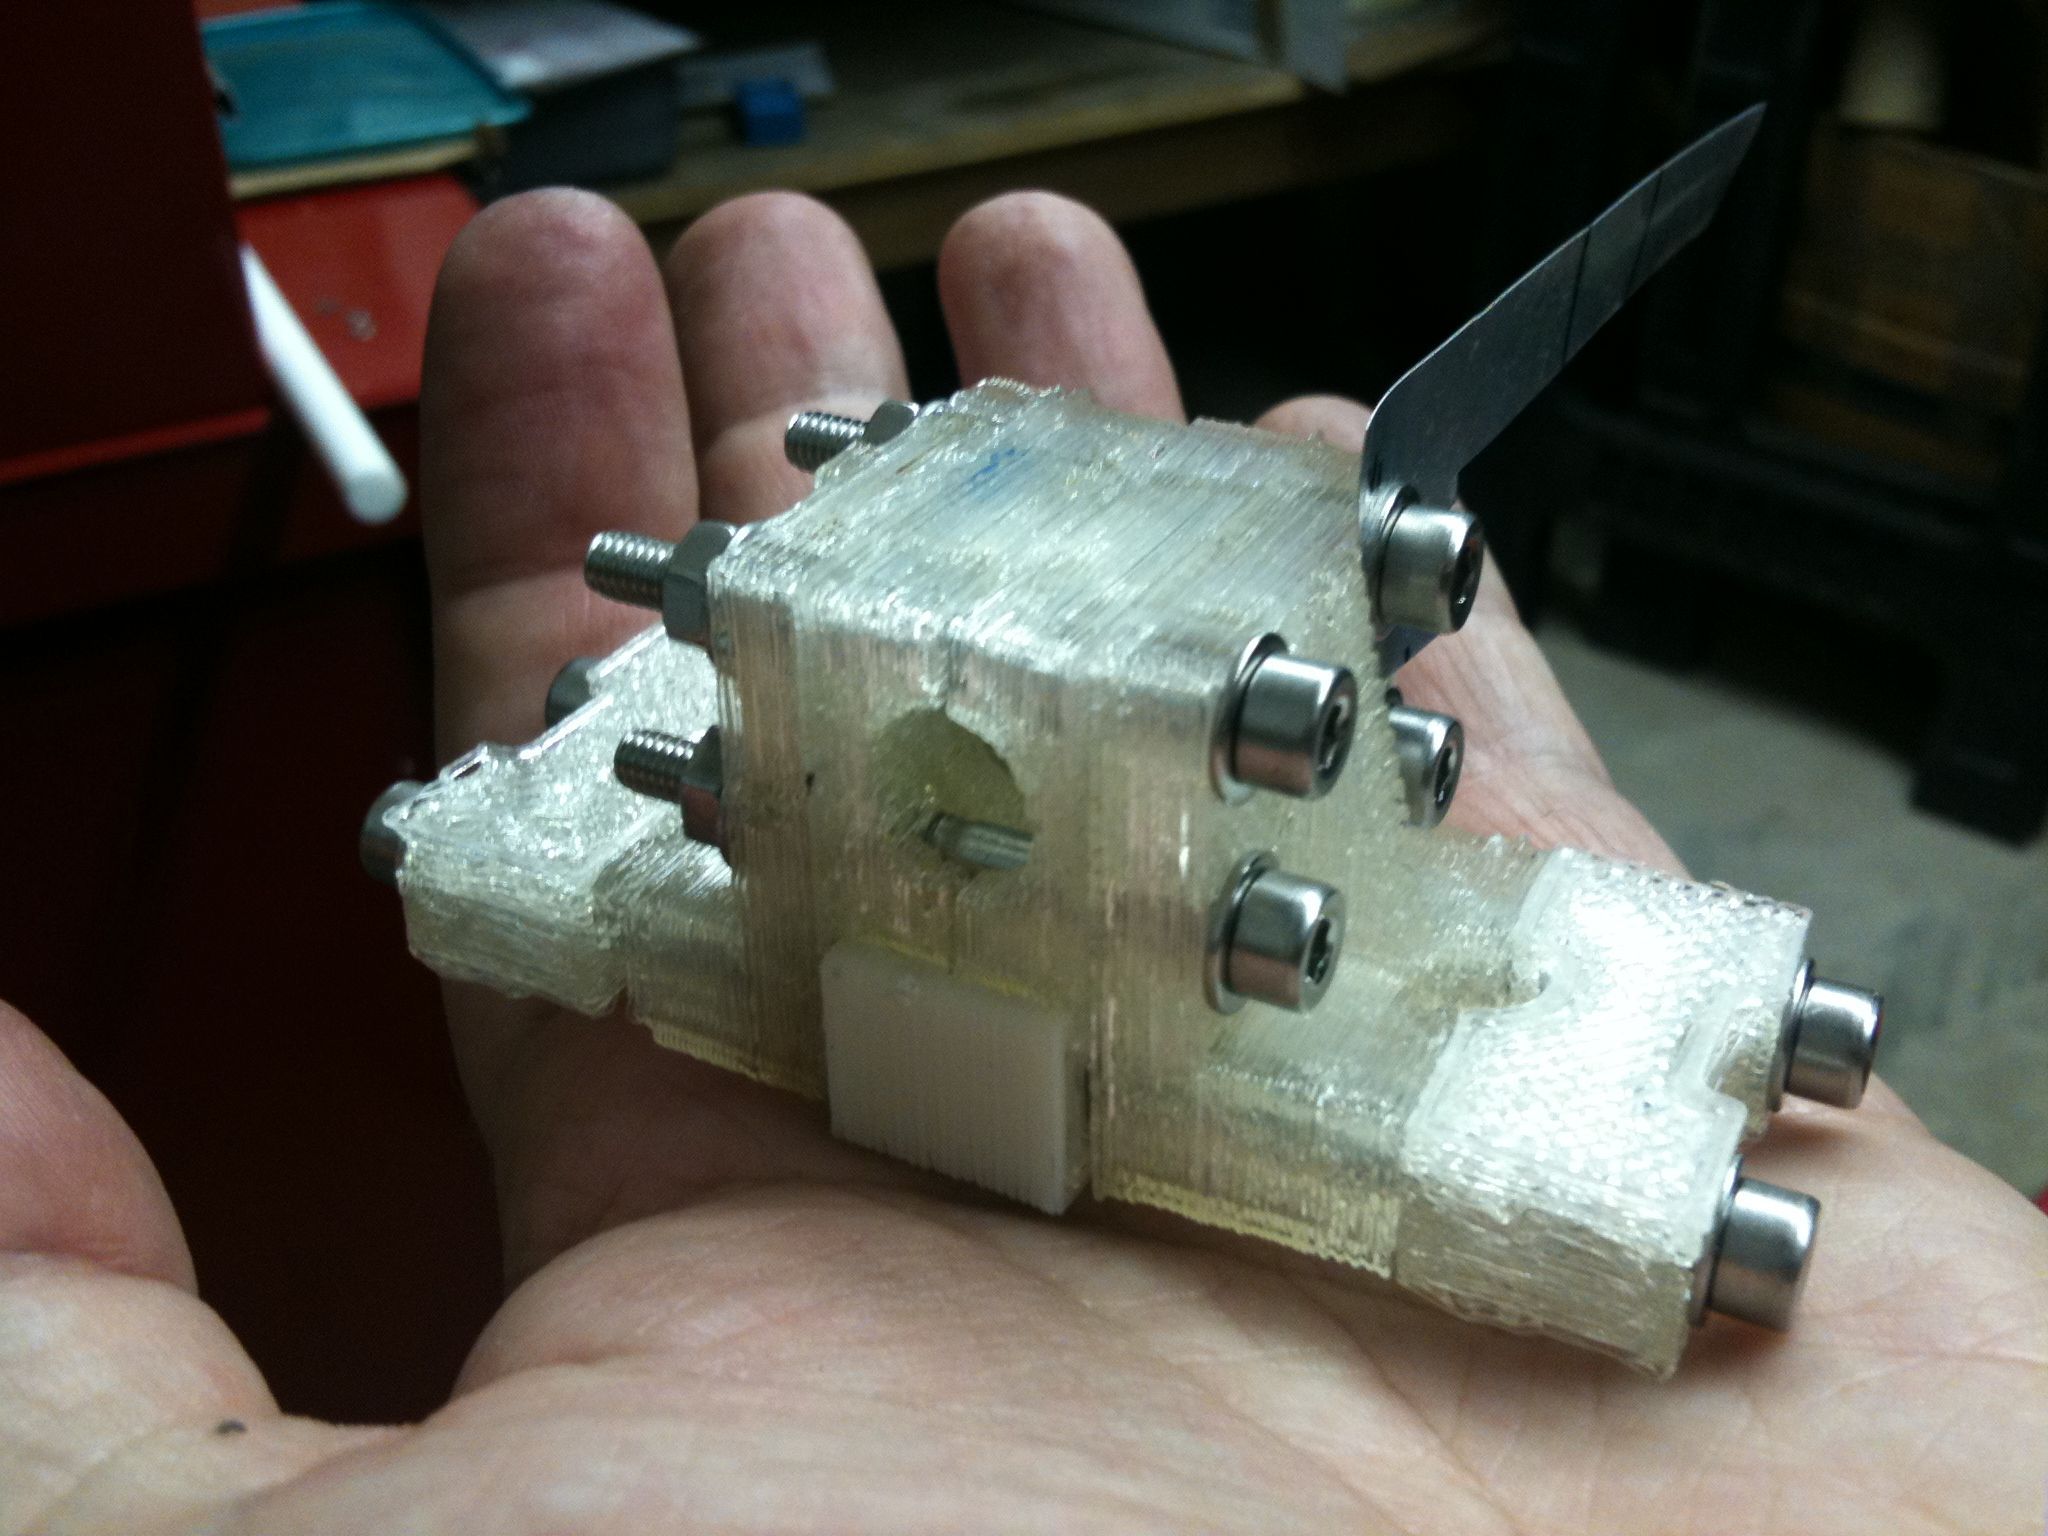
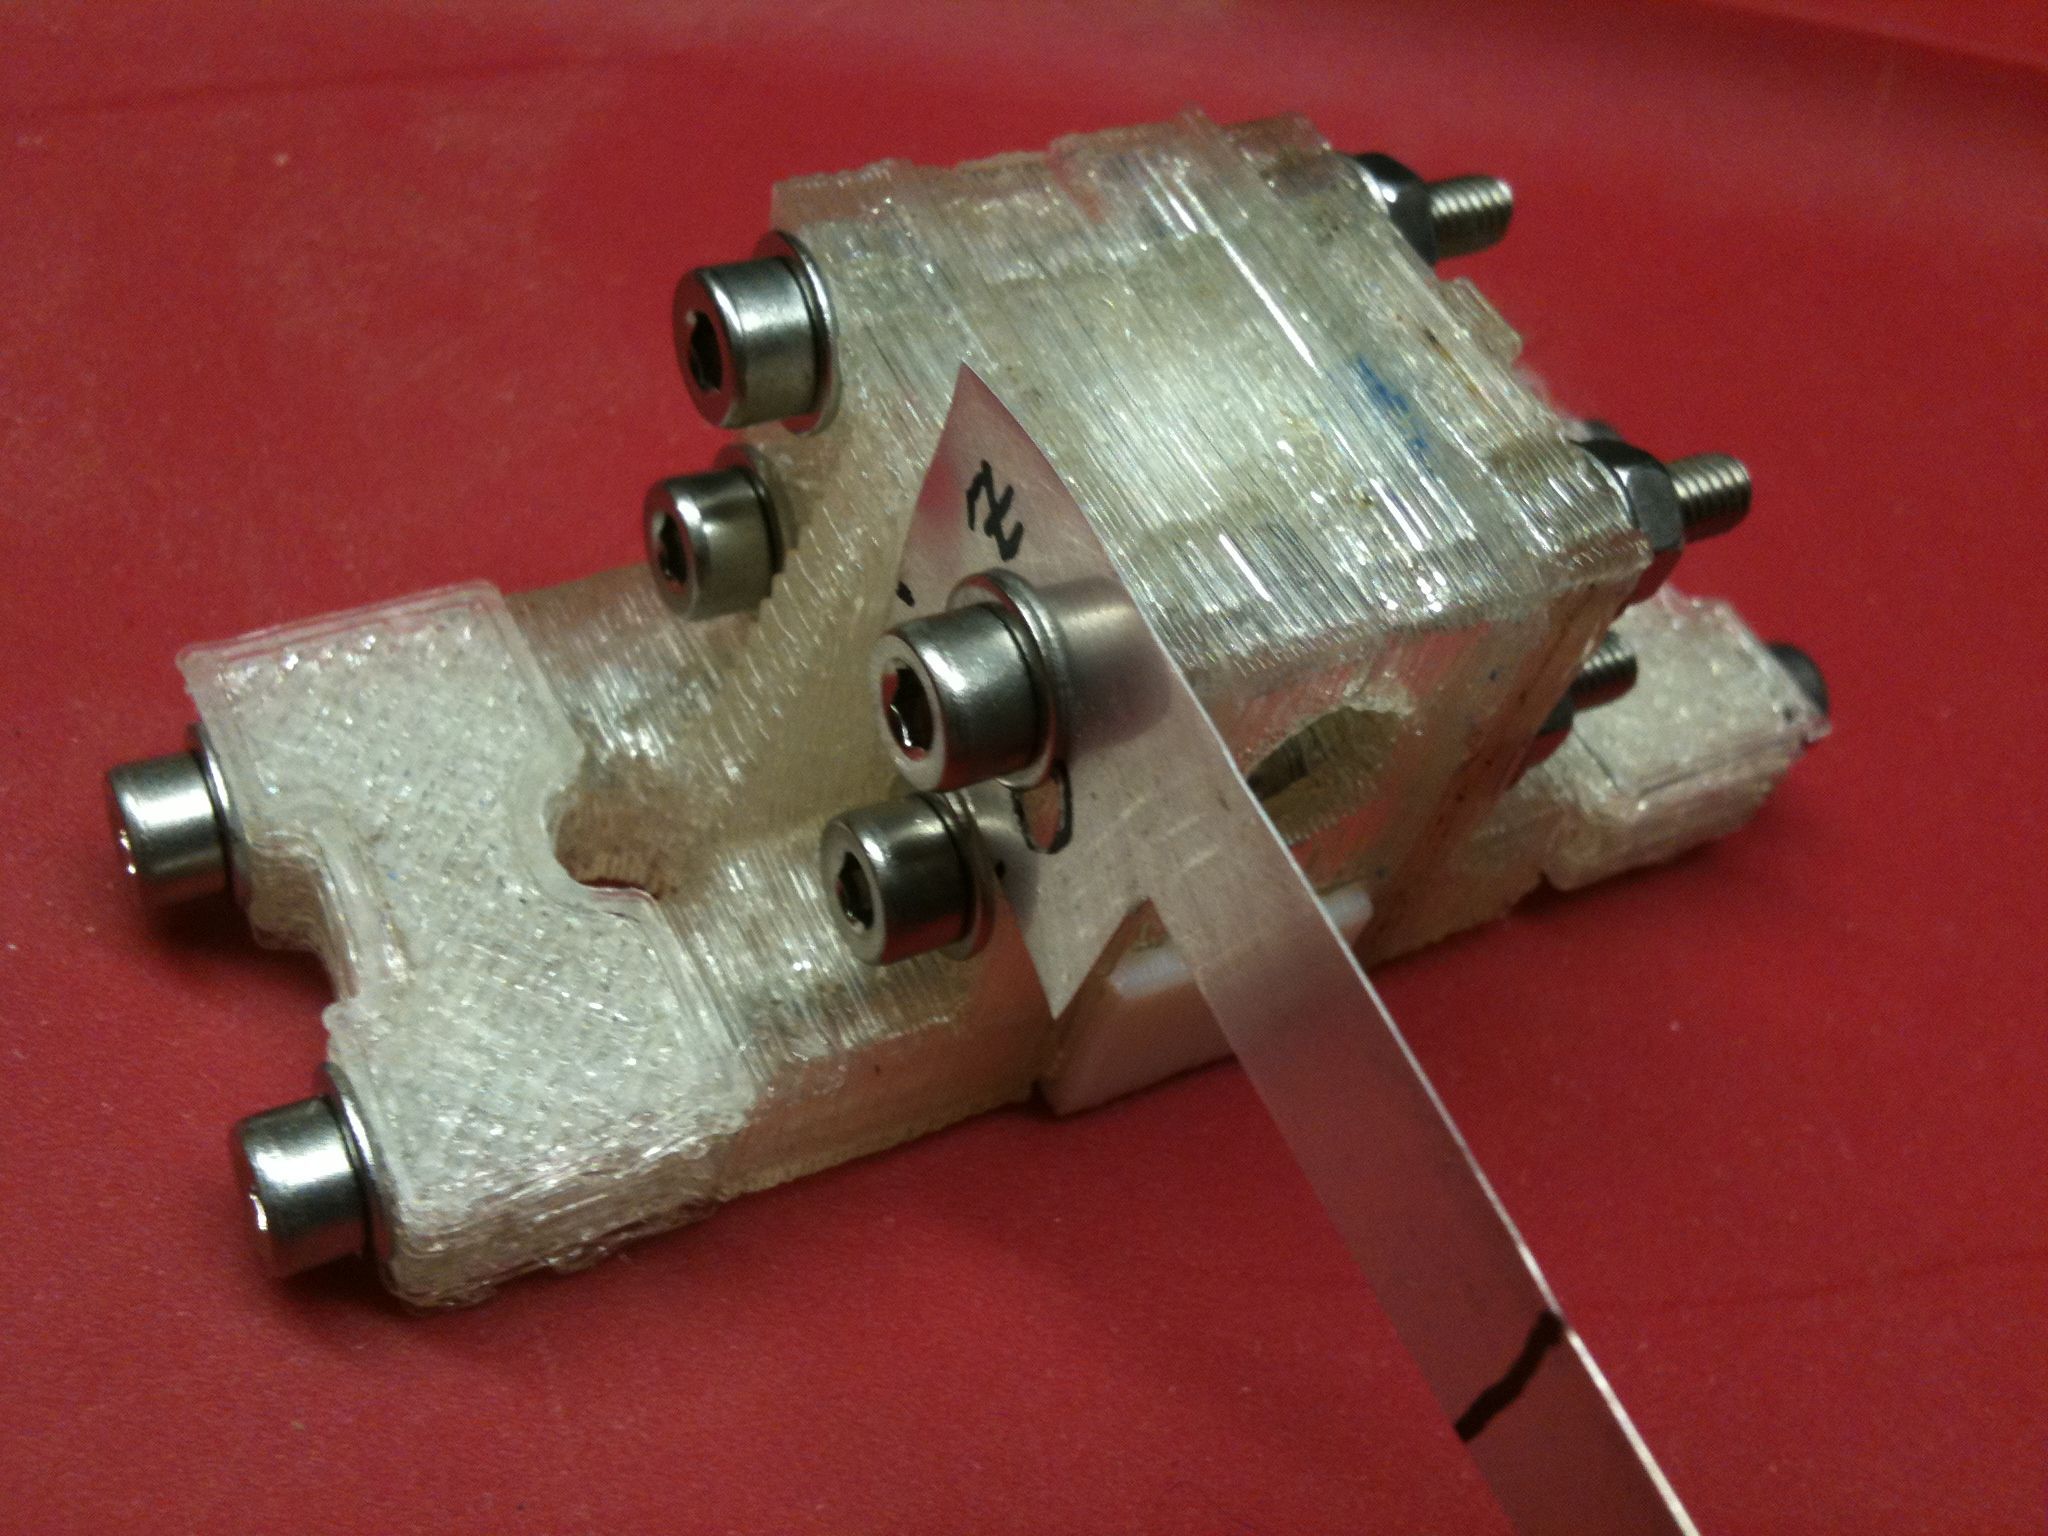
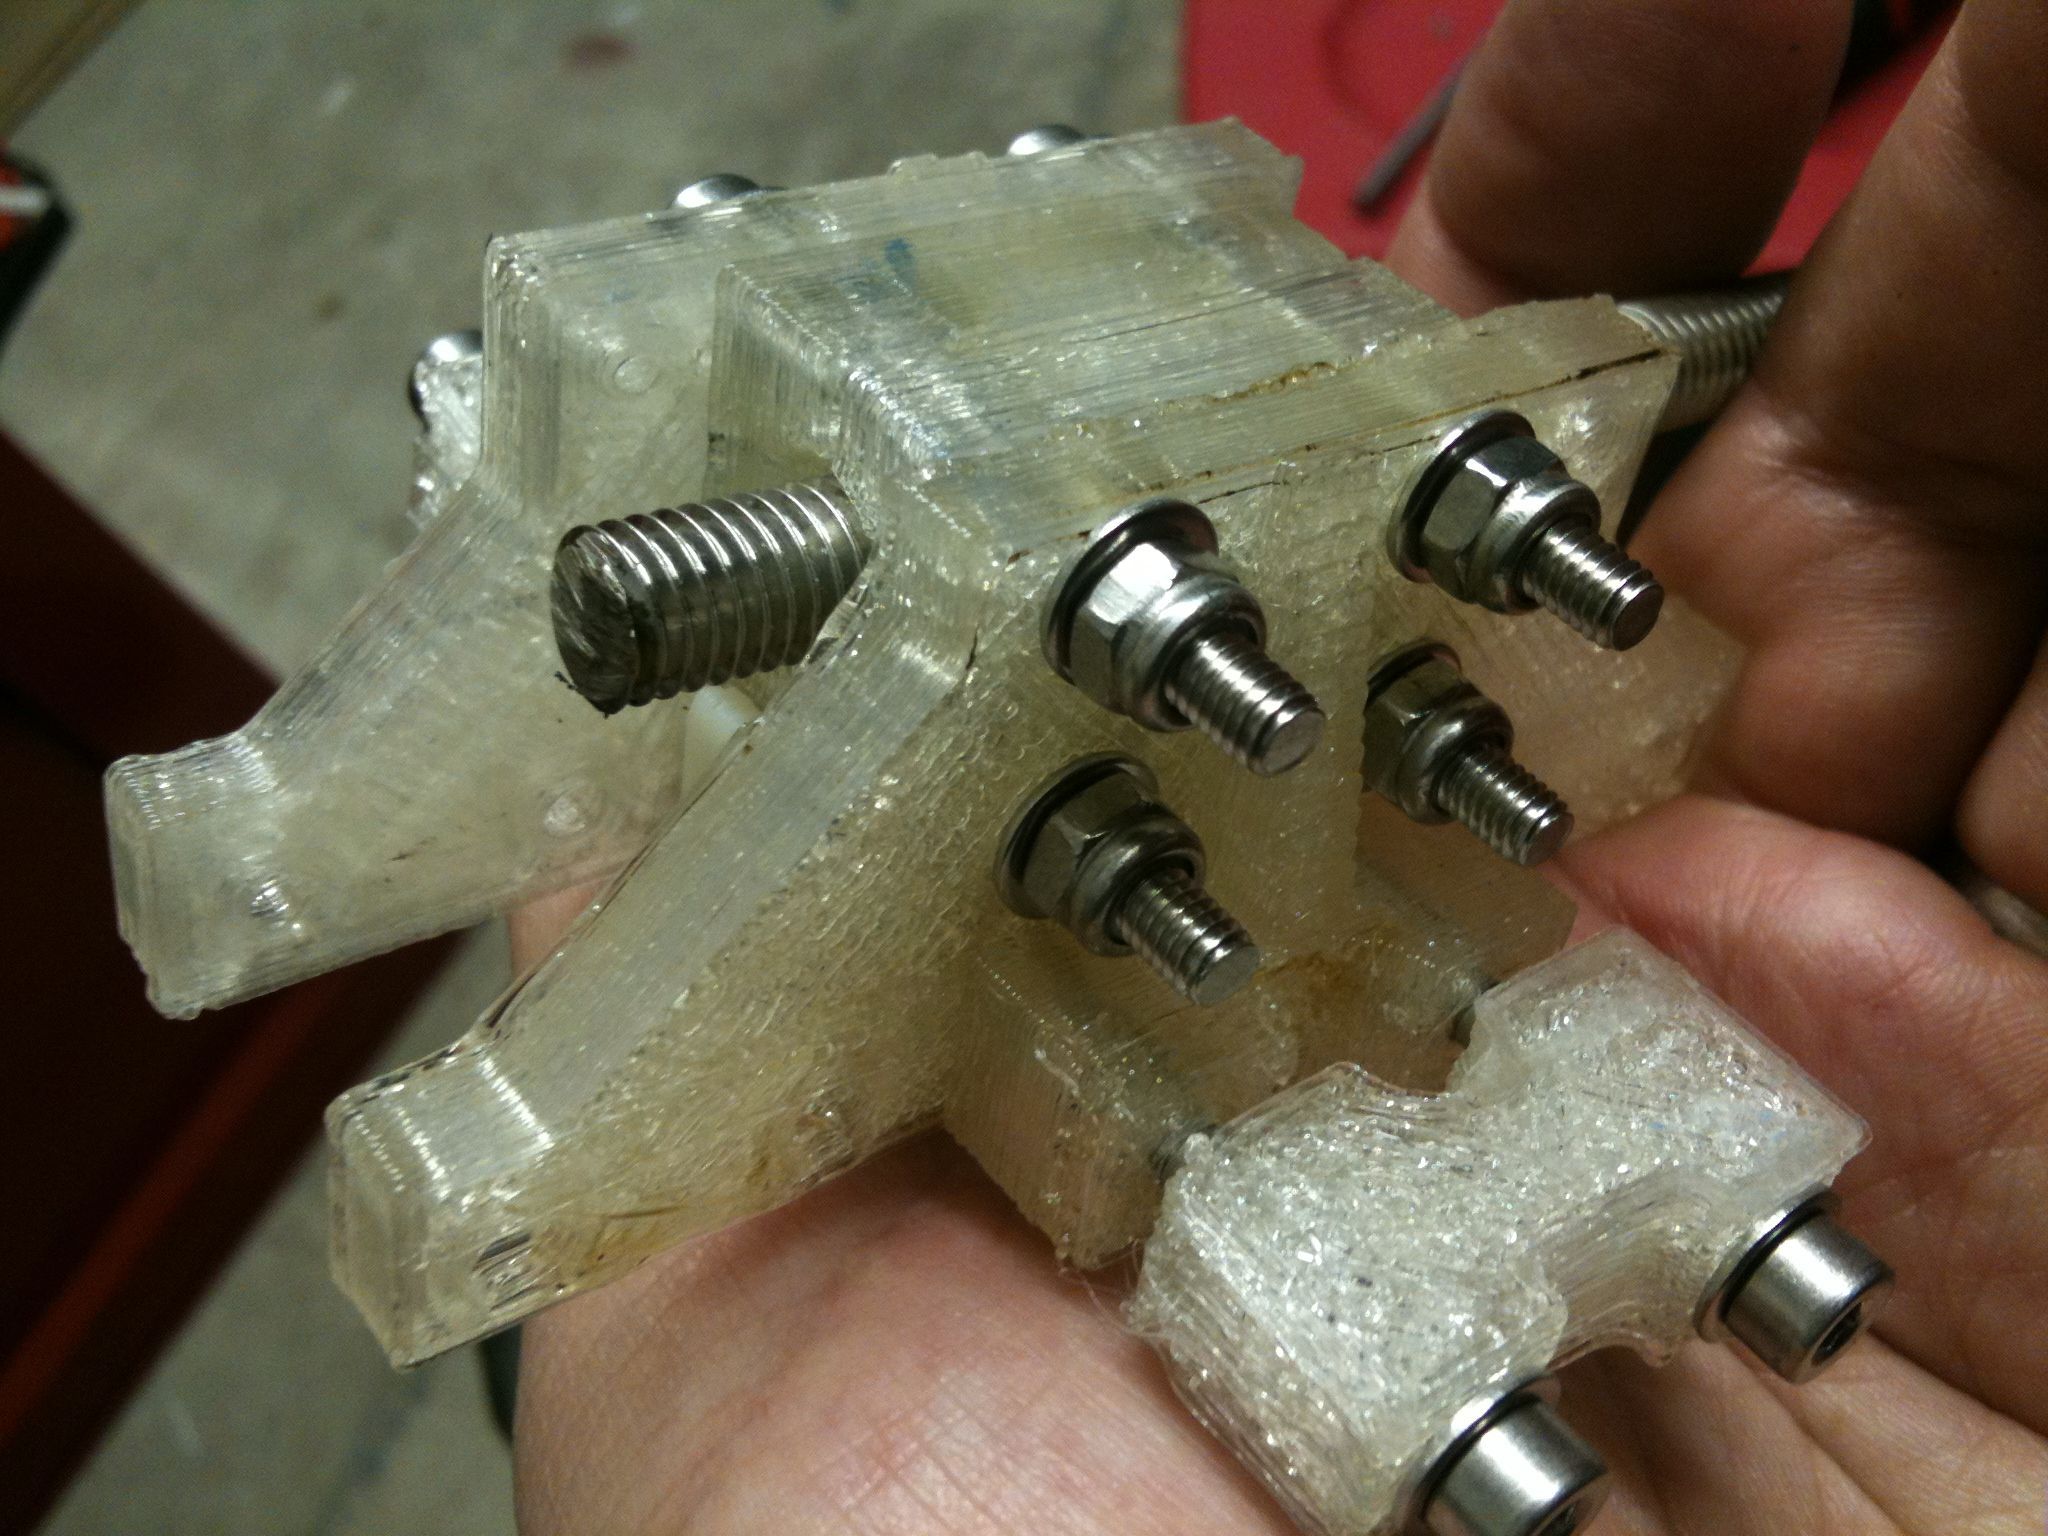
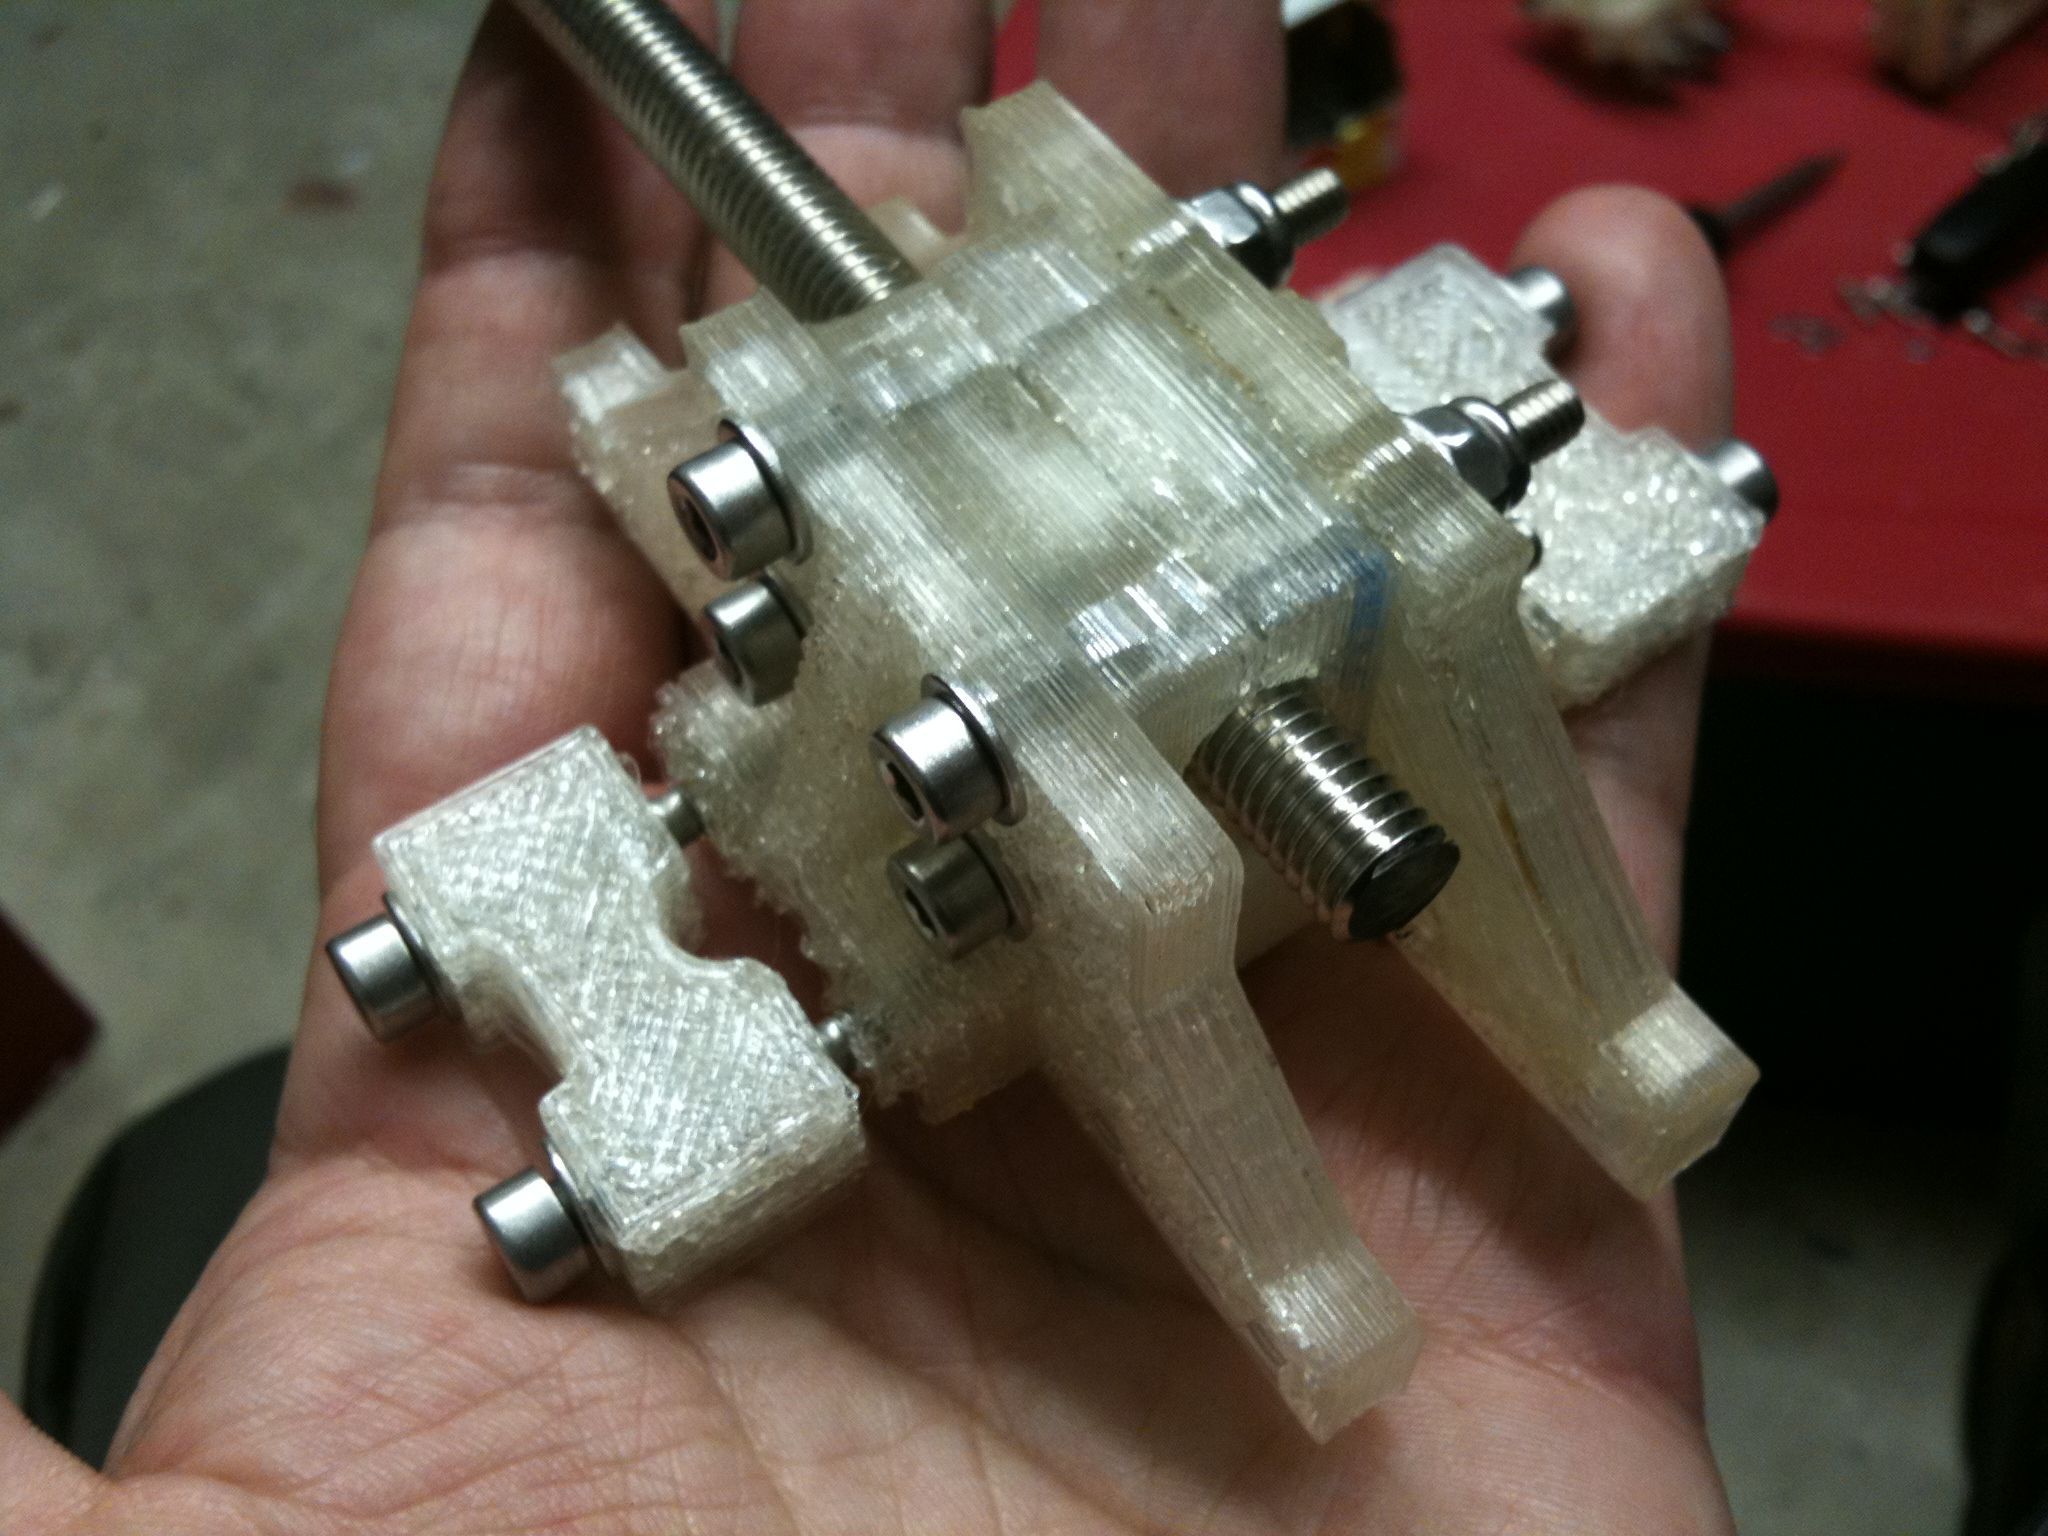
Then I started the Vert Bearing 360 assembly. Here’s are two pictures of it mid-way, with a piece of scrap threaded rod in the middle to illustrate the trapped M8 nut in the center of the assembly:

I’ve actually completed that now, but I’m too tired to upload the photo now – I’ll include that in my next post.

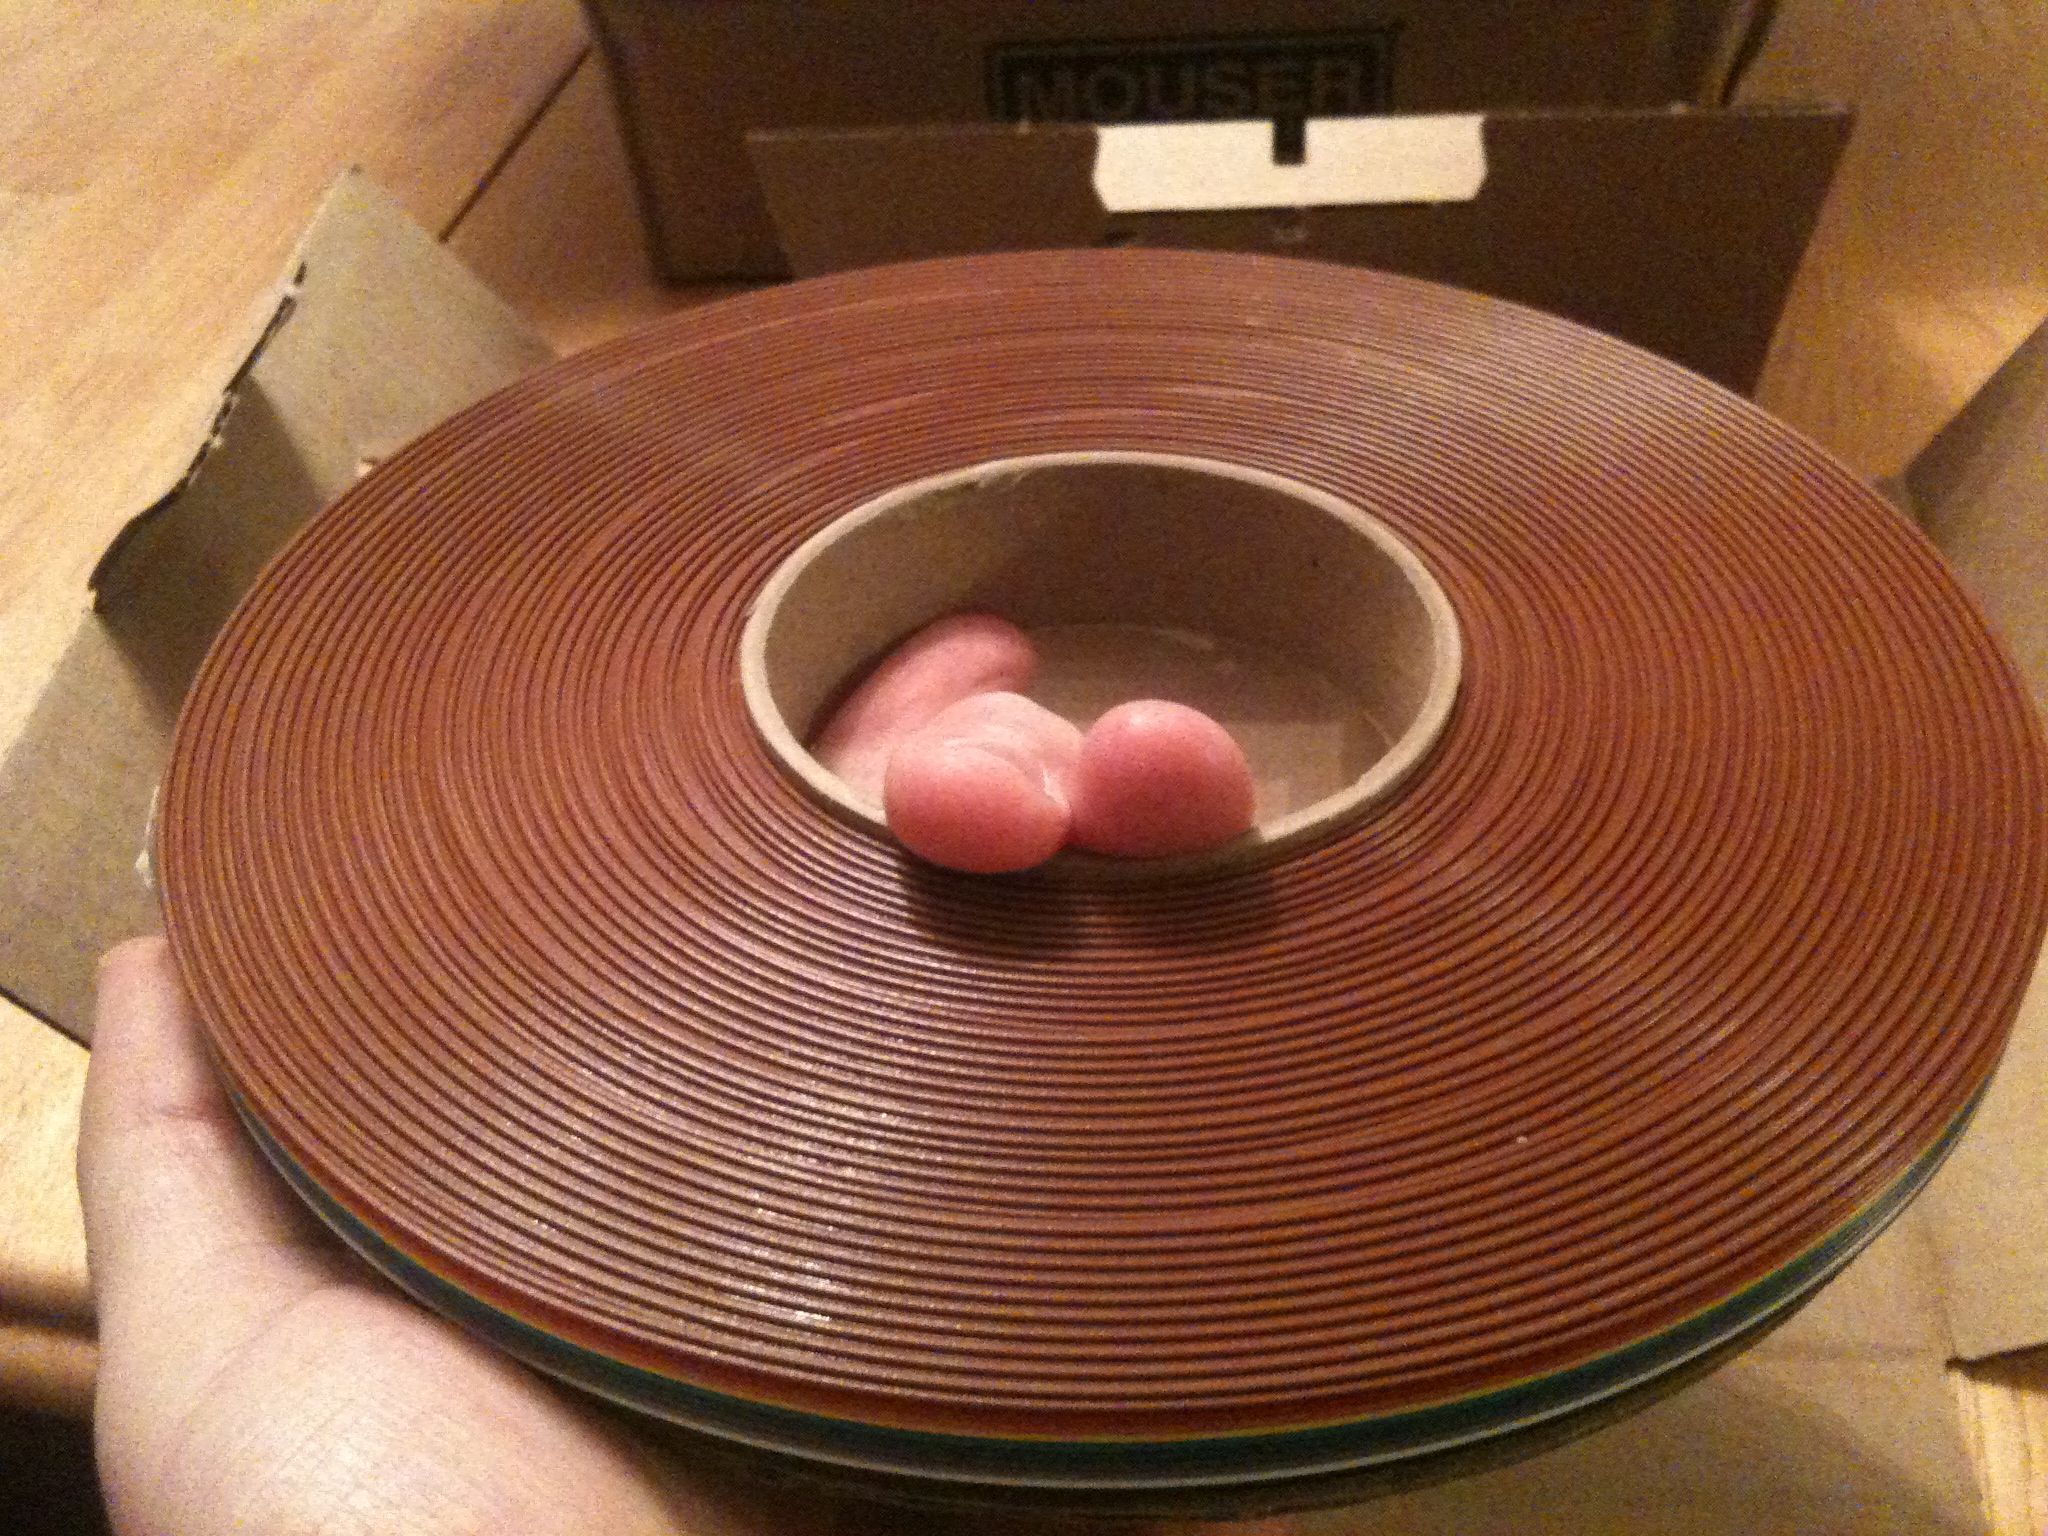
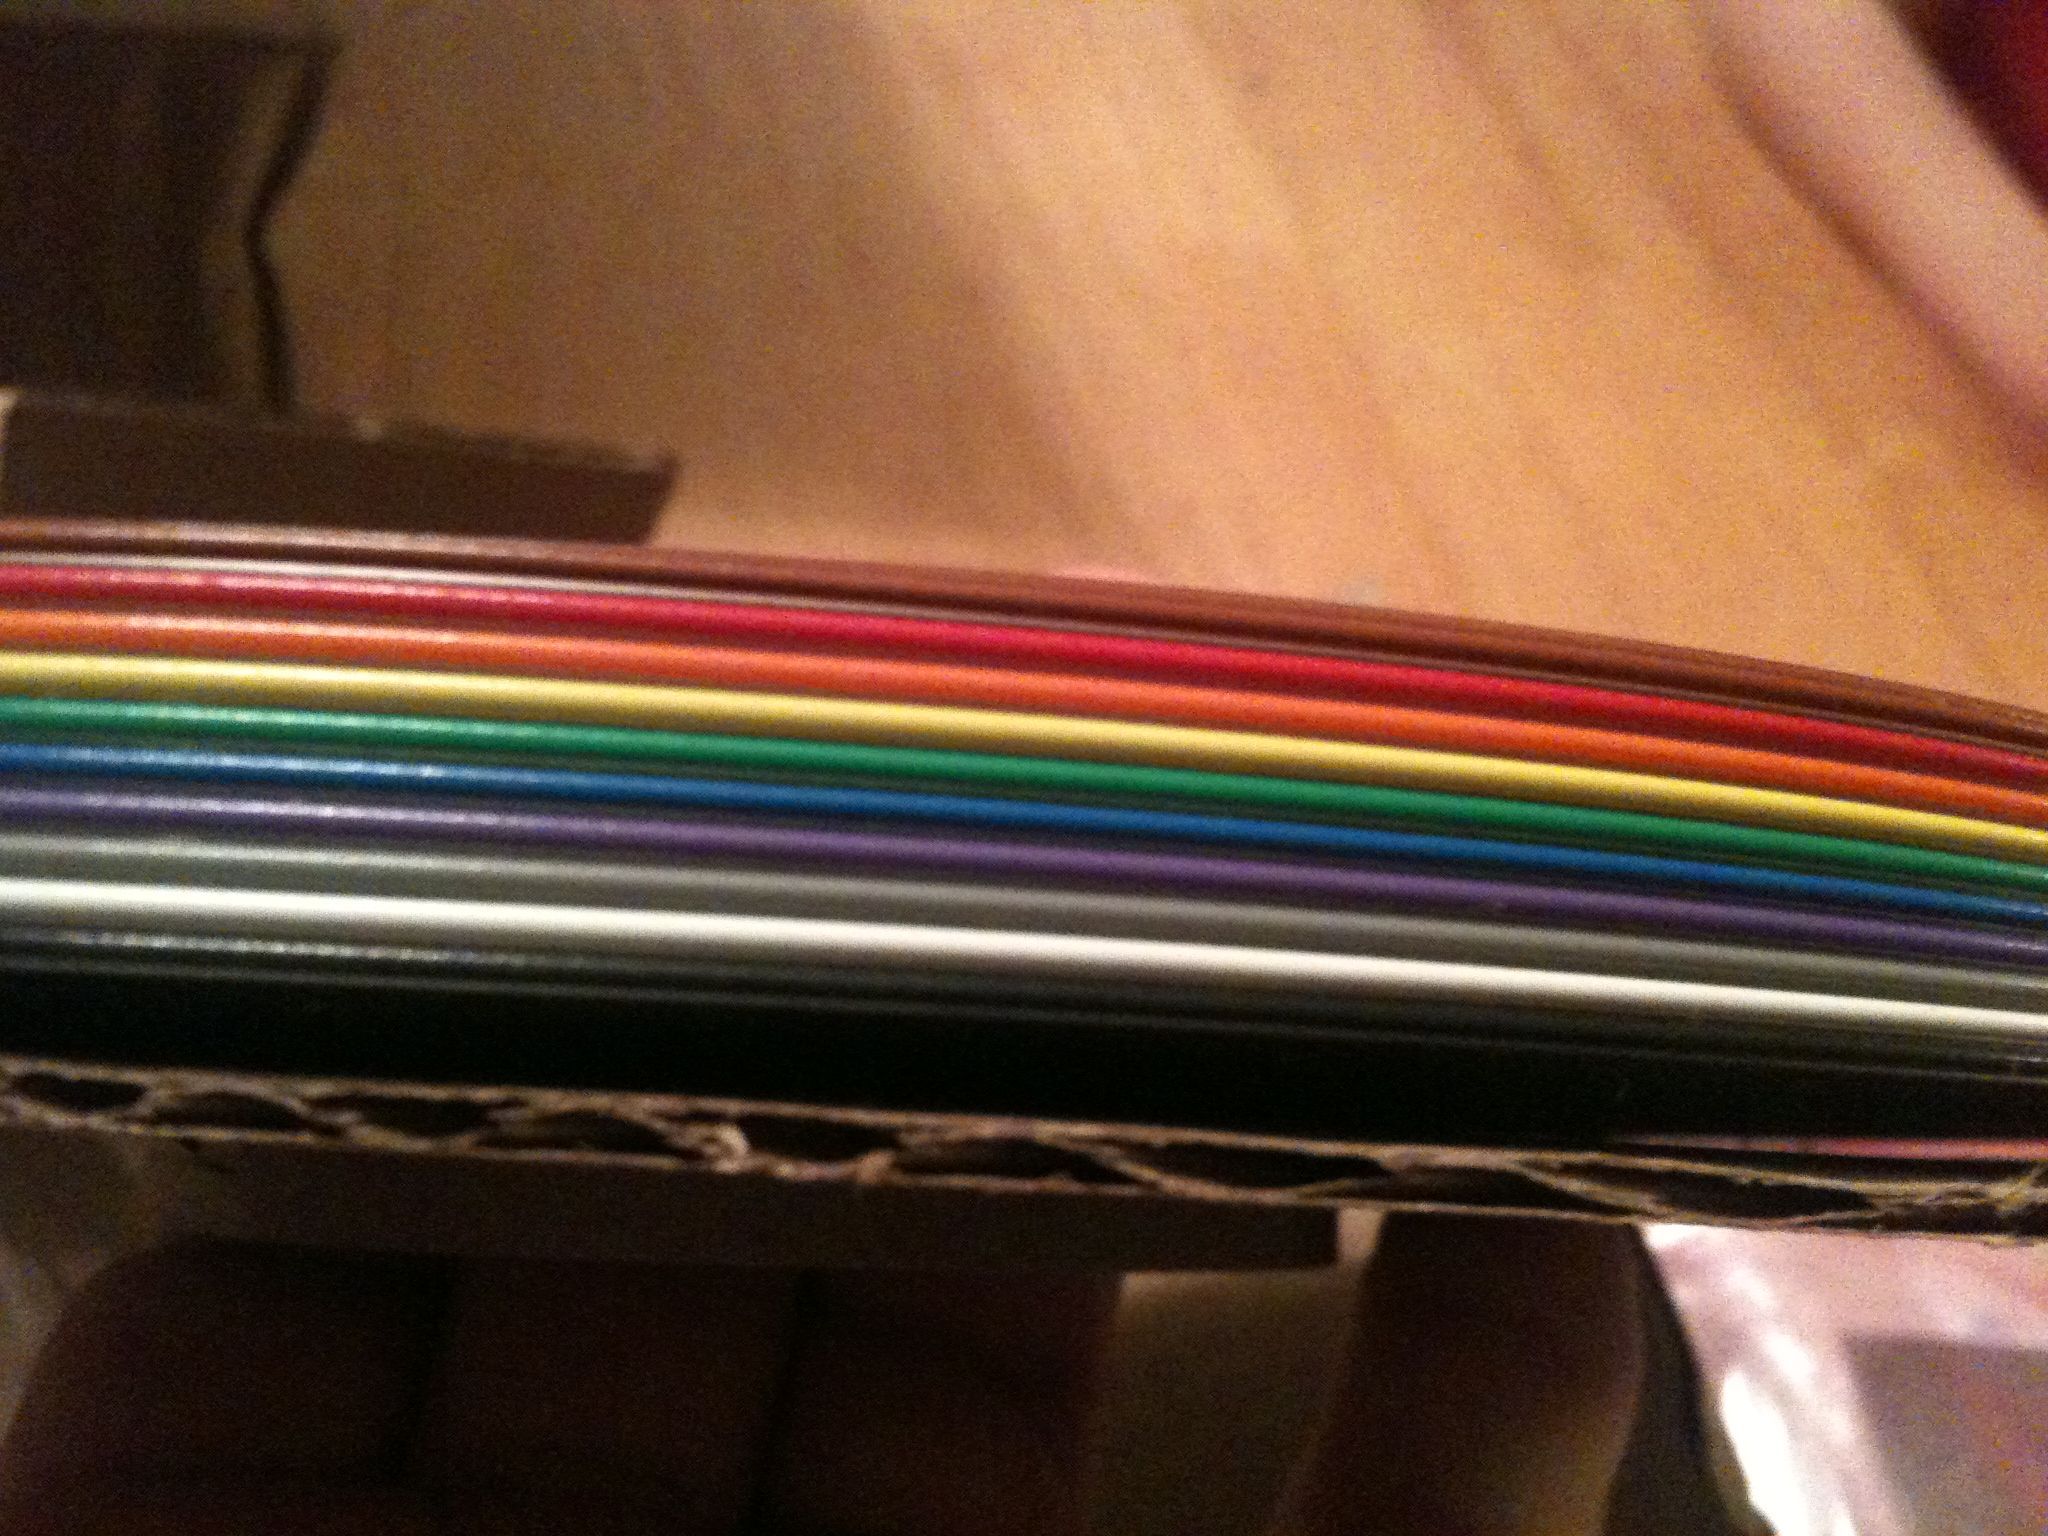
And again since I’m tired, here are just a bunch of remaining pictures that I wanted to include.. The ribbon cable I ordered for wiring arrived:

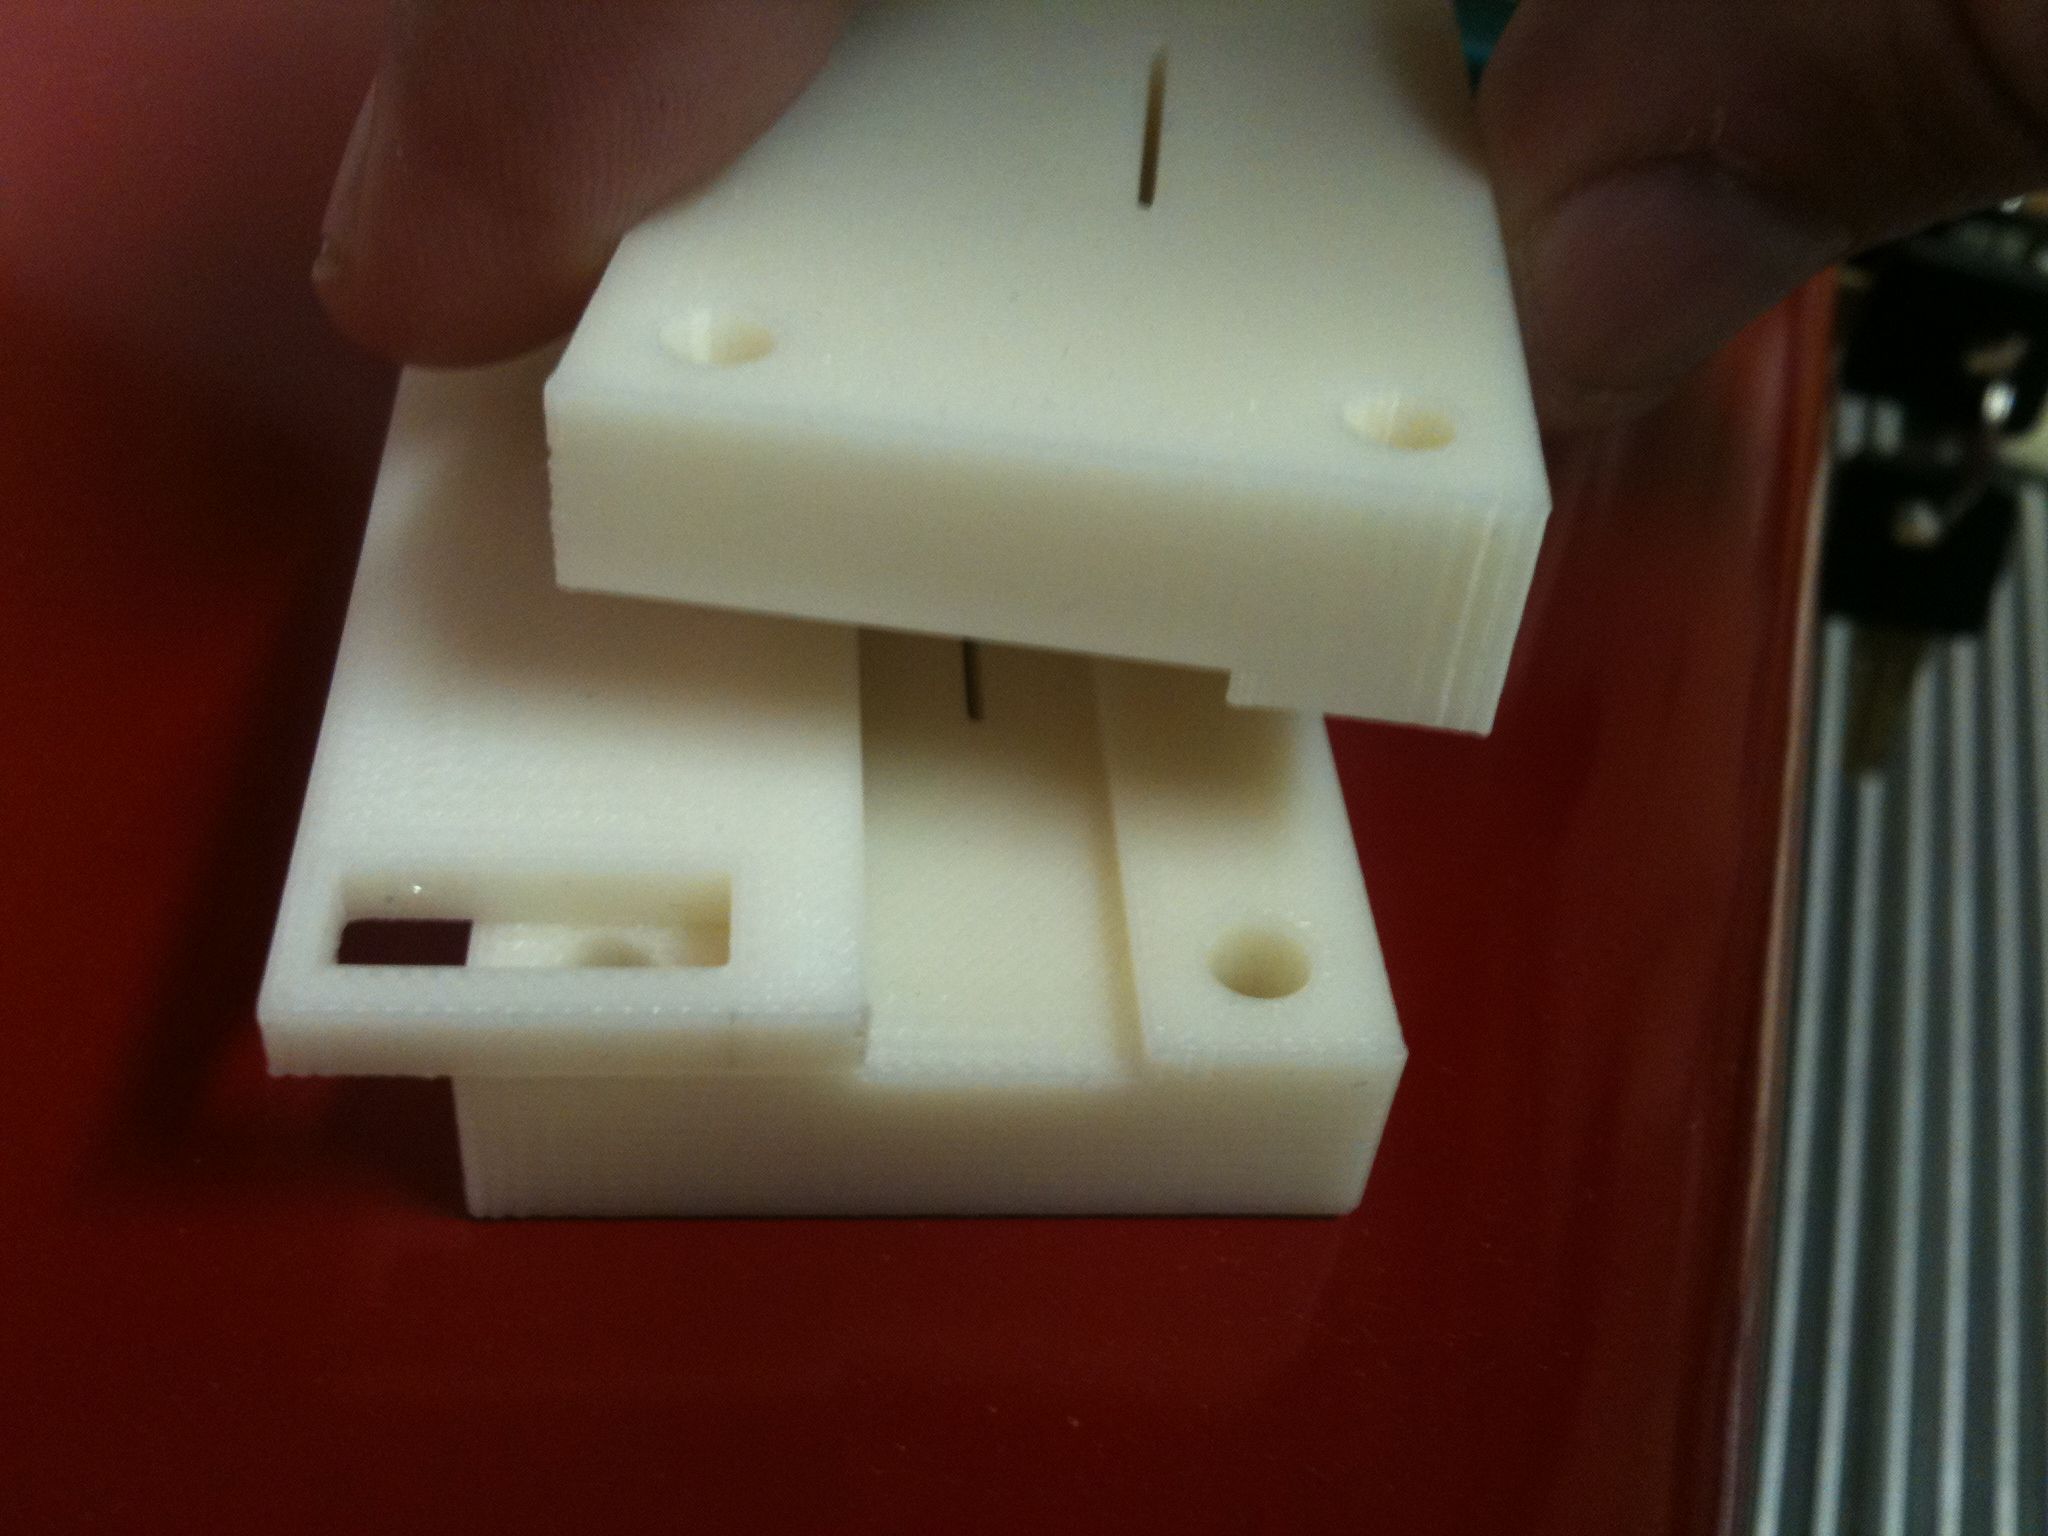
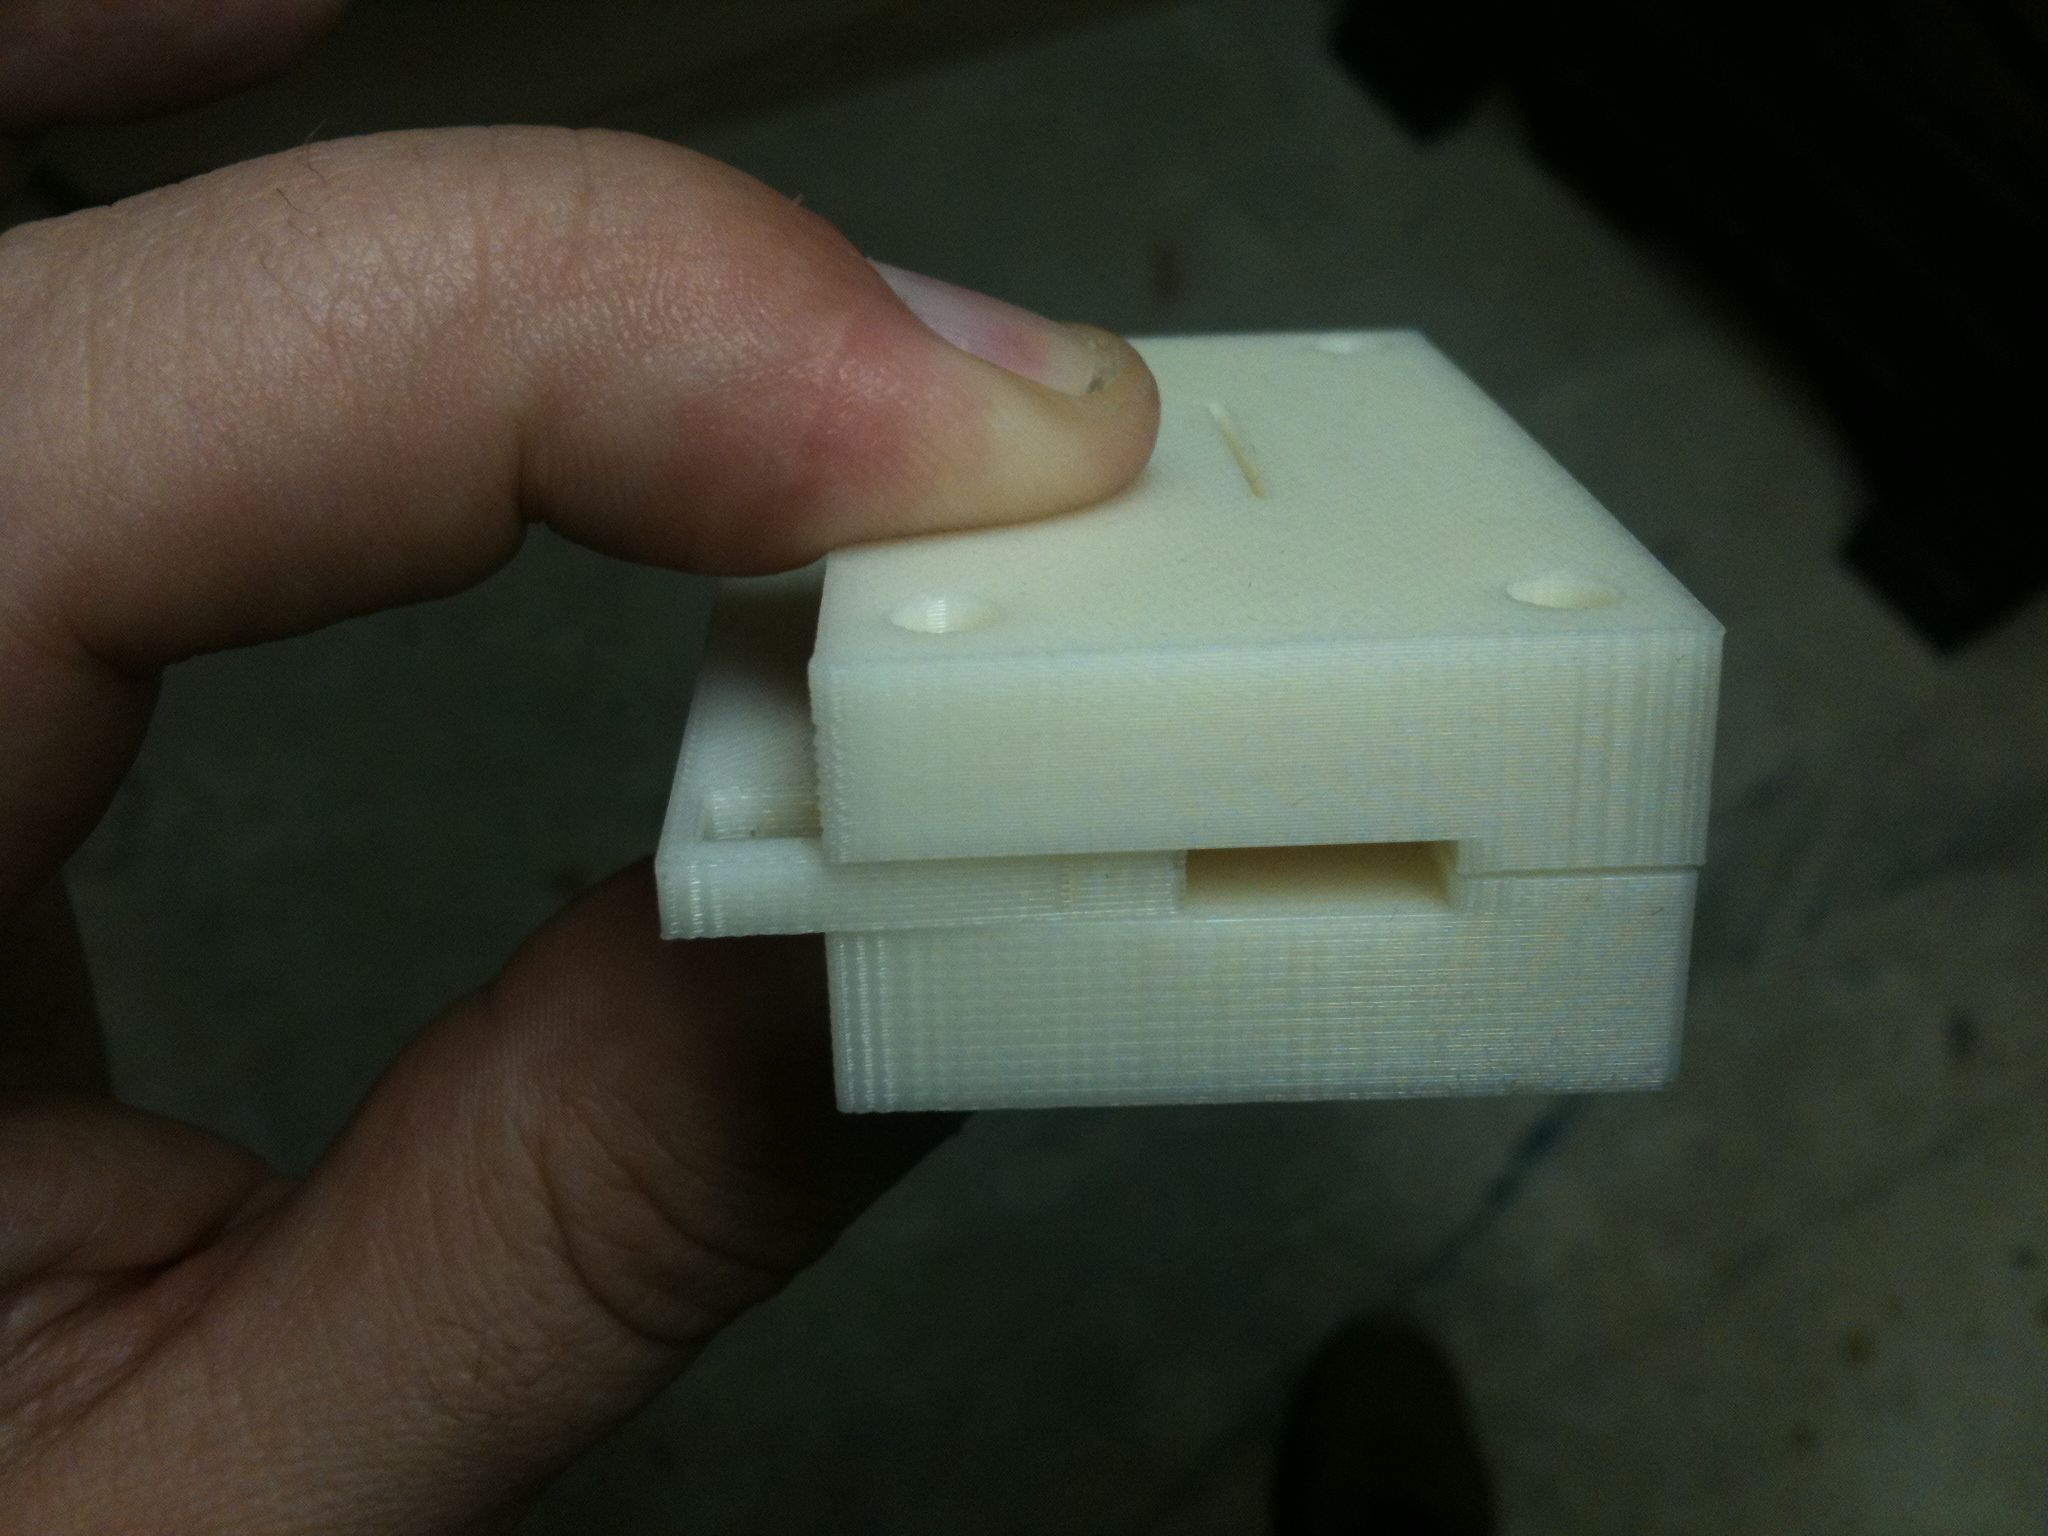
..and I now have all three pieces of the belt splitter jig (here’s how they fit together):

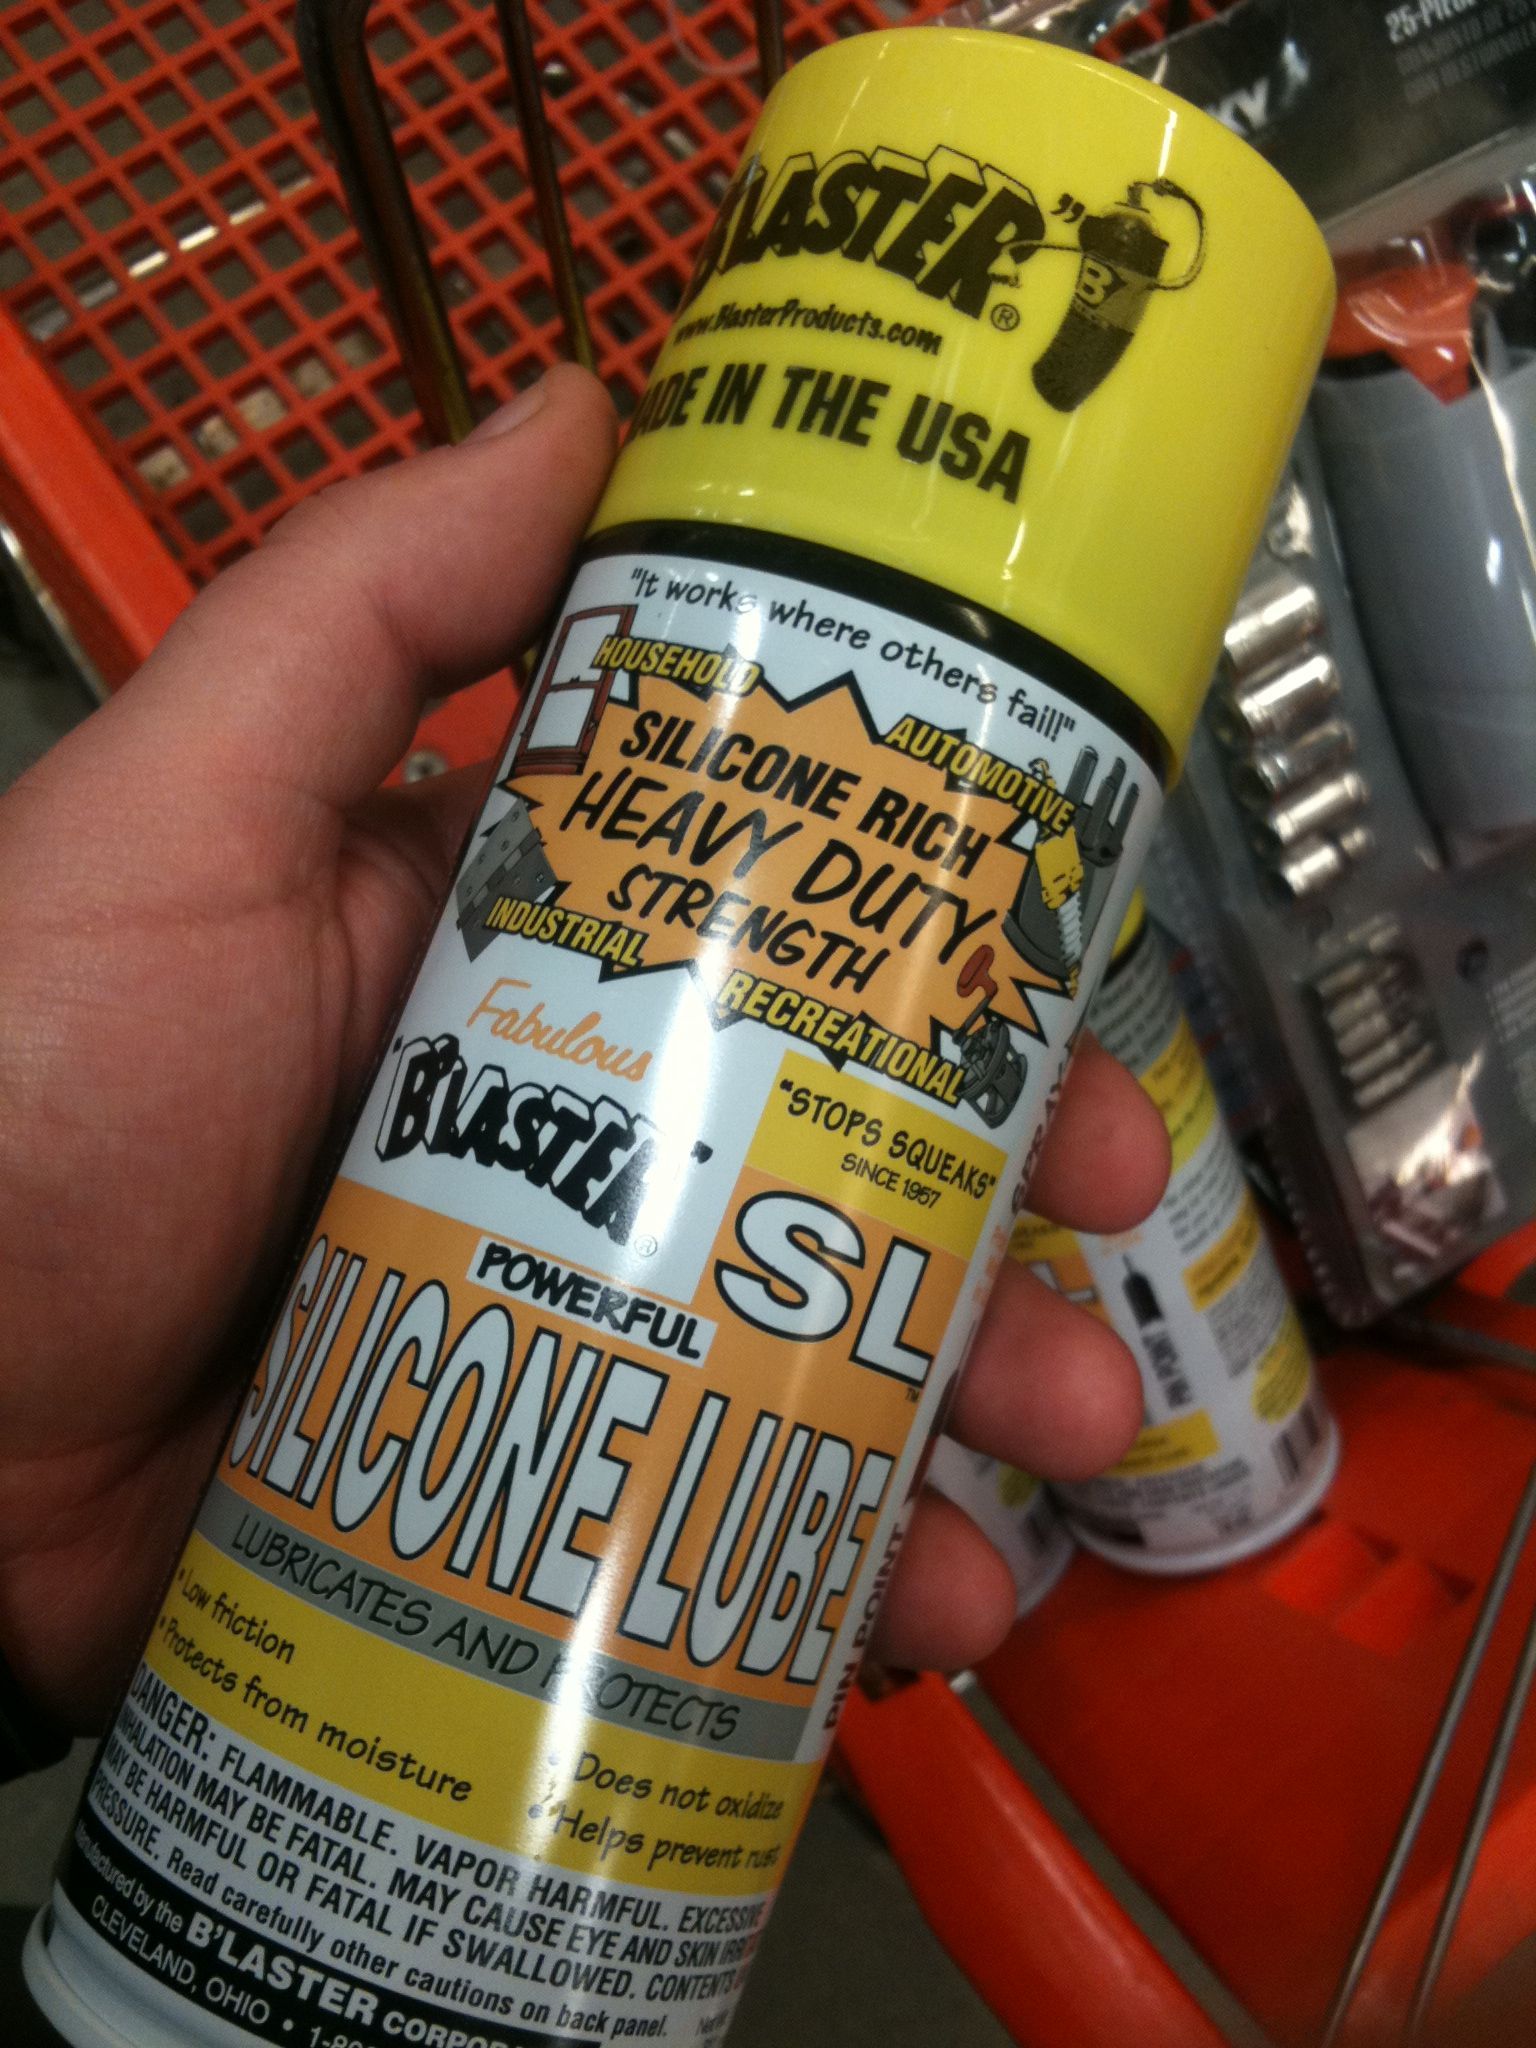
I finally purchased some silicone grease for the rods (that won’t hurt the plastic, while other types of grease can):

..and last but not least, here’s Cara examining the Idler Bracket assembly:

Cara turns 3 on Sunday! Happy Birthday Cara!

Ok, Jeff sleep now.