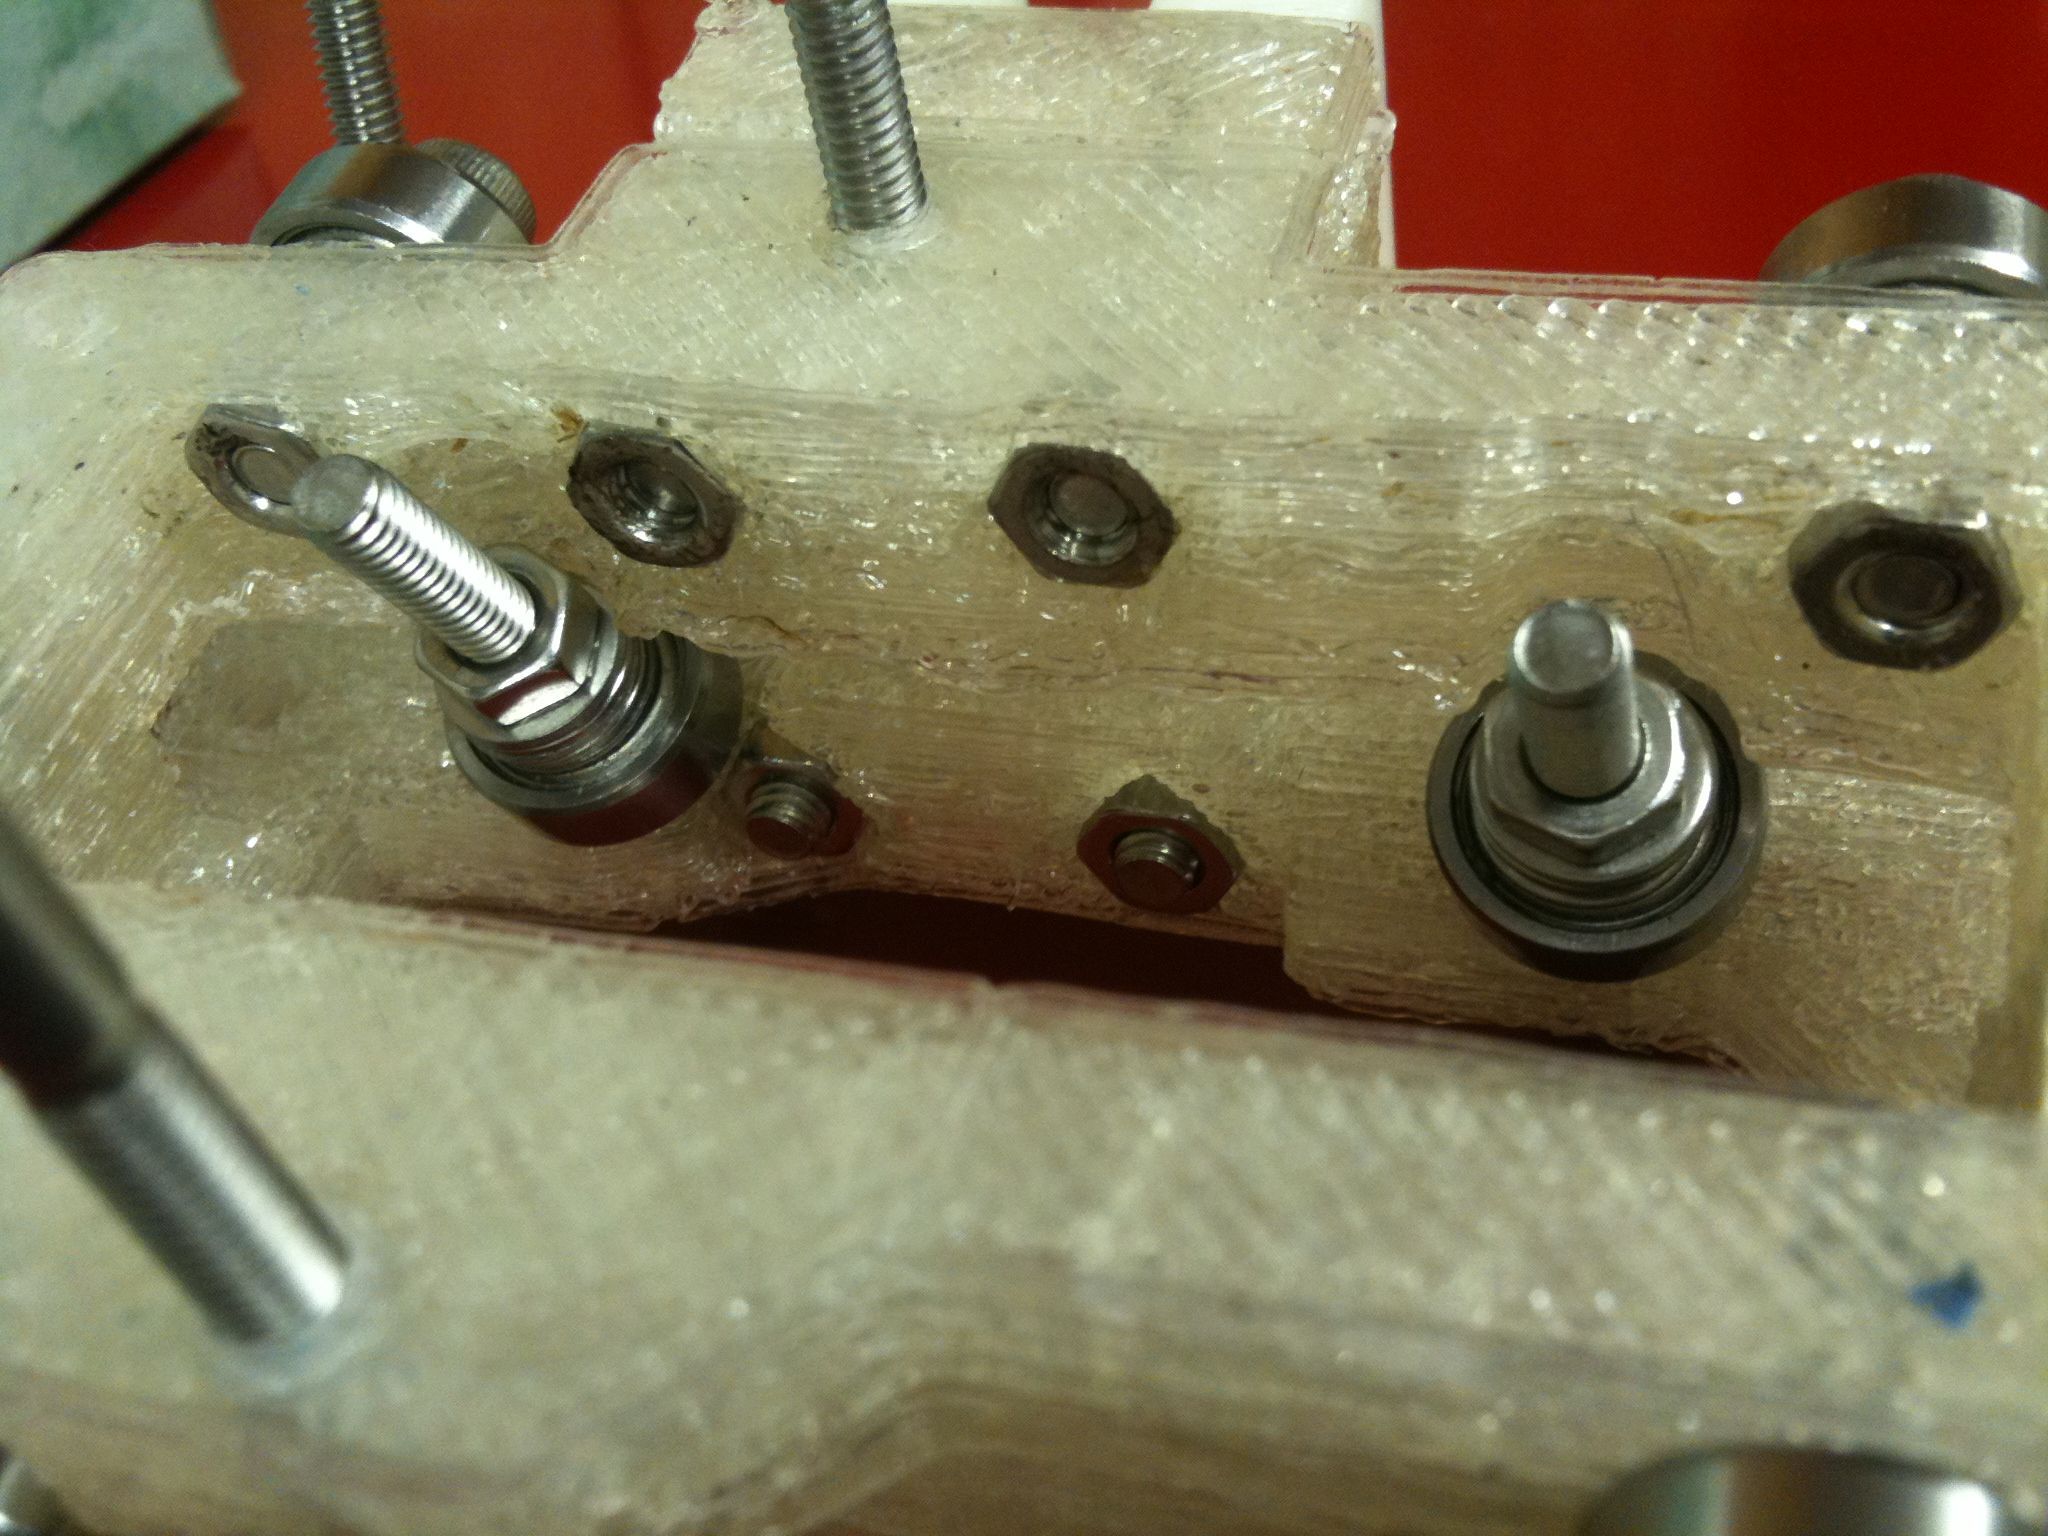
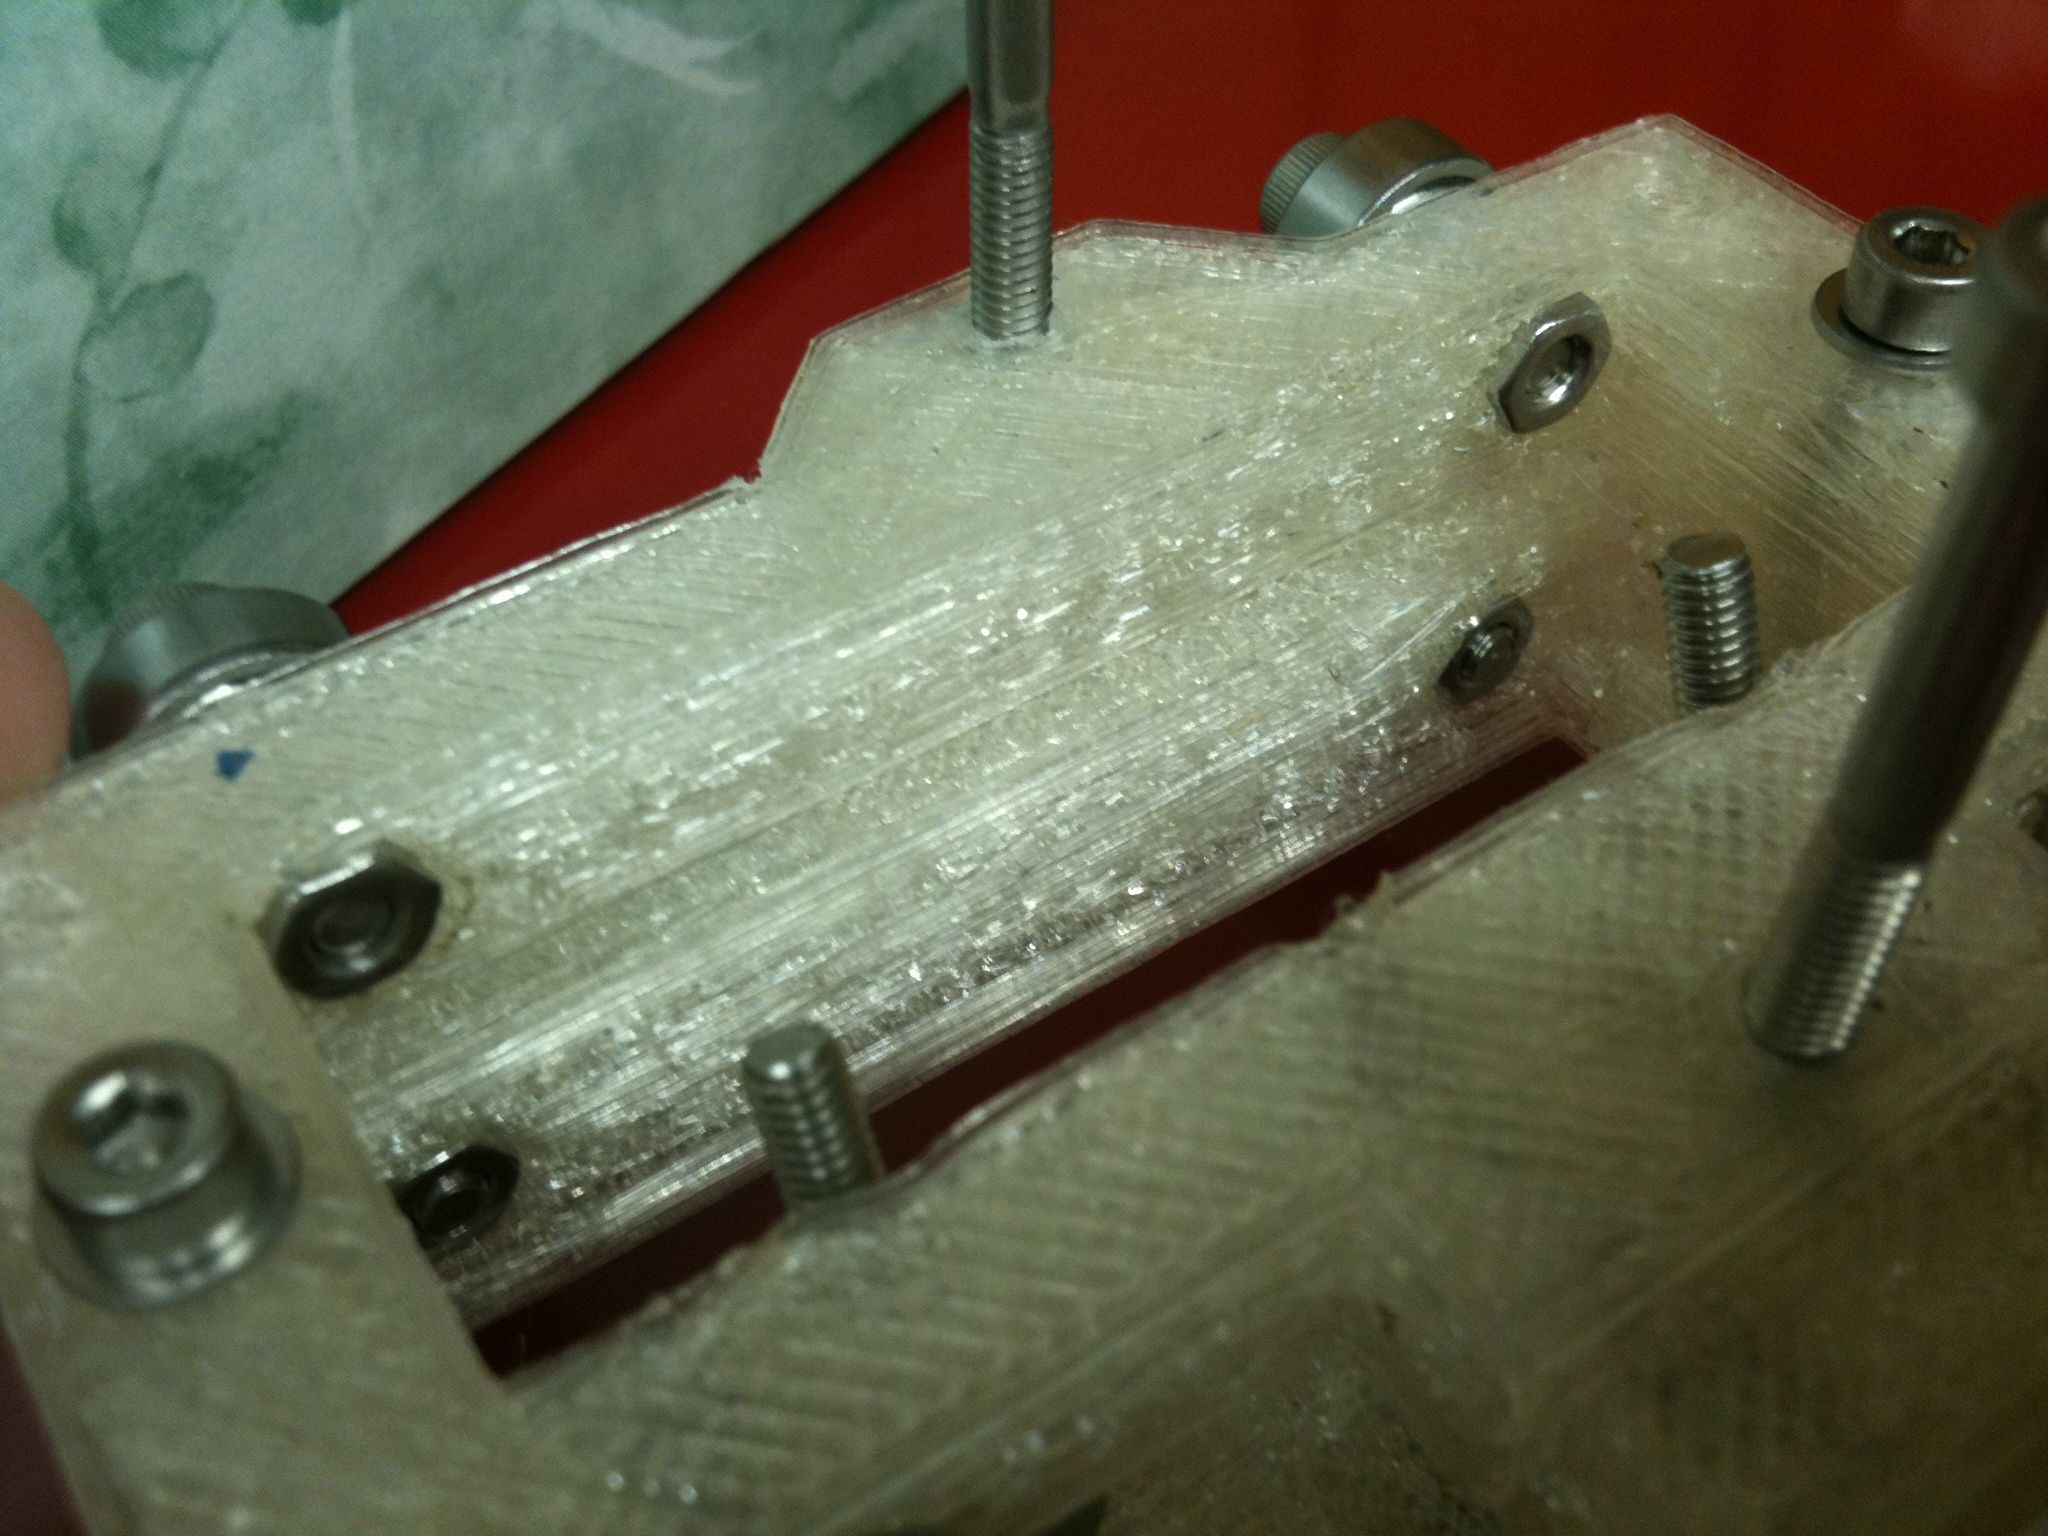
As the title of this post says, I made some more progress, I had another extruder failure, and then I had a huge, full blown crisis.
In order:
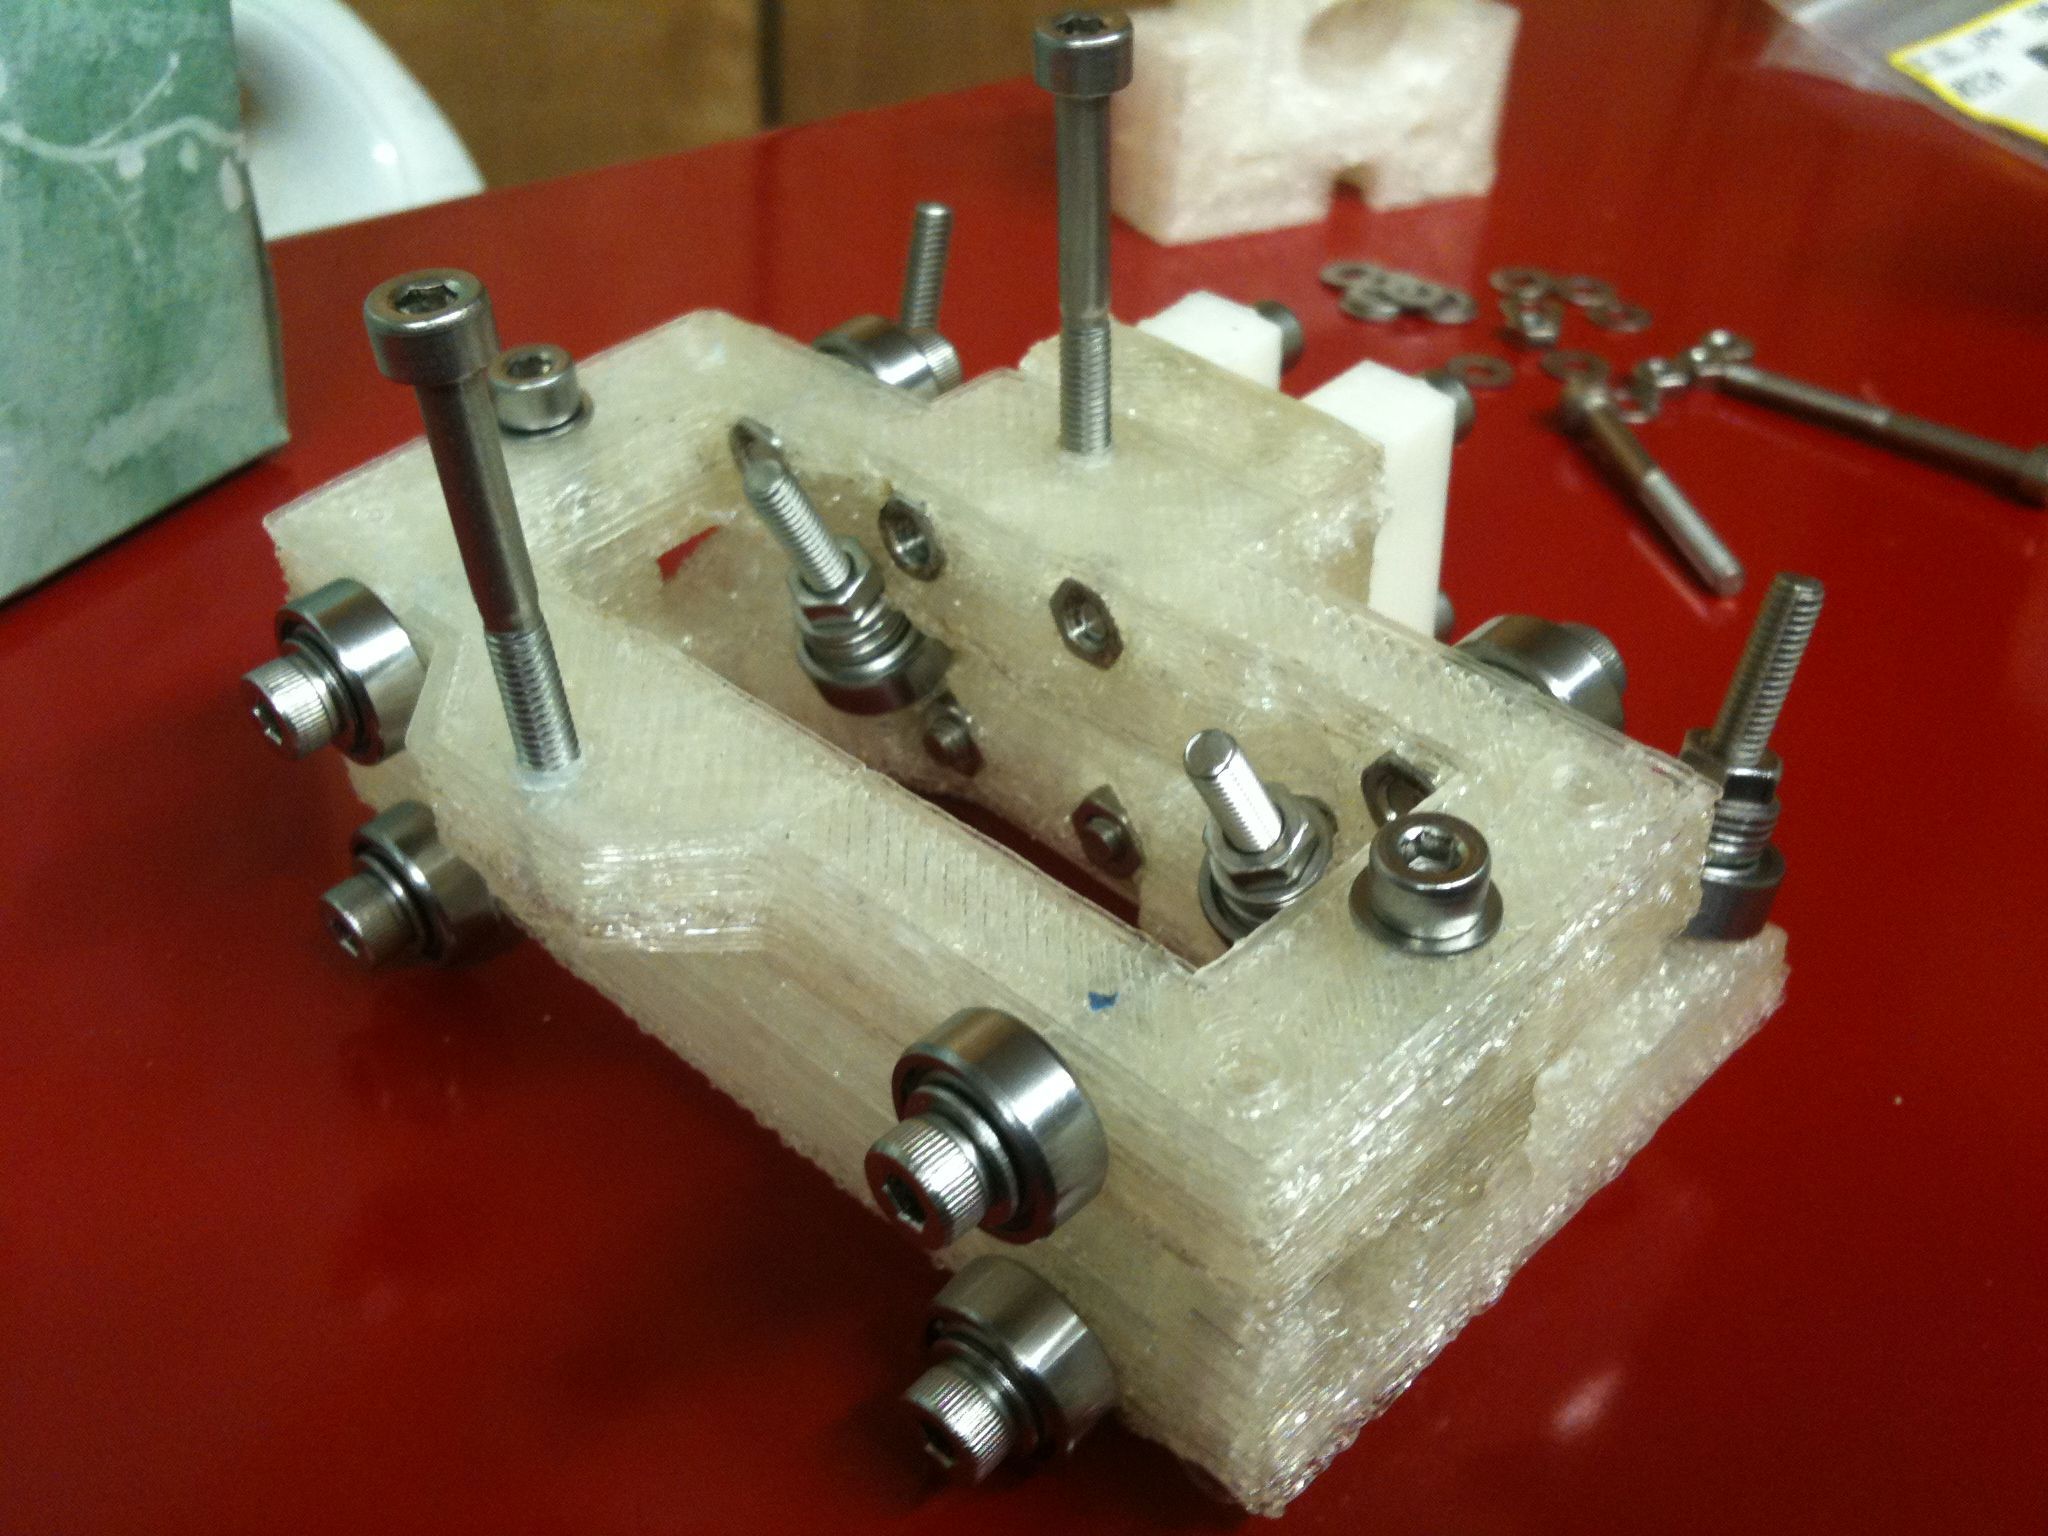
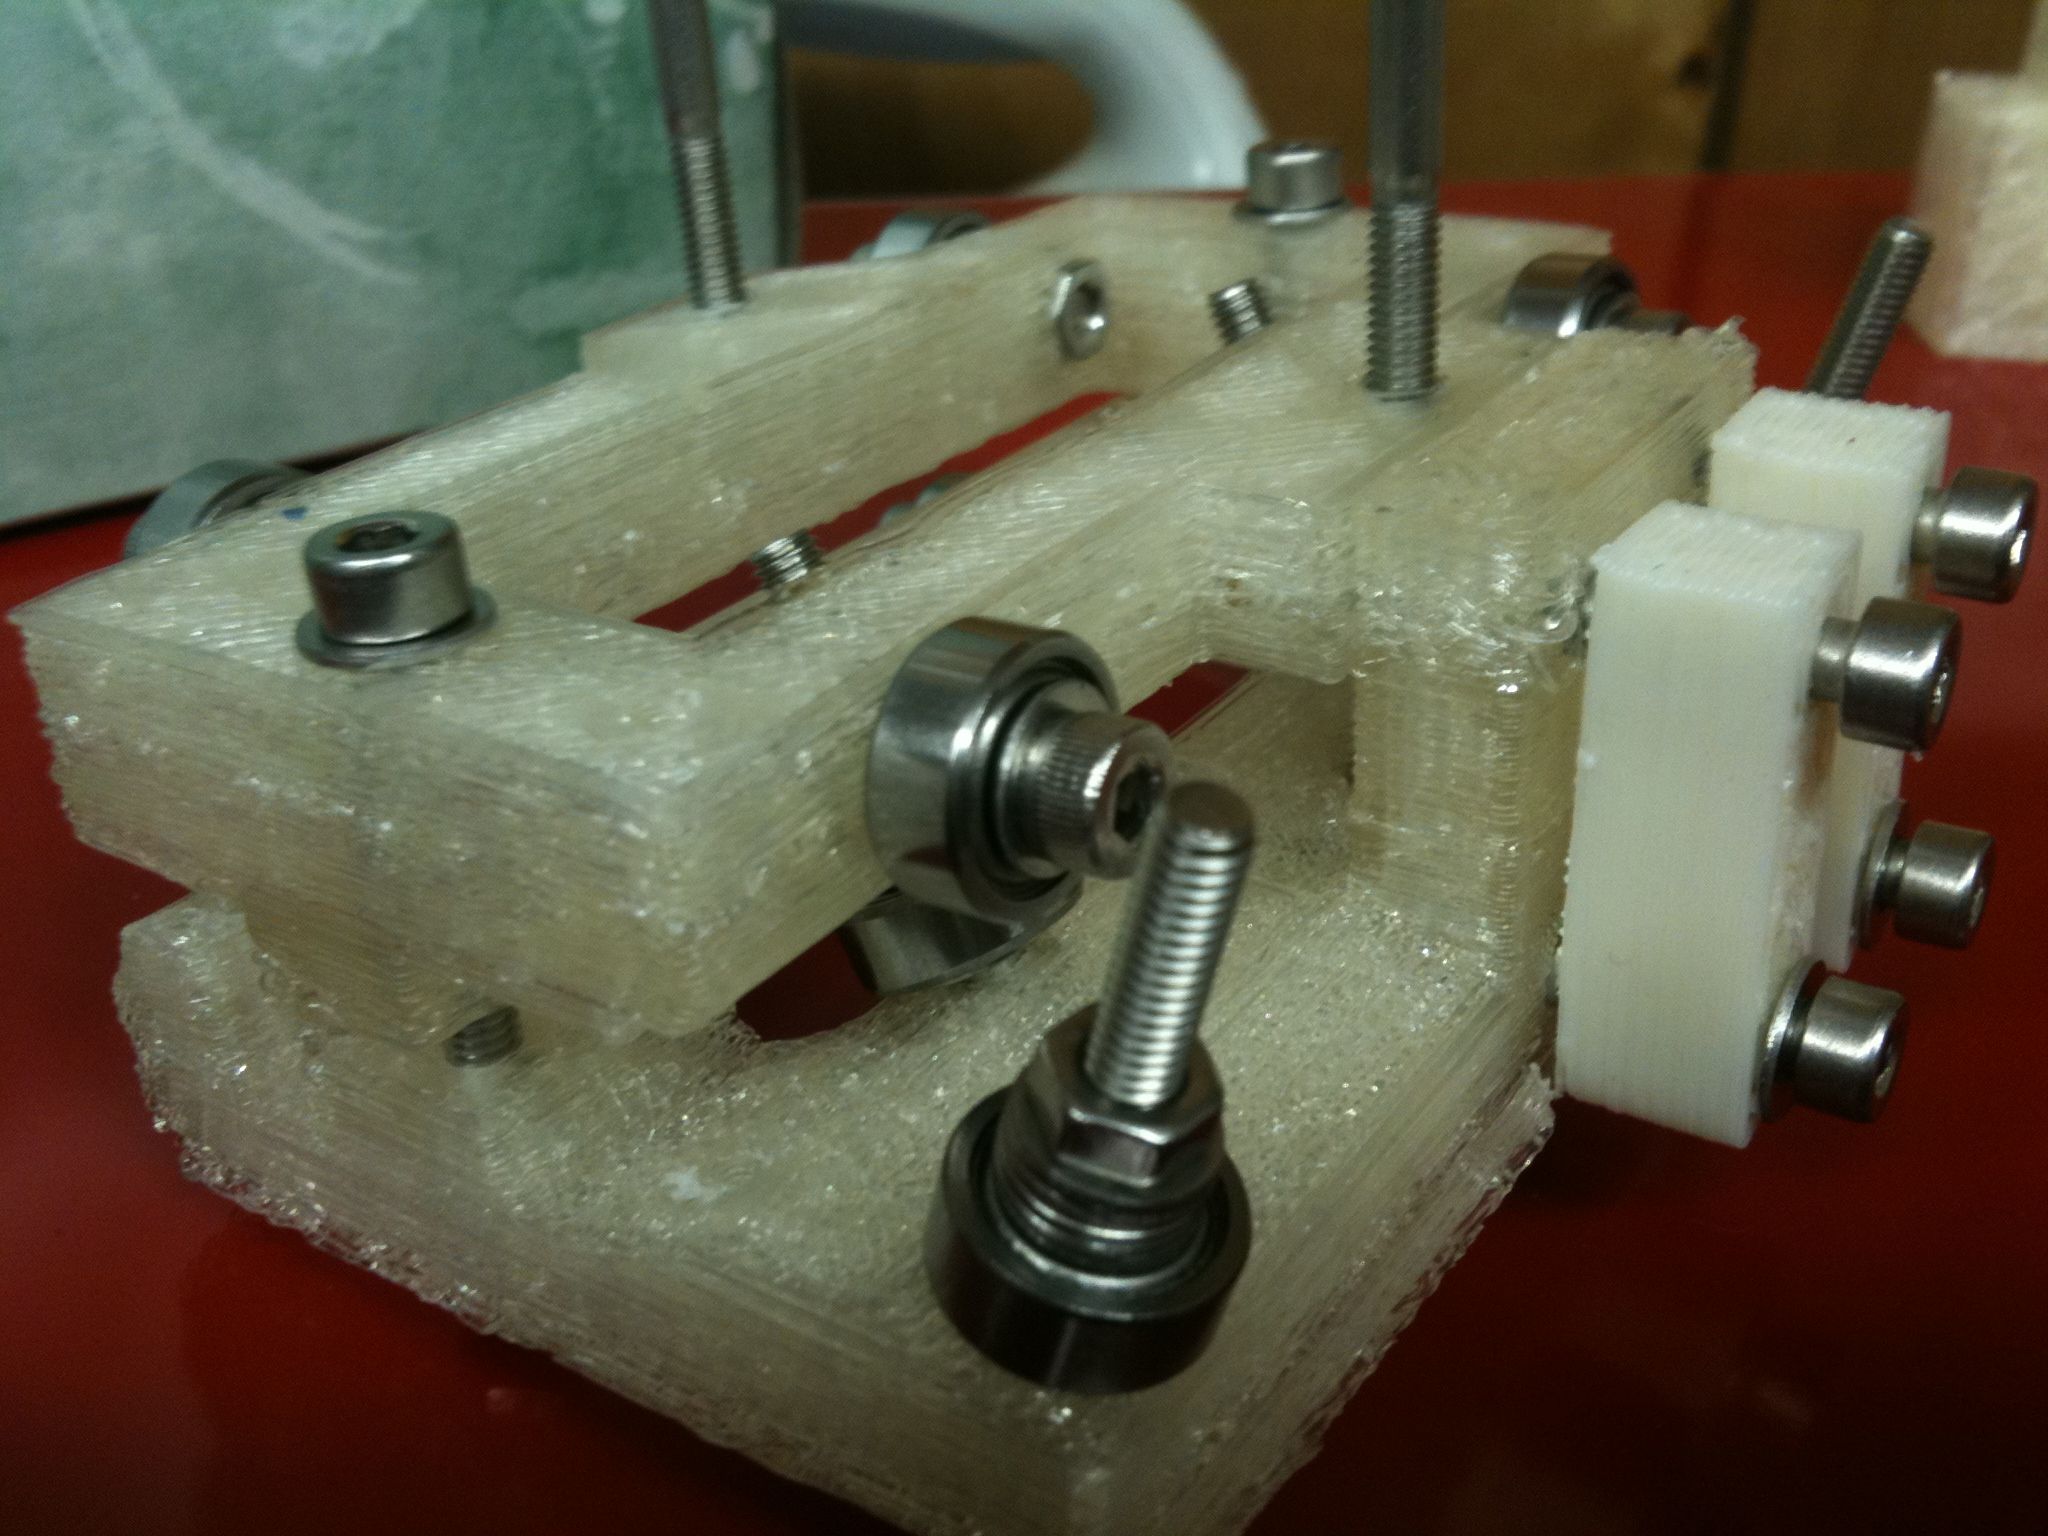
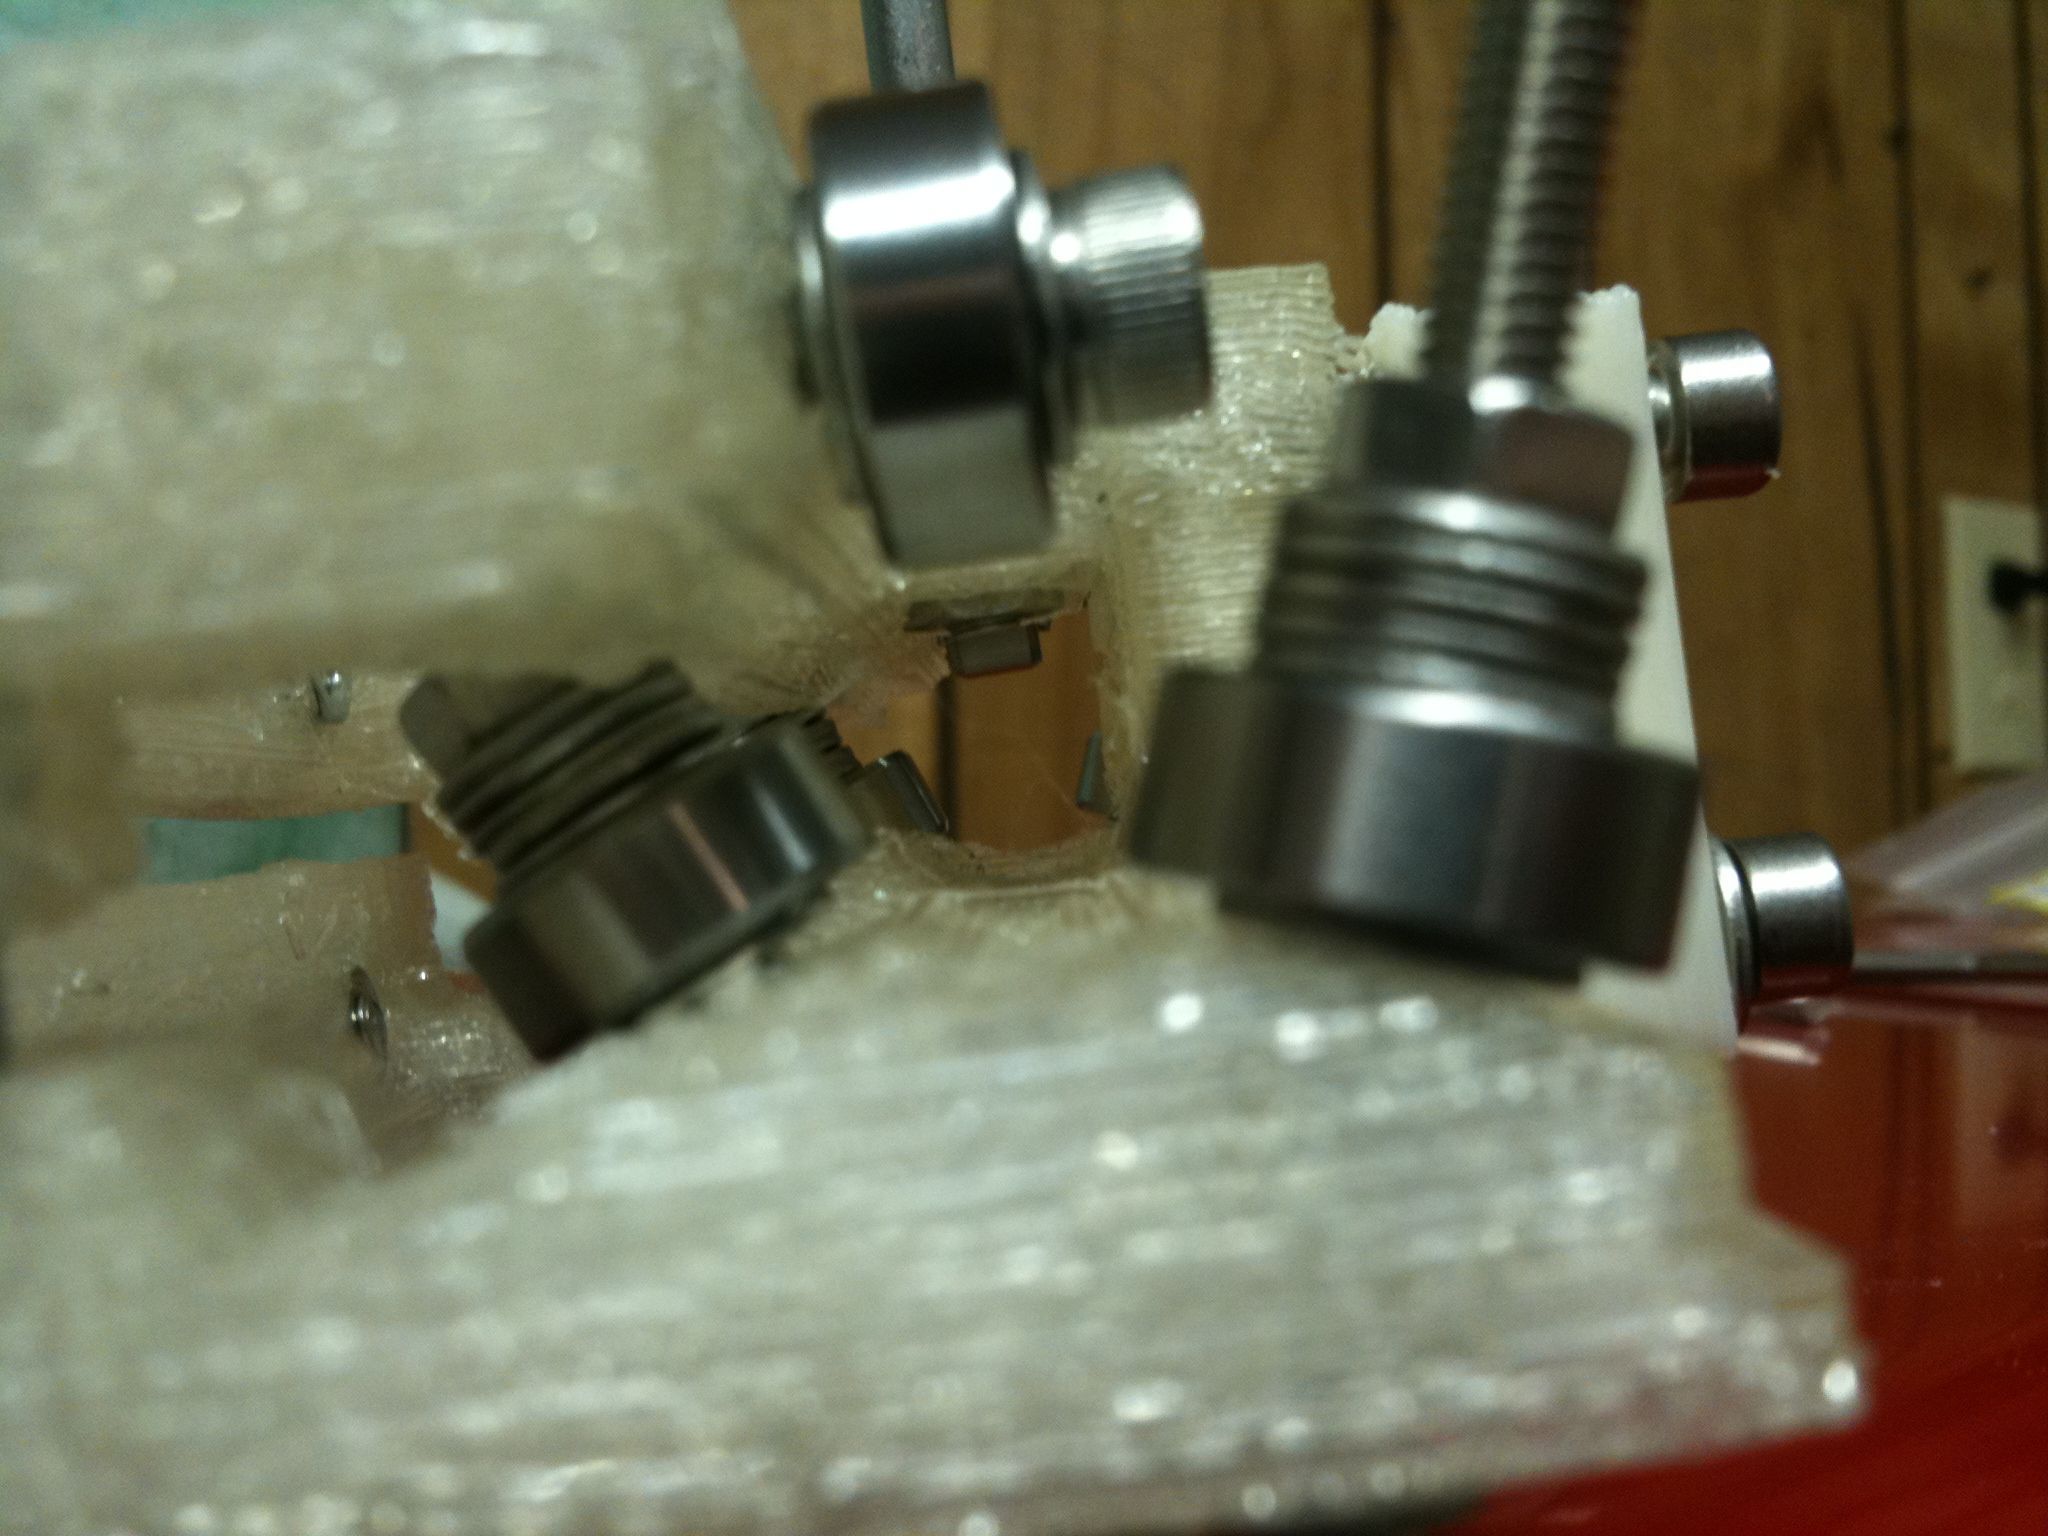
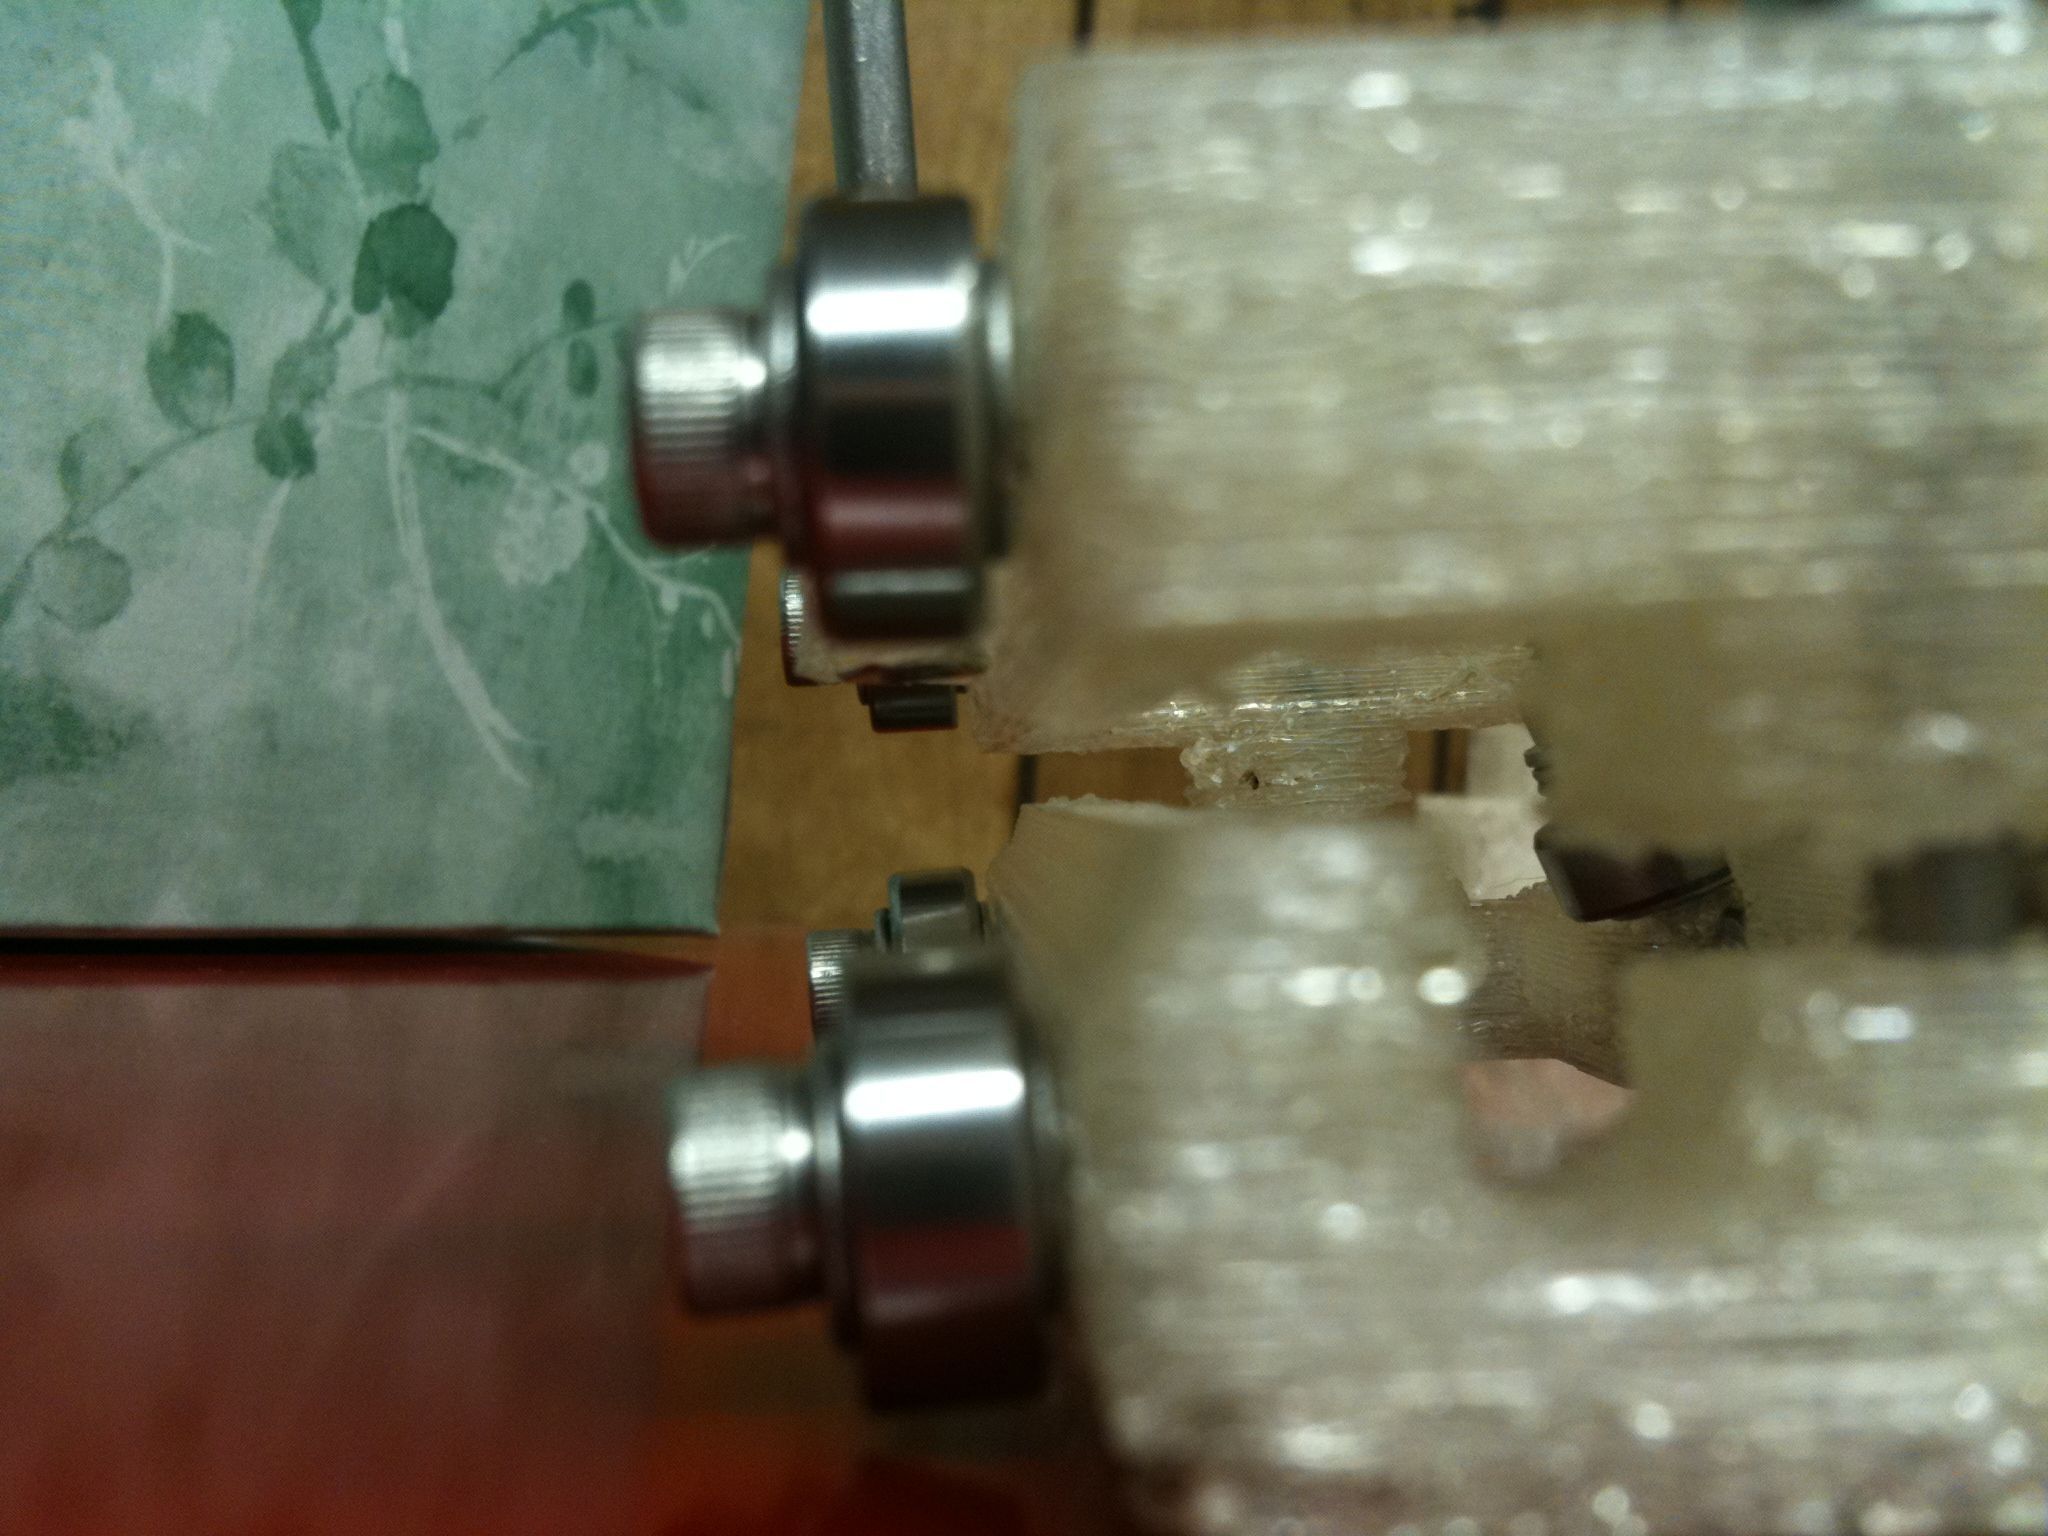
Progress. Here are some pictures of the Idler Bracket assembly:
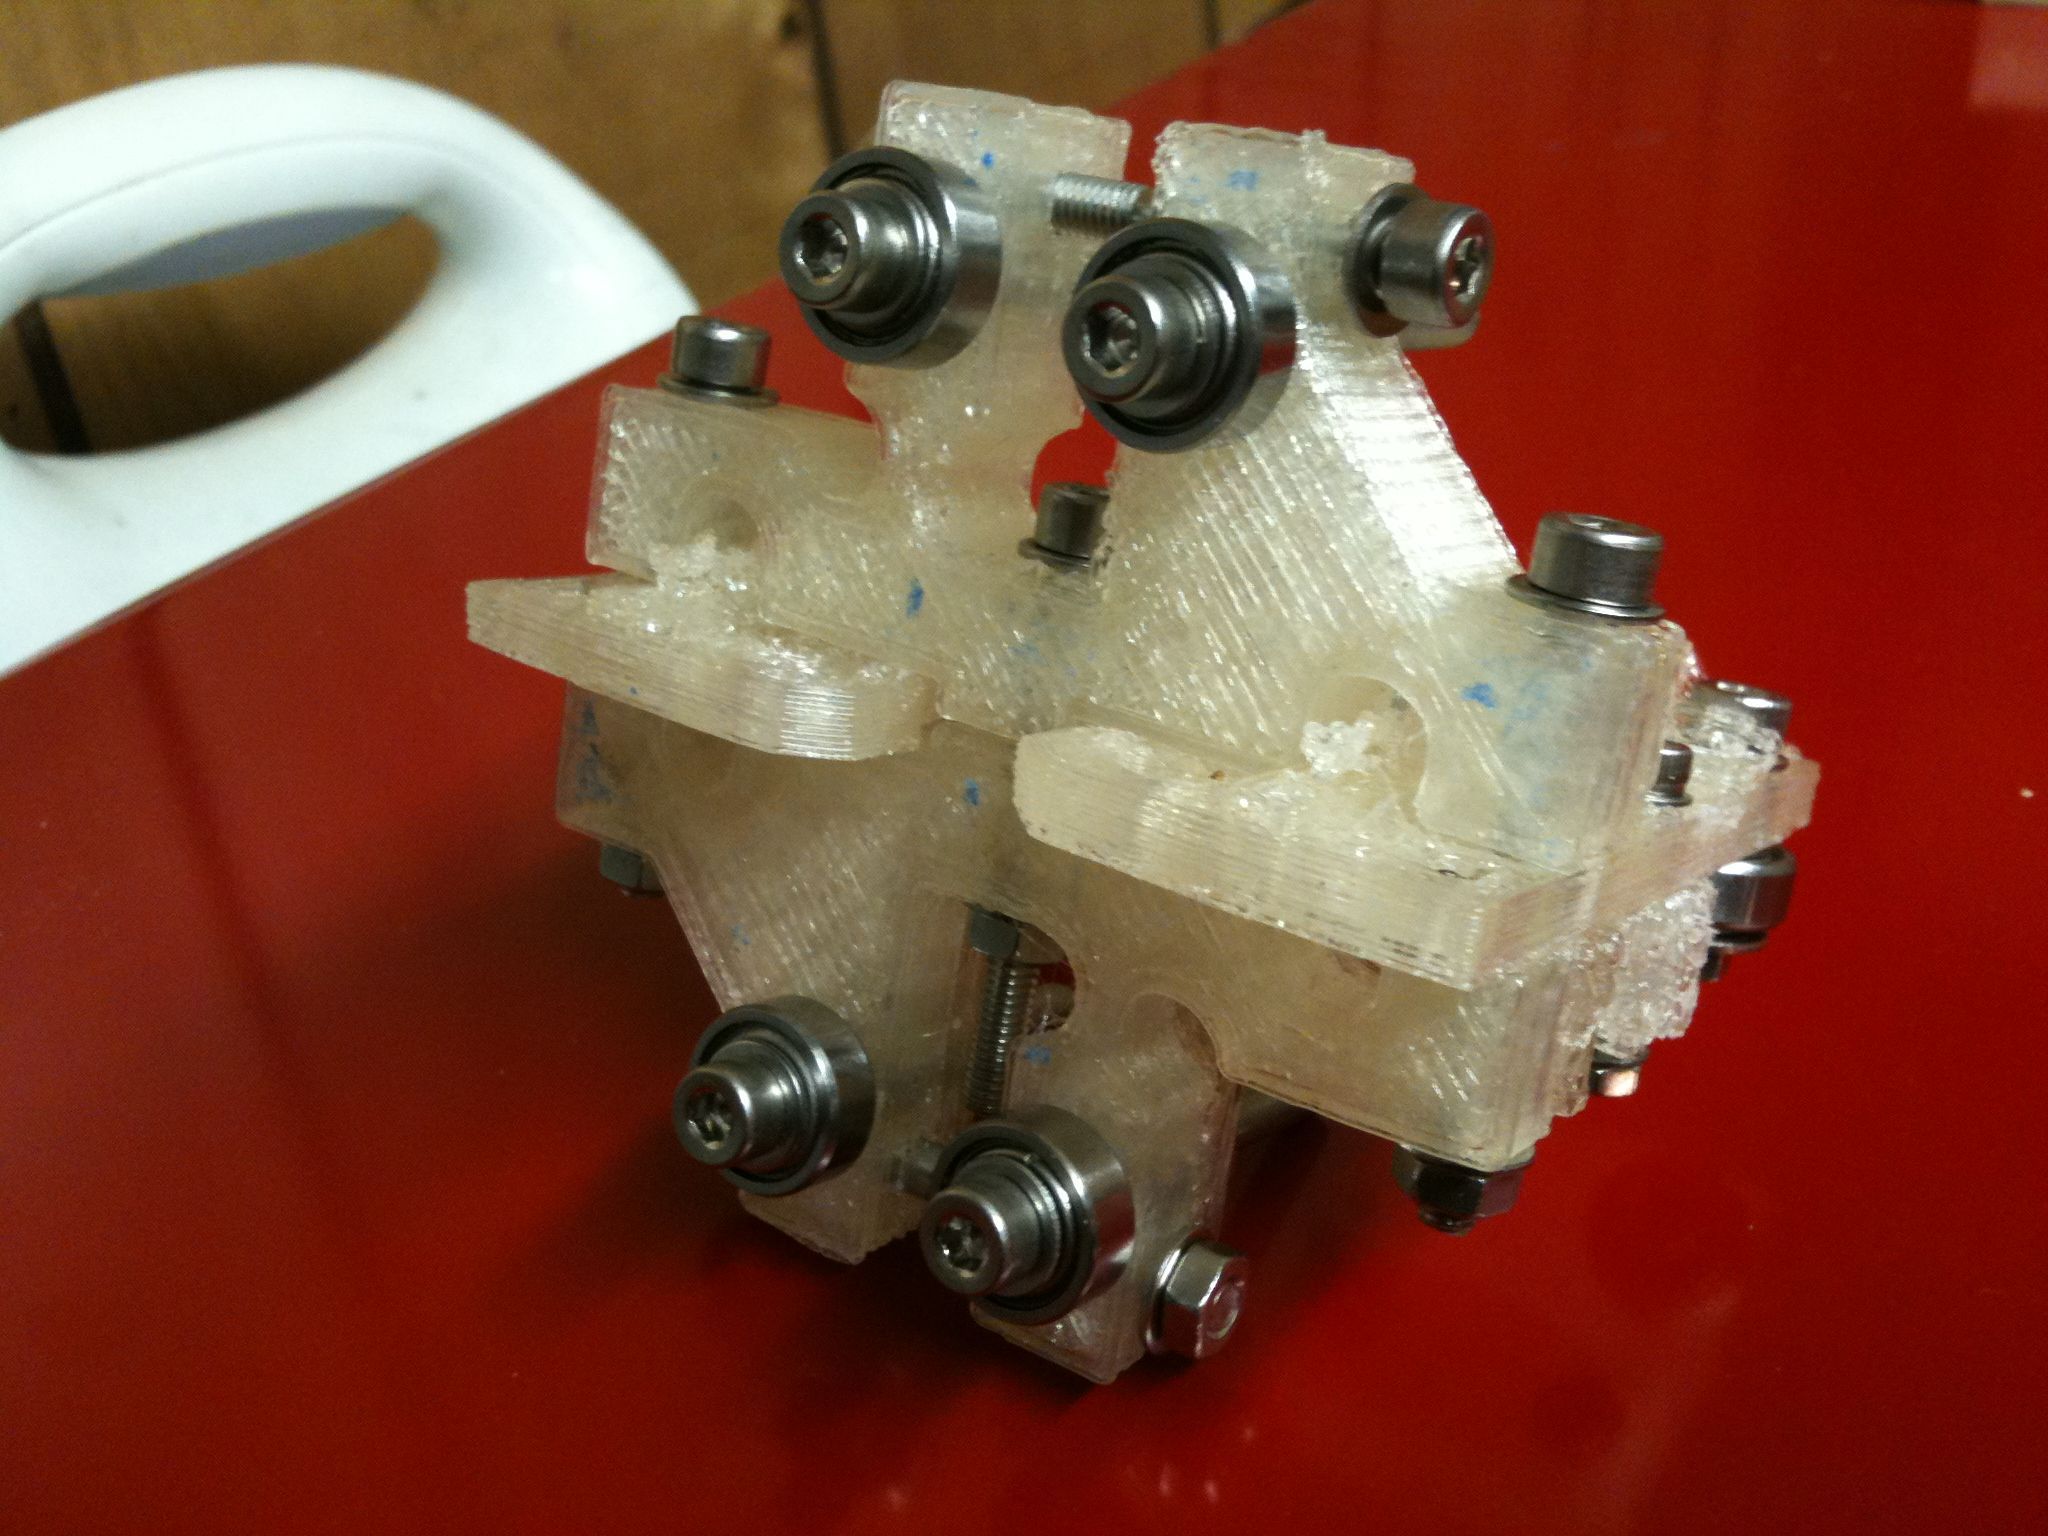
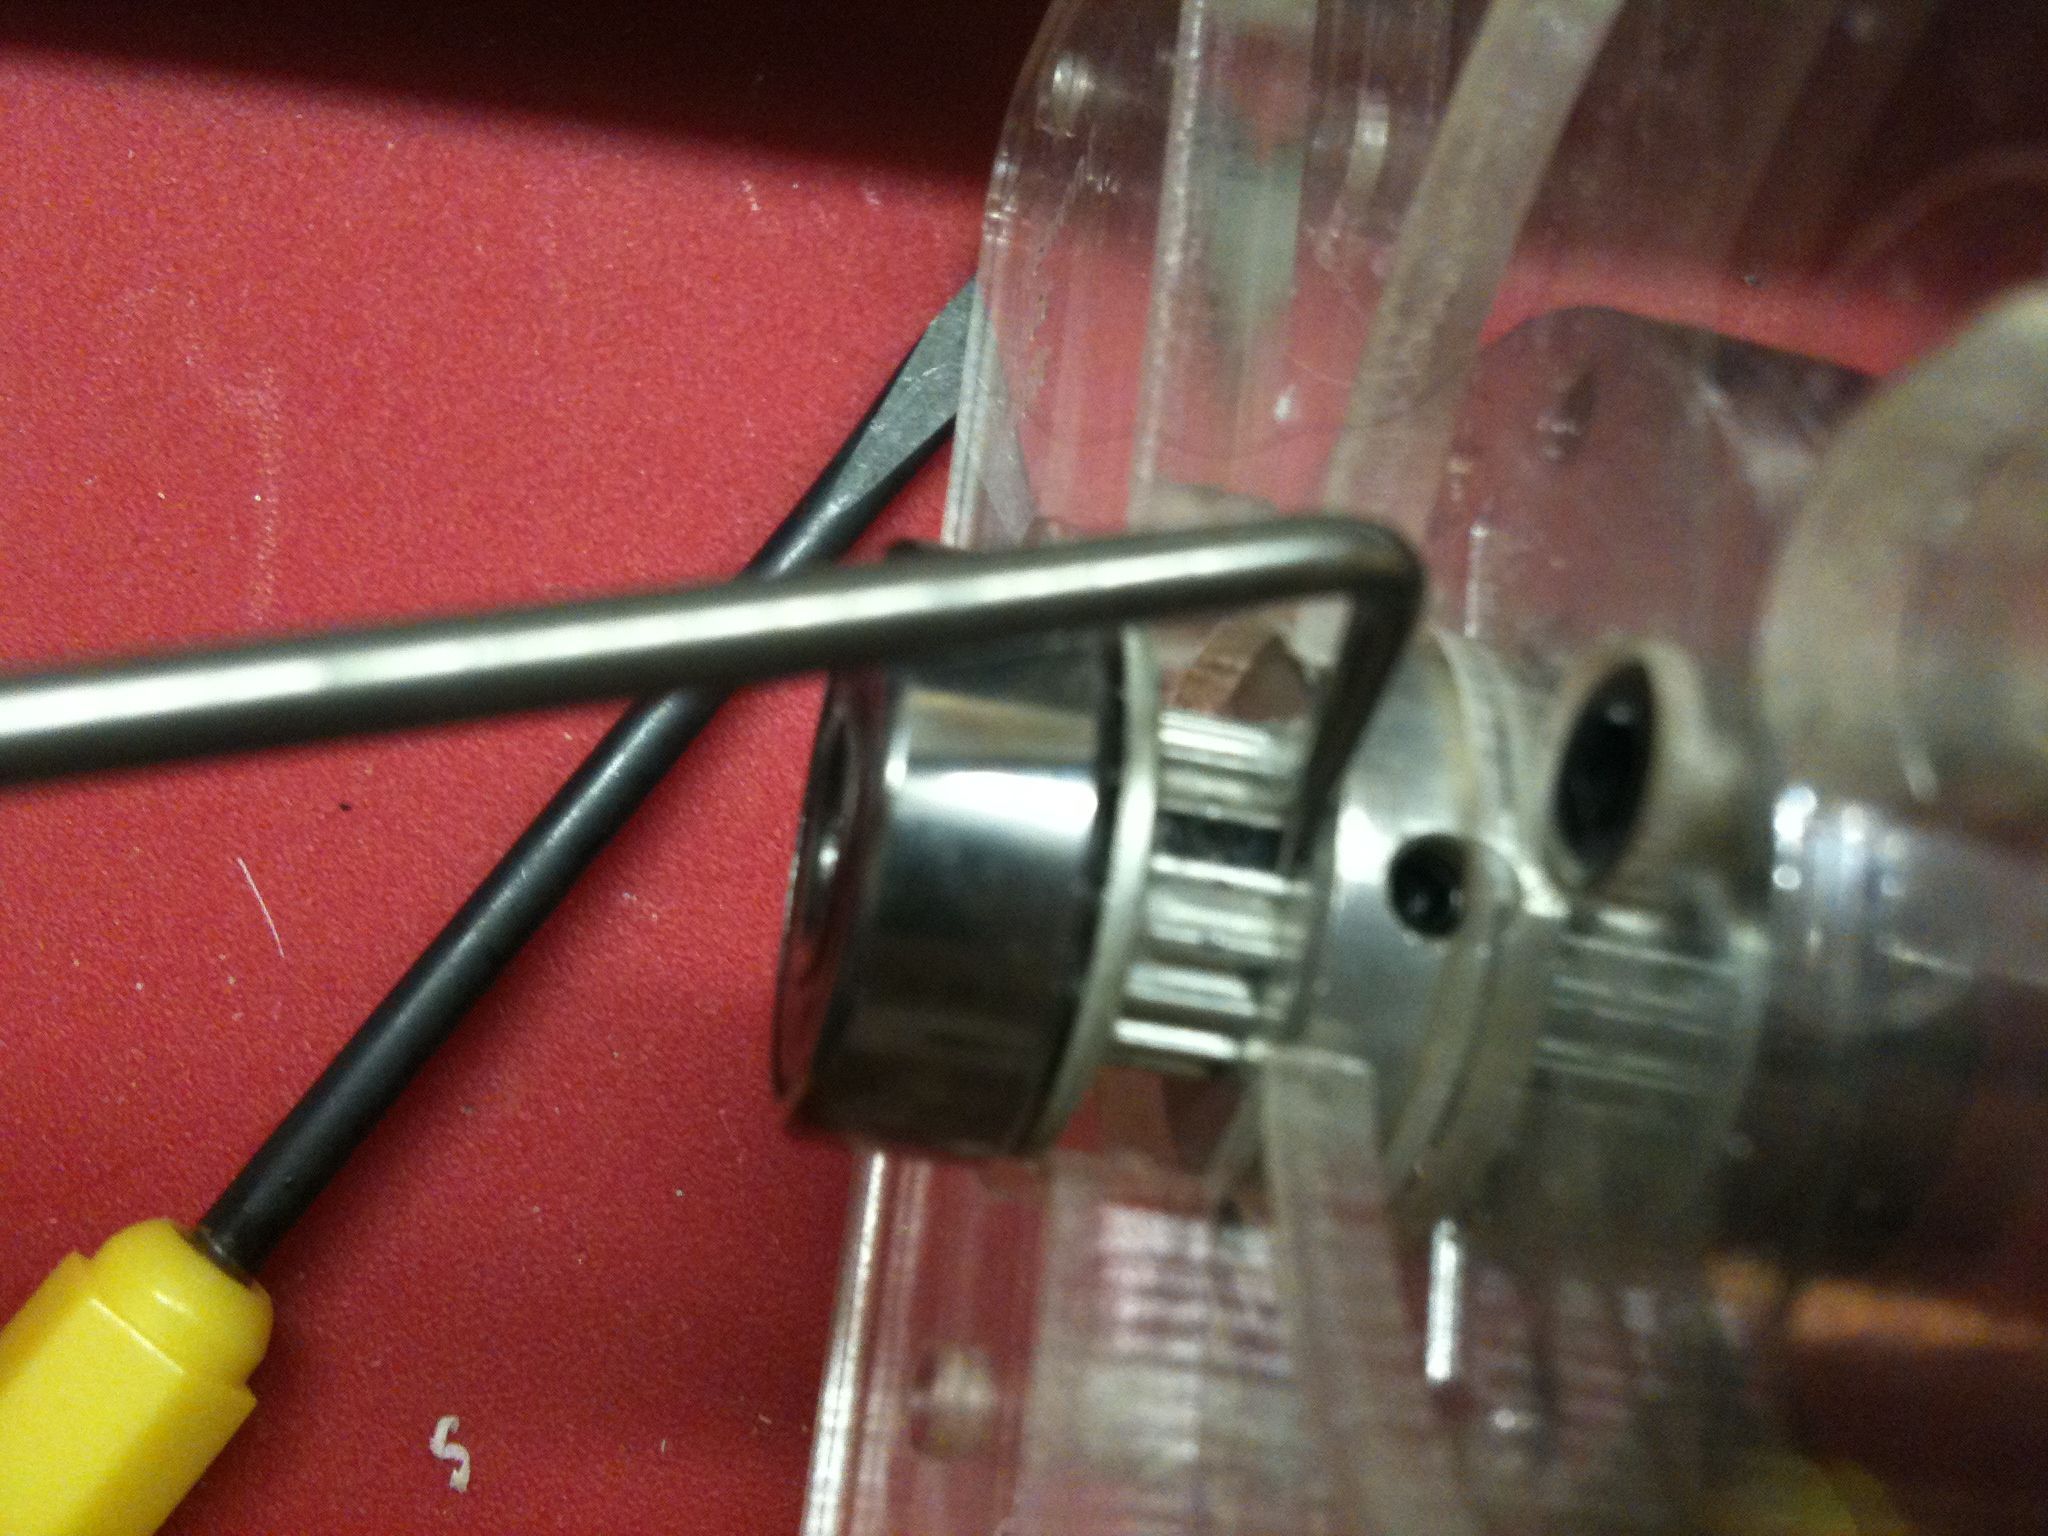
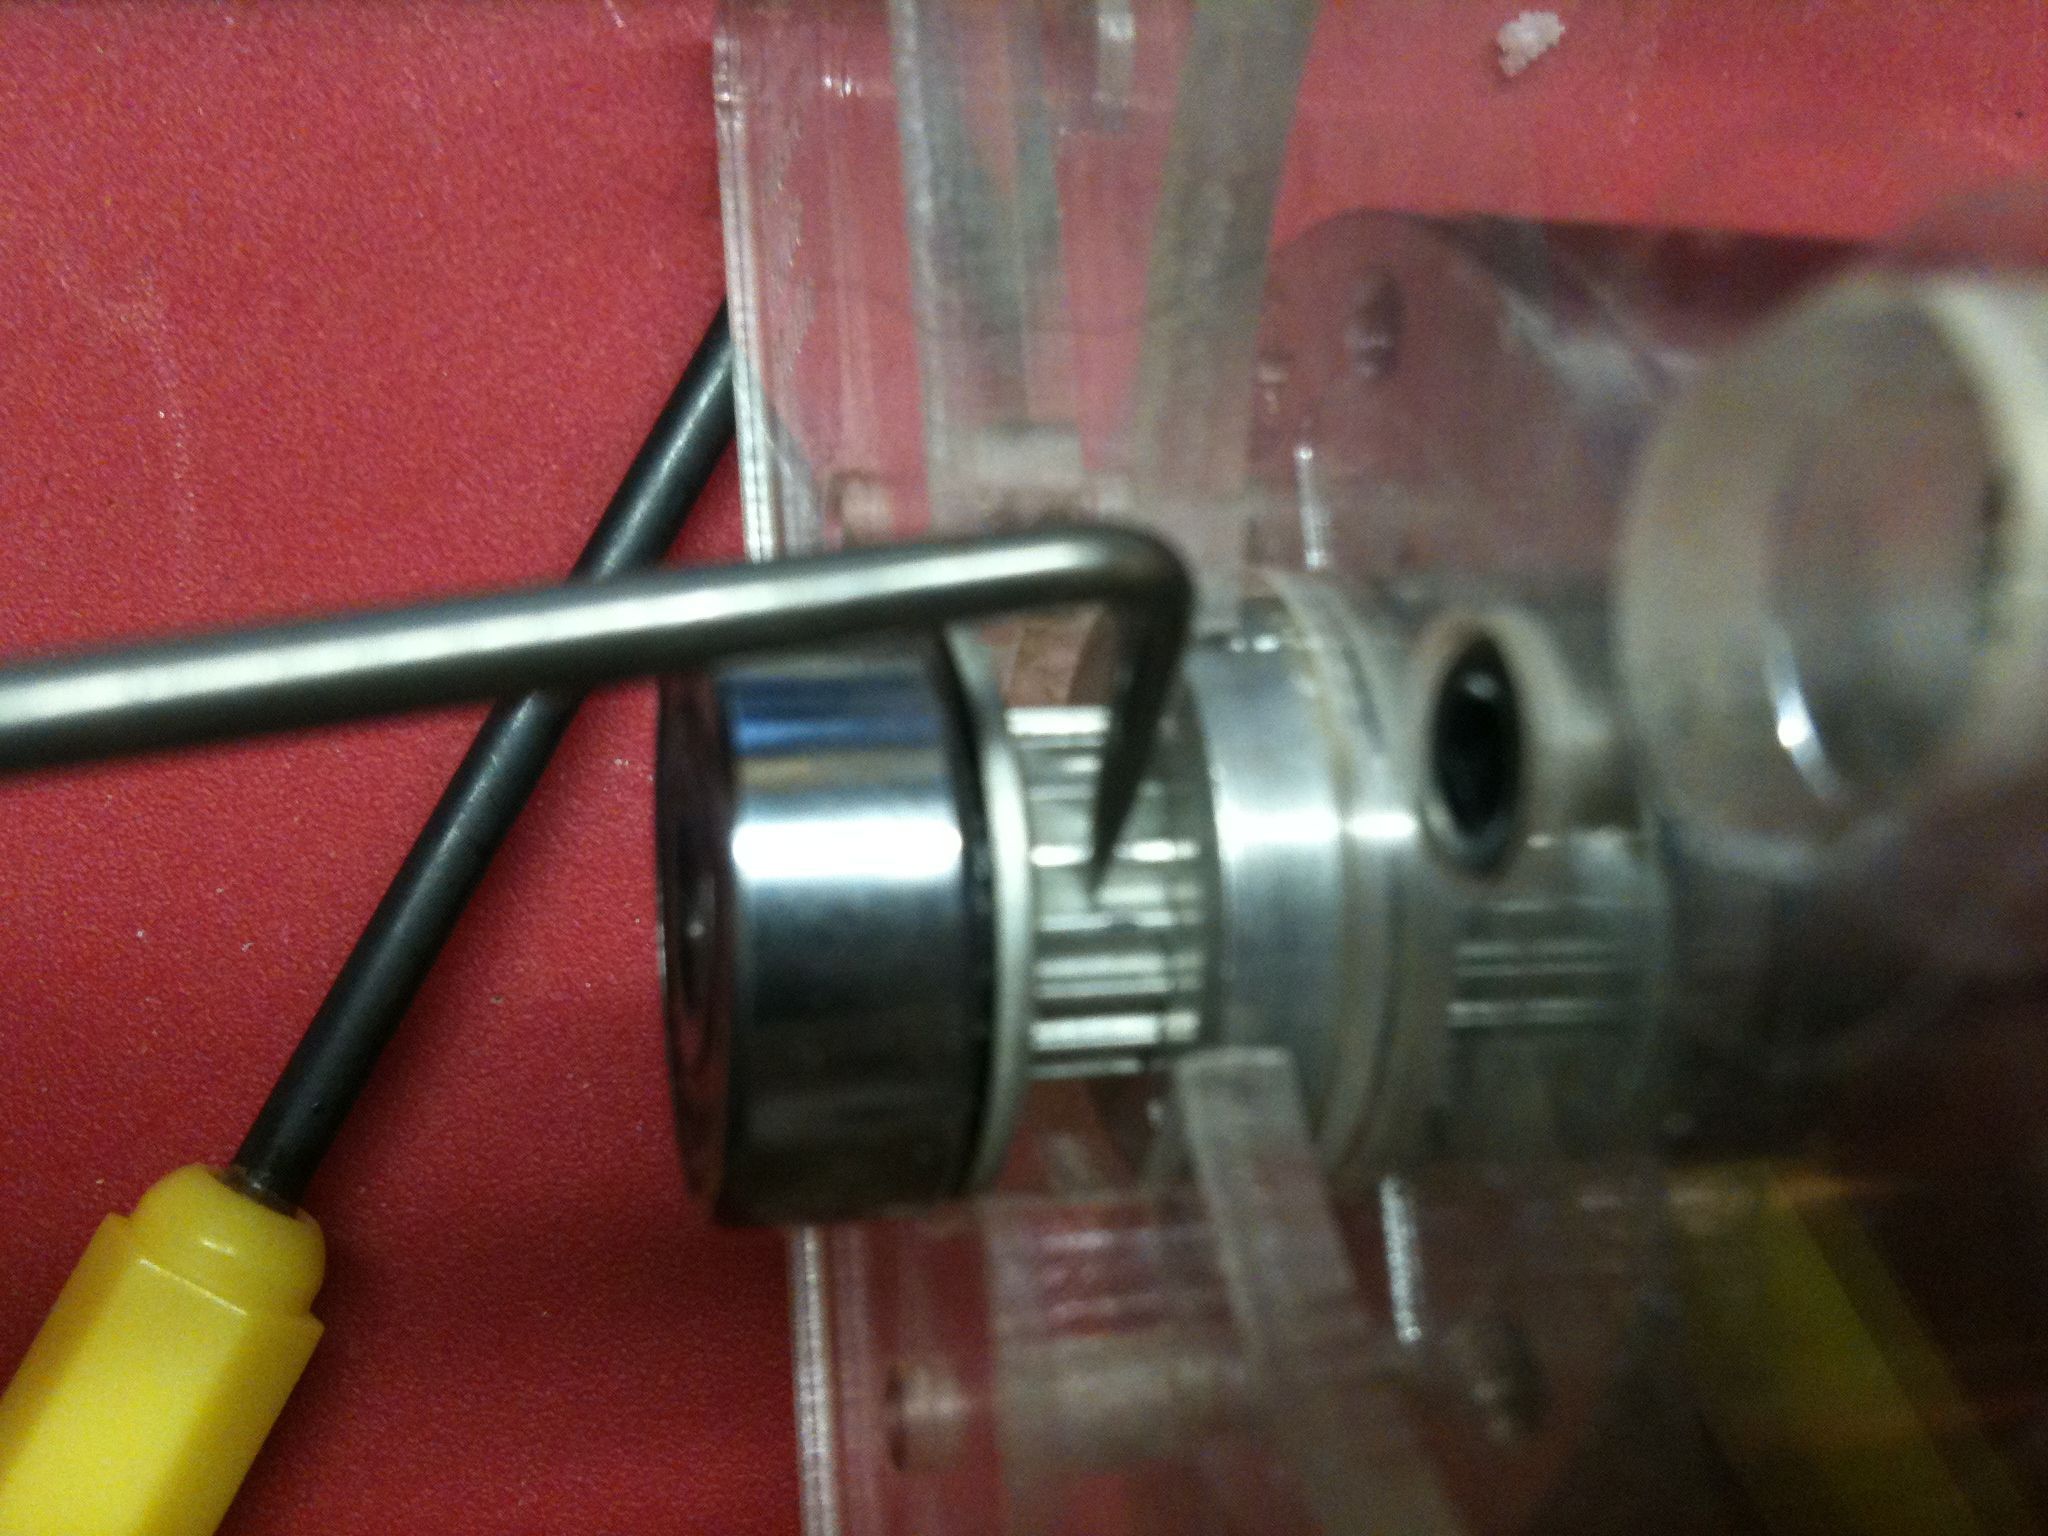
Assembled Idler Bracket. This sits on one end of the X-axis. The four bearings allow the entire X axis to slide up and down along the Z axis. This piece holds/caps the two rods that make up the X axis.
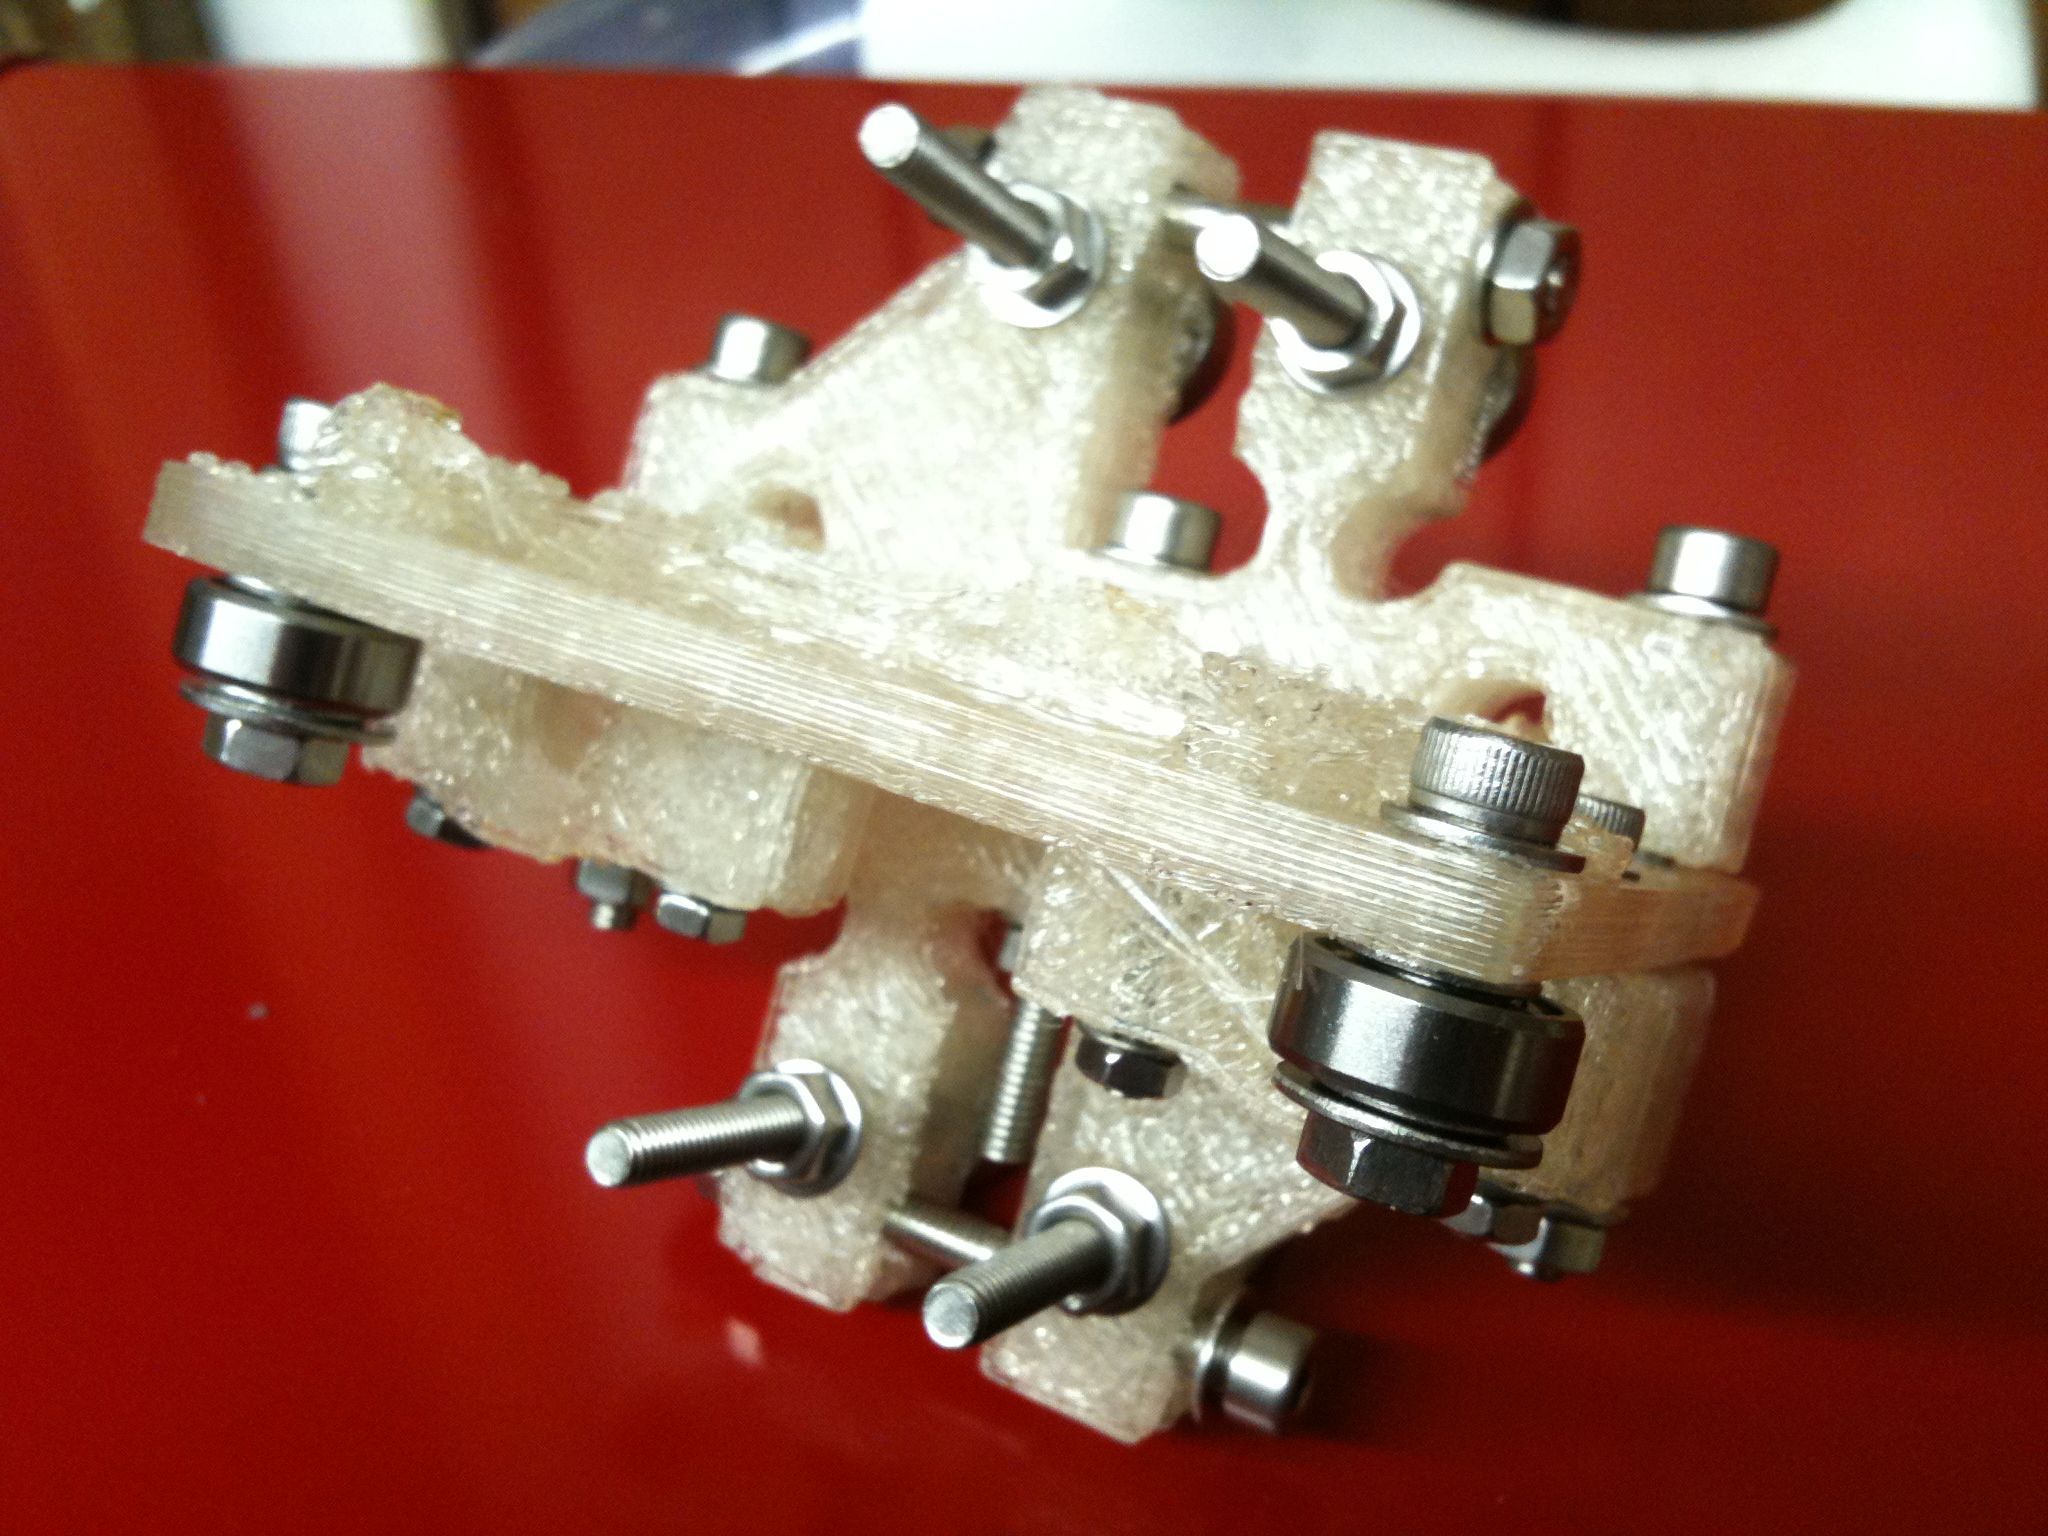
Another view of the Idler Bracket assembly. The bearings on this side are for the belt that moves the X carriage left and right along the X axis.
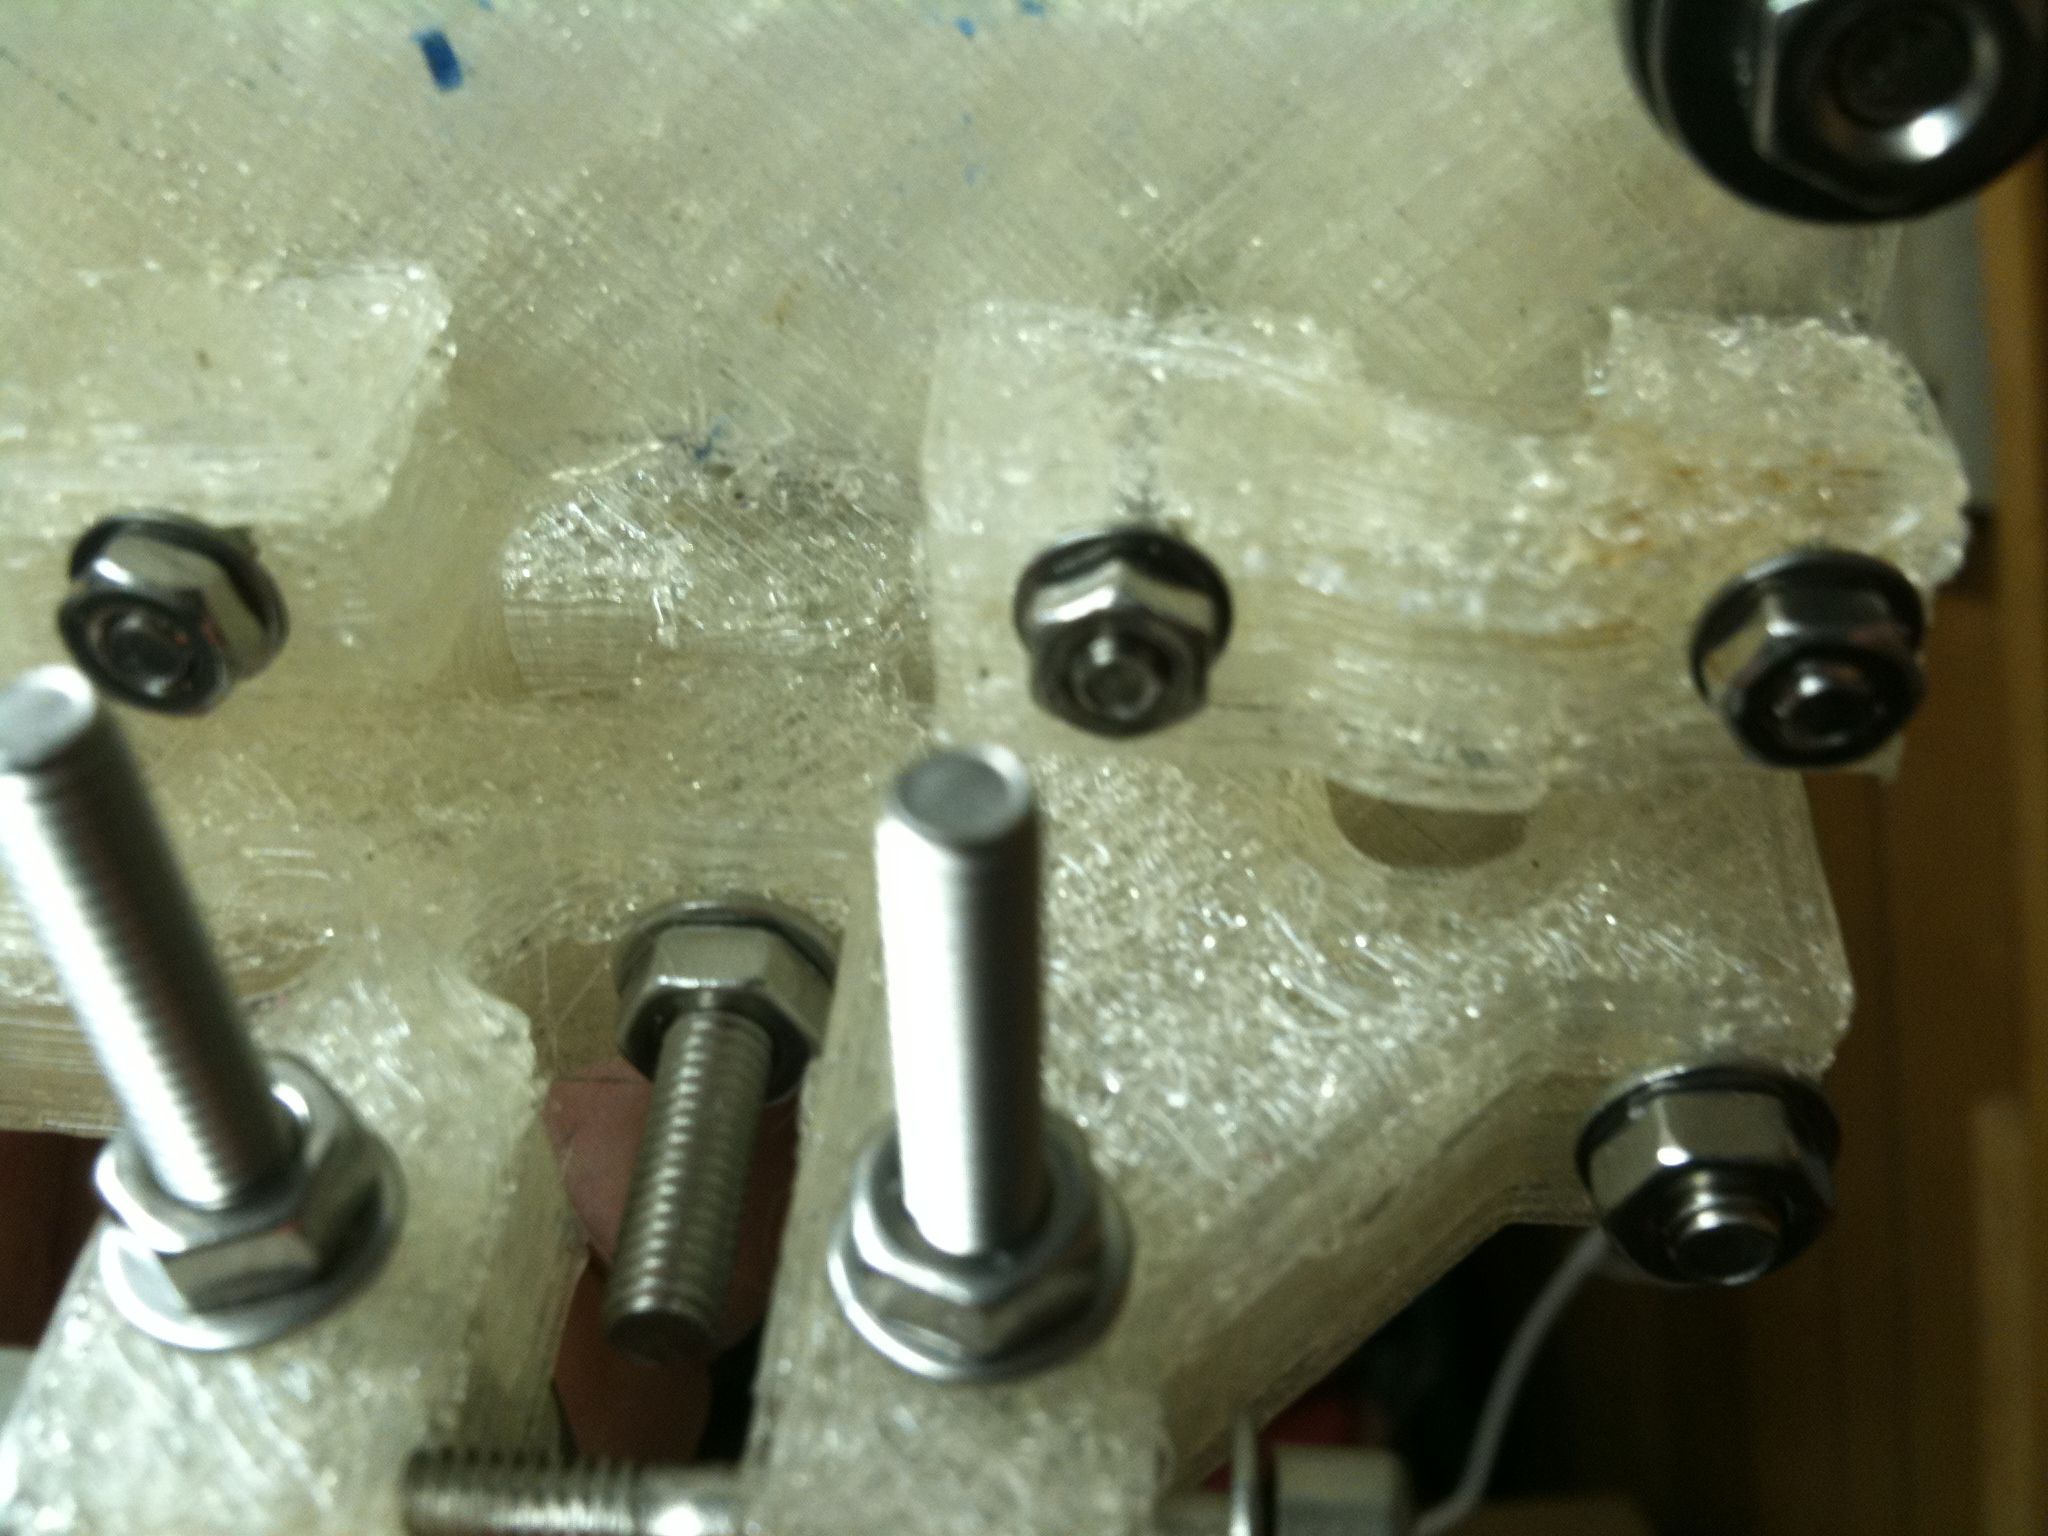
Another view. The x-axis rods will go through the U-shaped space up against that plate.
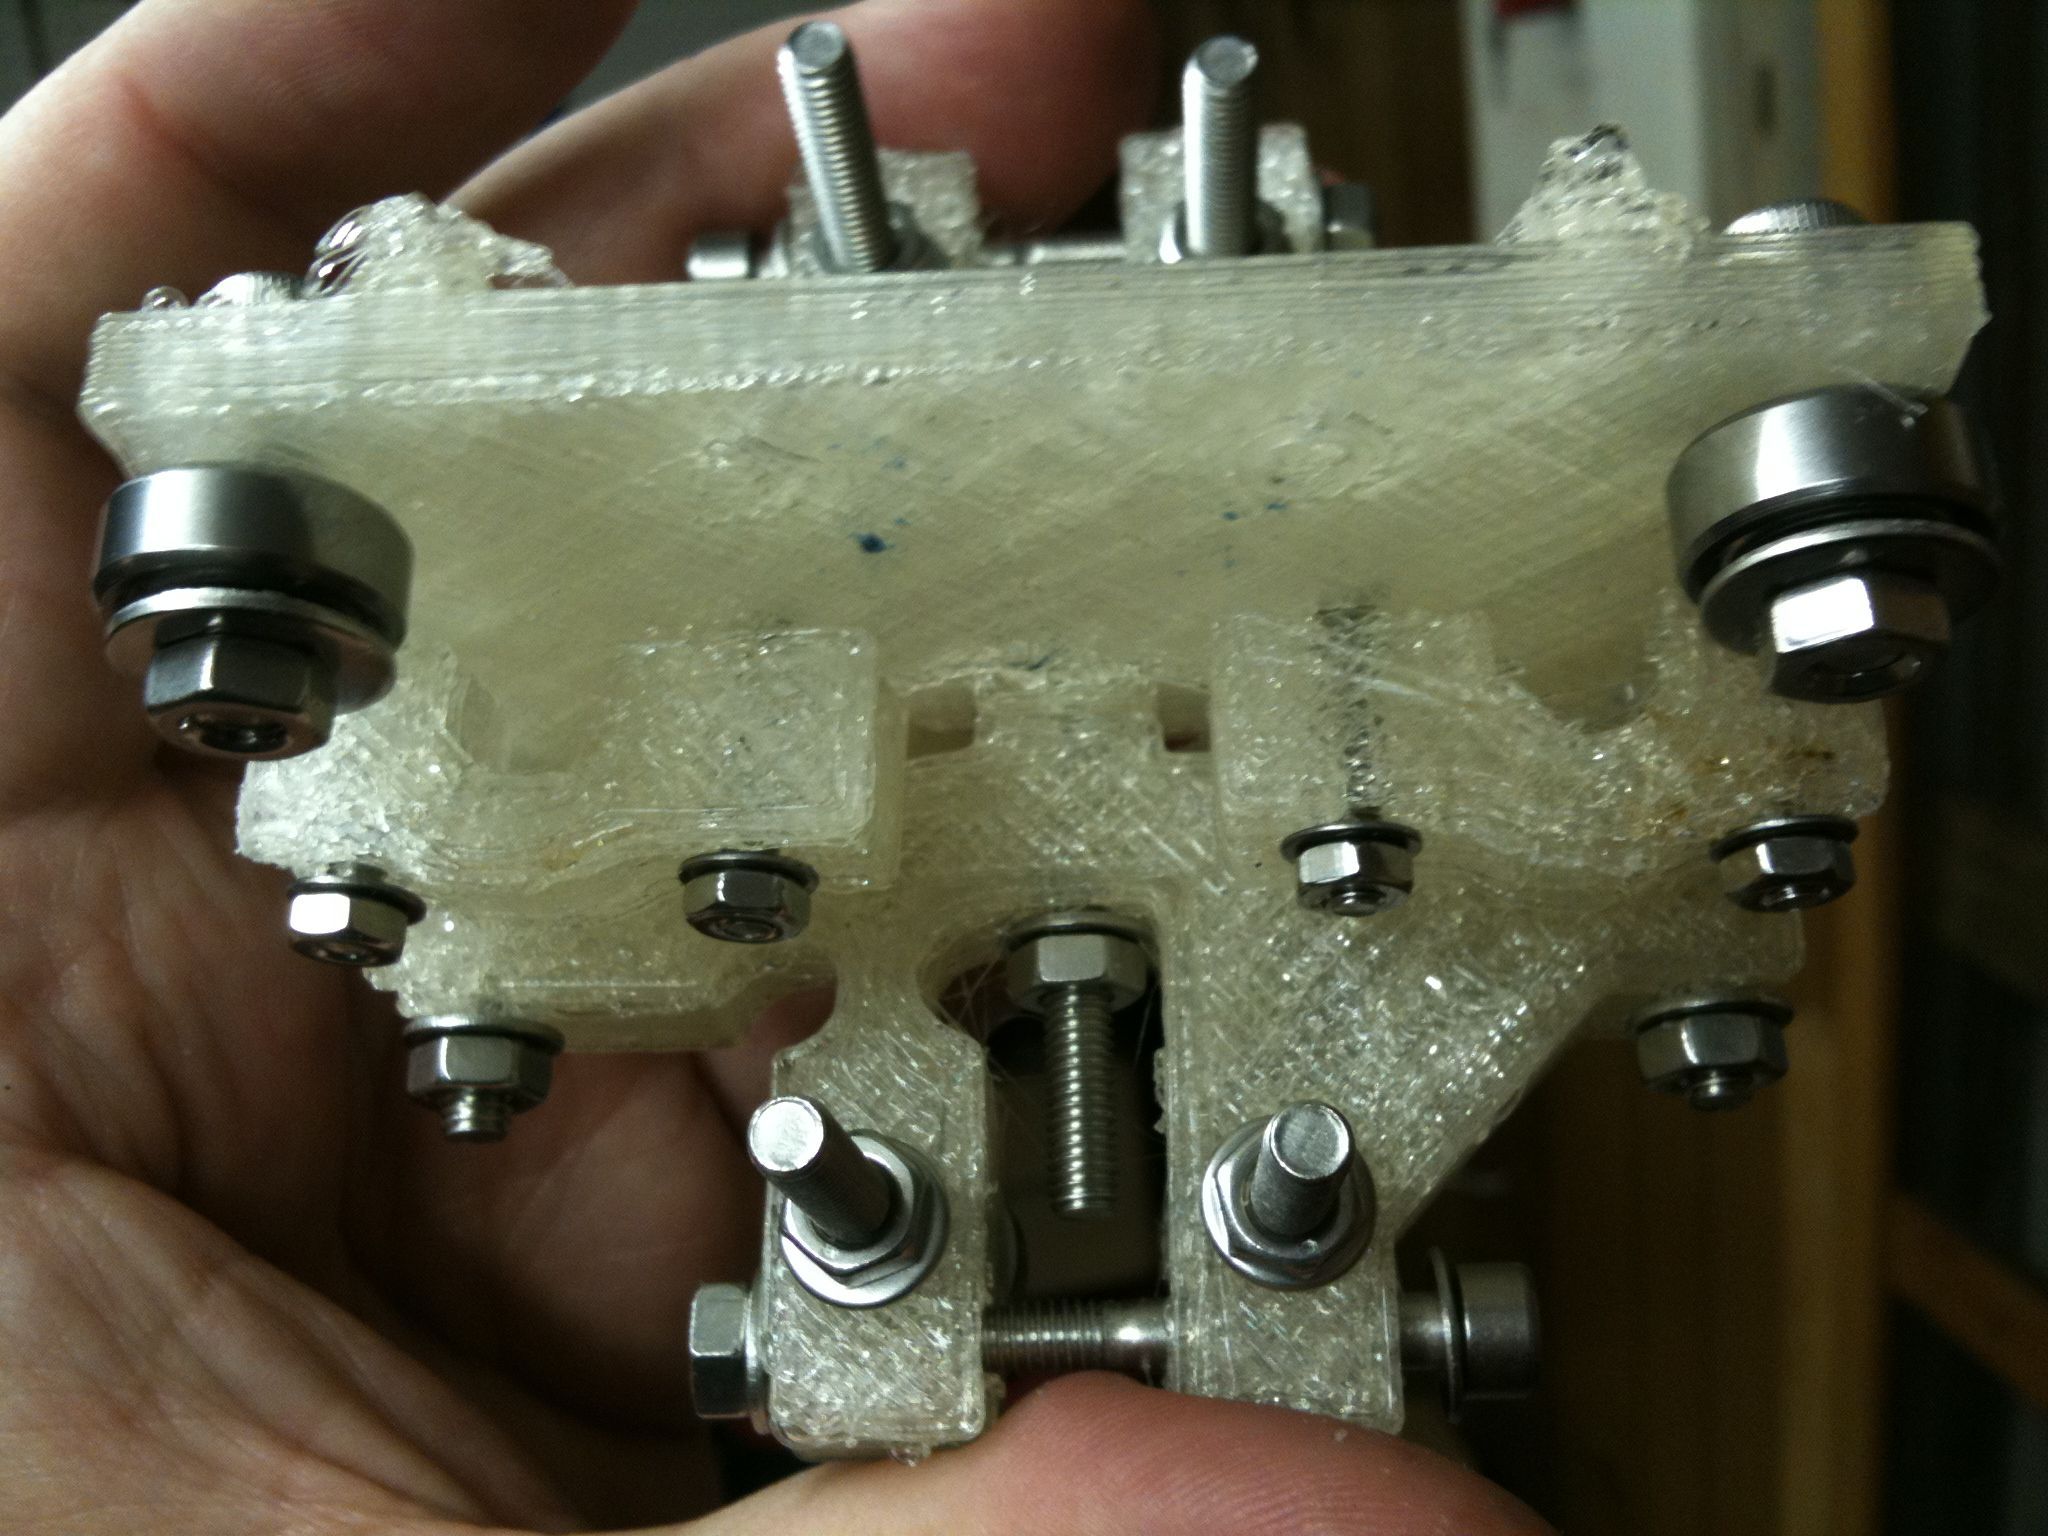
View from the bottom of the Idler Bracket assembly.
I’d ordered some more ceramic tape so I could insulate the barrel again. I think that was a part of the problems I’d been having with PLA jamming up. I couldn’t make it as tall as it had been initially but I insulated at least part of the barrel:
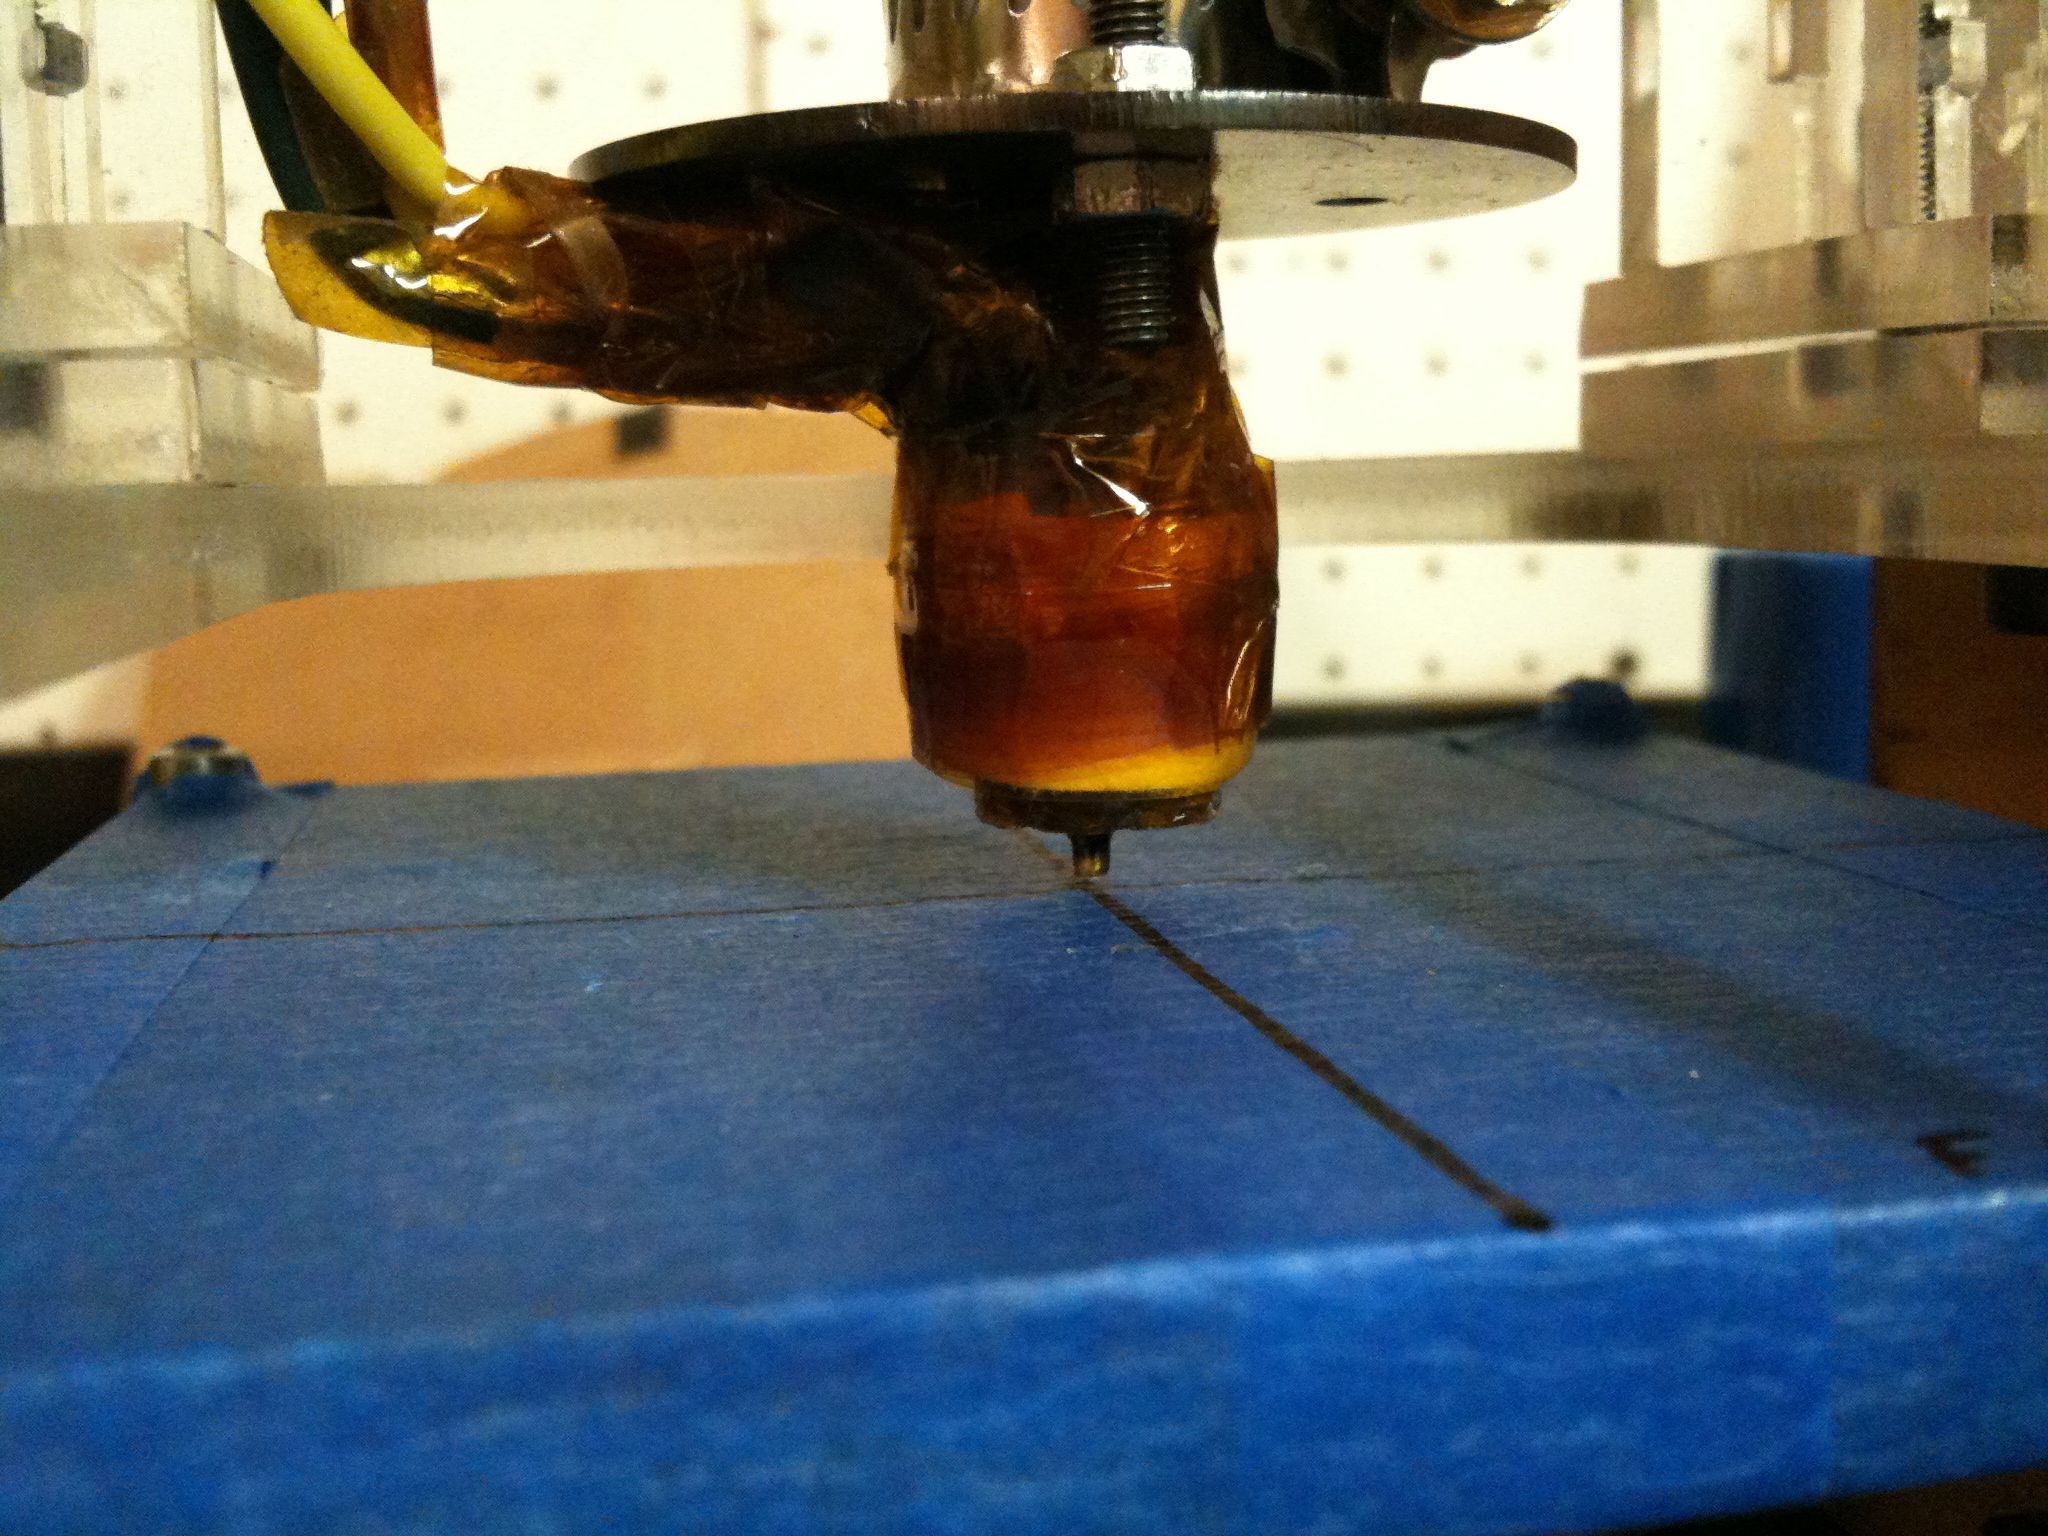
Once that was on, I was able to print a few more parts correctly. By the way, I now print at 195C (using the ultimachine 4042D PLA.. I have some 4032D from makerbot.com but I haven’t used it yet).
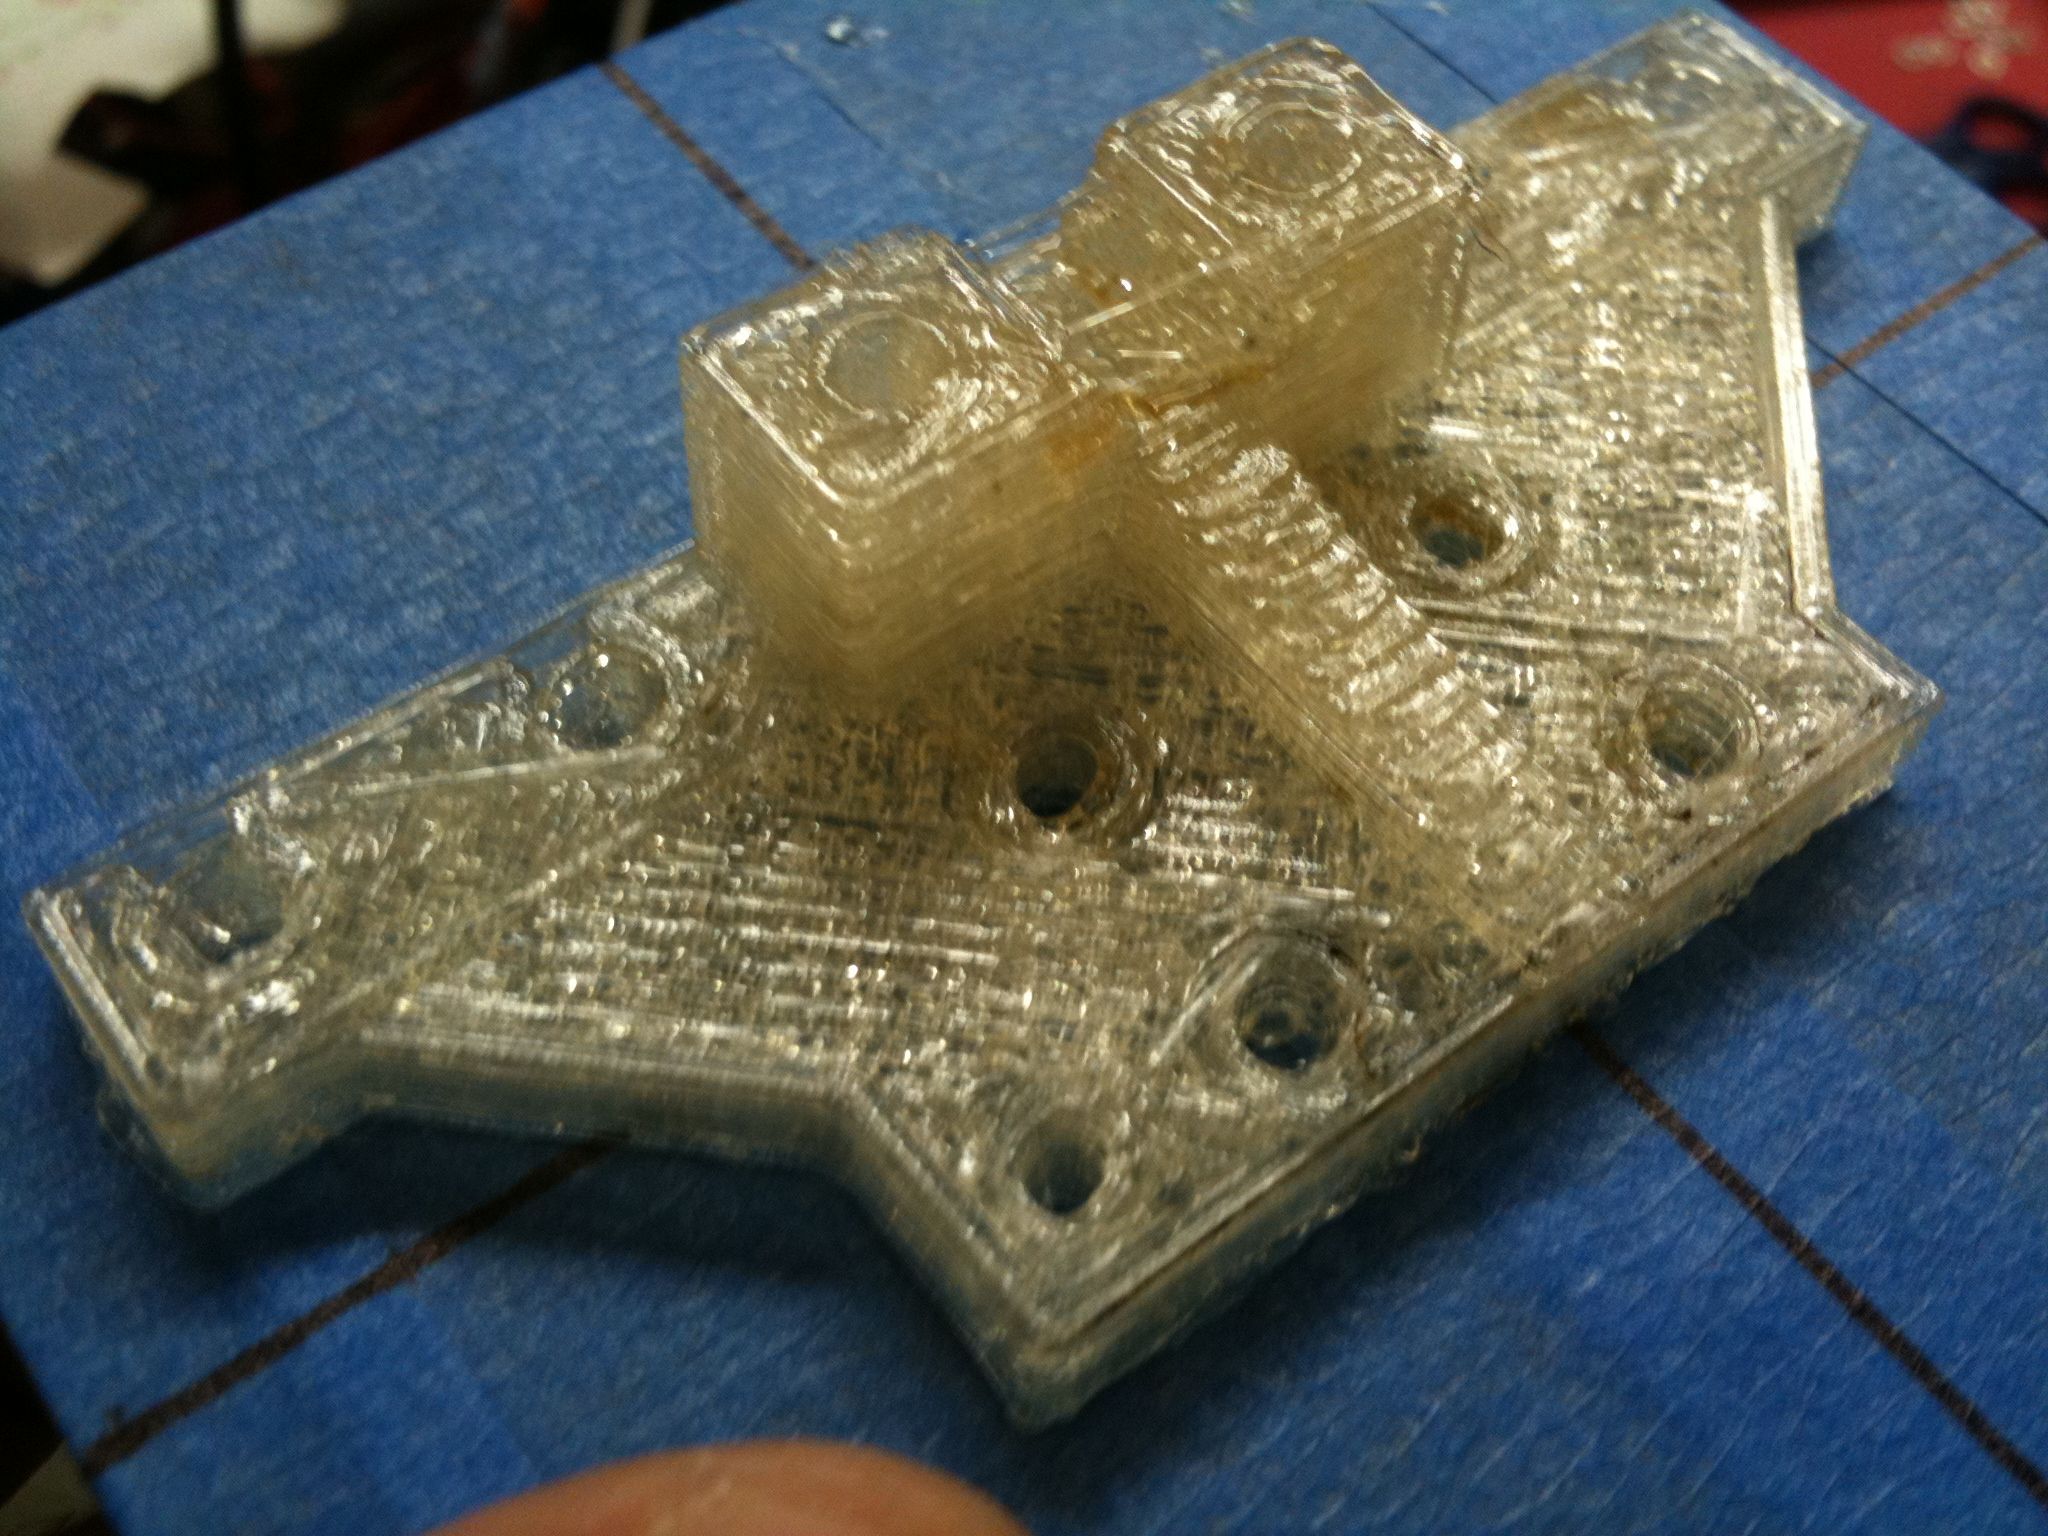
x-vert-drive-side-plate-360-end_2off
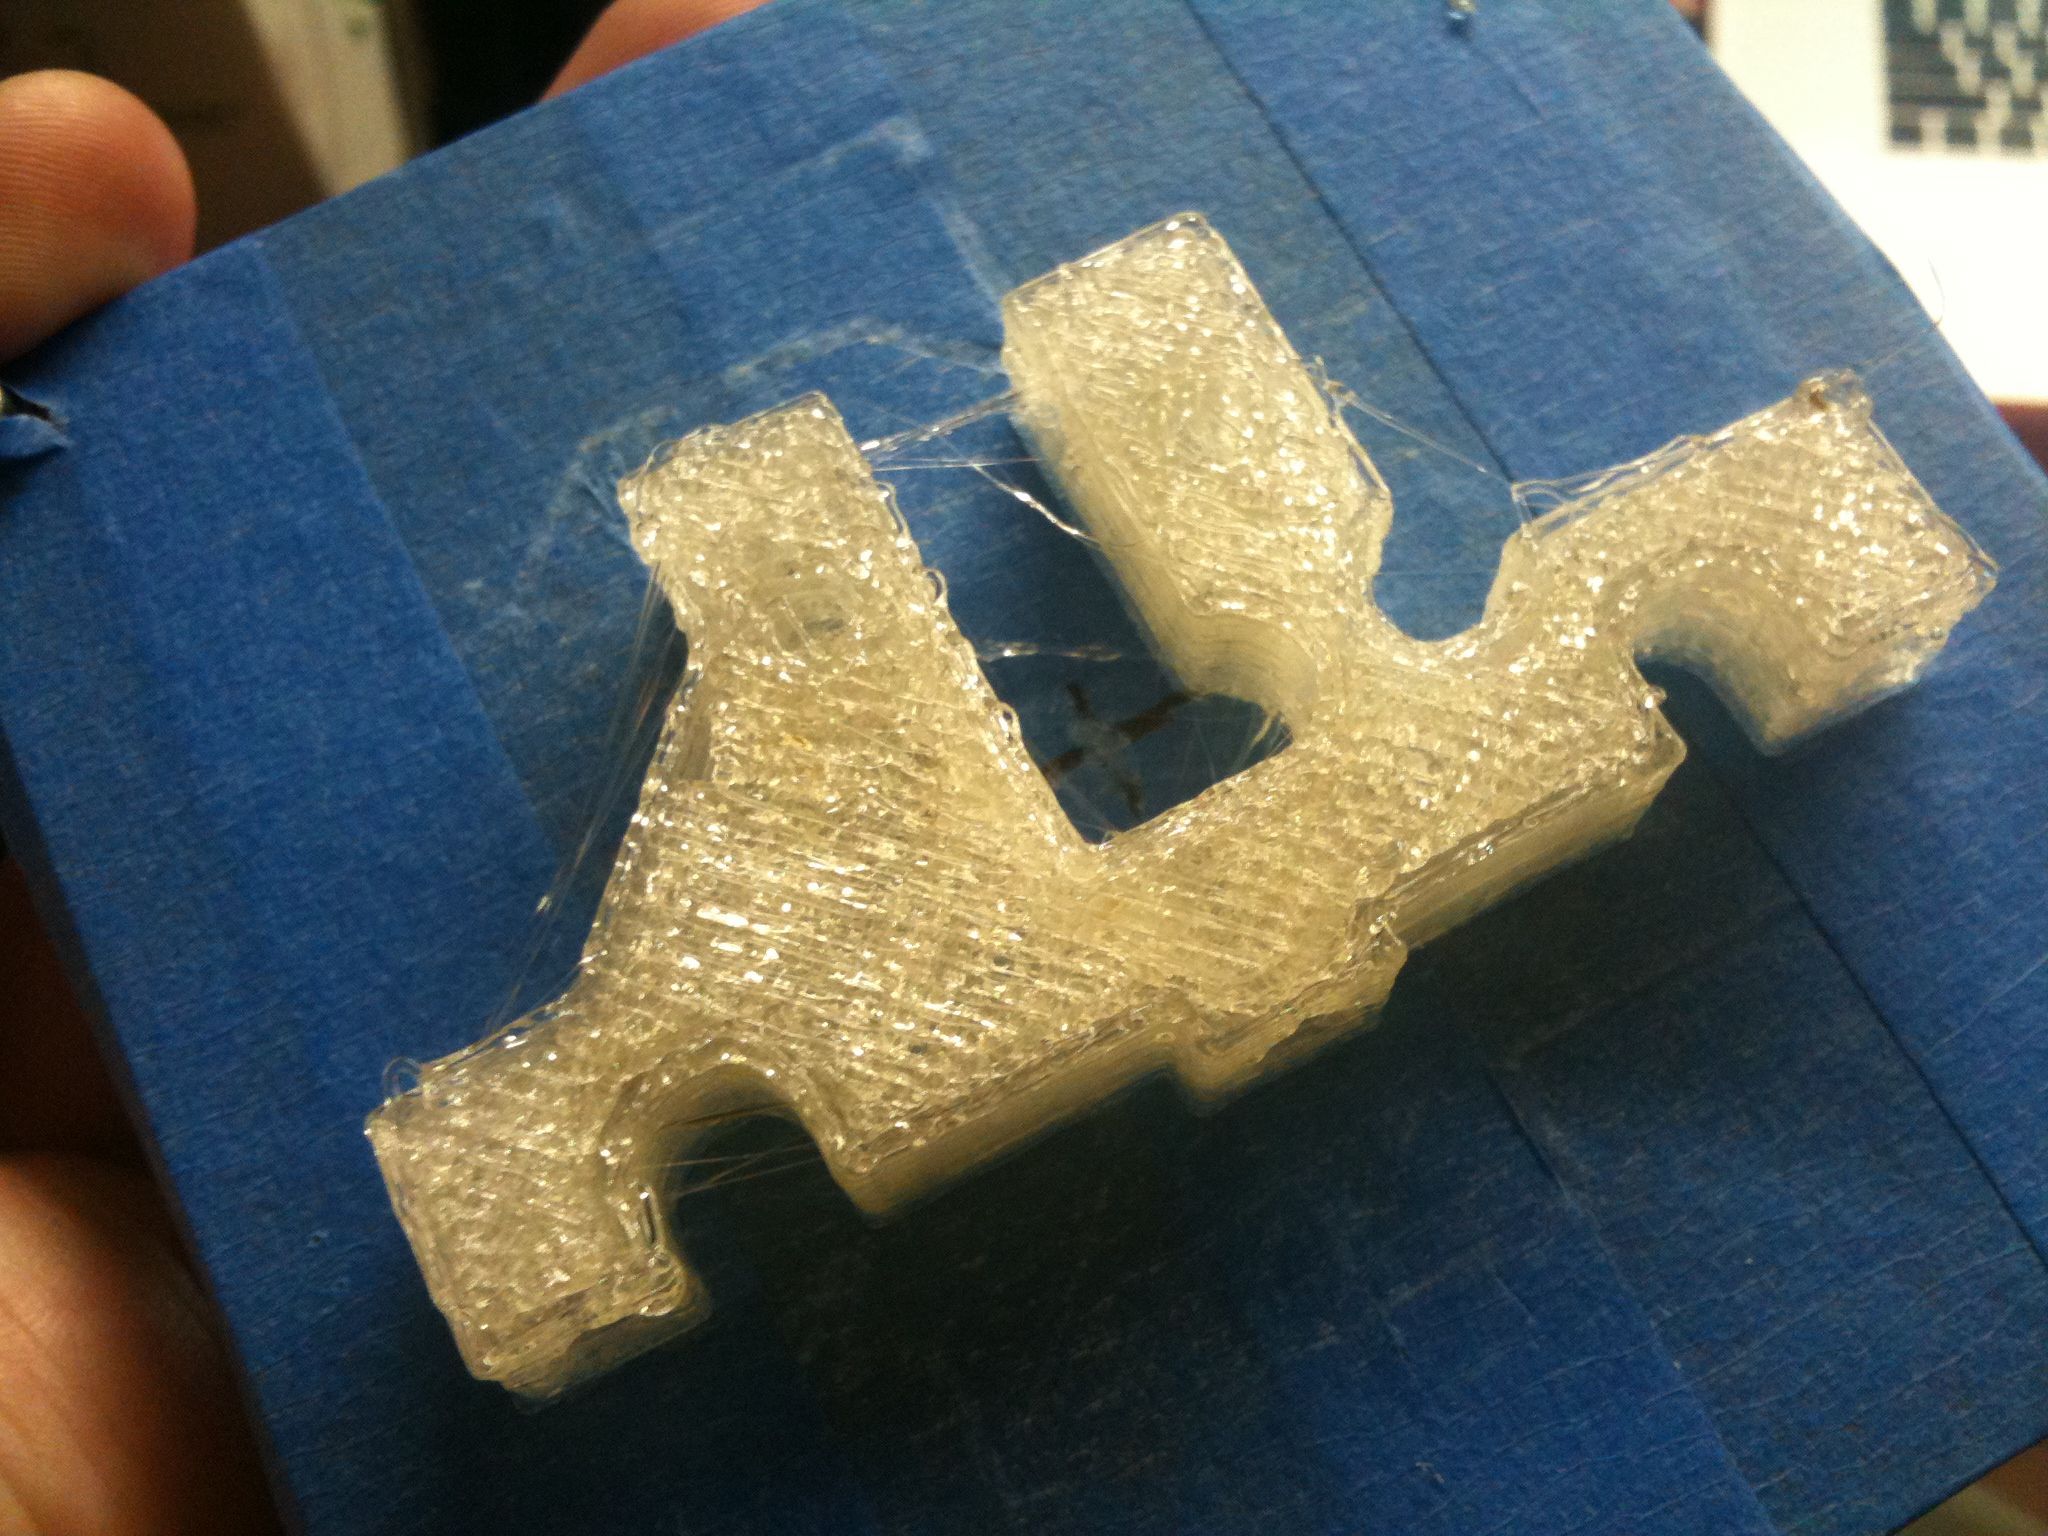
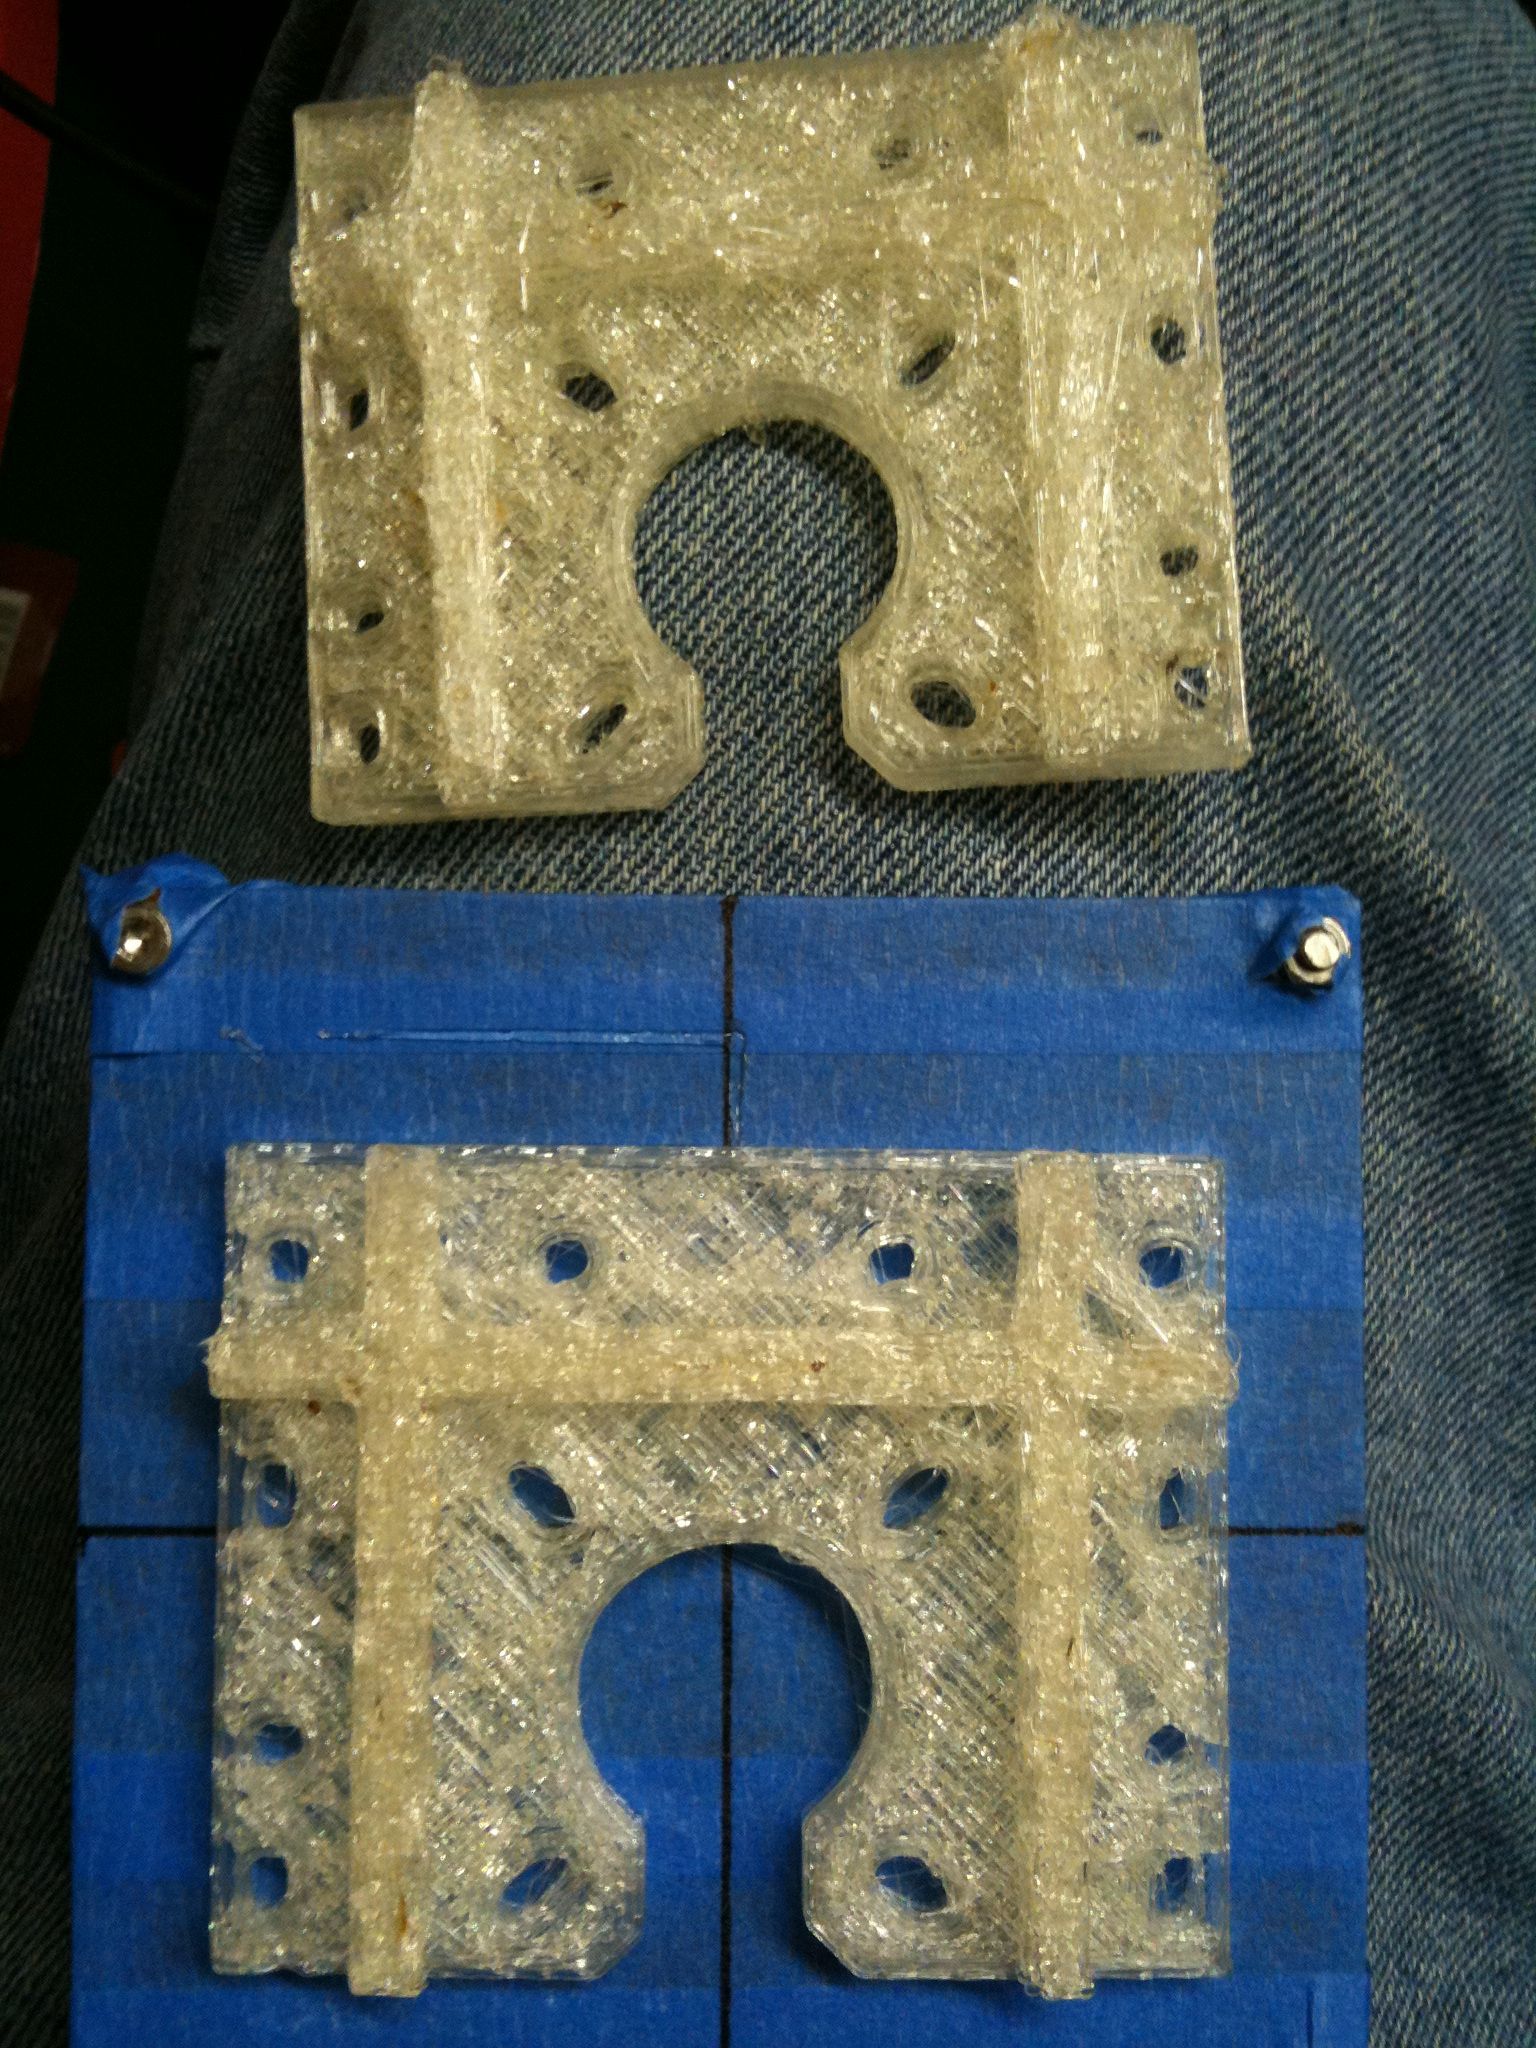
This piece was horrible with PLA. I think I may go back to ABS for it and its similar siblings:
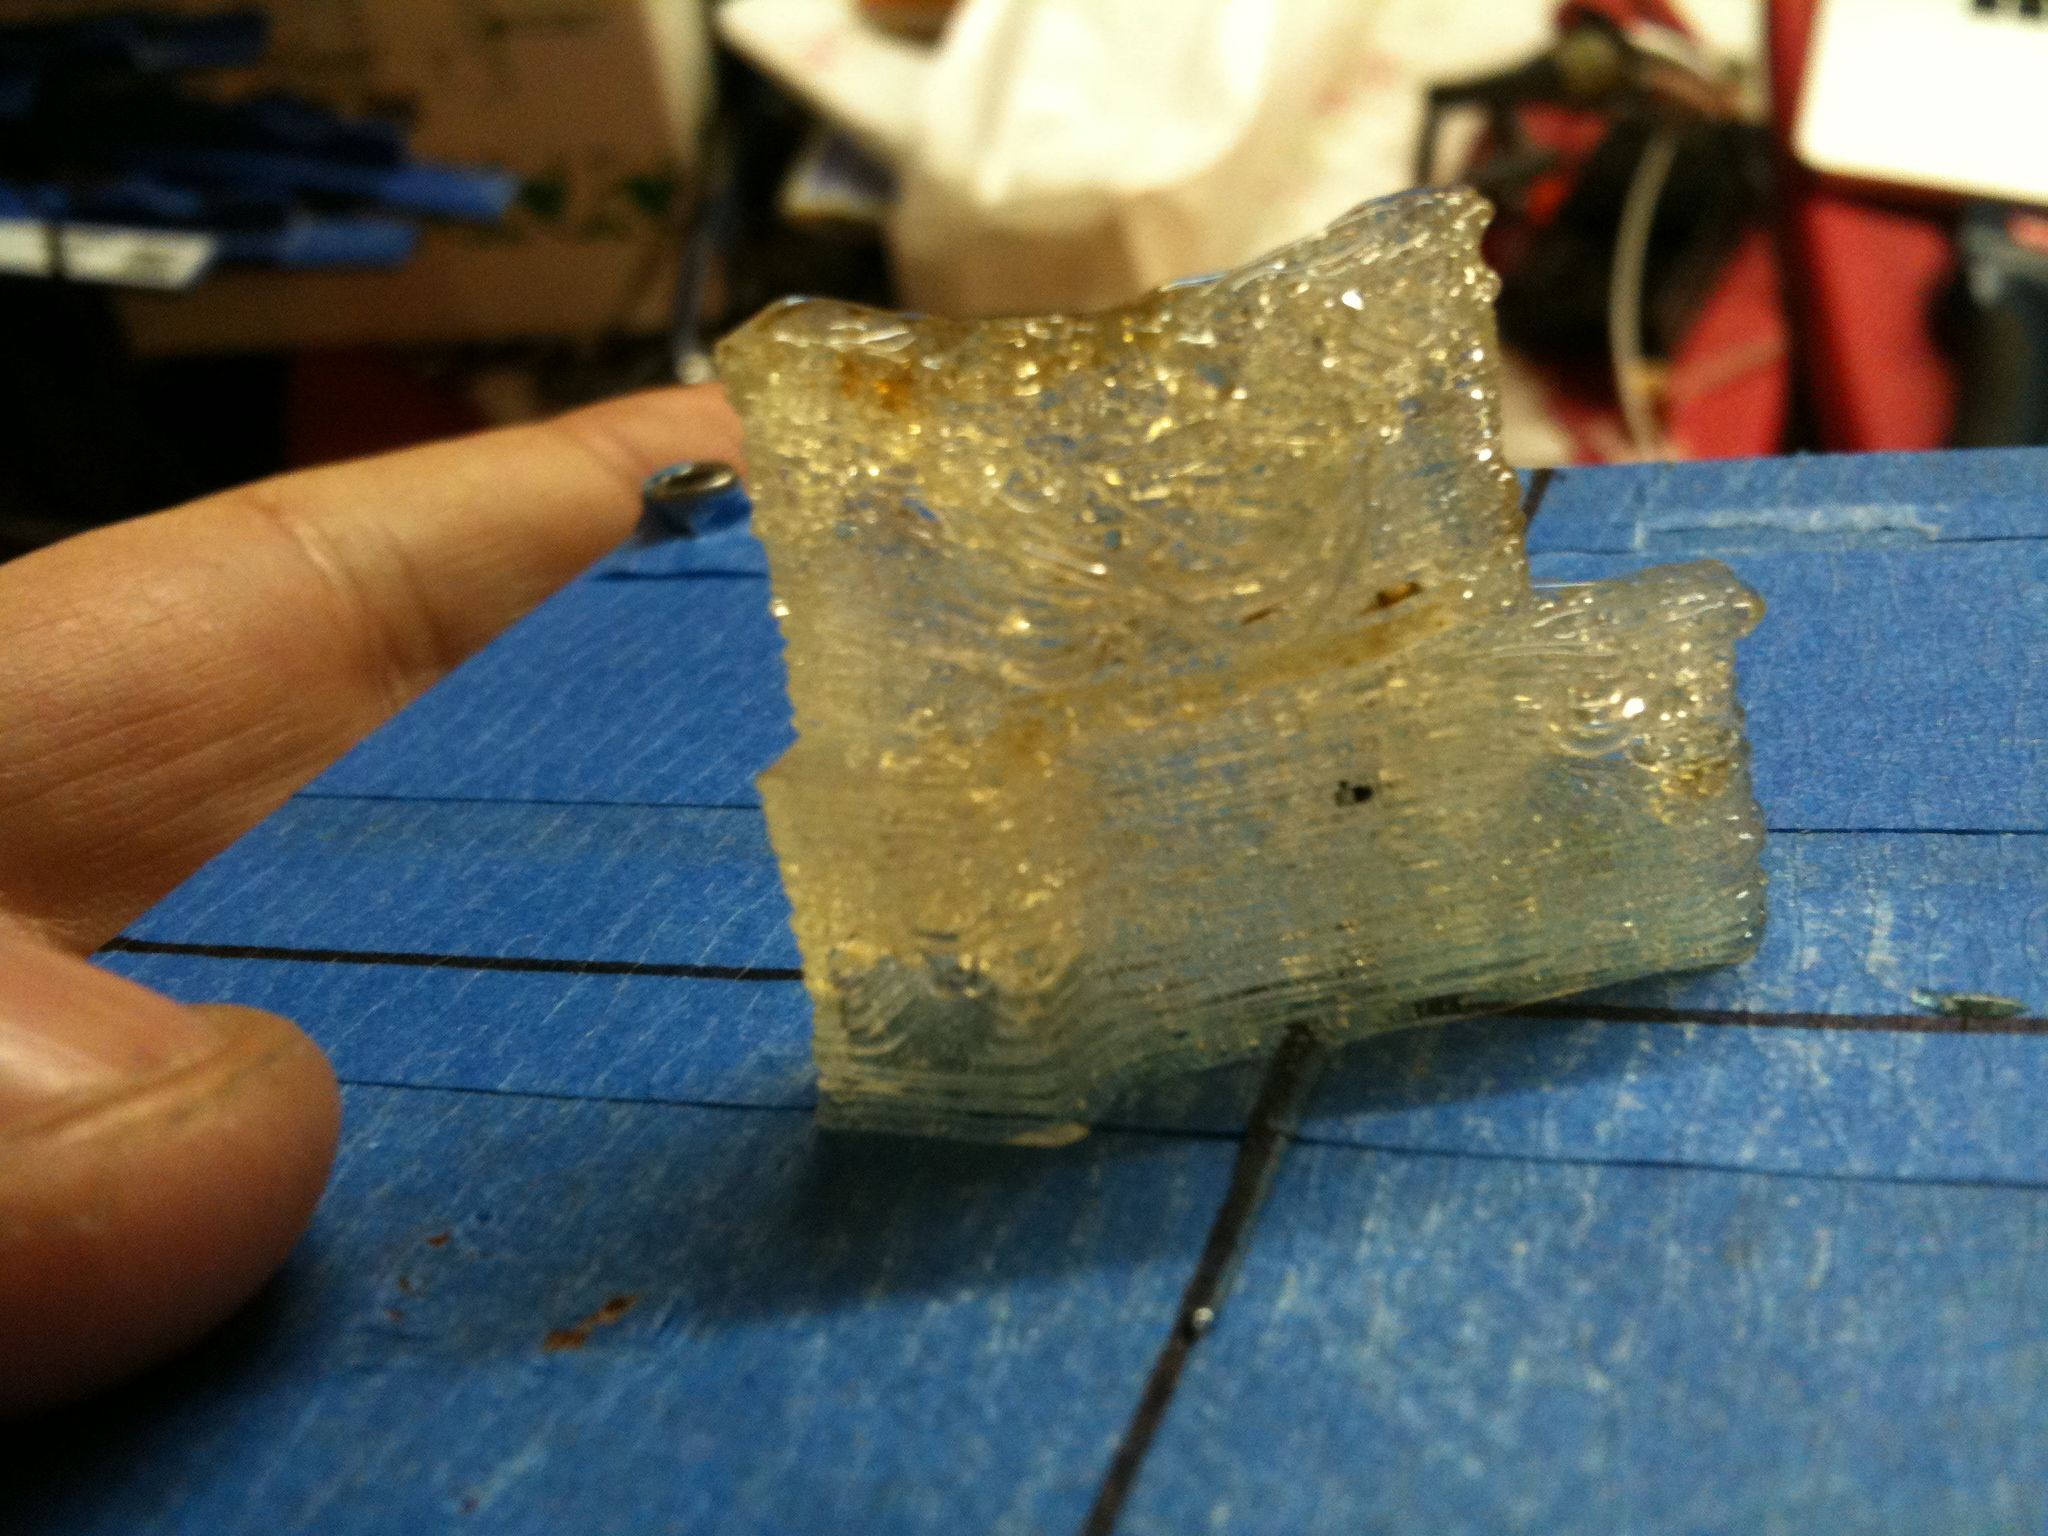
Horrible version of x-360-z-bearing-plate_2off. I will retry this piece with ABS.
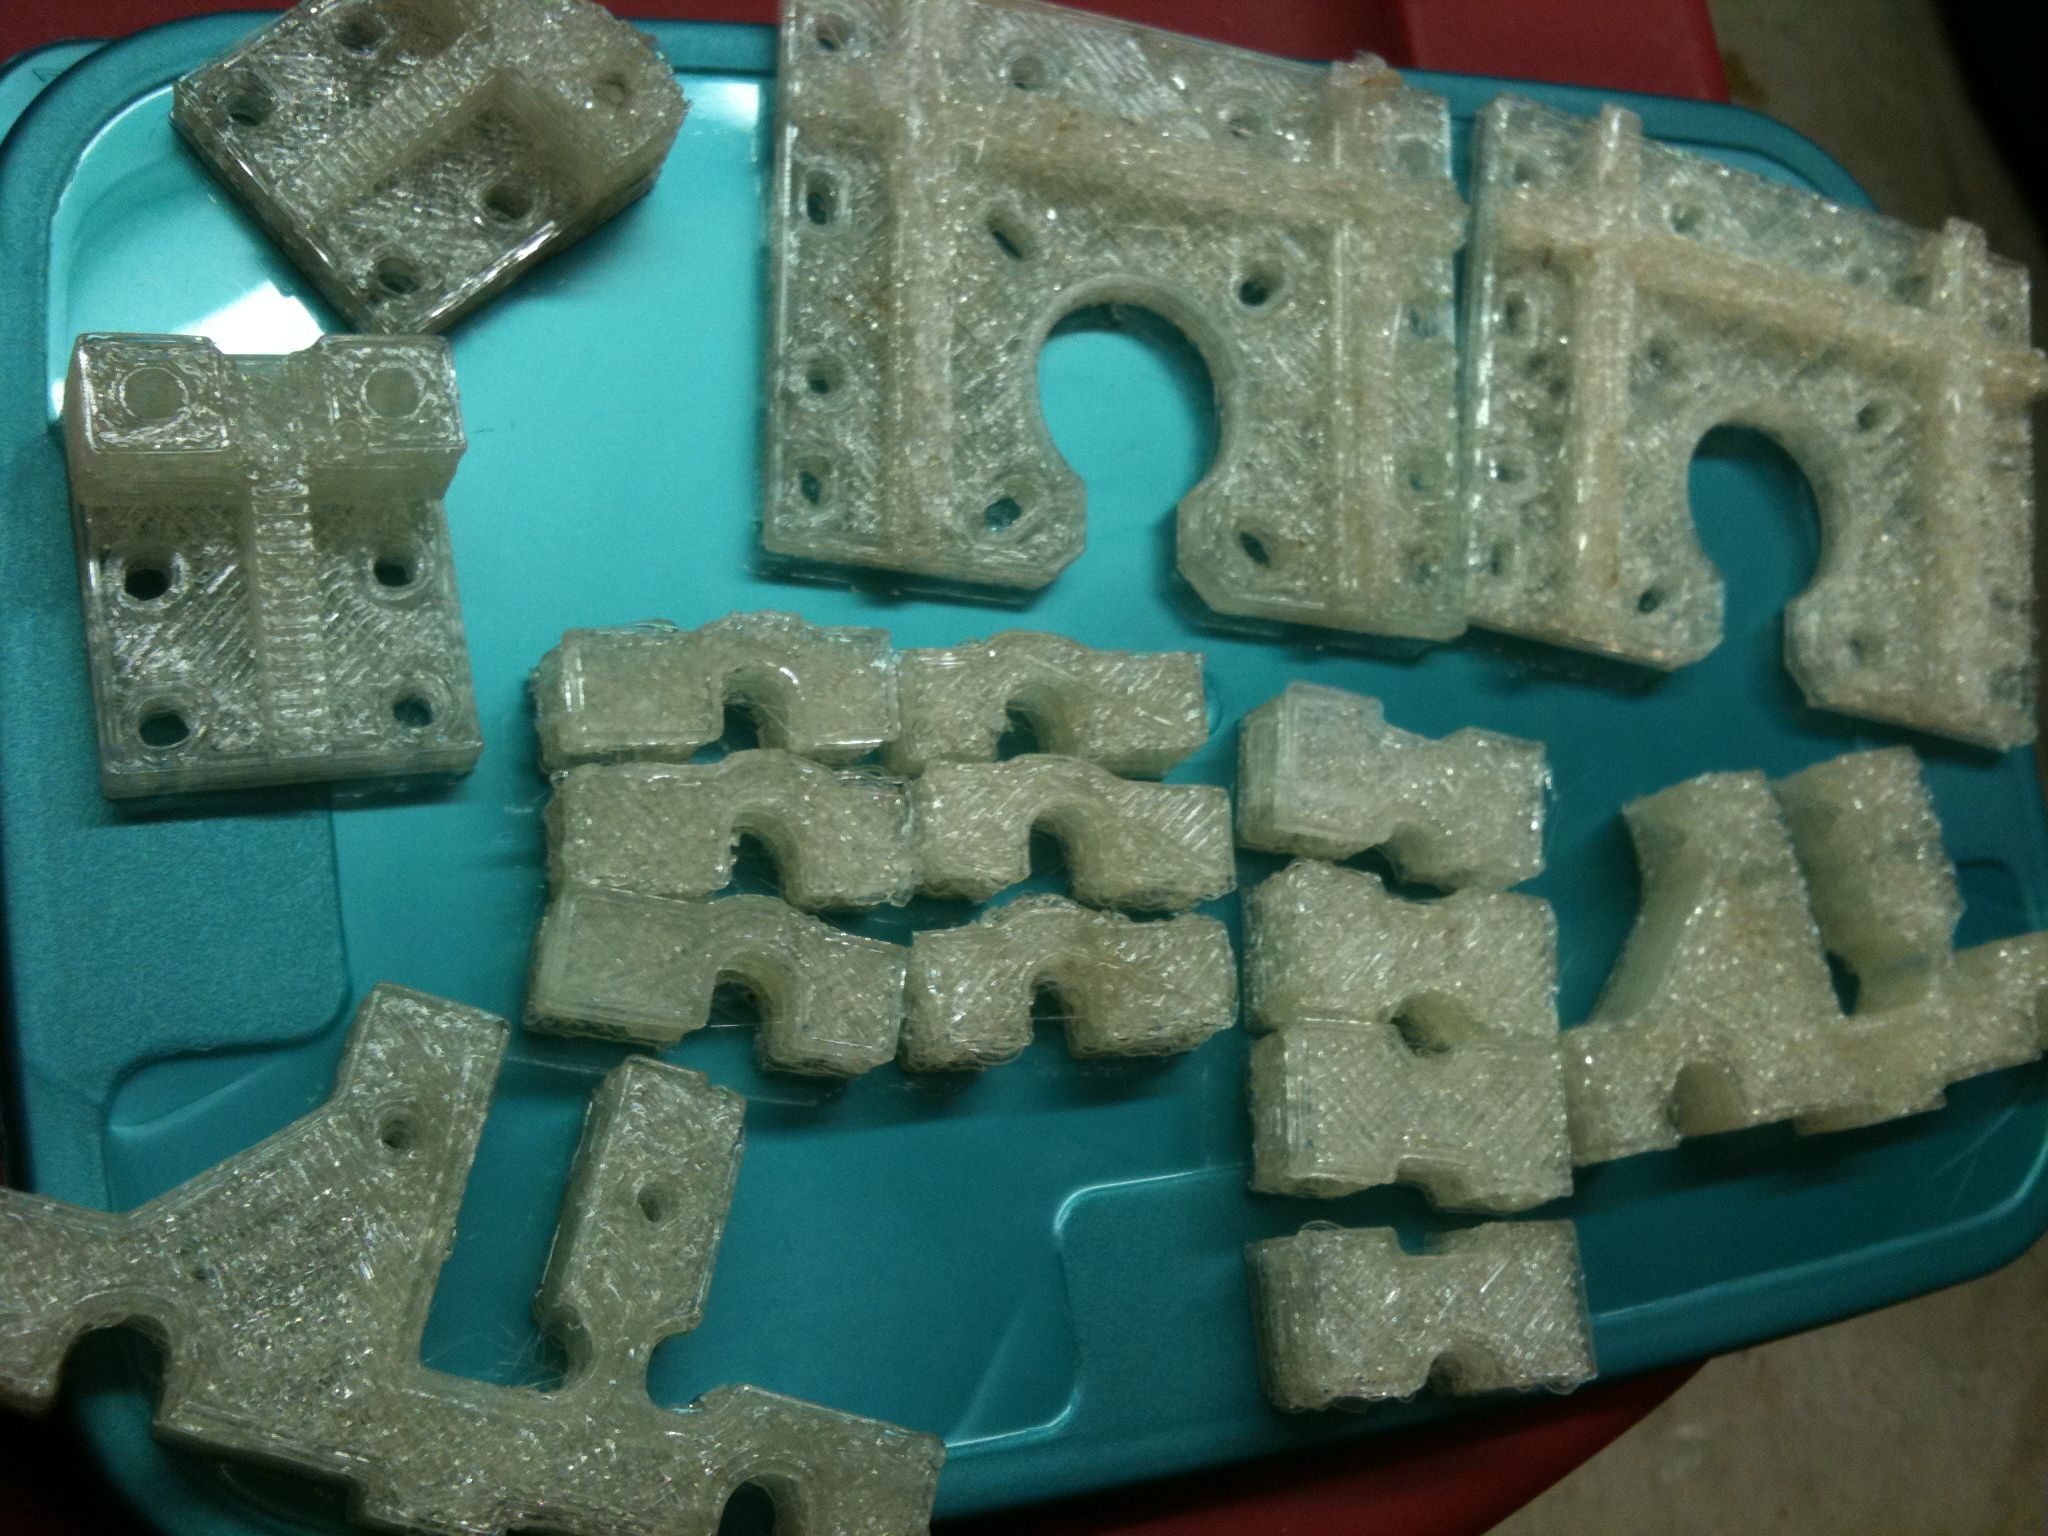
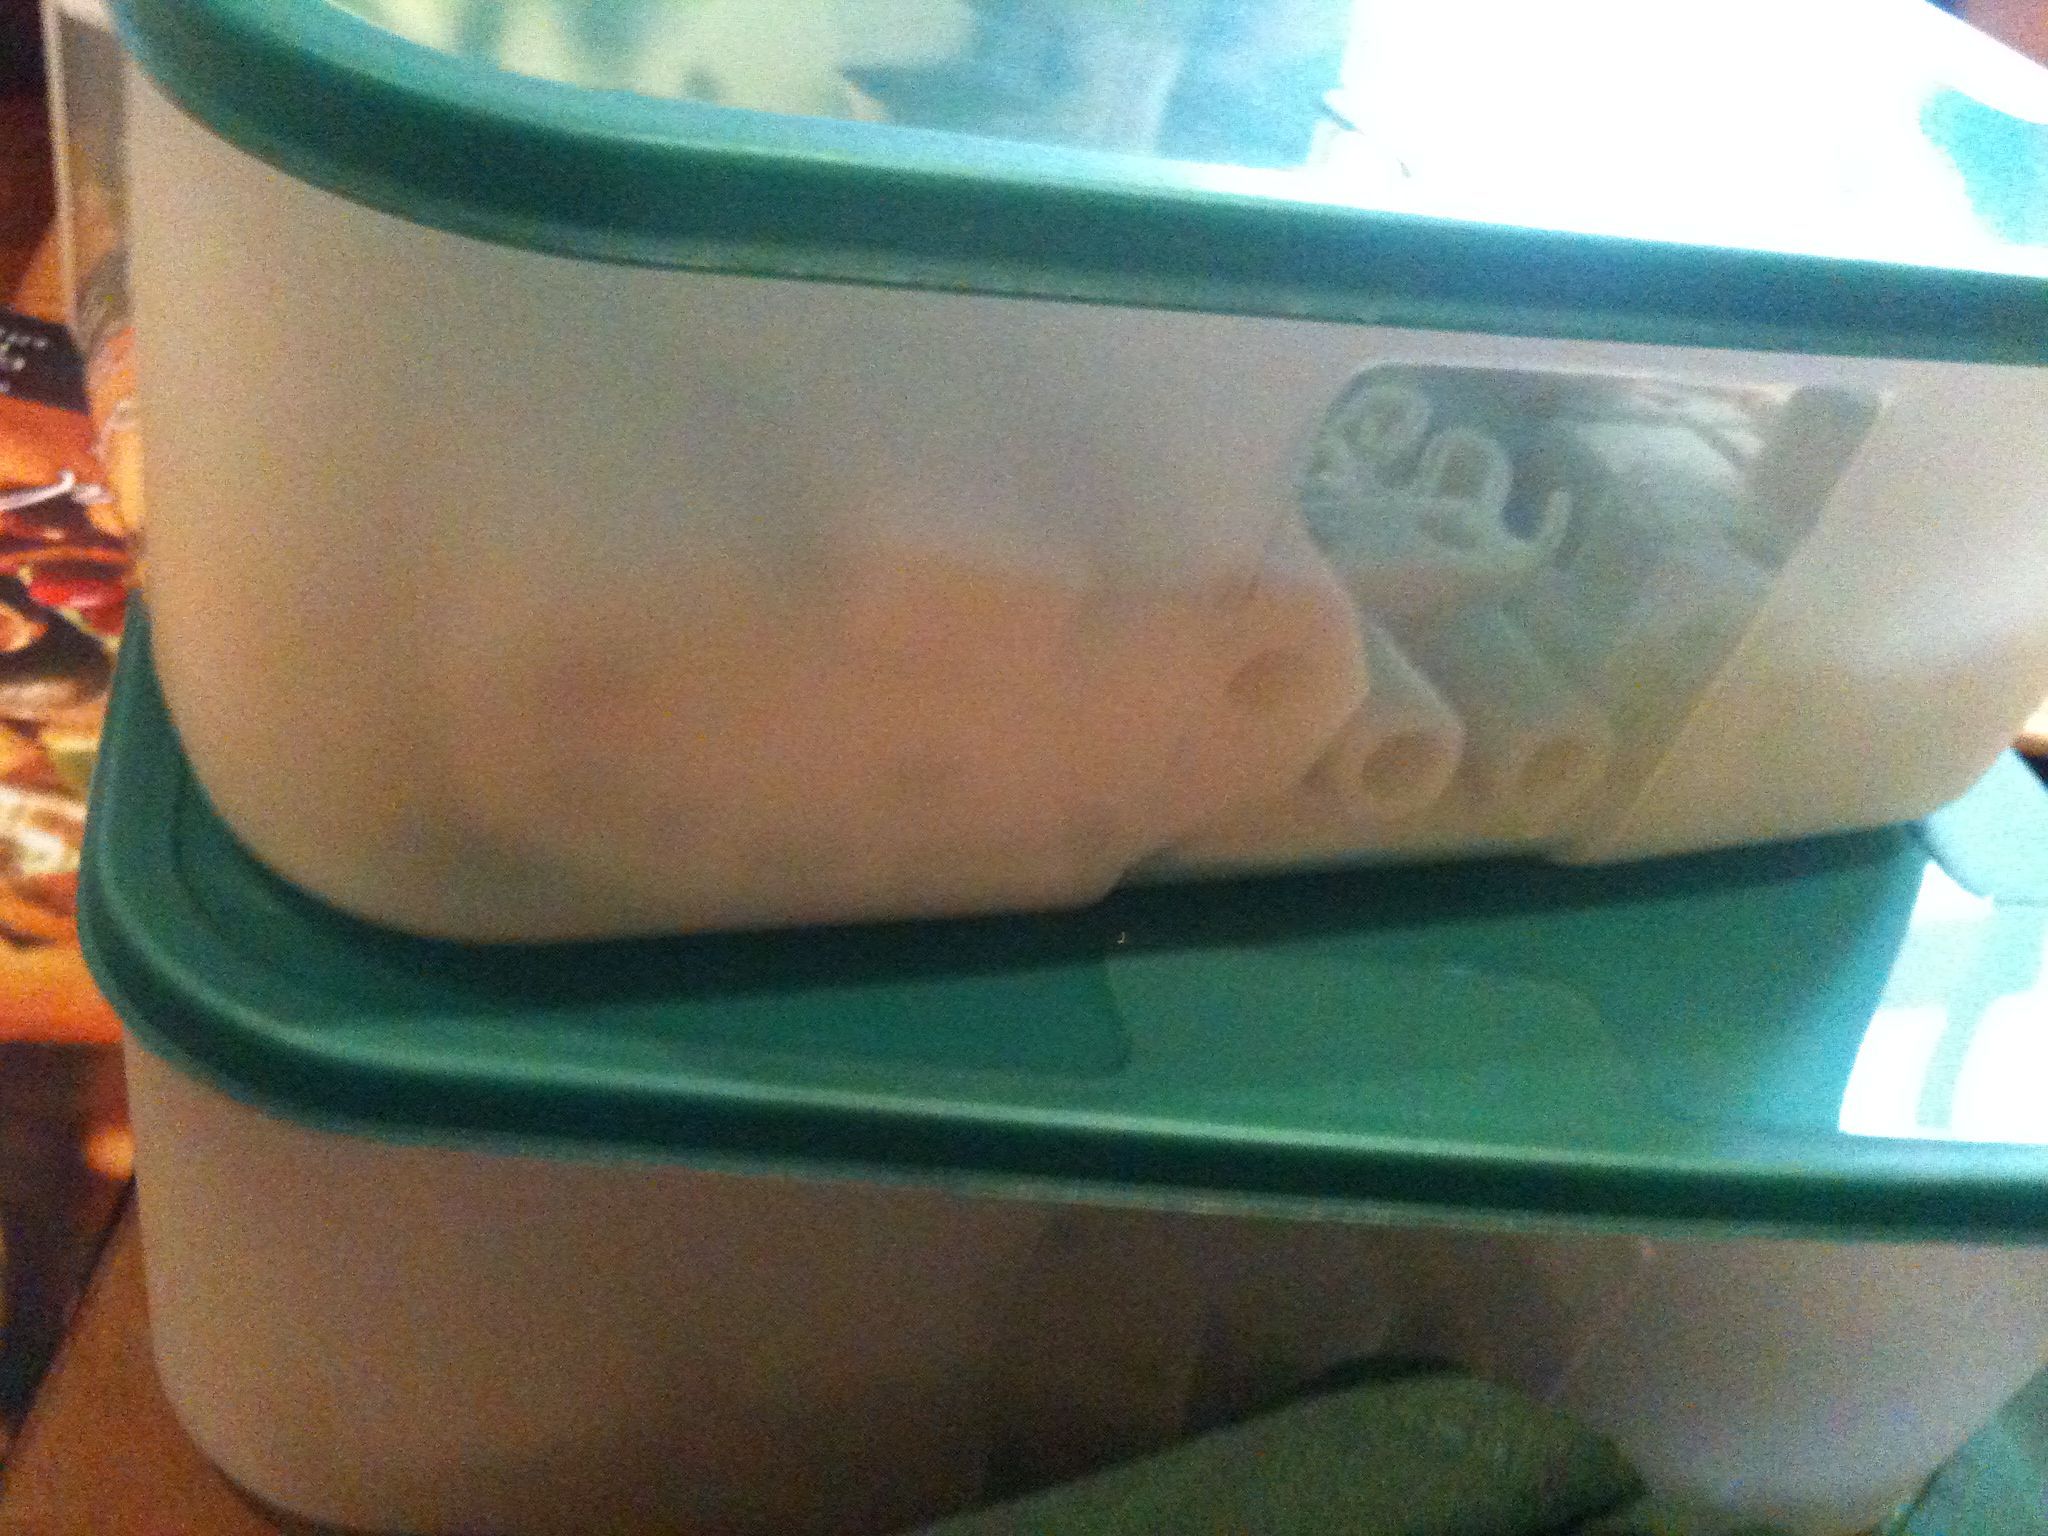
So last weekend we met my parents for lunch at The Olive Garden. You know you’re too much into your RepRap work when you bring RepRap pieces and assemblies into the restaurant:

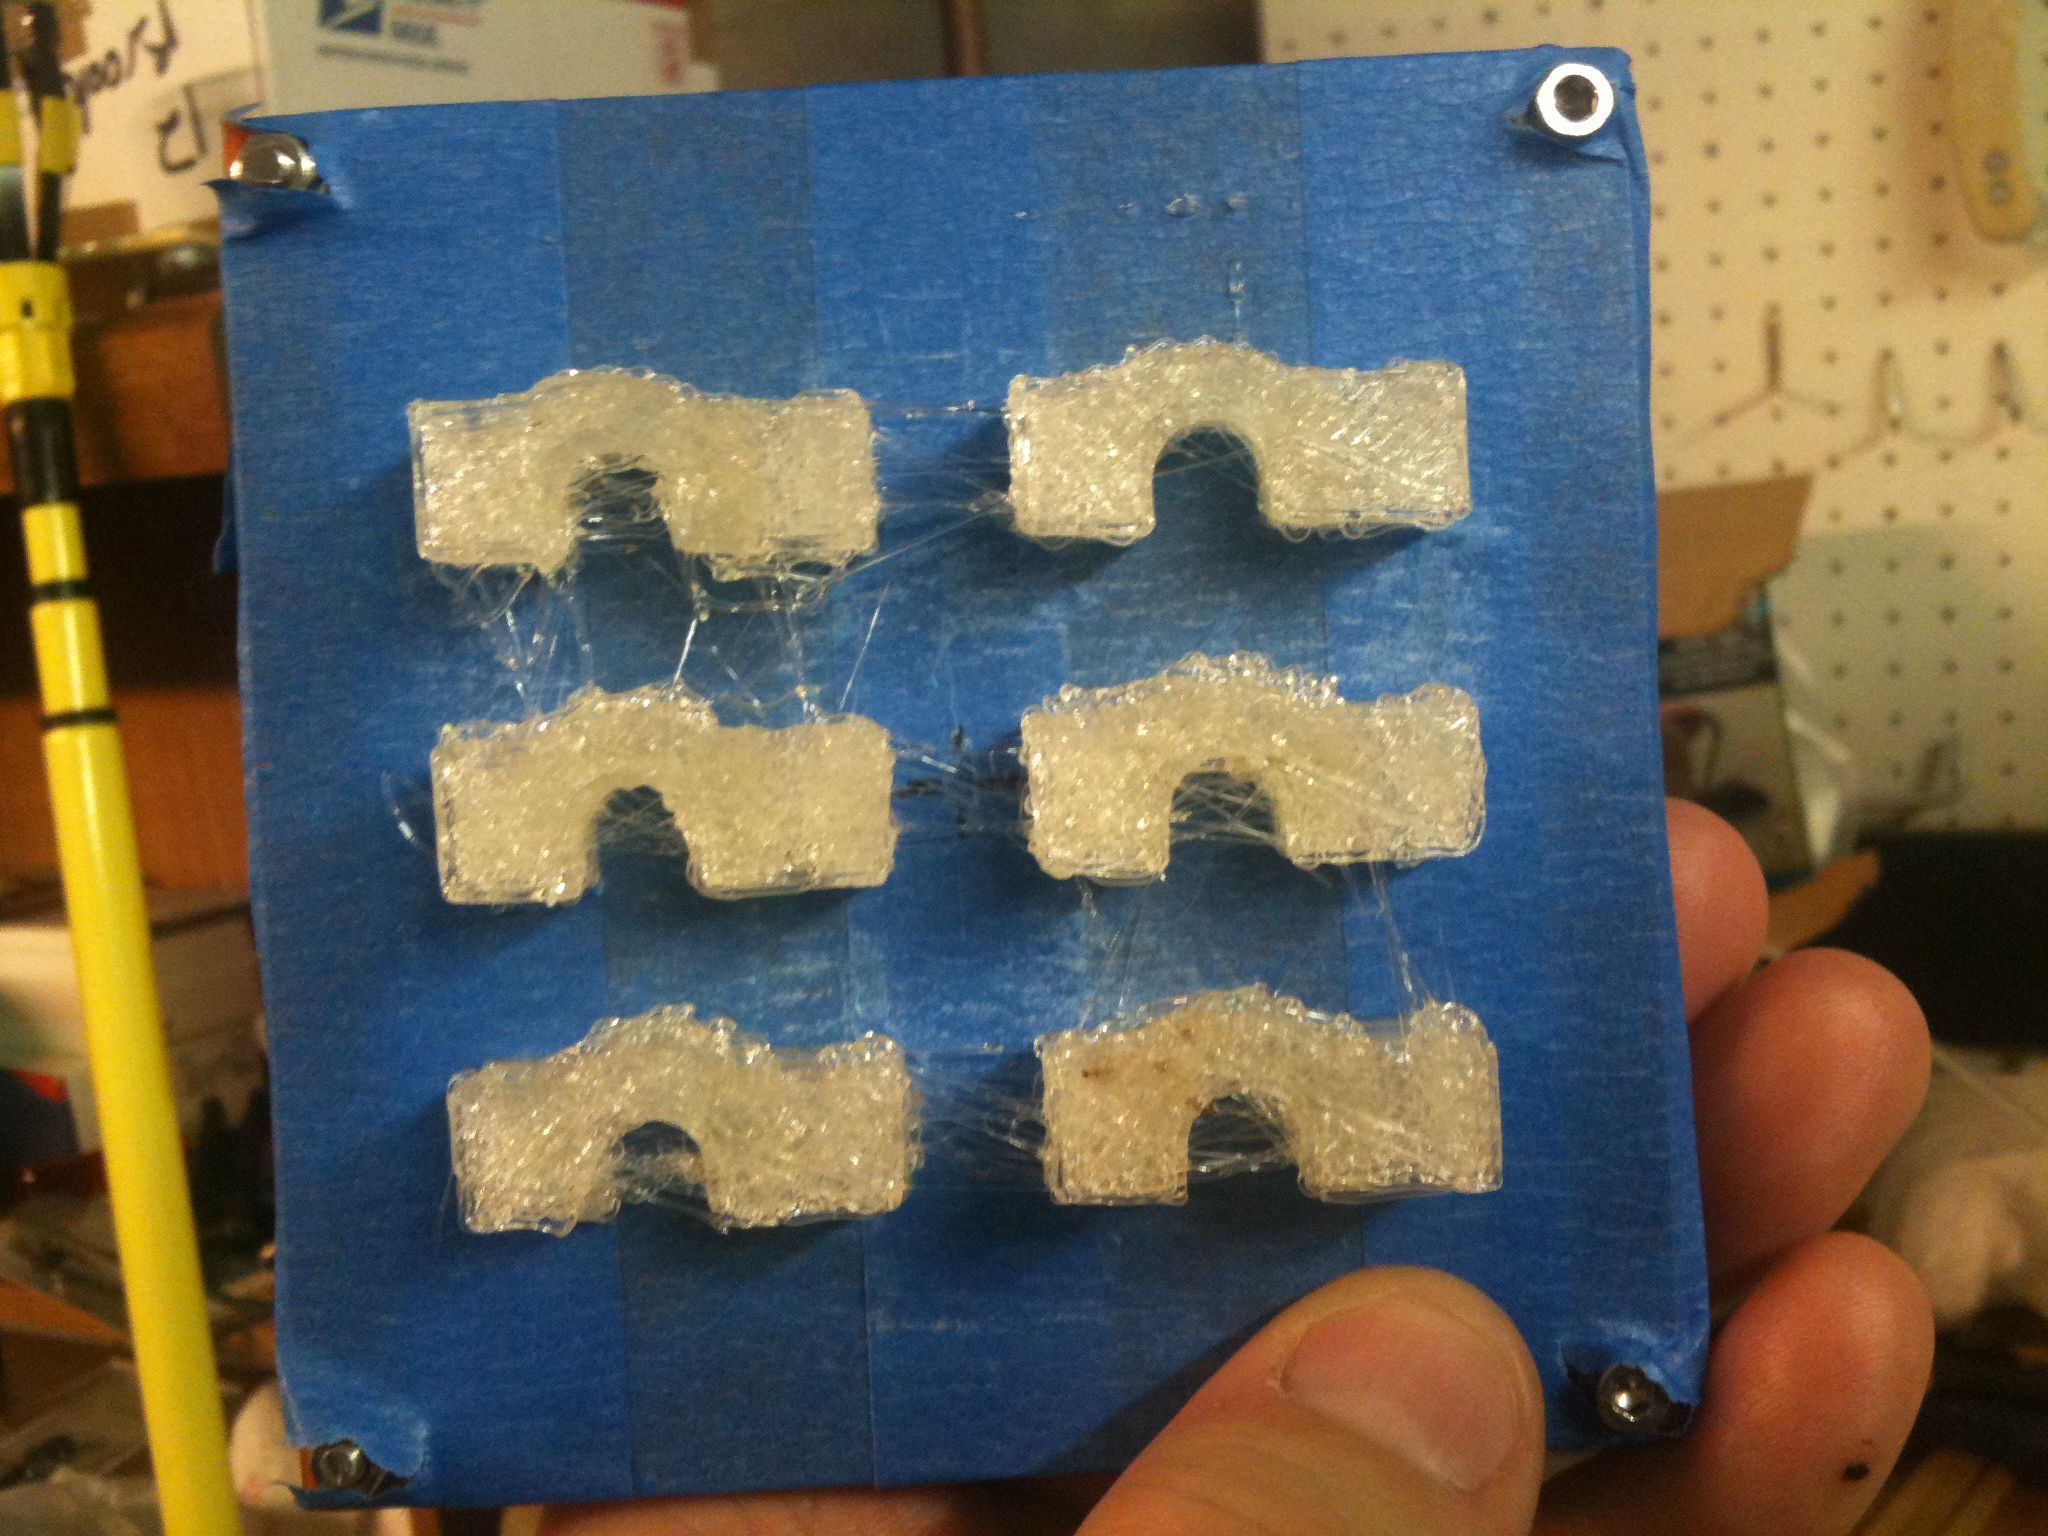
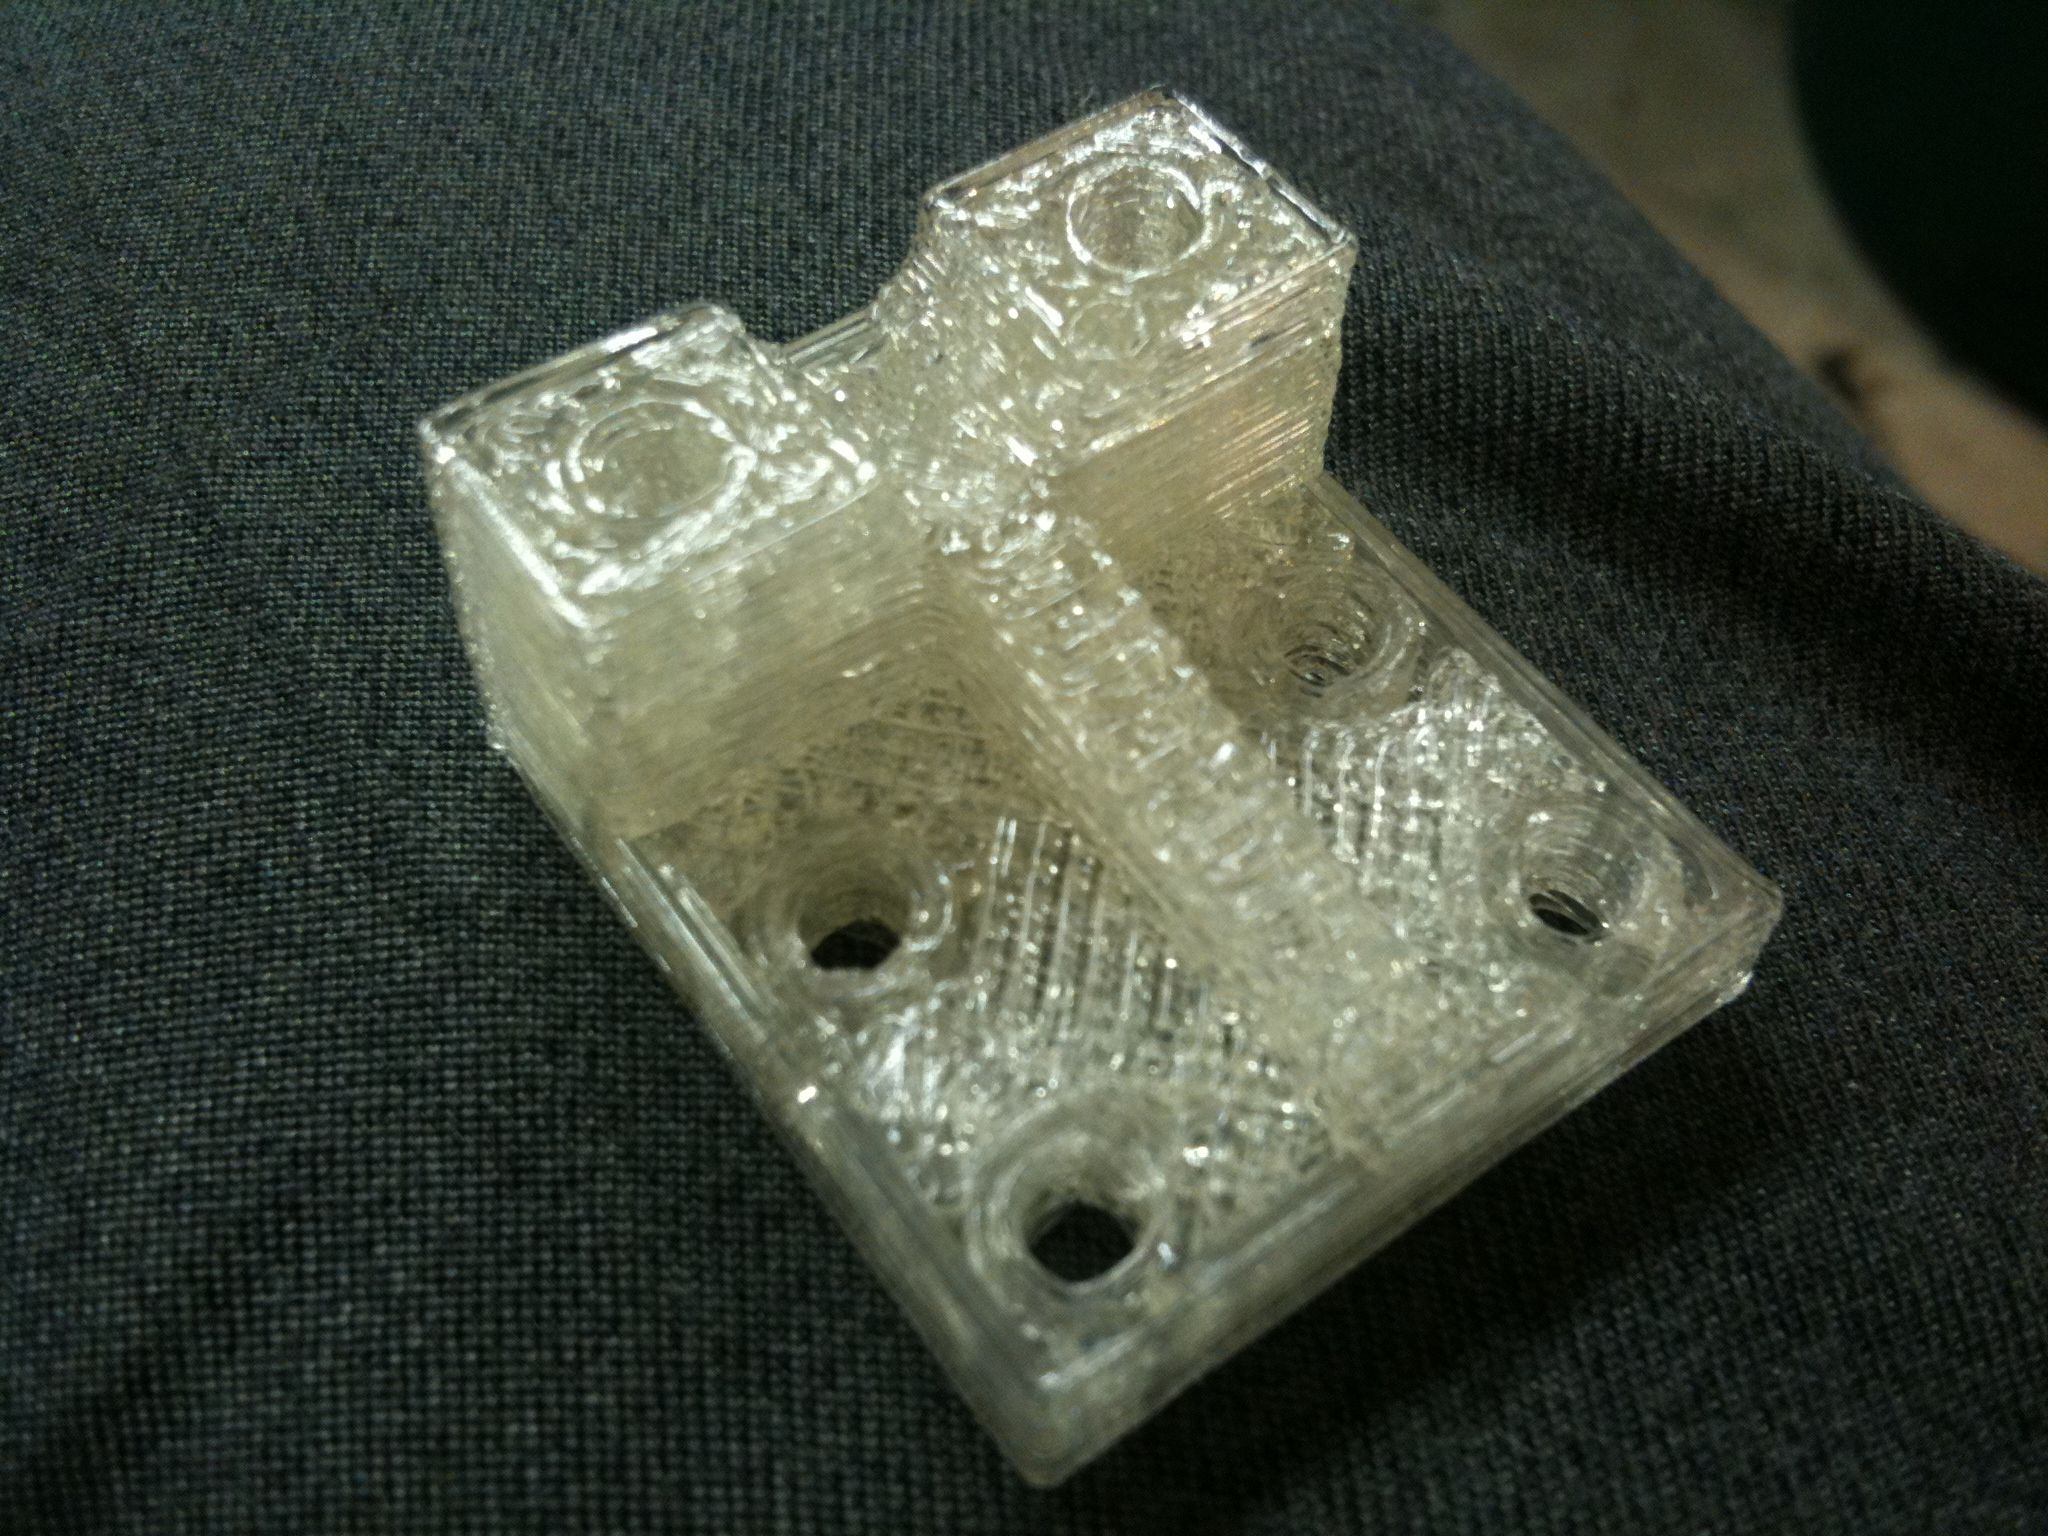
I tried printing this next piece 4-at-a-time with the Multiply plugin in Skeinforge at least twice until I gave up and did them each by hand. The difference in this case was night and day – it was a FAR better print as a one-off:
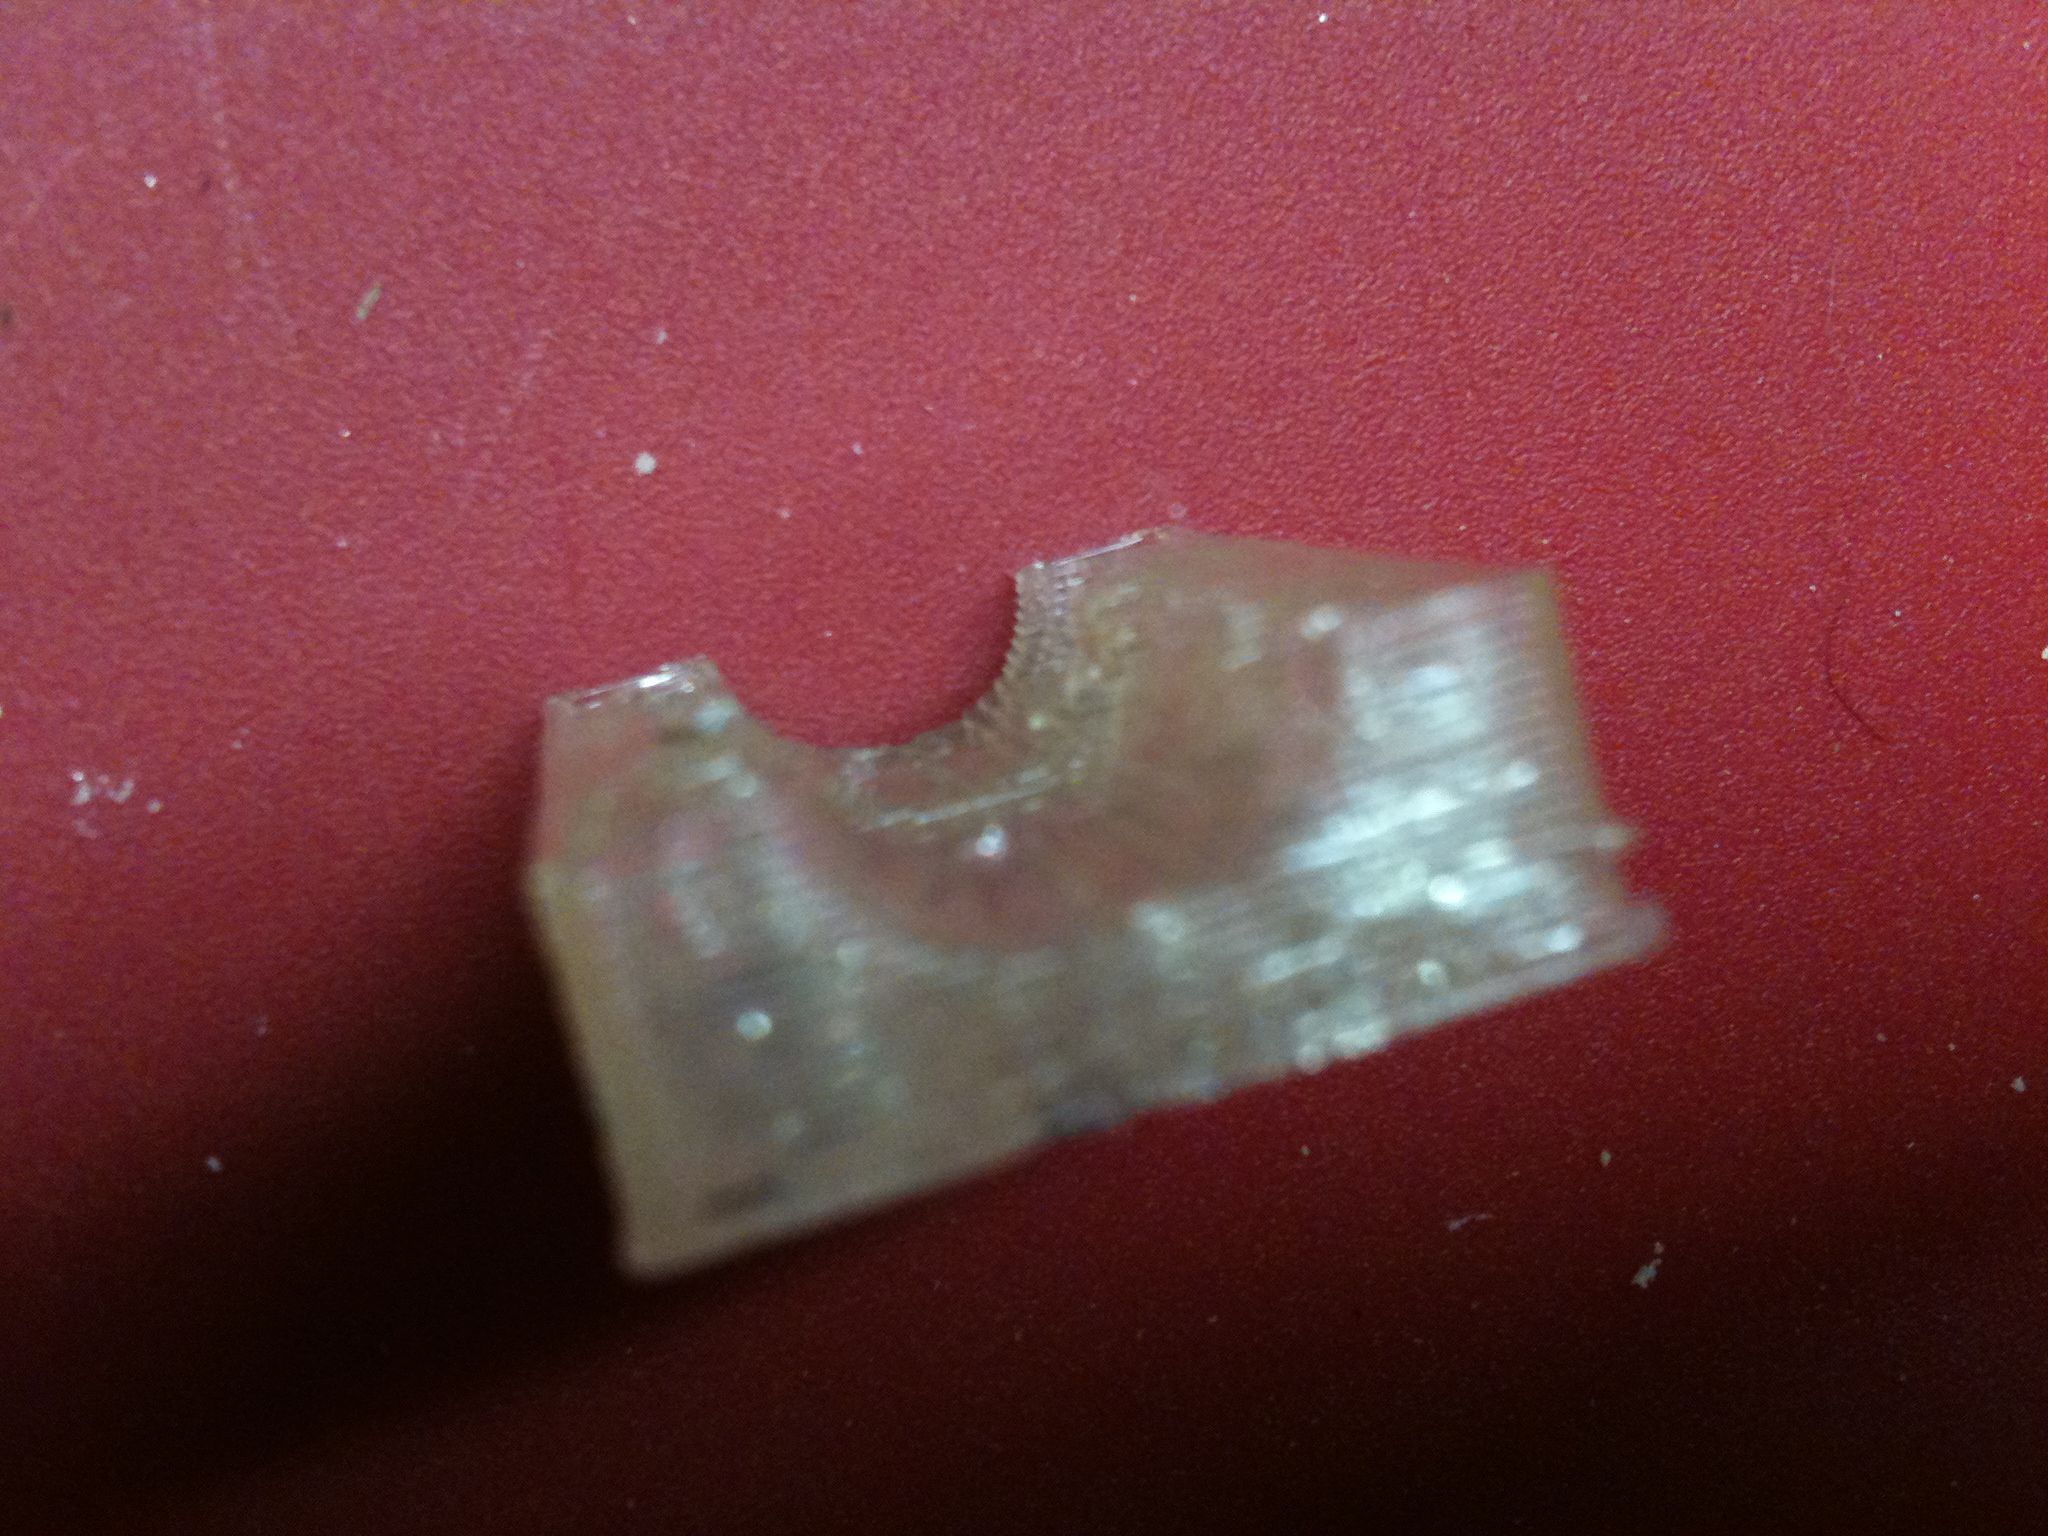
x-vert-drive-nut-trap_4off
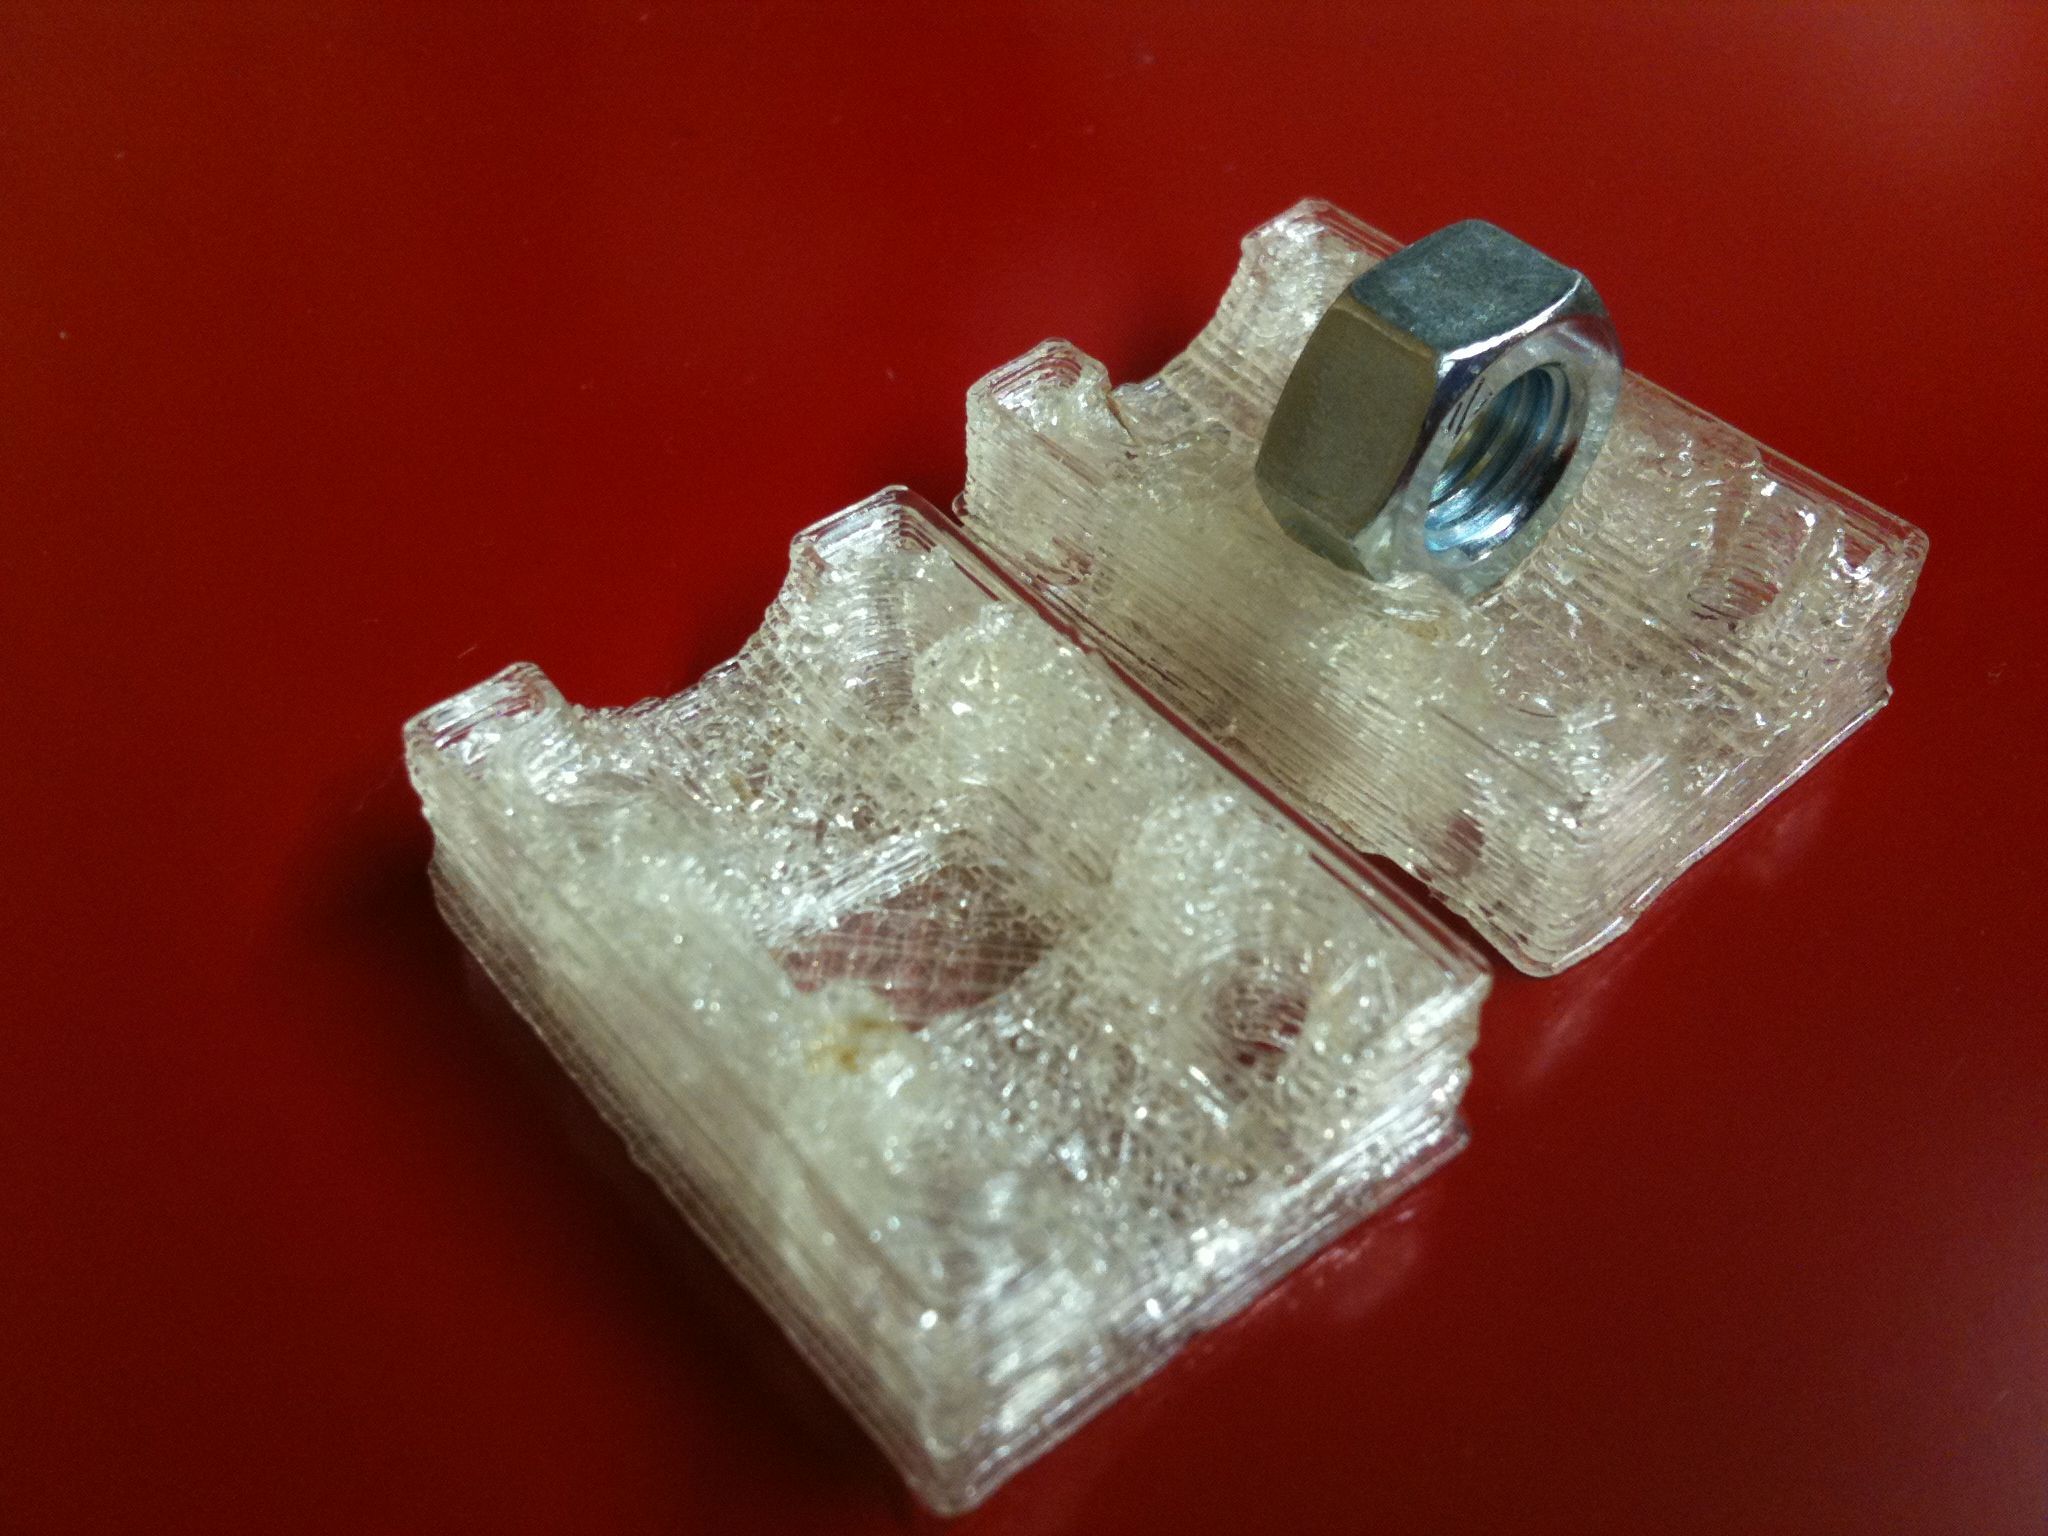
Two x-vert-drive-nut-trap_4off's, with an M8 nut in place
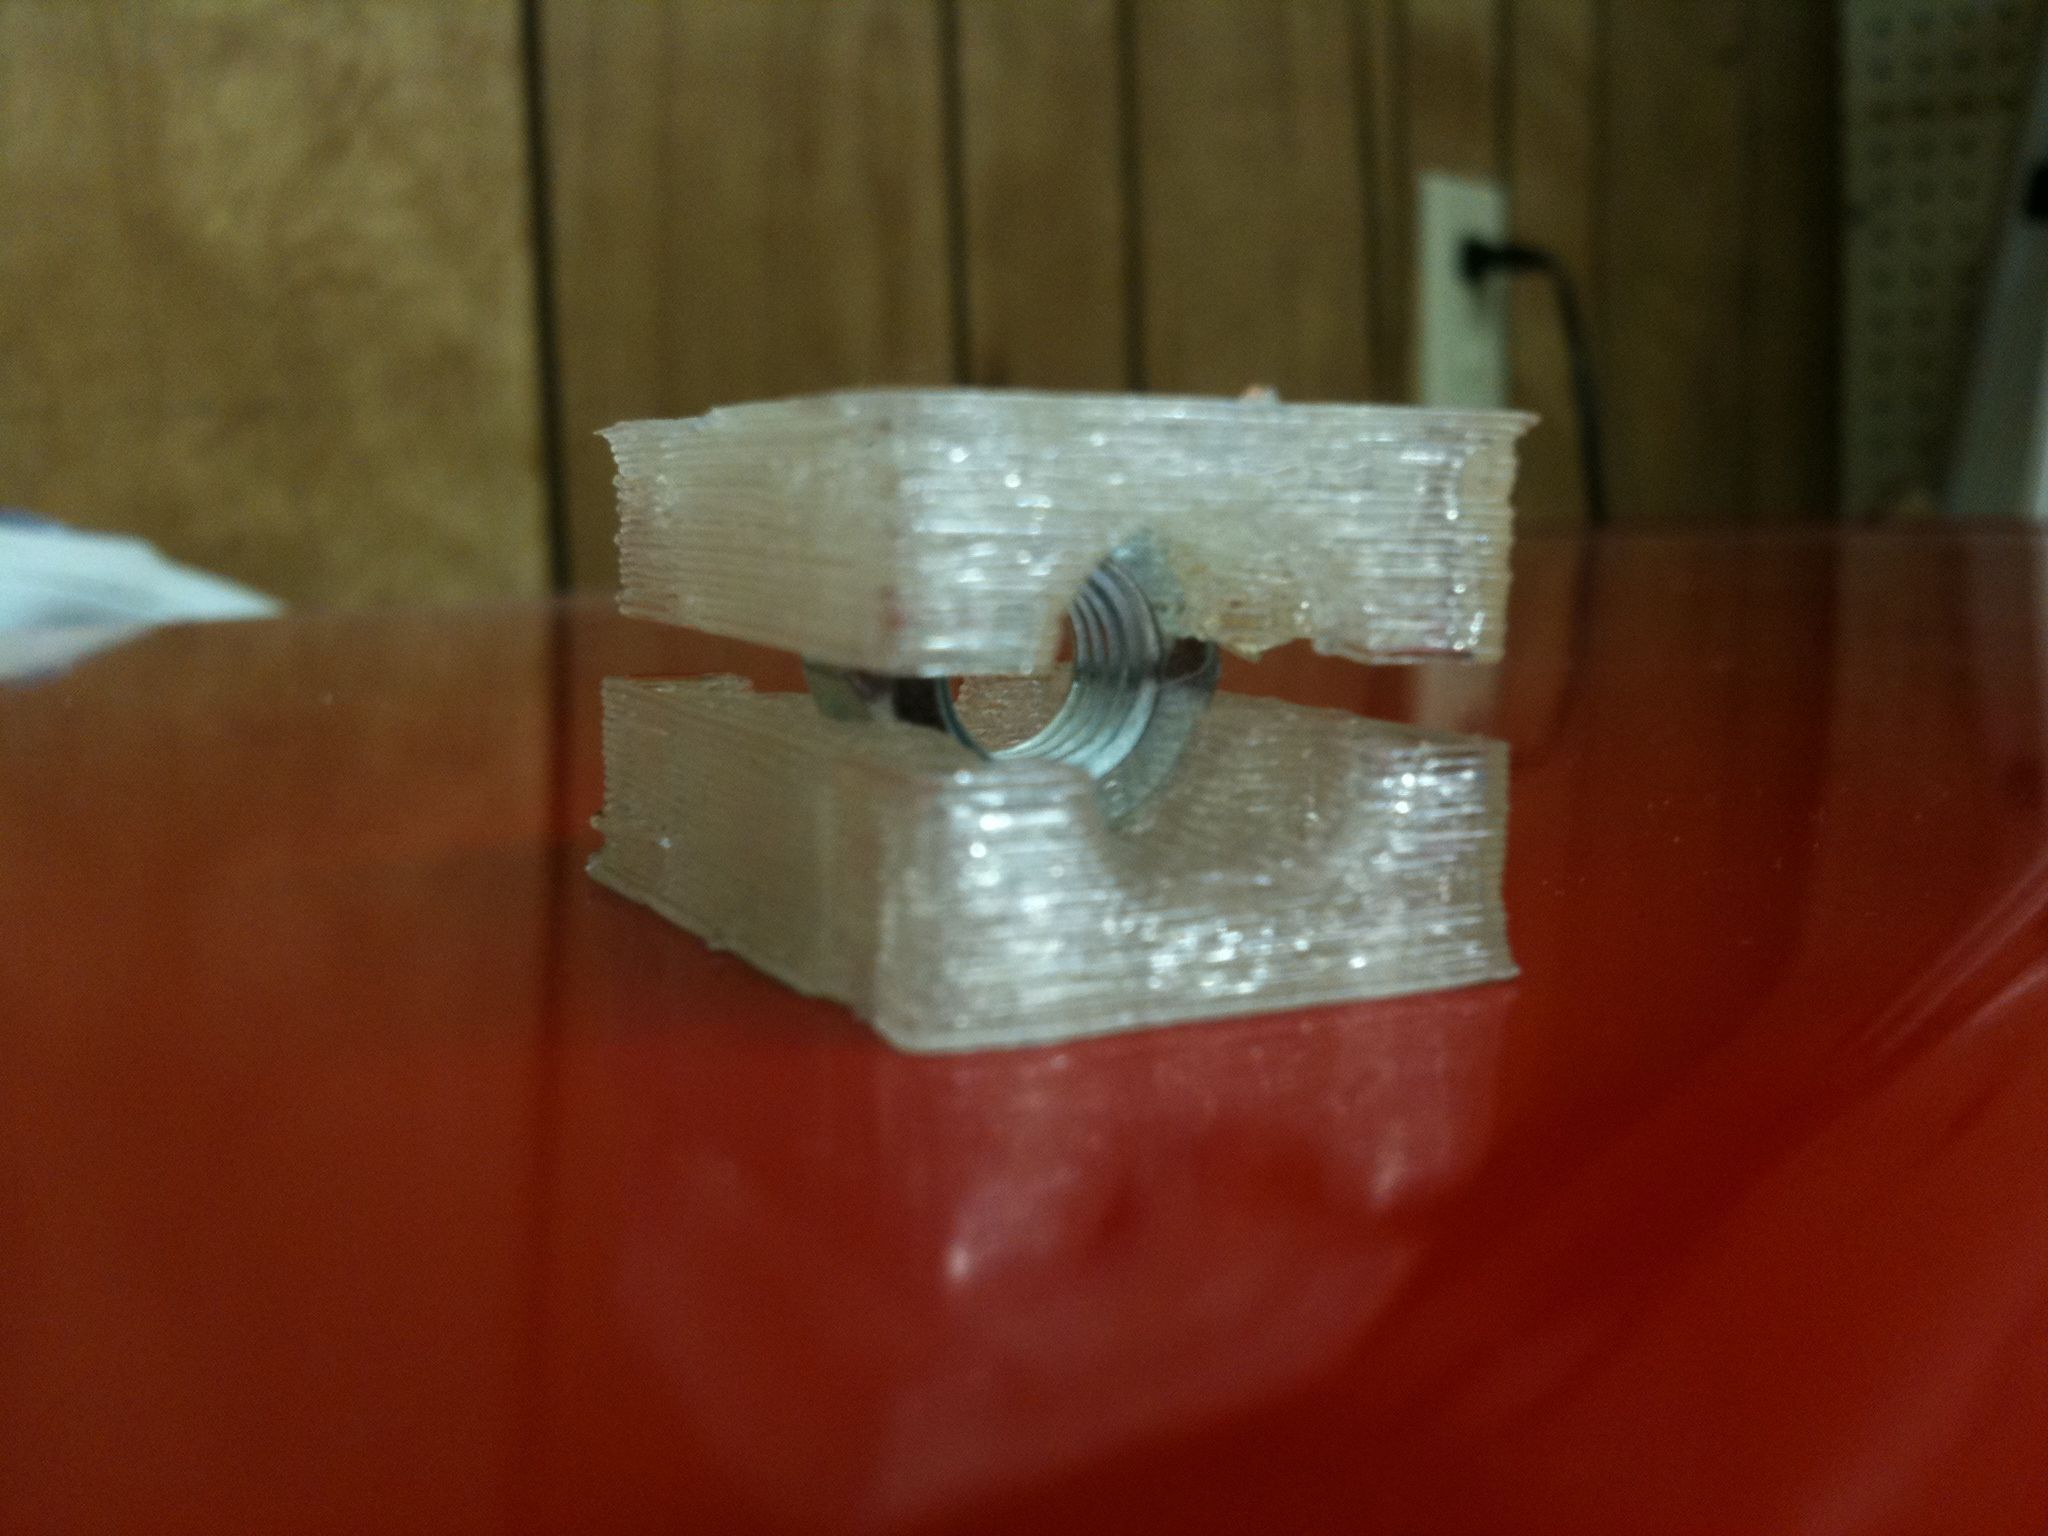
A successfully trapped M8 nut, between two x-vert-drive-nut-trap_4off parts
So then at some point I wanted to finally get around to making the “thin-sheet” opto-endflag parts out of aluminum Coke cans. (Tangent warning) While I’m talking about opto-endstops, let me make my opinion clear on something. I’ve heard that Makerbot is no longer going to ship opto-endstop boards with their Makerbot kits because no one uses them. Well let me start out saying that I don’t use them on the Makerbot I’m using as a RepStrap, but I wanted to, and I certainly will be using them on my Mendel. They’re installed, just not being used. There are multiple reasons I don’t use them on the Makerbot:
1. The Popsicle stick slots on the Y carriage don’t line up with the opto-endstops on the side of the case, mounted correctly on the holes provided. Yes, I could line it up and drill the correct holes, but I didn’t. If this were my permanent machine, I might, if it weren’t for item #3 below.
2. The Z axis doesn’t even have a place for an endflag. You have to print your own out (which I did), mount it on the side (which I did), and hope that it doesn’t scrape up against the side of the wooden case and impede Z motion. Still, I have the printed one mounted on the table, but by design it’s not long enough to reach the endstop, so you’re supposed to put tape or something on the bottom. The one I printed out was ABS, so it’s warped, so I haven’t even bothered trying. Again – fixable, but this shouldn’t be something that people optionally do – it should work for everyone.
3. This is the biggest reason I haven’t bothered to get it all working: there are recurring stories of correctly mounted endstops not reacting well to events! I haven’t looked into those particular issues much because my endgame is a Mendel, but the stories say that the firmware doesn’t handle it well, etc.
I think it’s a shame that everyone doesn’t have an auto-homing device that uses the endstops at the beginning of each build to home itself and print correctly every single time. When we built this Makerbot we’d have installed the endstops and had it working (at least as well as the firmware allows) if we hadn’t read the line “It’s actually possible to run the Cupcake CNC with no endstops at all!” at 2:30am. The confusion surrounding the CAT5 cables and which pins to wire didn’t help much either. I’m looking forward to Mendel’s 3-endstop solution with correct homing behavior. (at least I hope its behavior is correct! I haven’t checked recently).
But I digress. Like I said, I wanted to build my endstop flags, so I did:
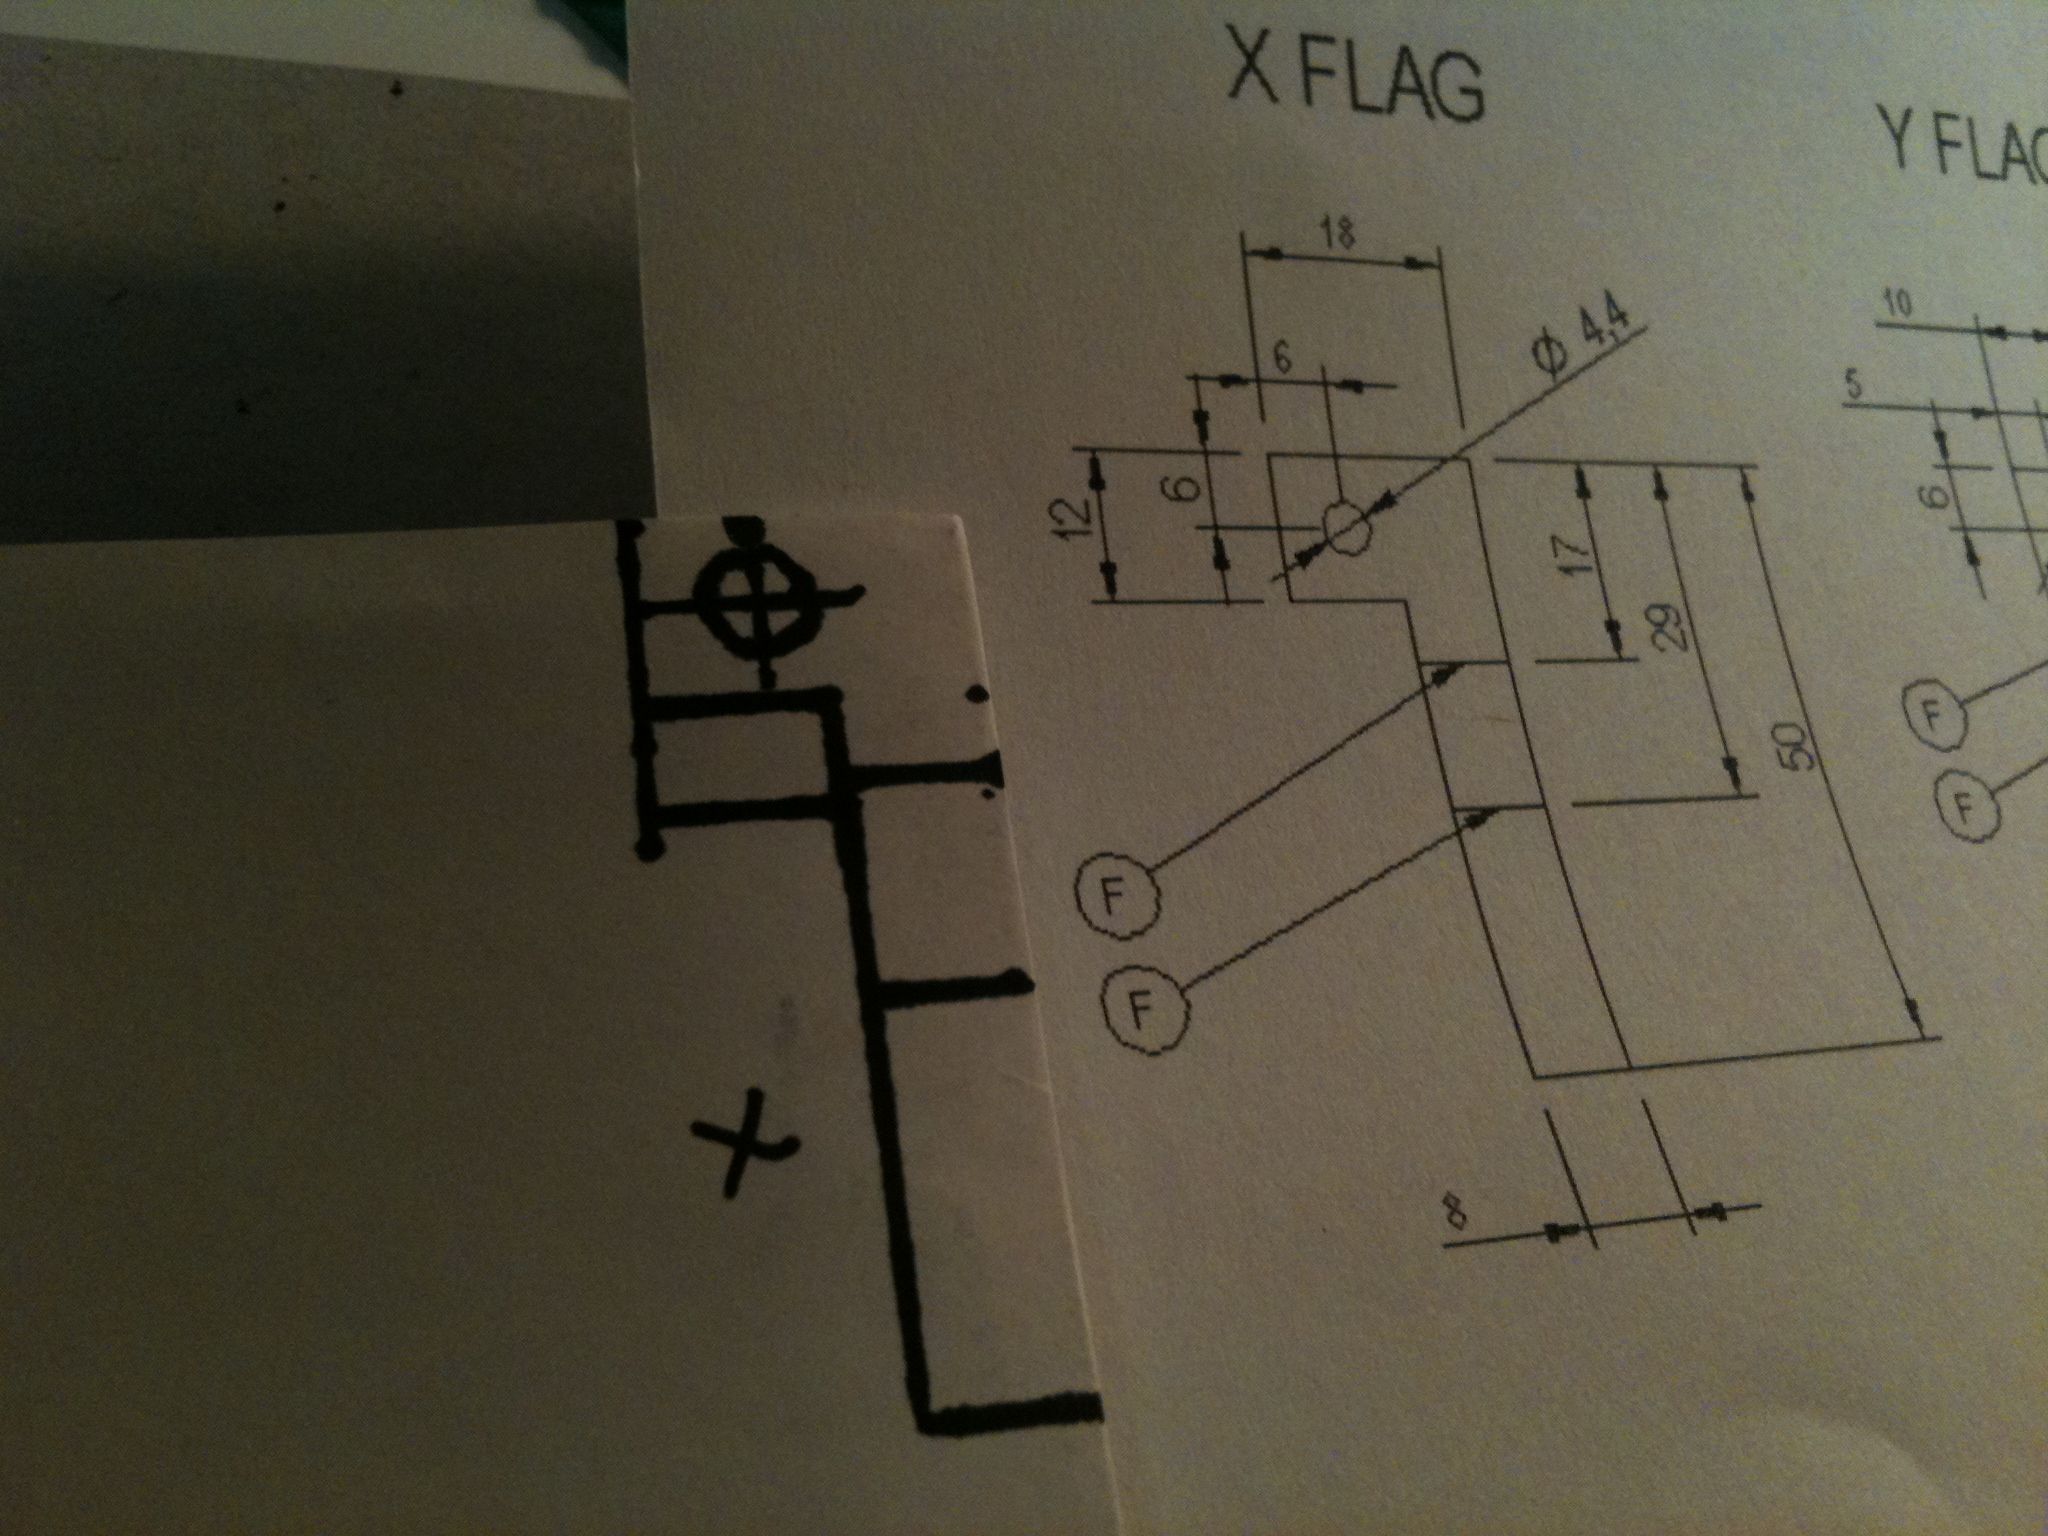
Redrawing the templates to scale by hand was easier than getting the DXF file to print unscaled.
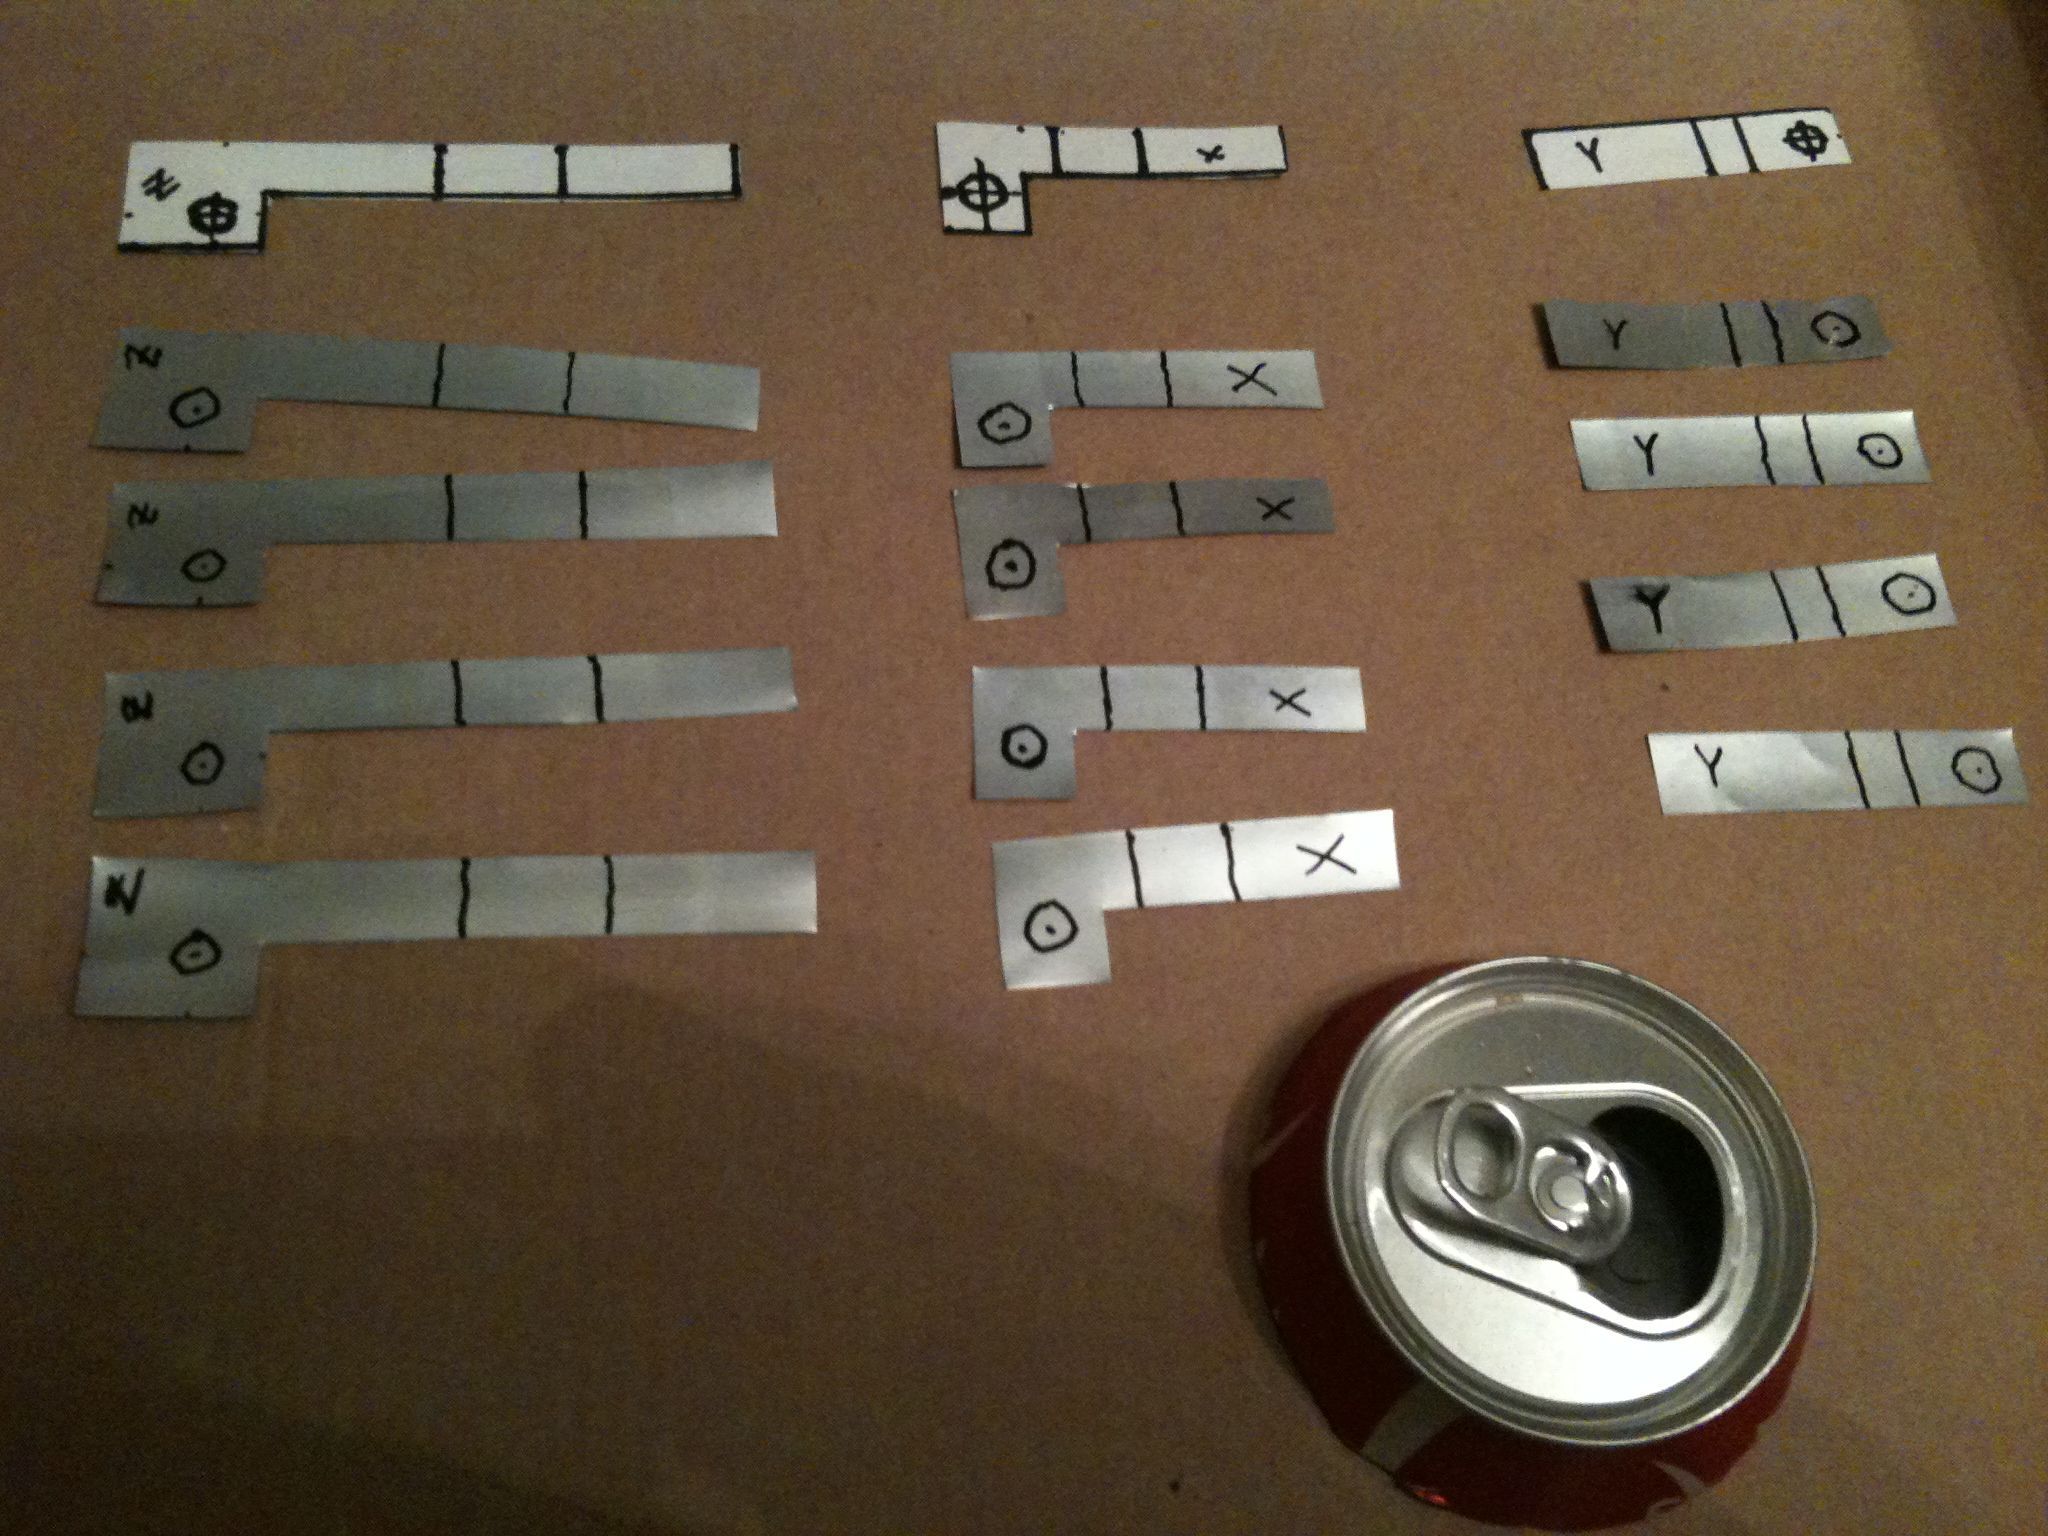
One coke can sacrificed its life, delivered me a delicious beverage, and produced 4 sets of opto endflags (3 spares each).
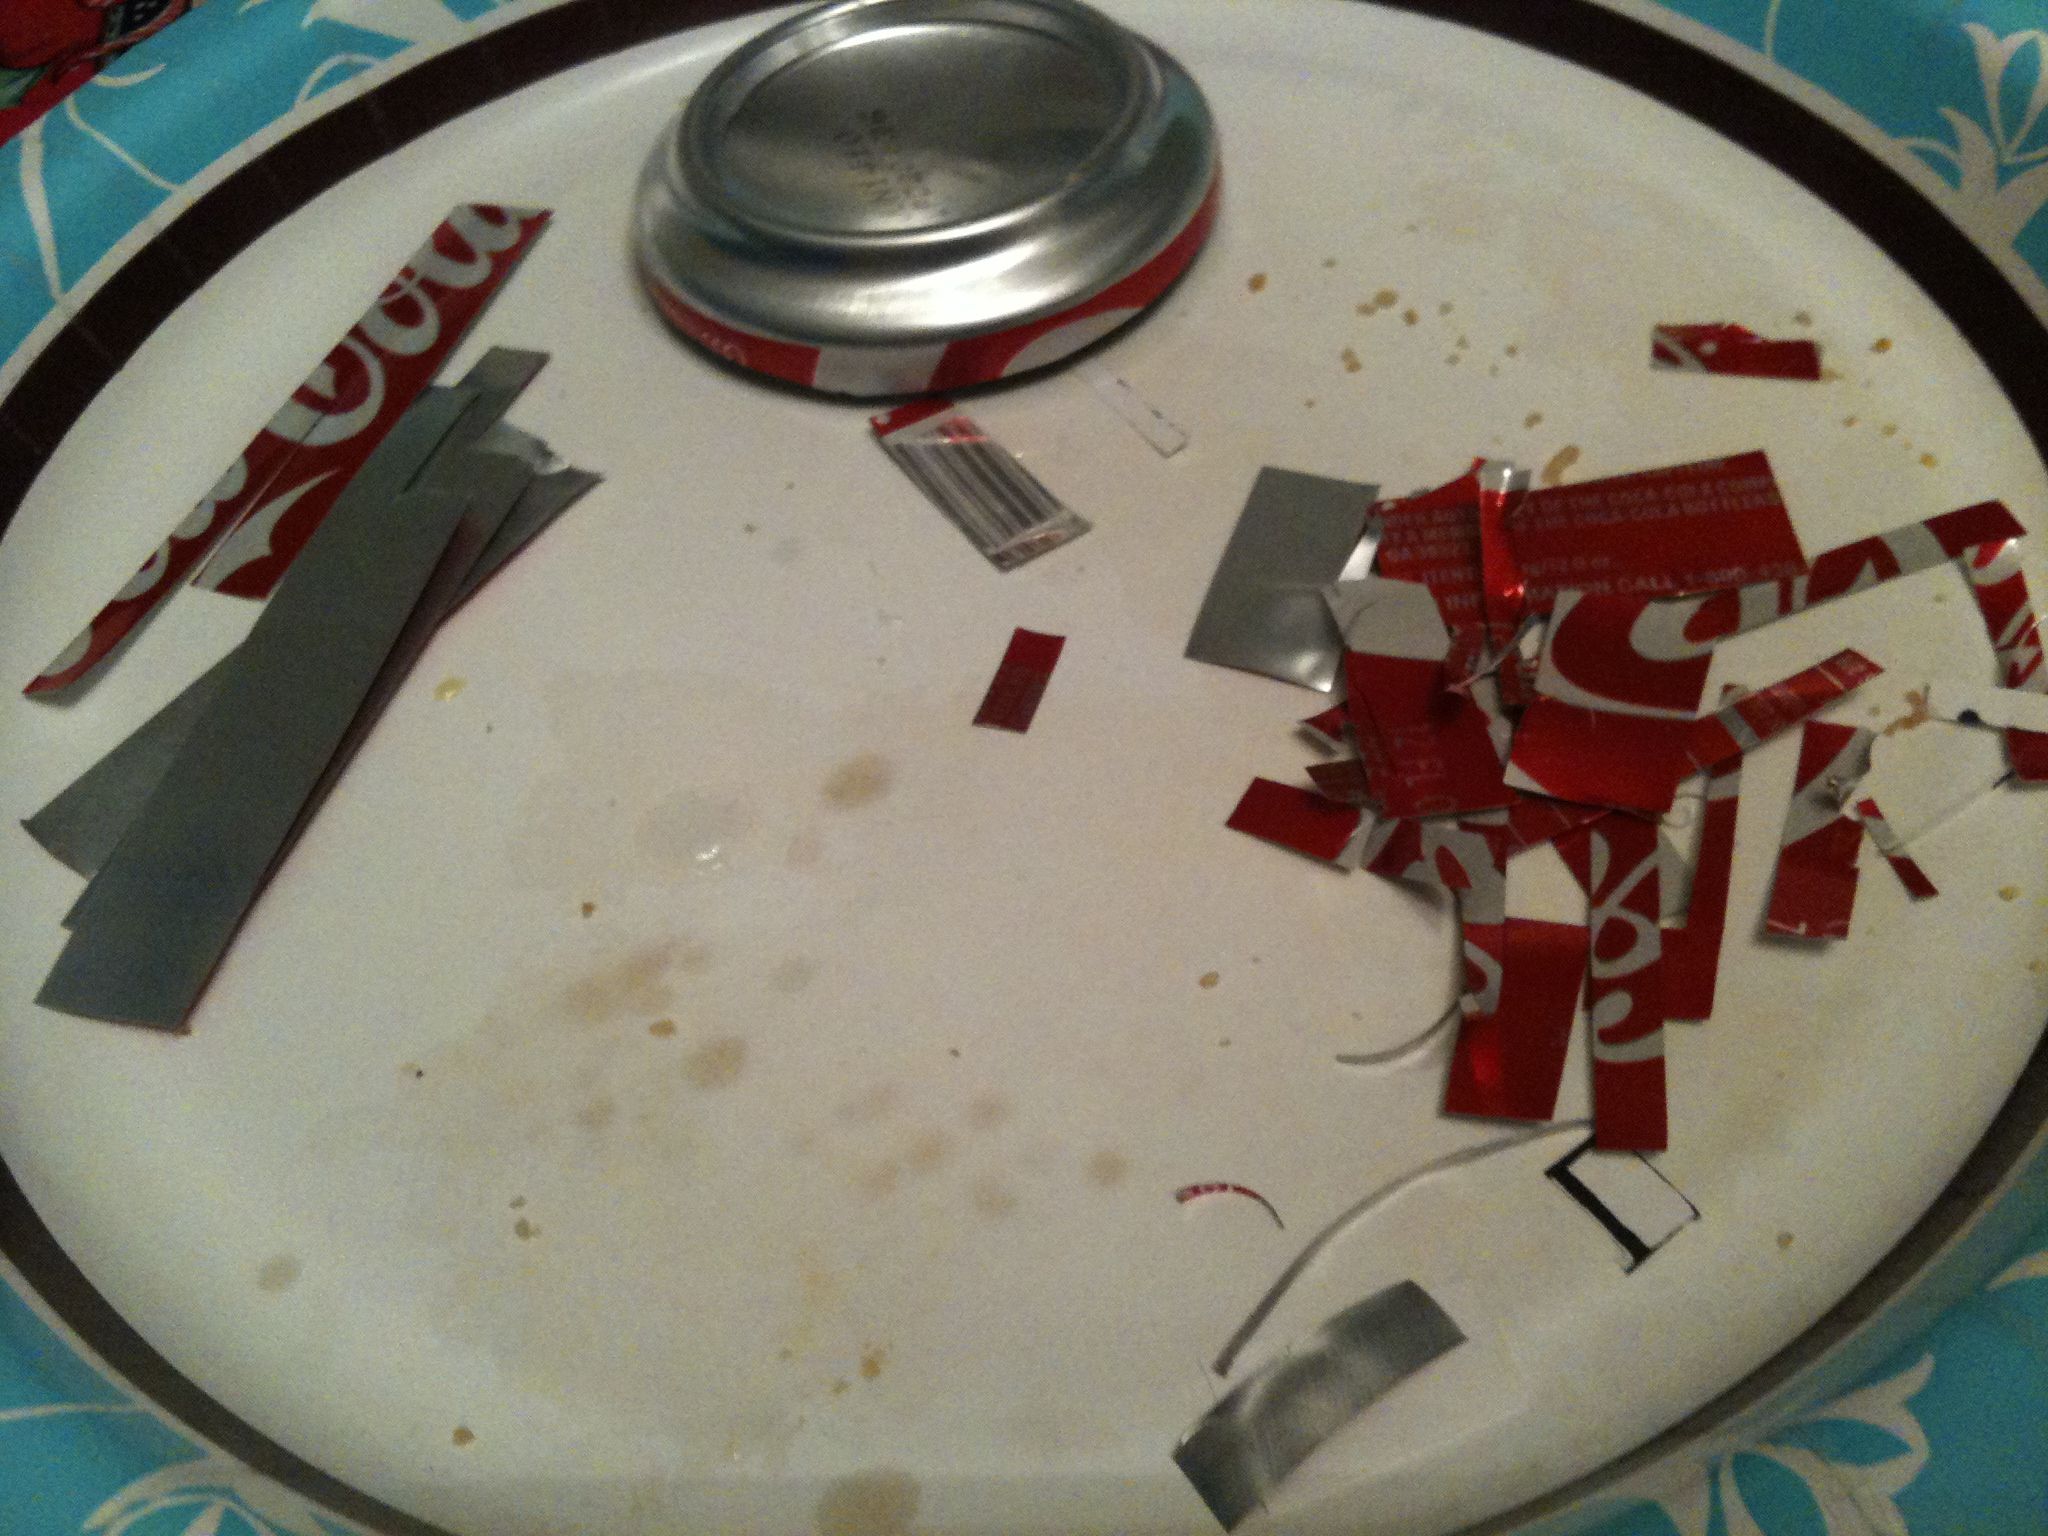
Here's the rest of the Coke can. These pieces don't get to live on forever in a RepRap. 🙁
Late Sunday, the Makerbot plastruder jammed again. This time it was plastic stuck in the acrylic that I just couldn’t get out. I took the plastruder apart, got the plastic out, flossed the gears for the hell of it, put it all back together, and then before reattaching the heater barrel assembly I figured I’d heat it up to let molten PLA drain out. Sigh. Something happened (don’t remember what), and eventually I had no temperature reading. I looked down and I’d pulled out one of the wires going to the still-intact thermistor (despite a pretty good crimp I thought). Damn.
Now though I was stuck with the problem that I had this M6 nut behind the metal retainer ring thing there, and it wouldn’t budge. So I couldn’t make room to get in there to unwind just the thermistor and the kapton tape around it. After enough fumbling trying to do that, I felt something give, and instinctively knew I’d just ruined the heater connection (and I had).
I stripped the heater barrel all the way down, again:
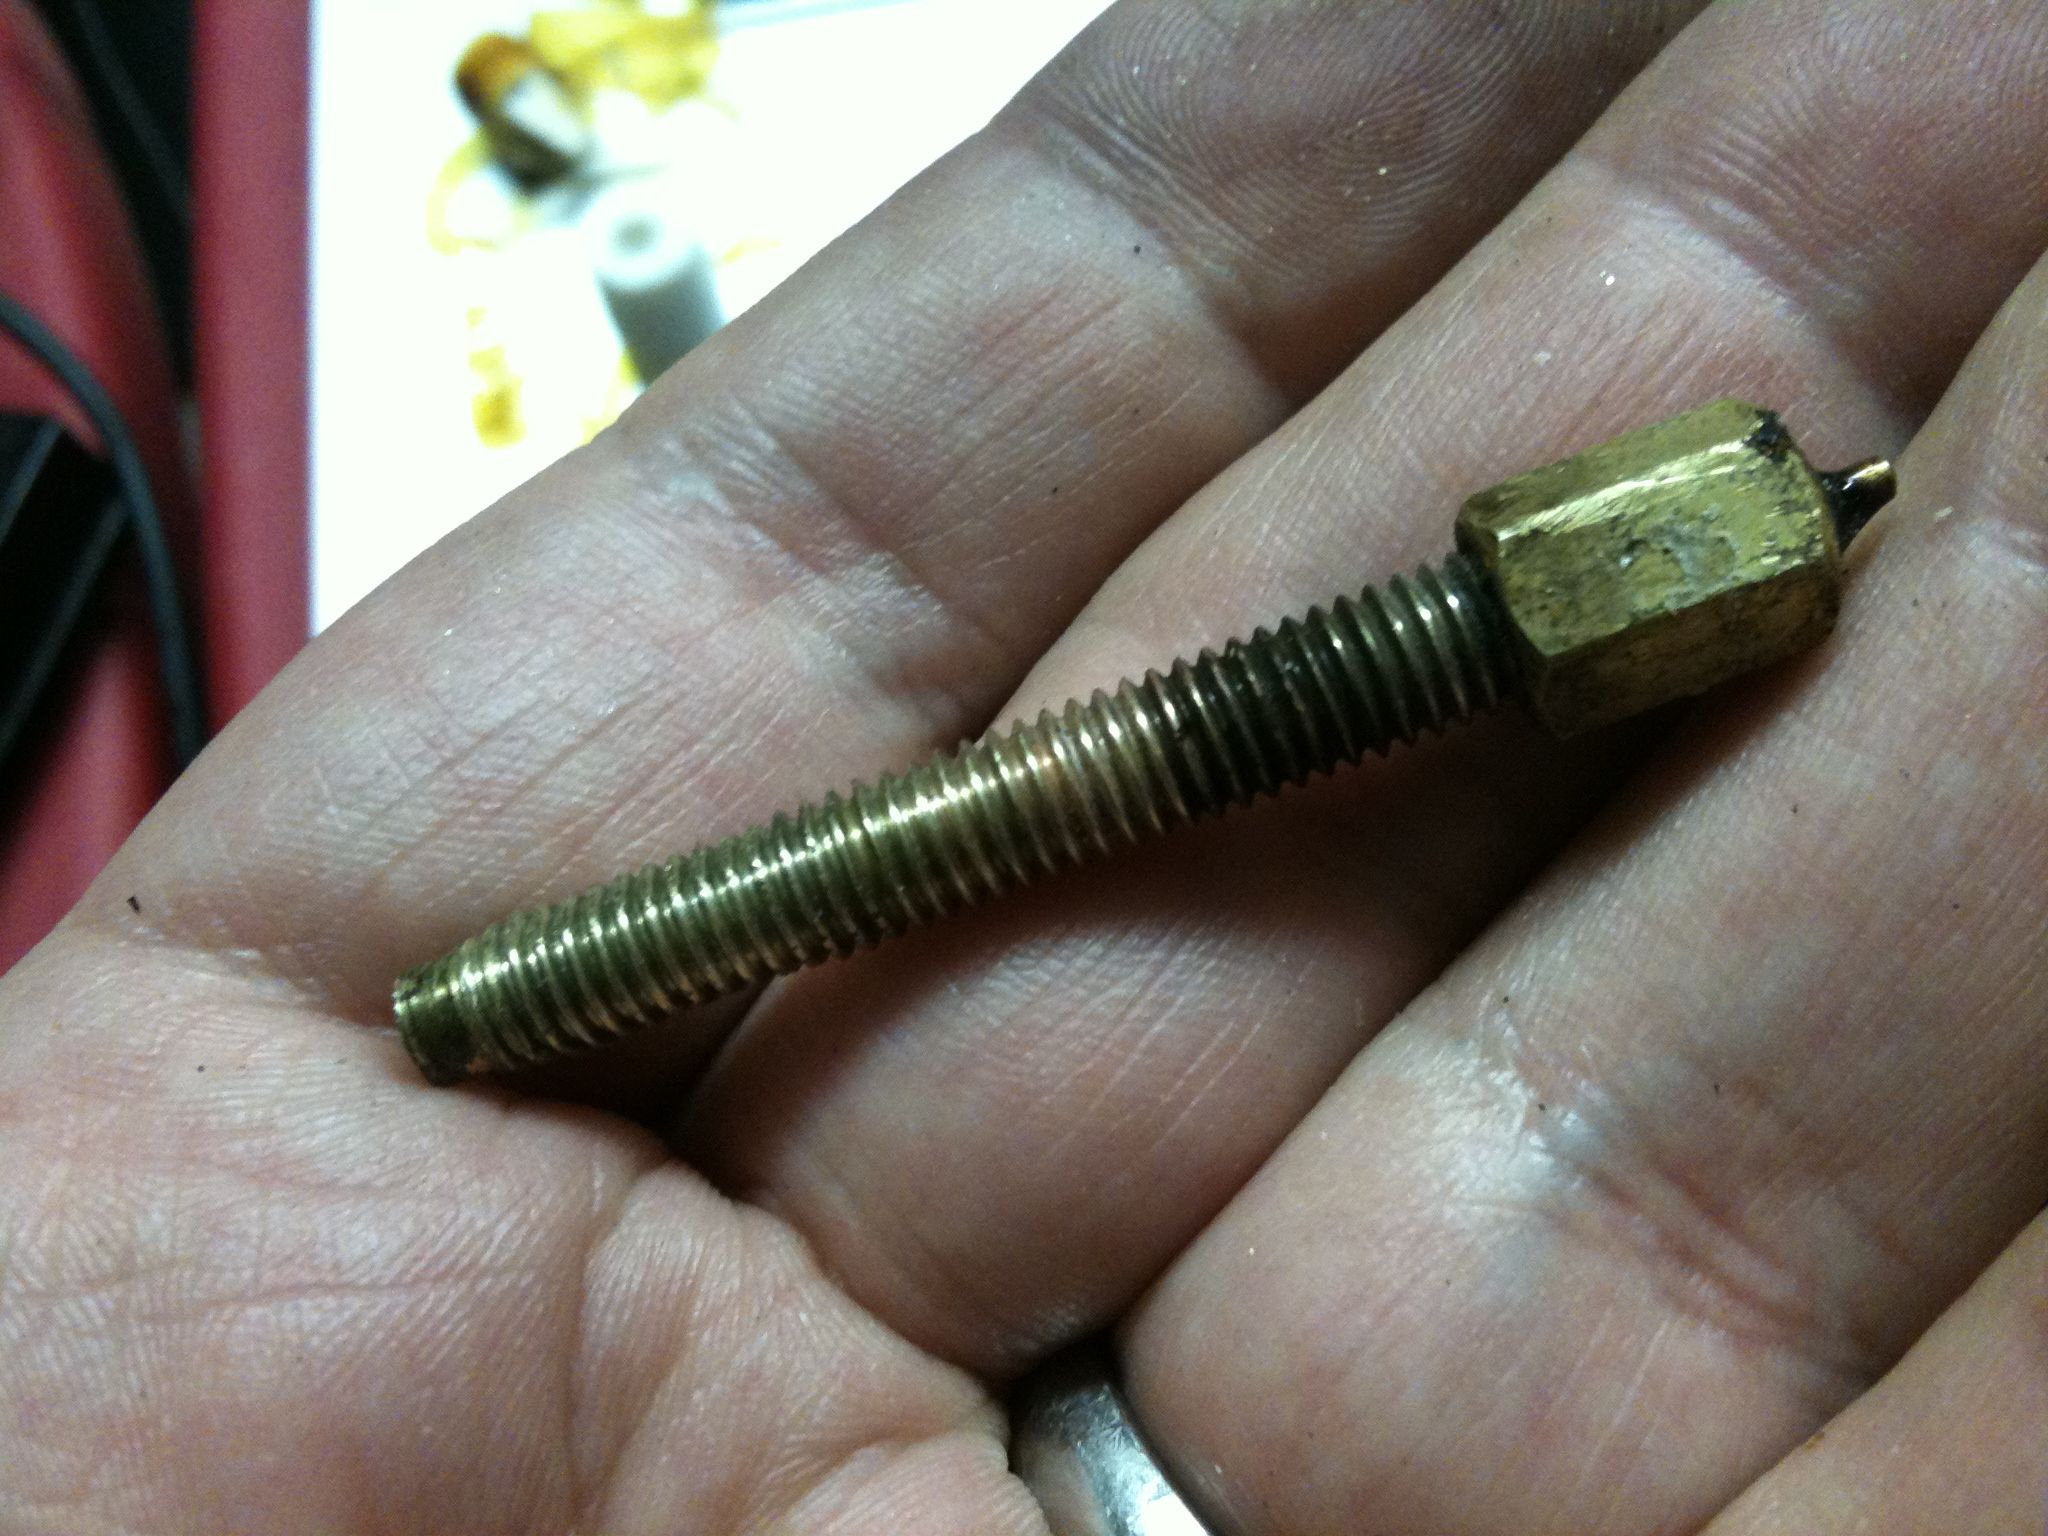
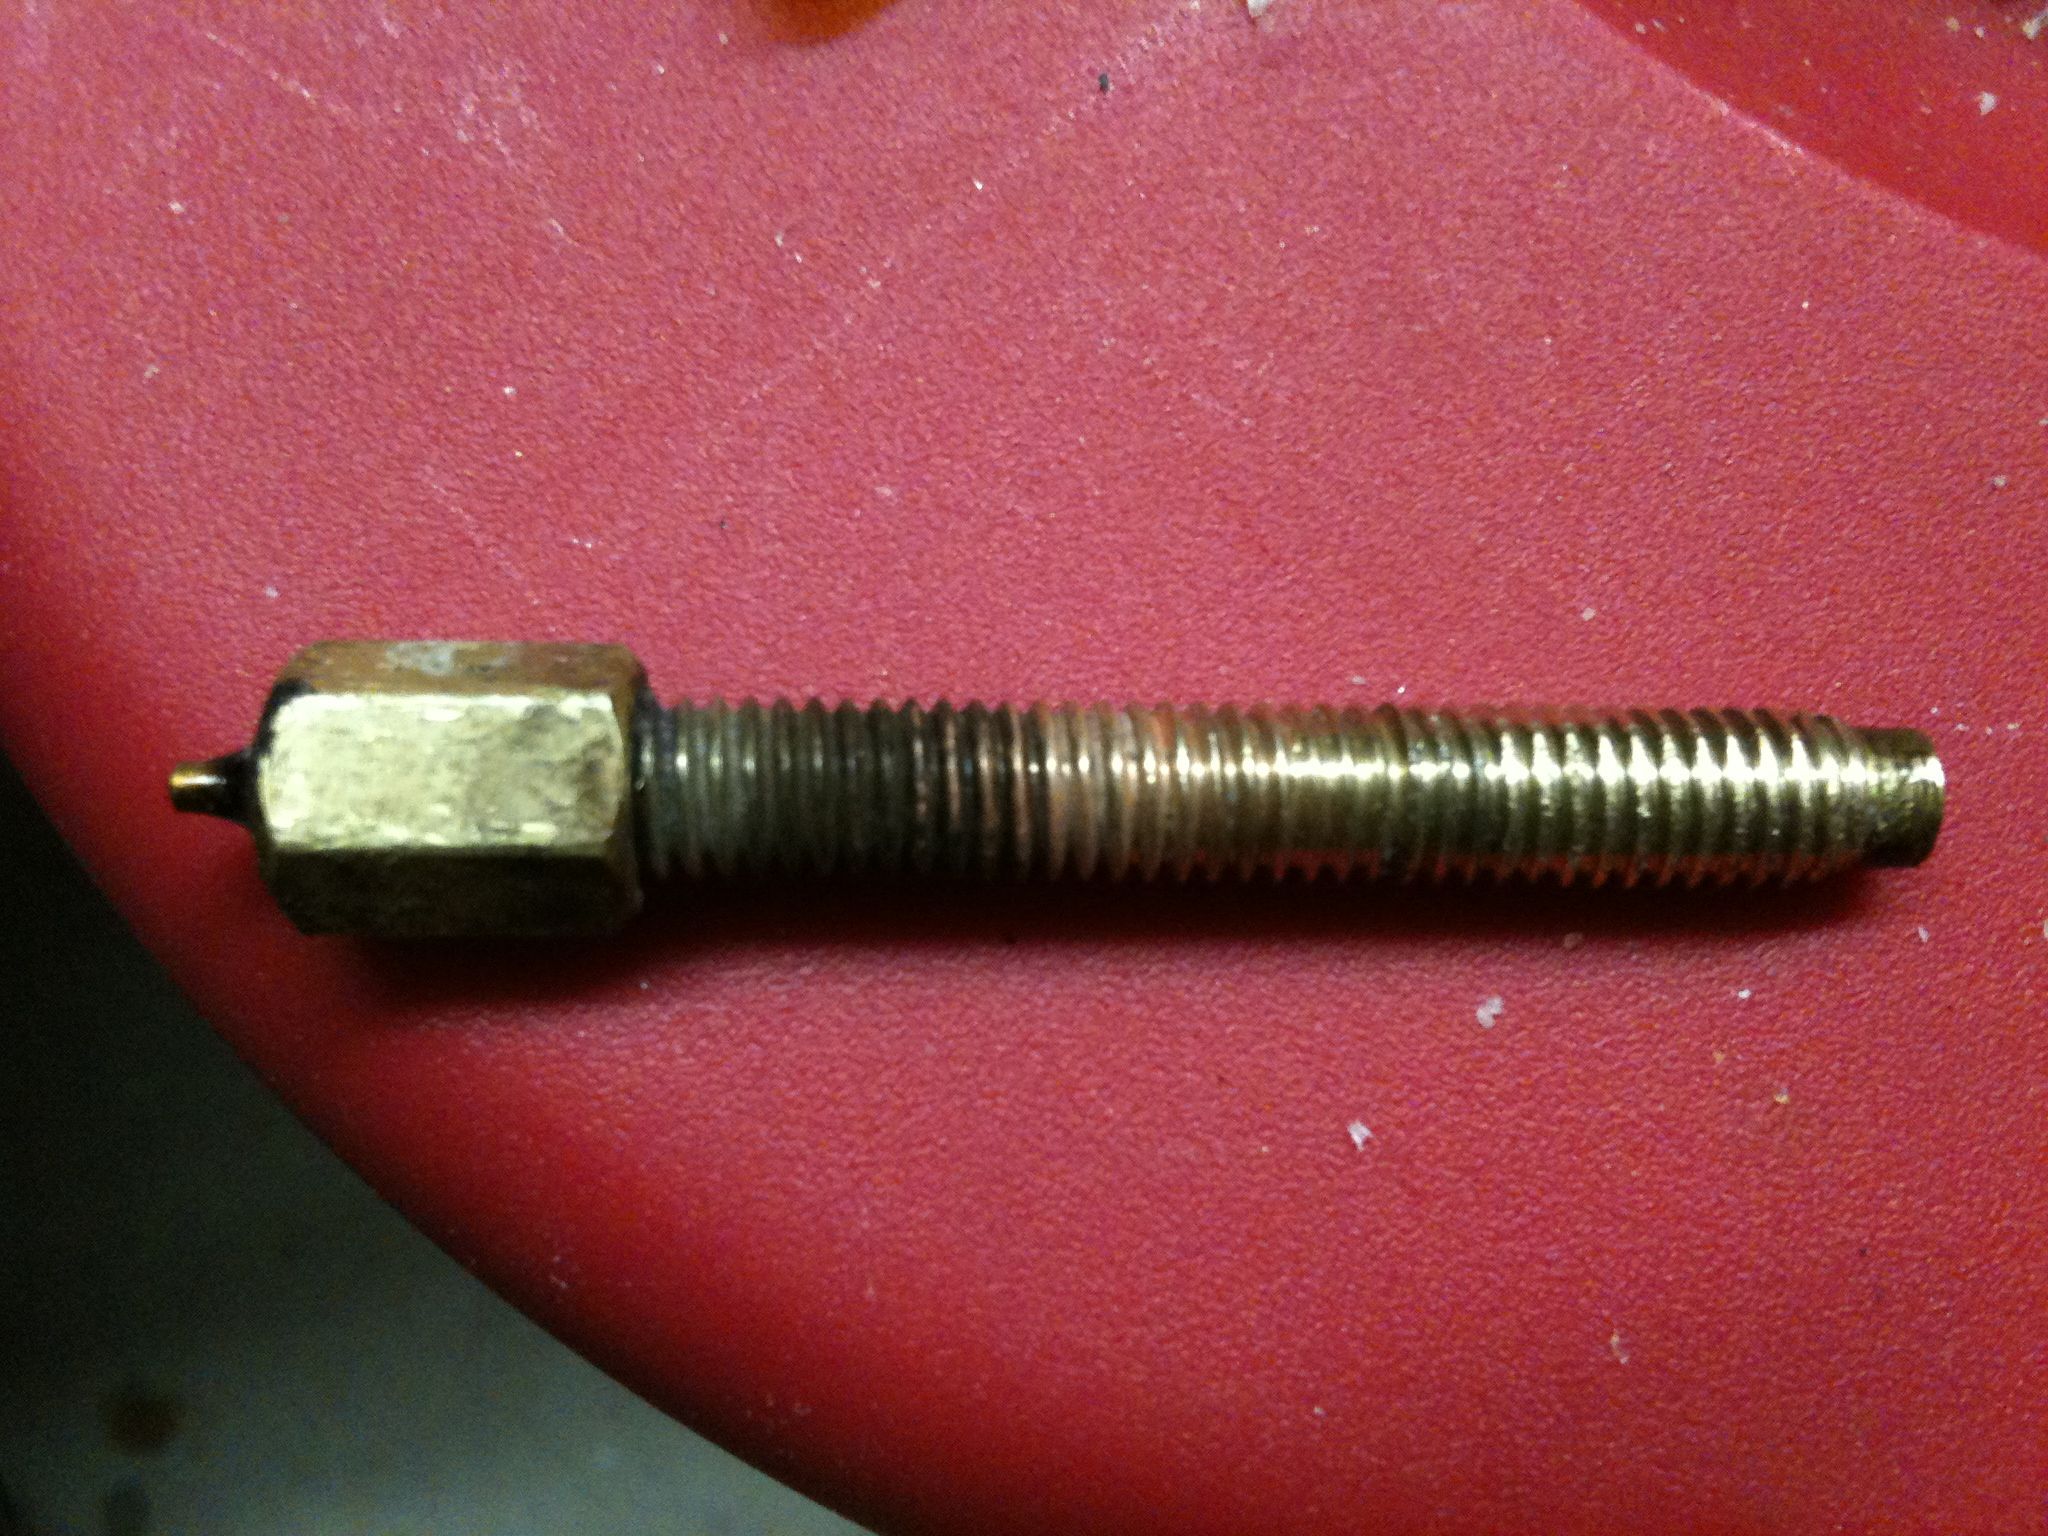
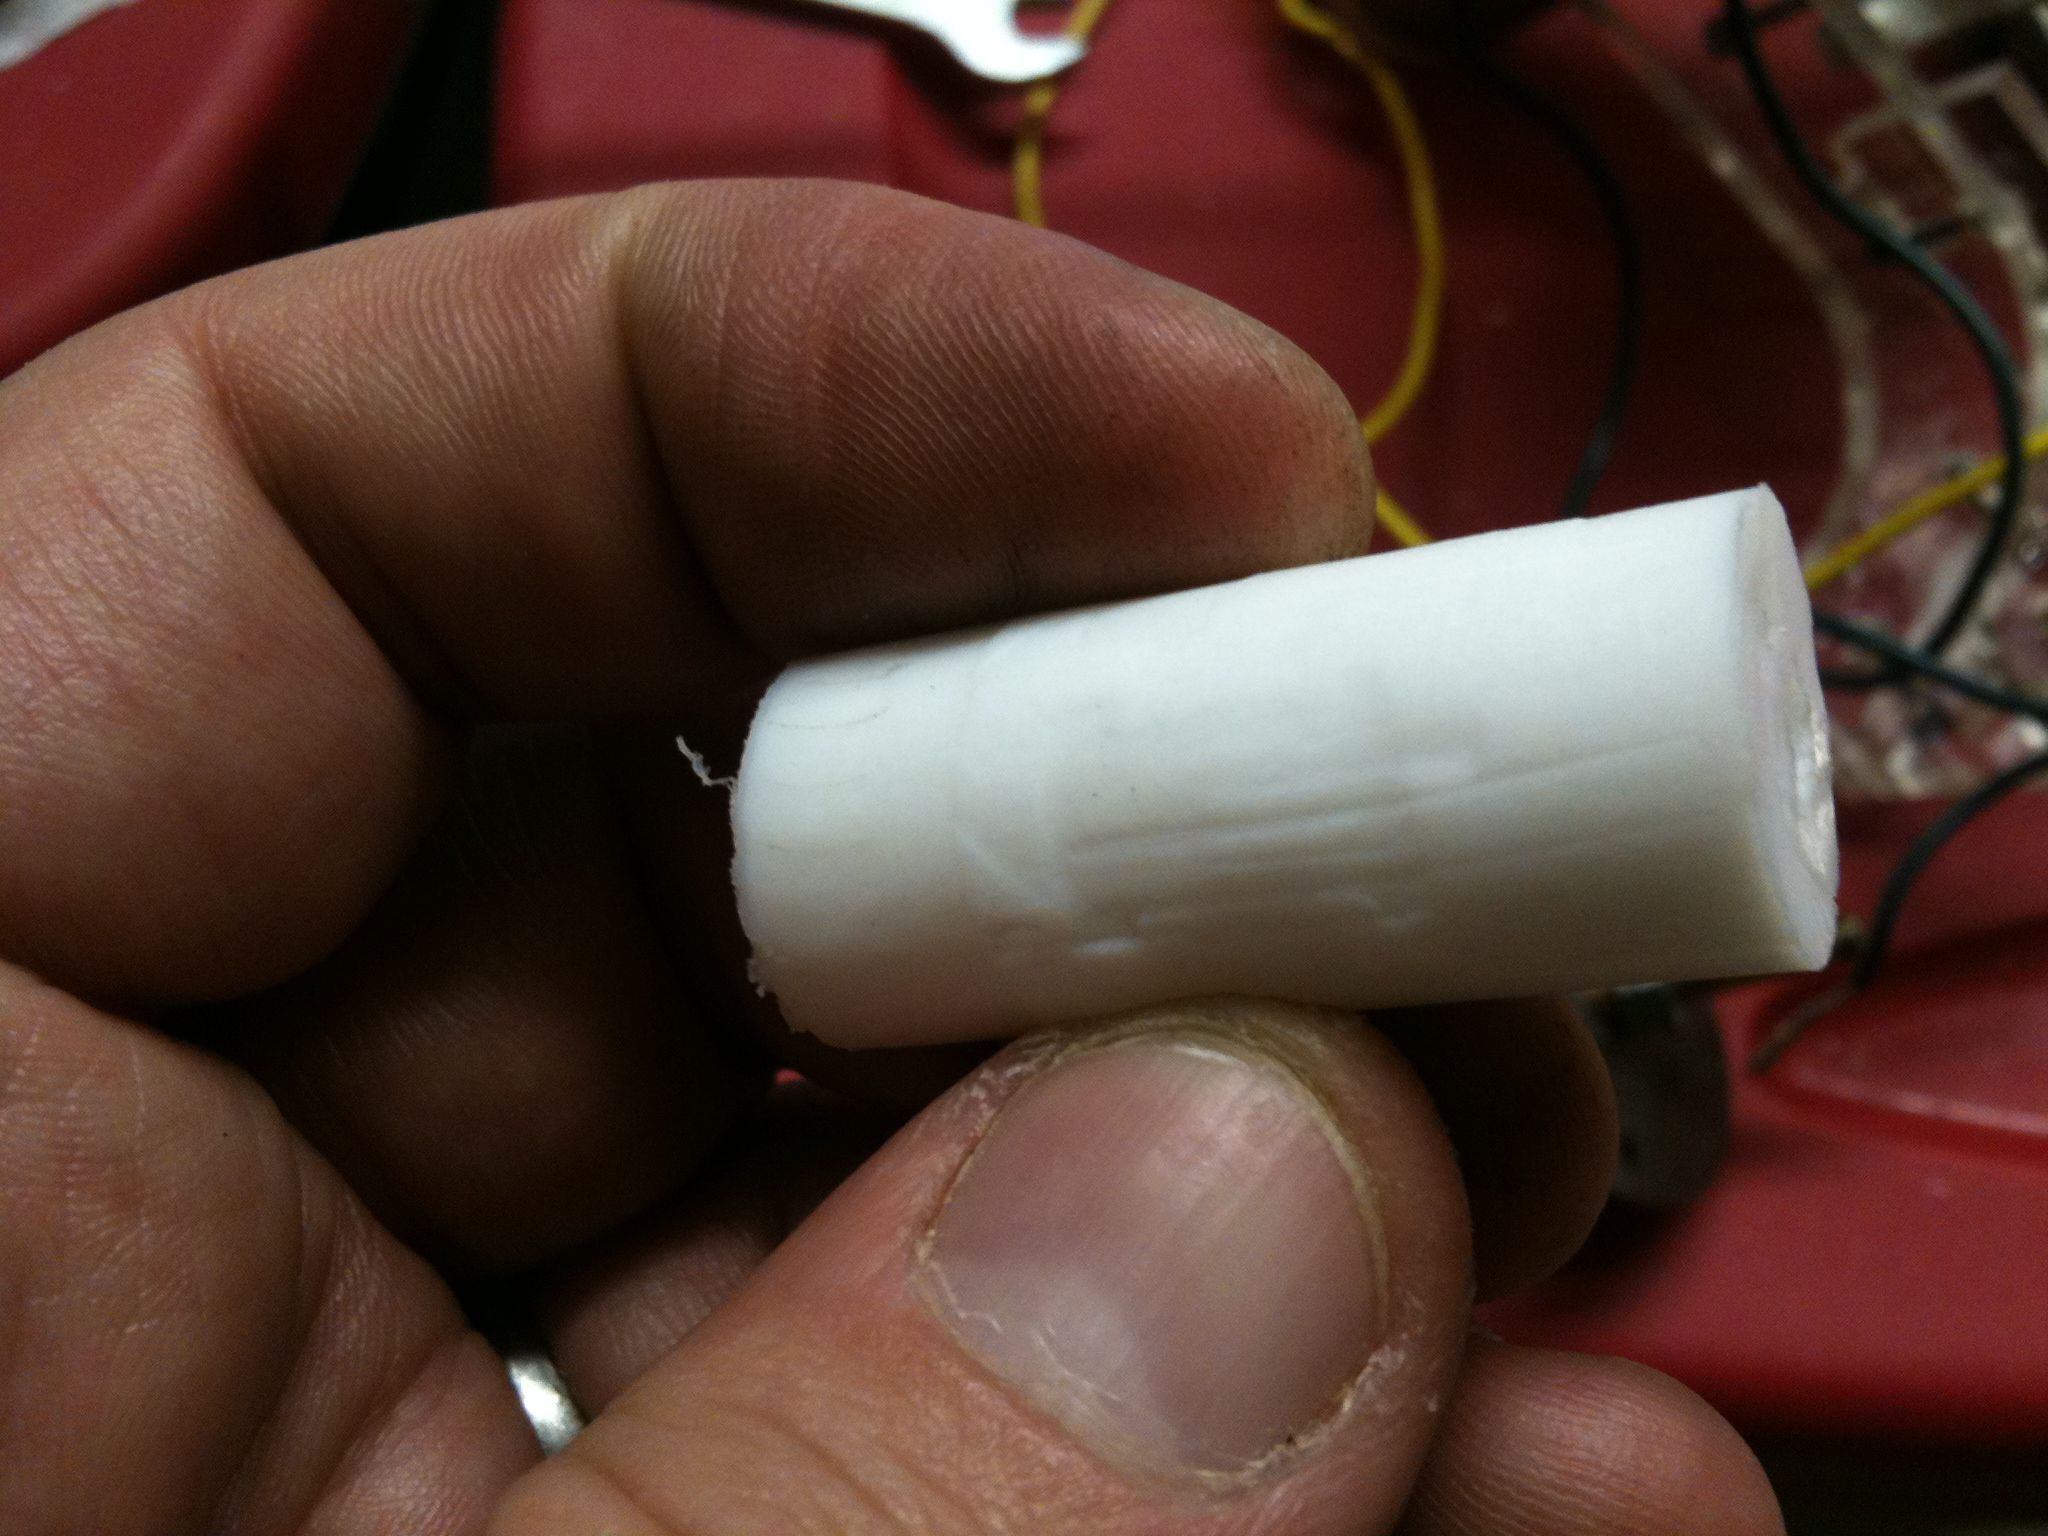
PTFE sure does flow.. you can see where the belt clamps were, and where it flowed around that.
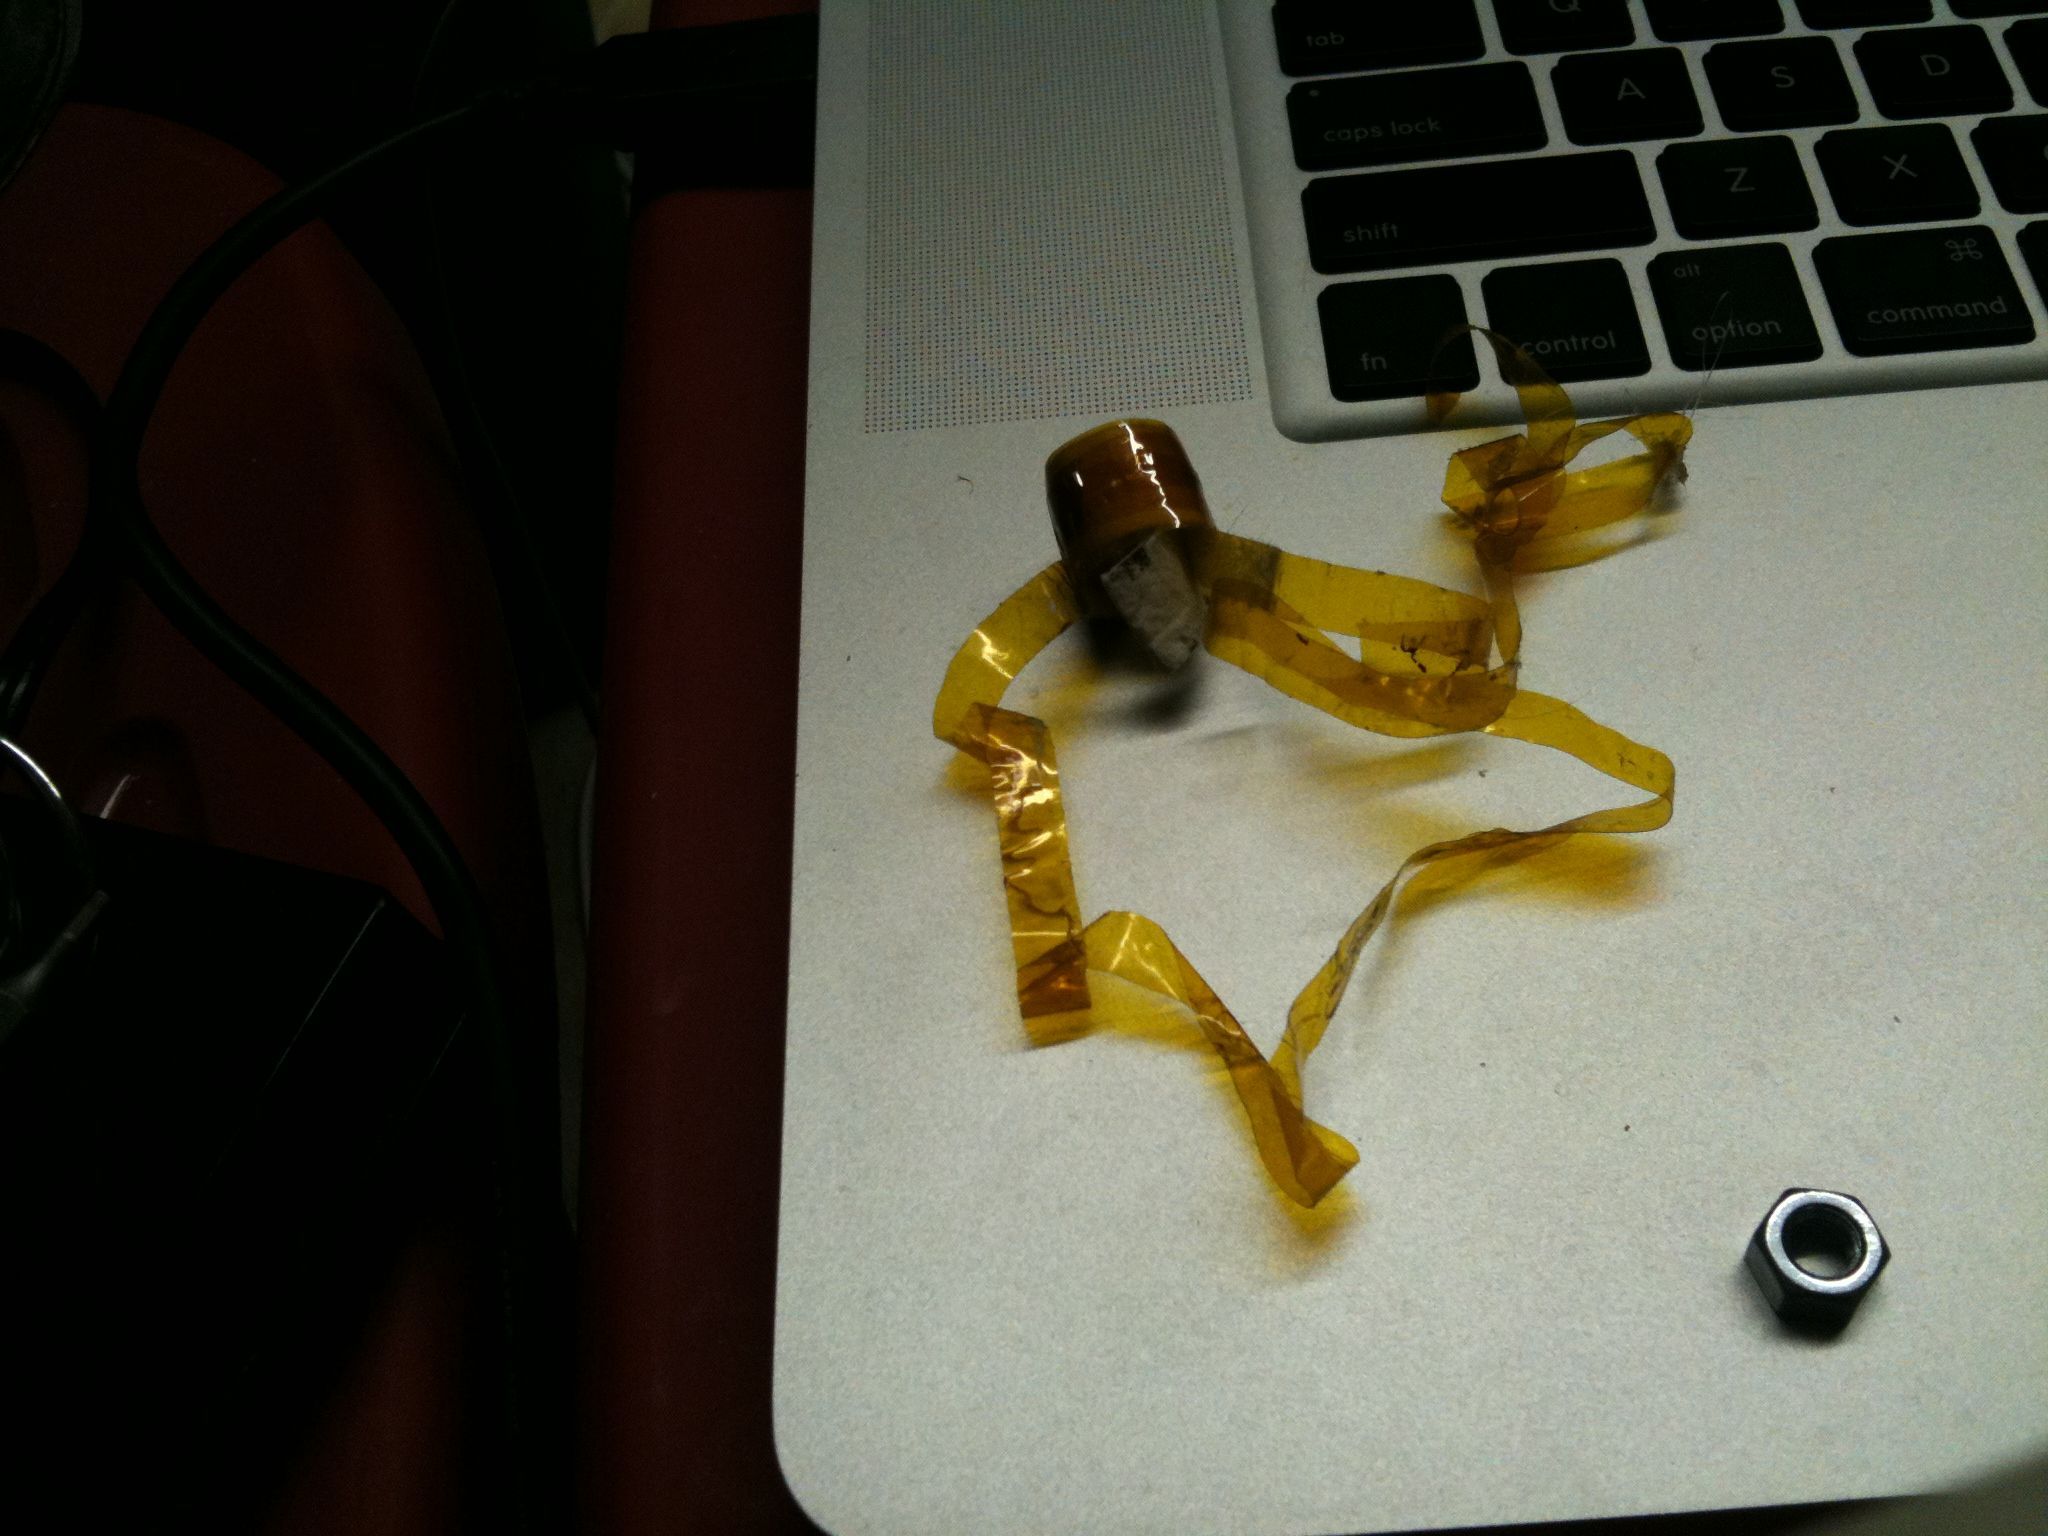
Had to tear off that nice insulator that I'd just put on days before.
Full Blown Crisis
So, that wasn’t even the crisis.
Tuesday I go into work, and I’m sitting in a meeting. Chris (who built the Makerbot with me, and whose Mendel we’re building pieces for as soon as mine is done) handed me his phone. On it was an email from the secretary of the CTO where I work, telling us that there was a need for the Makerbot, and could we return it.
Ddddoooohhhhhhhhhhh…
By my count at that point I had 27 pieces left to print (I believe now that it’s actually 23, and probably really only 20, since I could get by without 3 of the pieces to space out circuit boards etc, and have the Mendel print its own final pieces, which would actually be pretty damned cool). The email mentioned something on January 27th, next Wednesday. That was 8 days away, and we had no idea when they wanted this back. Disaster! If I don’t have enough pieces to make the Mendel, then functionally I’m exactly where I was two months ago – without any exit strategy – no way to get the final pieces I need.
I experienced a good amount of panic that day. Yes, I’m sure after telling this story I could talk someone into letting me keep the Makerbot. My concern though was whether there was someone else in line for this, waiting this whole time. I didn’t want to have to risk the idea of someone else taking this Makerbot, which I’ve had to repair at least 7 times now in one fashion or another, and breaking it in a way that I couldn’t easily repair it from. I didn’t want someone else taking this away for 2+ months, leaving me with no way to finish my own printer (with which I could print other printers).
Looking further into the situation, it turns out the desire is to get the Makerbot for a 3D printing class being held next Wednesday. I’d actually been looking forward to that class already – I signed up a week or so ago, and I’d been looking forward to it since around the time that I started working here in October (it was on a schedule). Chris and I walked down and talked to the guy running this class. Thankfully, he just wants it in the class to show off, and he’s fine with us taking it back on Thursday. As it turns out, now I’ll be saying a few words about it in class! I’d been looking forward to the class for months, and as it turns out, the class had been looking forward to me. 😀
Of course, the Makerbot was still broken. This morning, I woke up at 7am, showered, got dressed for work, and headed down to the basement to rebuild the heater barrel assembly before work. I timed myself, for future reference (because for at least two days I dreaded the work of rebuilding the barrel – it’s just a pain). From a bare barrel to a Makerbot extruding PLA was 2 hours 45 minutes. Twenty of those at the start were just lining up the pieces I need. I decided to take a picture of that “heater barrel assembly kit” so I’d have a checklist for next time. Fumbling around looking for tools in the middle of a task like that is what makes it a variable length task to dread.
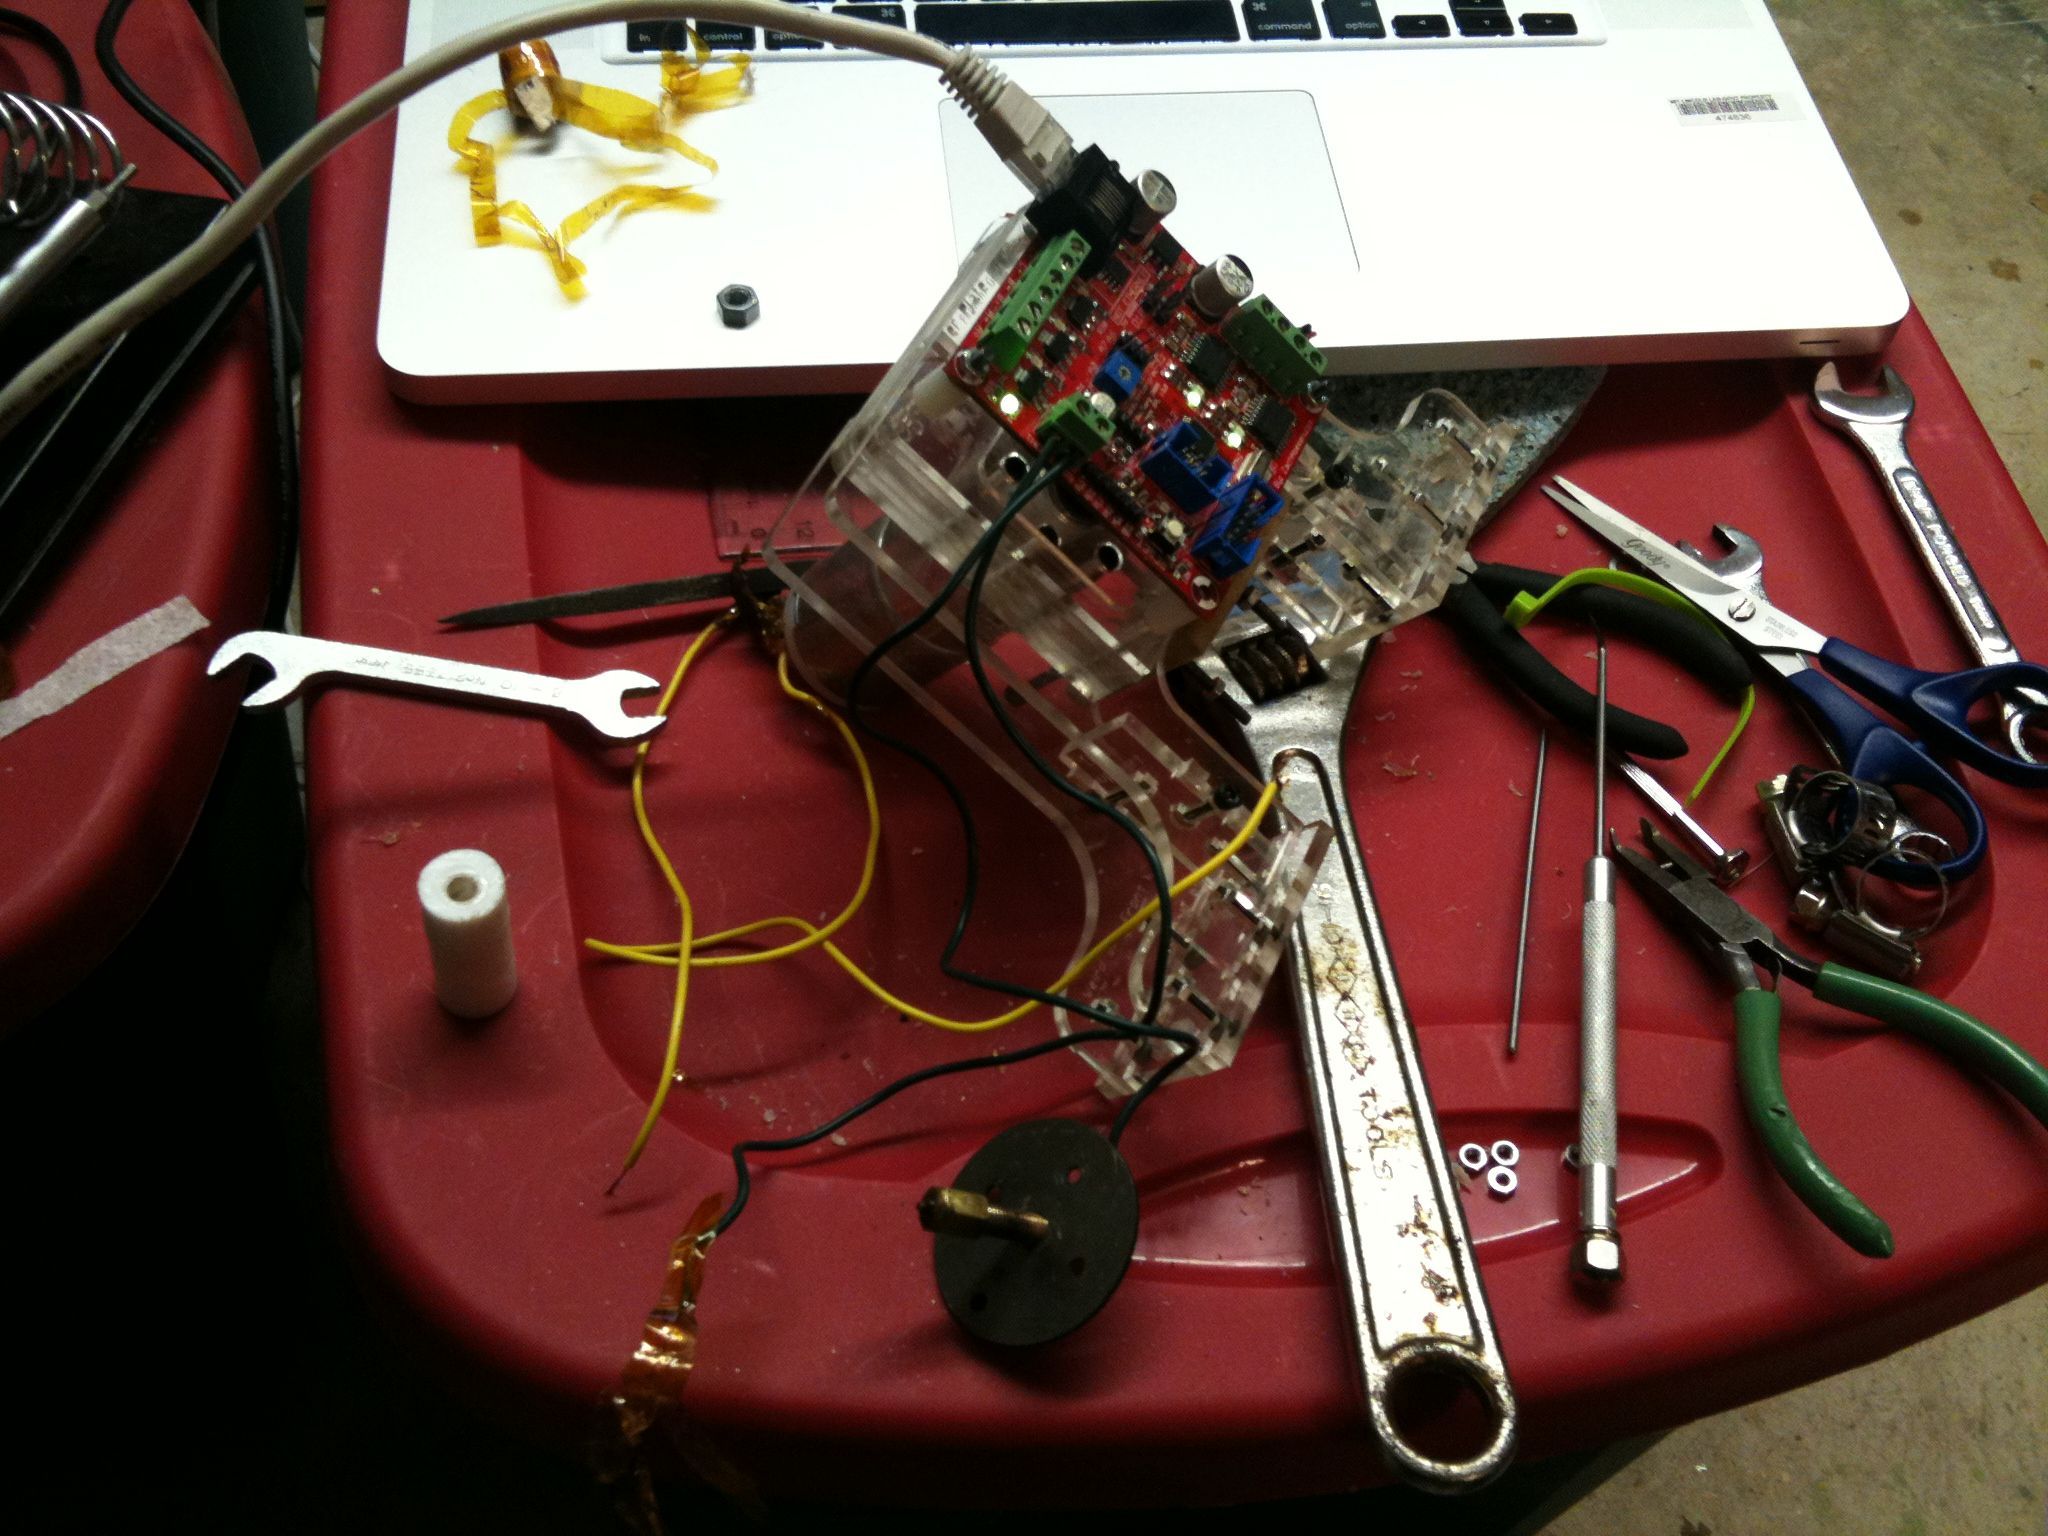
Here are the tools/pieces I use:
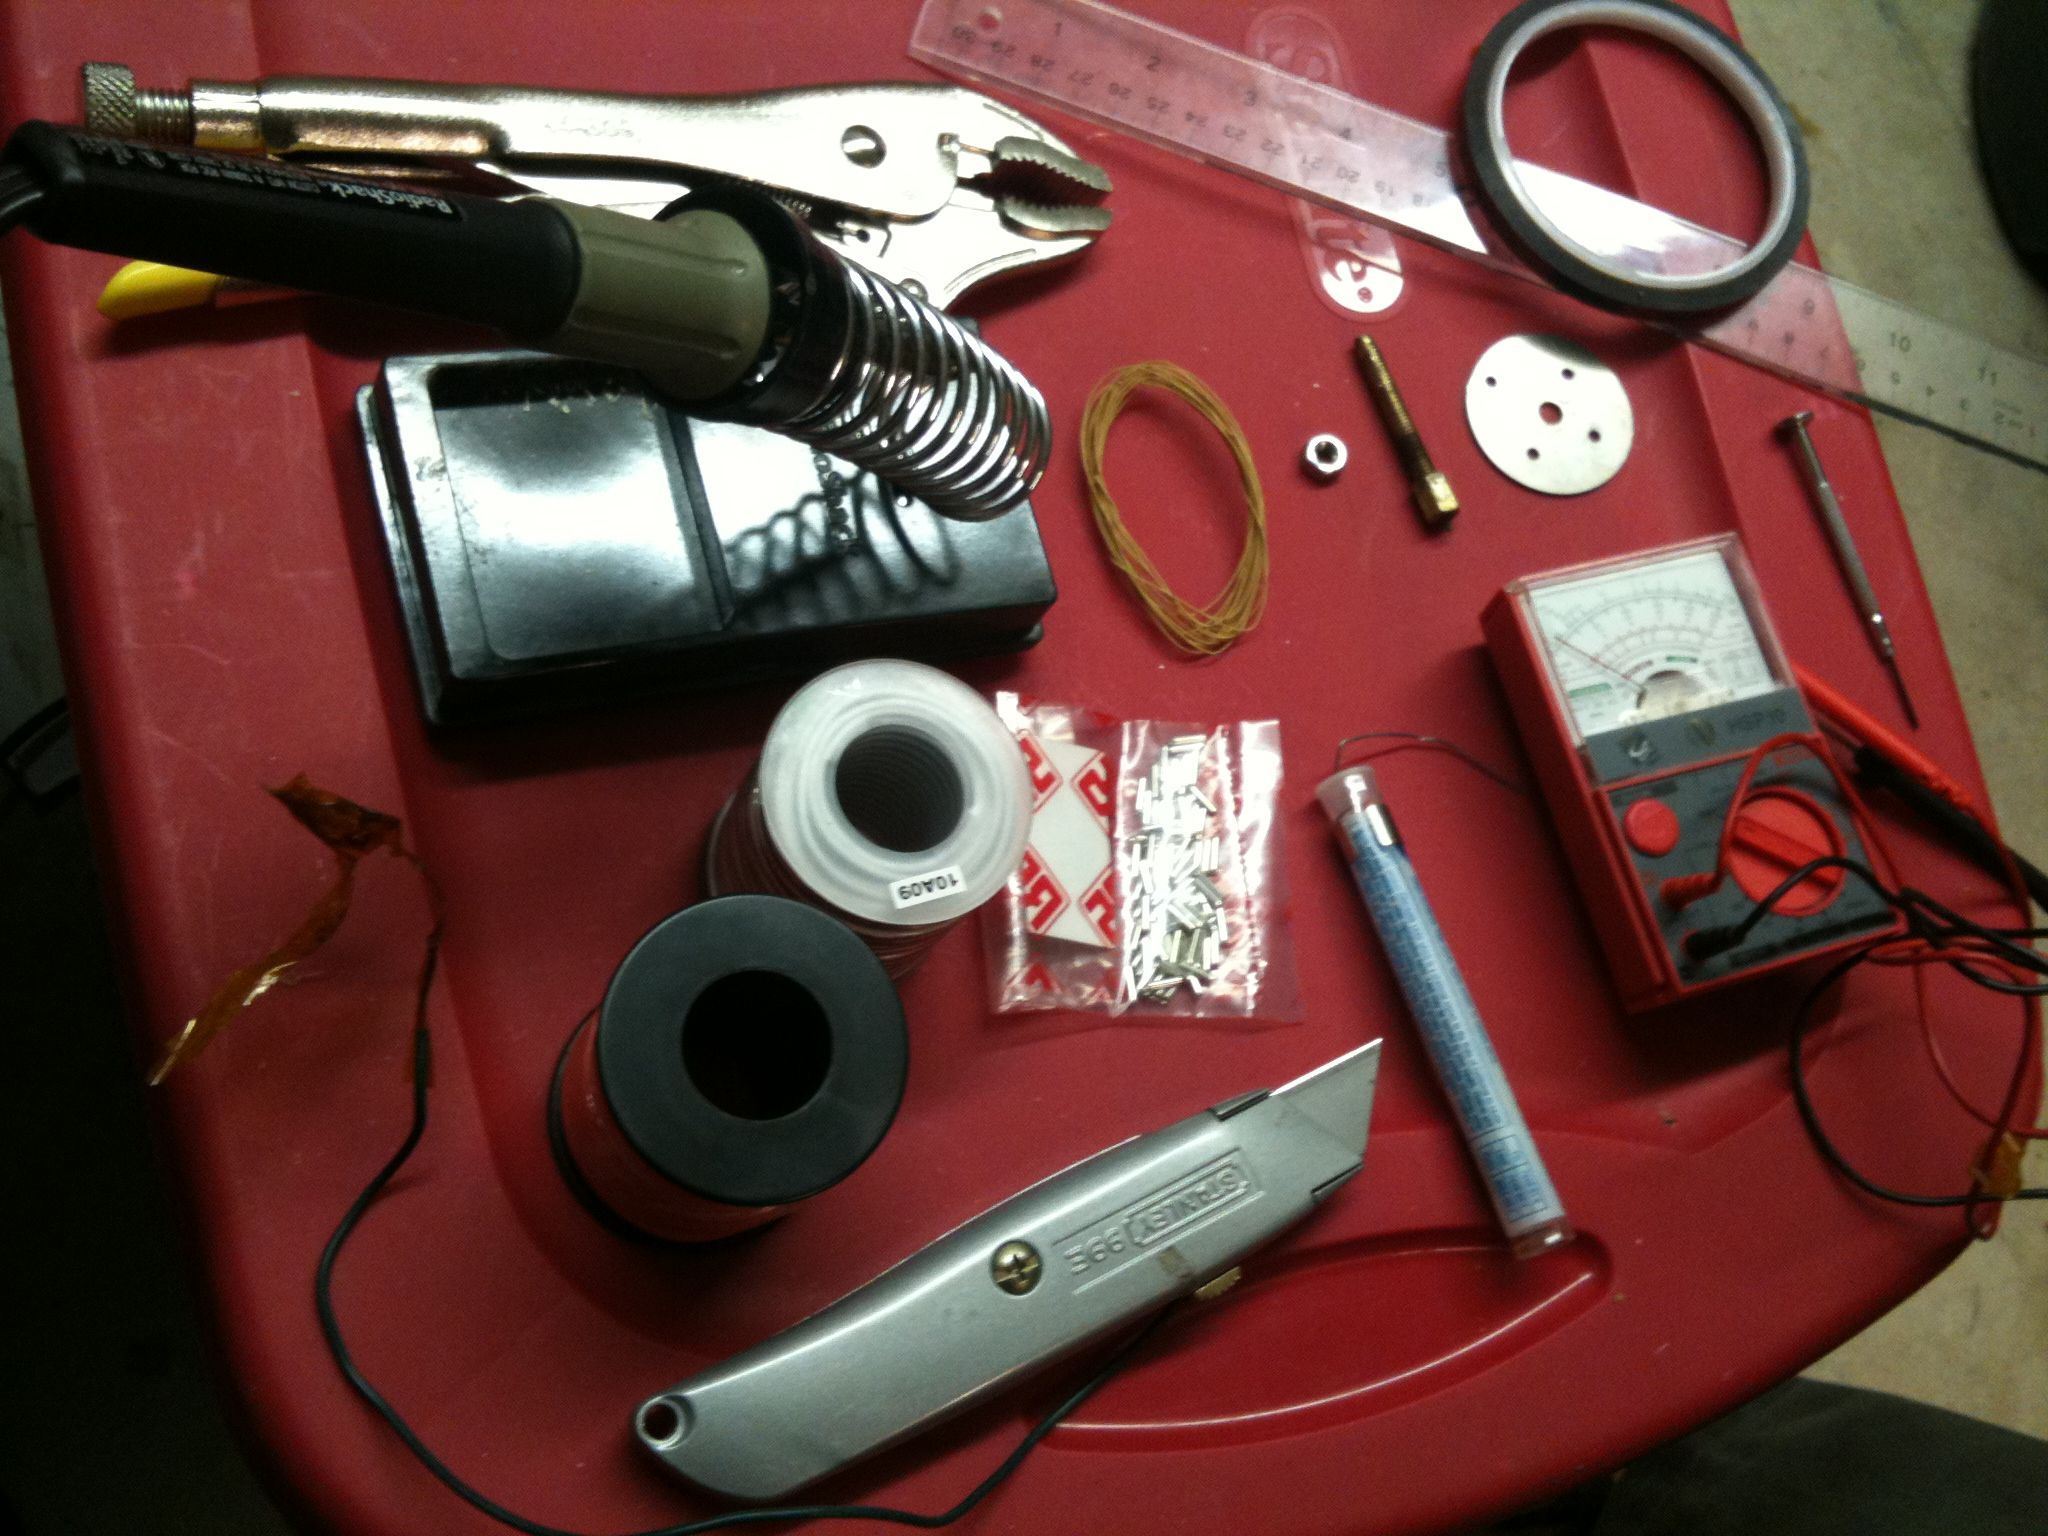
Heater barrel assembly building kit/checklist
As it turns out I only missed two tools – regular wire strippers, and a small pair of scissors to snip the kapton tape.
In no particular rush, it took me a ridiculous 72 minutes just to get the right length of nichrome wire connected to two wires, crimped, covered in solder for the hell of it, and wrapped in kapton tape.
At the end, I once again had a working extruder:
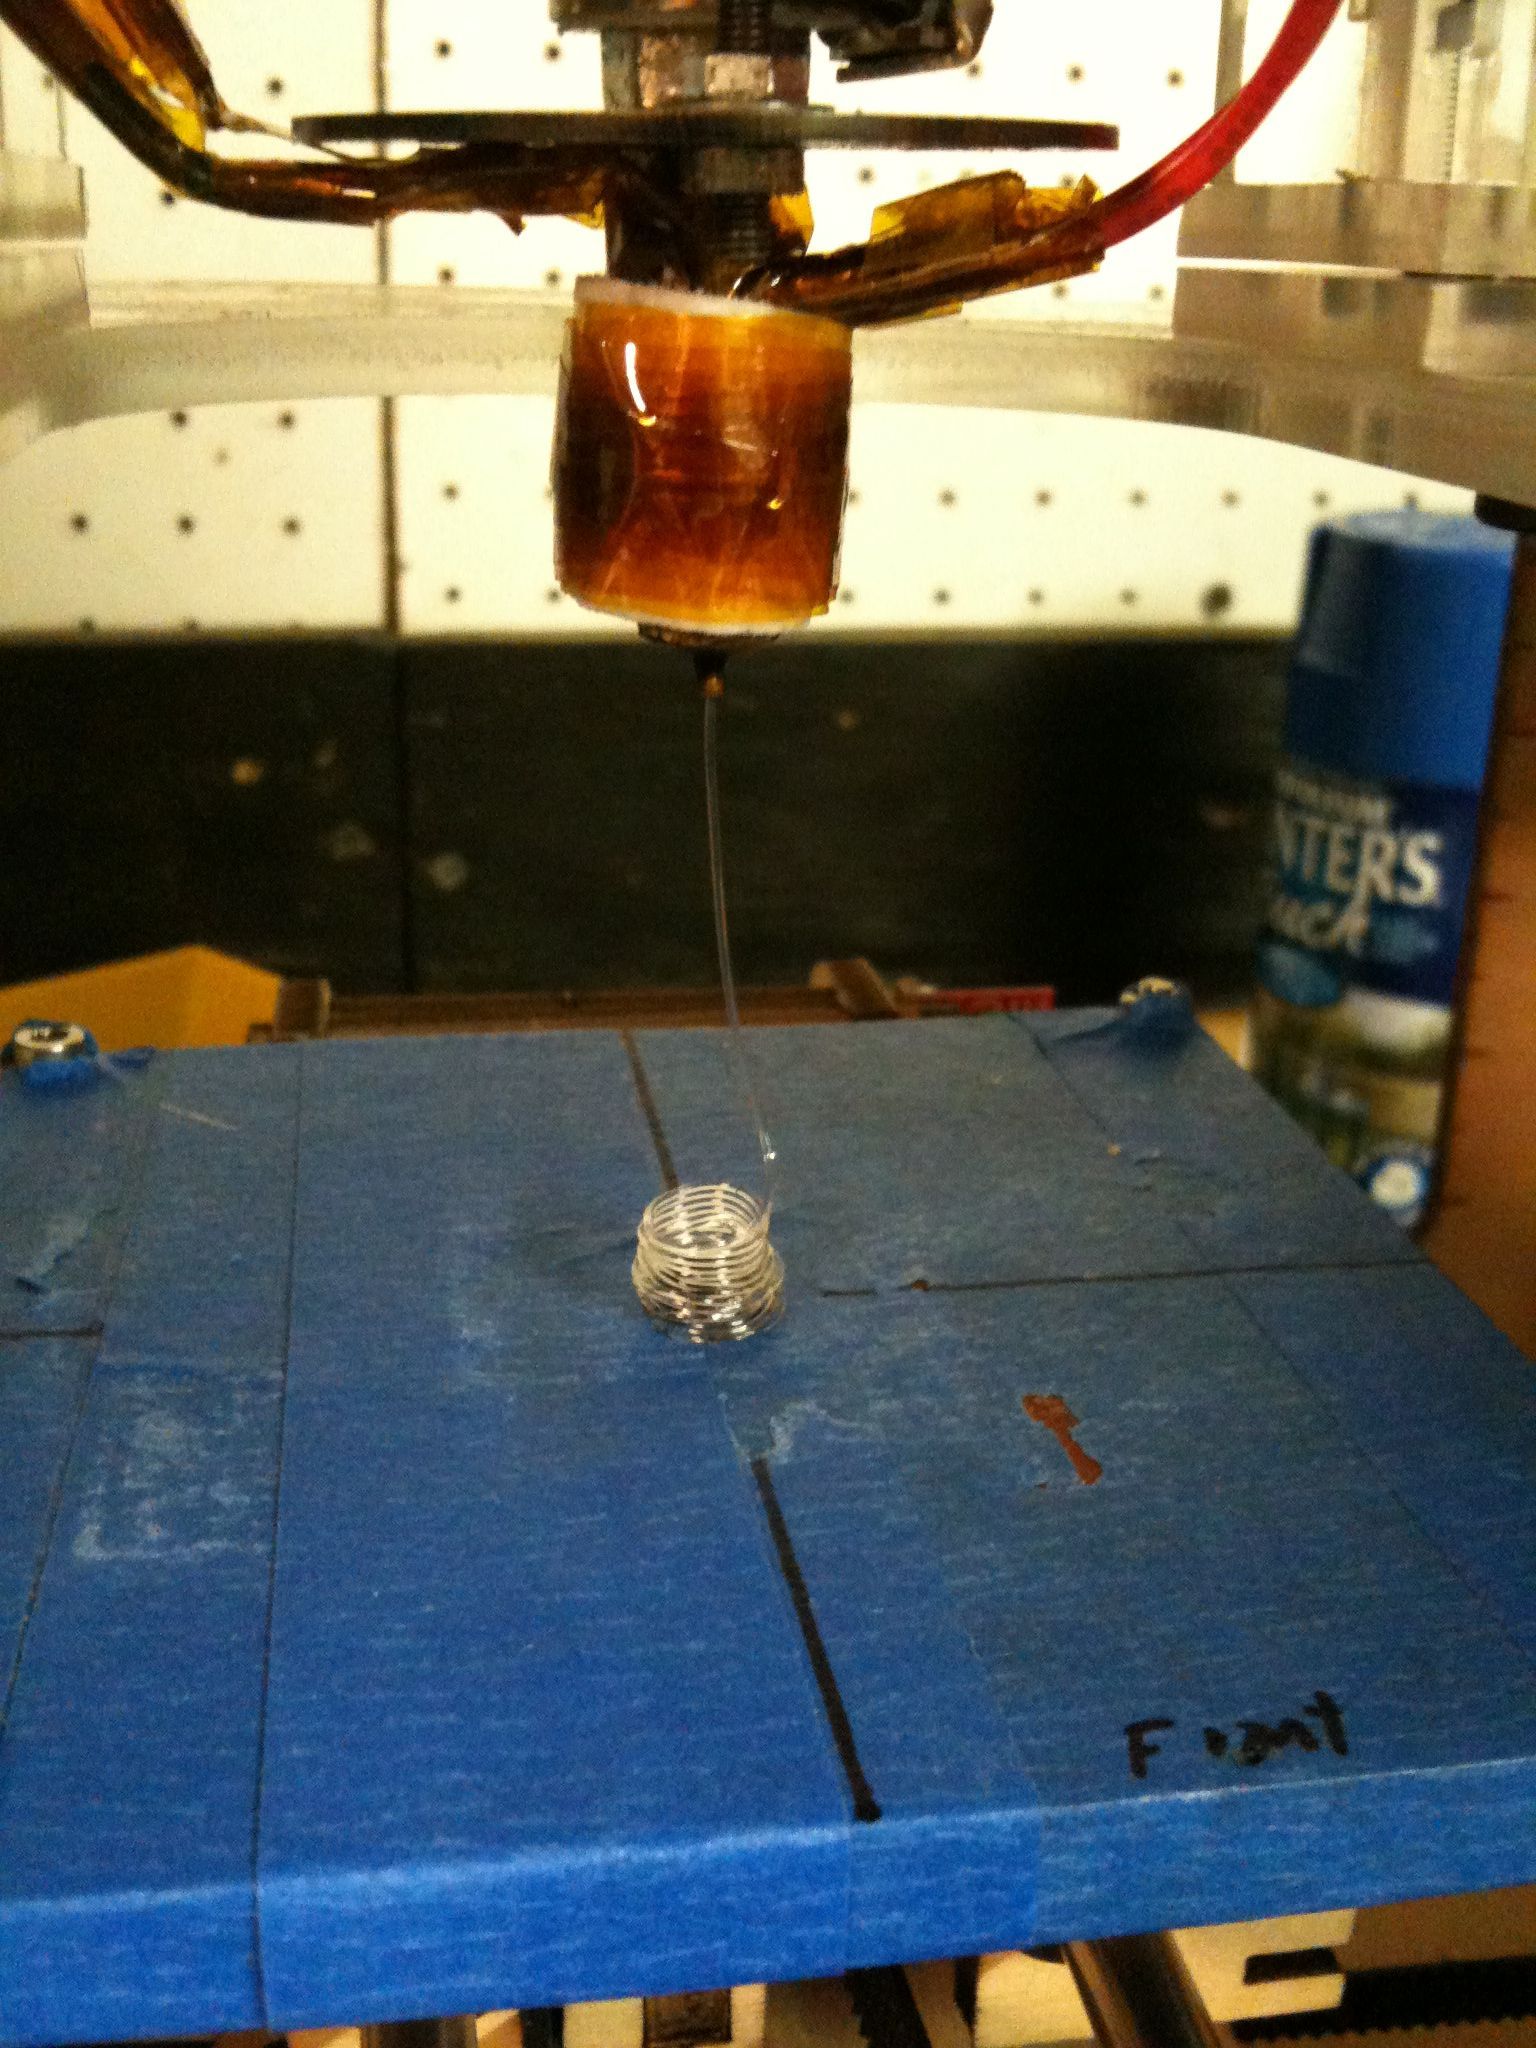
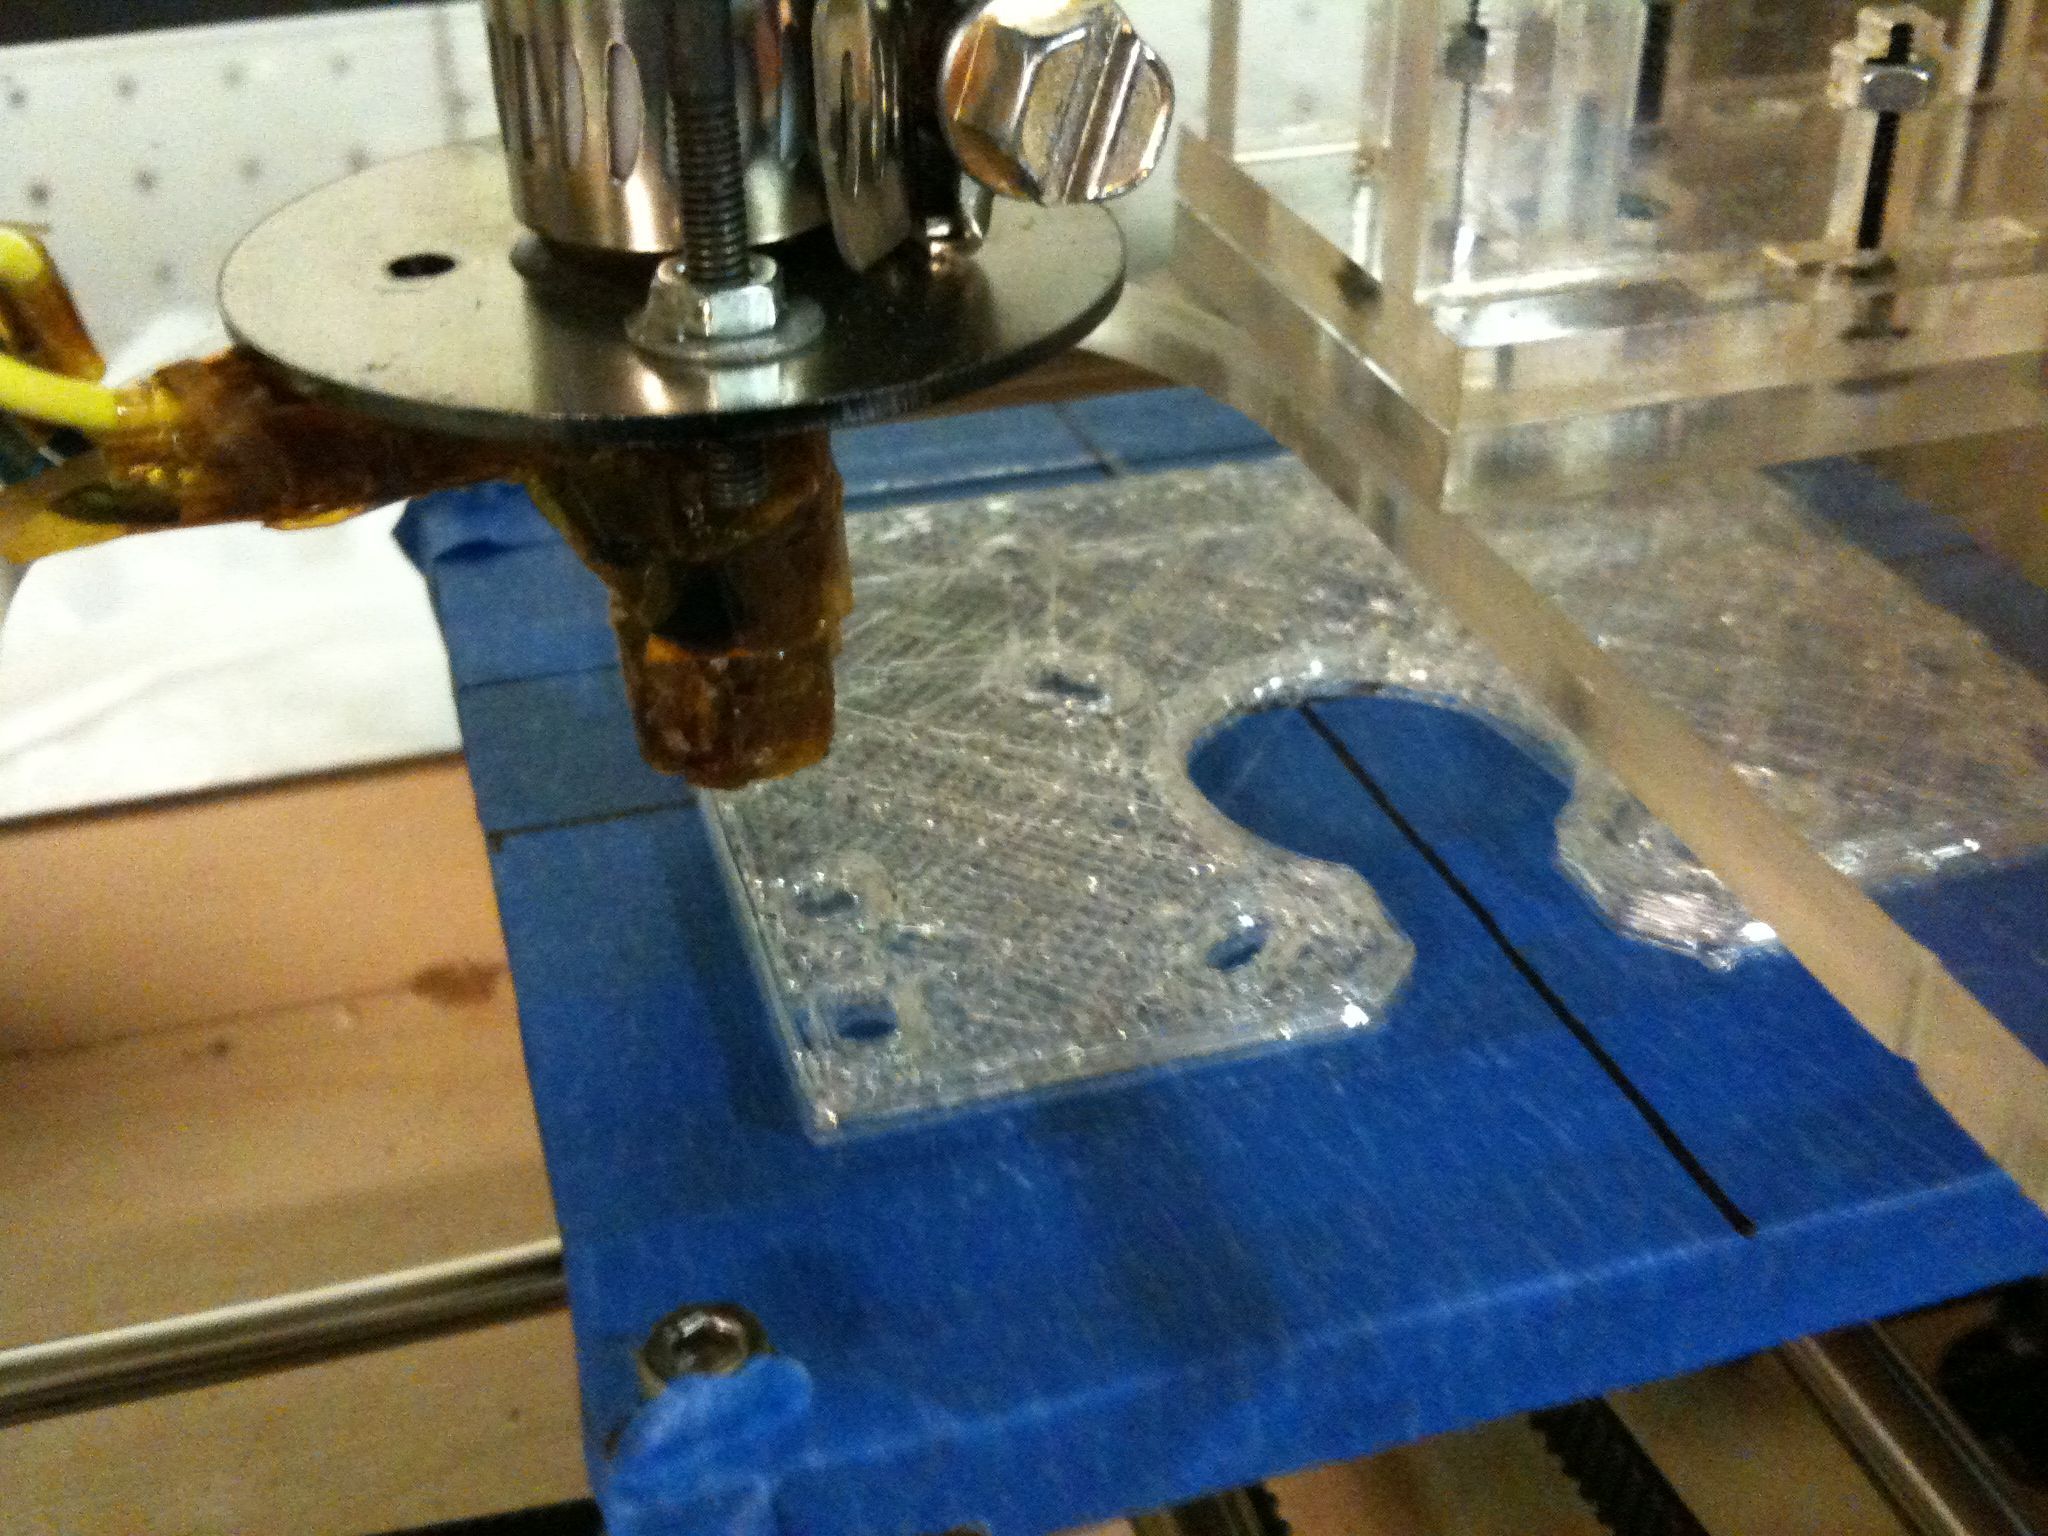
Extruding again! Woohoo!
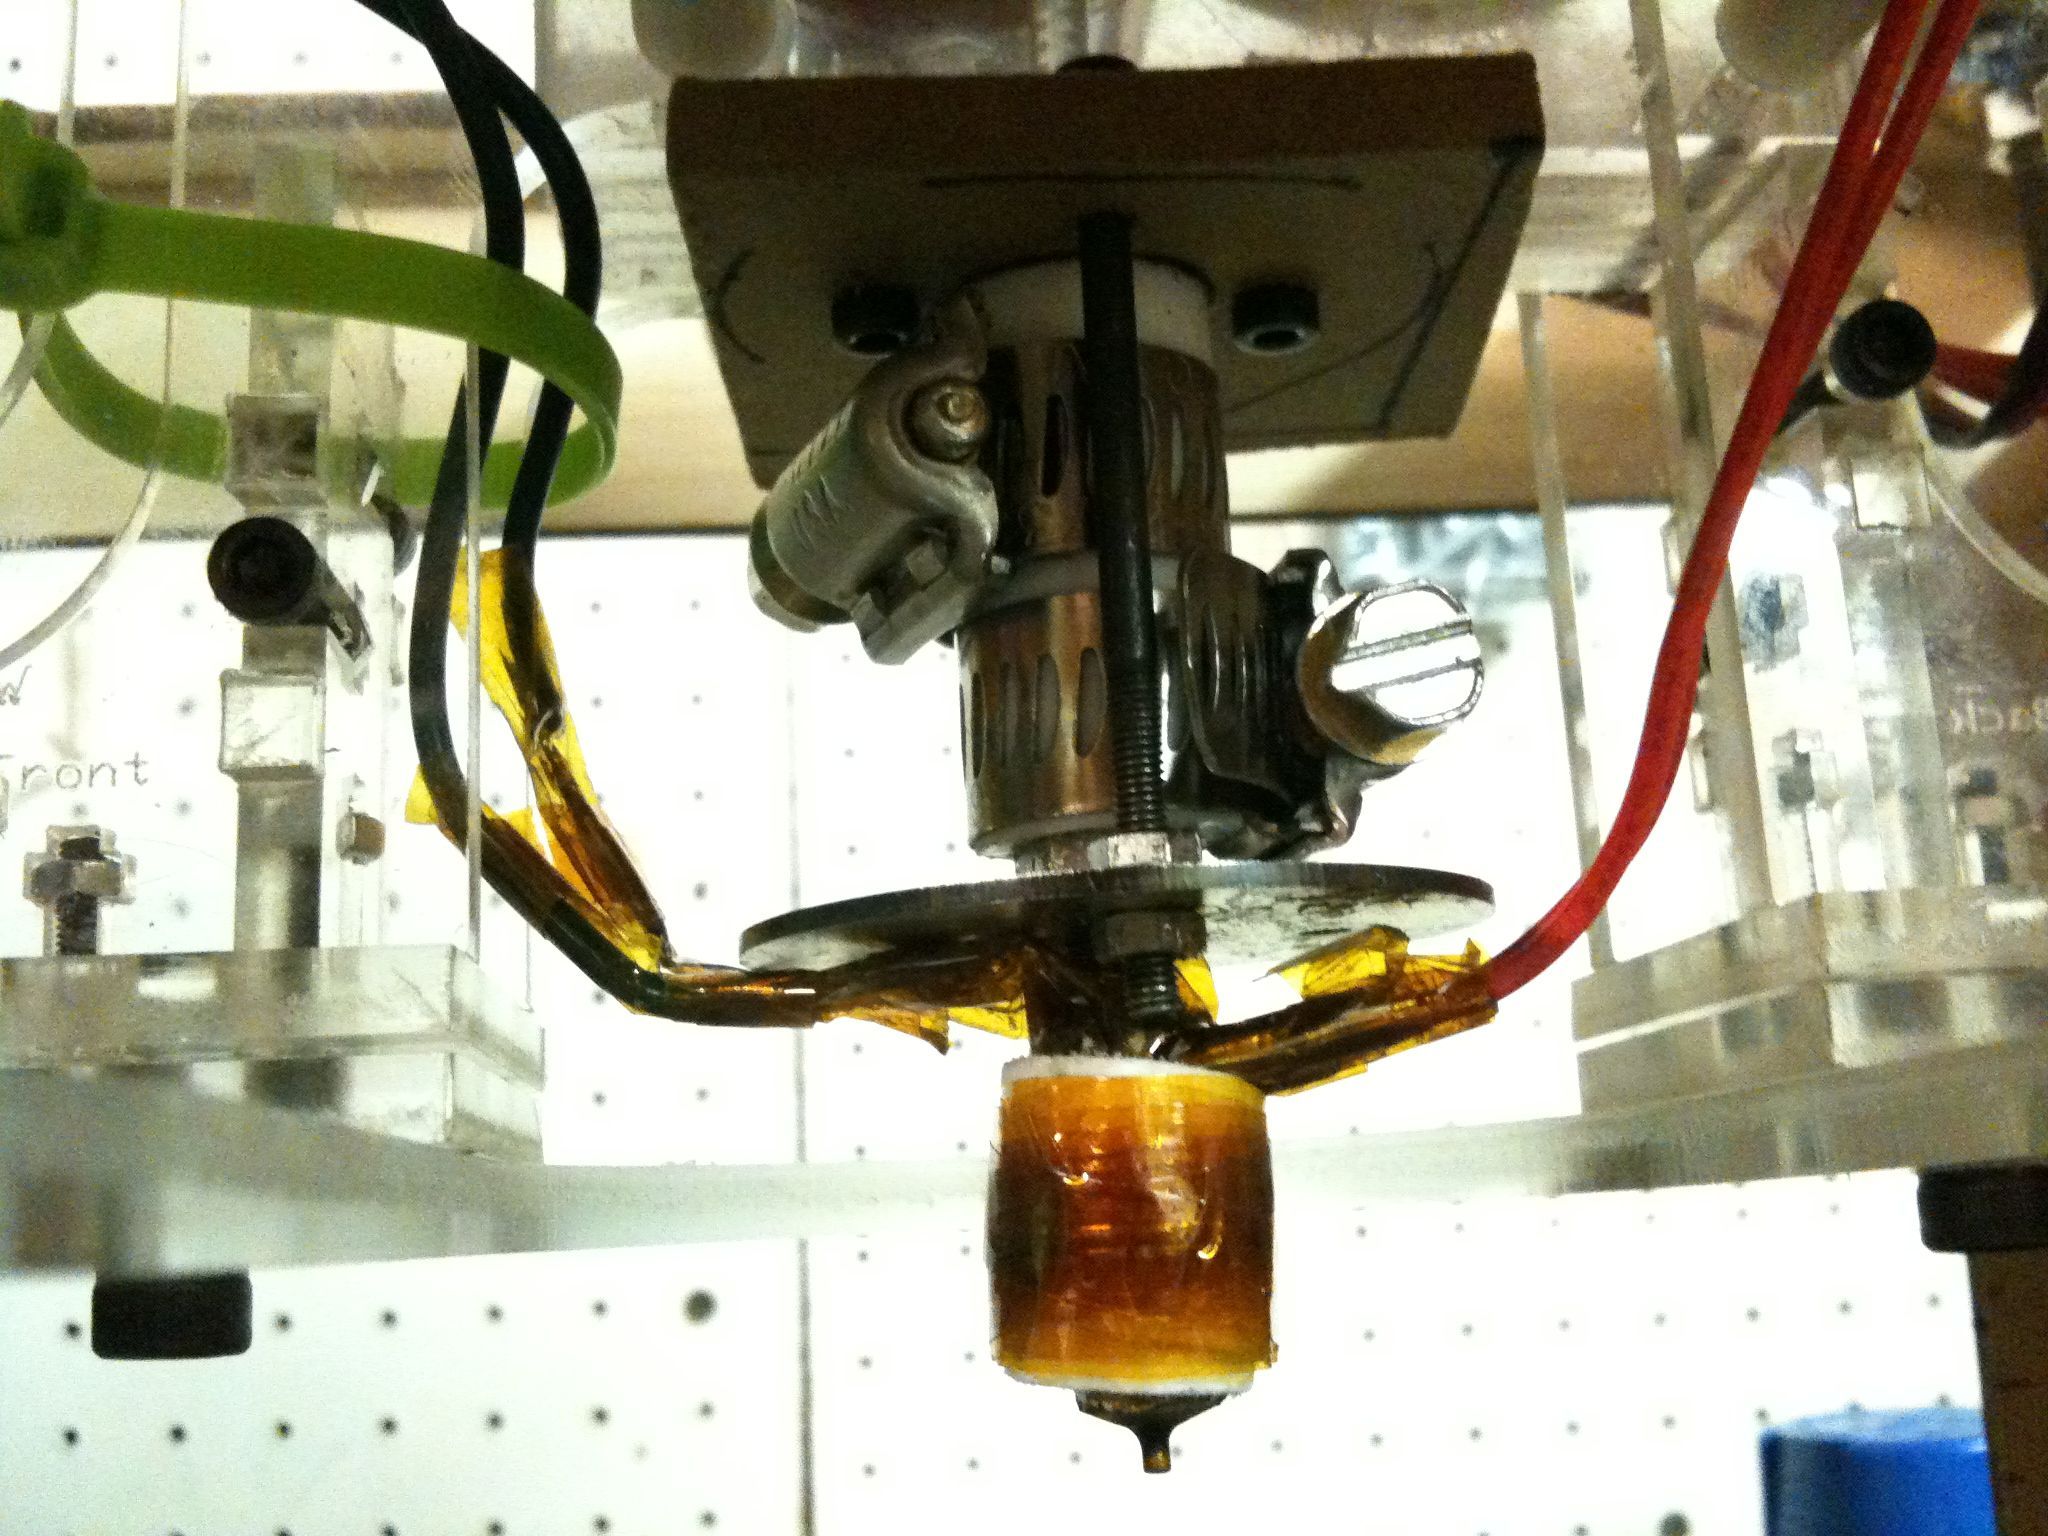
So now the challenge is to either finish the remaining 20 pieces before next Tuesday morning (when I have to bring the Makerbot into work), or to make sure I get the Makerbot back after both classes on Thursday afternoon. I’d had a vague hope of finishing the printed parts by my birthday (January 25th, this Monday), but at this point I don’t think I’m gonna make it. But at least the Makerbot is working again!


