Printing Day!

December 12th, 2009

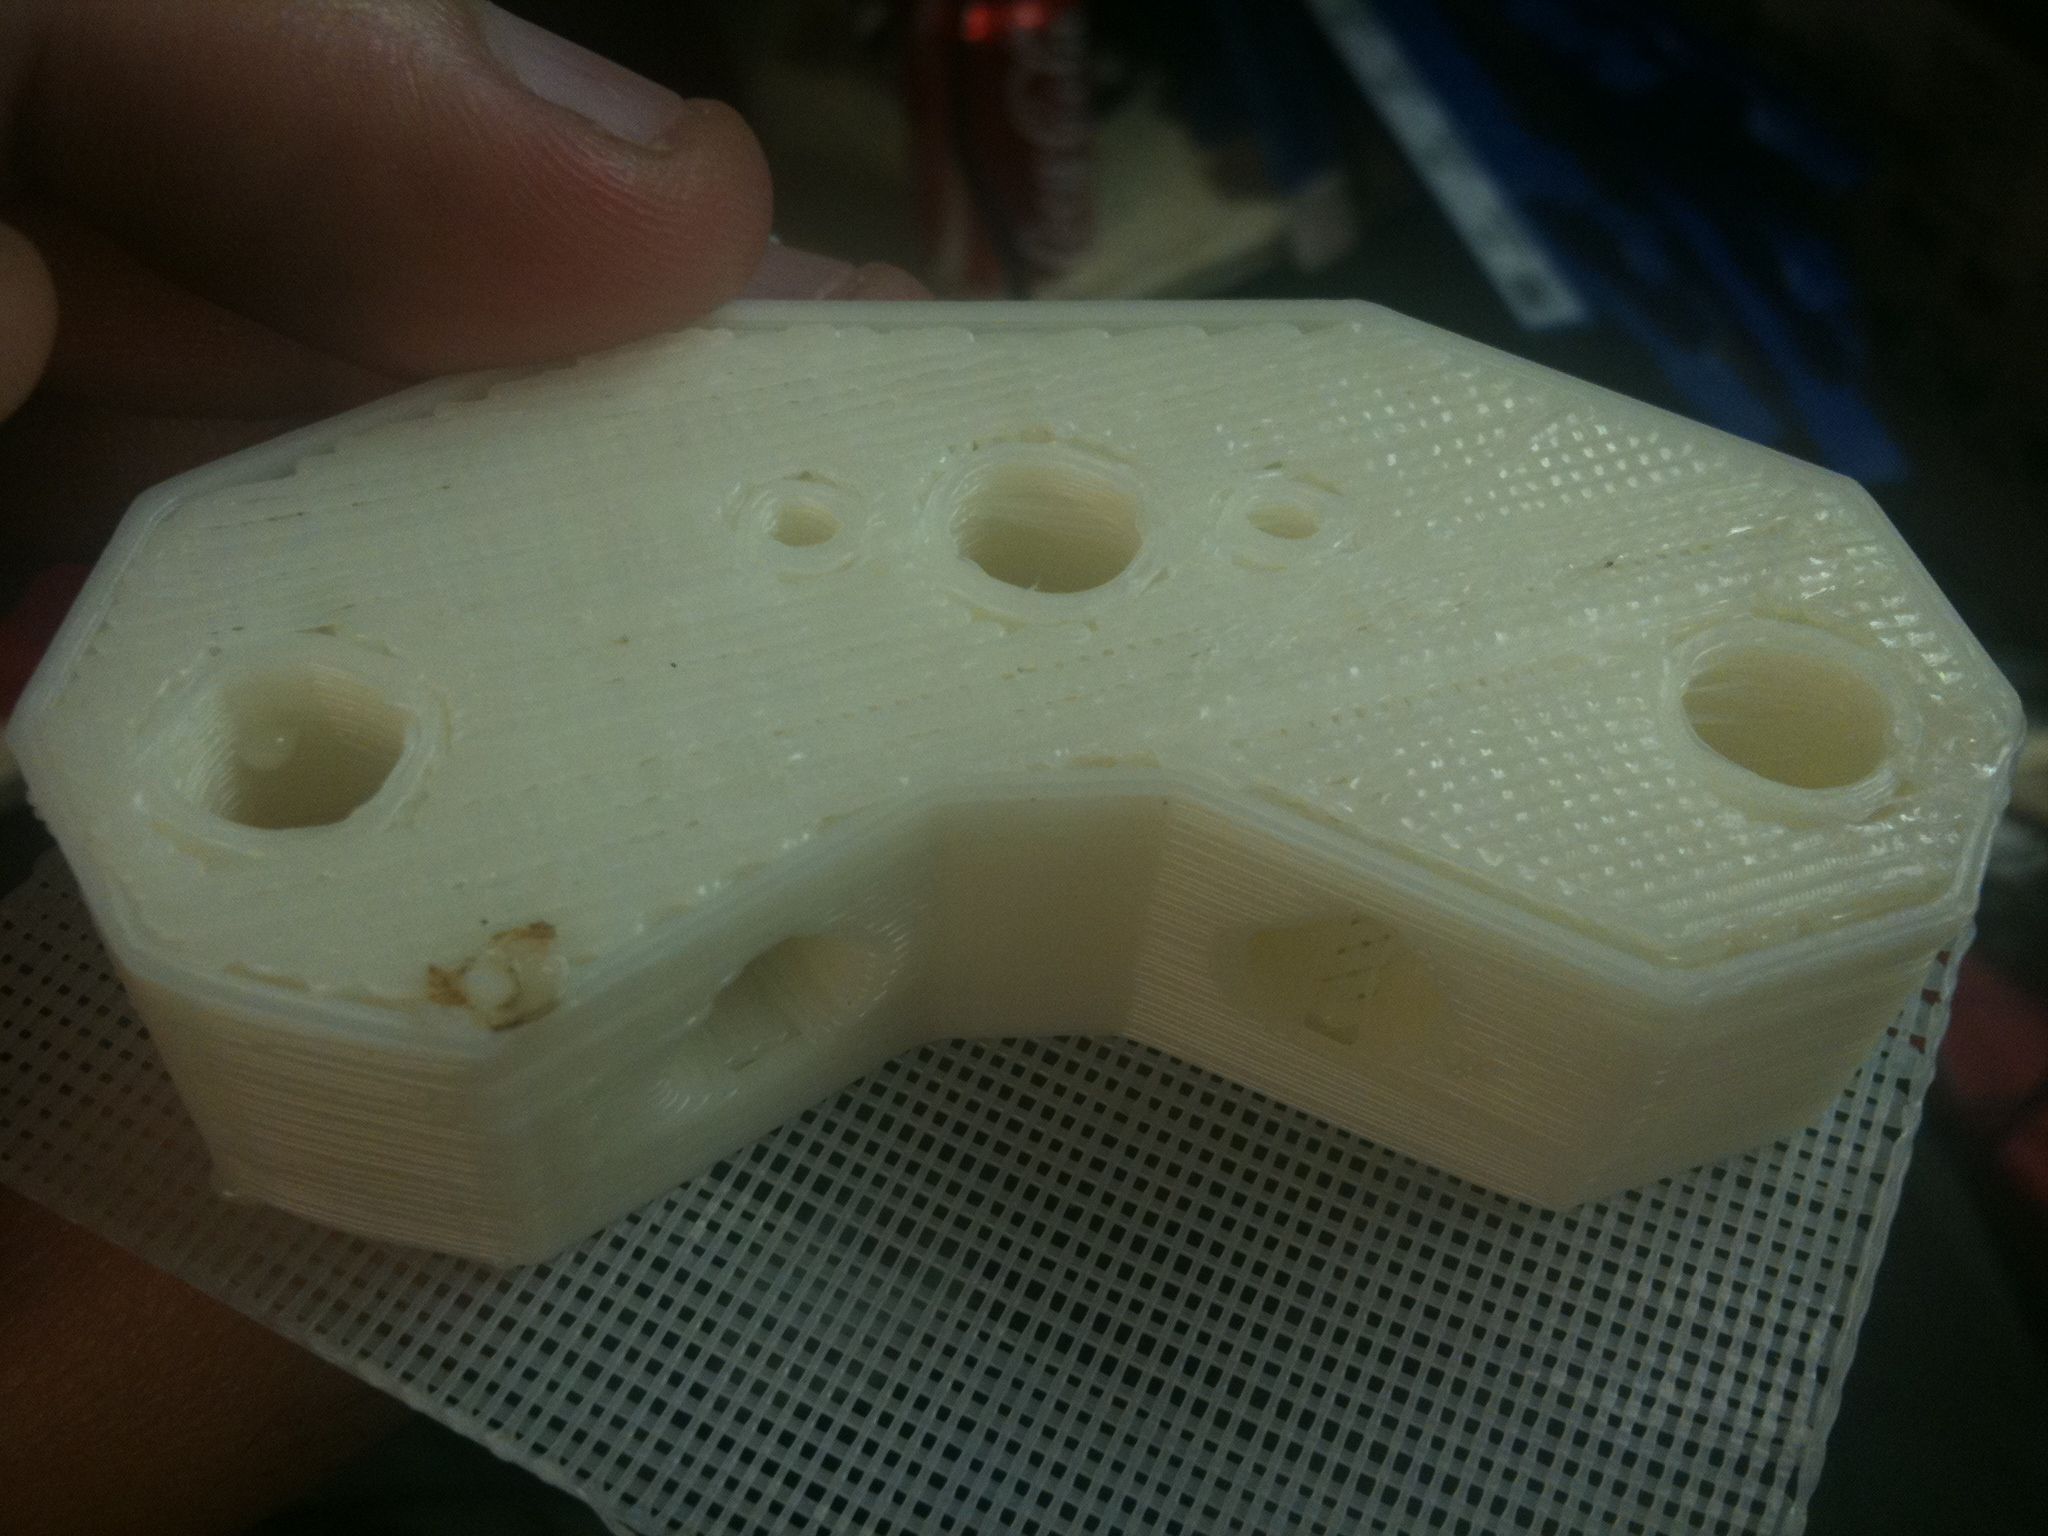
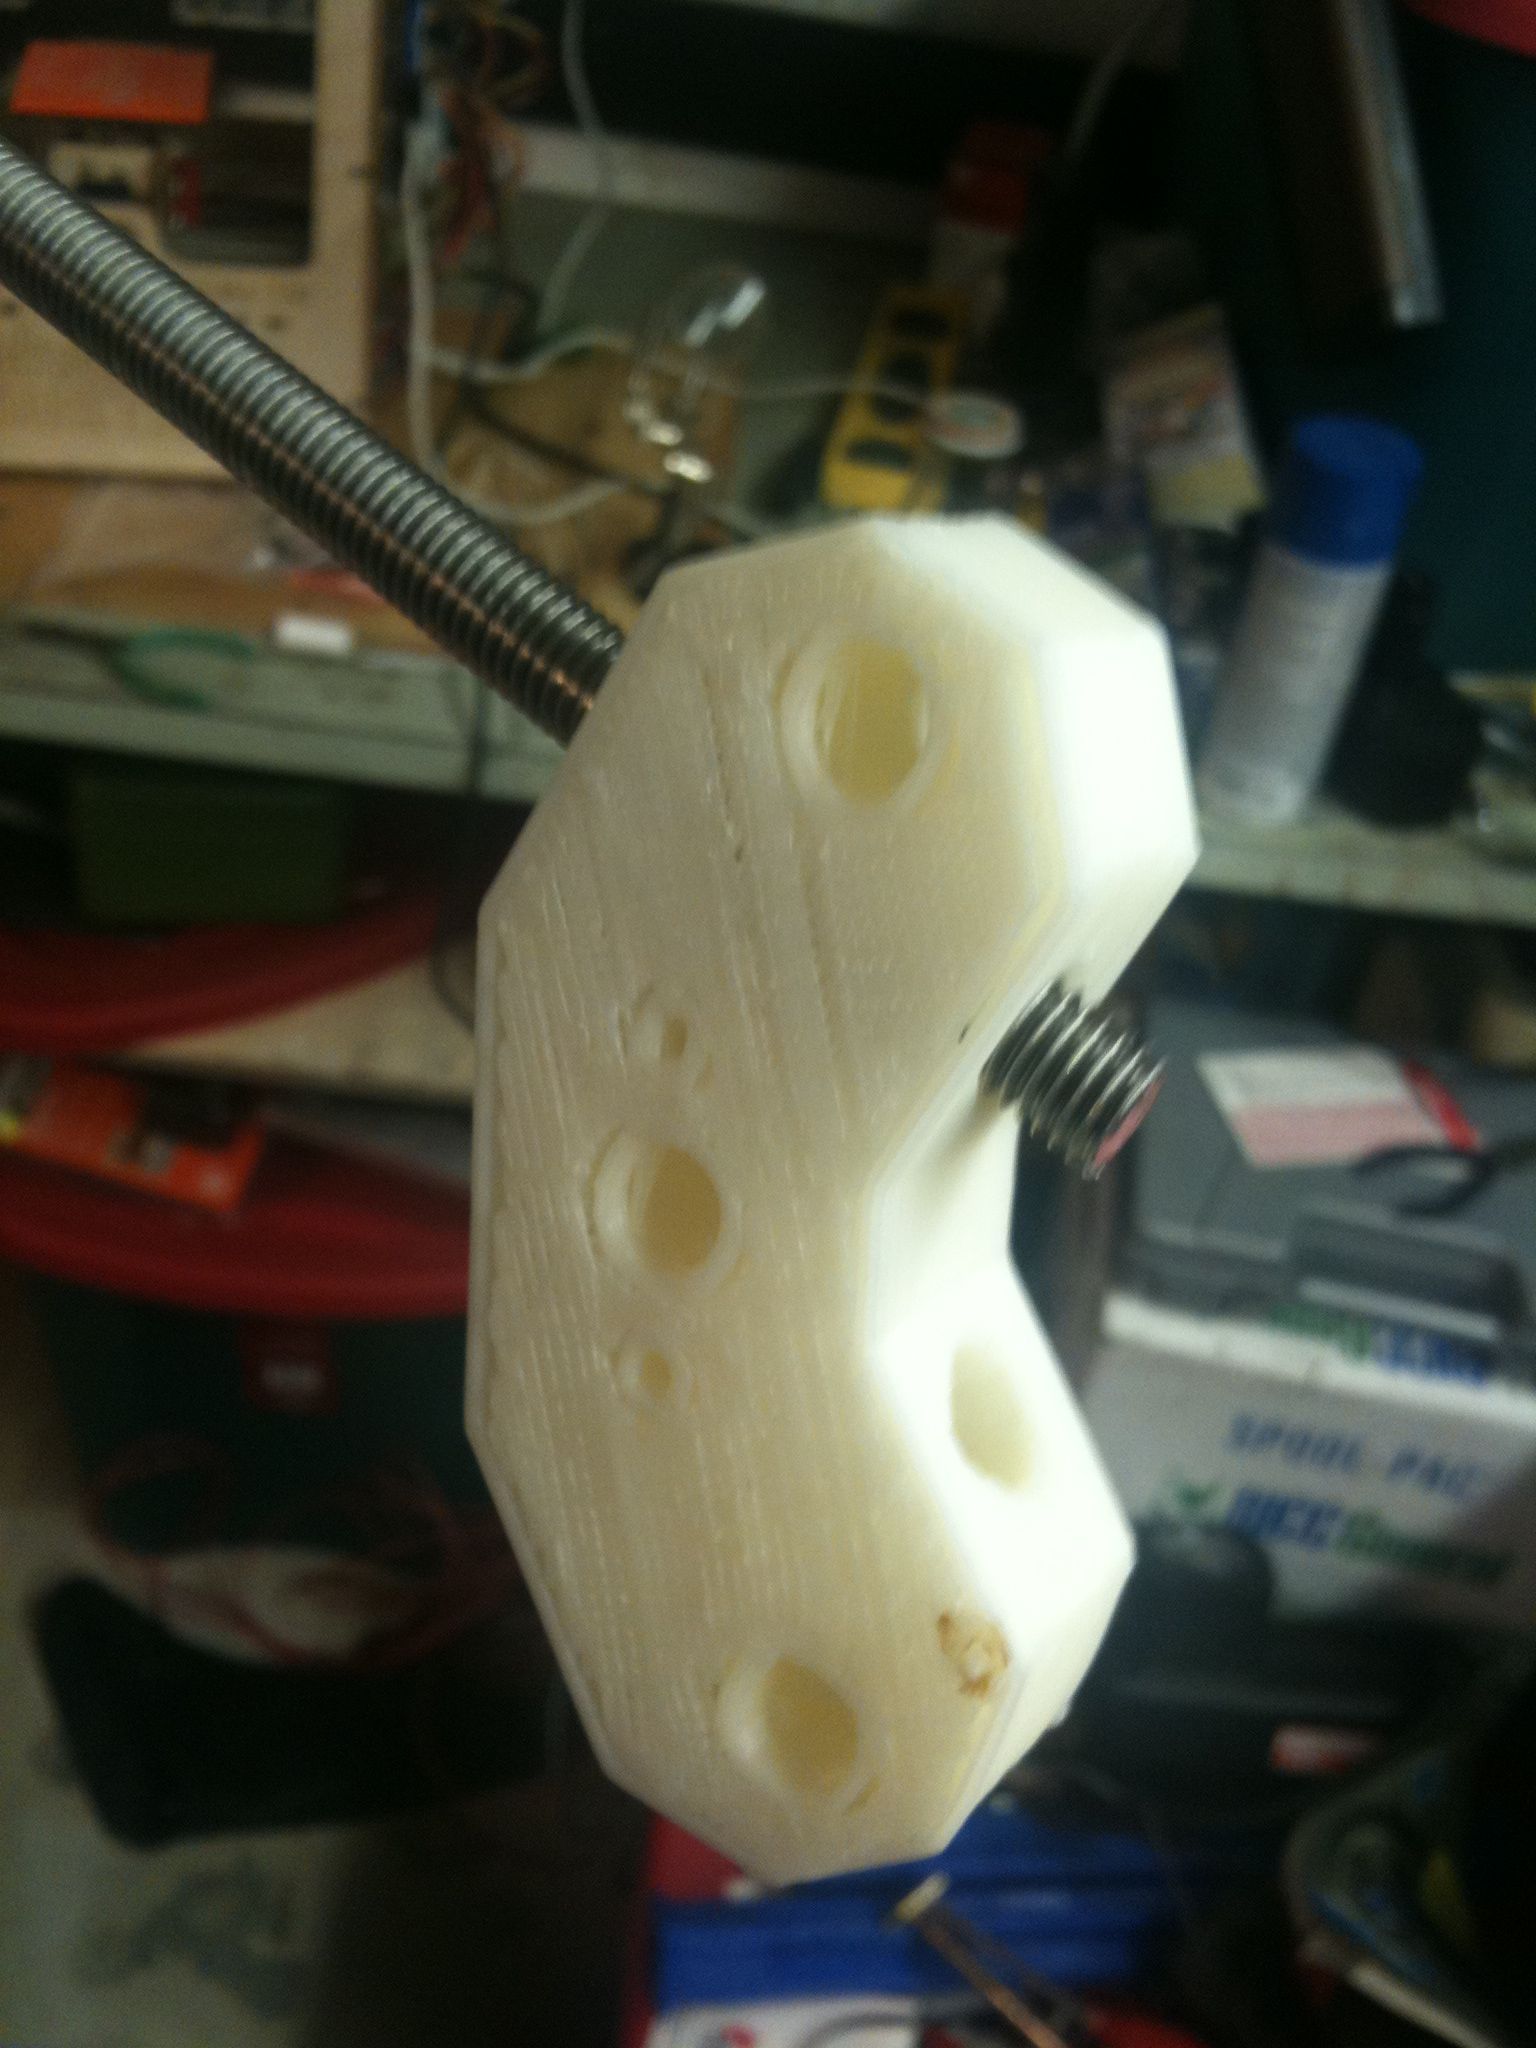
It’s Printing Day! Currently I’m looking at 5 completed frame-vertex pieces (which each take 1.5 hours to print on the MakerBot I’m using), and I’m currently printing the 6th and last required instance of that piece. I’m hoping to print out enough of the pieces from the first steps of assembly that I’ll actually be able to start assembling part of the frame before long – but I don’t want to get my hopes up.

Here’s a pic of the 5 completes pieces:
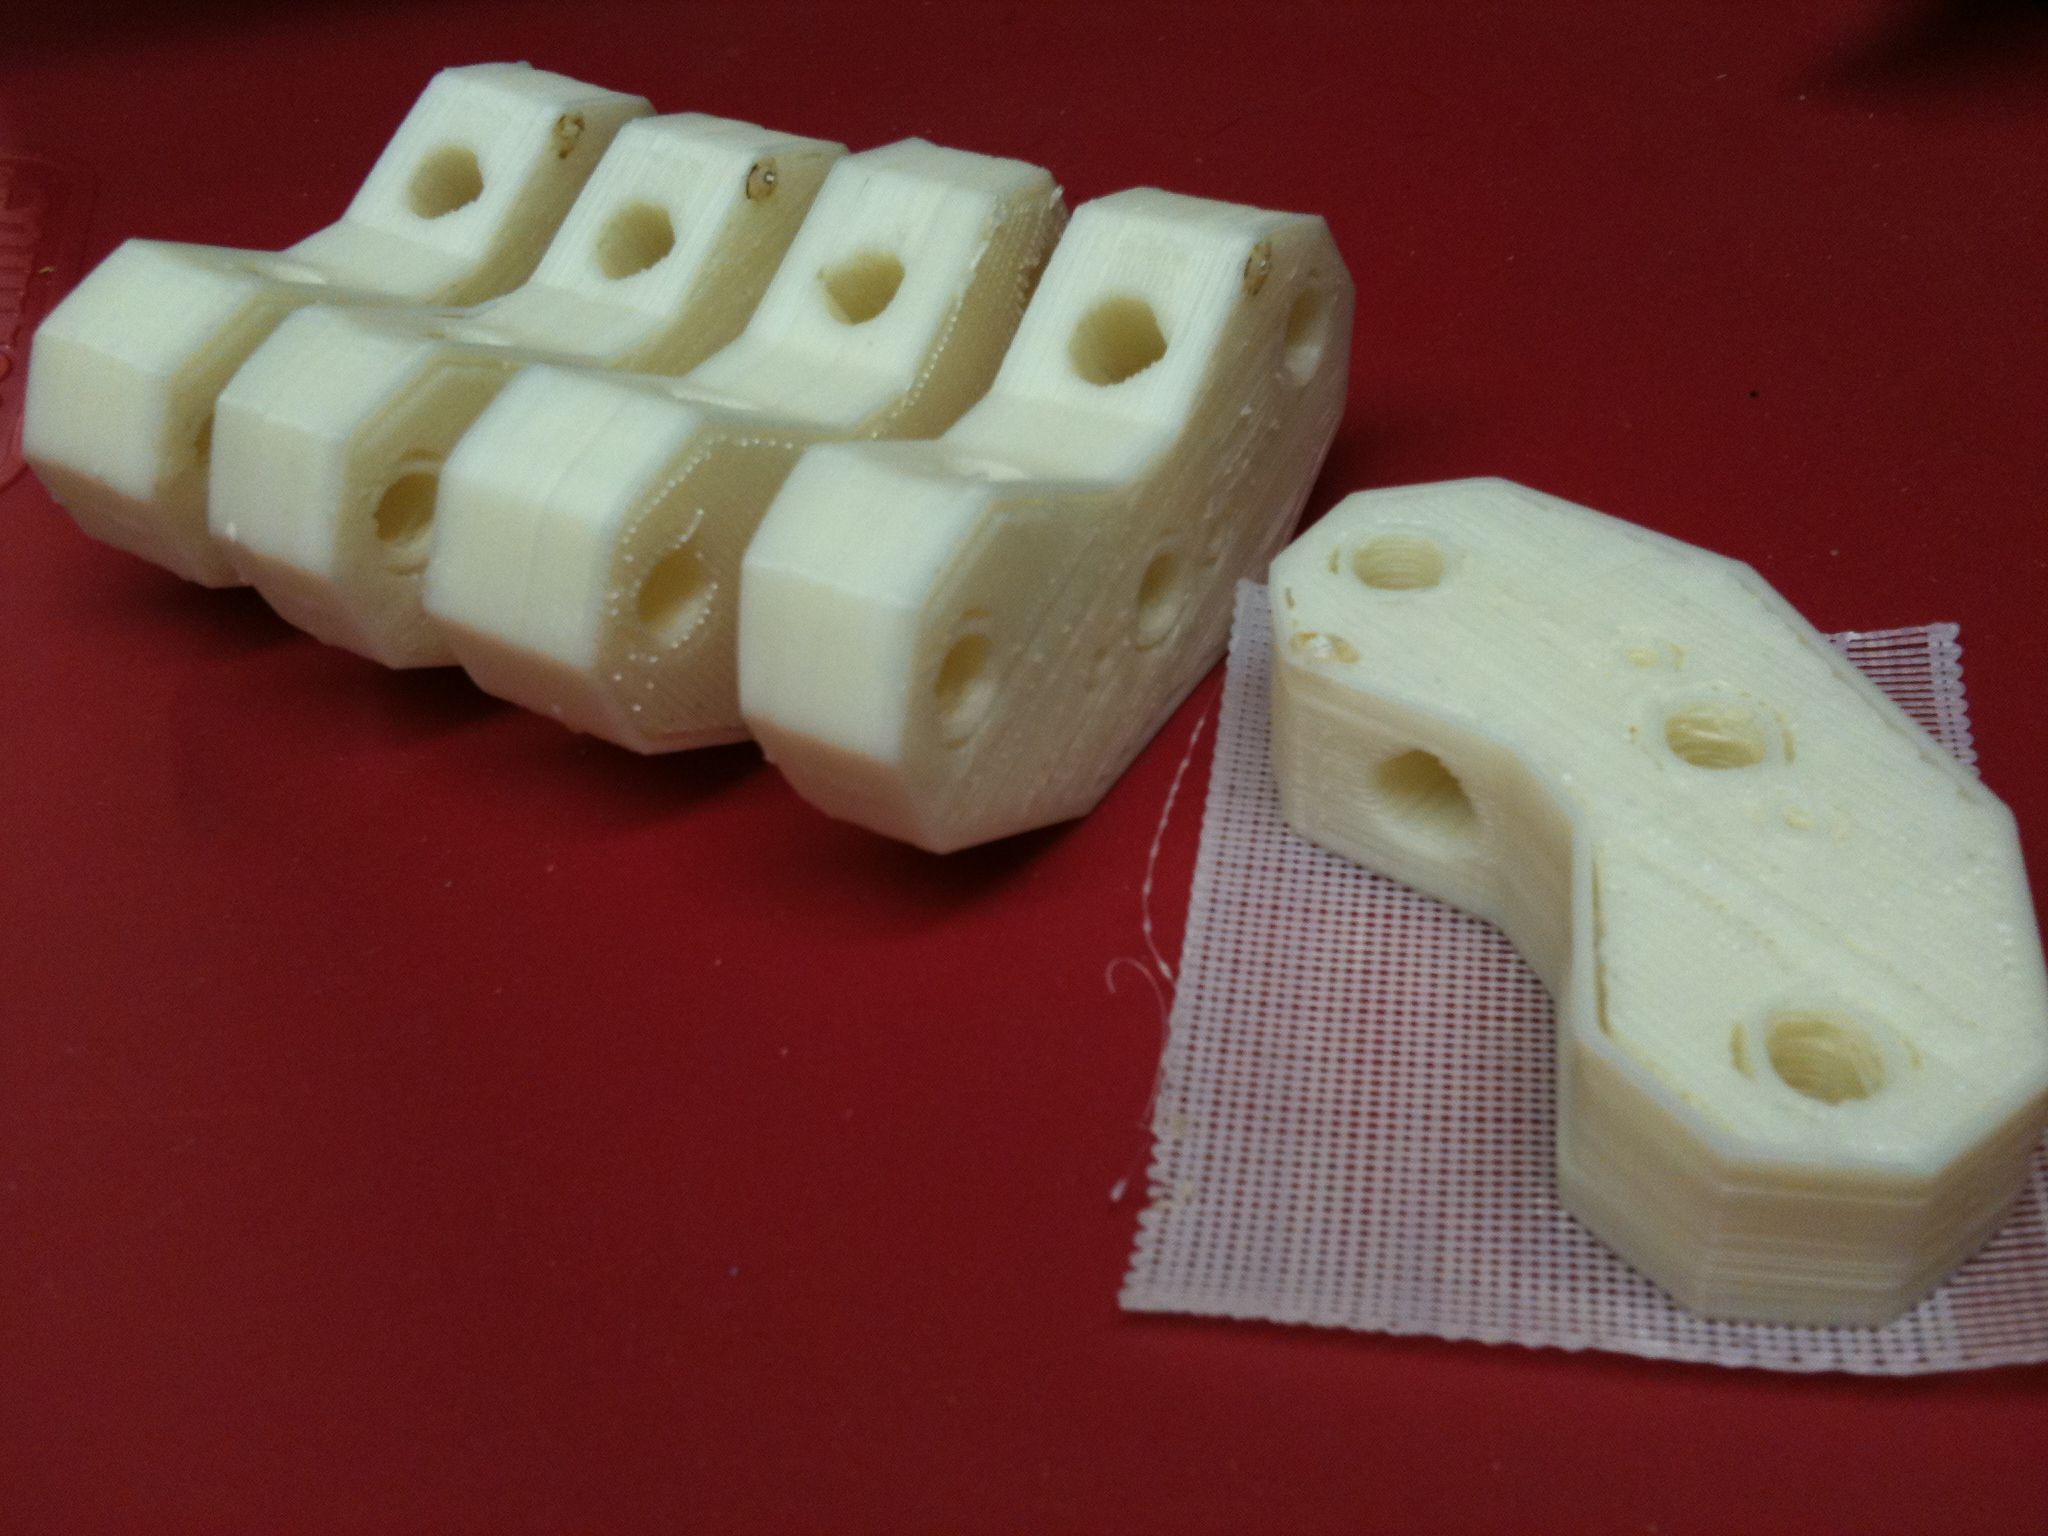
Five completed vertex-frame pieces. The one on the left was my first Mendel part. The one on the right hasn't had the raft cleaned off yet; I should be doing that now, but instead I'm blogging. 🙂

One thing that I always I’m always fascinated by and enjoy is the list of strange “side-game” routines that you discover when doing a project. When I was designed and built the Lego Halo 3 Foundry Forge Kit (a large Lego model of the video game Halo, that lets you design maps), I purchased pieces directly from LEGO. But when I built my next large kit (and decided to buy my bricks elsewhere), the unexpected side game I discovered was finding where to purchase what parts I needed (412 of the 4×4 blue plates from here, 1240 grey 1×1 bricks from here, etc). I had completely overlooked the detail that would go into acquiring parts. I describe the feeling as if I were an old woman in a supermarket shopping for good cuts of meat, looking for a good bargain, weighing pricing options, etc. This store has these bricks that I need but not those, this other store has more things but charges and arm and a leg for shipping, etc. That same side-game existed for my Mendel parts purchasing as well, but that’s not the new side-game I discovered today.

No, today, I discovered another unexpected side-game in building myself a Mendel: scheduling which parts to print, and when. By my count there are around 106 different parts I need to print out, some taking 2.5 hours to print, others reportedly taking 11 minutes. I’ve calculated that it should take sixty solid hours of printing time to print out these pieces (don’t quote me on the accuracy of that estimate – it’s based on other people’s documents, me throwing them into a simple spreadsheet, etc).

Which to do first? Print out the most time-expensive pieces first and get them out of the way? Well hold on.. Certain pieces make sense to print at certain times of the day, it would seem (at least for me – I’m married and have four kids). If I have a reliable piece that always prints well that takes an hour and a half long to print, maybe I should save that for when it’s time to watch a movie with the family. When I finally get some time that everyone else is either out of the house or asleep, maybe that’s a good time to do a bunch of the 11-minute pieces.

..but then there’s the order you want them in.. I’d love to actually start assembling the frame, if only to give me a reason to bother cutting down the threaded rod to size, etc. But that requires certain pieces. So I’d want to print those first, right?

🙂 That’s the game going through my head – coming up with the best strategy I can. Add to that the fact that I’m away tomorrow, so I’m handing the RepStrap (MakerBot) to Chris so he can have it for a week, and I now have a time crunch for today! Given a set amount of time today to print, which parts make the most sense, etc?

I decided to print the 6th frame-vertex piece now (even though I’m using up one of those reliably-prints-over-1.5-hour pieces that would print easily during a movie) so that I can use the 1.5 hours to install more software and learn how to rotate some pieces around before printing, etc (except that I’m using that time to blog now). 🙂 Oh, and I have David here (who’s been very kind to sleep through most of the past piece).

More pics as the day goes on.
My First Successful Mendel Piece!!!

December 11th, 2009

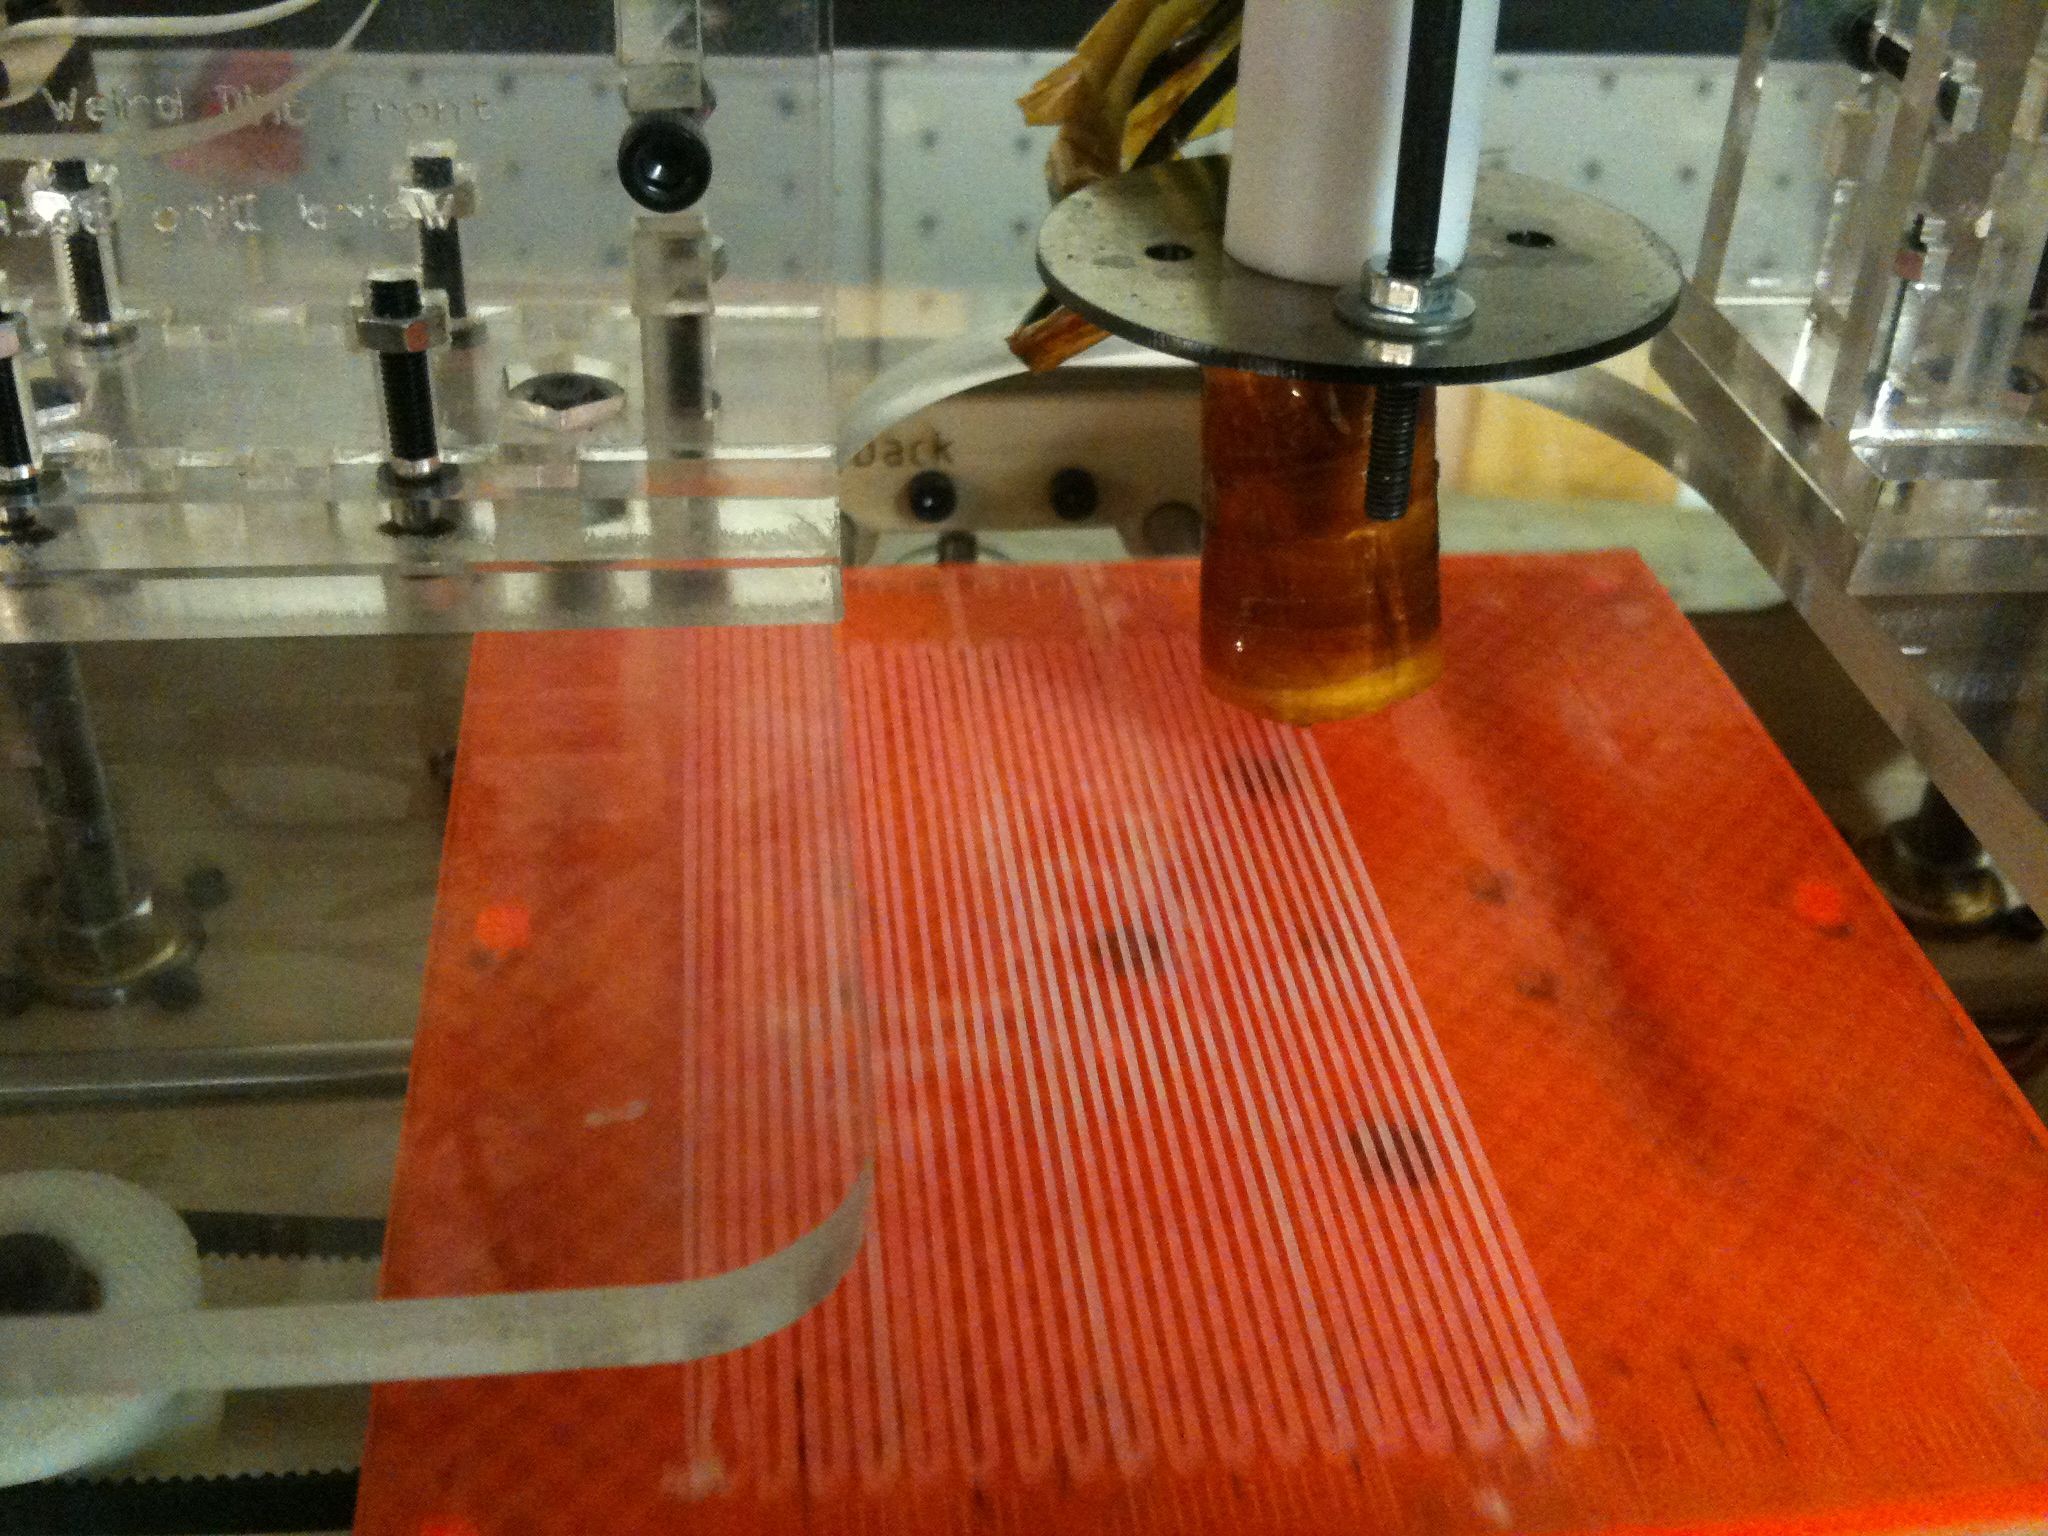
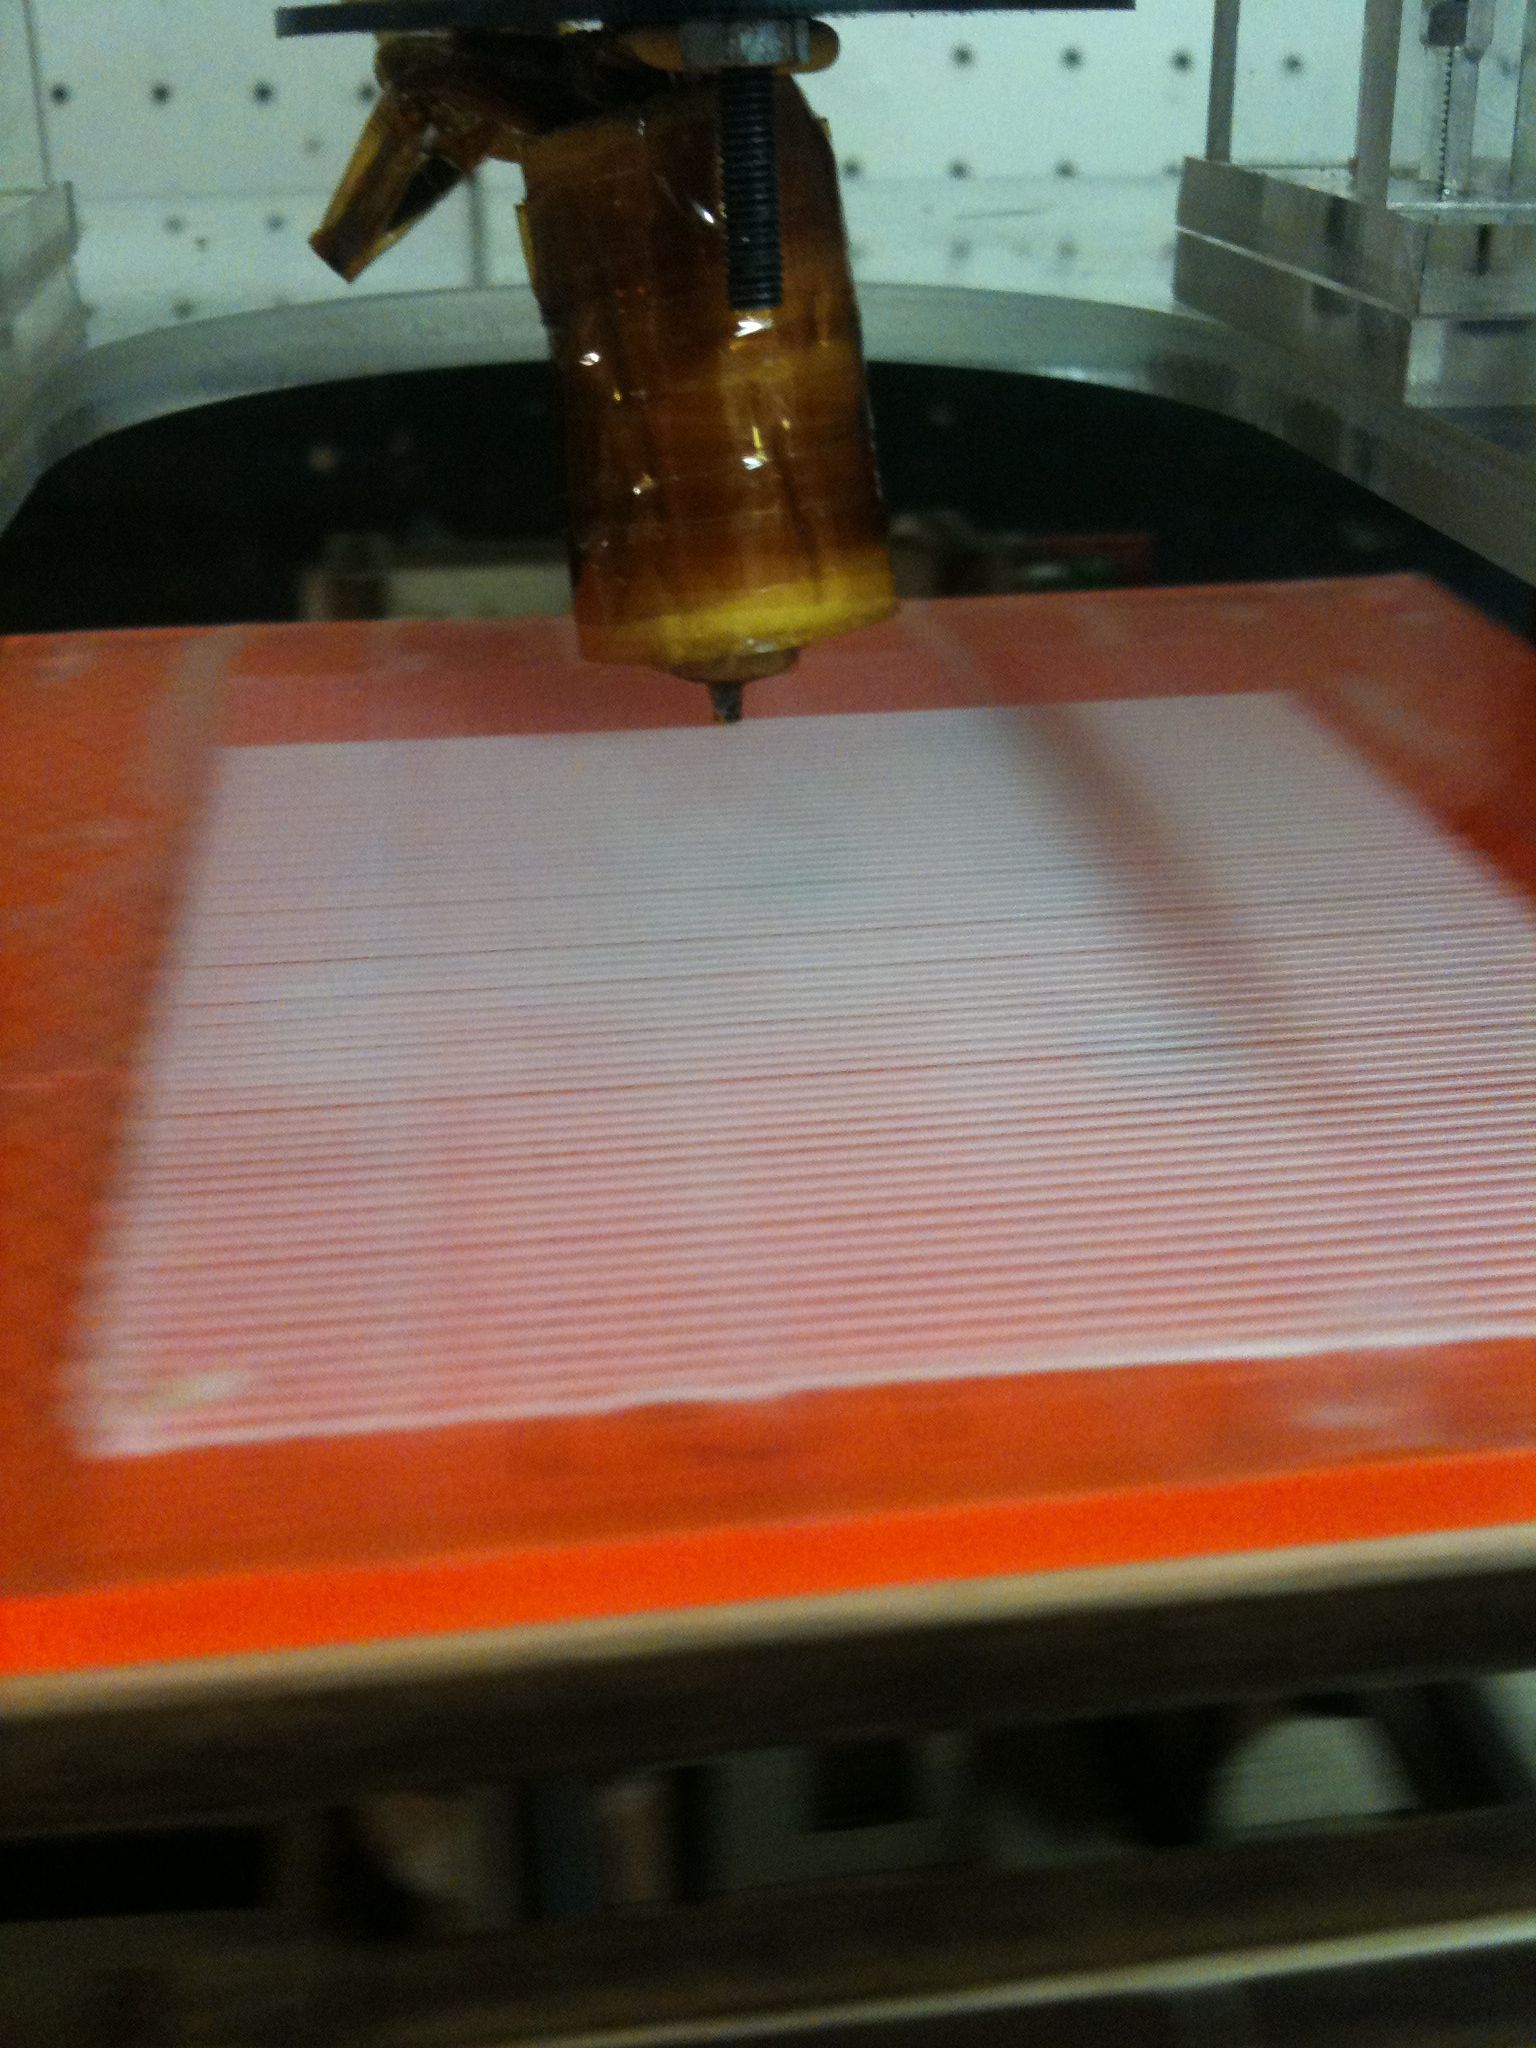
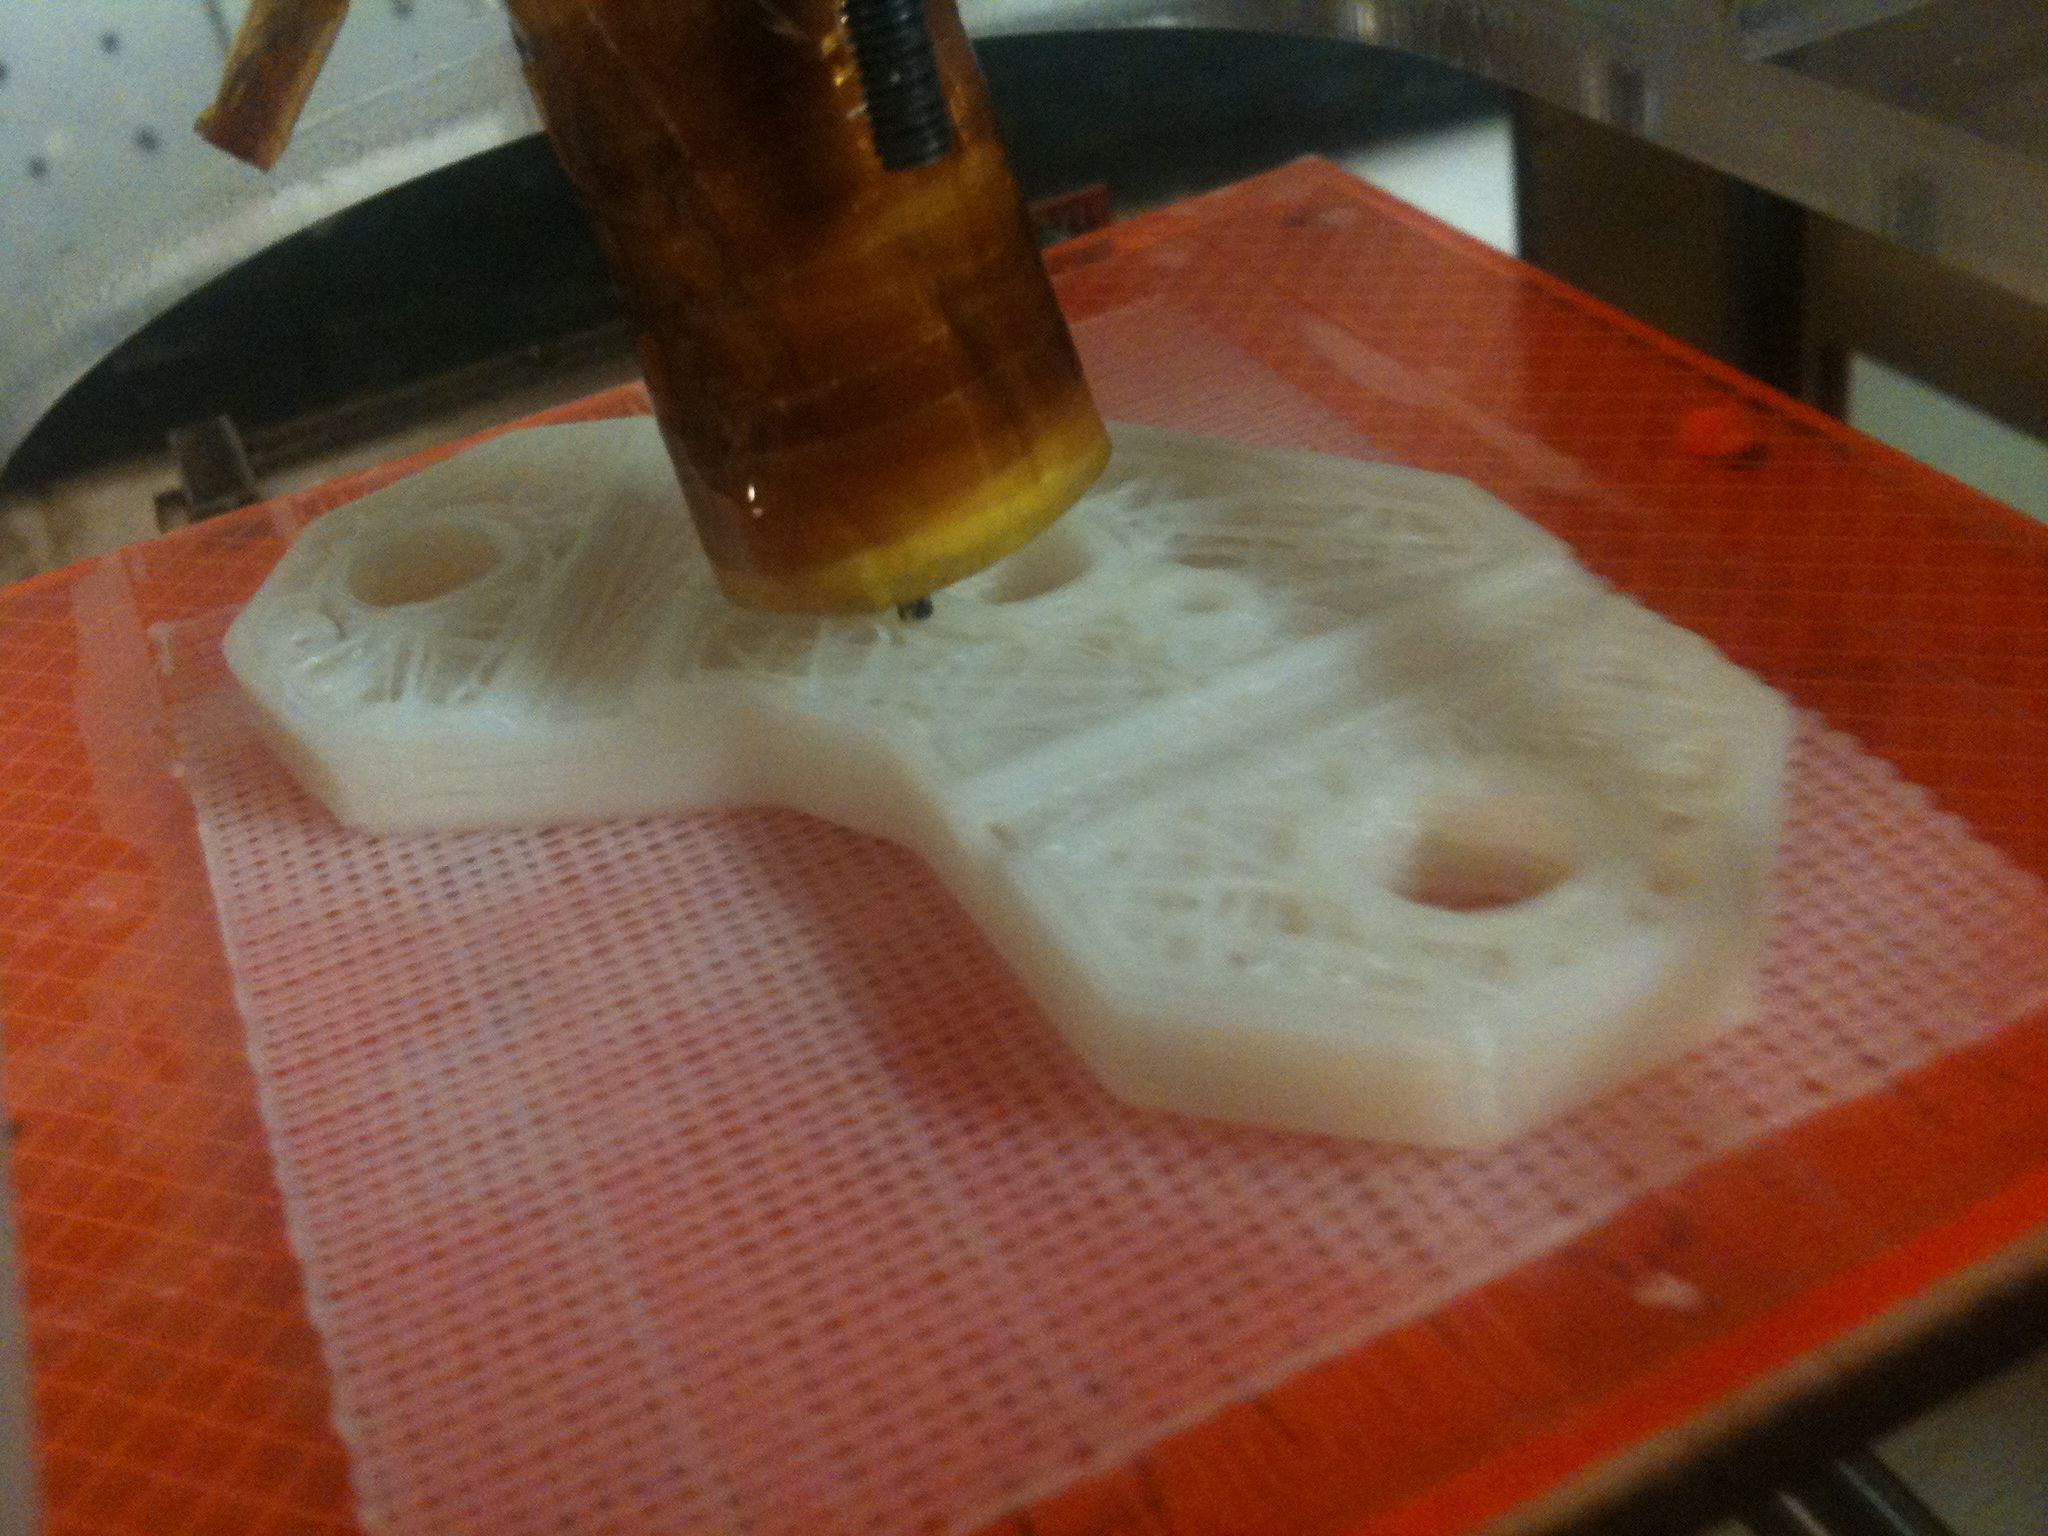
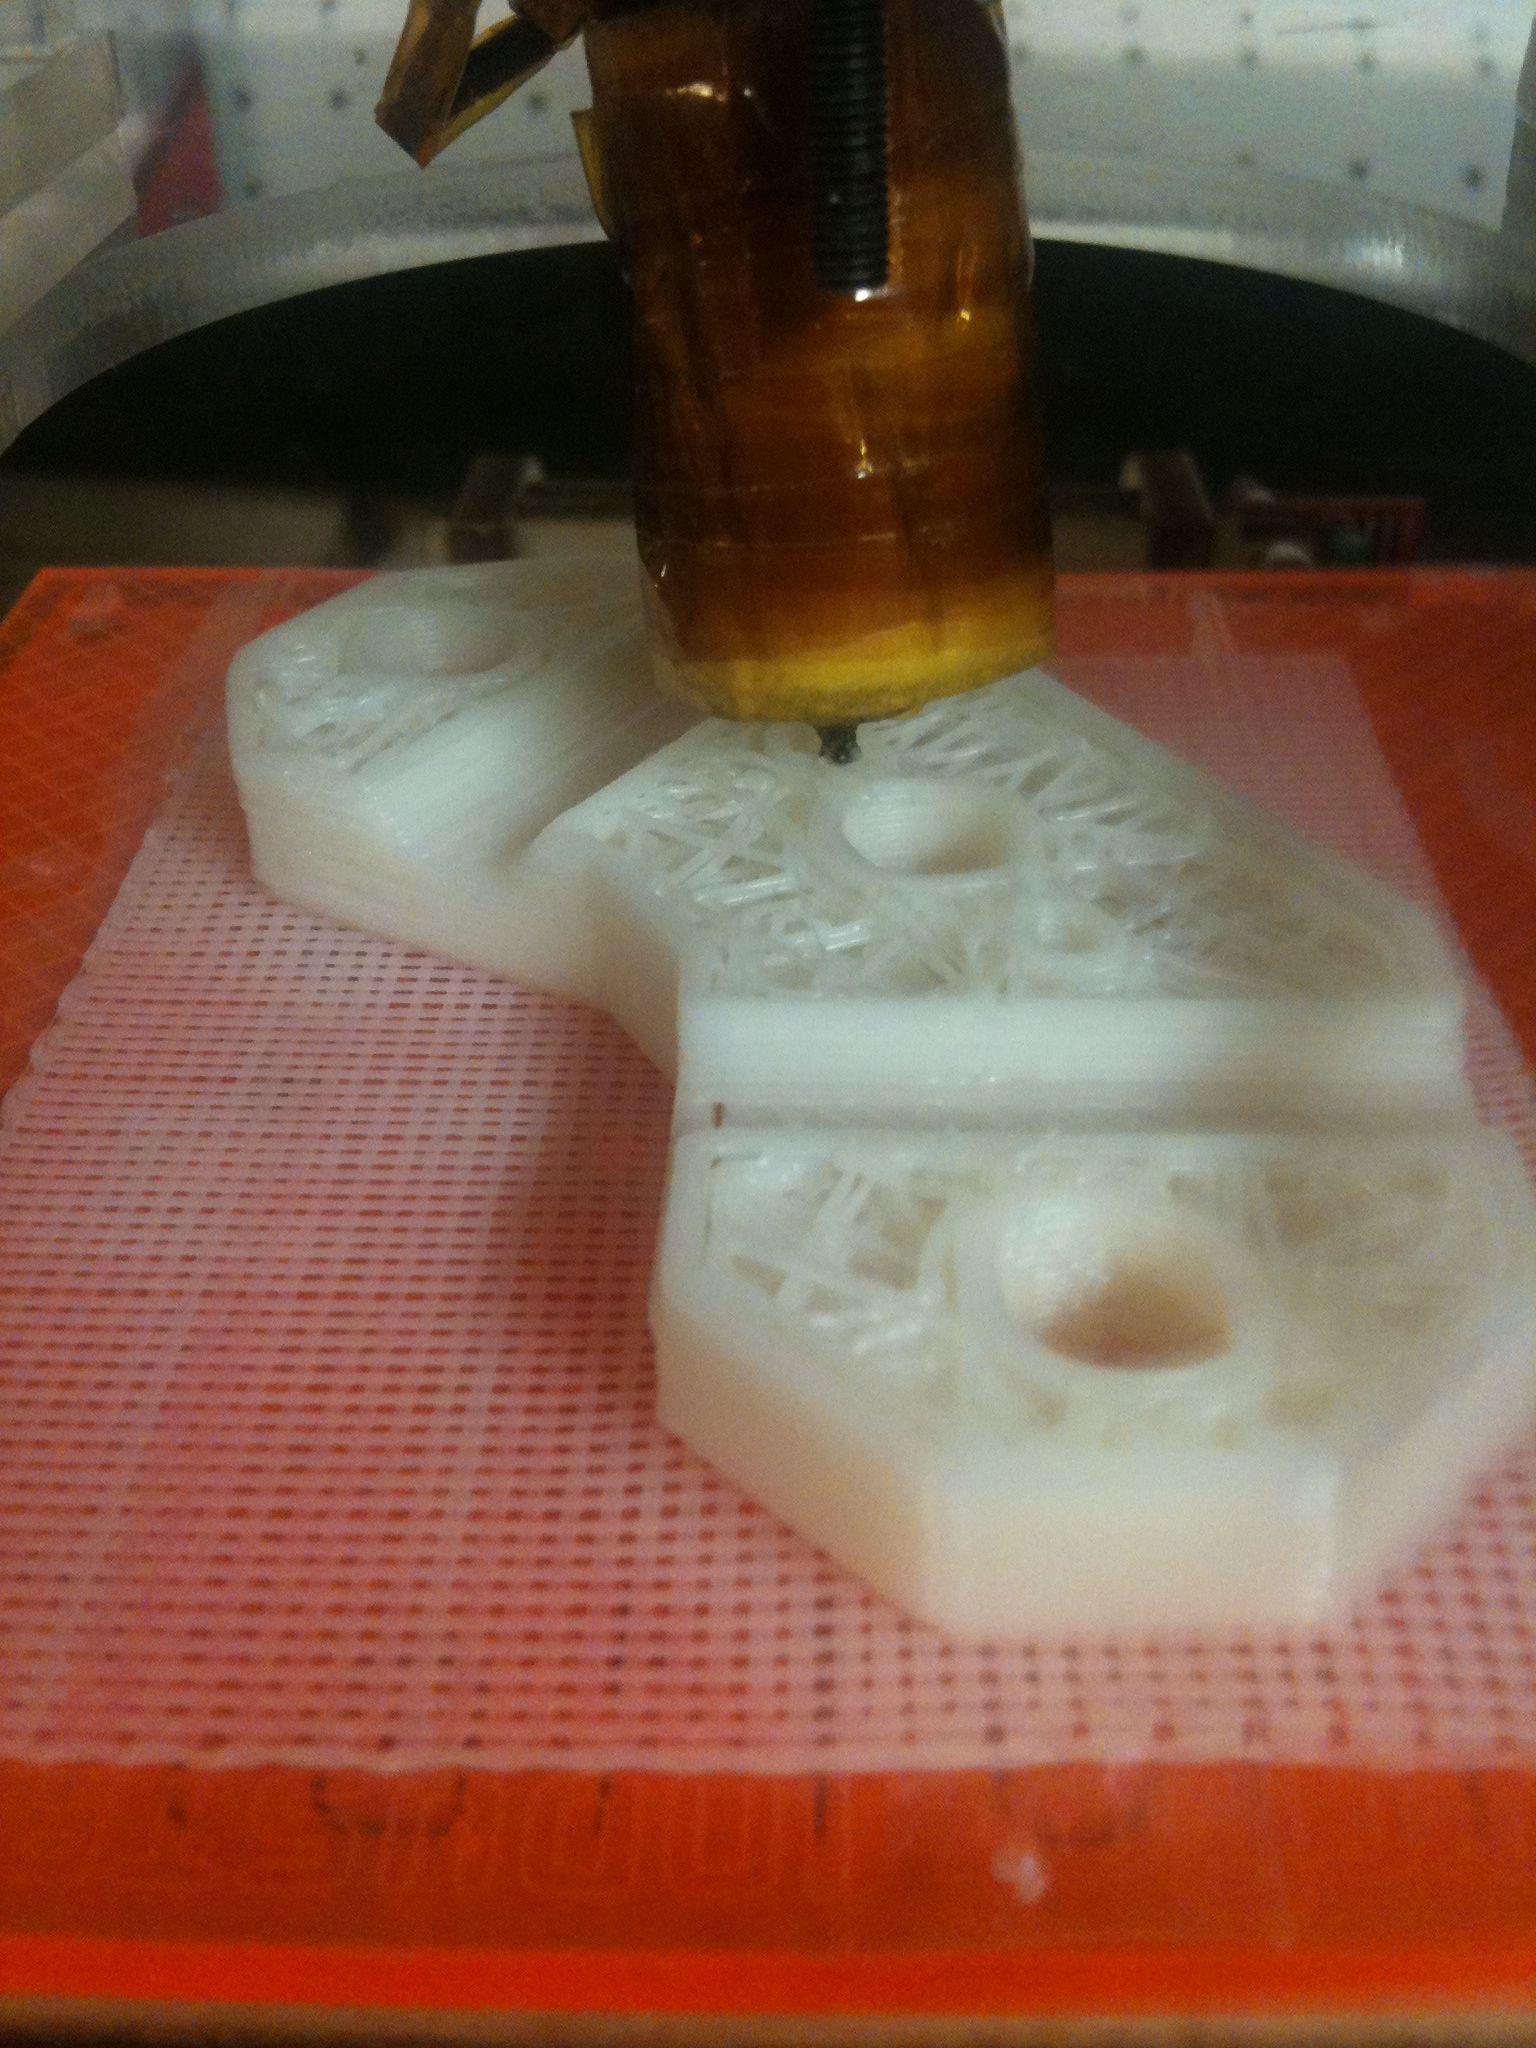
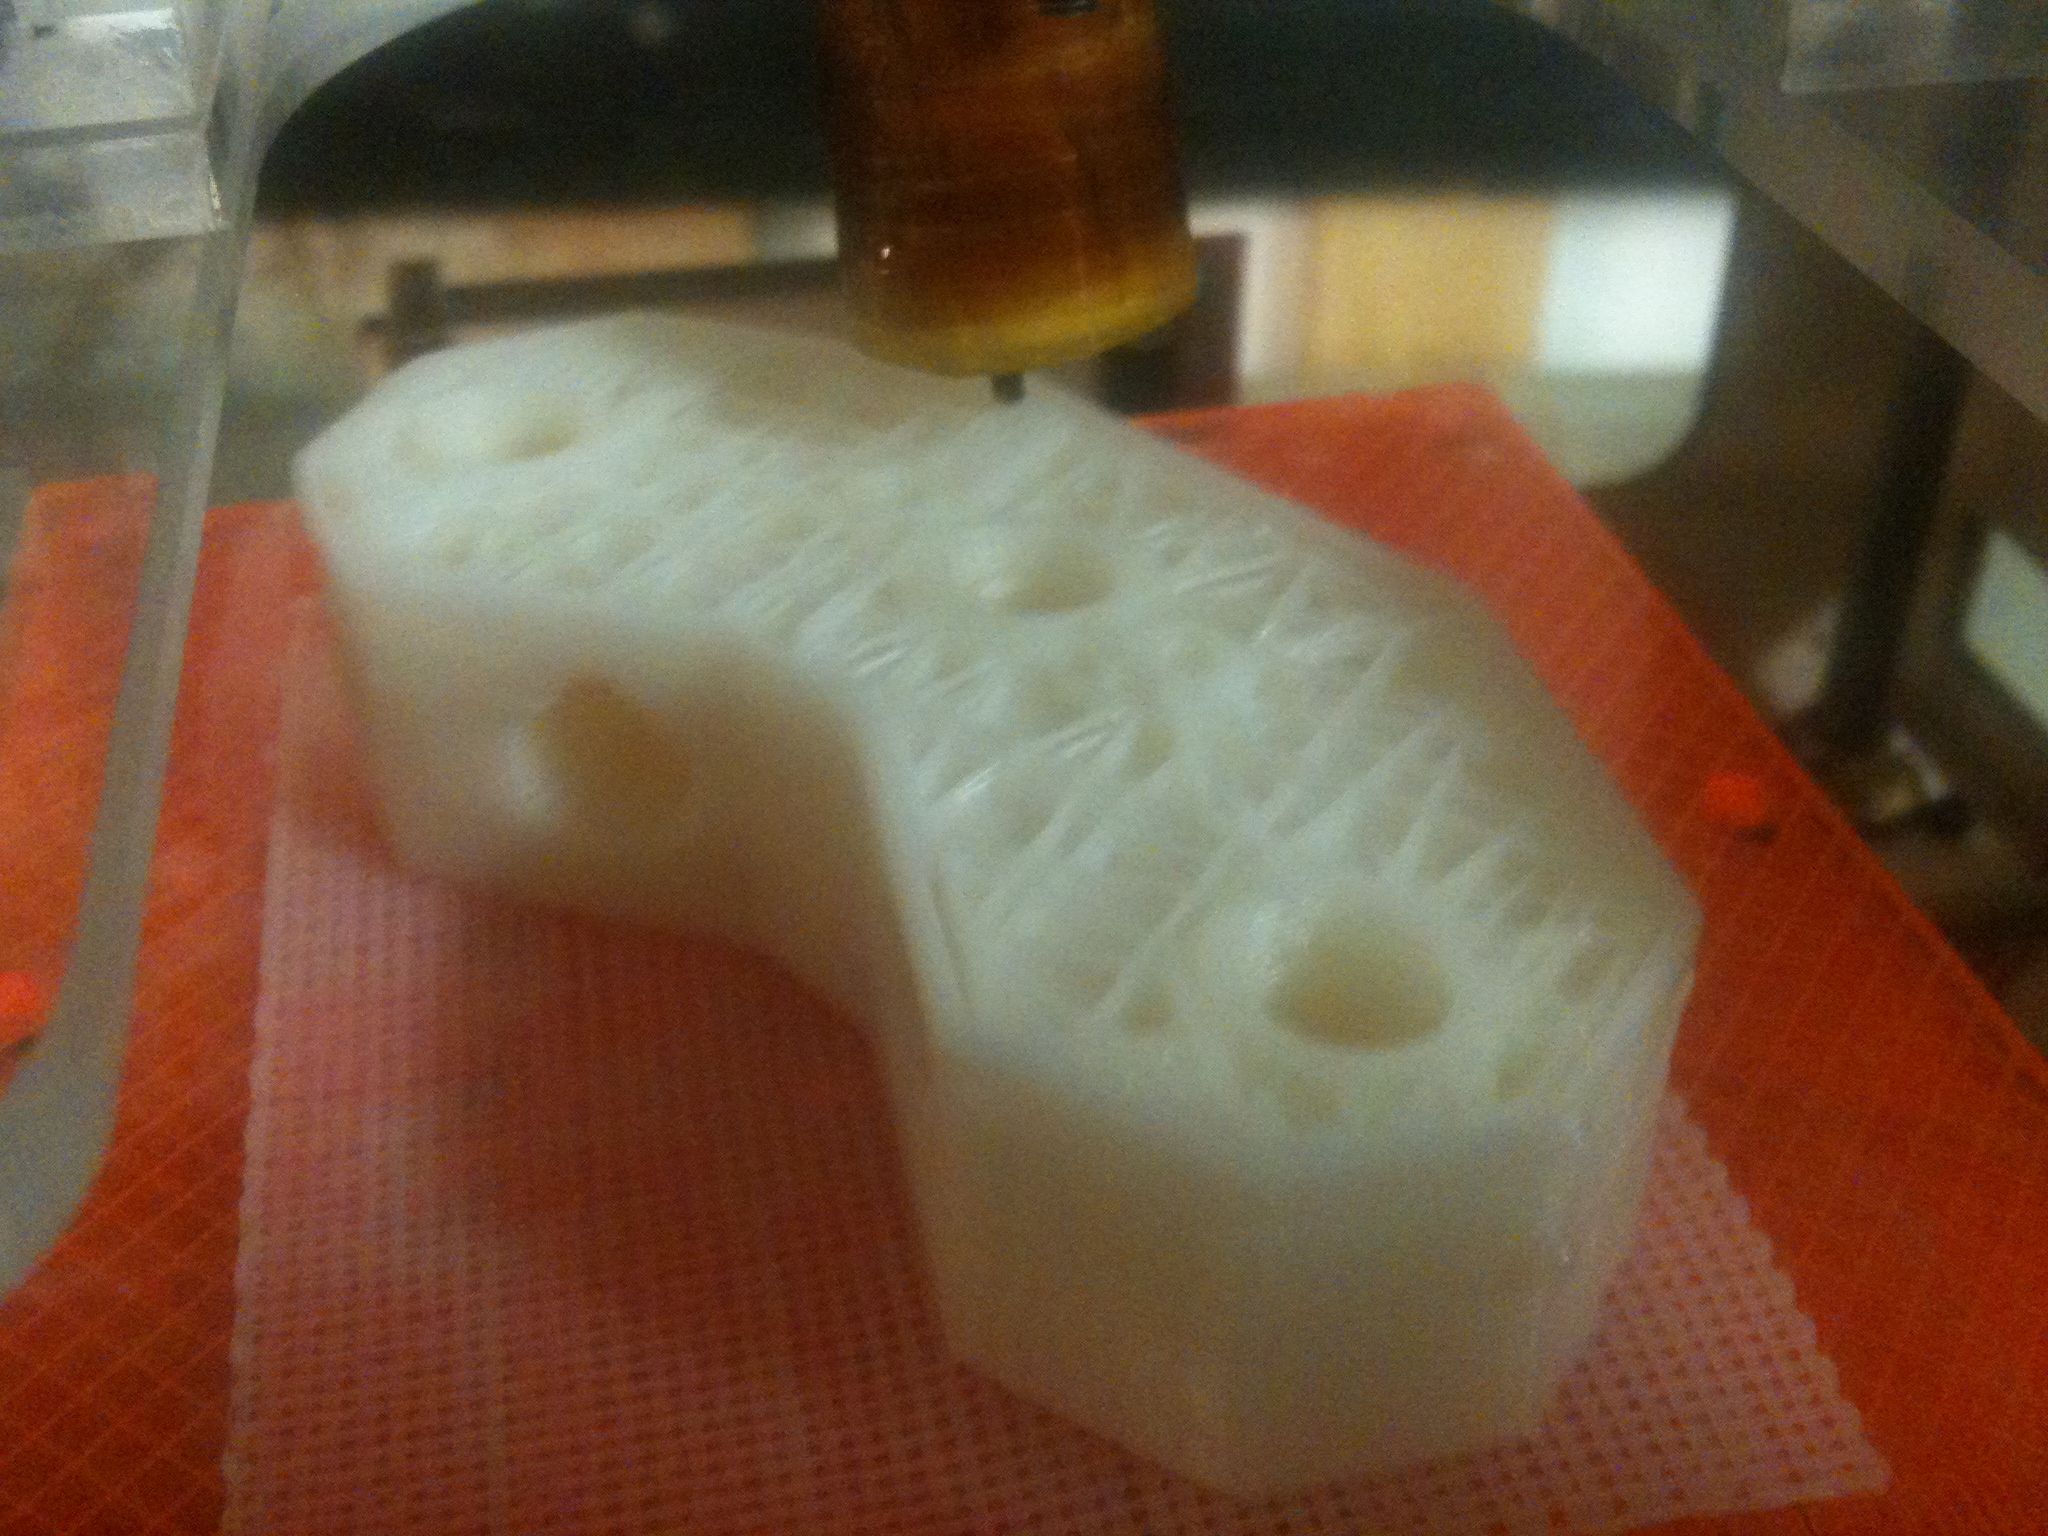
Woohoo!!! After days of anguish over failed prints of various Mendel pieces (and broken extruders, and broken thermistors), I’ve finally printed my first successful piece of my Mendel RepRap (printed on the MakerBot RepStrap, which I just fixed). This piece is “frame-vertex_6off”. I completed it sometime after 4am on December 11, 2009 (my brother Jon’s birthday.. Happy Birthday!). So happy. Awesome.

The build took 1 hour and 28 minutes to complete. Two days ago I’d tightened all of the belt tensioners and turned the Y pot up 1/4 turn, but never got to test it out because of the heater barrel problem. That night I built a new PTFE insulator, screwed it on the heater barrel, and in the process damaged the thermistor, causing the temperature to constantly rise when the machine was turned on. Tonight I replaced the thermistor, taped up the extruder again, and then tried printing a standard test part with no success (the part bent up, causing the nozzle to hit it and knock everything all over the place). So I took off all of the double-sided scotch tape that I’d put on the acrylic bed and replaced it with new double sided tape. That held everything down perfectly. Once the raft was laid out without flaw, I knew I had a chance.

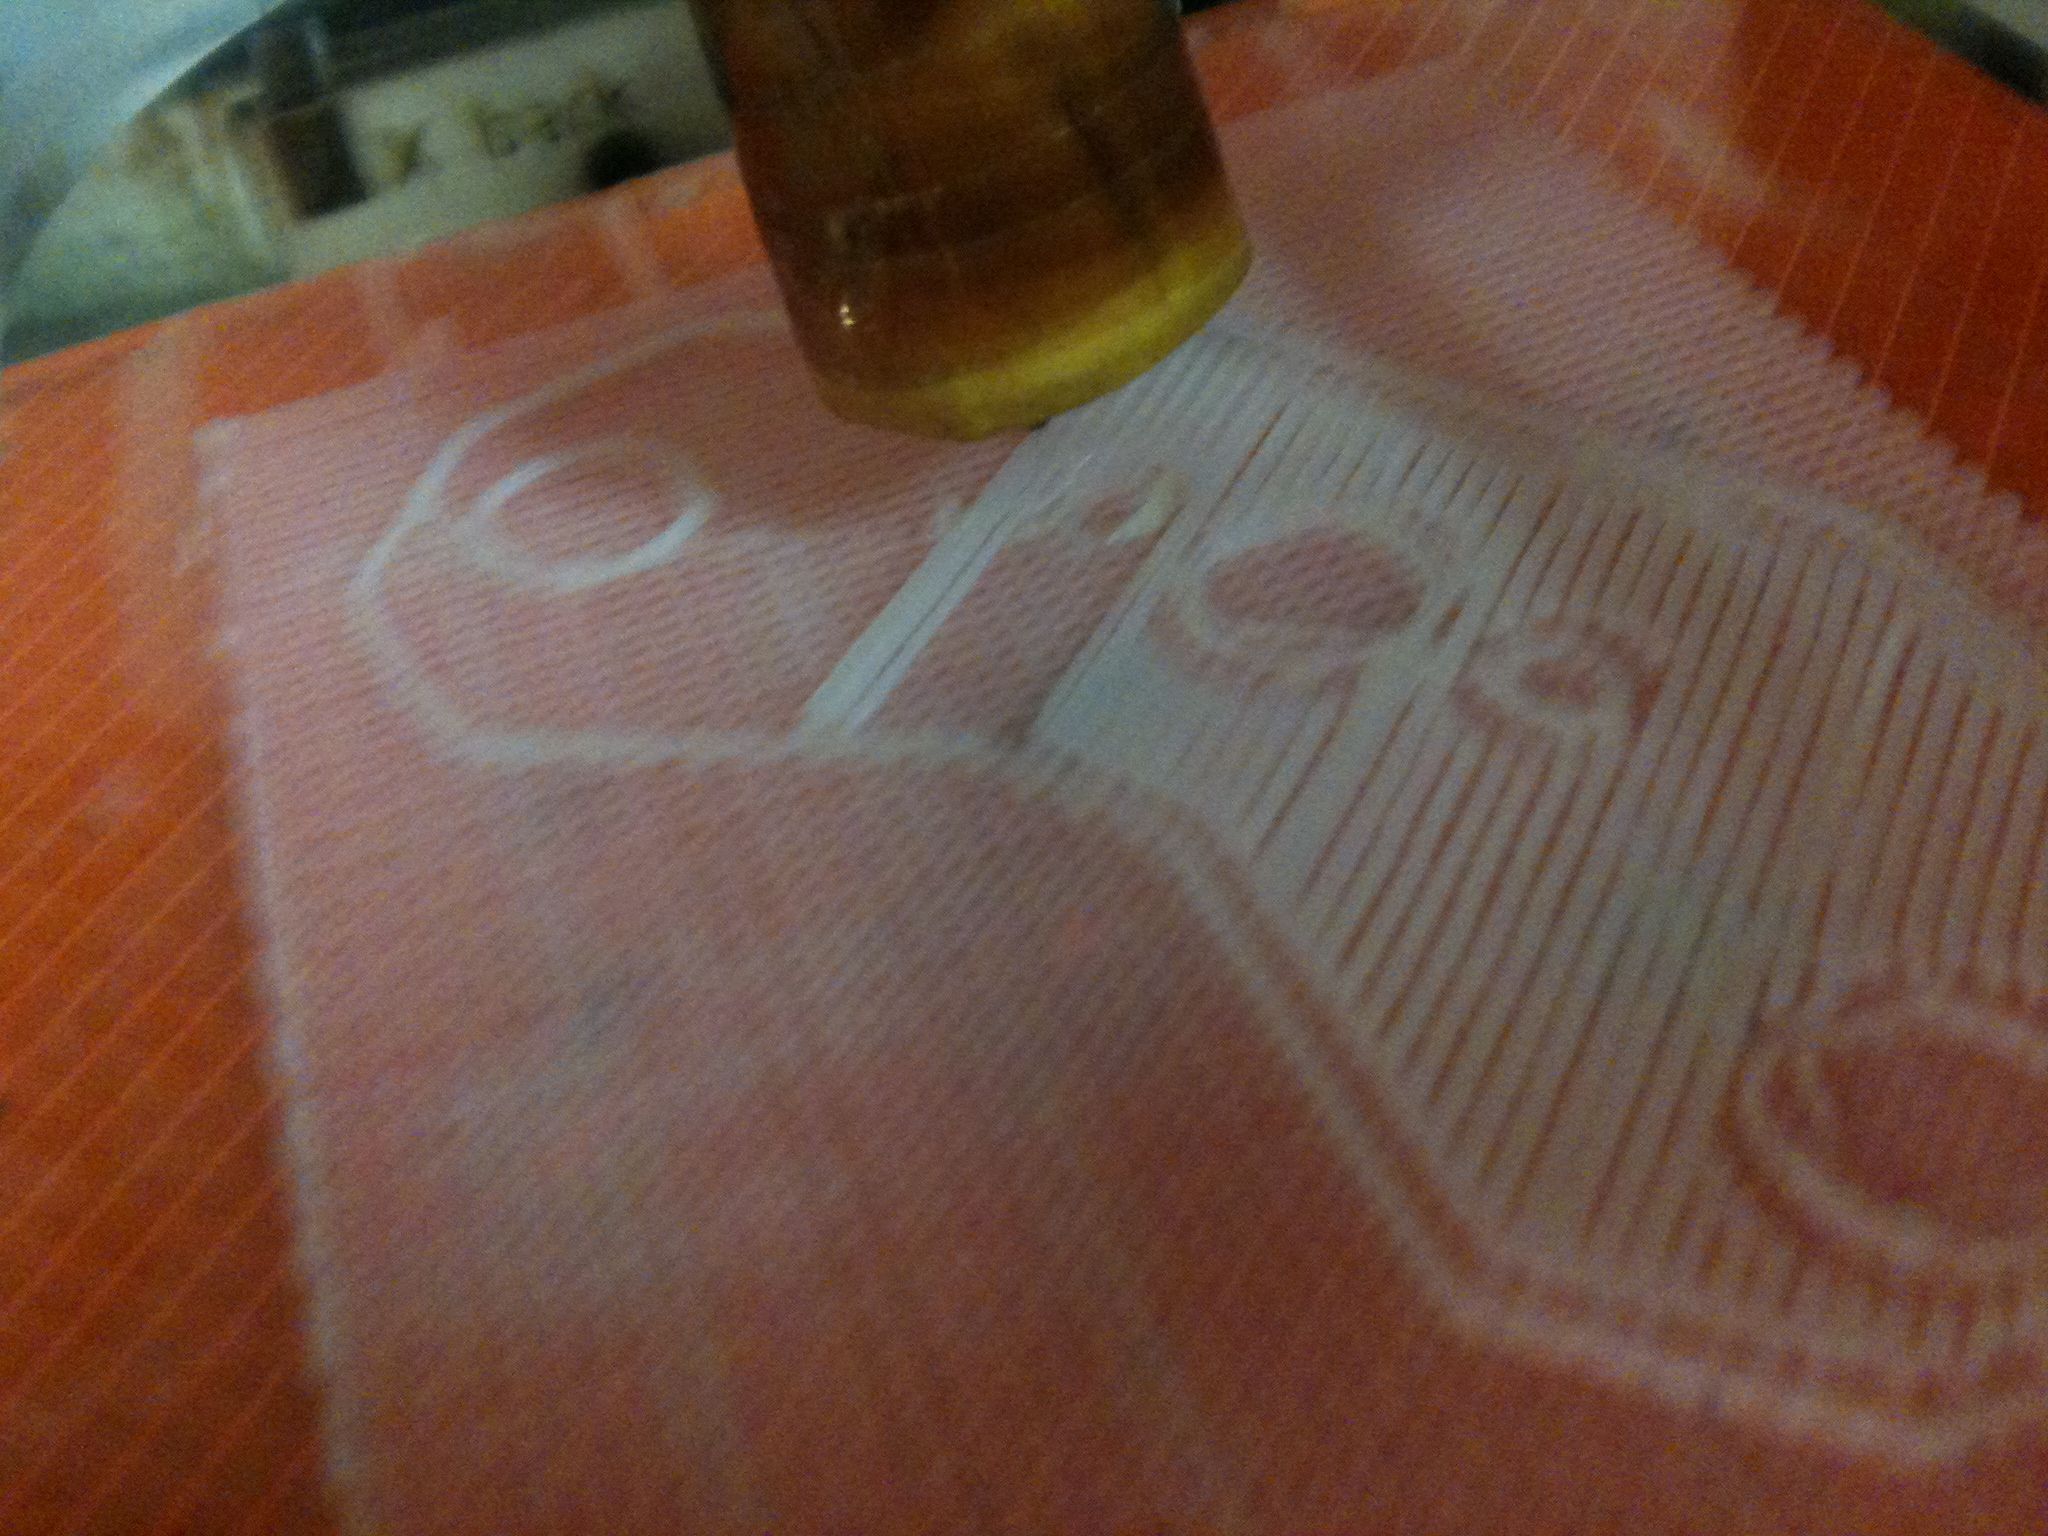
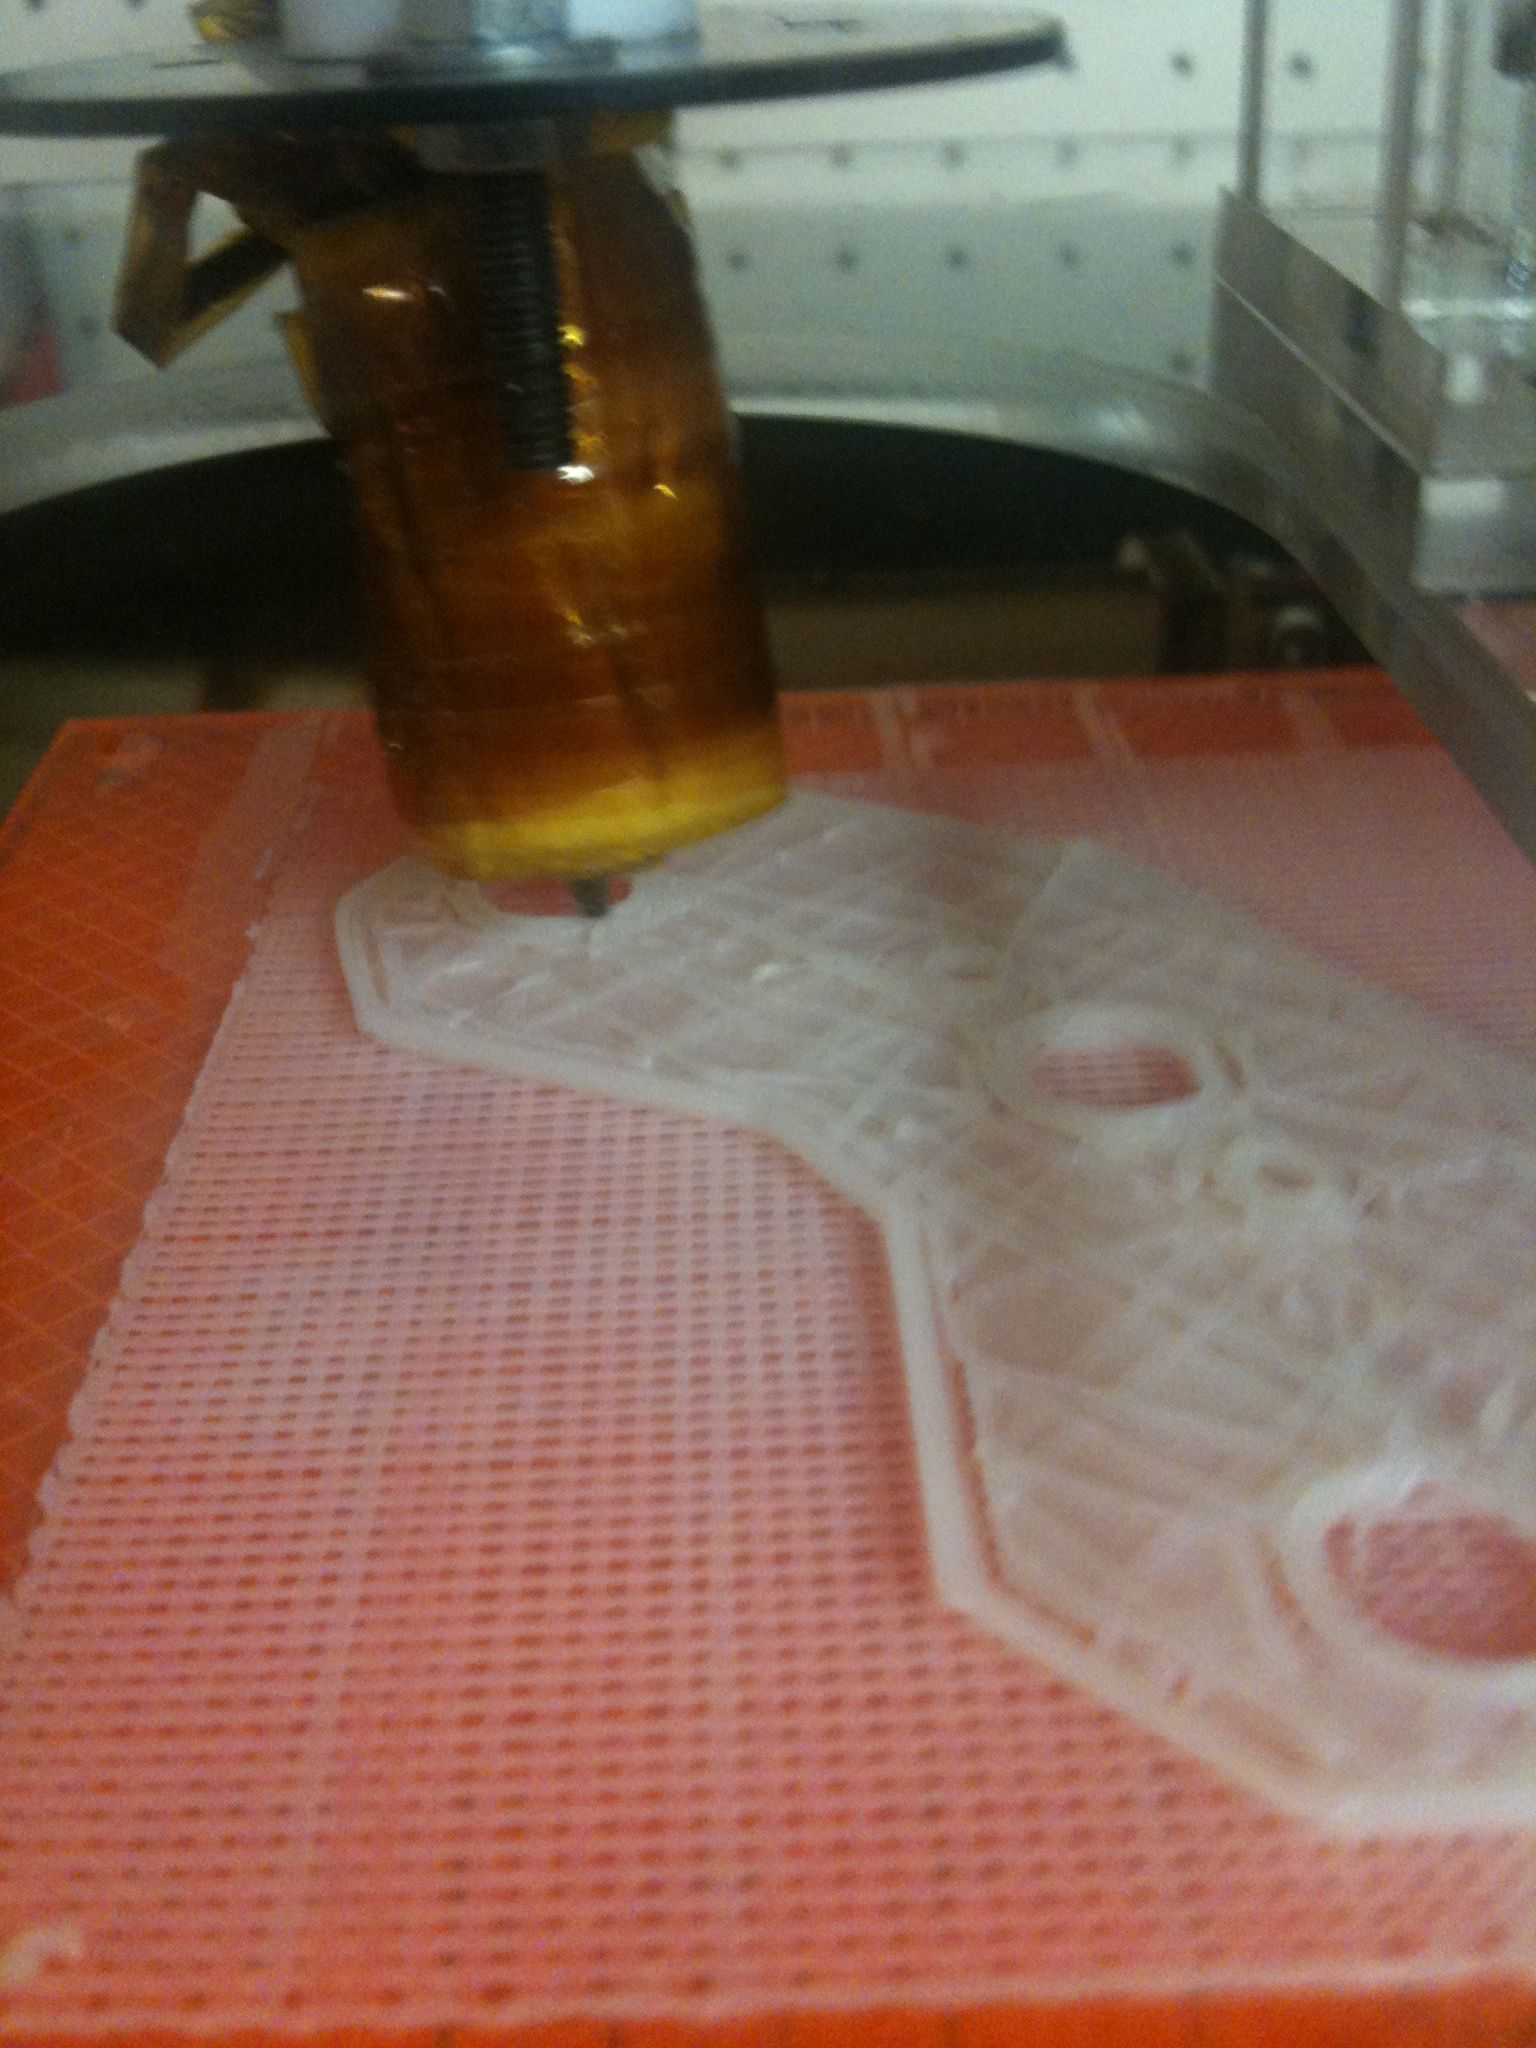
I actually fell asleep a bit of the way through the build, then woke to see it had completed the teardrop holes on the side.

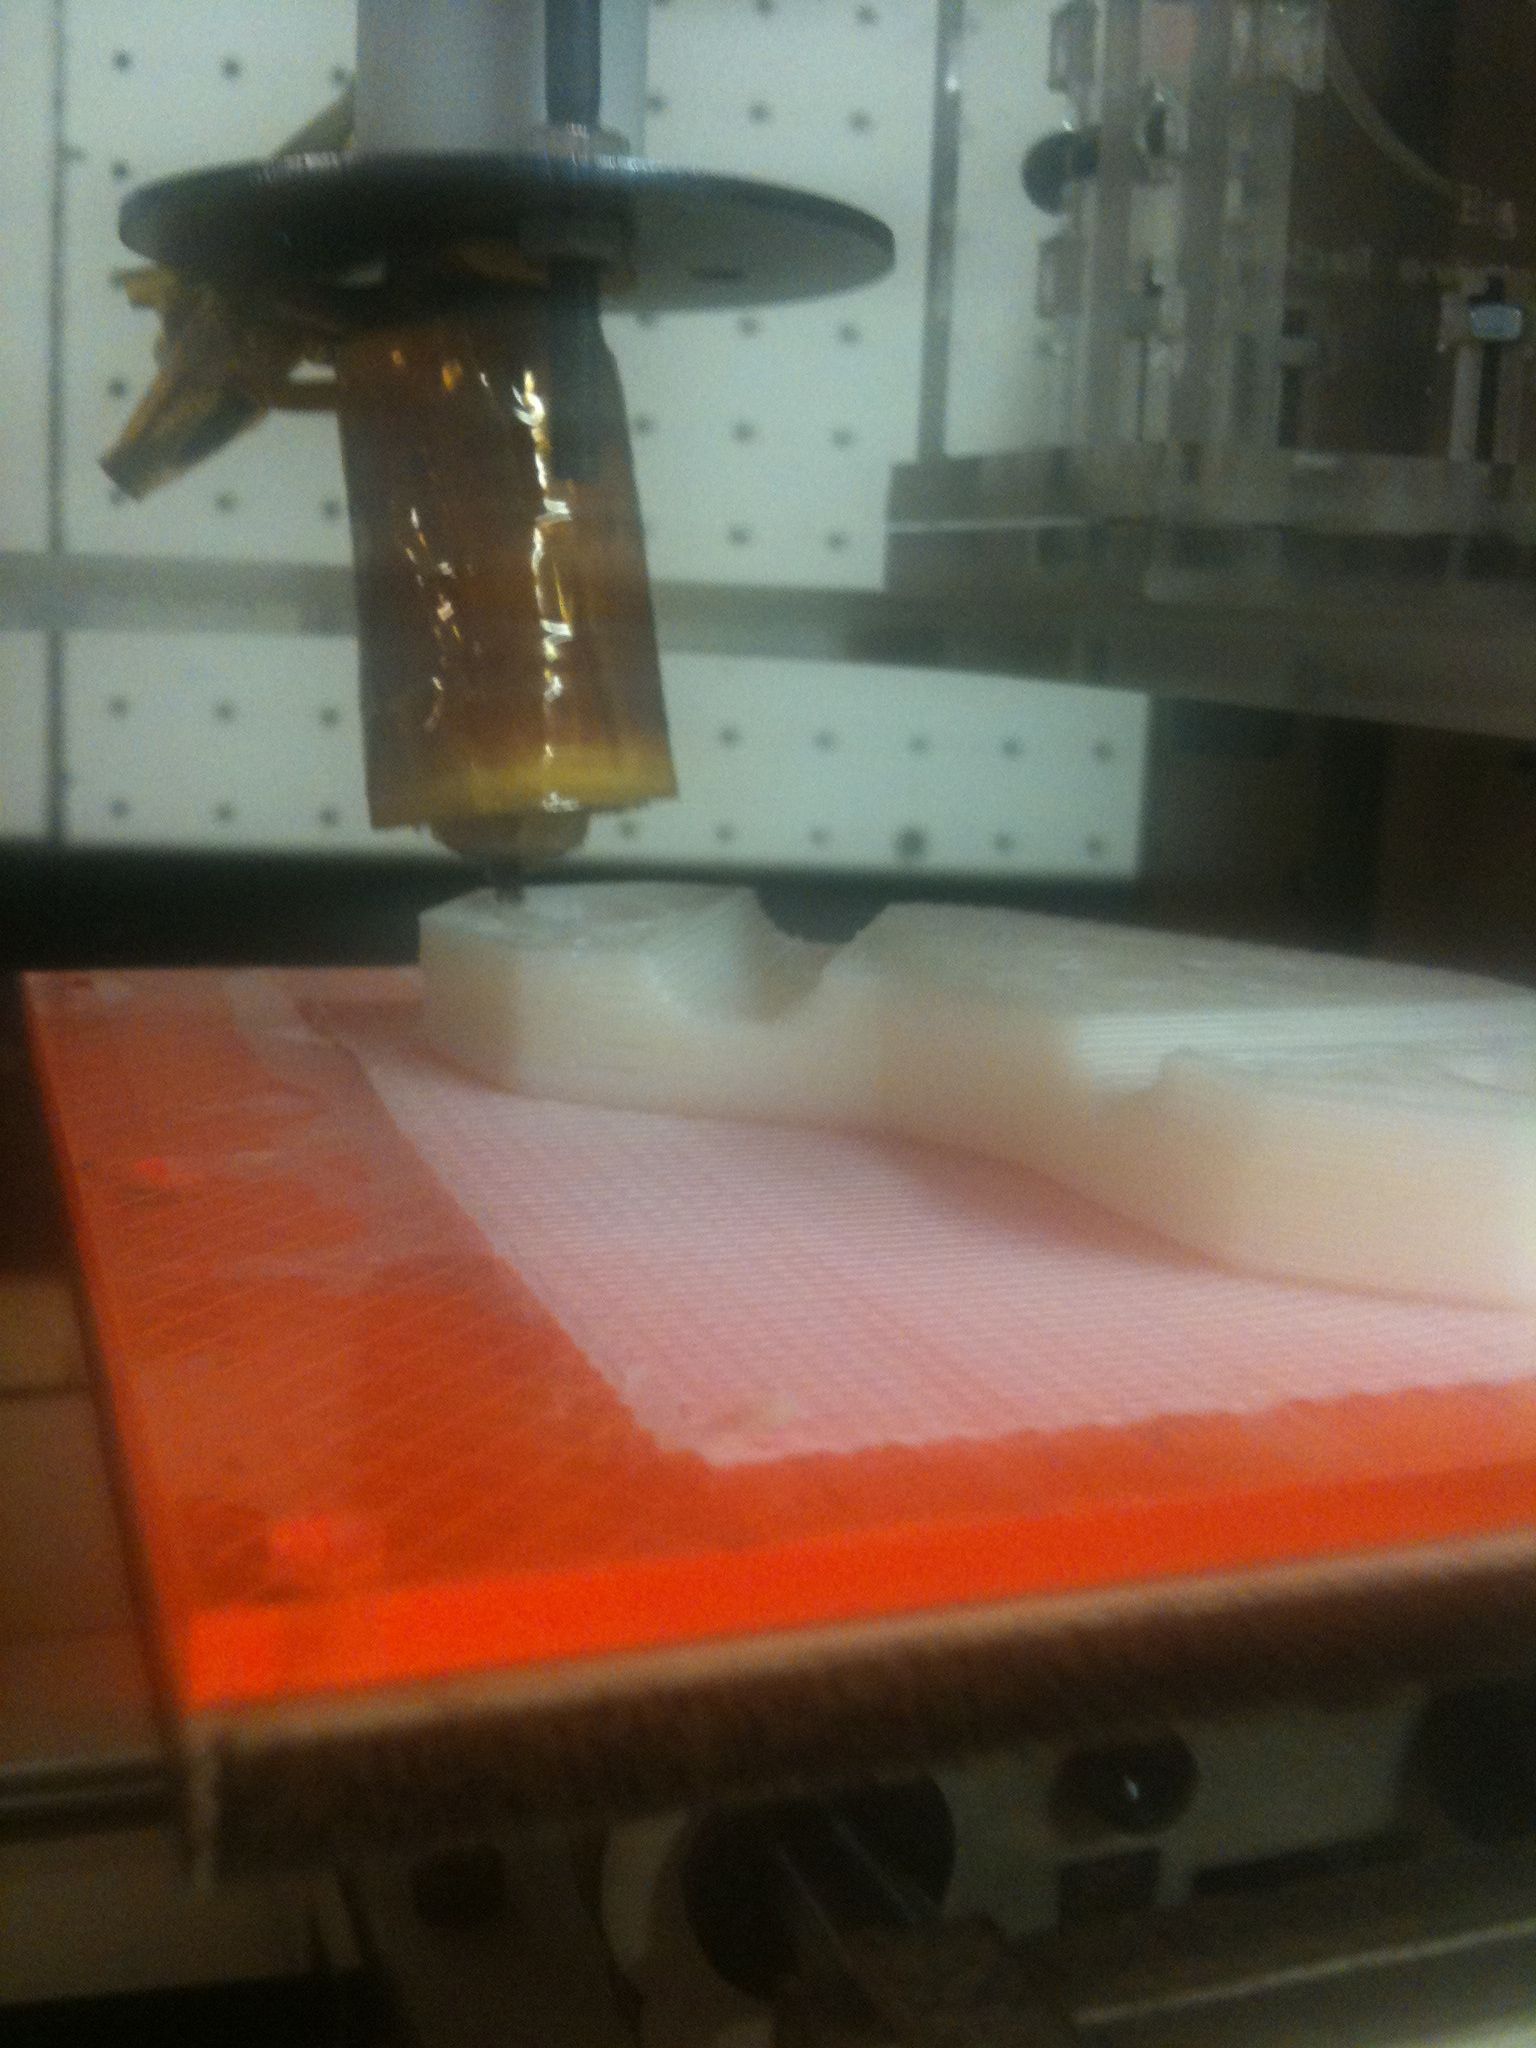
Here are pictures I took throughout the process, showing it progress. Too tired for captions now, maybe later:

The one thing I was a bit surprised by was that after the entirely successful build, the nozzle then plunged into the piece, which left the tiny brown mark you can see in one of the photos. Was this somehow deliberate, like “tie off the last bit of plastic so it doesn’t unravel?”. I can’t remember if I stopped it or if it stopped on its own. But anyway, the piece is great!

Oh, and just one more time… Happy Birthday, Brother Jonathan!

Grrrr.. Heater barrel fall out. Hulk mad.

December 8th, 2009

Something’s wrong here, and I’m not sure what it is. There are a bunch of things it could be, and I’m frustrated.

Tonight, again, I watched the MakerBot plastruder push the heater barrel right out of another PTFE insulator.. First it had extruded a small amount, then the entire barrel pushed out. I should create a gallery of PTFE insulators..

I was just ready to print out the test piece that I’d read about for months. I had just tightened up all of the belts, and I was convinced everything was going to work great.

Unfortunately, the barrel is now caked in this seemingly unremovable glaze that’s practically filled the grooves to the point where it seems smooth, which is why it’s not getting a grip anymore. Actually, I don’t know that. I suspect the thermistor is giving inaccurate results, but I’m not sure which way. When I saw it push out, I’d told it to be at 220C. If it was actually colder than that, the plastic would have been tougher to push through the nozzle so the motor would have pushed the heater barrel out (I DID see it extrude some through the barrel, so at least some of it melted). Or it could be way hotter than that, and have affected the PTFE. I don’t know.

I’m burnt for a while. This is extremely frustrating. The extruder needs to be strong as steel, and there needs to be some ability to detect when we’re pushing waaay harder than we should need to, so firmware can stop the motor before it tears the extruder apart. I’m tempted to use some of my Mendel supply of brass rod and PTFE rod to create another extruder from scratch (and use kaptan tape instead of fire cement, since that’s what the MakerBot’s extruder uses), but then I also have to use more nicrome wire, which I don’t have too much of. Agh.

Frustrated. Hulk mad. RepStrap no work. 🙁

[Update: Before giving up for the night, I clamped the existing heater barrel down in a vice, and successfully ran an M6 die from my new metric tap & die kit along the barrel, completely cutting away all of that awful glaze. Later I plan to cut off another piece of PTFE, drill it on both sides, use the M6 tap, and rebuild the insulator again. I do not plan to turn anything on though until I can find our meat thermometer, borrow one from a friend, or buy one at the store, so I can see what temperature the barrel actually is when I tell it to go to 220C.]