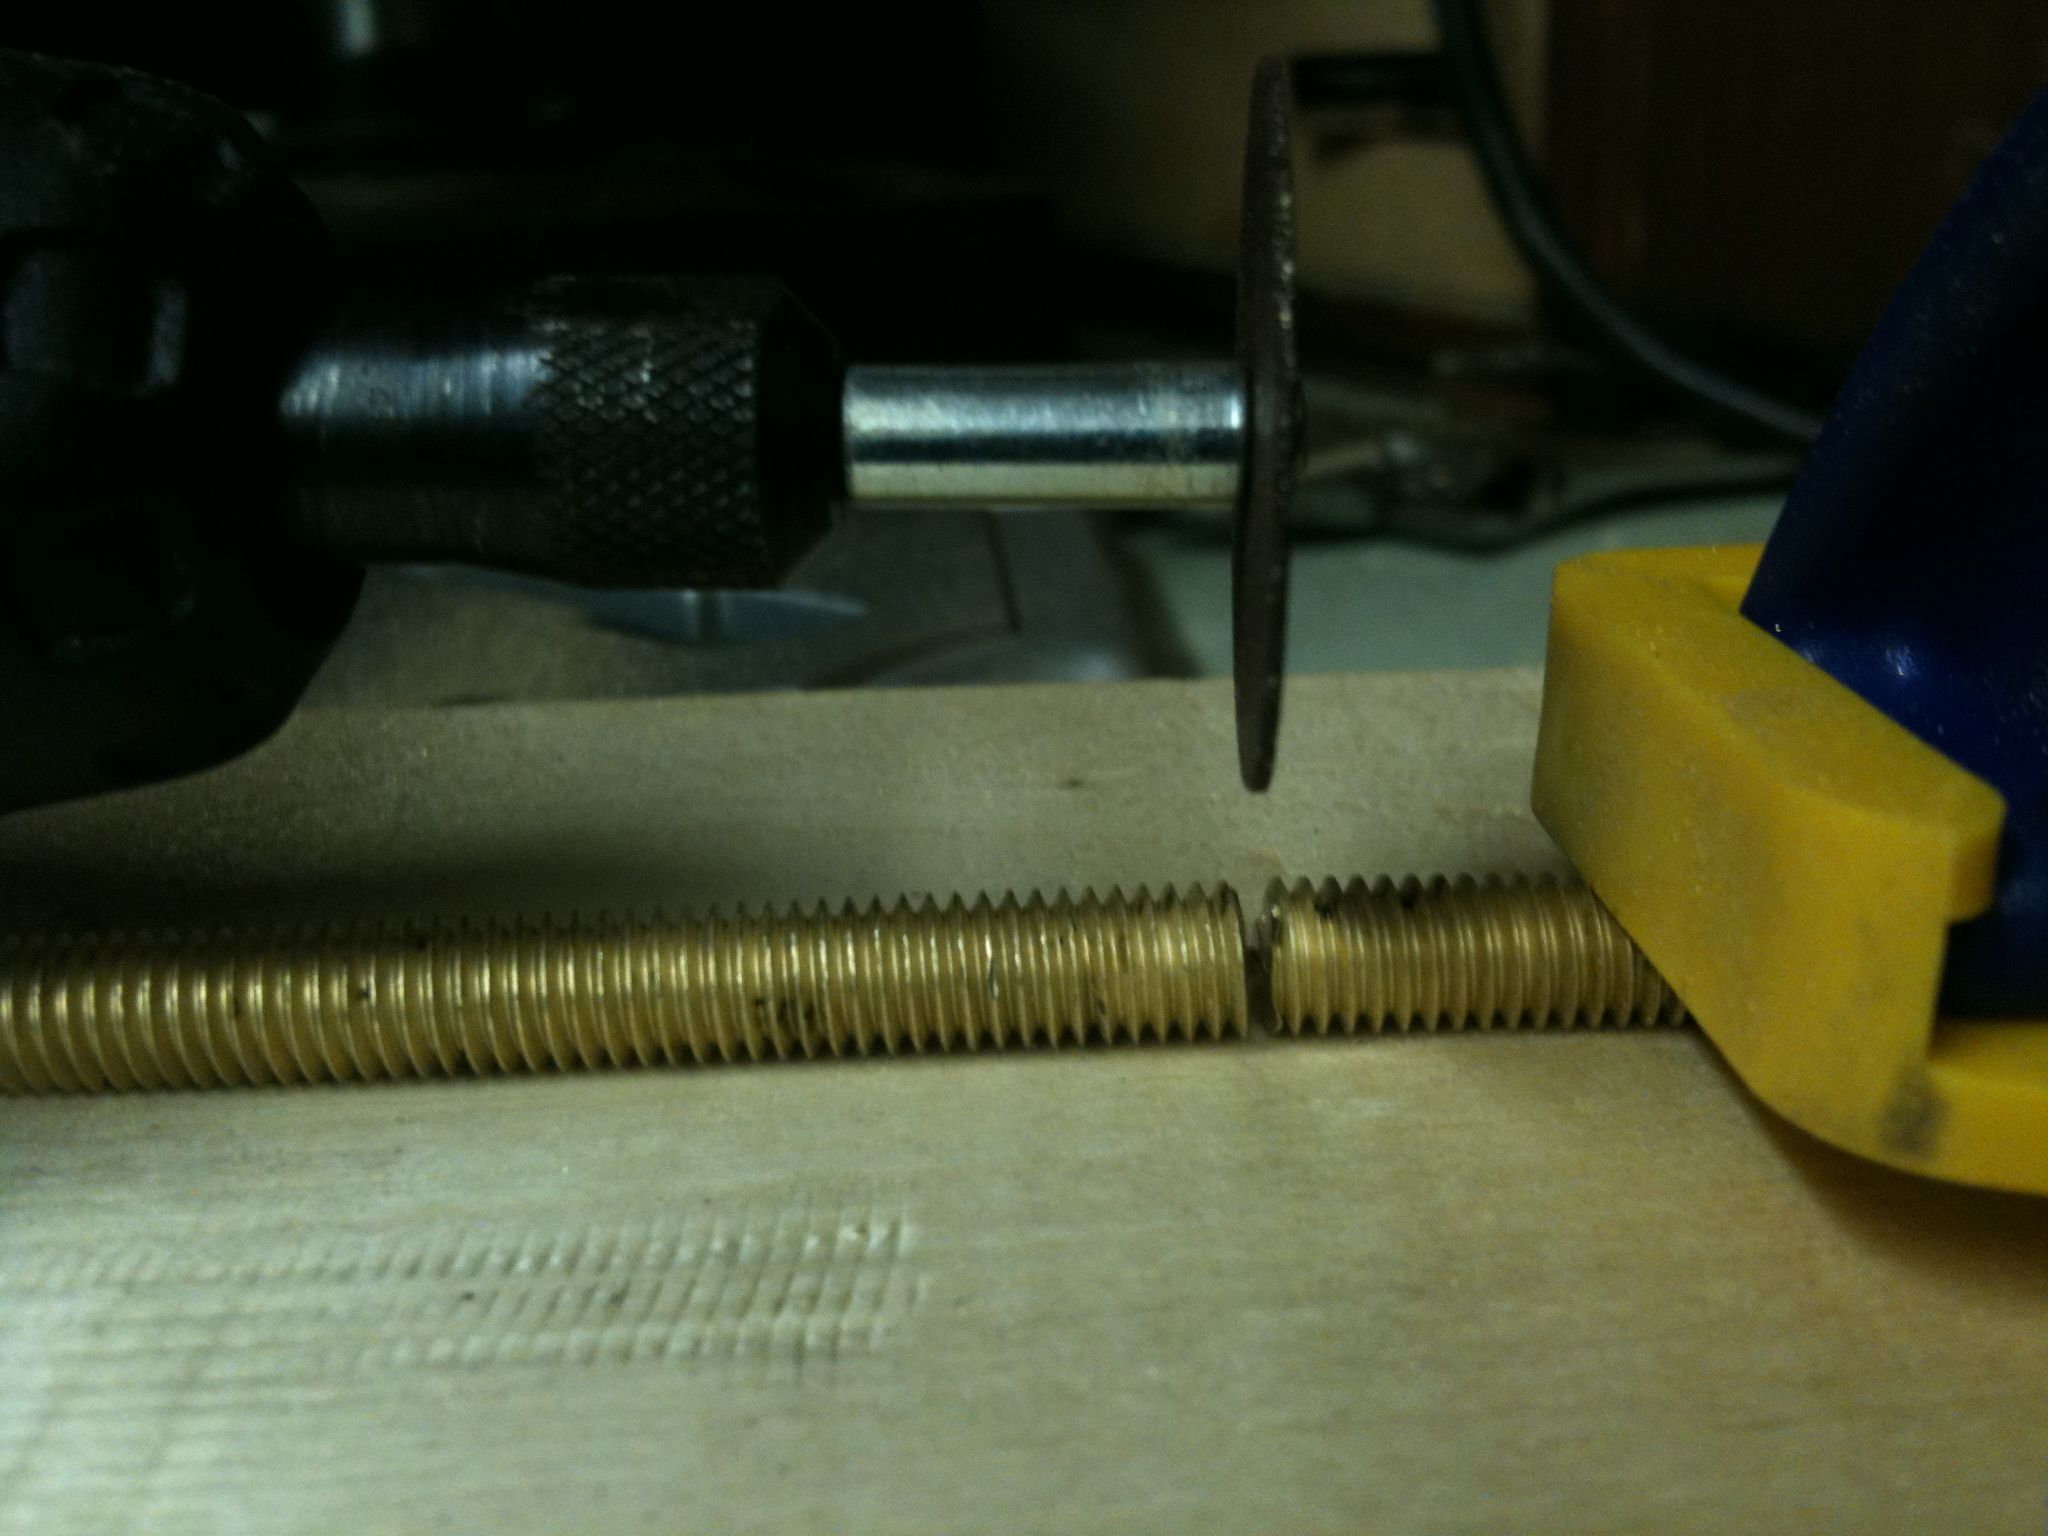
Ok, time for some pictures and movies. First, here’s a picture of the very first cut which I’d posted last week on facebook, where I cut the length of brass threaded rod for my heater barrel:
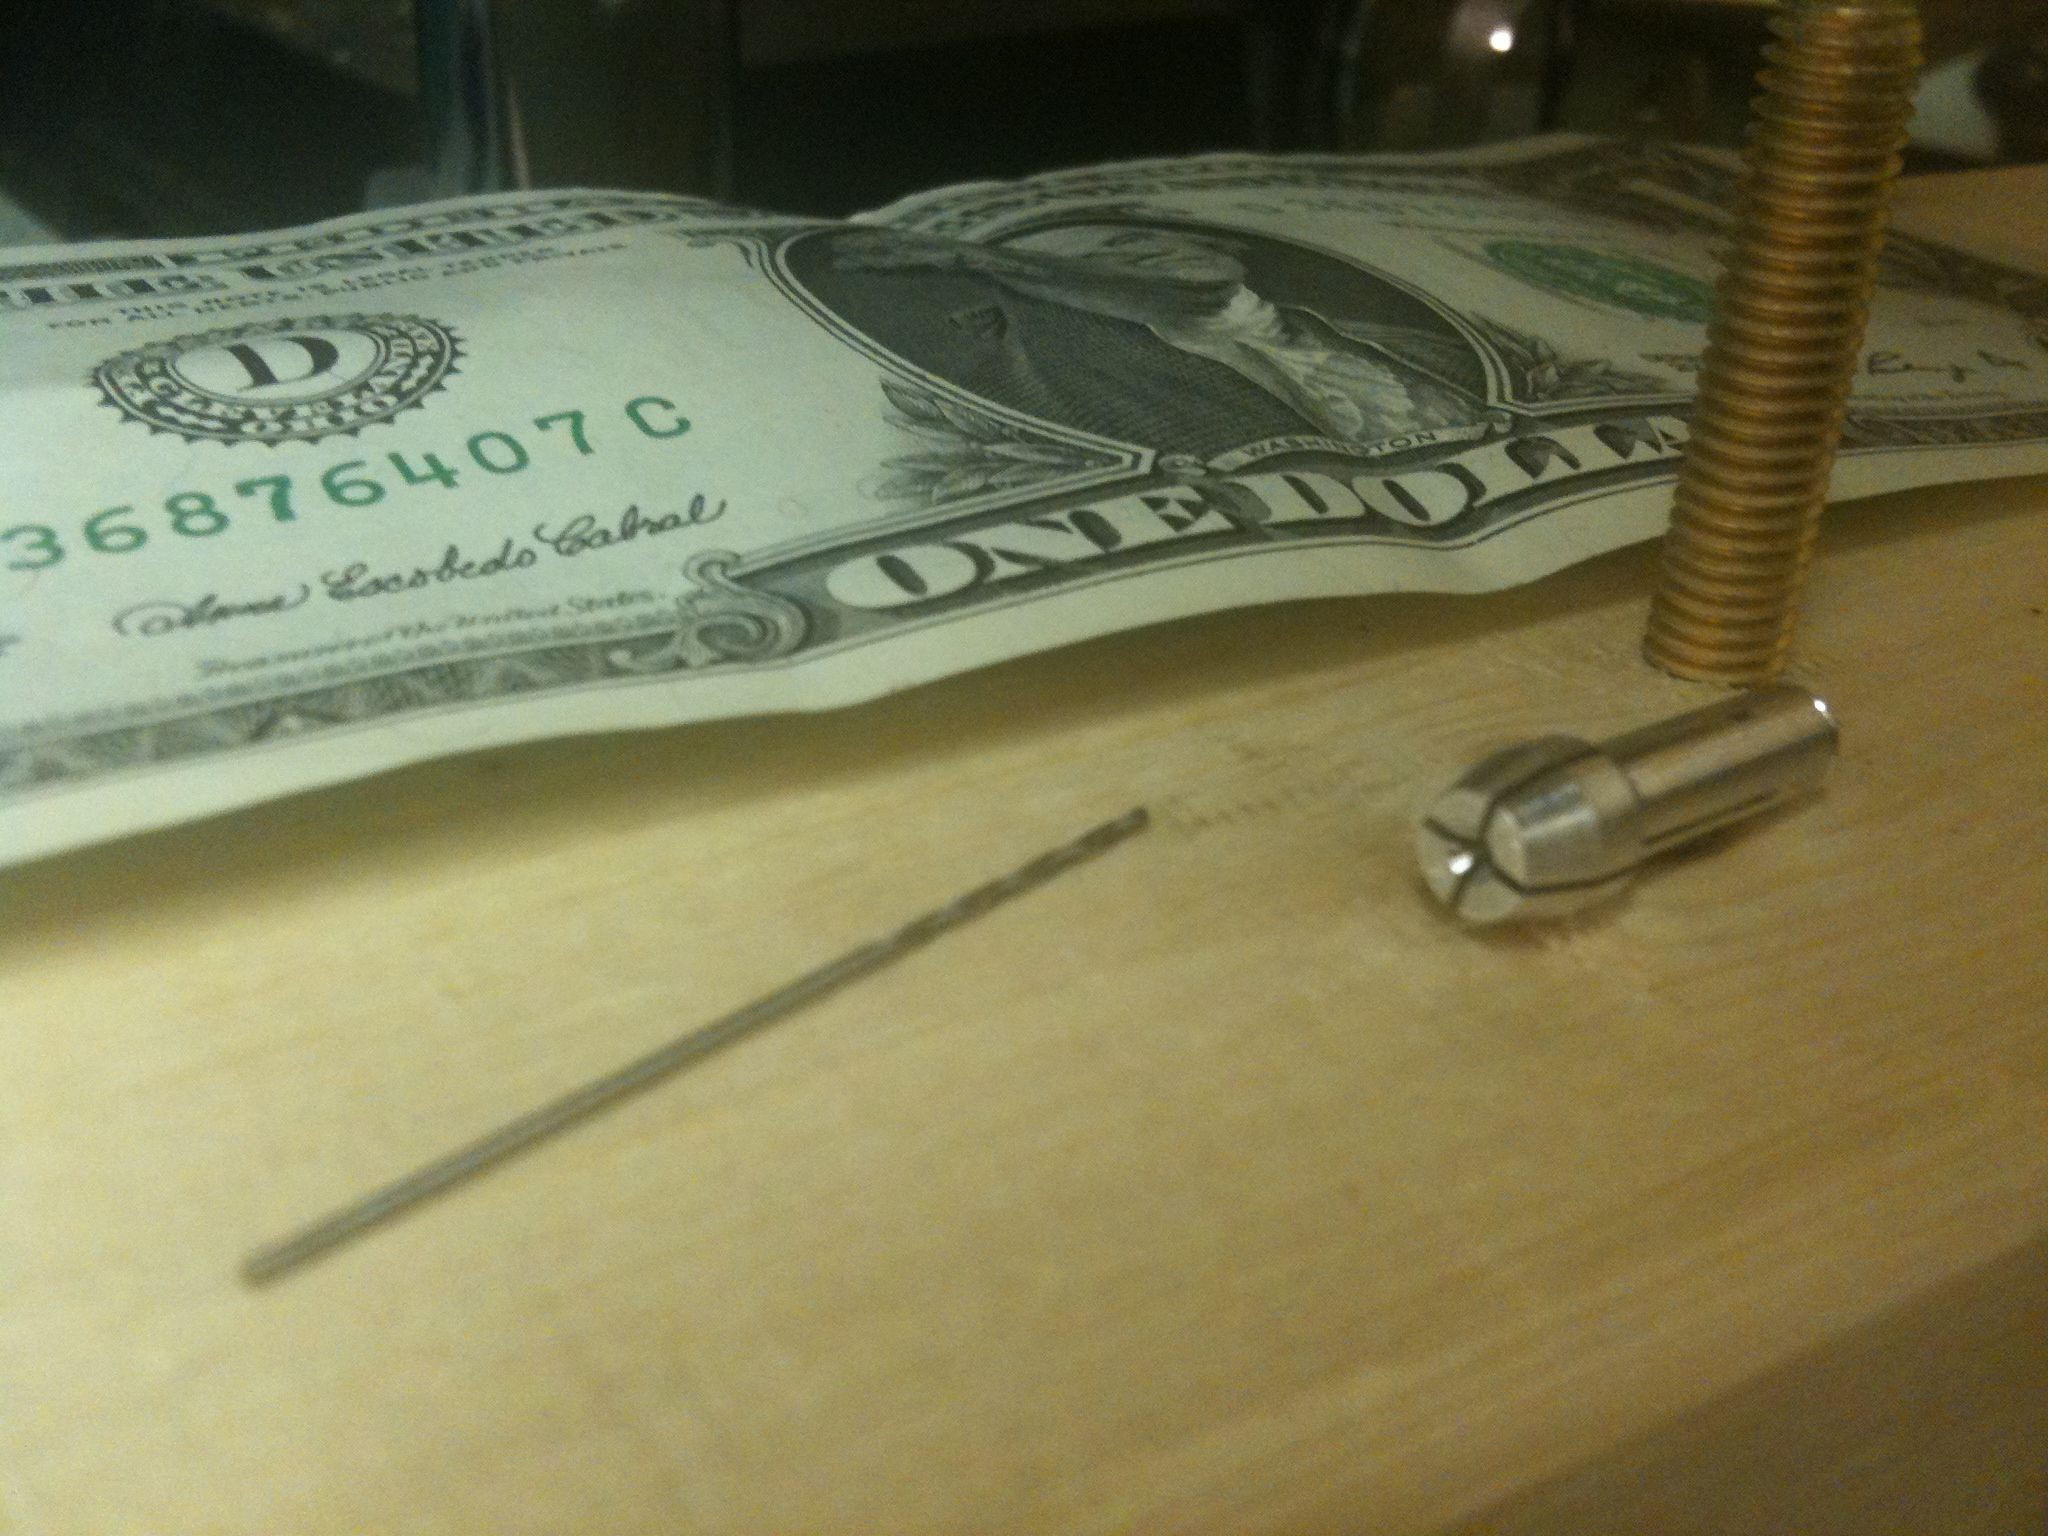
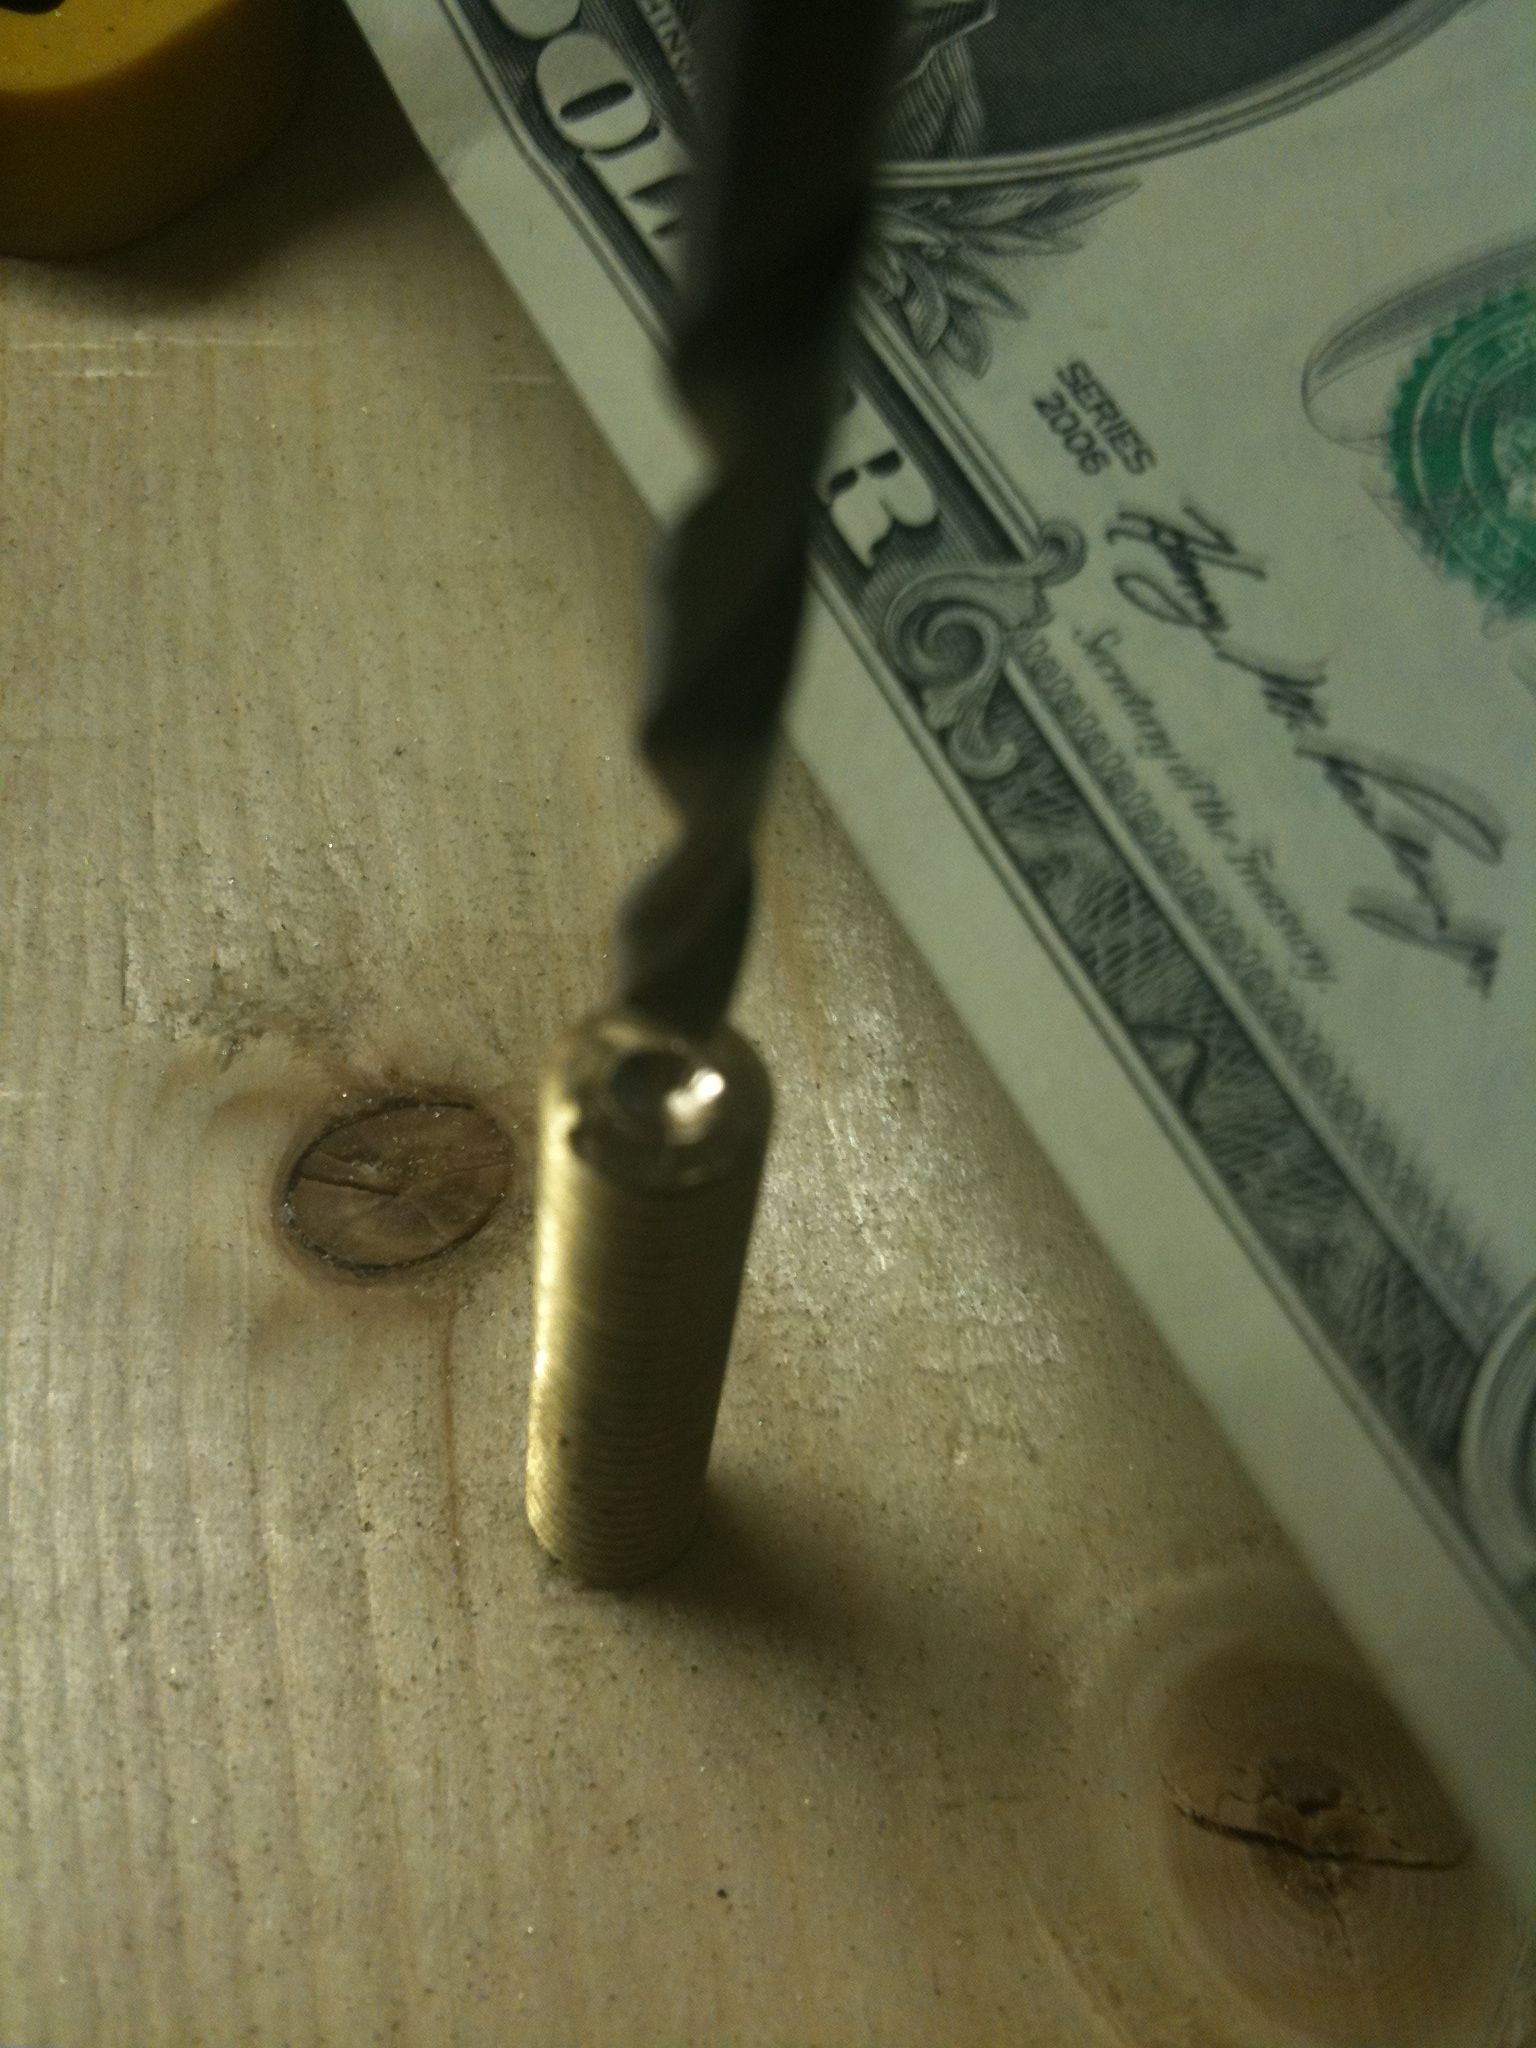
To make the heater barrel you need to drill a small hole in one side and then hollow it out from the other side with a larger bit, which I think has typically been done with a lathe, but I don’t have a lathe. So my idea was to take a 2×4, drill a hole slightly smaller than the brass threaded rod, and screw it in strong enough to hold it up. Here’s the section of rod screwed into the wood, along with the 1/32″ bit I used to drill the nozzle hole (1/32″ was the closest I could find to 0.5mm – I’m a bit worried whether that will affect my prints since that’s around 0.8mm).
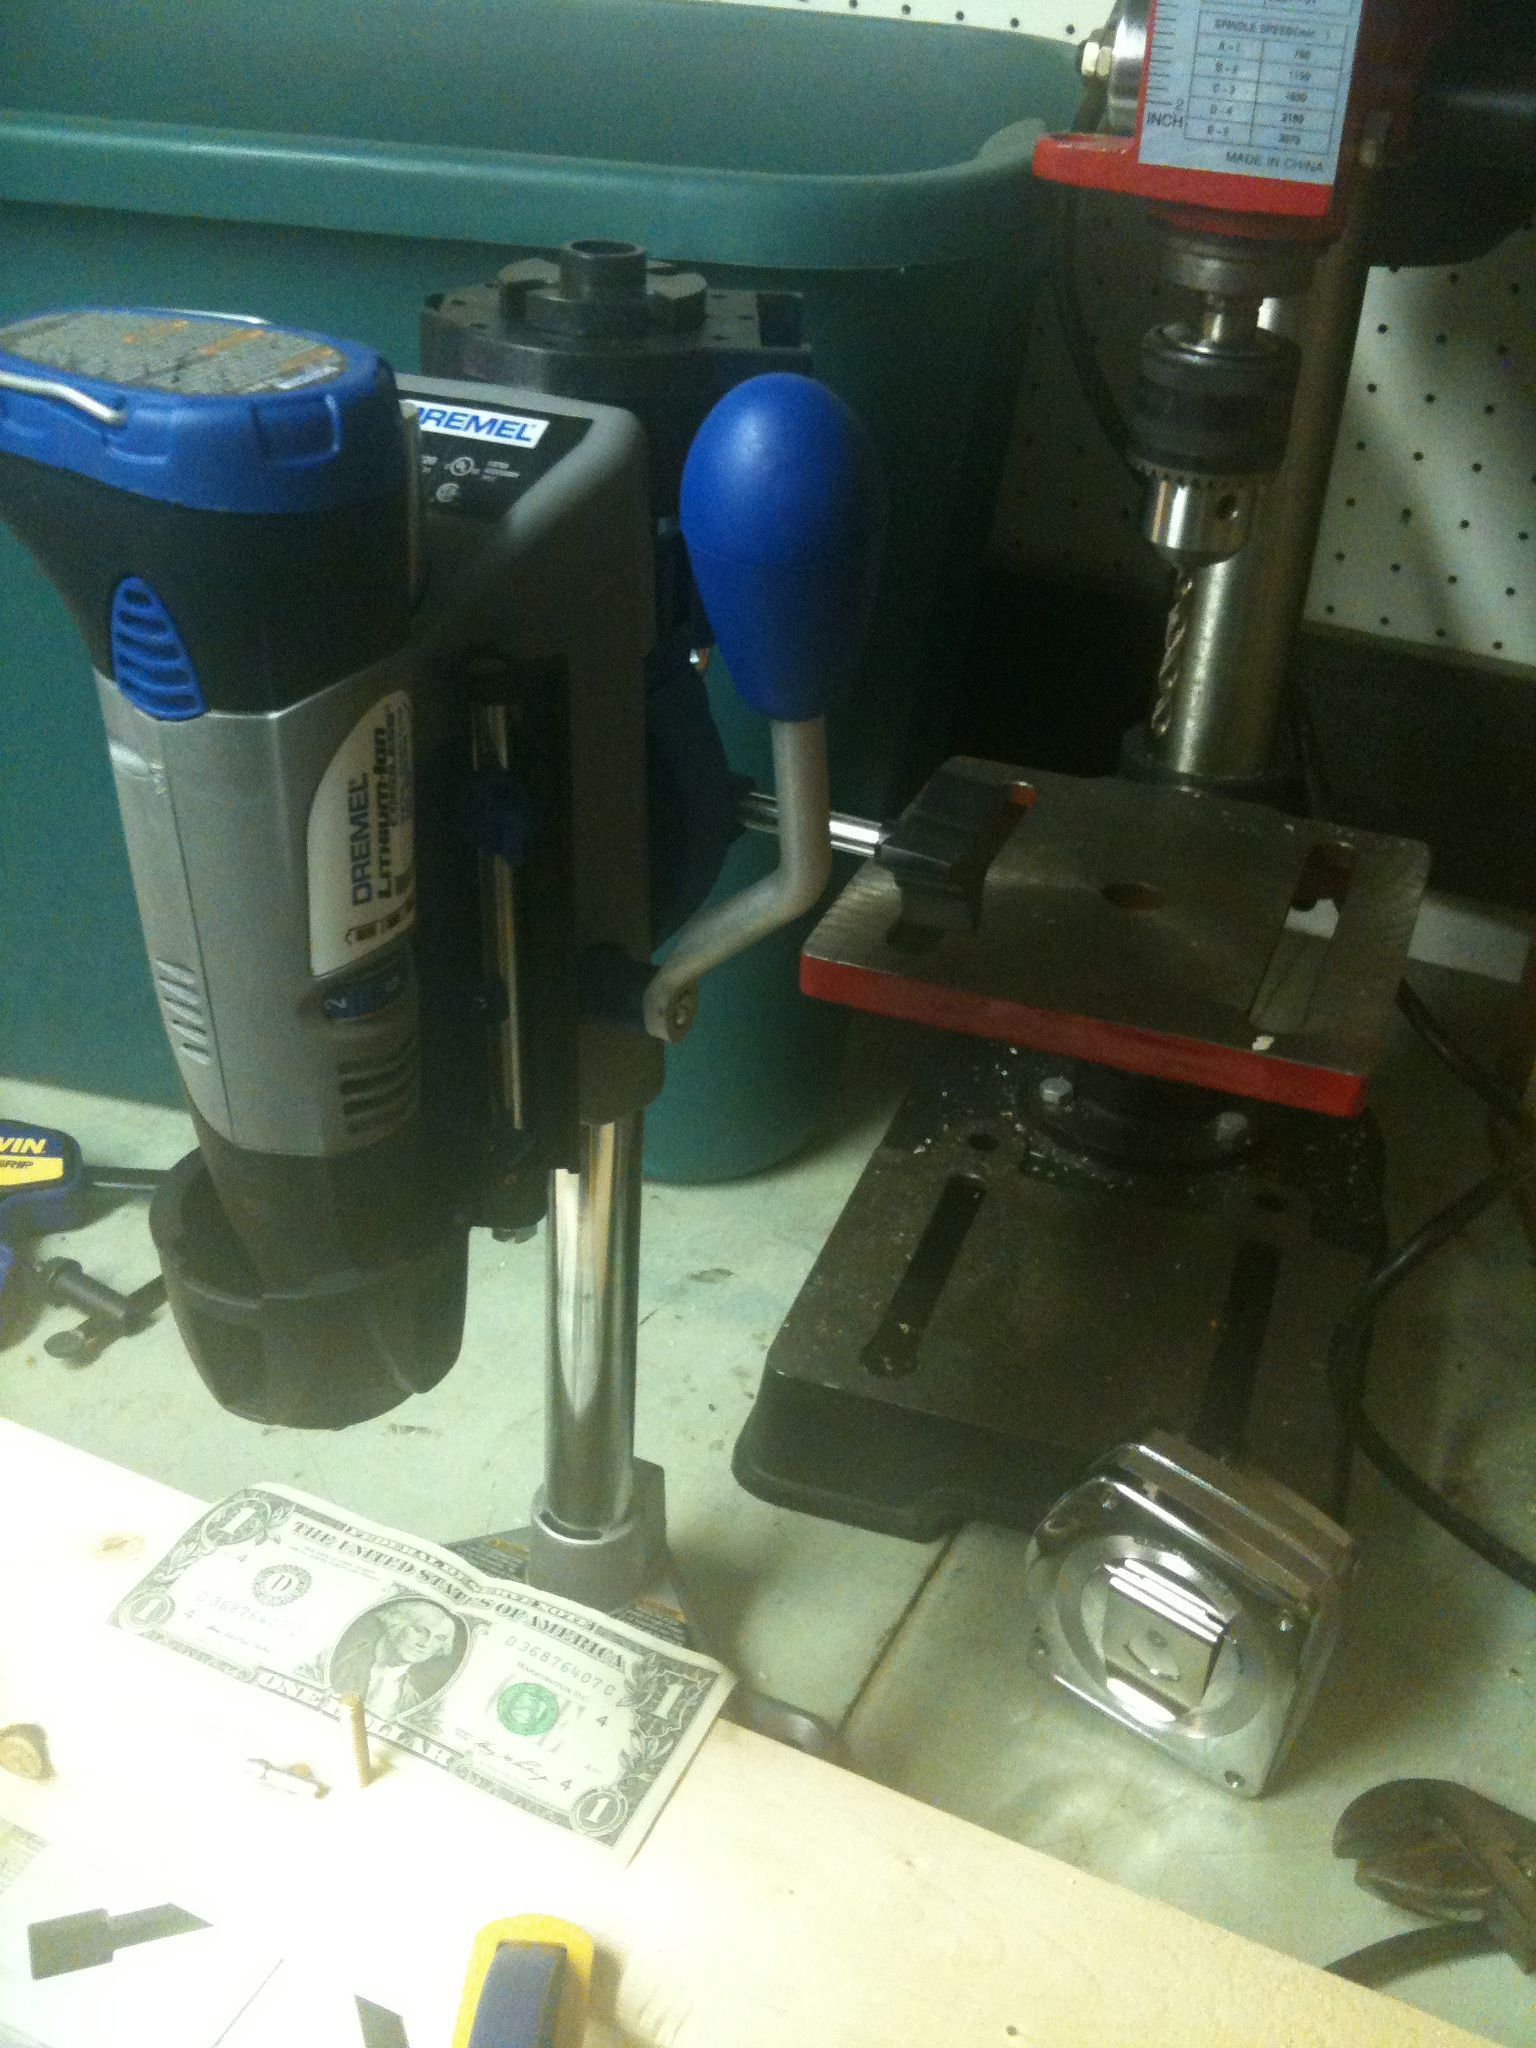
I own a drill press which I’ve almost never used, and I also borrowed a mini-drill-press-for-your-Dremmel thing from a friend.. I ended up using both:
I used my Dremmel in the mini-drill-press-fixture, with the 1/32″ Dremmel bit, to cut the nozzle:
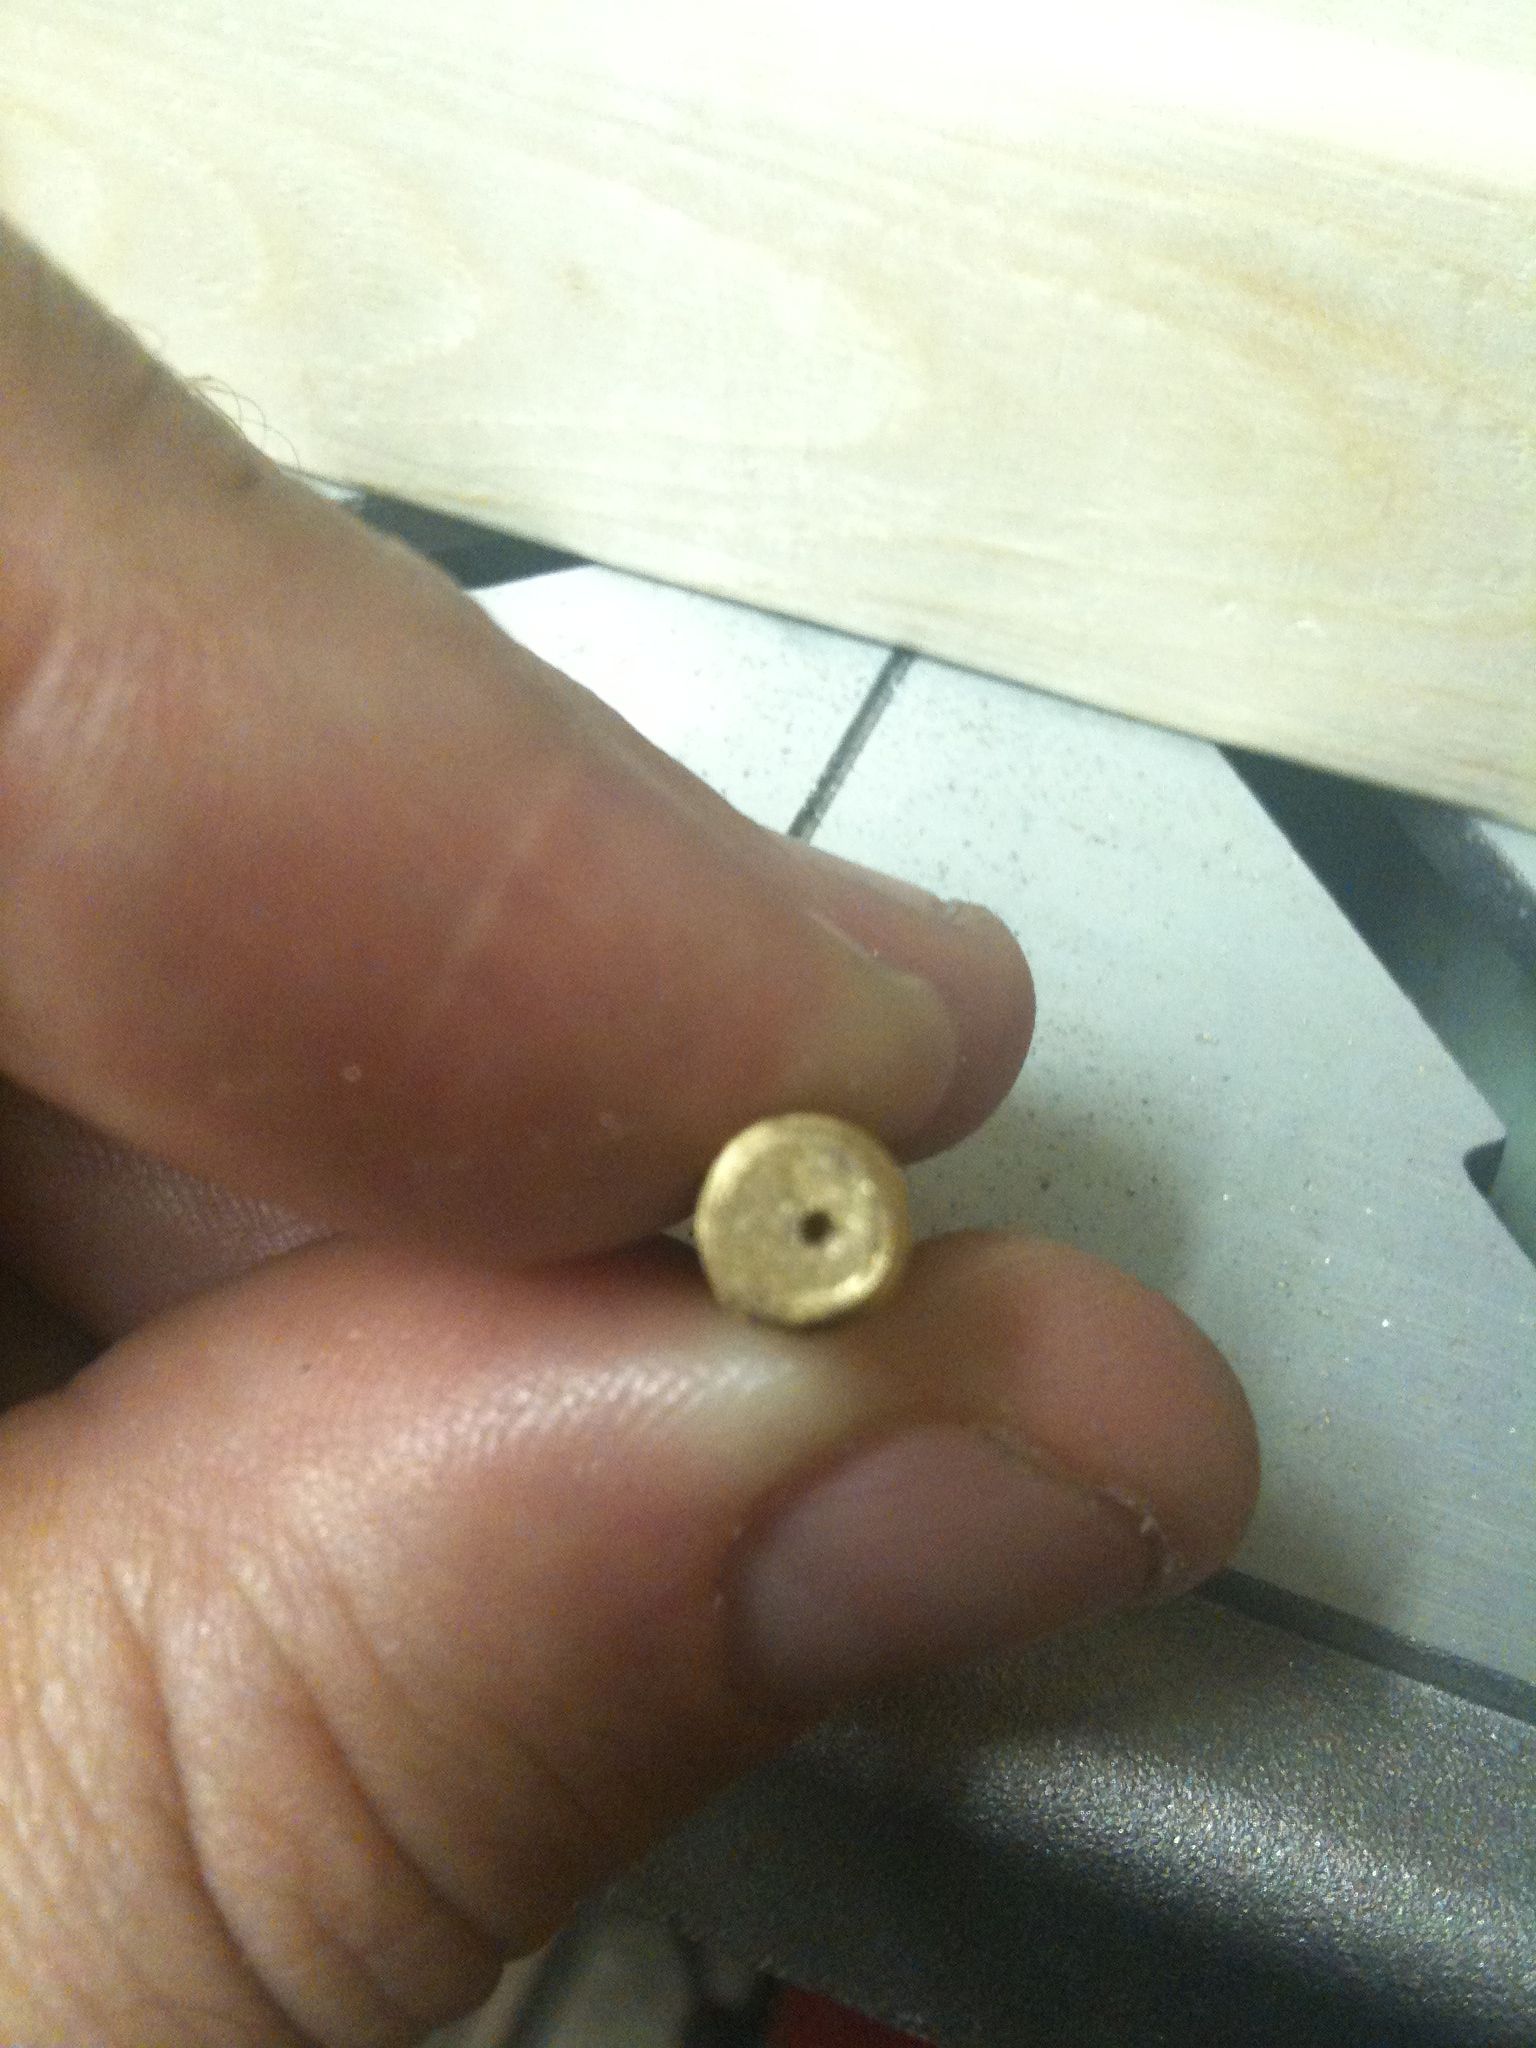
At the end though it was a bit off center (and I didn’t taper off the edges first, like I should have):
I screwed the nozzle side of the barrel into the wood, put the 1/8″ bit in the Dremmel, and tried hollowing out the barrel. It was very loud, and around 3am at this point, so I stopped with it looking like this:
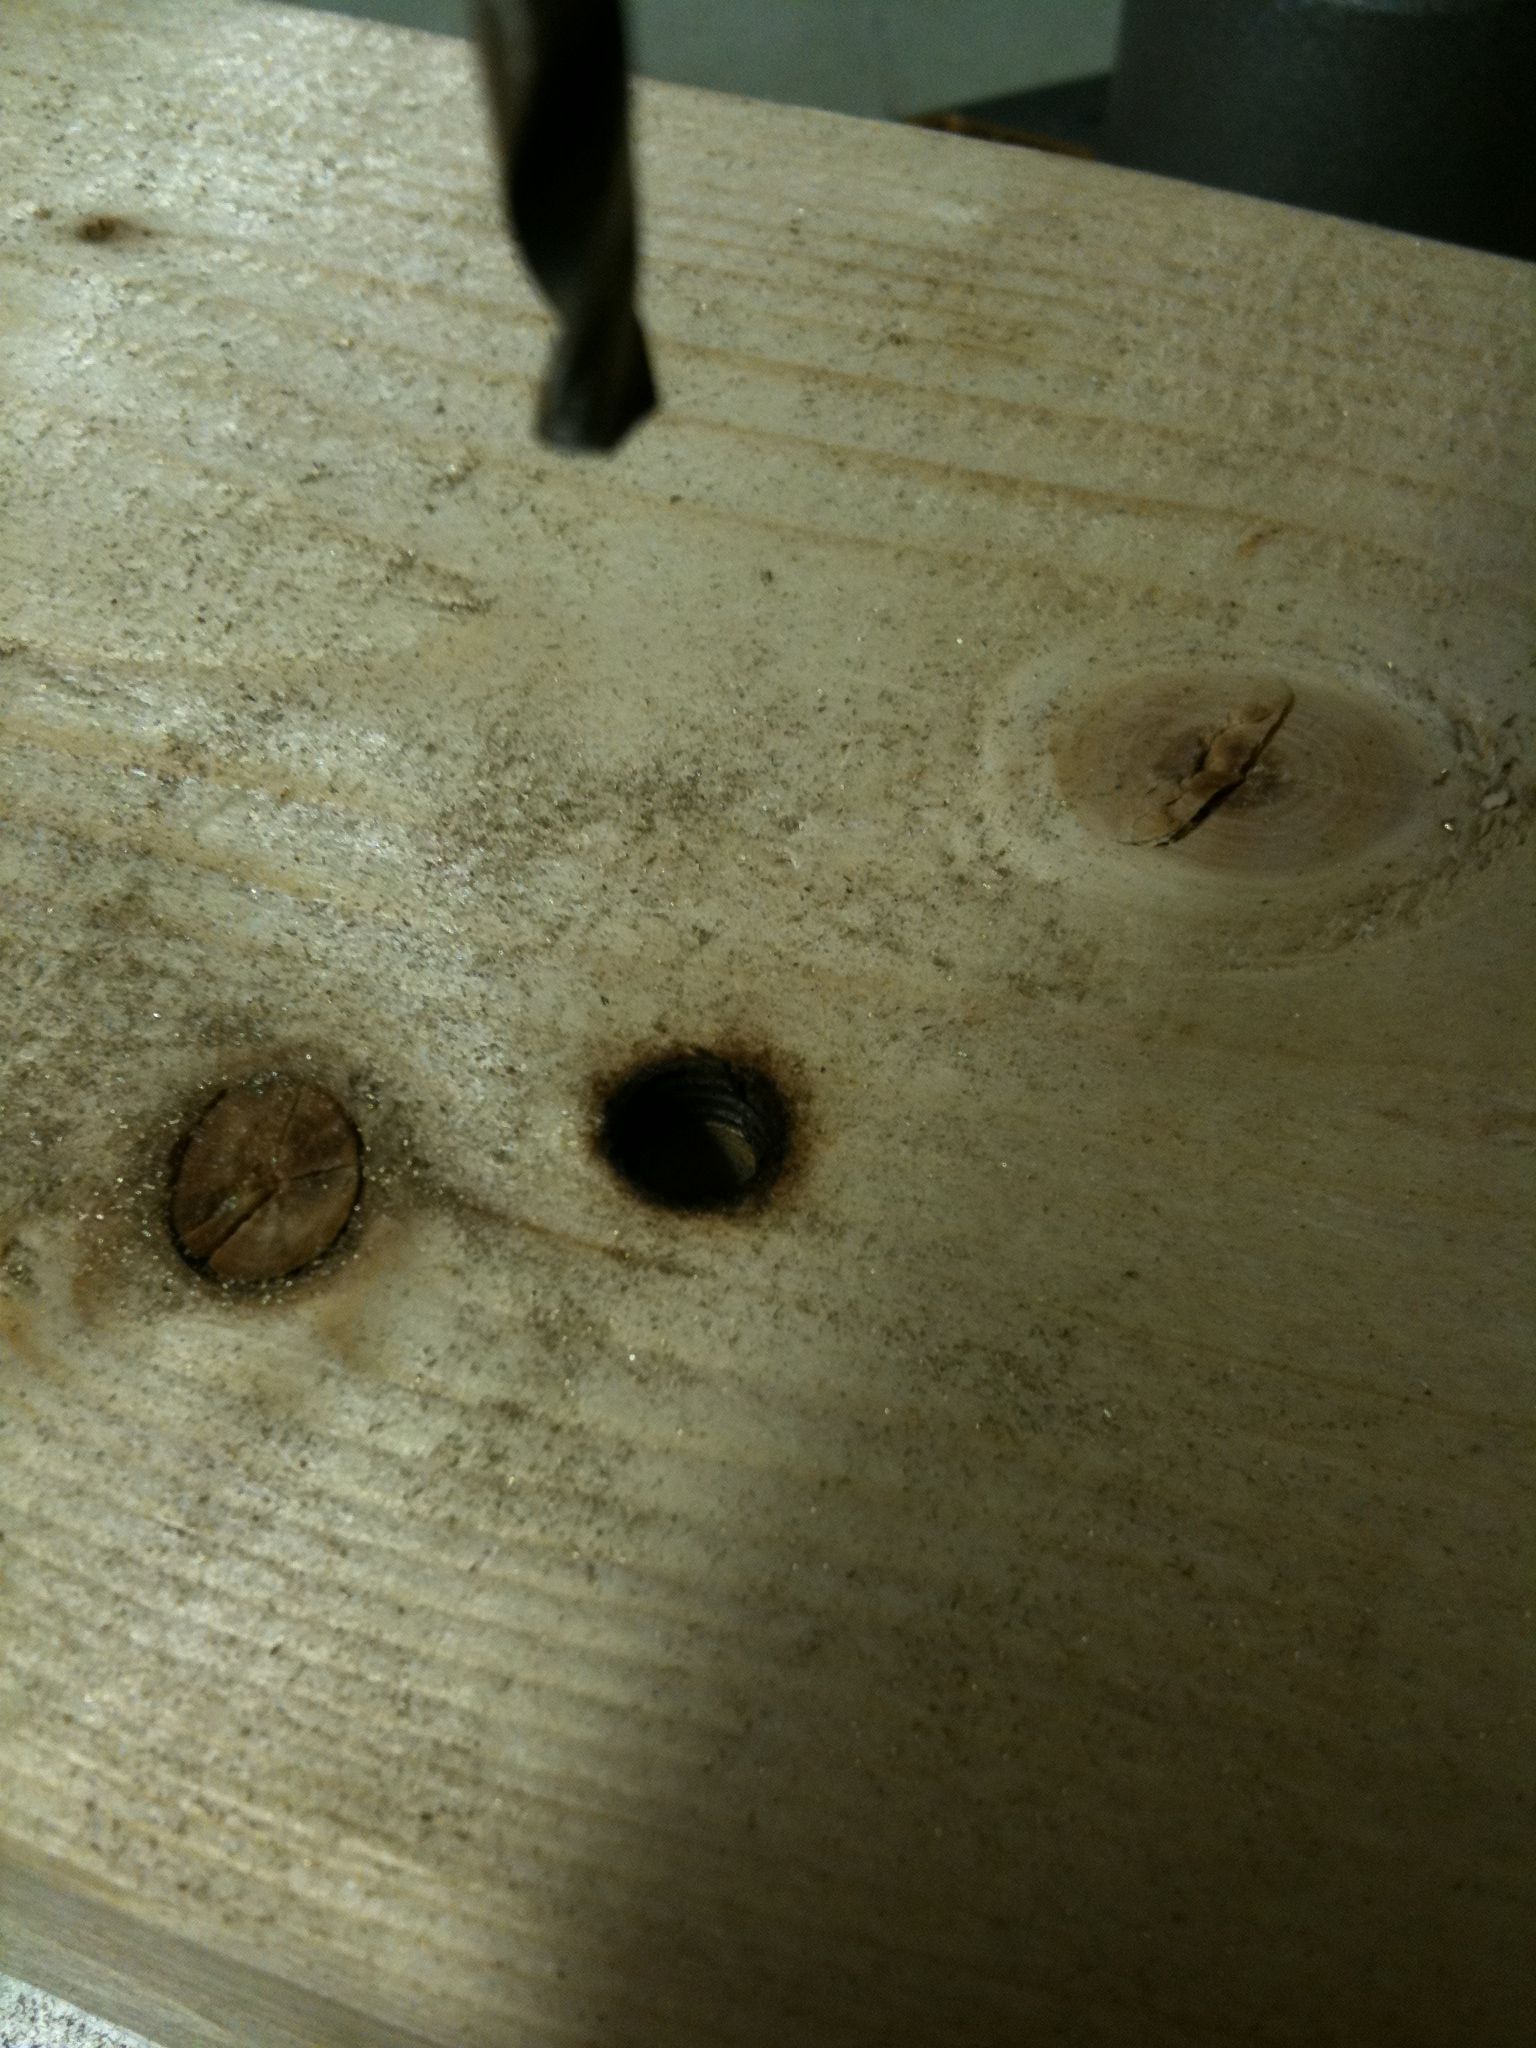
The next day when I resumed, the Dremmel was making insane noise and generating a huge amount of heat (I had no cutting lubricant. 🙁 ).. It also turned the barrel deeper into the wood. At one point it caused a little smoke and I stopped the whole thing. Here was the hole in the wood after it cooled and I removed the barrel:
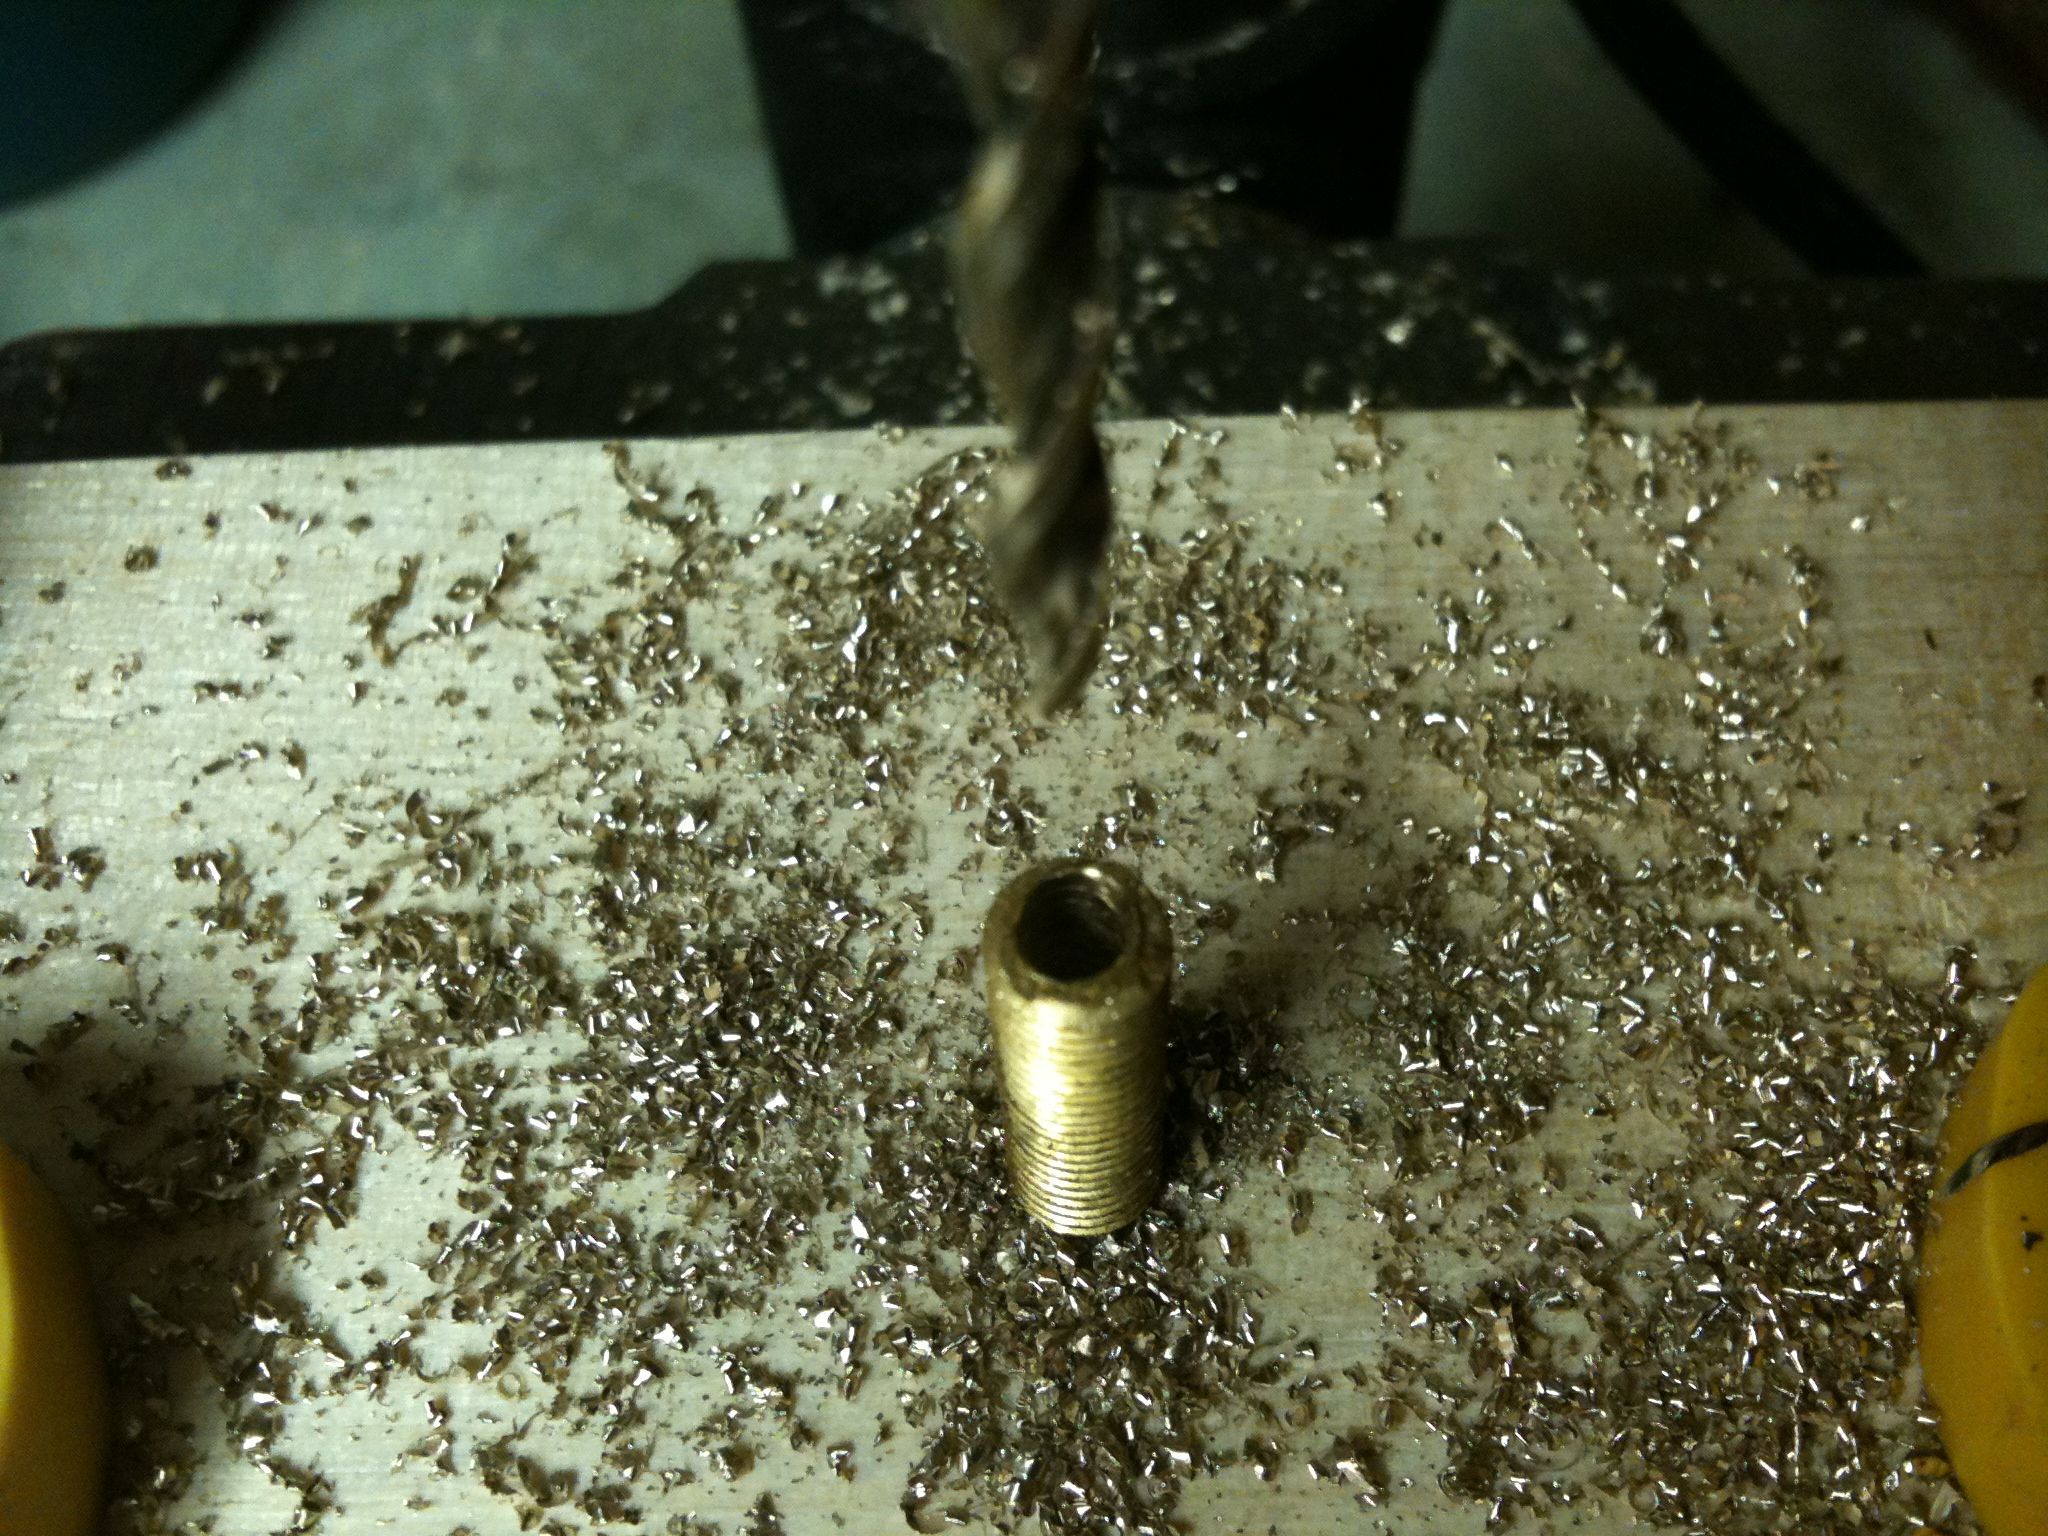
Instead I found a regular 1/8″ bit for my real drill press, and tried it there (on a new piece of wood). Night and day difference. It was quieter and cut through like it was butter. (in this video the wrench was an improvised heat sink, not that it was necessary with this drill):
The aftermath..
Success! Kind of..
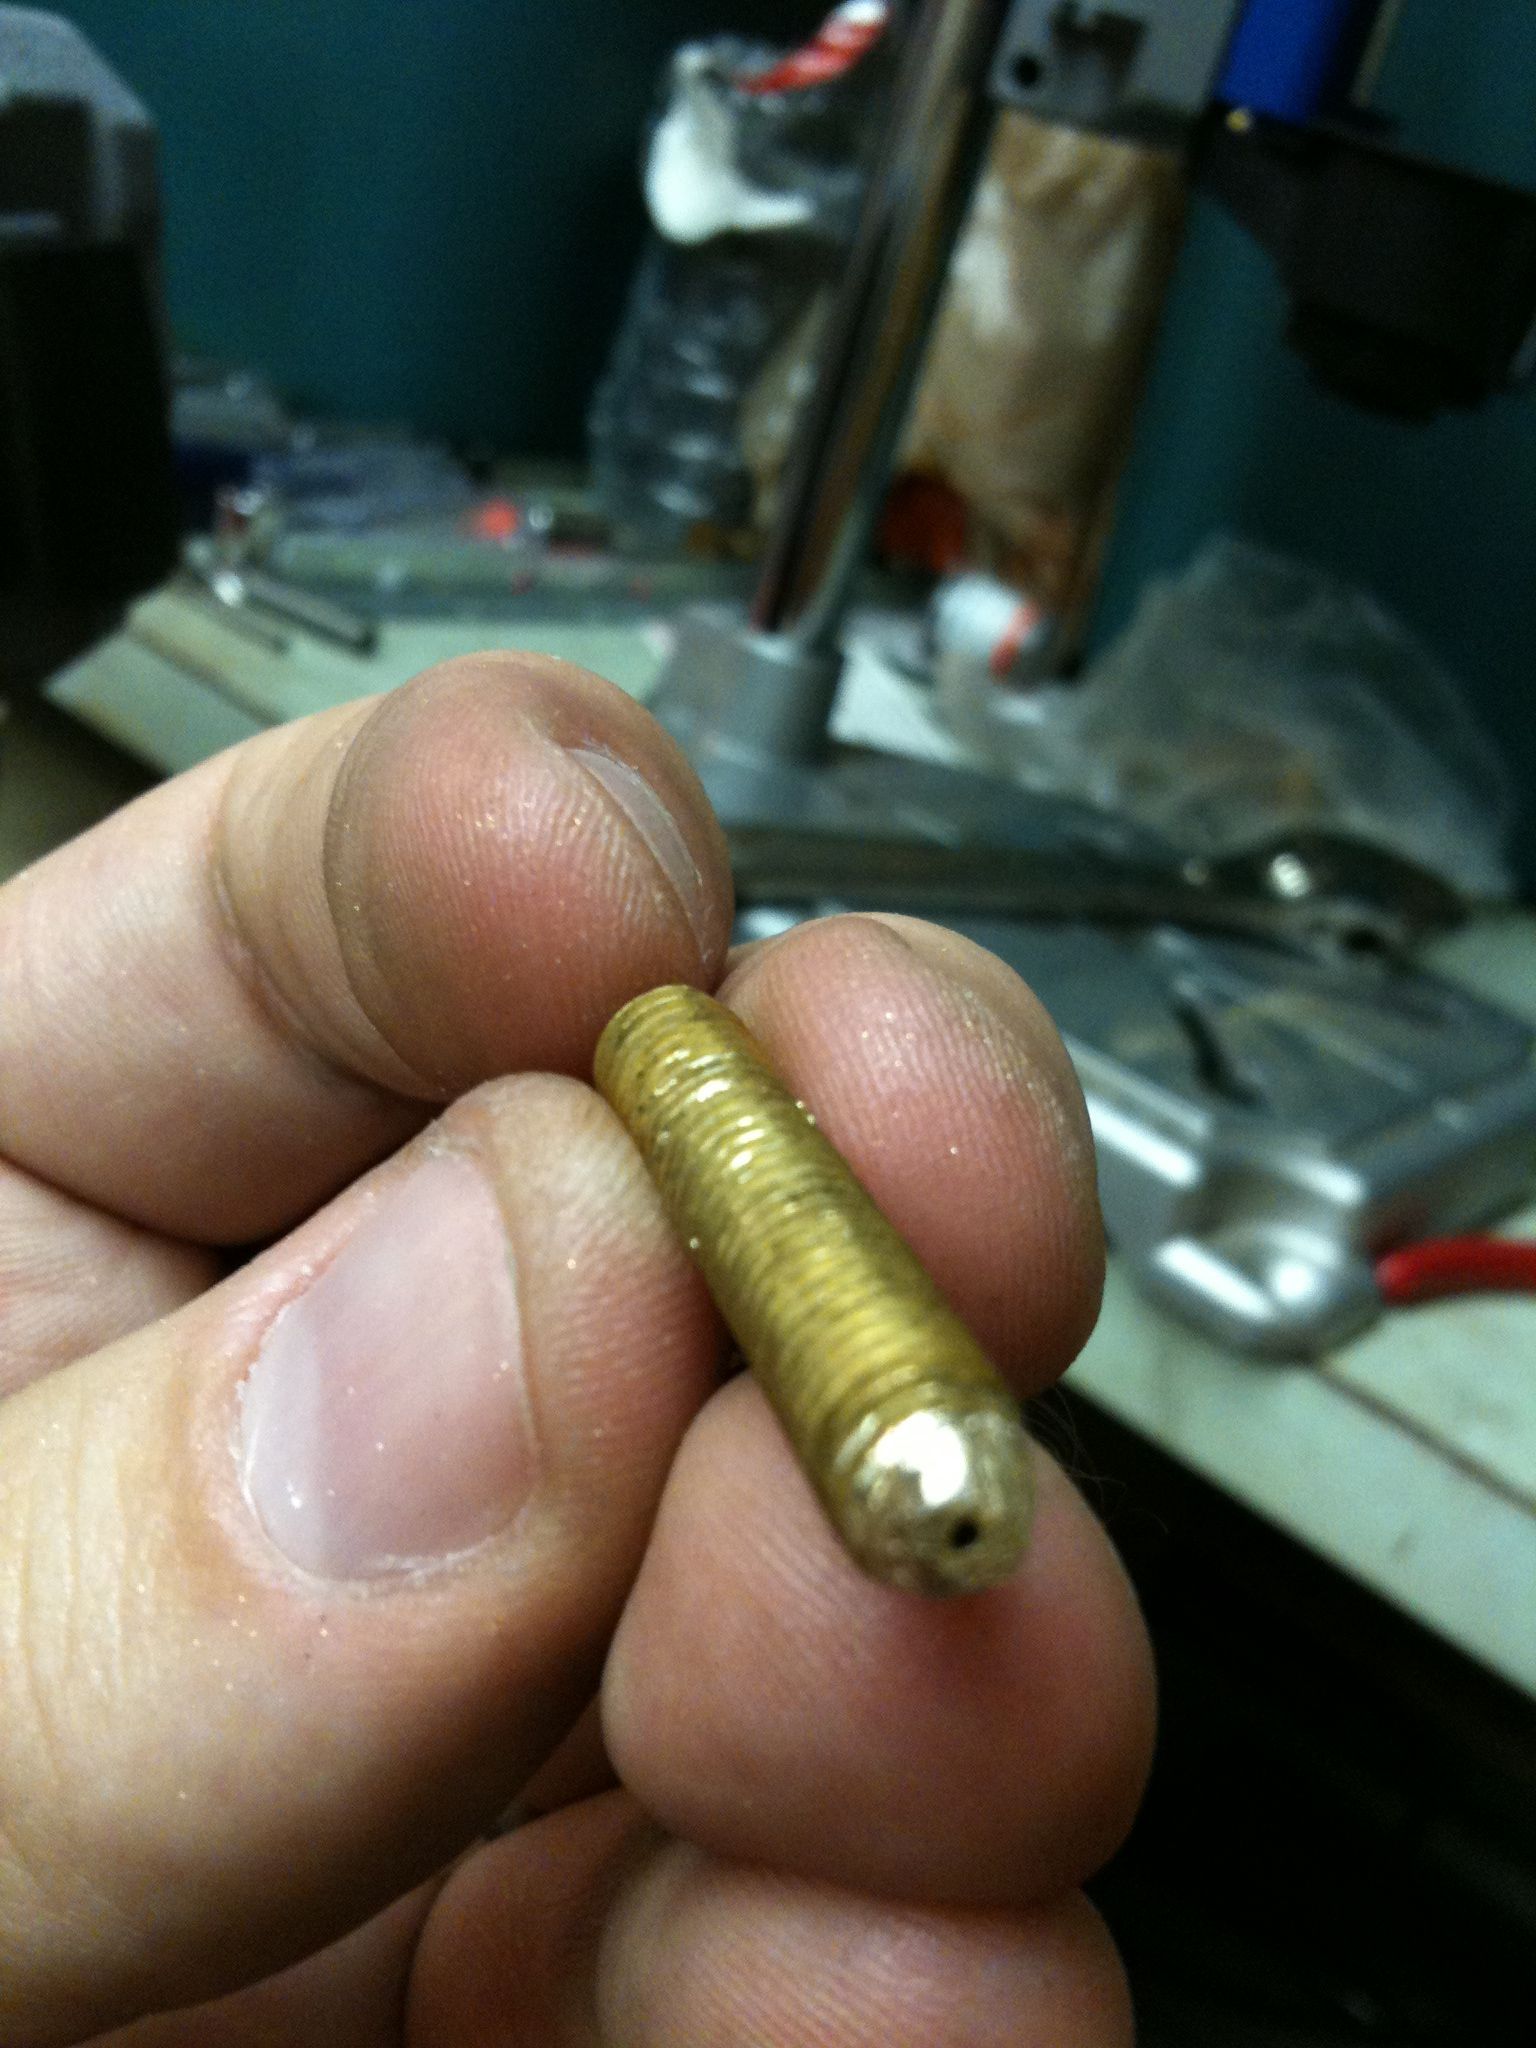
Just a bit more work.. So I tapered off the nozzle side as best as I could without a lathe, and it looks good, although the barrel does seem a bit bent, and the offset nozzle does look like the molten plastic would turn a bit – not sure if that’s a big deal.
