On October 29th, 2009 (one year and two days ago), I threw my hat over the wall and spent $180.00 on electronics for my Mendel RepRap.
This has easily been the coolest thing I’ve ever built. It’s been unbelievable fun, and I encourage everyone who’s ever even thought about building one to go for it.
Using a MakerBot (that I and a friend Chris built, on loan from work) as a RepStrap, I printed all of the pieces for my Mendel, except for a few. I was helped out over time by mccoyn, spacexula, and work, who provided a handful of parts after I lost possession of the RepStrap.
On July 10th, 2010, I had my first extrusion from my own Mendel RepRap.
To anyone thinking “wow, nine months – that’s a huge amount of time”, don’t be scared off. While the first stage took a long time of many concentrated hours printing all of the pieces for my Mendel on the RepStrap (before heated beds were plentiful, and suffering with the unreliable Makerbot MK4 extruder), the time AFTER that (actually building the Mendel and doing calibration) was far more spaced out over time..
Even so, this has been a great hobby to fill out the last year, and I’m more than happy with my rate of progress.
I’ve printed several watertight minimugs, but no alcohol-tight minimugs. I’m not sure if the particular beverage I’m using is reacting with the plastic somehow, or maybe it’s because alcohol-tight is finer than simply water-tight (which I read somewhere on the internet, so it must be true).
I’ve printed a bunch of calibration objects, then used them to calibrate my machine. It now prints far better, but still no alcohol-tight minimugs. The one takeaway that prospective RepRap builders should learn from this post is this: the tradition of having a minimug be the first thing that you print (and toast with) should take a back seat to printing several calibration objects first.
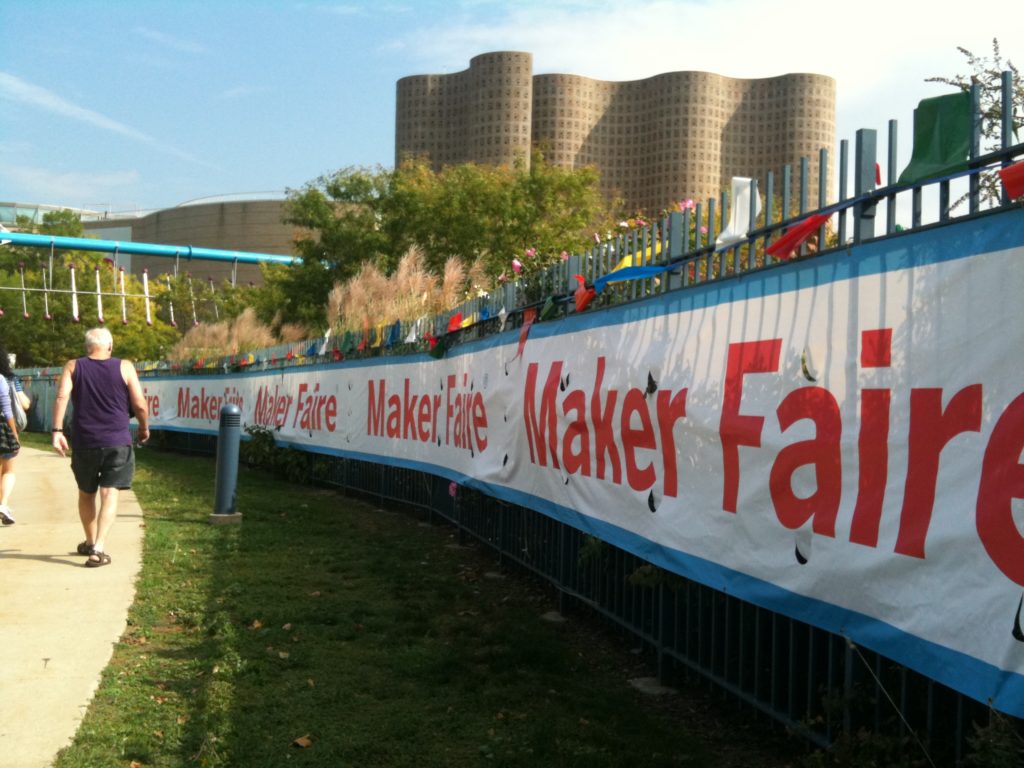
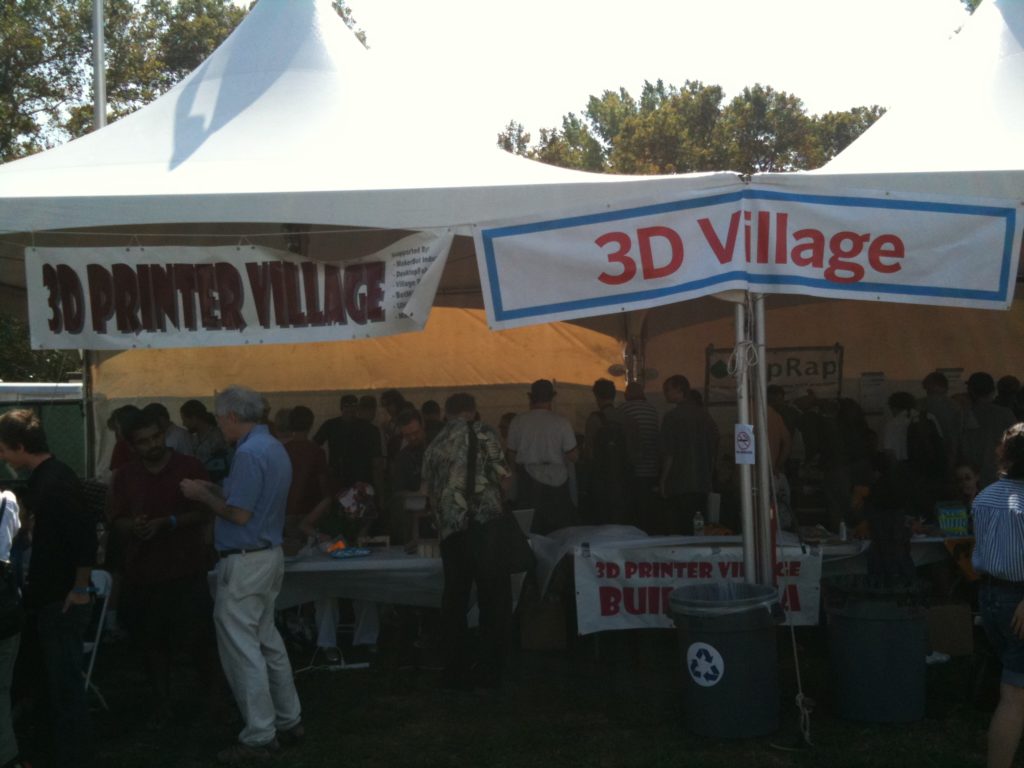
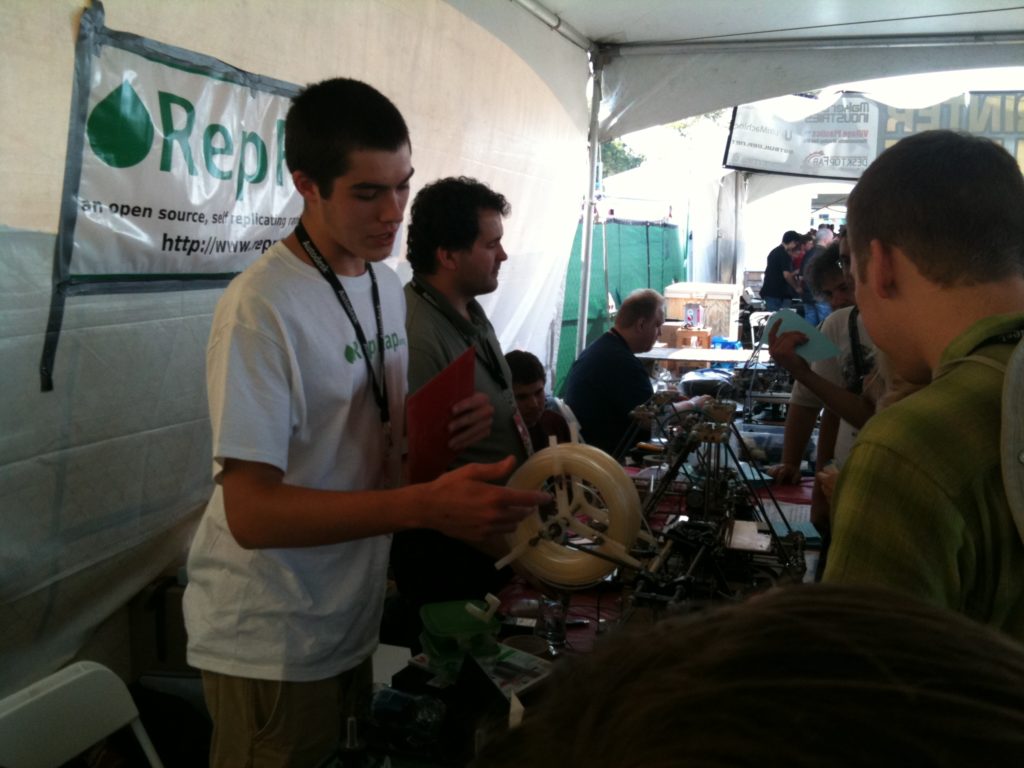
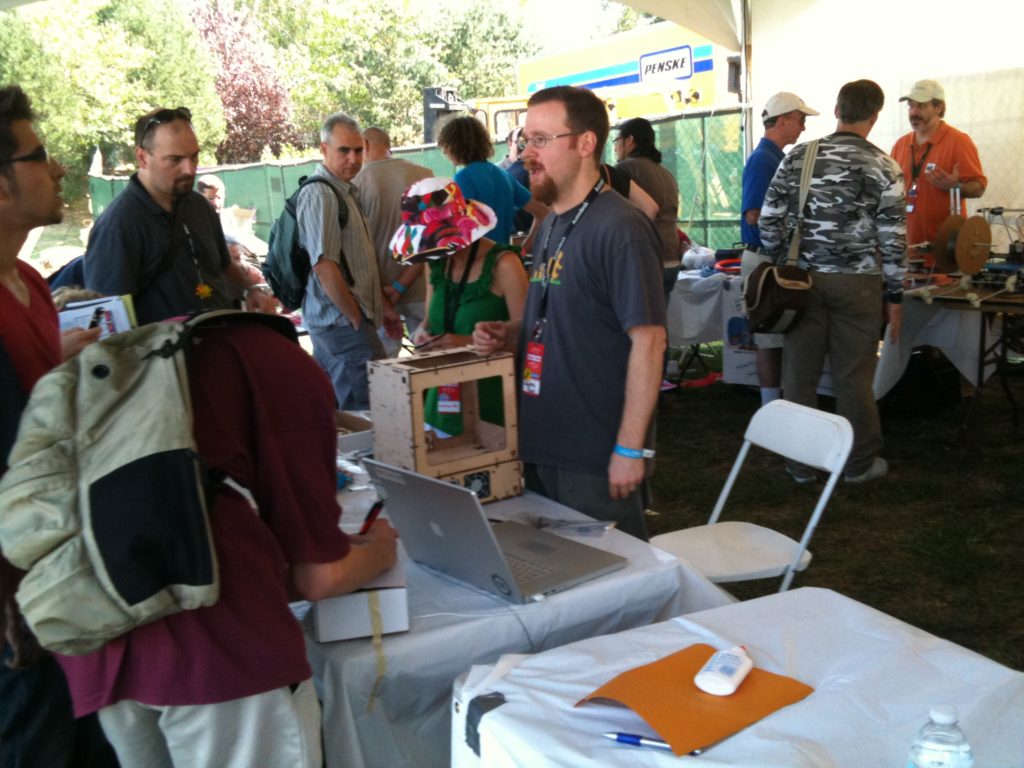
Ok, lots of talk, no pictures or video so far, and it’s been at least a month since my last post. Here we go. First, I went to Maker Faire NY 2010, along with my Dad (Larry), my brother (Jon), and my baby nephew Blake. It was VERY cool meeting several people who had also built their own RepRaps.. There were Mendels, an incomplete Huxley, a RapMan, lots of MakerBots, and the Fab@Home guys had stuff there too. All very cool.
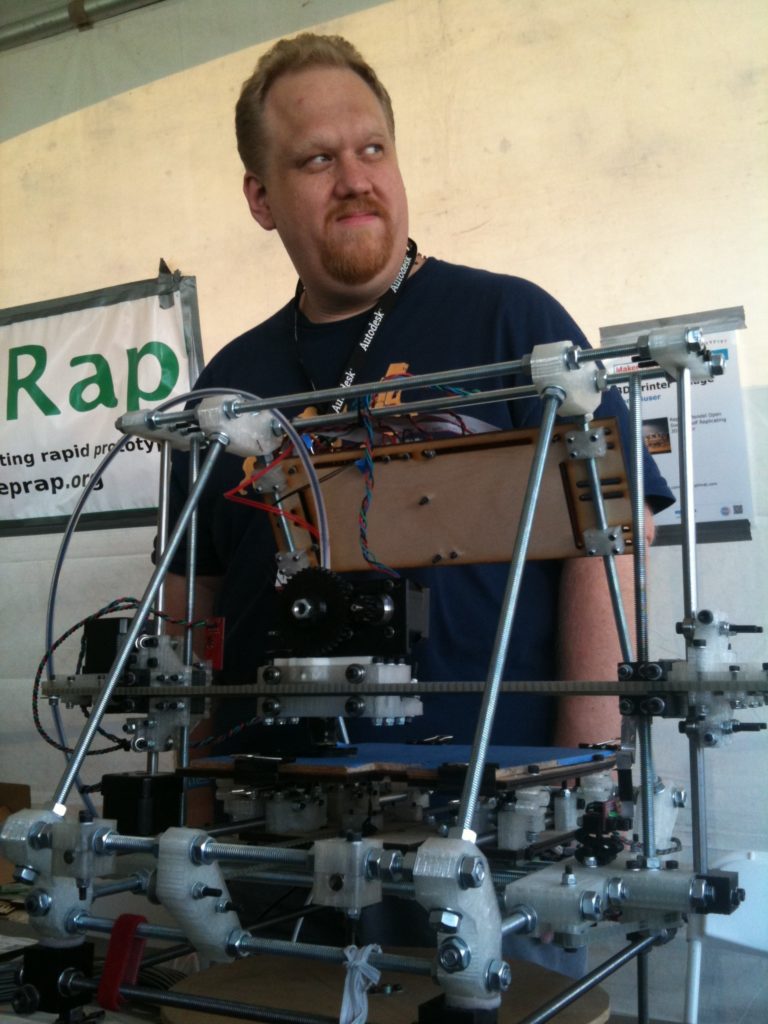
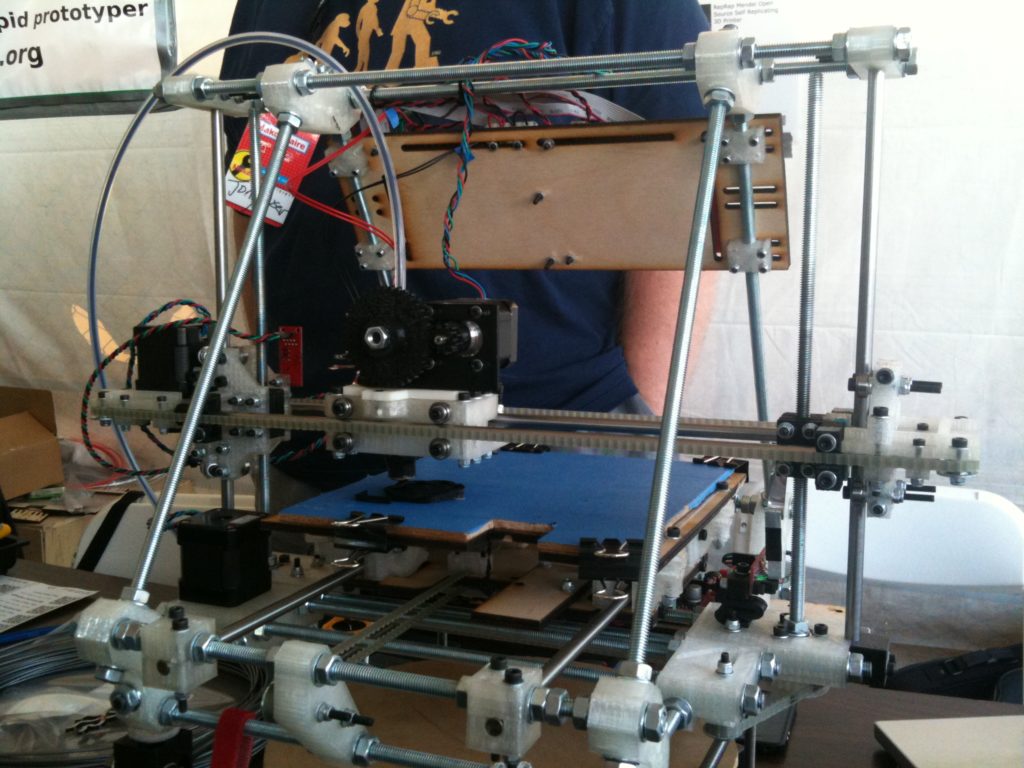
One of the first things I did was to find Tony Buser and see his working Mendel. His Mendel looks awesome, and it works. 🙂
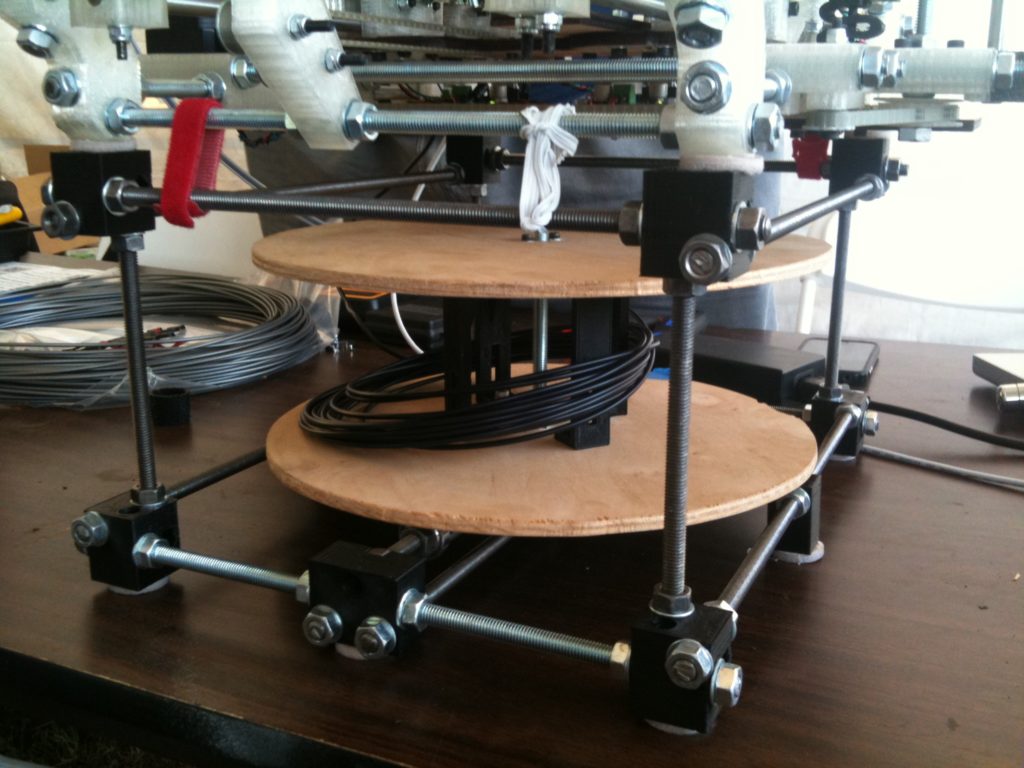
Here’s his filament spindle, which I was eager to see in person:
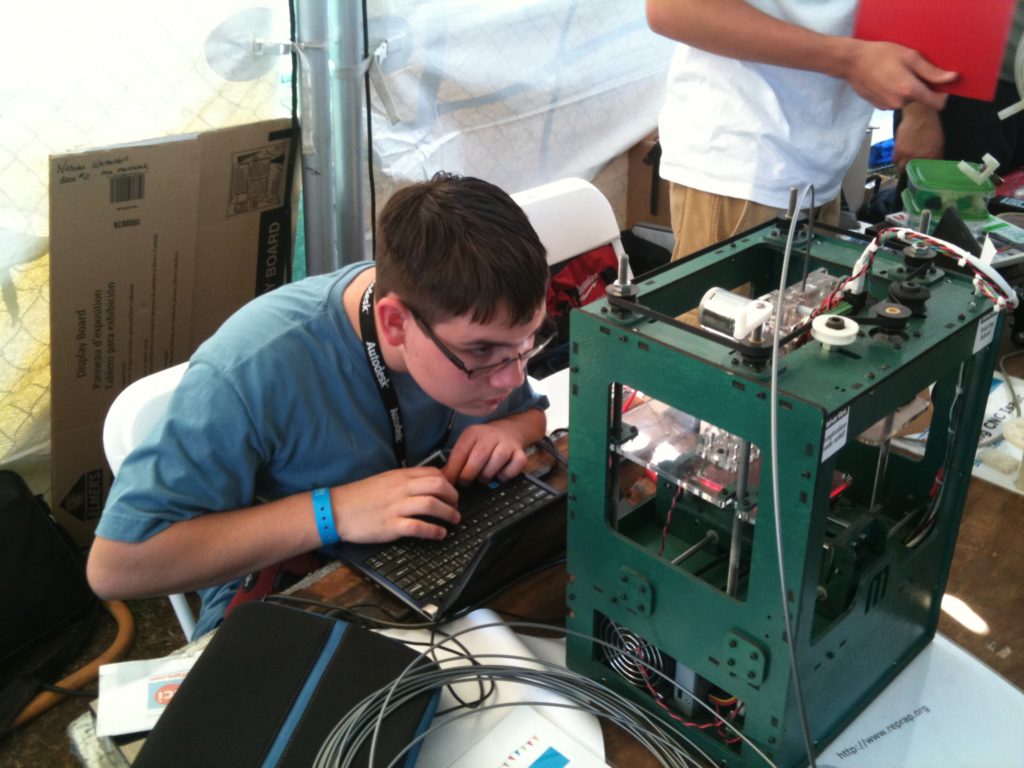
Nicholas Wattendorf was there with his dad Bruce.. They’re in the New England RepRap Group with me, but I hadn’t met them in person yet until this event. Here’s Nicholas with their green Makerbot, doing that stare-into-the-printer that we all do so often:
If I remember right, this was Ethan Dicks in the foreground (I believe he was the one with the first Adrian’s Geared Extruder that I’ve seen in person vs online), and Lambert Andrus from Techzone was behind him:
Here are one of Andrew Plumb (clothbot) building a MakerBot during the show (with his hand on the Makerbot), and Rick Pollack (makergear.com) in the orange shirt in the back right.
I also spent a bunch of time talking to Andy Smith, Tony’s wife Amy, John Abella and his dad, and others whose names I can’t remember, but I don’t have any pictures of them.
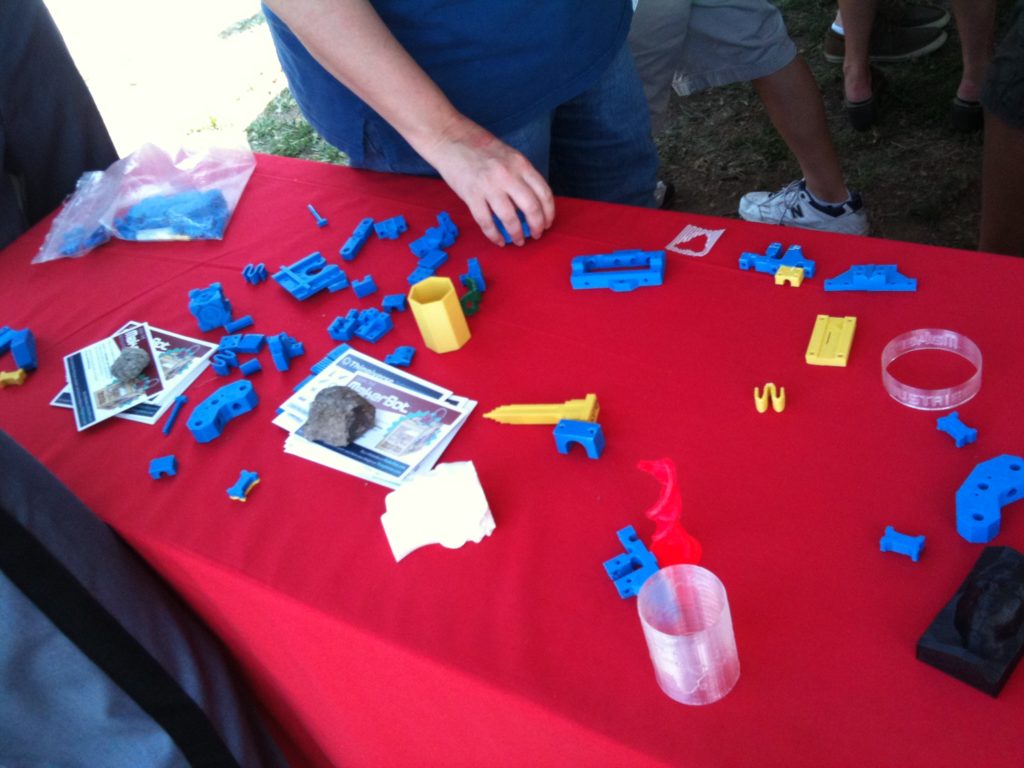
The MakerBot booth had a bunch of printed demos out for people to see:
I was able to meet Bre and Zach too – I met Bre when he was showing off the Thing-o-matic, and met Zach on the way into the faire.
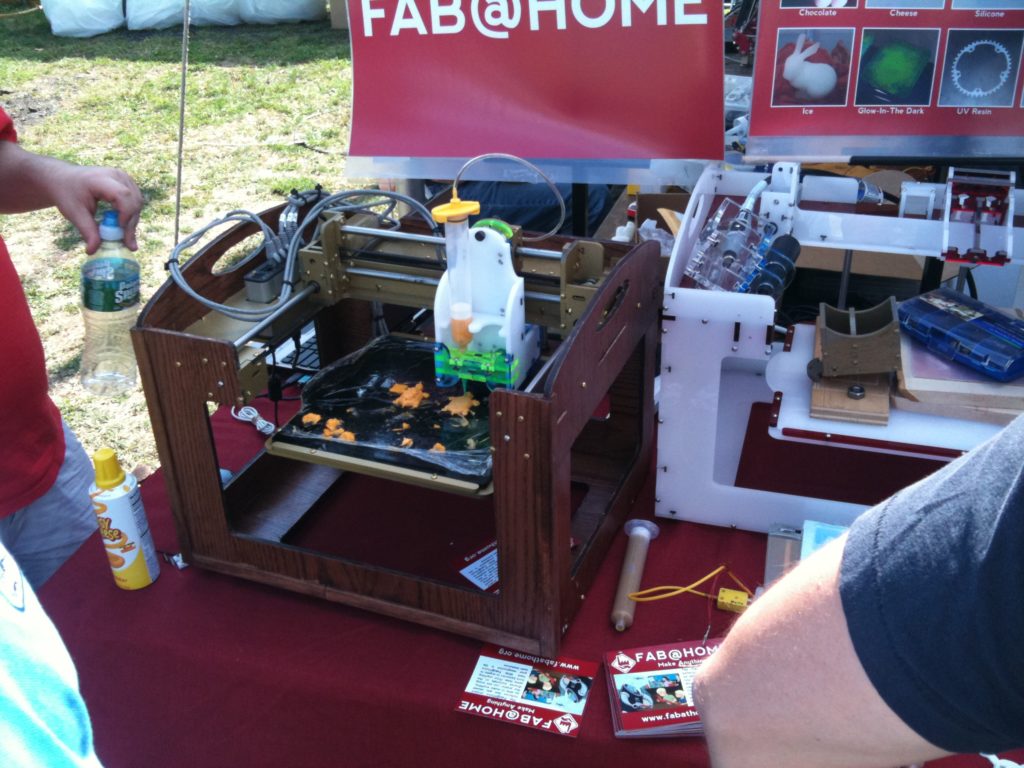
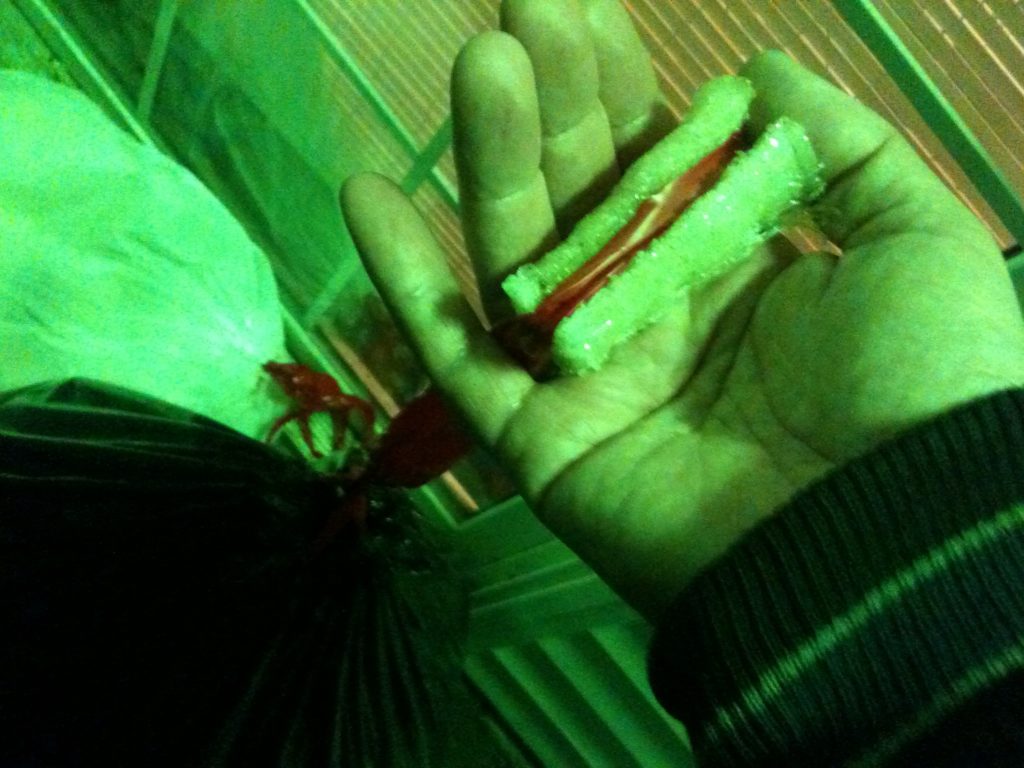
Oh yeah, the Fab@Home guys were there too, and they were printing turtles out of spray cheese:
After the first night of Makerfaire I wanted to run home and calibrate my machine, but seeing as how we were in Brooklyn NY and I live in Methuen MA, I’d have to wait. We went back for a second day of Makerfaire (no pics, my iPhone was full), then came home. Soon after, I started back in with my RepRap.
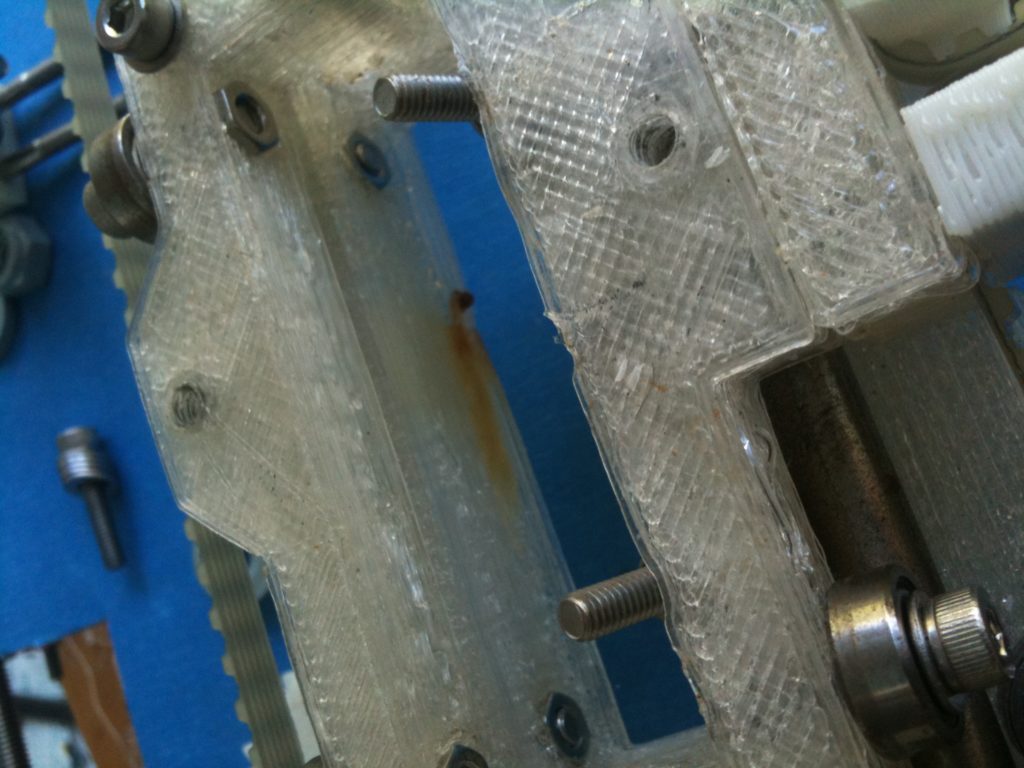
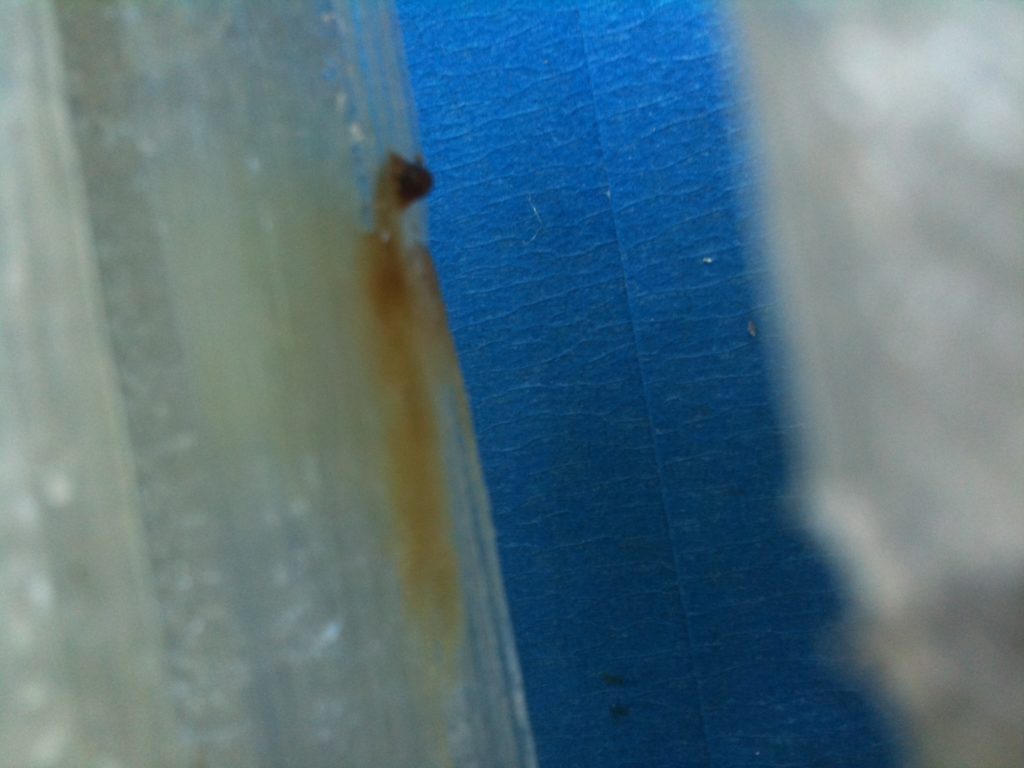
One of the problems that my most-recent-at-the-time heater barrel had been giving me was that it would output smoke. I wasn’t exactly advertising this fact, but I kept a close eye on it, and the first thing I had to do was fix that. At first I feared the smoke had something to do with the heater barrel being too close to my X-carriage (made out of PLA):
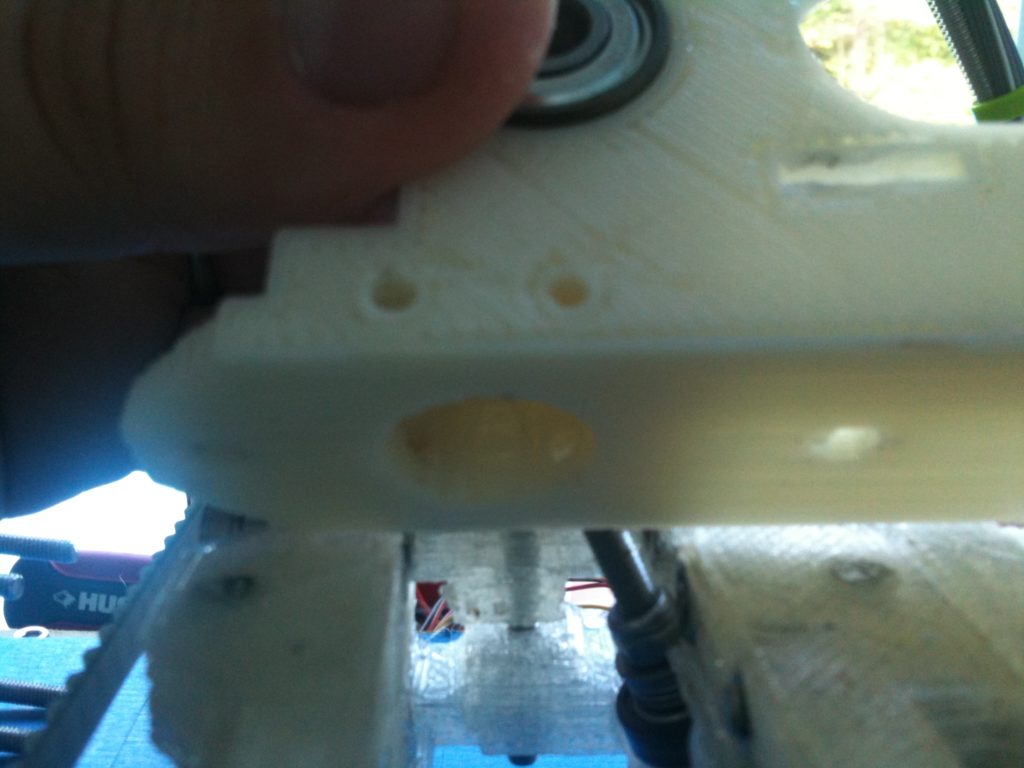
I noticed the hole for the PTFE insulator was off center:
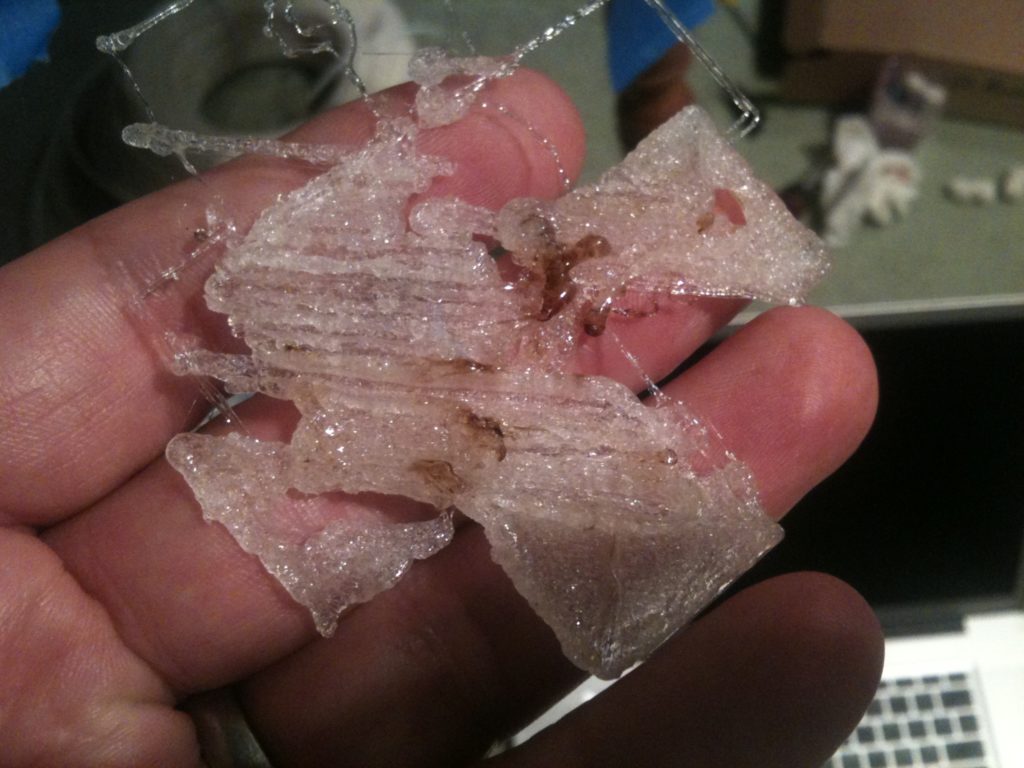
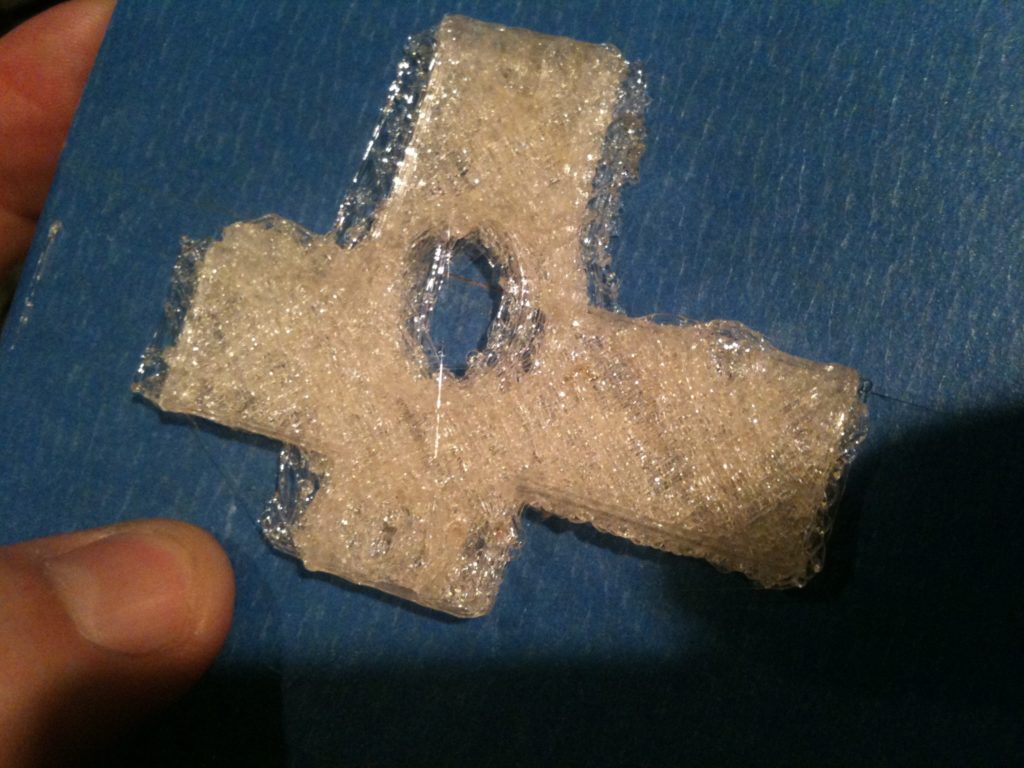
..as did others. Originally I thought it was only in the shortened version of Wade’s Extruder (the one made smaller to fit on a Makerbot), but apparently it’s in all versions. Tony Buser made a sideways mount that I’ve tried printing twice that addresses this problem.
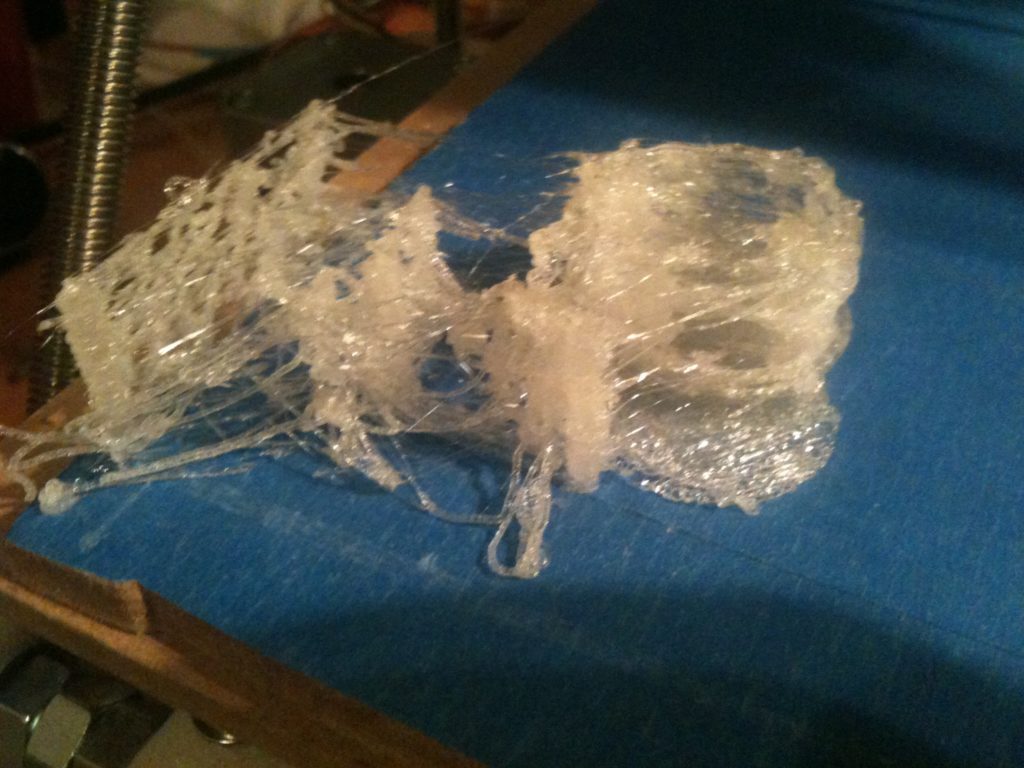
The first attempt a while back was horrible (had to abort after a few layers):
While my most recent attempt is merely ugly but might work:
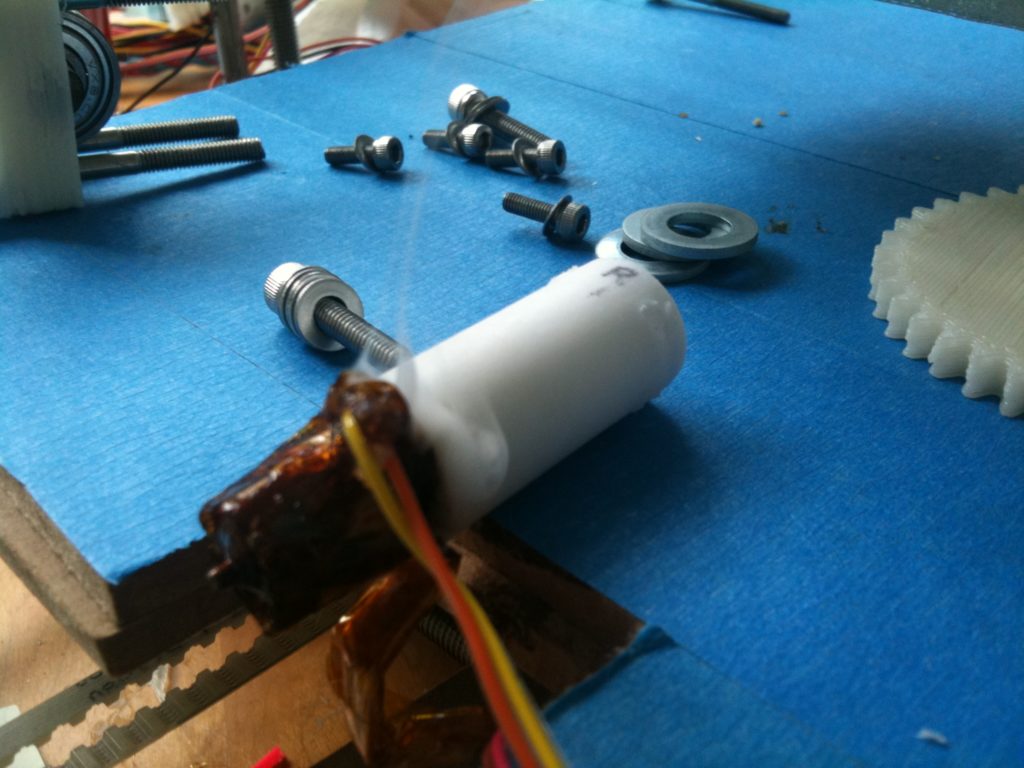
But I’m getting waaaay ahead of myself. Ok, back to the smoke. I took out the PTFE (which I could do, since it’s not glued into the extruder), and tried turning up the heat just a little. This produced enough smoke to convince me that the smoke had nothing to do with my x-carriage – it was instead just a poorly wrapped bit of nichrome wire (and a thermistor that wasn’t in good contact with the nozzle).
So I dismantled the heater barrel and went to start again. For some reason I tried to get the nozzle off of the head of the barrel (can’t remember why I tried that), and I ended up breaking the barrel. It was easy enough to make another, but I didn’t have a spare nozzle handy. (As it turns out, I actually had TWO handy.. I had another MakerBot nozzle I’d bought as a backup backup spare, and Rick Pollack had given me a BigHead nozzle at Makerfaire, but I didn’t remember either of these at the time).
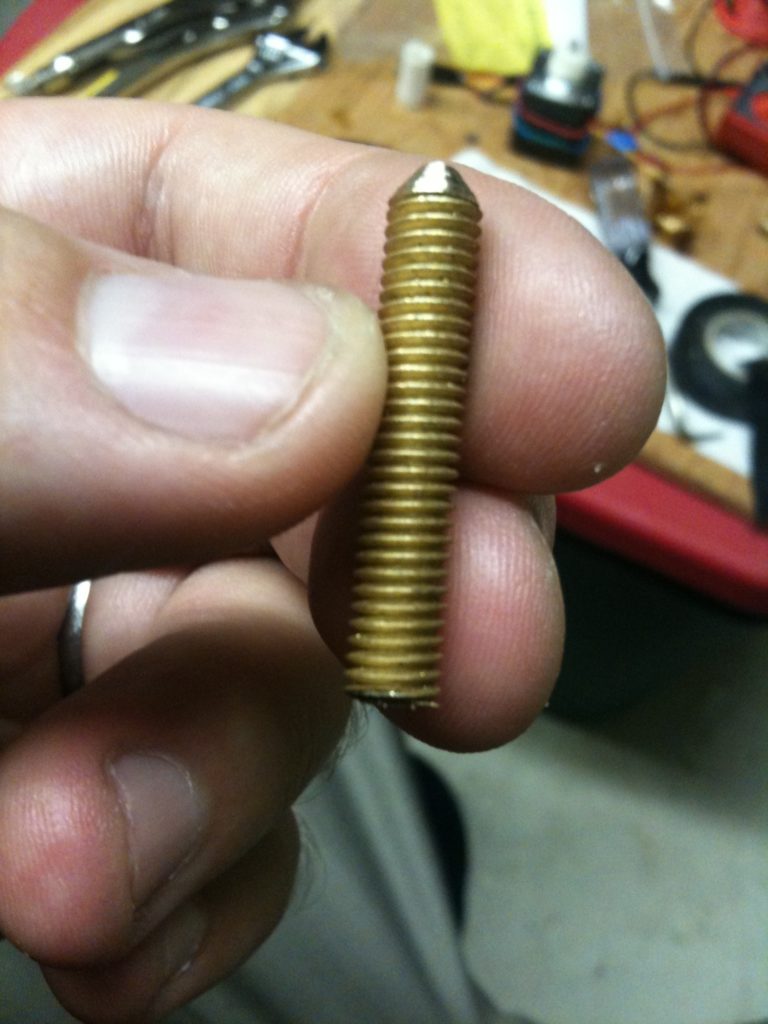
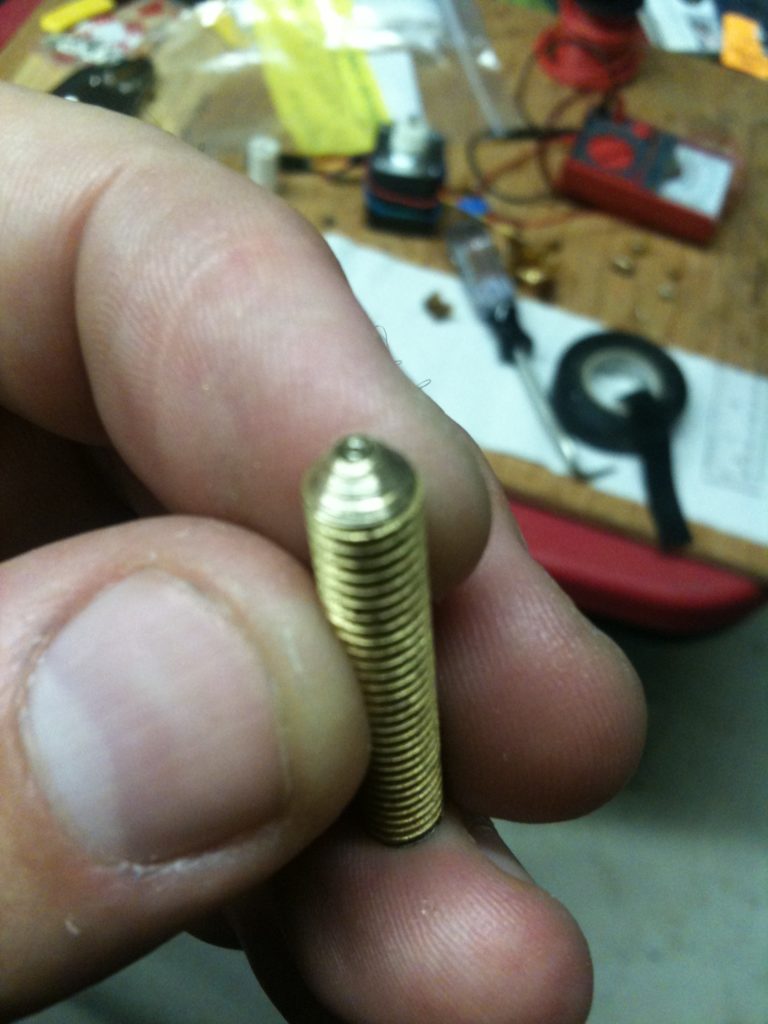
Lacking any memory of having a nozzle available, I decided to create a barrel that was its own nozzle, like the original Mendel plans called for (and like I’d done on my first heater assembly experiment, but had never used). I’d purchased a few 0.5mm drill bits during my last mcmaster purchase, so I decided to give it a try. I went back to the recommended 32mm length, tapered off the edge first to make it pointy (but with a flat end at the end of the taper), drilled the 0.5mm hole (breaking one of the bits in a stupid accident), then drilled the barrel out. It came out rather well:
(then again I’ve only been printing PLA, so I didn’t need to maintain much heat.. maybe ABS would require more metal to keep the heat going)
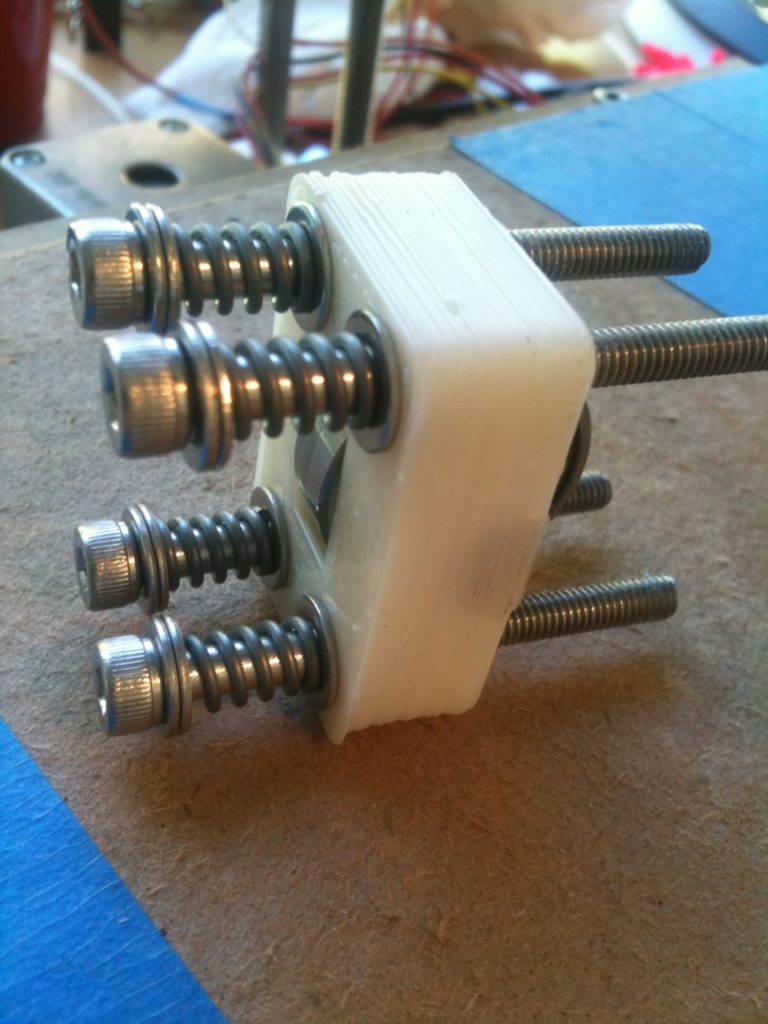
While the extruder was disassembled I also was able to finally address my spring issue. The springs I bought from mcmaster were too big, and I’d been thinking of cutting them in half but I hadn’t gotten around to it, and was wondering if instead I should just shop around for better fitting springs. Tony Buser had mentioned at Makerfaire that he’d cut his and they worked great, so now I did that.
Of course, there’s something wrong with that picture (which persists on my RepRap still, and will until I take it apart again). When assembling my Wade’s extruder, I had an idea of how it was supposed to go together, and that idea contradicted what I saw in front of me. There are hex-shaped recessed areas on the motor side of the M4 holes for those four bolts. Since the BOM didn’t say anything (at the time) about hex-shaped heads, I’d bought the usual round socket cap bolts. With those round bolts, the only thing that made sense for those hex-shaped recesses was to place trapped nuts inside them. That would mean that the heads of the bolts would be on the other side of the idler bracket, as shown in the picture above.
I even went so far as to helpfully add to the wiki page for Wade’s extruder that the bolts in his picture were backwards, since at first glance it looked like another picture below it confirmed my suspicion that the picture was wrong. I’ve since removed that wiki change, since I was wrong.
What Wade really intended was for cap screws with hex heads, with the bolts backwards from what I have above. The head is trapped by the recesses, and the bolts protrude (for the inset to be slid onto). It seems that that means every time you fully remove and reassemble the idler bracket, you have to take off all of the washers and springs, but at least you don’t have to worry about a trapped nut being pushed out of its recess.
Ok.. So at first, I wasn’t having very good results printing at all (but of course, the smoke had stopped!). The problem was that my Y-axis opto endstop was malfunctioning. The prints were laughably awful.
The problem ended up being that either the cable for my opto endstop is flaky, or possibly it’s the connector soldered onto my y stepper controller. My super-short-term fix was to put a twist tie around the cable, holding it down in such a way that the signal stays solid 100% of the time (I need to make a new cable). I forget where along the line I figured out that it was the cable – it was definitely after some of the pics below.
So, after printing at least 40 minimugs (33 different gcode files, but with multiple copies of some), I was getting pretty sick of printing minimugs. So I decided it was time to print a calibration object to double check my X and Y calibration (I was previously fairly certain that Z was correct).
That first print was still pretty bad but it was at least slightly measurable. I printed four more of these in all, three of them before calibration, and one after.
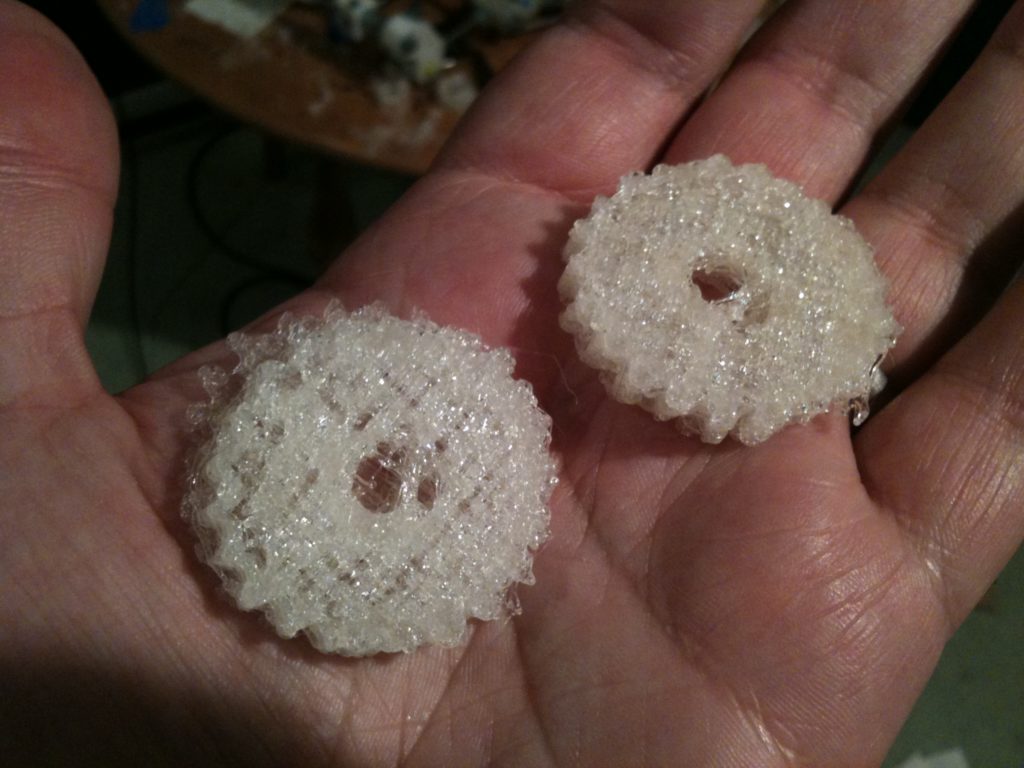
Before I got to calibration though, I found myself wanting to try printing some other things (knowing they’d probably fail), just to add some variety to this whole exercise. Here were two horrible z-driven-pulley gears, like I wear on my badge at work:
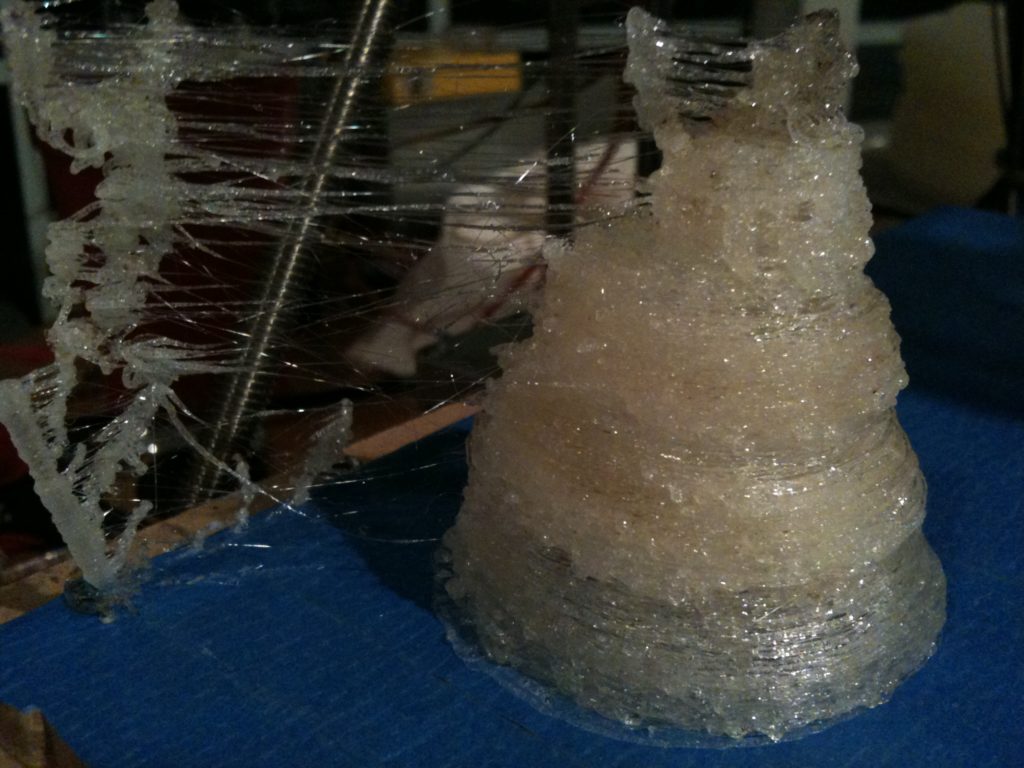
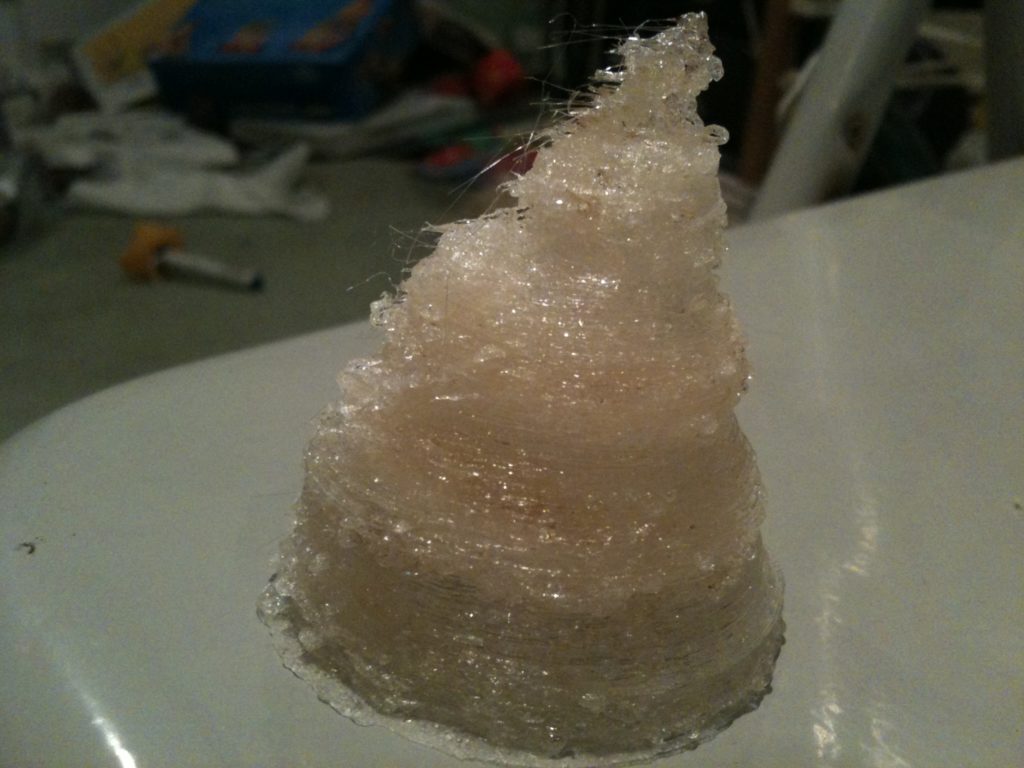
(Again, this was before calibration). Also before calibration, I printed the sad Christmas tree that I’d printed two of on the RepStrap. Those earlier versions (made in ABS) came out great. This uncalibrated version wasn’t great, but at least it looked a bit like a Christmas tree.
It’s hollow by design, so you can fit an LED around a watch battery inside it:
Since things were at least slightly recognizable as objects, and all of this was motivating me to RepRap more than printing more non-alcohol-tight minimugs, I decided to try printing one of the first things that I wanted to design for my RepRap (but that langfordw had beat me to the punch and designed first). I won’t say what it is yet – here’s a picture of the horrible-quality yet functional print:
Can you guess what it is?
If you didn’t watch that video, I’ll tell you what it is: it’s a bag holder. More often than I’d like, I forget on Thursday night to take the trash out to the curb. So often I have several bags to take out, most of which end up packed to the top. I don’t mind the weight of the bags, but these red bag ties they make are like razor wire, digging through my palm as if to cut it in half. This bag holder lets you hold 5-6 full garbage bags without any pain!
That’s the first useful thing I’ve printed with my Mendel RepRap! (But not hte first useful thing I’ve printed with anything, because with the RepStrap I was able to print parts for my Mendel!)
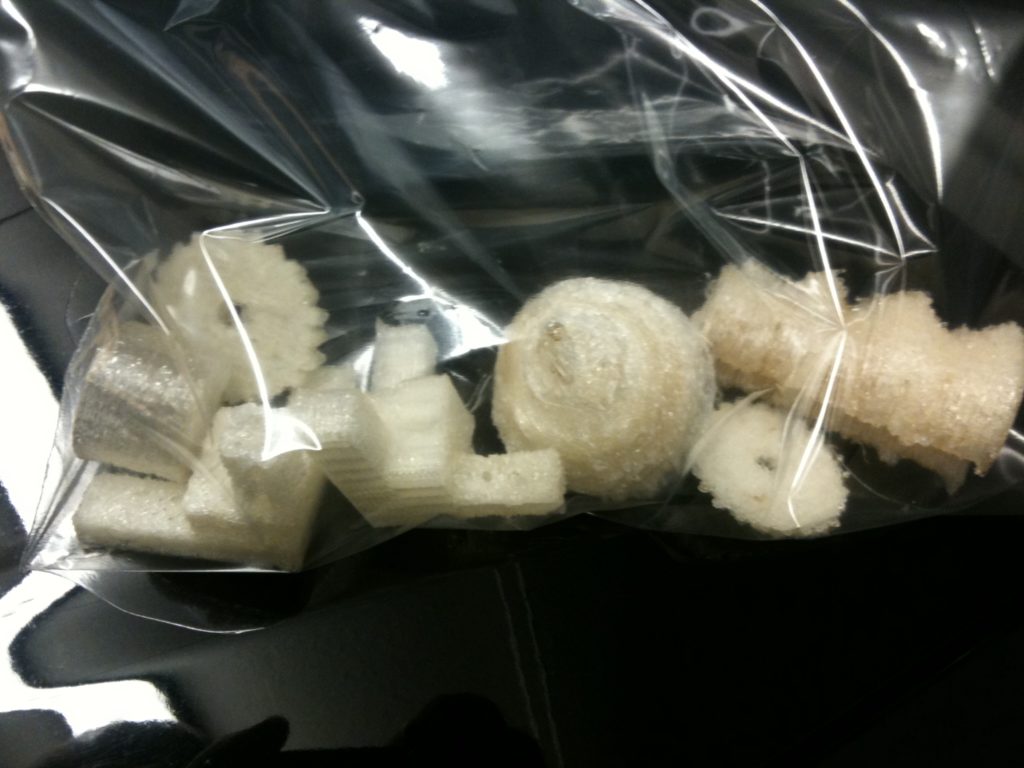
Having branched out from my myopic must-go-with-tradition-and-print-a-watertight-minimug focus to print multiple types of objects, that gave me something interesting to show people at work and elsewhere. I found myself carrying around a bunch of pieces in a large clear ziplock bag:
At some point in this (can’t remember where), I re-adjusted my E_STEPS_PER_MM setting. I measured the diameter of the hobbed part of the M8 bolt, saw 7.33mm and 7.31 mm, went with 7.32mm. I measured some recent stray printed filament, which came in at 0.51mm.. So I calculated an E_STEPS_PER_MM of 1.782303298, which seems to work well.
Ok, so now it was time to finally do X&Y calibrations based on the calibration object I’d printed. I’d printed out four versions of that object, and I measured parts on the first and last of them that should be 10mm, 20mm, and 40mm. Then for each of those measurements I figured out a multiplier for X, Y, and Z that would correct those values (although I didn’t use the Z value in the end). I averaged them together, looking for values that were out of whack and giving weight to objects that printed better, and came up with my final values.
In my configuration.h I’d originally had for x and y:
// For x and y, steps/mm = 400/(16.1798*pi), where

// 400 is the number of steps and 16.1798 is the

// radius in mm of the McMaster 57105K11 pulley.

// Answer: 7.8693
After calibrating, I now had:
//#define X_STEPS_PER_MM   7.8693

// Calibration experiments said multiply this

// by 0.9165

#define X_STEPS_PER_MM   7.2122

//#define Y_STEPS_PER_MM   7.8693

// Calibration experiments said multiply this

// by 0.9267

#define Y_STEPS_PER_MM   7.2924
Just for my own record, I’ll include the comments I have about Z_STEPS_PER_MM, but I didn’t change them here, even though the calibration experiments said to multiply it by 1.0193. This was my commented out original old calculation plus the brute force observation that I’d done back in July.
// For z, steps/mm-of-z-axis is

// (RPdiam / McMdiam) * (400 / 1.25),

// where RPdiam is the diameter of the

// RepRap'ed leadscrew pulley (which is

// ROUGHLY 1 1/8", or 28.575mm),

// McMdiam is the diameter of the

// McMaster 57105K11 pulley (which

// is 16.1798mm), 400 is the number of

// steps, and 1.25 is the pitch of the M8

// threaded rod used for the leadscrews.

// Answer: 565.1491

// ...

// ...but through experimentation by watching

// how many times the bolt went around,

// I ended up with:

//#define Z_STEPS_PER_MM   670

// 670 WAS GREAT but after 30mm, just a BIT too low

#define Z_STEPS_PER_MM   672
My X and Y calibrations now changed in the firmware code, I recompiled the firmware, uploaded it to my motherboard, and printed my fifth calibration object.
This one was great.
If it’s not clear what that calibration did, let me state it clearly. Previously when I’d tell it to move in the X direction, it would move too far. Similarly if I told it to move in Y, it moved too far as well.
This would certainly help explain not having watertight minimugs with the default settings:
1) Base of the mug is printed larger than it should be
2) Thickness of the printed plastic is still the same (same sized nozzle)
3) Thus, more space between the pieces of plastic that make up the base.
I tried printing a minimug with the default settings (no changed infill settings, etc – just the new calibration). Unfortunately I think this time the wire for the Y-Axis opto endstop came loose so the top was offset, but it was certainly watertight, even without setting changes.
The next day, Alicia and I printed two minimugs that looked like great candiates for the toasting ceremony. Not wanting to mess with anything, we didn’t try filling them with water first. Actually the only reason we printed a second is because we were waiting for Laurie to come home to see.
With default settings:
Laurie and I tested them both, and they both leaked alcohol. There’s still plenty of room for improvement though – this was just using the default RepRap Host settings – only 1 shell, the default infill, etc.
About a week later, I wanted to scratch an itch before going back to honing infill settings to try to get a tighter minimug. I wanted to print out an object that I designed.
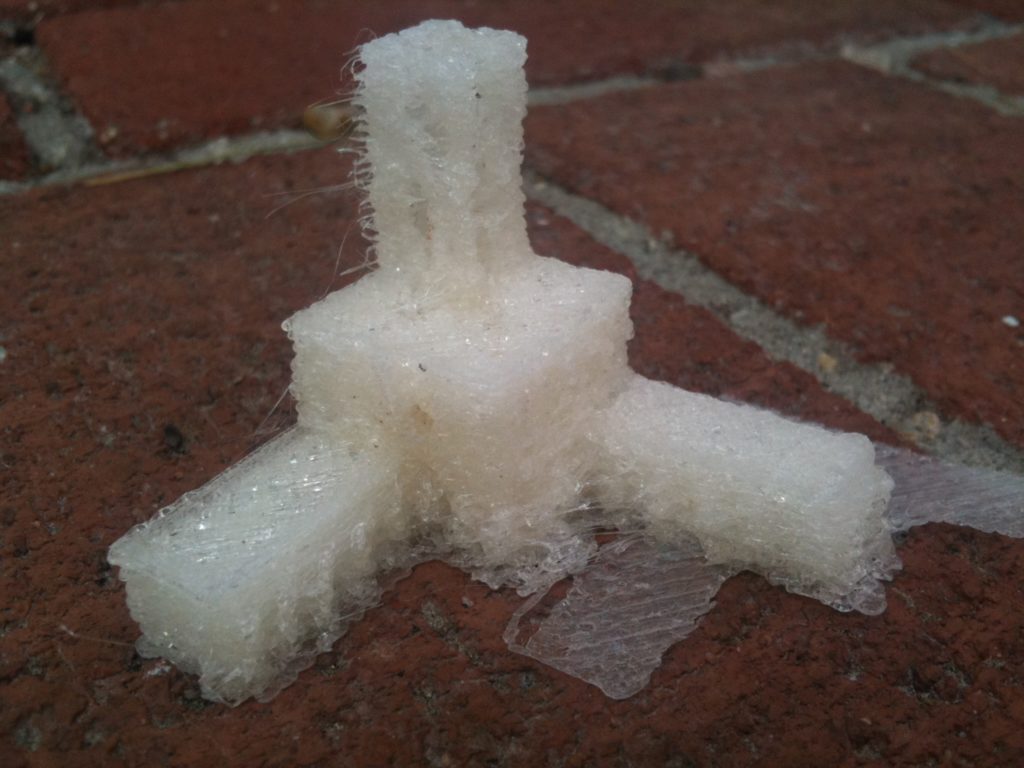
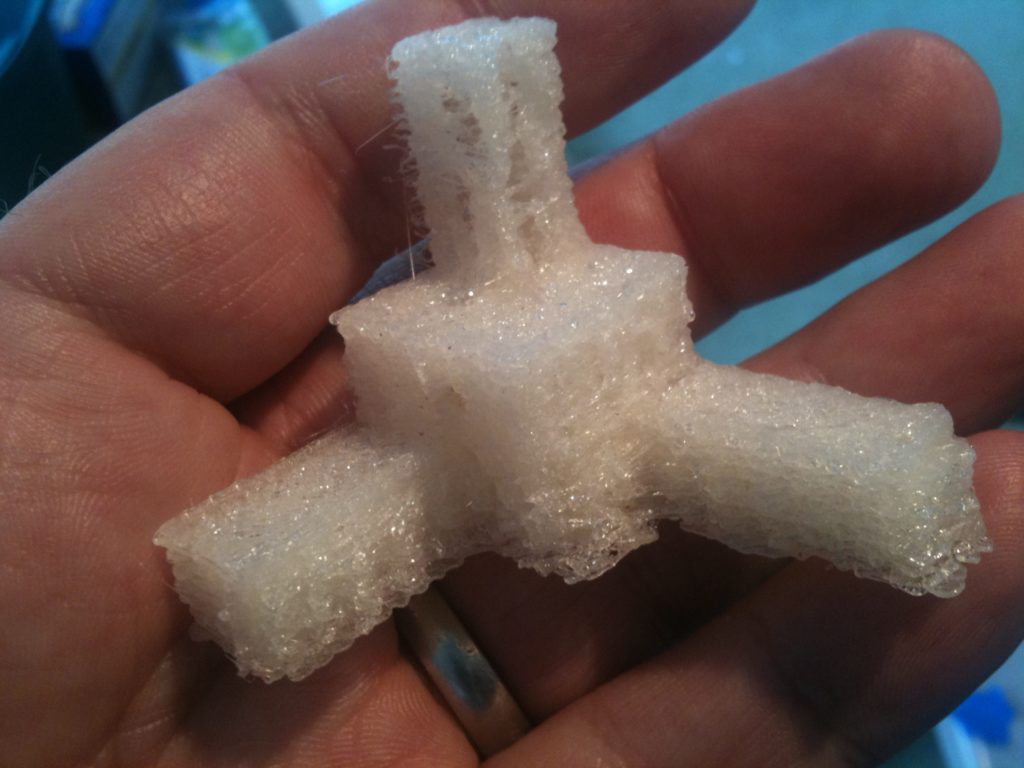
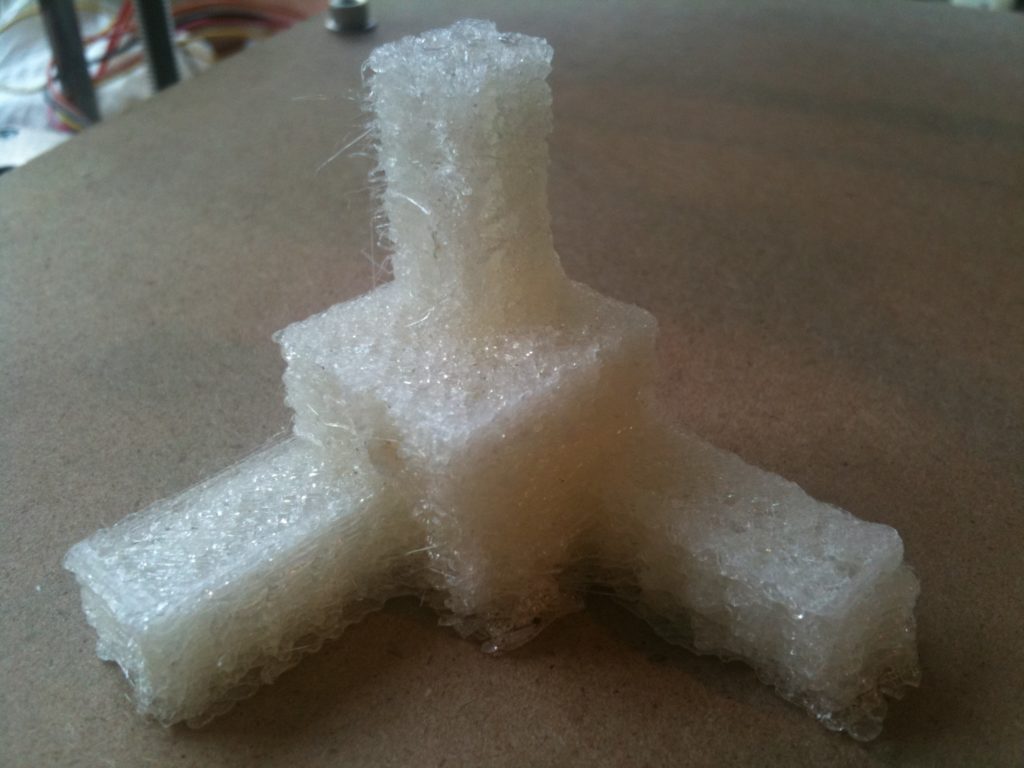
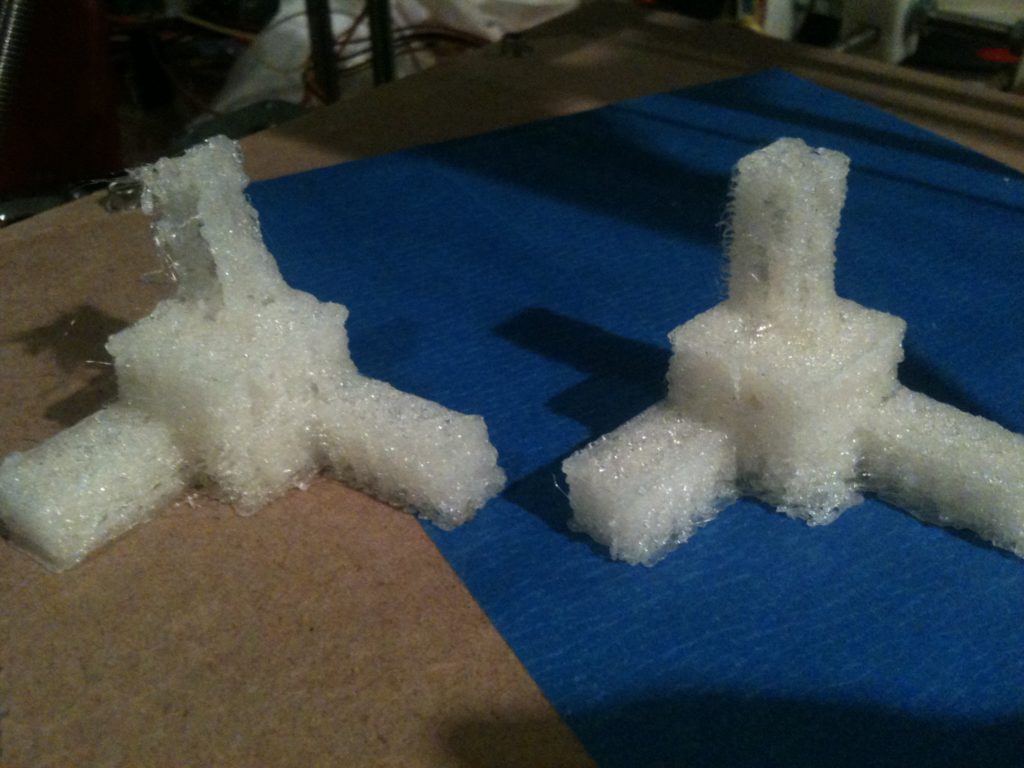
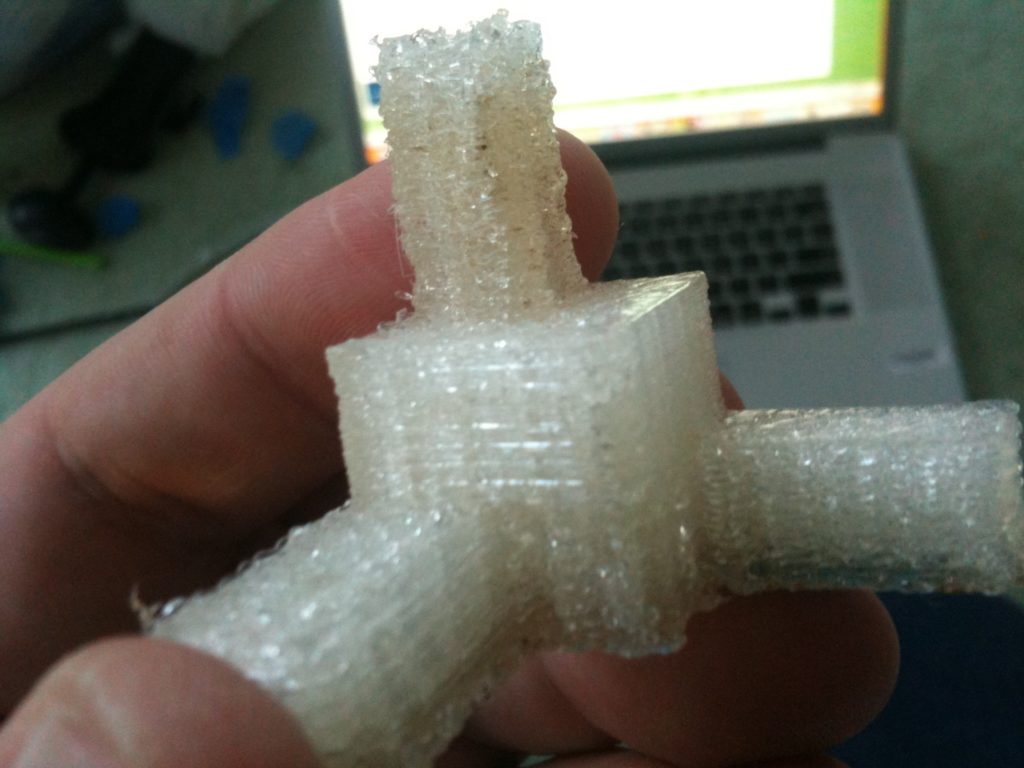
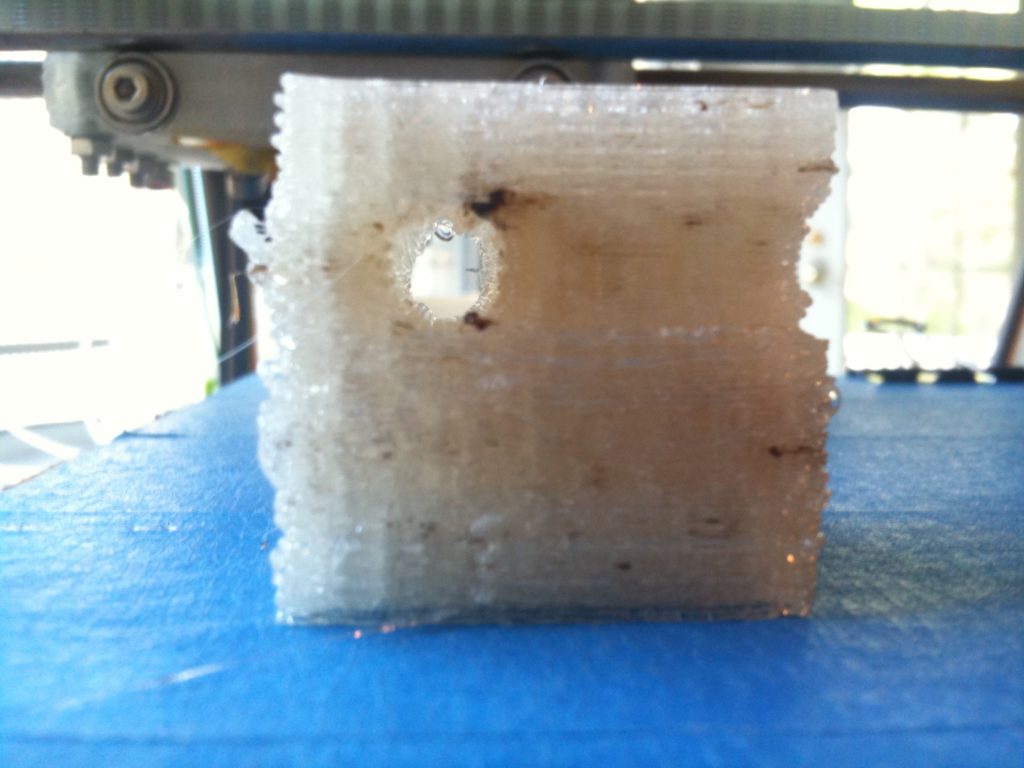
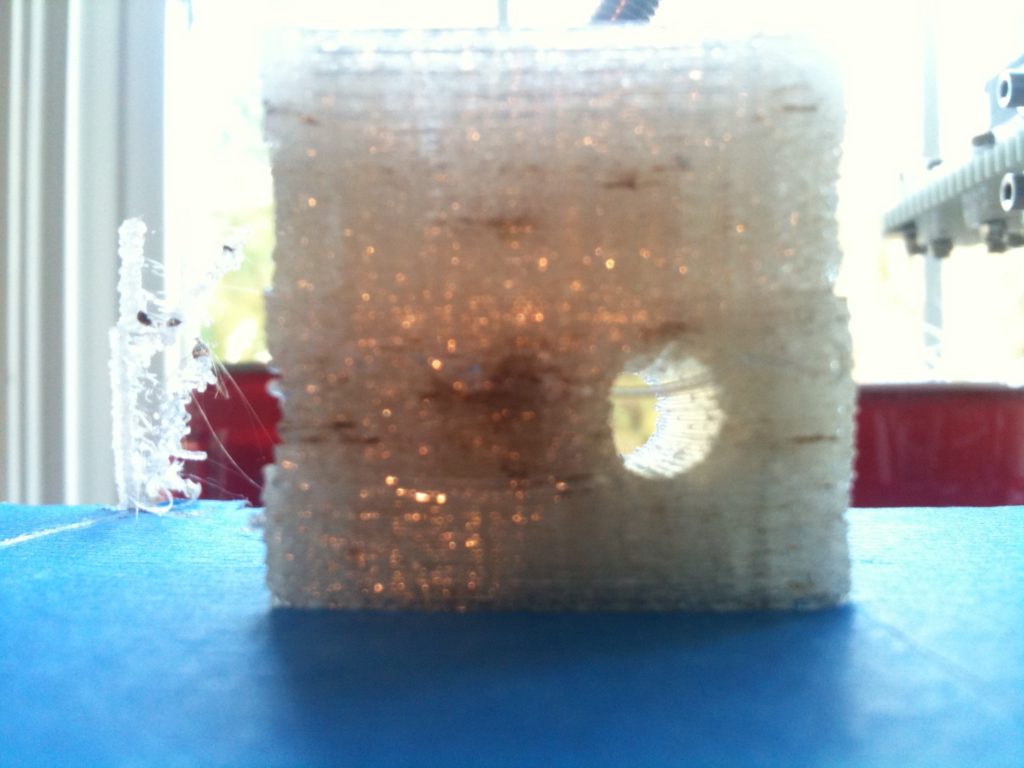
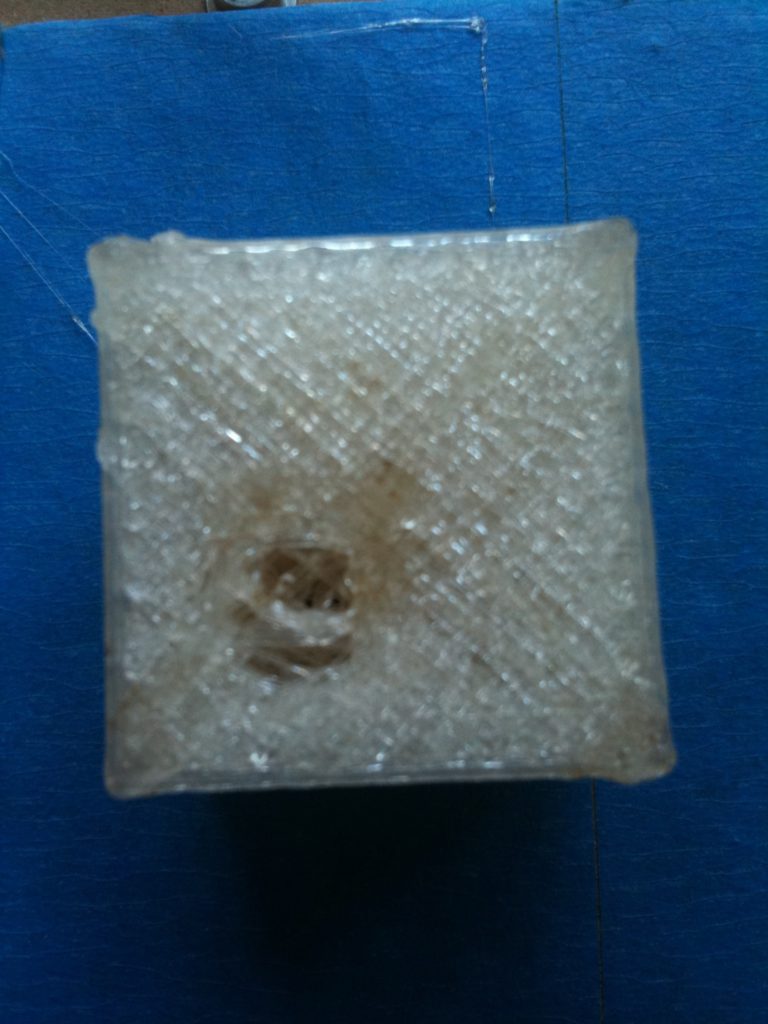
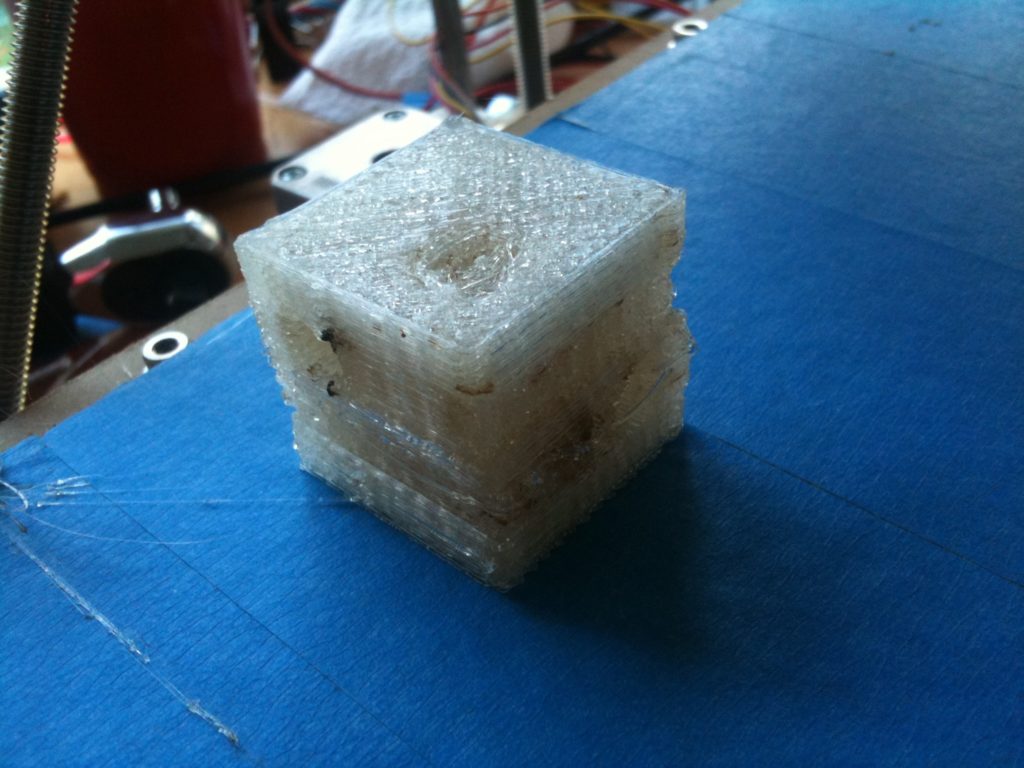
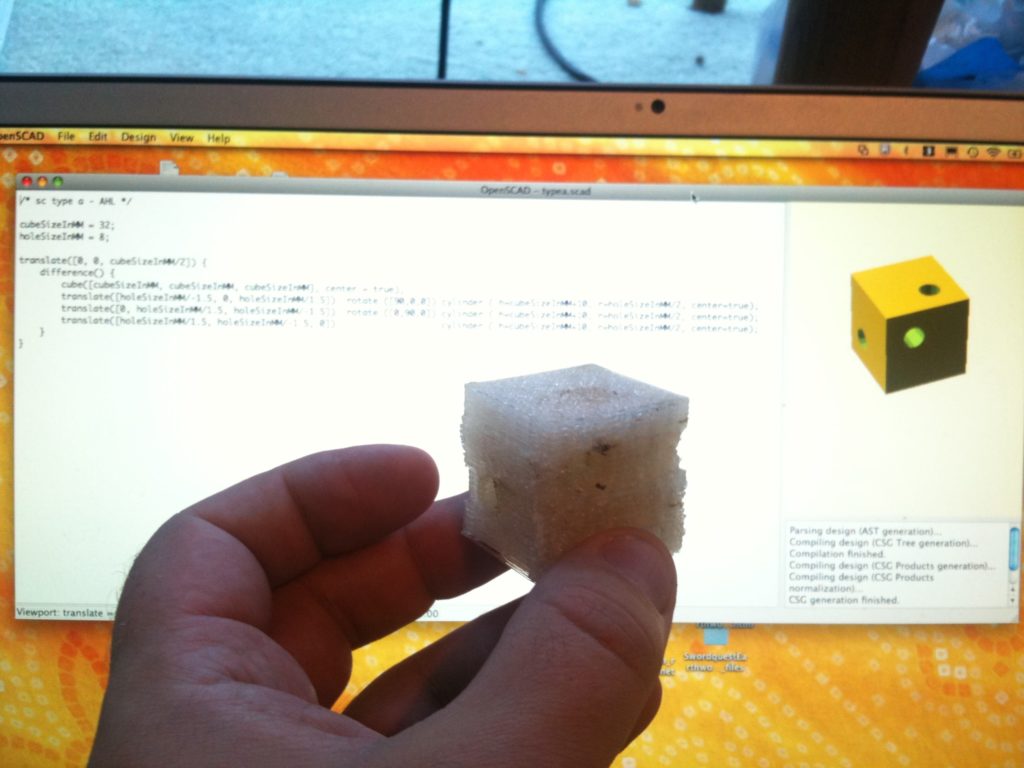
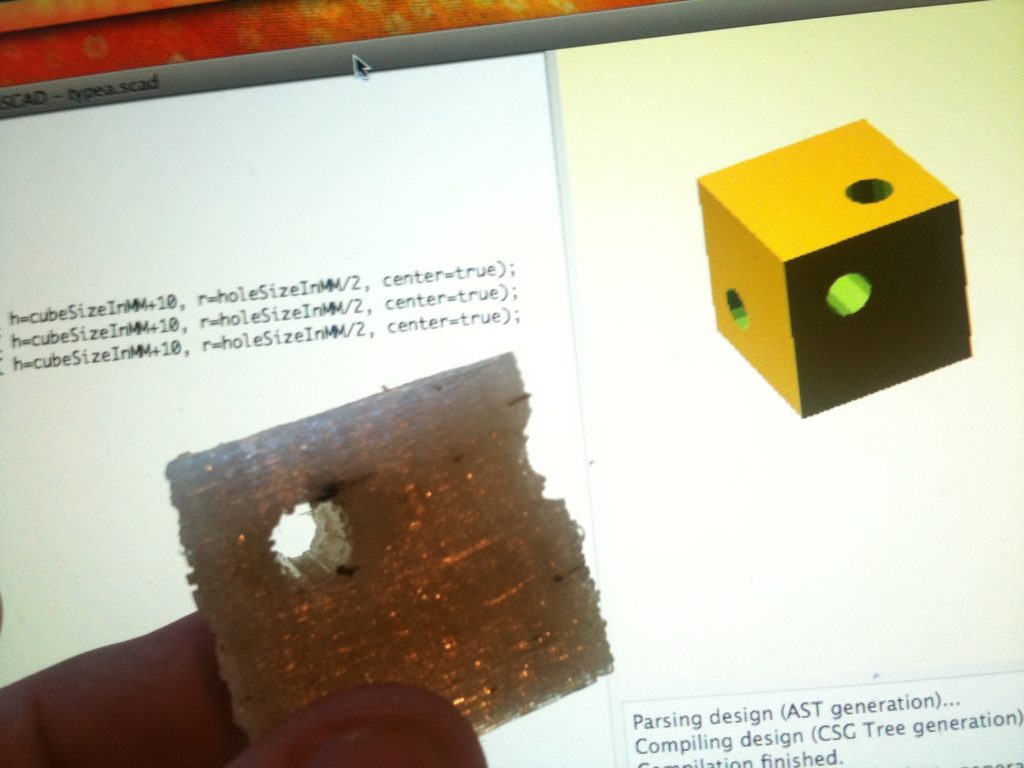
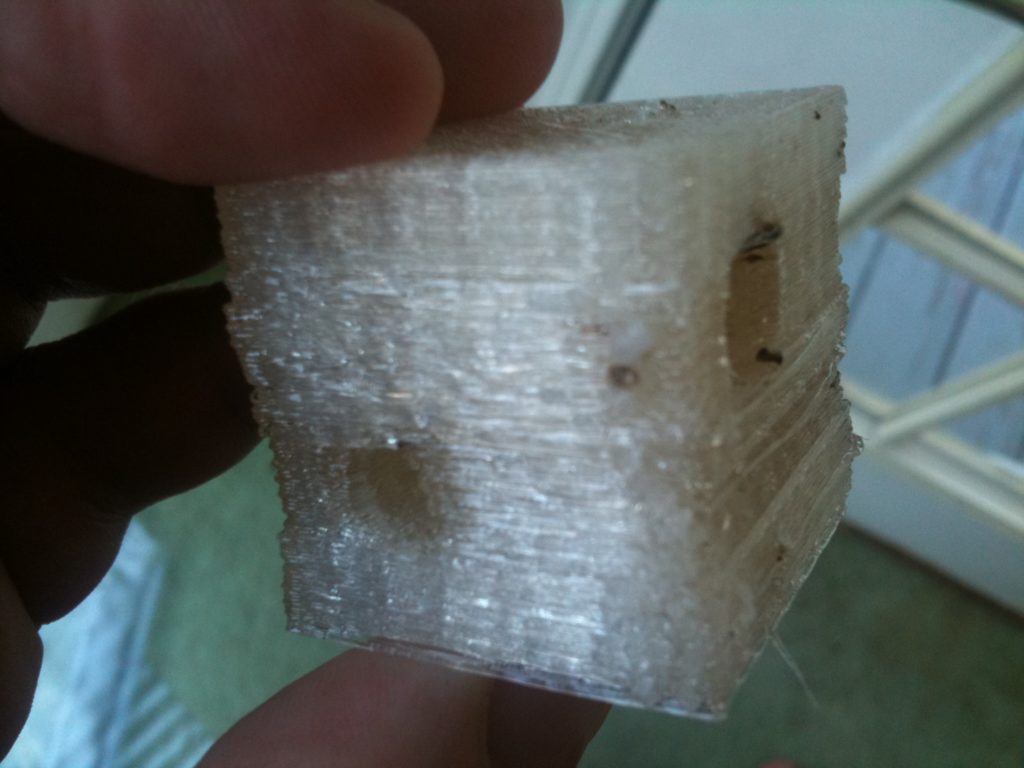
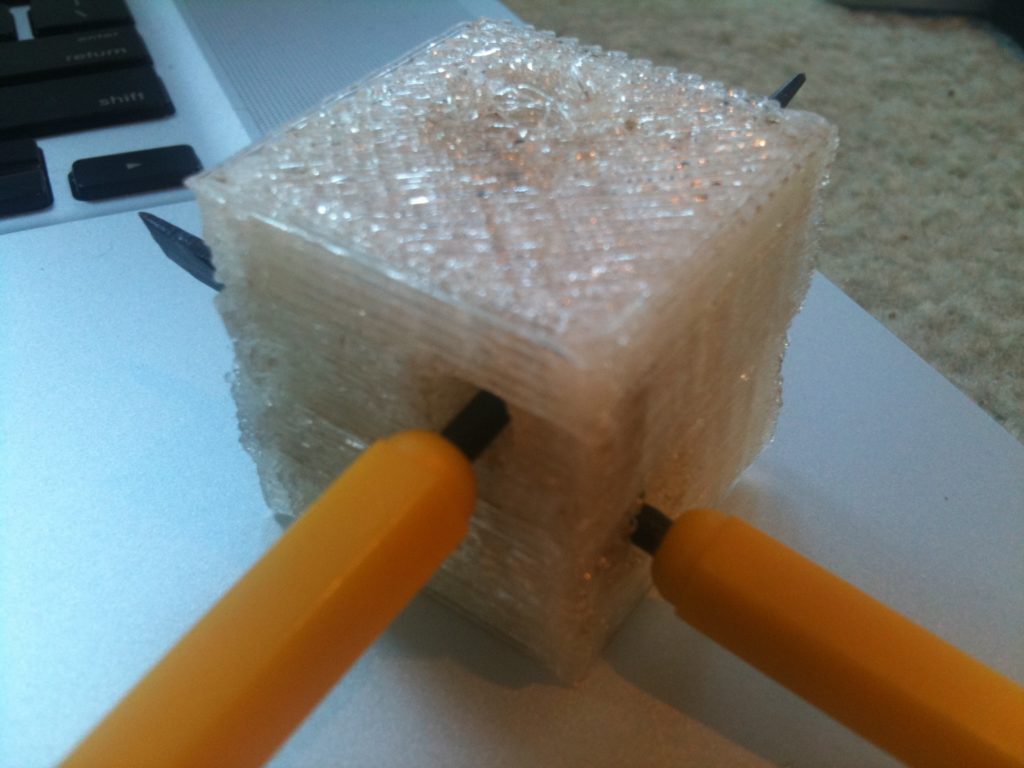
Now I’d designed one test object over a year ago with Google Sketchup, but that’s way too detailed to print out on the machine the way it is now. So instead I did a simple object in openscad. This is actually a part of something else I want to build, but I won’t go into the details of what it’s actually for in this blog. Suffice it to say, this is a cube with three 8mm cylinders subtracted from it. Three holes go through the cube, one affecting each face, and the tunnels don’t intersect at all.
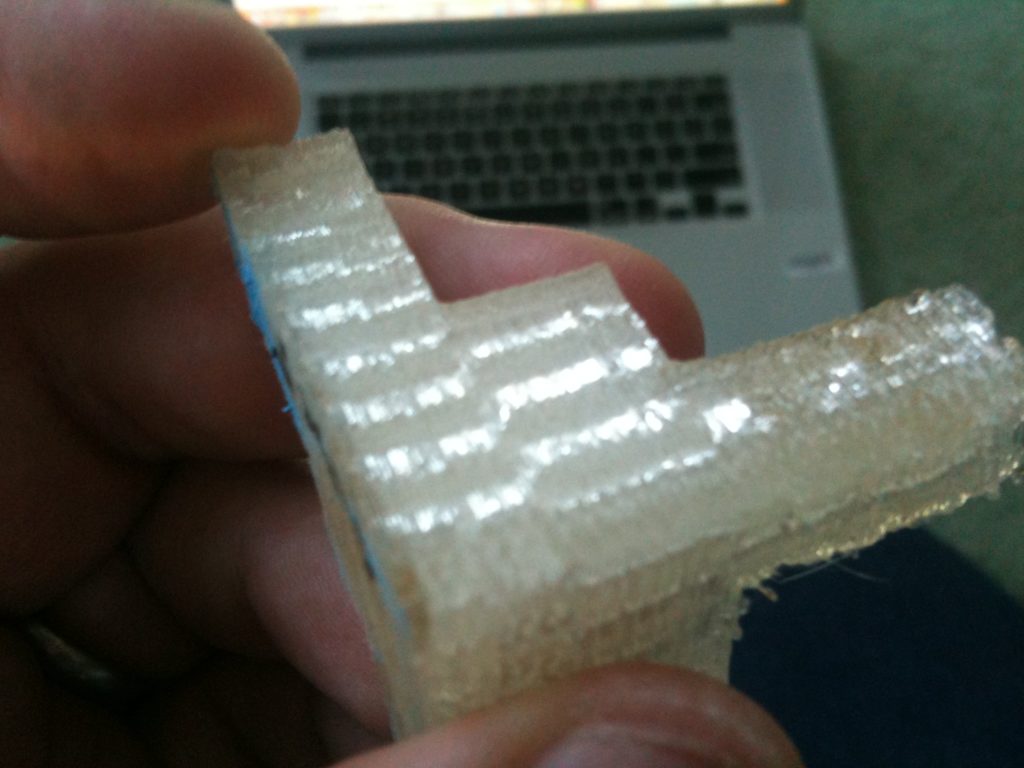
That’s supposed to be a hole going vertically down through the cube in the last pic, but that hole ends up poorly every time I print it.
Here’s the object in front of the openscad source that created it:
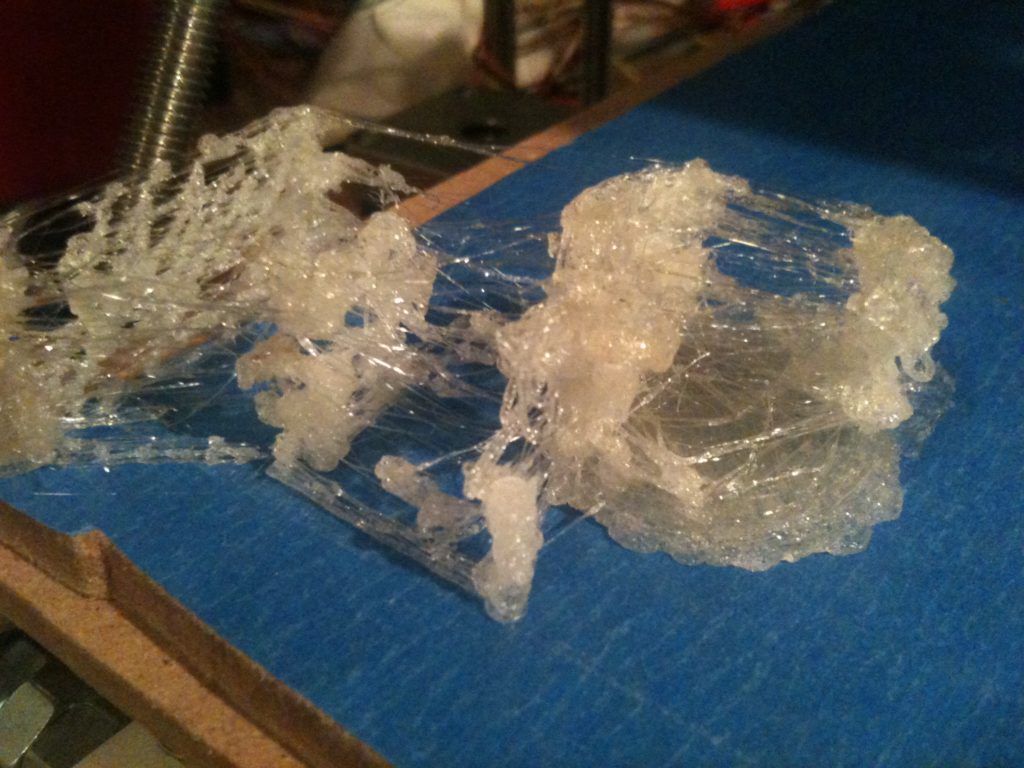
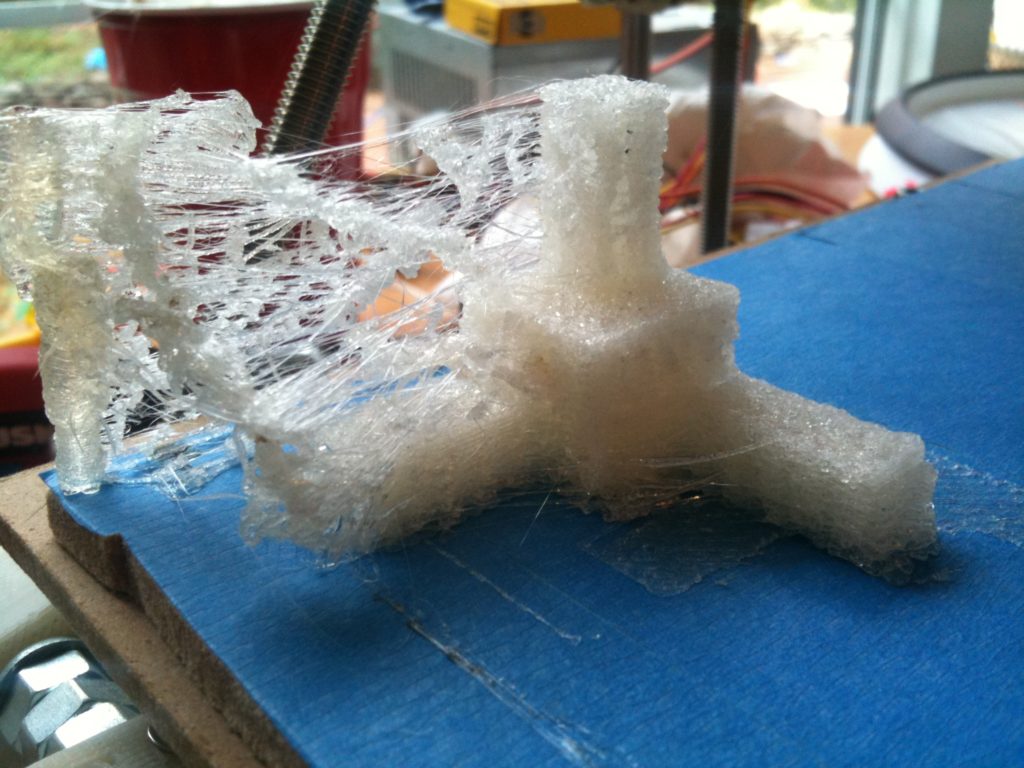
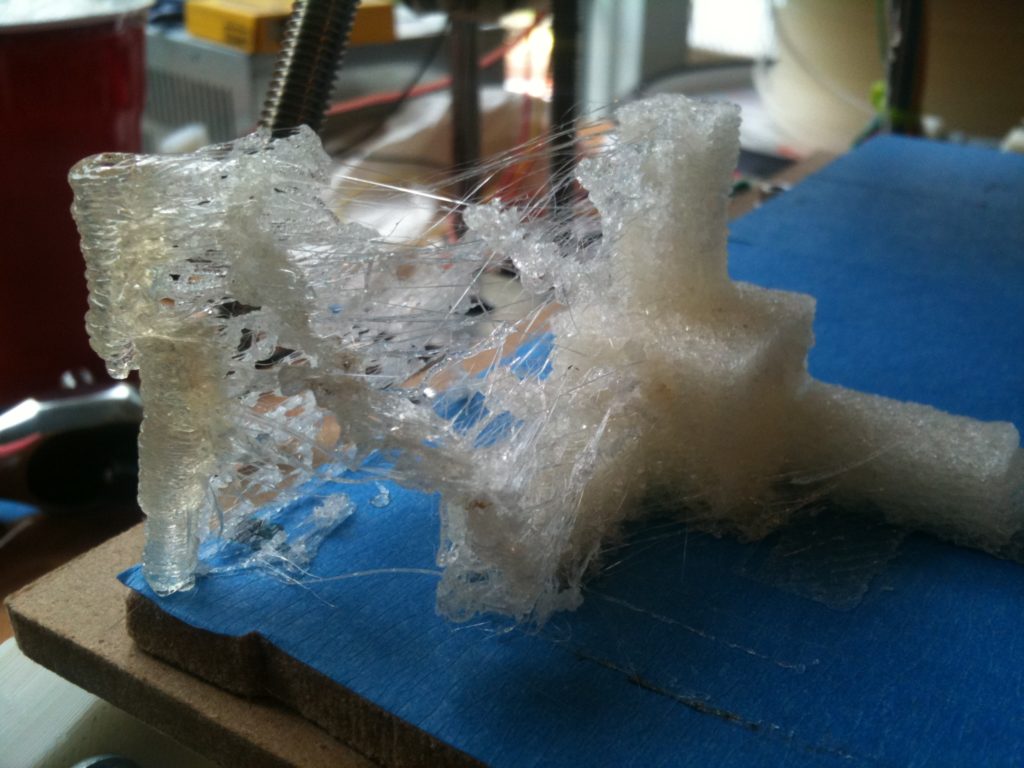
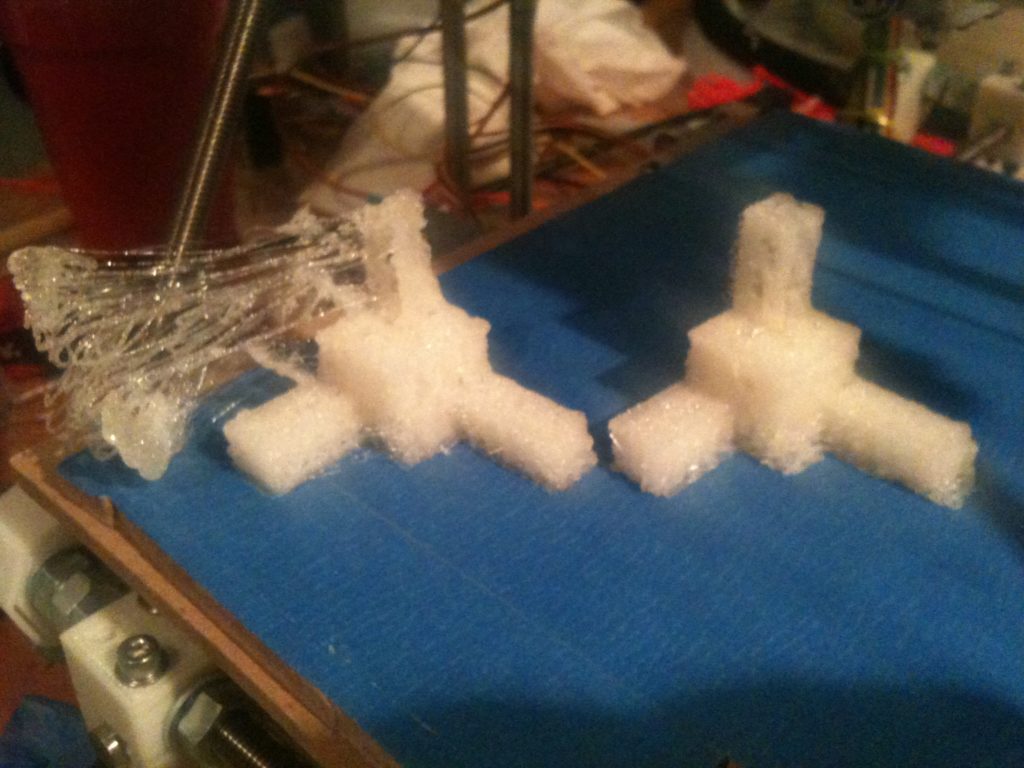
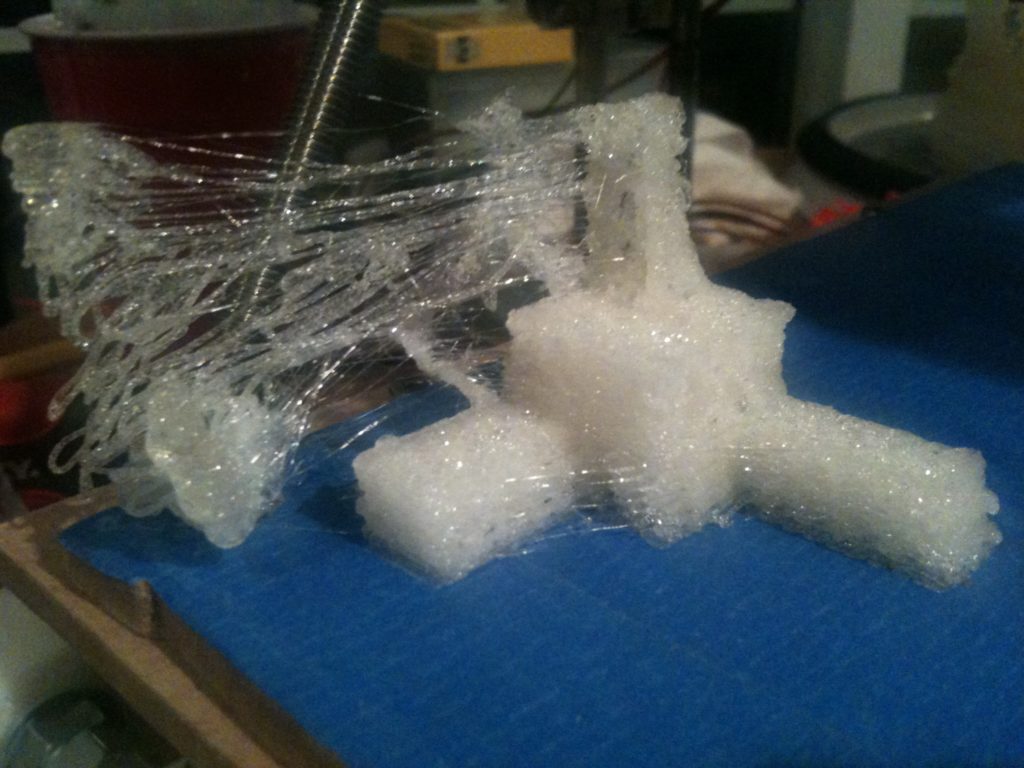
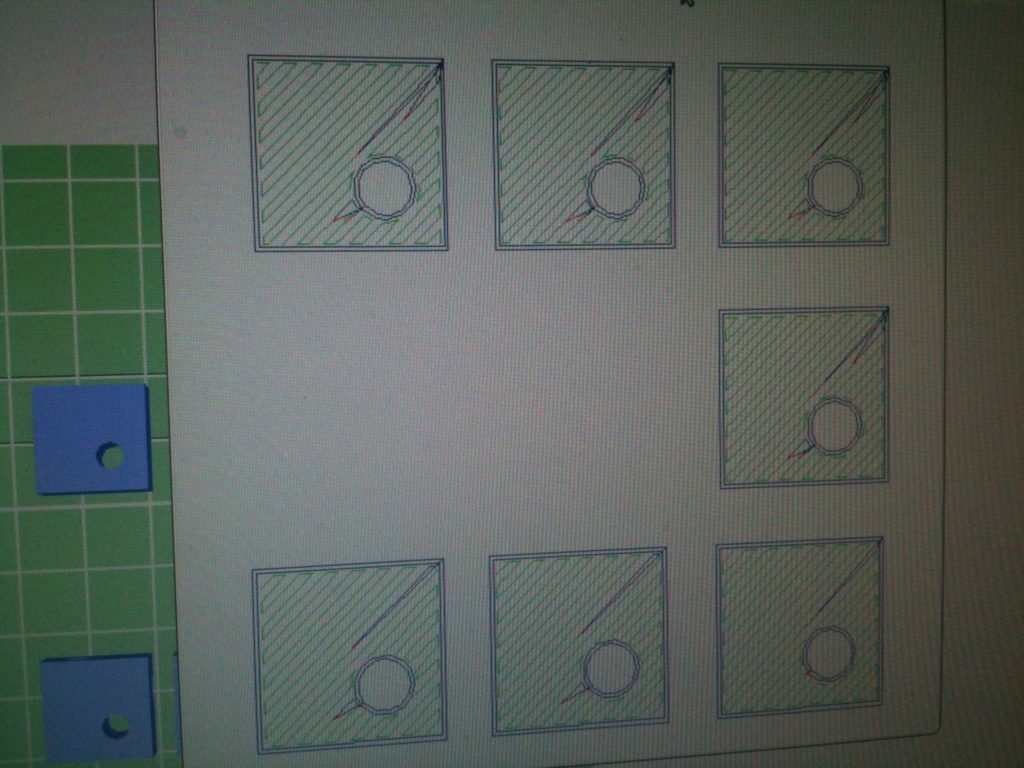
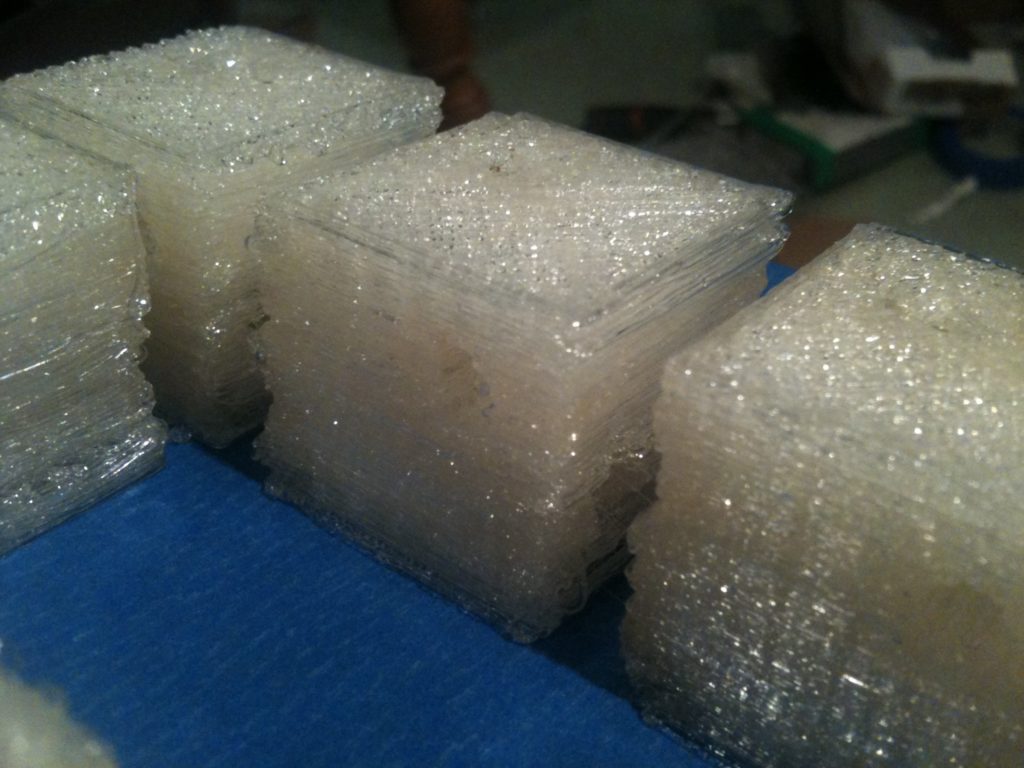
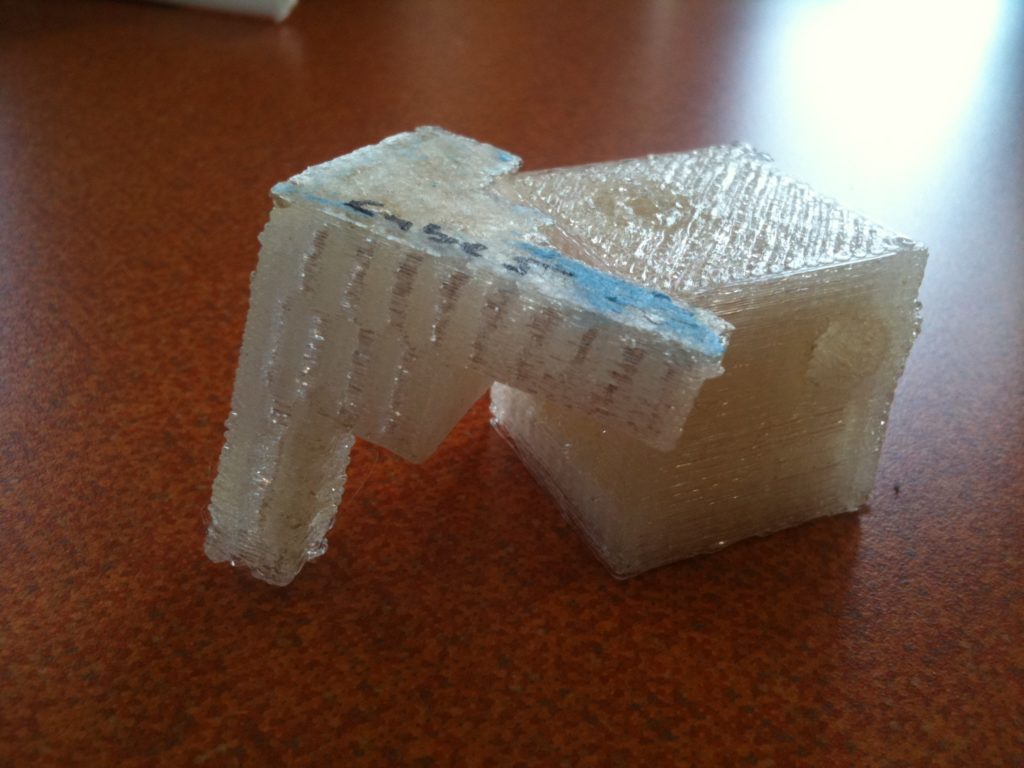
I needed seven more of these, so I created an RFO file that positioned 7 of these on the same bed. Unfortunately I spaced the ones on top too close together (actually looking at the next piece, I don’t think I did), and that combined with possible x-error accumulation seems to have led to them all melding into one piece. (If I do another sheet like this, I’ll add extra home commands by hand that home after each object during each layer).
I printed three more by hand, one at a time. Some of those turned out excellent.
So, there ya go, I’m making great progress. It’s certainly more fun carrying around more objects than just mininugs.
I finished this blog post before trick-or-treating! Woohoo! (I started typing this two days ago on Friday). Ok one last picture to enjoy: Alicia said that this looks like an elephant:

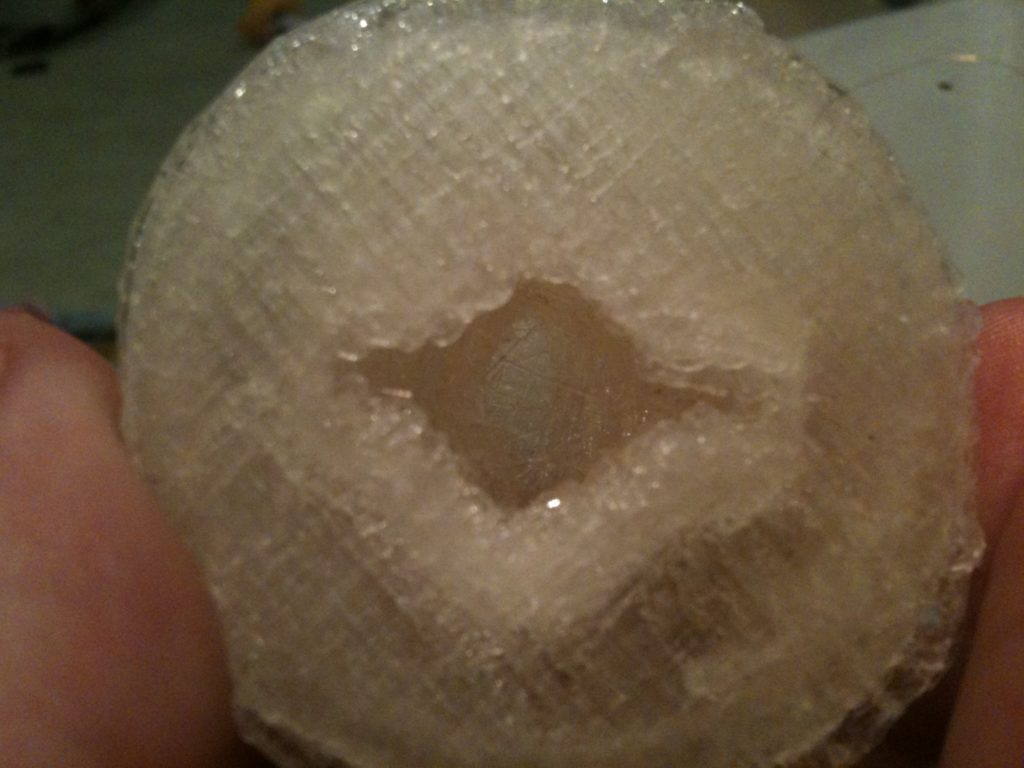
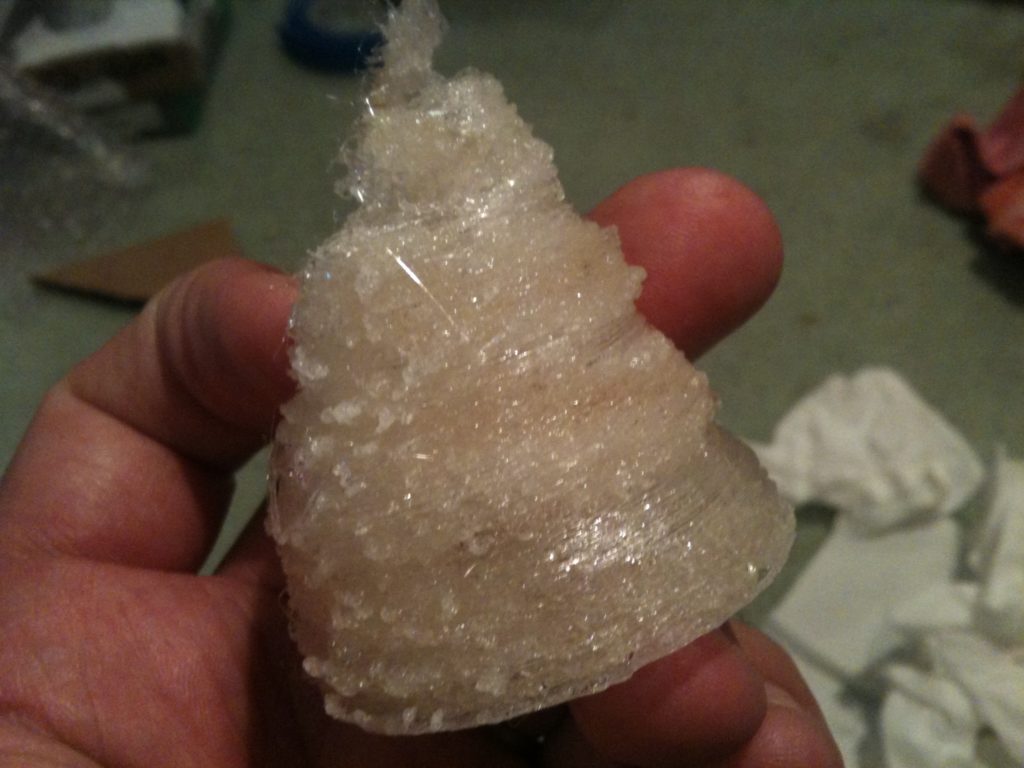

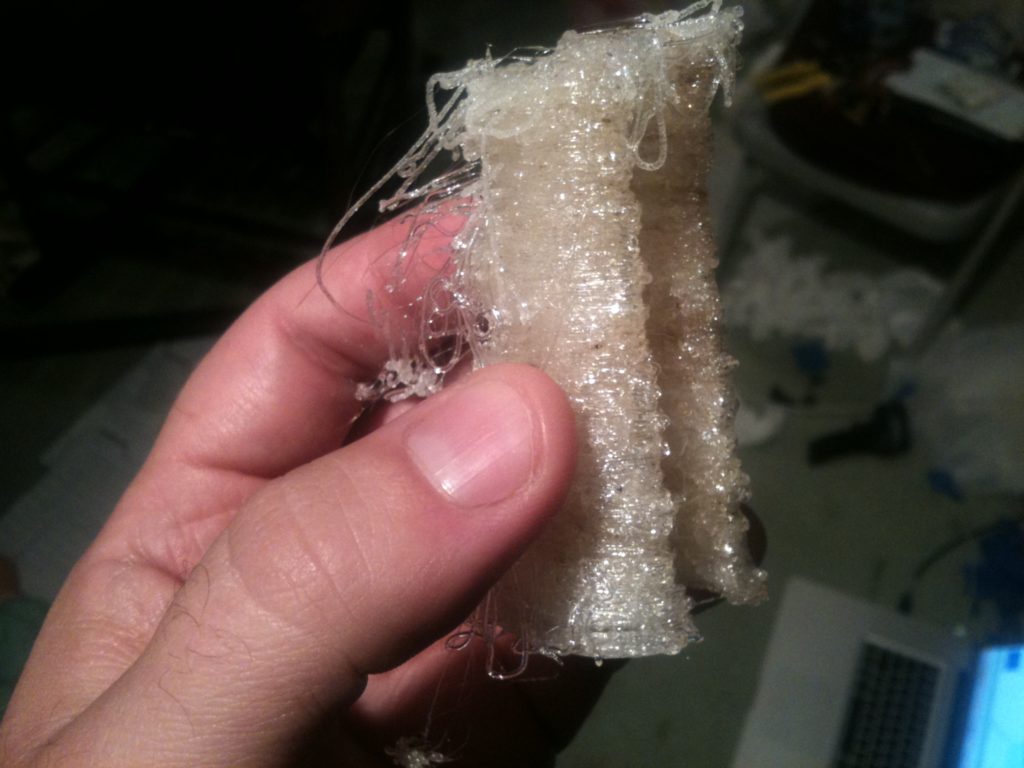

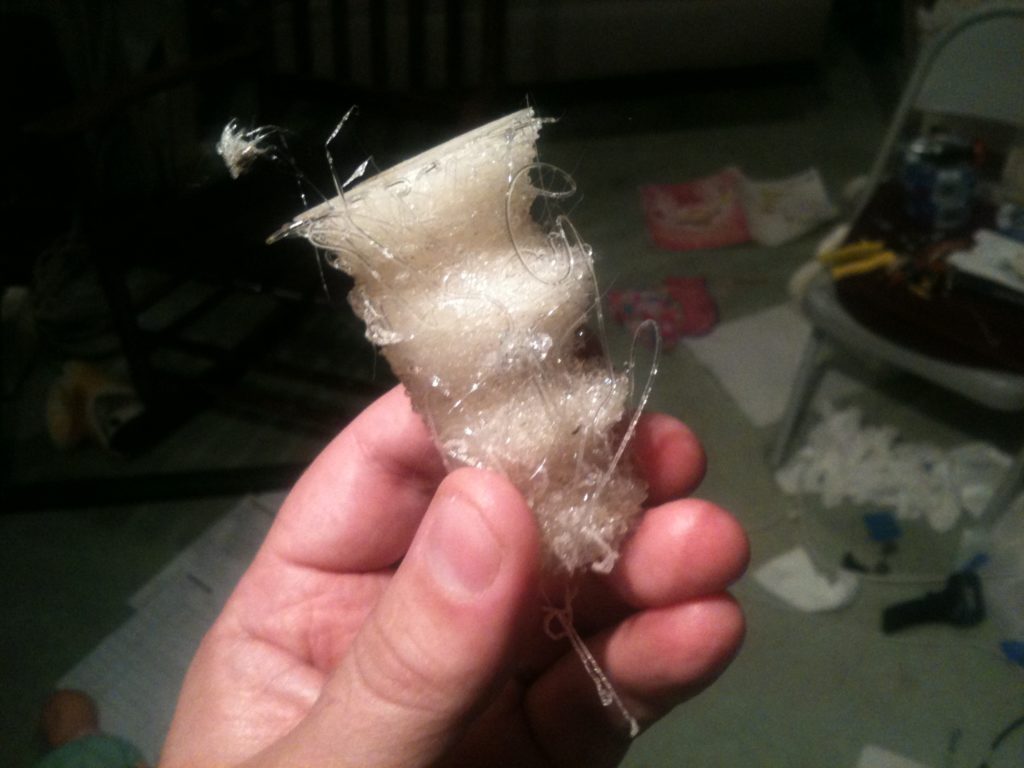
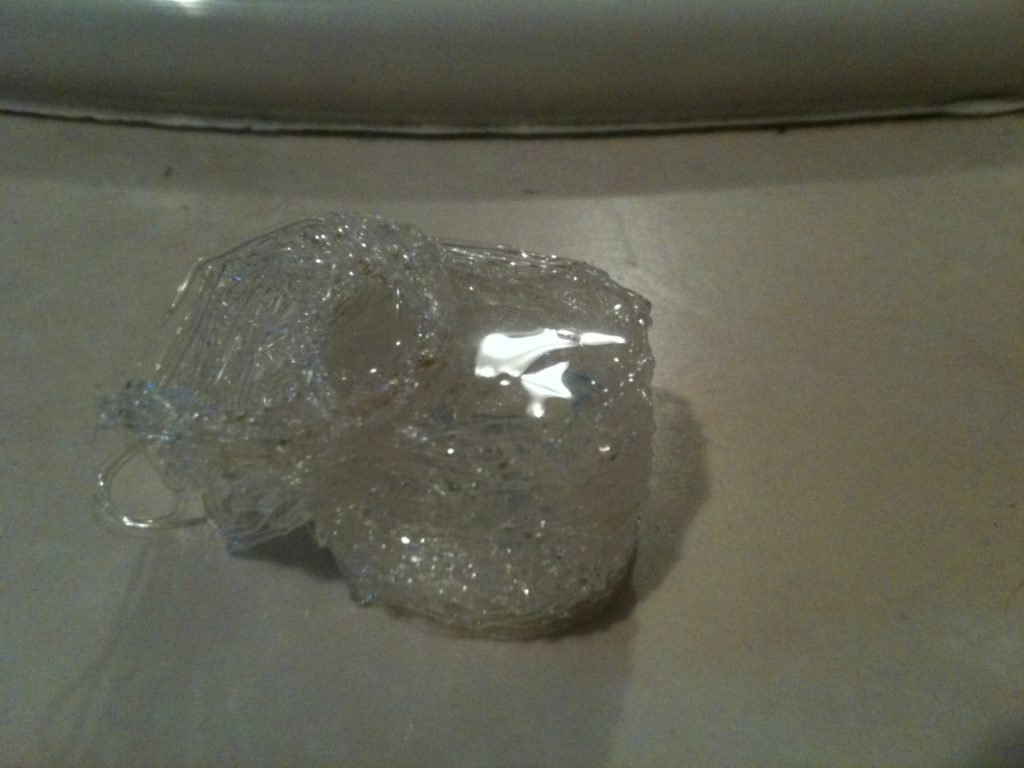
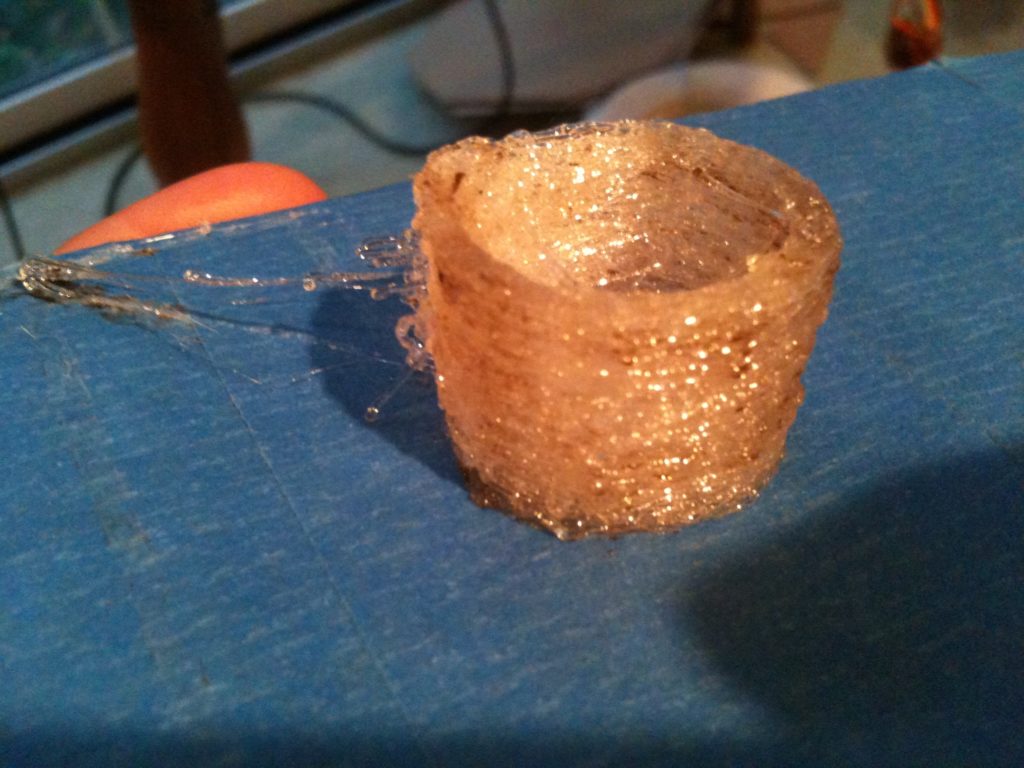
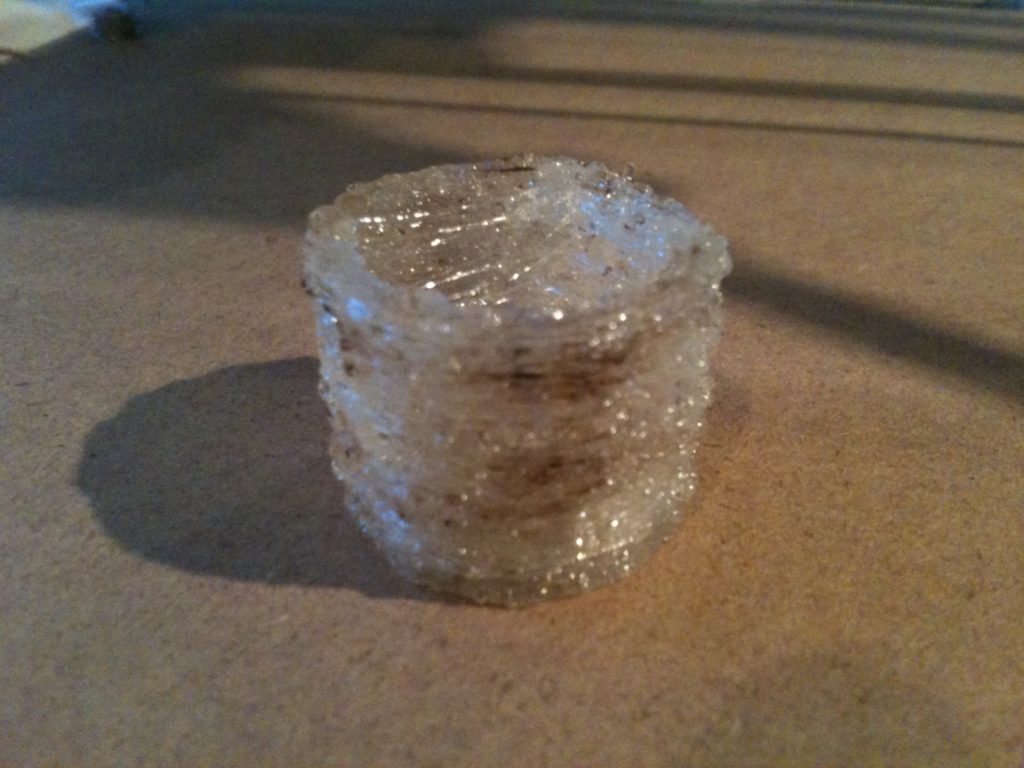
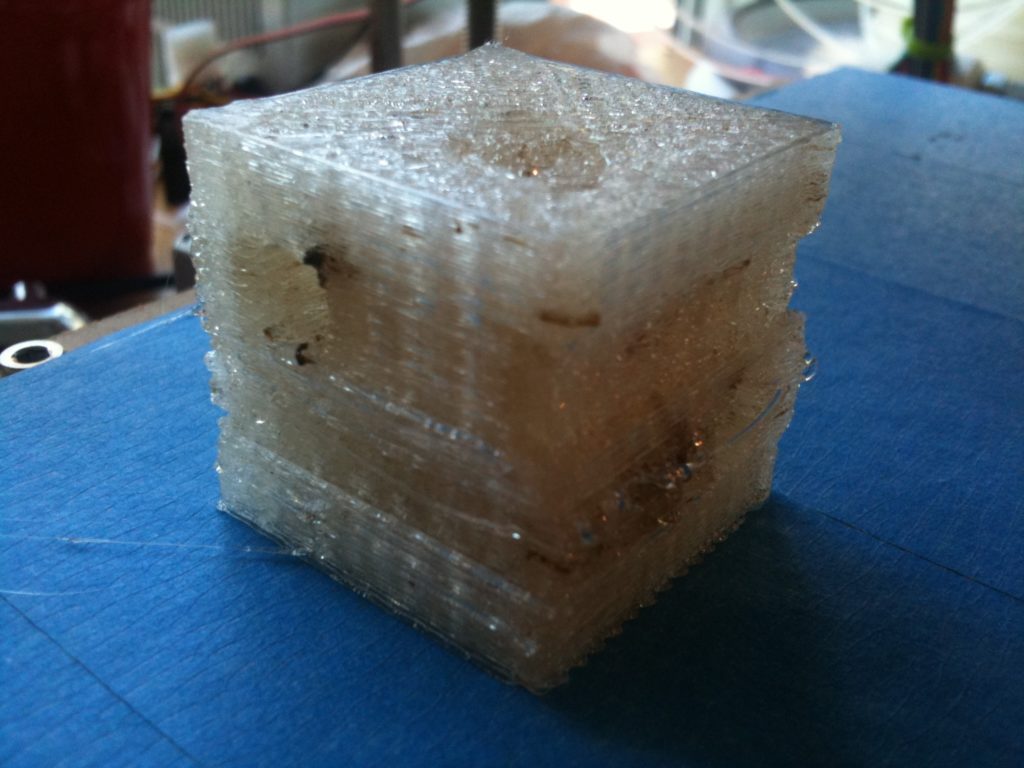

Water’s Surface Tension (@20C): 72.8 dynes/cm
Ethyl Alcohol’s Surface Tension: 22.3 dynes/cm
That’s why. Also why a shaken bottle of alcohol doesn’t get “bubbles” in it, but water does.
I knew it wasn’t molecular size (obviously), but hadn’t thought about alcohol’s surface tension being less than water. I feel better. 🙂
Hey Jeff! I met you at makerfaire. I was the guy with the adrian’s extruder :p. When I started reading this I knew it was going to end with victory :). Congrats on the print quality. I am happy to see you prevail with the reprap host too. I haven’t gotten it to work myself.
Thanks!
I was wondering why you hadn’t blogged in a while. It’s good to see you’re still making progress. Those weird positioning problems are really strange. I’m starting to wonder if your steppers are failing. Do they get really hot? Maybe you should also try printing a single object centered on different areas on your build platform to see if the problem gets worse at different locations on the bed.
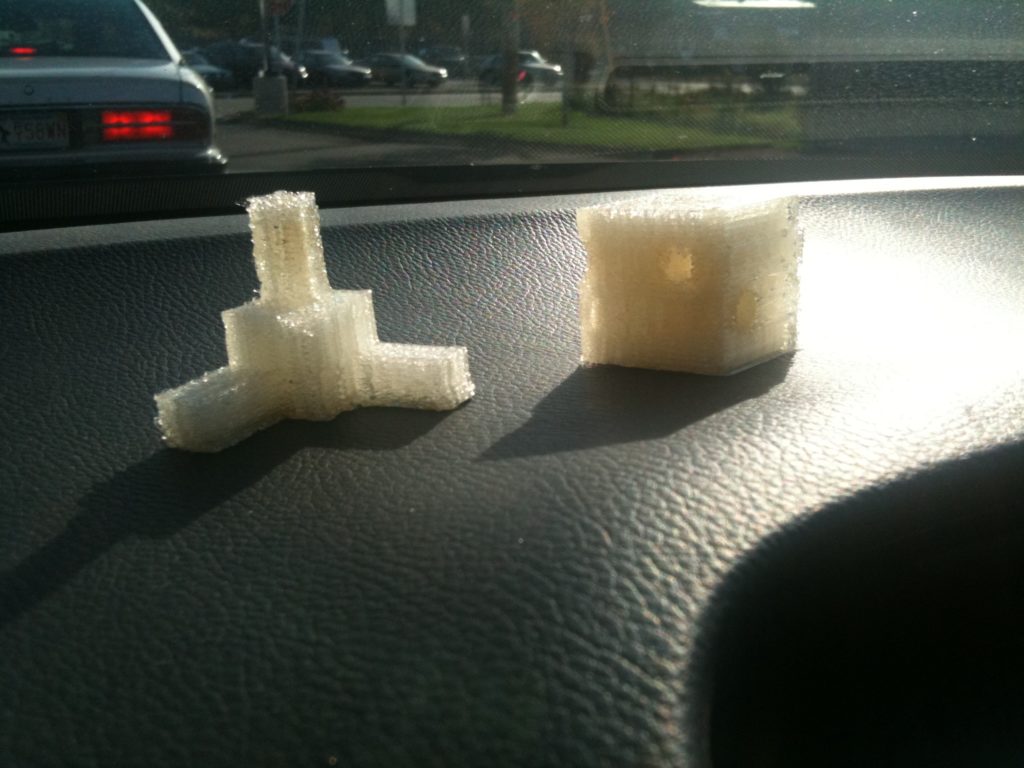
That’s funny – I also carry around a few parts in my car in case I need to show examples to someone.
First, I just realized that a post I’d made mid-September (“Update for the sake of an update: the state of my Mendel”) somehow got changed by WordPress back into an early draft version. 🙁 it wasn’t showing up on the site at all after sometime in October. I’ve fixed that now – anyone who missed that, look for a link at the top of this page or something that goes back to it.
Second, yeah, I’m clearly having some problem with the x stepper that I don’t understand. One morning I started it up (in a VERY cold room) and X failed to even move enough to make it to the dump location. Now I can’t remember if I filed a flat on that shaft or not (I’d think I did but something is wrong). The weird part though is that it makes it consistently that far into the 5th piece before starting to meld the 5th, 6th and 7th pieces.. So that’d seem to argue against it being some random skip. Hmm. I’ll try silicone spray on the rods again.
I like the print-on-different-locations-on-the-bed idea..
I was thinking btw of someday making an RFO file of various parts I want to “show off” during those elevator conversations, then print several beds of that so I can have a set at work, in my car, in the livingroom, etc.
Some good progress just in the course of this post! A few observations from my experience getting mine working (which is now printing beautifully, except for some intermittent backlash due to the poorly-designed Huxley x-carriage that I’m working on replacing):
A nichrome-wrapped barrel is not a very good heater, and is likely to ruin itself if any plastic leaks up the threads of your nozzle (this happened to my first heater, and may be what happened to yours). Makergear sells parts for some better heaters. I haven’t tried the ceramic heatercores, but this heater that I built with parts from their power resistor heater kit works really well. Hint: heatsink thermal compound on the threads seems to make a big difference.
Thinner layers make a big difference. Not just to resolution, they also compensate a little for uneven or misshapen extrusions and adhere better to each other (my recent prints are air tight). The default settings for reprap host seem to be the upper limit of what a .5mm nozzle can do. I’m now using .2mm layers (at 70mm/s!), and every time I make them smaller (and get my flow rate adjusted accordingly), my prints get better, though I’m probably getting close to the limits for extrusion widths that are practical for a .5mm nozzle.
This brings me to the most important thing: Skeinforge generates gcode that is MUCH better than Reprap Host’s. I’ve been using ReplicatorG, skeinforge31 with RPMify, and makerbot firmware for a couple of weeks now, and it’s a big improvement. I’m not crazy about RPMify, and I plan to switch back to 5D when Erik finishes integrating support for it into RepG, but the improved toolpaths and easier to configure setting (once you wrap your head around what they mean) make it worth it. I will never use Reprap Host to generate gcode again.
Oh, and the “mystery object”… it’s obviously a box, almost certainly for a filament spool like tbuser’s.
Yeah a few times I’ve tried getting skeinforge configured to work with my Mendel and do what the RepRap host does with the initial extrusion/wipe, etc. I haven’t had memorable success. I was VERY used to skeinforge from before (when I used it to print the pieces for my Mendel on a Makerbot we built). So ultimately I want to get that working and be able to use both tools. There’s a big part of me though that doesn’t want to give up on the RepRap Host software yet (and rather wants to improve it).
At some point I plan to build Adrian’s extruder and his extruder nozzle, and go with the resistor based heater listed there. But more than wanting to try different extruders out, I just want to achieve a baseline of consistency where I can print out usable RFO files for Mendel parts for friends and spares.
My mind goes between thinner layer heights and a slight larger E_STEPS_PER_MM value for making the minimugs tighter. With RepRap host, if I change the height, do I have to change other values too? I don’t want to go back to fixed extrusion speeds in the makerbot firmware.. A stepper based extruder was one of the things I was looking forward to with building my Mendel.
It’s not a filament spool, but also not a mystery that I’m hiding to reveal here – it’s something I’m not publicly talking about – I was just using the part on its own as an example of something I designed. 🙂
“If I remember right, this was Ethan Dicks in the foreground…”
If you mean the guy wearing the RepRap shirt, that’s actually Steve Kelly. When I was at the faire, I don’t think I even saw Ethan Dicks.
I was there both days – I brought the Revar LCD control panel and some trinkets. I didn’t bring a bot.
Hey Jeff!
Great post. I see someone else posted about surface tension. I knew it wasn’t molecule size – water has 3 atoms, alcohol, before doping, has 9 (H,C,O). anything with a distinctive flavor will have much larger molecules. Consider the basic ethanol molecule vs that of Jack Daniels.
What general engineering principles did you learn or felt were reinforced for you this past year?
Nothing new, but just as reenforced as ever at work: keep detailed notes (for me that’s largely this blog), methodically test ranges of variables that affect your outcome, organize all of your data, etc. Obviously I know way more about melting plastic than I ever did before. I have a better feel for temperatures on the Celsius scale. I learned that I’d you tighten two nuts on a threaded rod against each other, they lock and can function almost as well as the head of a bolt for tightening. I learned to think about the cooling of plastics at different rates etc.
Oh, and budget time to accommodate Reach. 🙂
Kathlene Kirmer
I found a great…
Roy Sergio
I found a great…
Deon Polynice
I found a great…
Premium Proxy
I found a great…
Proxies For Sale
I found a great…
Shaun Leasure
I found a great…
Grant Gusman
I found a great…
Alix Meager
I found a great…
Claretta Standage
I found a great…
Jarrod Mickel
I found a great…
Tyrone Mateiro
I found a great…
Dominic Agpaoa
I found a great…
Marx Spellman
I found a great…
Winifred Rusak
I found a great…
Carmine Laming
I found a great…
claude
One Year « Just Another RepRap
wilow
One Year « Just Another RepRap
Ariel Killmon
I found a great…
Twanna Posa
I found a great…
Best Private Proxies
I found a great…
Azucena Canupp
I found a great…
alyss
One Year « Just Another RepRap
Kisha Finwall
I found a great…
Robert Mcdaneld
I found a great…
Senuke Proxy
I found a great…
Usa Private Proxy
I found a great…
Buy Proxy Servers
I found a great…
Best Cheap Proxies
I found a great…
Londa Cozzi
I found a great…
Andres Nobel
I found a great…
Instagram Proxies
I found a great…
Tyler Briante
I found a great…
Usa Proxies
I found a great…
Adrian Minott
I found a great…
Proxies Cheap
I found a great…
Hai Cainne
I found a great…
Justine Isley
I found a great…
Charley Nacar
I found a great…
Premium Proxies
I found a great…
Korey Gutierrez
I found a great…
Eugenia Sorto
I found a great…
Buy Cheap Proxies
I found a great…
Cheap Proxy Shop
I found a great…
Anonymous Proxies
I found a great…