DONE!!!
Here’s video of my official toast!
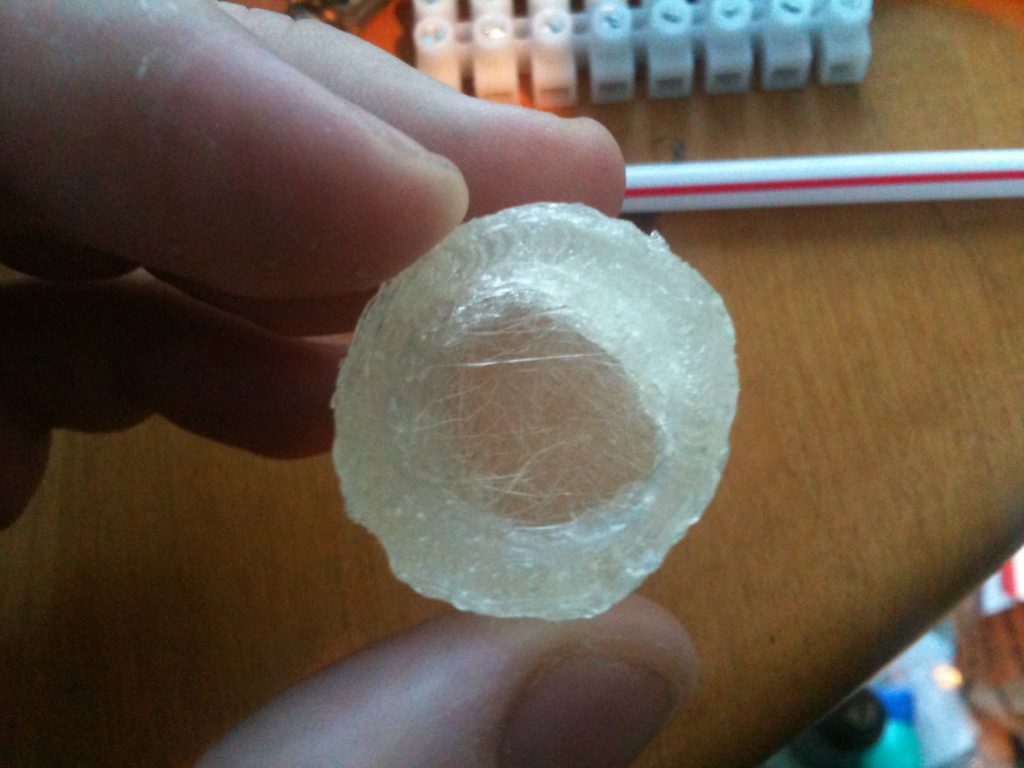
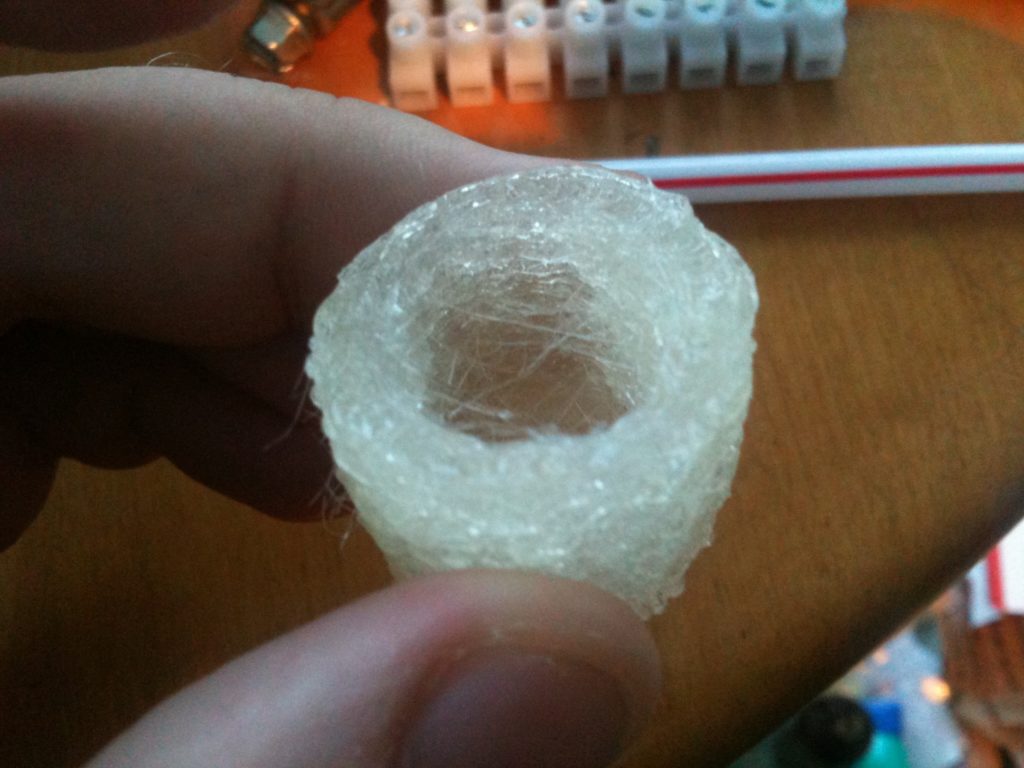
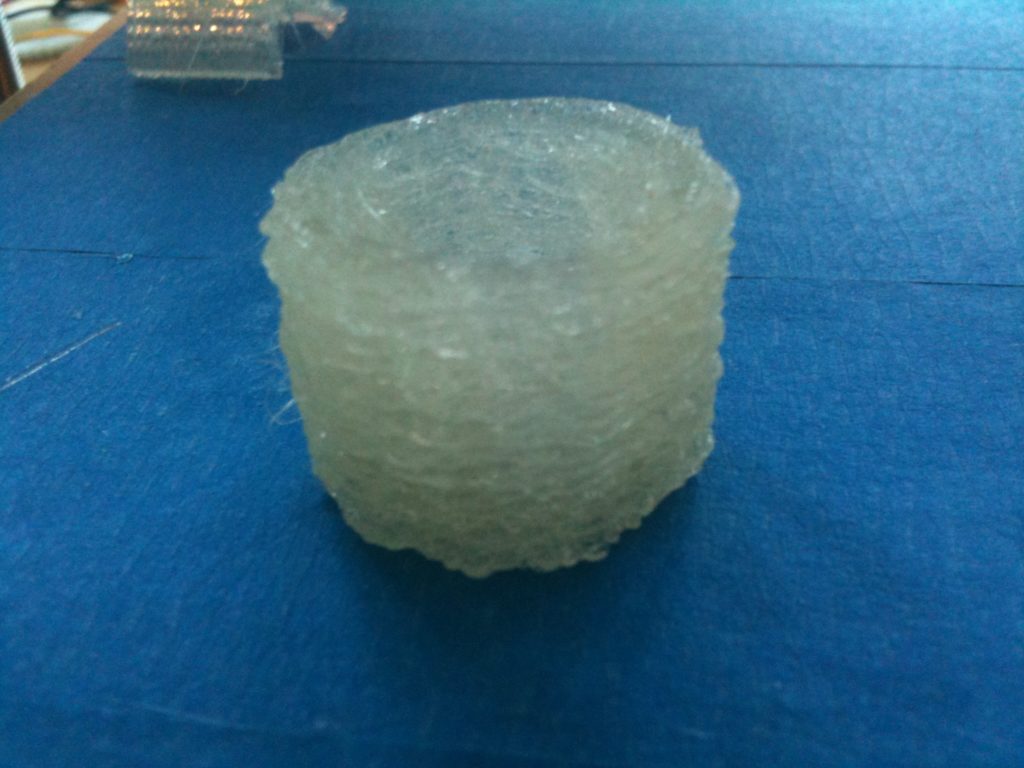
More pics:
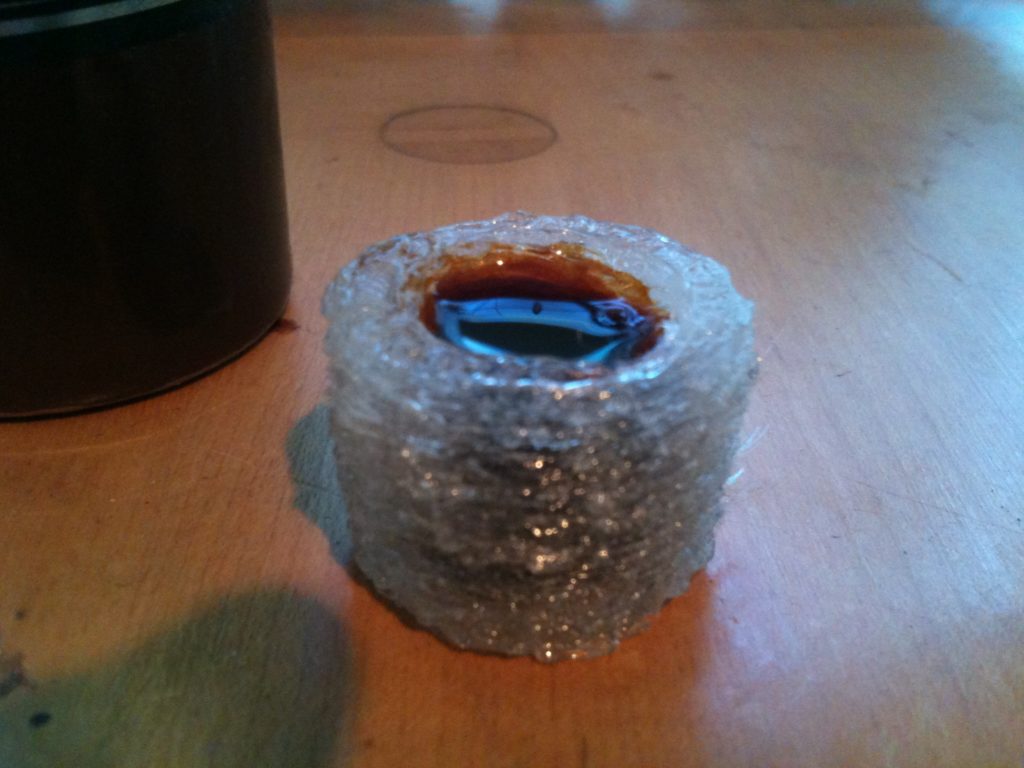
Here’s what it looked like before putting any alcohol in it:
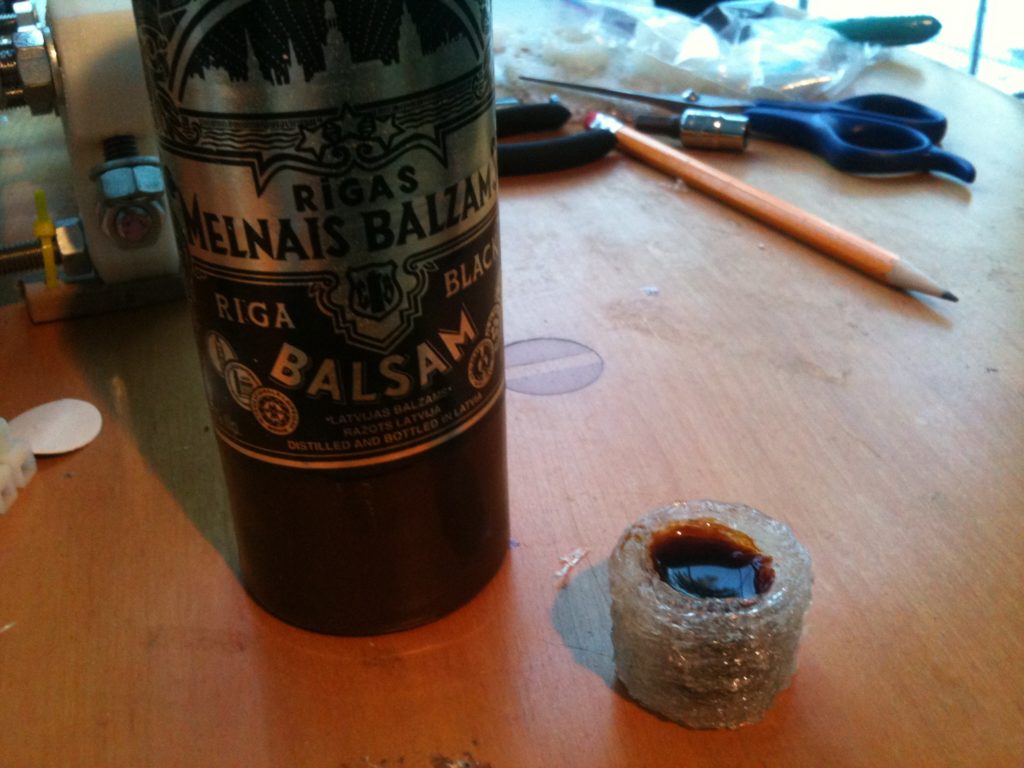
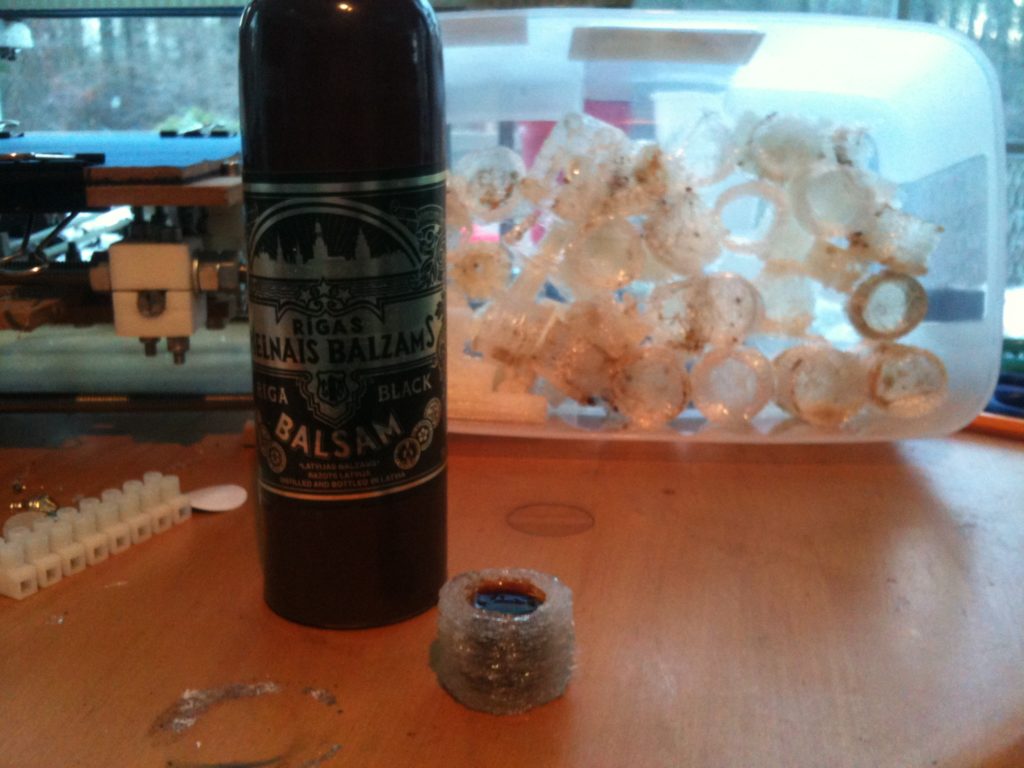
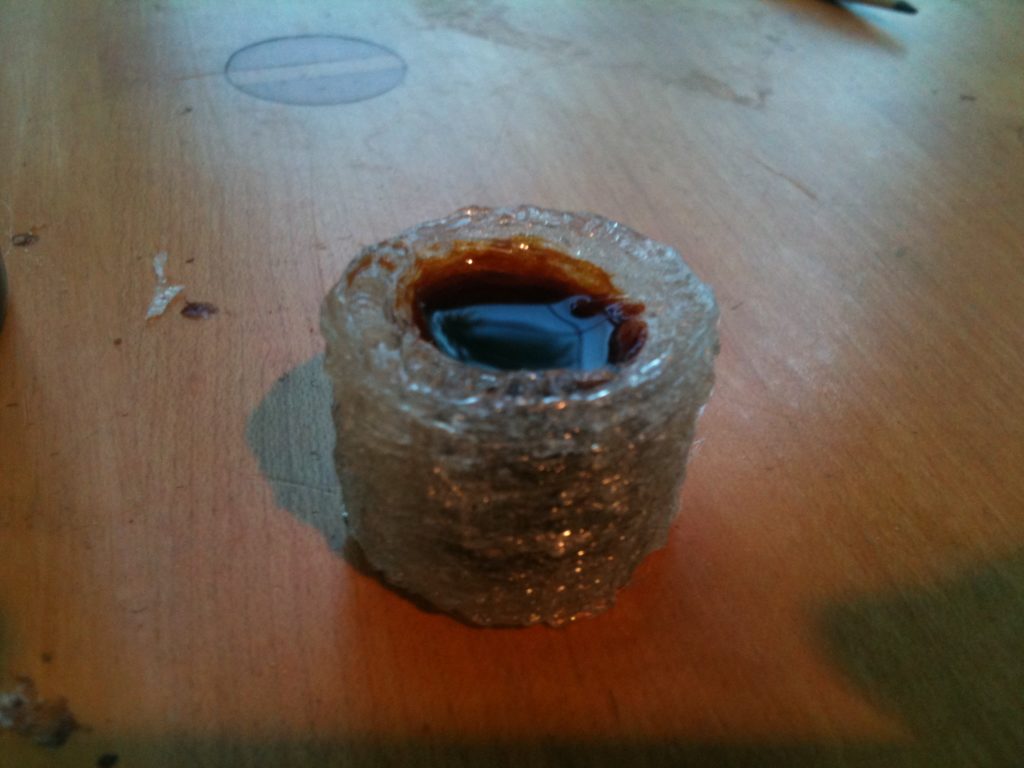
The alcohol is Rīgas Melnais Balzams (english: Riga Black Balsam). My mother was born in Riga, Latvia, and in 1999 we (my parents, my brother, and I) backpacked through Europe to get to Latvia. I’ve had that Balzams sitting around for a long time waiting for an occasion – this was it!
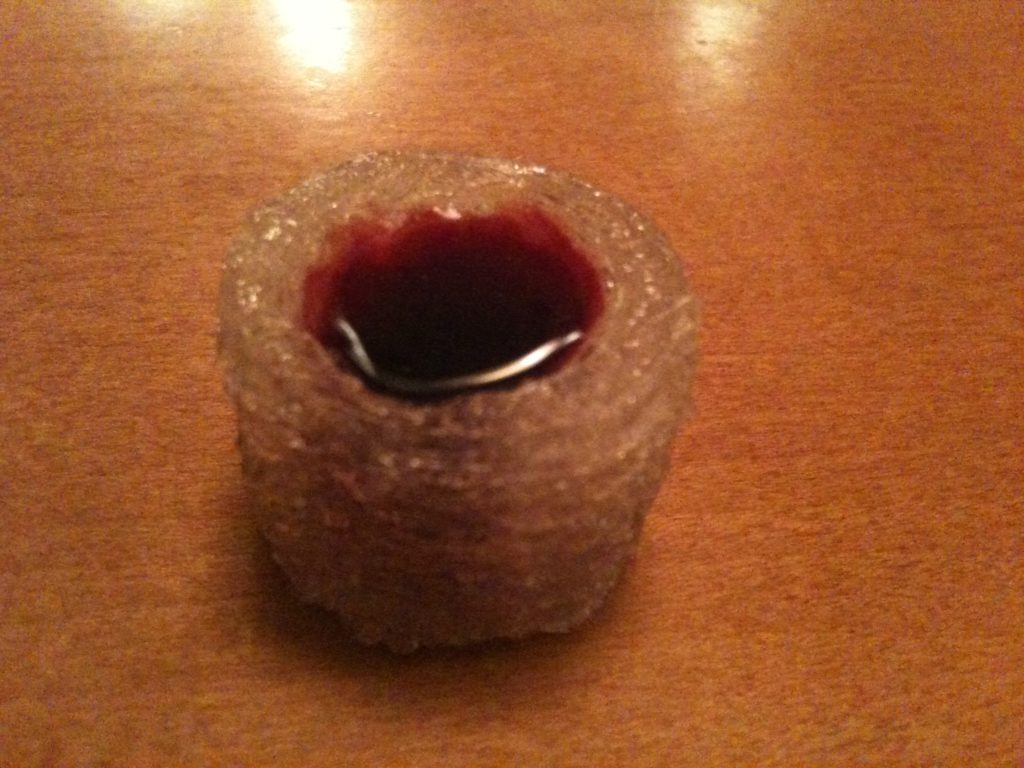
And this minimug was no fickle just-barely-works-once-well-enough-for-a-photo piece – no! We went out for dinner tonight and I brought it with me, and filled it again! Here is is filled with Merlot:
I’d had many water-tight minimugs before this, but none of them alcohol-tight. Then for a long while I put the goal of trying to get an alcohol-tight minimug on hold until I’d made it further with calibrating my machine. After recent successes, I tried printing a MiniMug again, and a few prints later, I had it.
I’d say the main differences between now and previous attempts were:
- My X and Y axes used printed 8-toothed pulleys instead of the 10-toothed McMaster pulleys I was using before. (The 3rd generation boards I have only do half-stepping, not the 16-step microstepping that newer boards can do – and without that I wasn’t able to get great resolution with the 10-toothed pulleys)
- The filament spindle I made prevents drag on the X carriage, which was severely hurting my prints
- A geared extruder (in my case, Wade’s Extruder) with a strong stepper was necessary to get a constant, reliable flow of plastic
This minimug (“try39”) was printed with Ultimachine 4042 PLA, printed at 200ºC, using the RepRap Host software. The firmware is from the 20101211 debian package. The RepRap Host preferences were mostly the same as the standard preferences with the following key exceptions:
- For the minimug, I changed the infill profile to be the same profile as the perimiter (“PLA”) since I wanted a ton of plastic
- After trying just the above change and still having the bottom leak, I tried changing “Extruder0_ExtrusionInfillWidth(mm)” from its previous value (0.7) to something real tight – 0.3. That was waaaaaay too close – a TON of plastic printed out, and the extruder head was basically swimming in plastic and it wasn’t going well. I aborted that one, split the difference, and tried 0.5, which made try39.
The sides are very thick, the minimug feels far more sturdy and solid than the others did, and it feels a bit heavier. I used to try printing with the number of shells set to 2 – I think that was a mistake.. Here I went with the default (1) and it still did an outer and inner wall, and filled in the solid part of the wall.. Perhaps the extra shells left no room for infill before.
The outside looks all bumpy because I had “Extruder0_ExtrusionInfillWidth(mm)” set so tight that plastic was bunching up everywhere, which is what I wanted. I wanted a molten pile of plastic holding in alcohol – not a fine mesh air filter like I was making before. I won’t be using that set of RepRap properties for everything – that’s for sure. 🙂 I do think that if I spent more time tweaking the value I could probably get a smooth-outer-edge minimug that was still as solid and alcohol-tight, but that seems less rewarding than printing out a set of spare parts.
So – WOOHOOOOO!!!!! IT’S DONE!!! I did my toast. That was a long wait. 🙂 Now my buddies can’t use that “but it can’t even print an alcohol-tight minimug….” joke anymore. 😀
I’d done other things before this minimug, which I’ll blog about later – I wanted to get this out first. 🙂
OMG, congratulations!
I have never seen anyone in this community try that hard, for that long, to get a mug.
You are a beast.
😀
Congrats brother! Well done sir! Now get started printing out my Glock.
It’s gonna have one “vitamin” part that you have to add, obviously. I’m thinking it’ll be a small strip of plastic with a nameplate on it, which you then glue to the outside of a purchased Glock. 🙂
Congratulations! What’s your next goal? Maybe you should take a custom-outfitted Spartan model from Halo Reach and try to make that. It’d look good sitting in a cube.
Hehe, you thinking of this kid?
Can’t say that I remember what it was like to sit in a cube.. 🙂
I’m thinking a hovercar would be nice.
…aaaaaaand, today I found out I’m moving offices. The one I’m moving to has a cube-like partition in it, but it’s still an office, not a cube. Still, >:(
Congrats!!!
great work Jeff ! a fitting celebration after all your efforts.
wish you continued successes. Dad
why does’nt your machine print out smoothly? This is the only one Ive seen print this way for so long…
Dinah Vaneps
I found a great…