More of my RepRap blog! I’d love to at least catch up to covering last year’s Makerfaire (Makerfaire NY 2013) before this year’s Makerfaire, which is at the end of this week (on September 20 & 21, 2014). That won’t be this post, but the more I post, the closer we get.
Having just given the Museum of Science the RepRap I made for them in the last post, I was now free to work on my 2nd RepRap for myself (the same model – a Prusa IT2, to go along with my first original (Sell’s) Mendel). Luckily I’d started it before the handoff, so it was easier to get working on it.
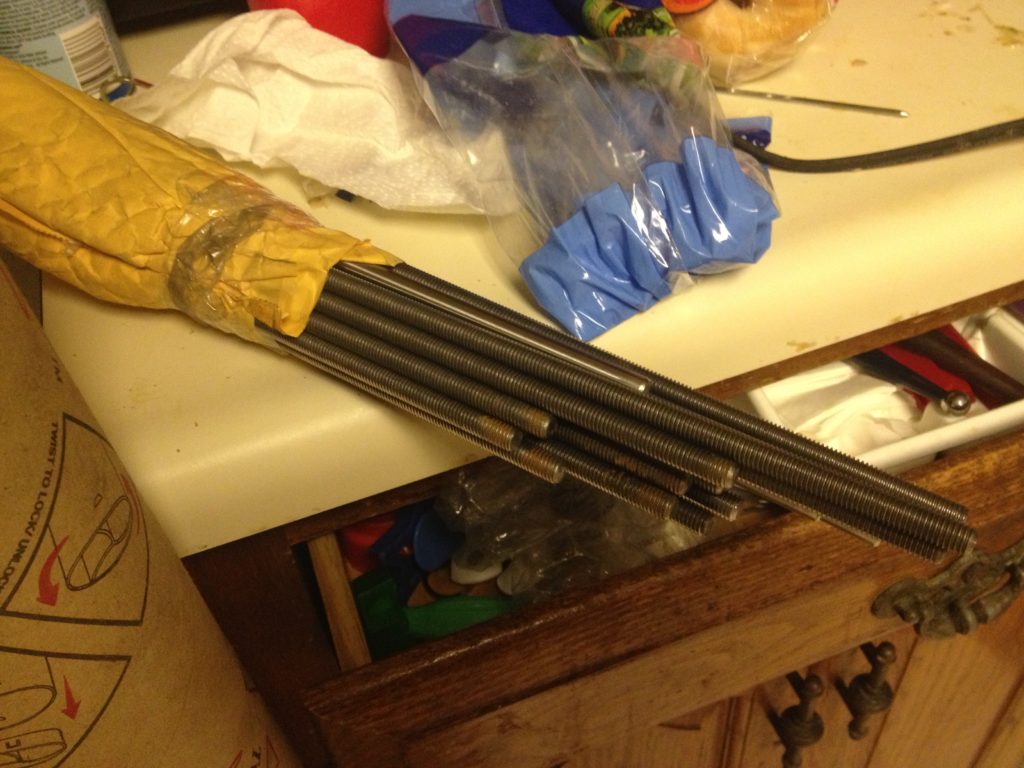
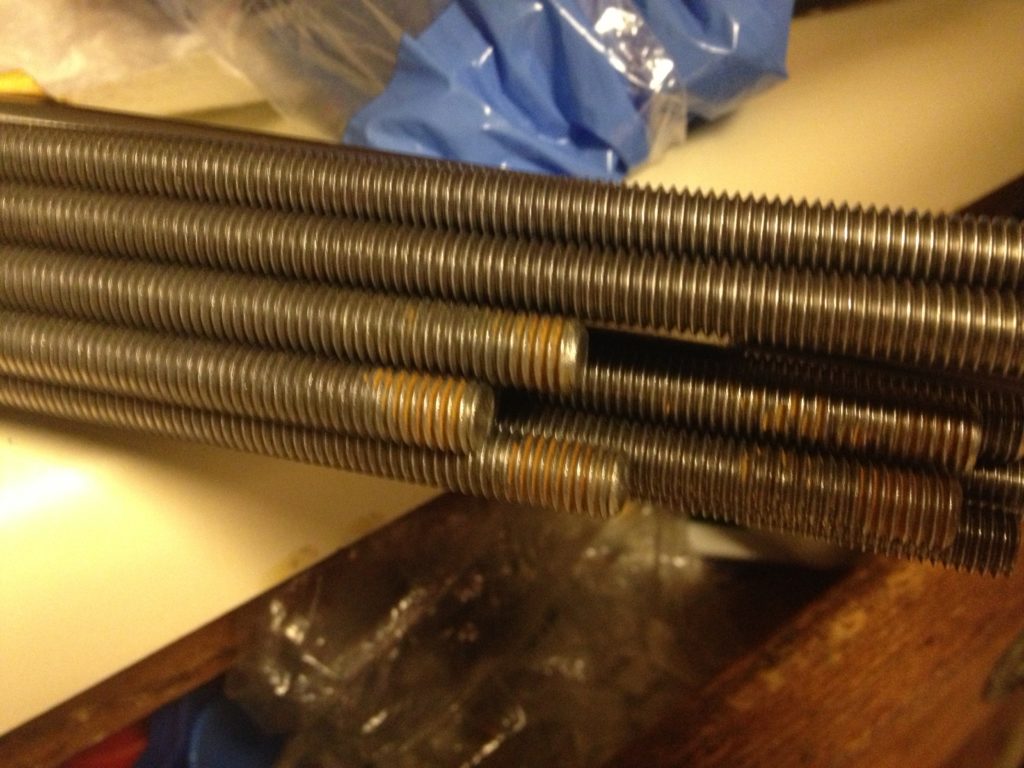
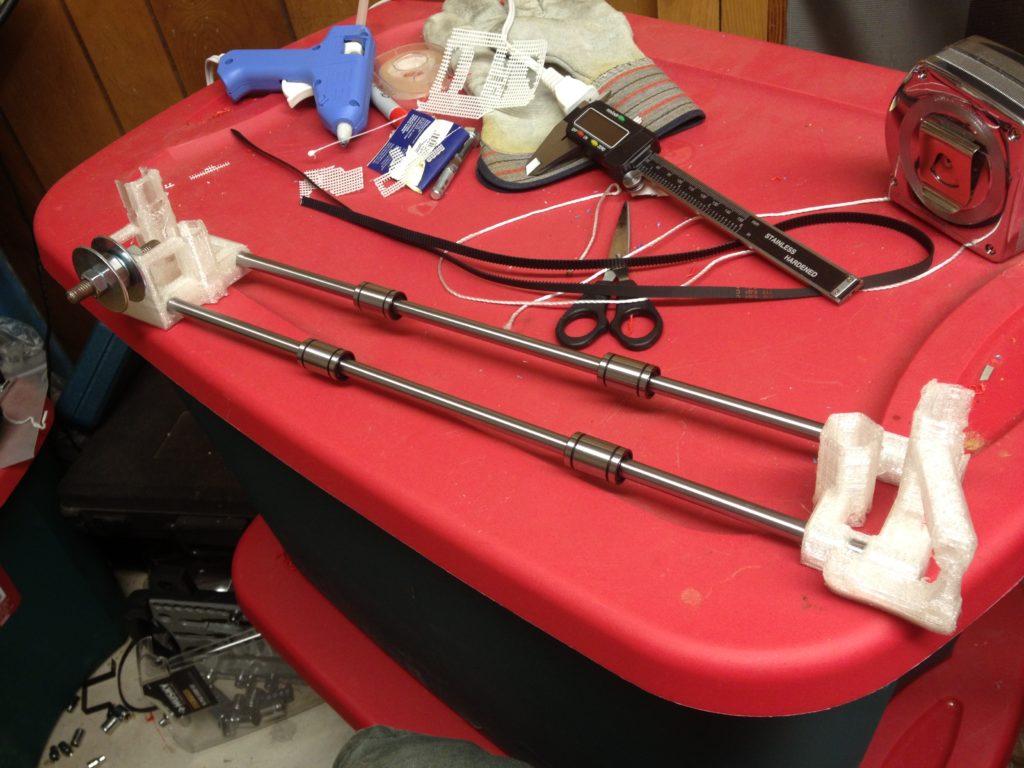
I found another picture of cut and ground rods, although to be honest I can’t remember whose those are.
They look slightly rusted, which I’m confused by because at this point I had my grinder and would have cleaned them off. They’re not for my RepRap since its frame was already built. Maybe Joe Werther’s? Too many RepRaps – I’m losing track. 🙂
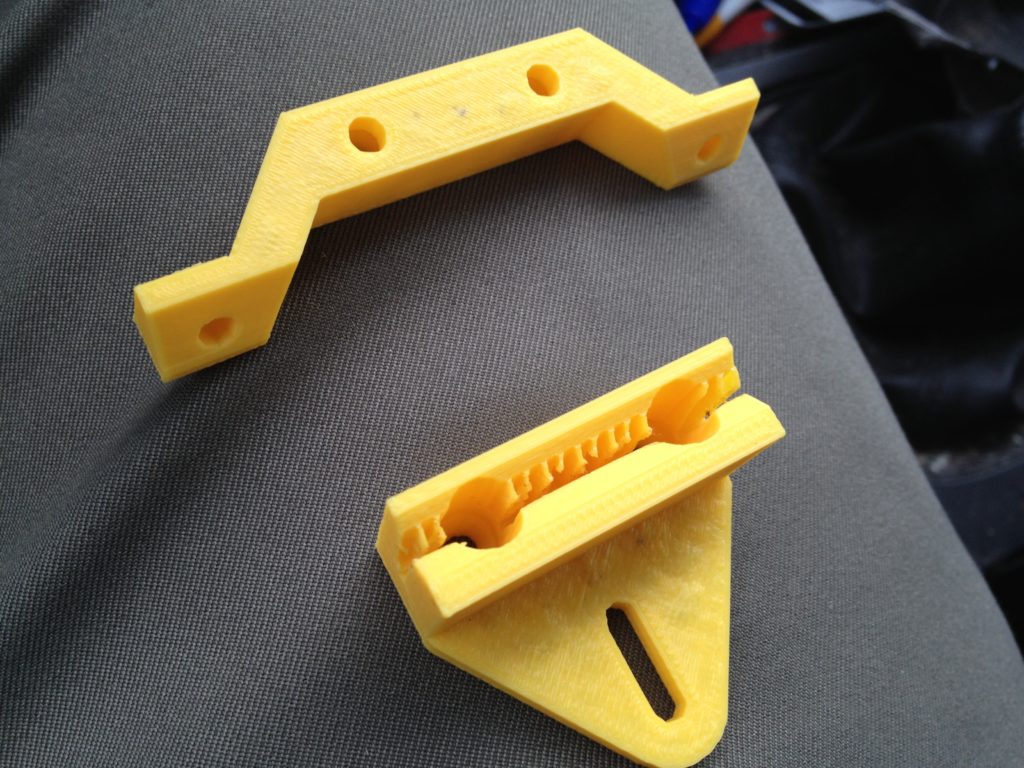
I had tried designing a version of the OpenX carriage for the Prusa IT2 since I liked removing the carriage easily. I printed these out, but I don’t think I ever used them:
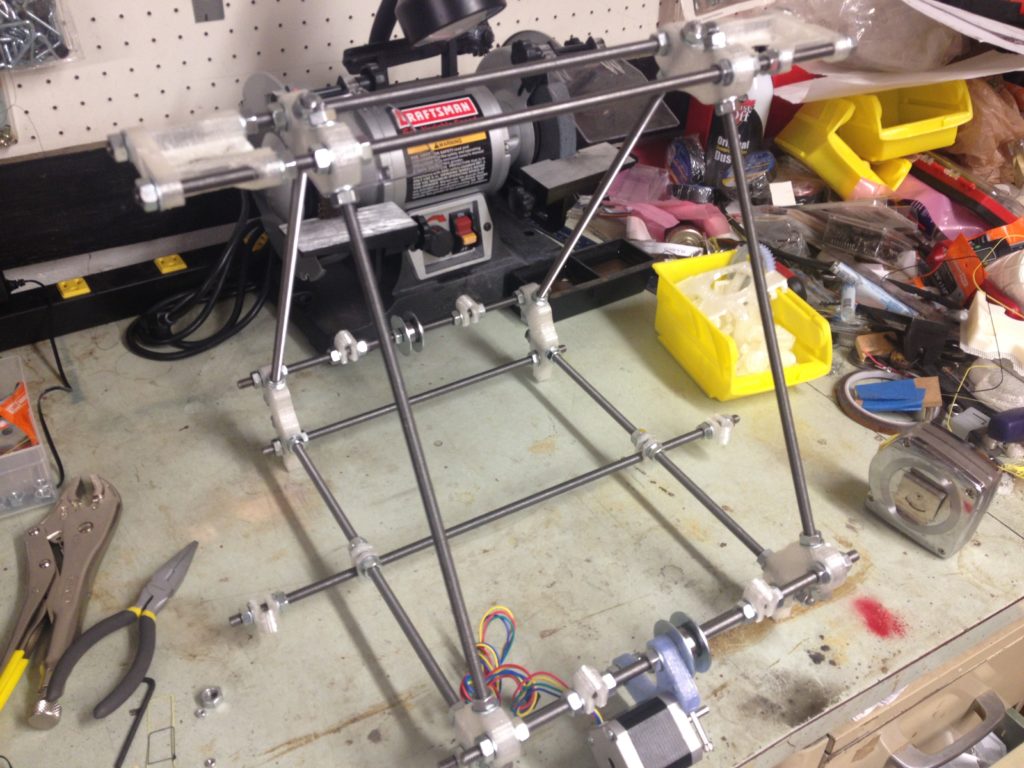
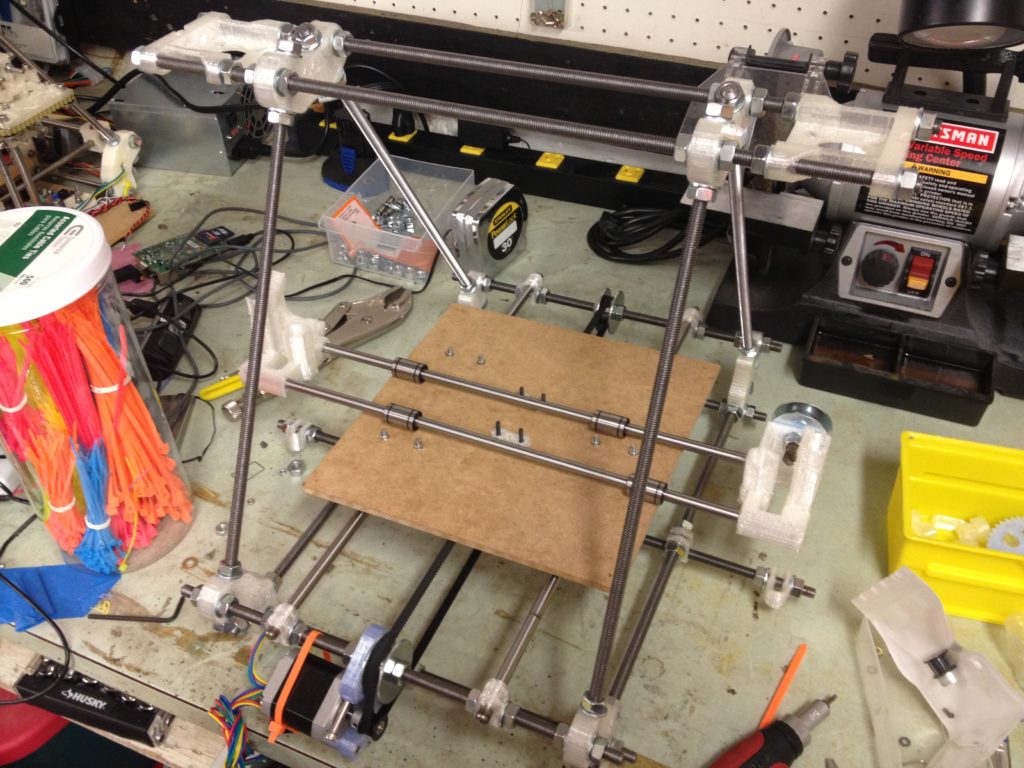
Anyway, continuing my frame assembly, I added the bottom rod and top rods, with the z-motor-mounts and bar clamps.
It was time for the bed..
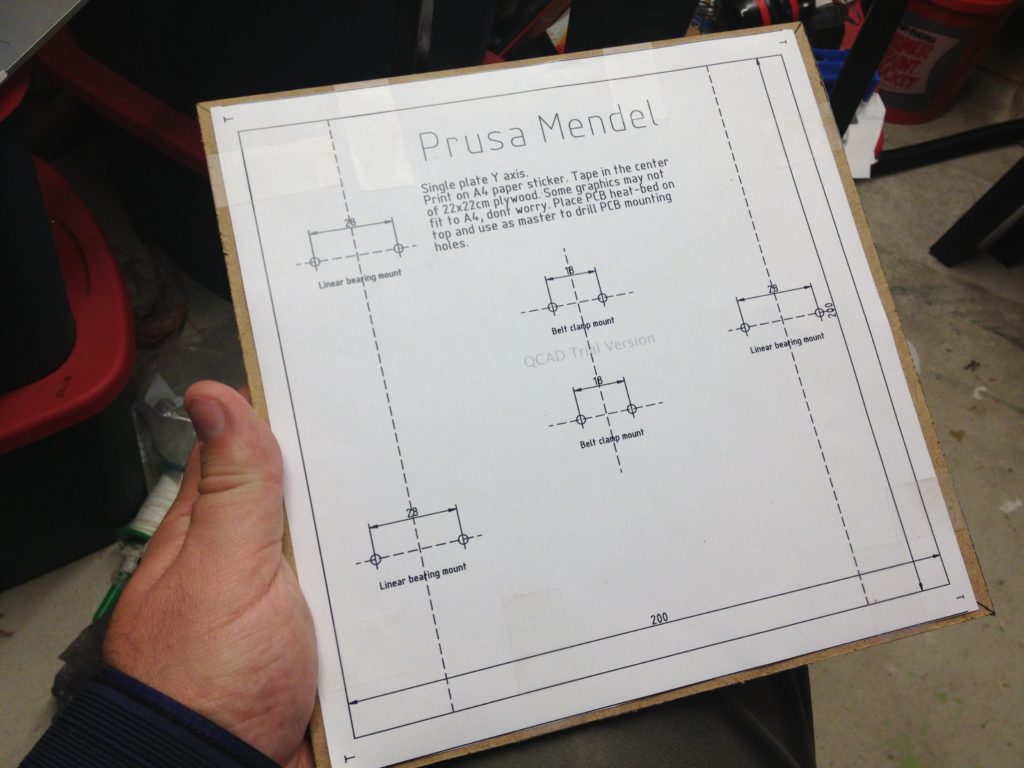
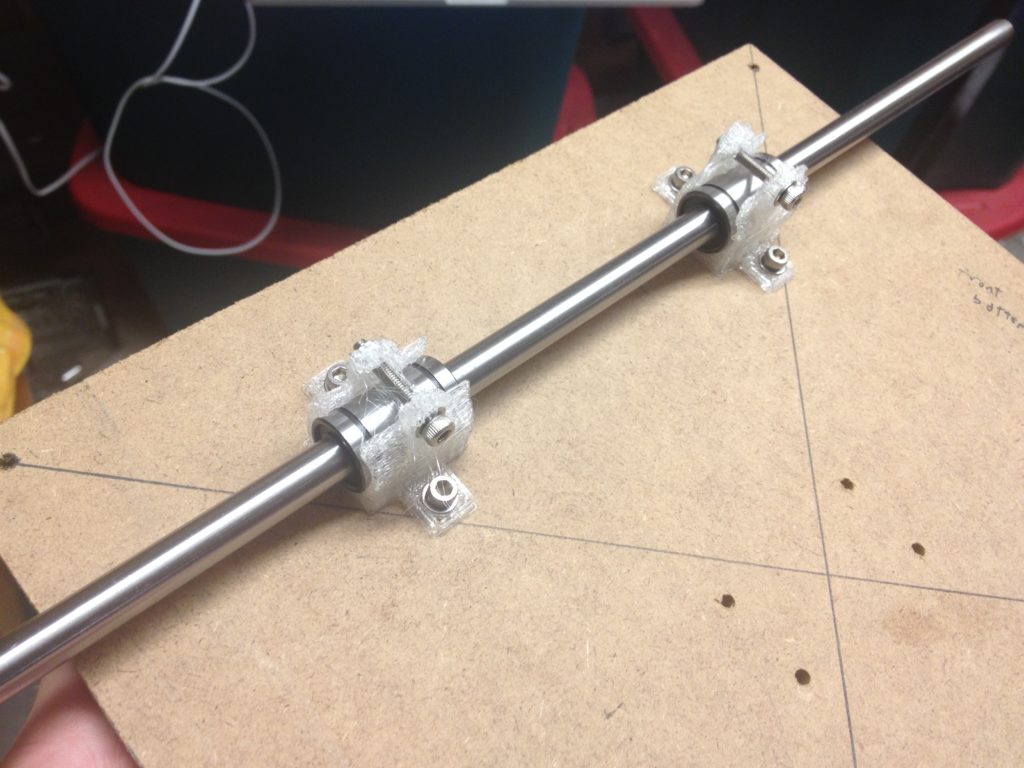
Here was a note I made to myself about how to attach the LM8UU holders beneath the bed:
Here is the bed mounted on the frame:
…and here is a video showing just how smooth it glides.. oooooh..
…and another showing the same from the bottom:
Then I added the y-axis motor and belt.
To test it, I’d need the electronics set up. A year ago (from that point) at Makerfaire 2012, I’d seen Johnny Russell selling the RAMBo board (RAMPS but all in one board), and I’d decided to go with that for my 2nd RepRap. (I had an earlier version than the one I just linked to).
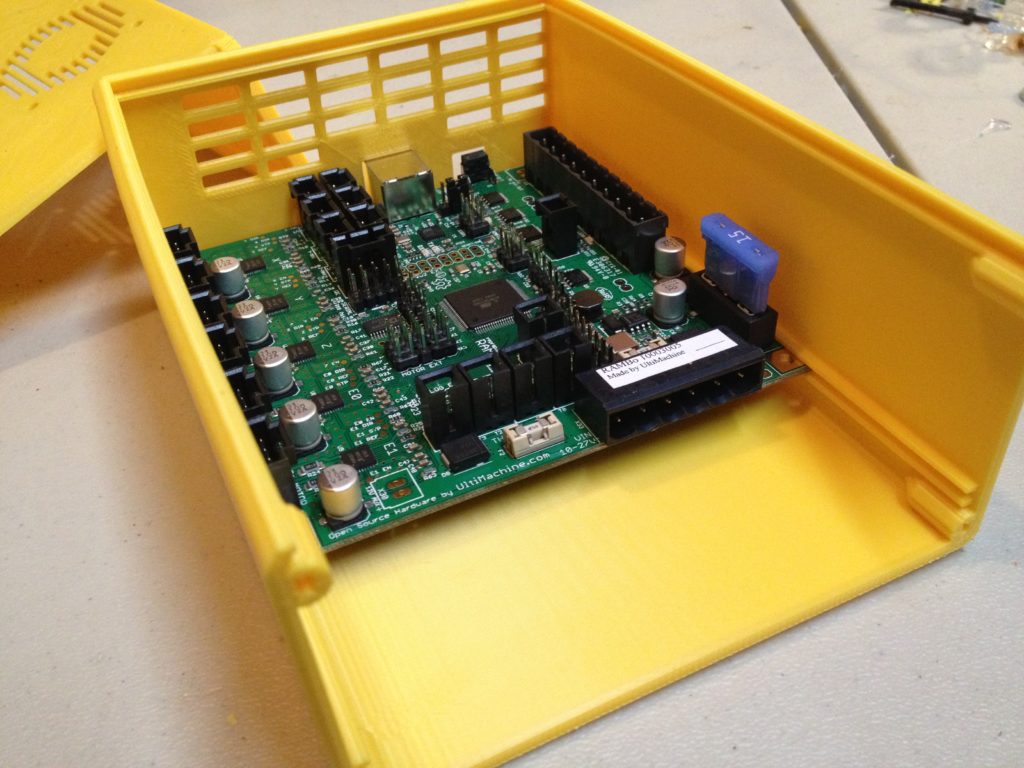
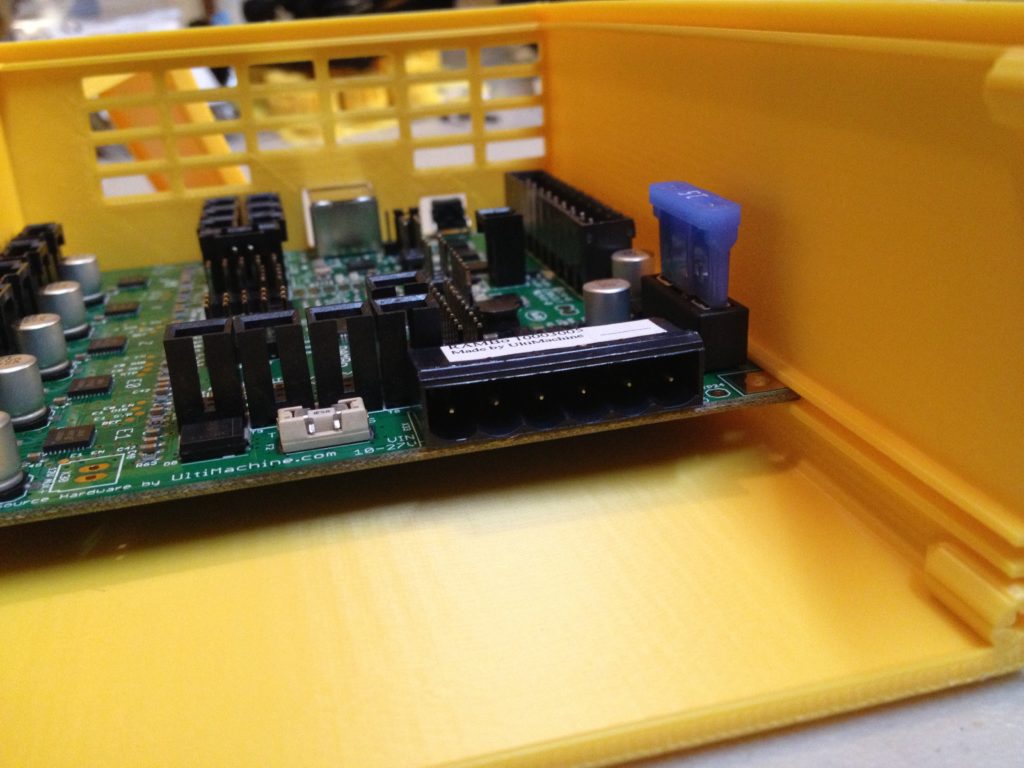
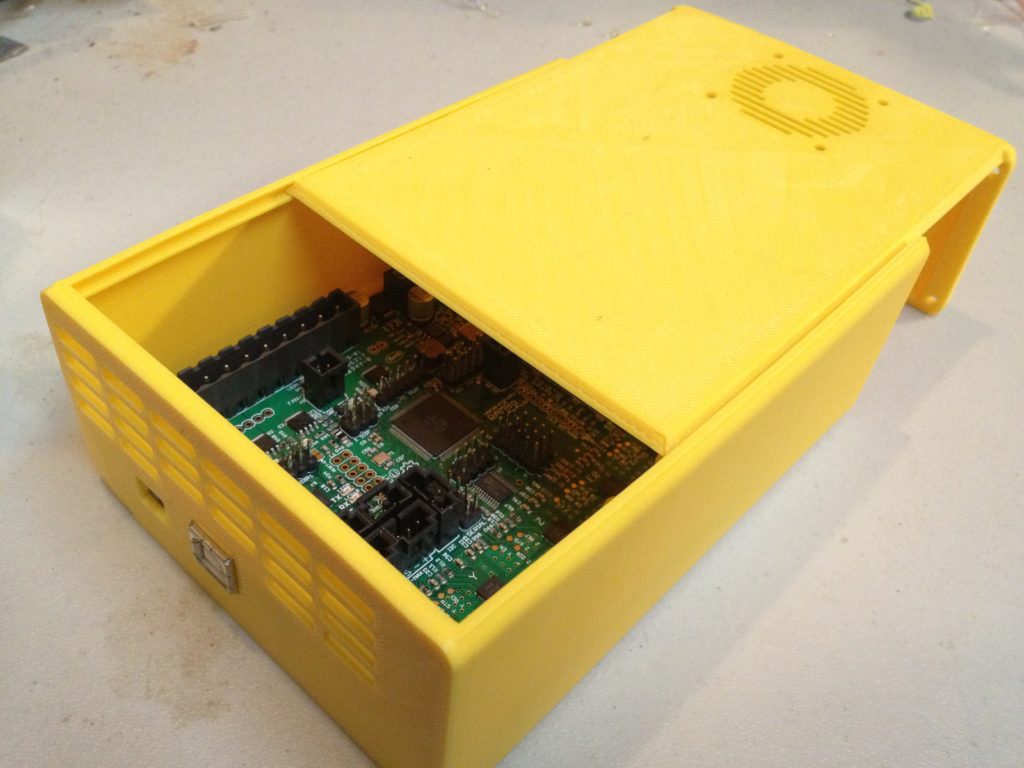
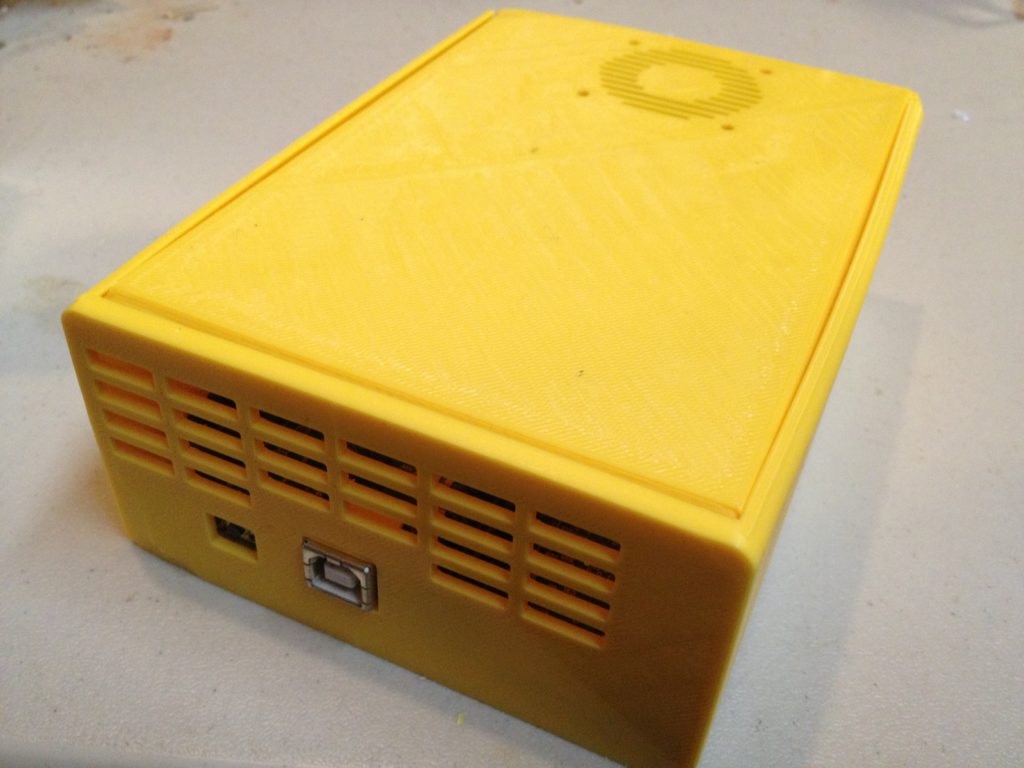
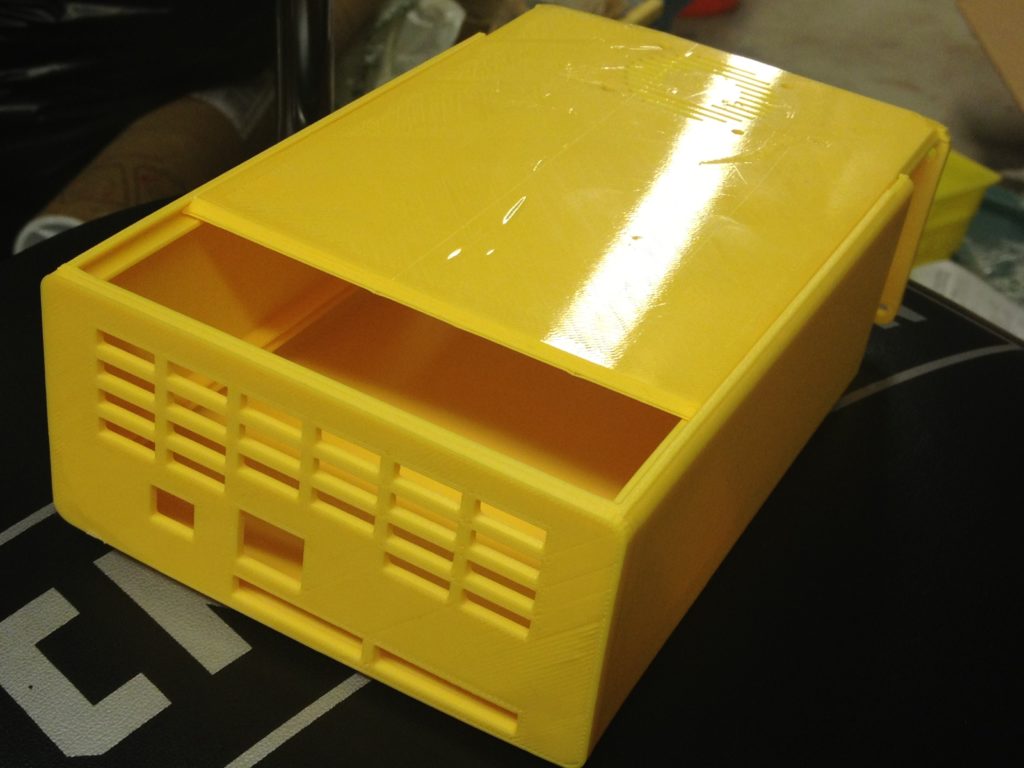
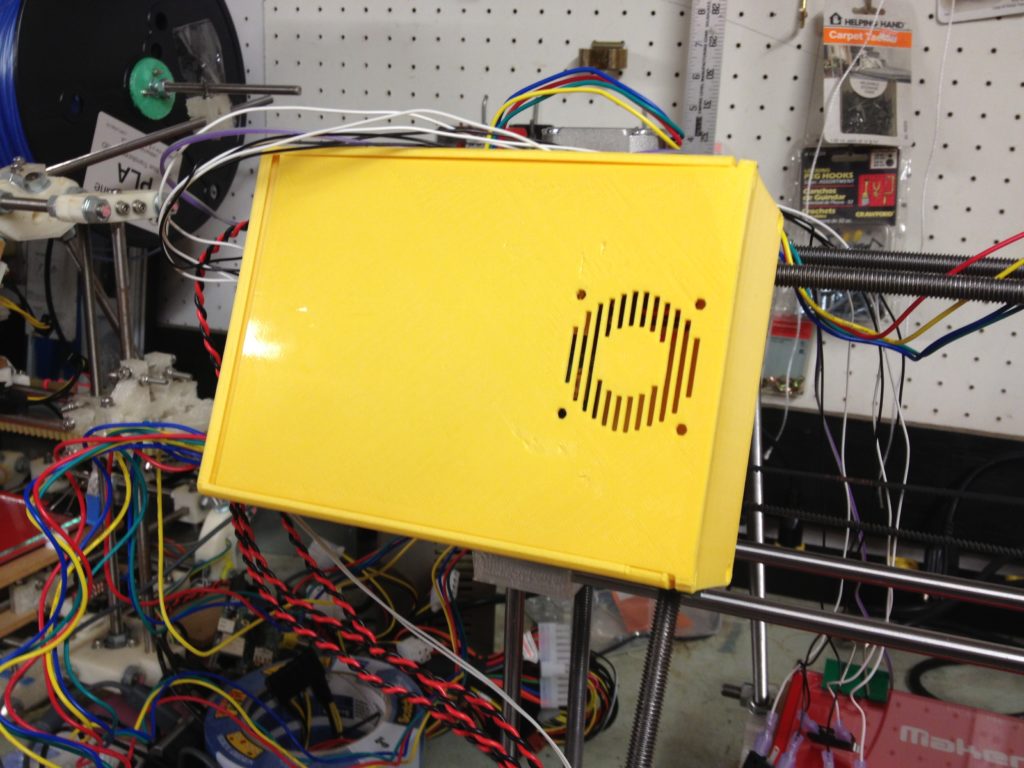
For the Museum of Science’s RepRap I’d printed out this Sliding Lid RAMPS 1.4 box to hold the RAMPS and Arduino Mega board I’d used. I liked that and wanted it for RAMBo, so I designed my own, derived from that one.
A few prints later and it was done. It’s on thingiverse.com now: RAMBo Box
For the time being I left the RAMBo Box to the side, but wired up. Now I could finally test my Y axis!
Then I made it a little faster..
…then a little faster than that..
I assembled part of my X-axis next.
So now it was time to line up the X-axis, and adjust the Z-axis motor mounts on the top bars (again, remember that I did the modification of adding an extra nut between the frame vertex and the z-motor-mount so I can adjust it.. I had to use slightly longer smooth rods for the X-axis to do that).
I did the same thing I’d talked about in previous posts for the MoS RepRap, but this time I just used two M8 nuts for plumbs instead of some bulky purchased one. They worked better anyway.
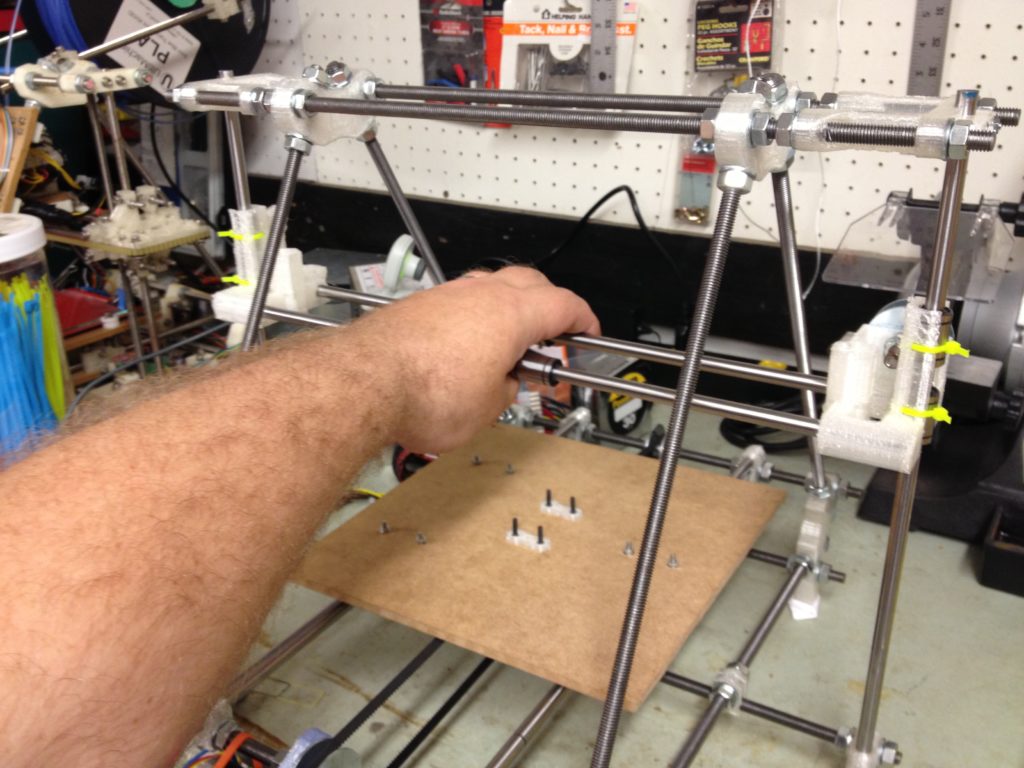
I carefully slid in the smooth Z rods and tightened them, and could then raise the X-axis along the Z-axis by hand.
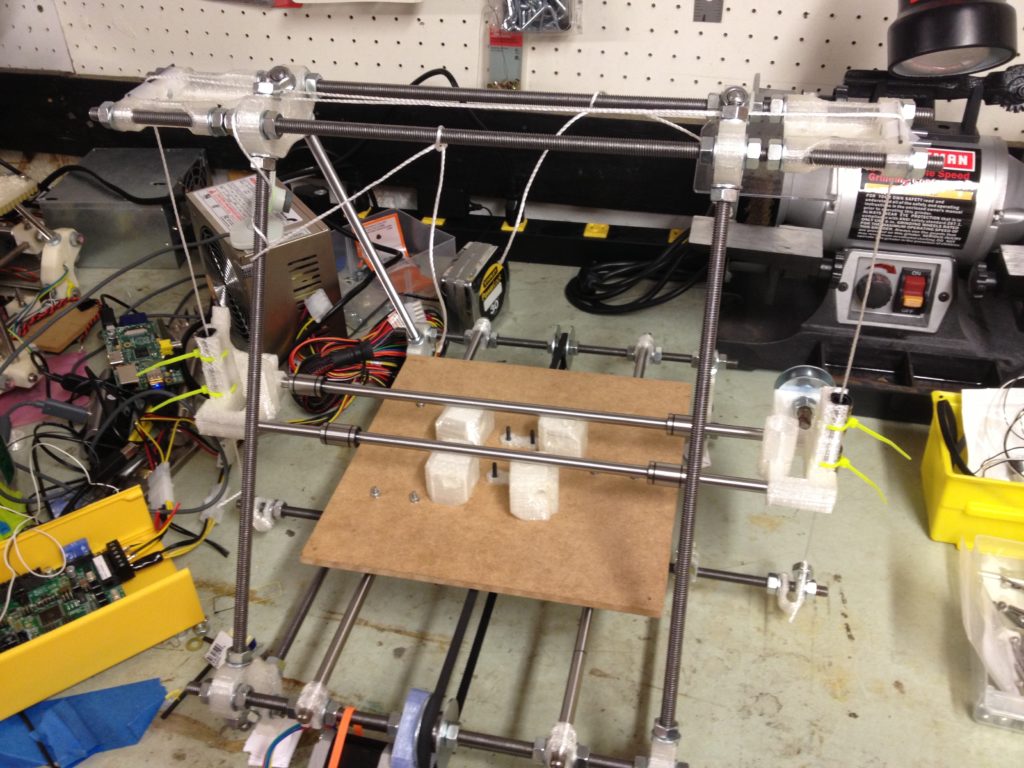
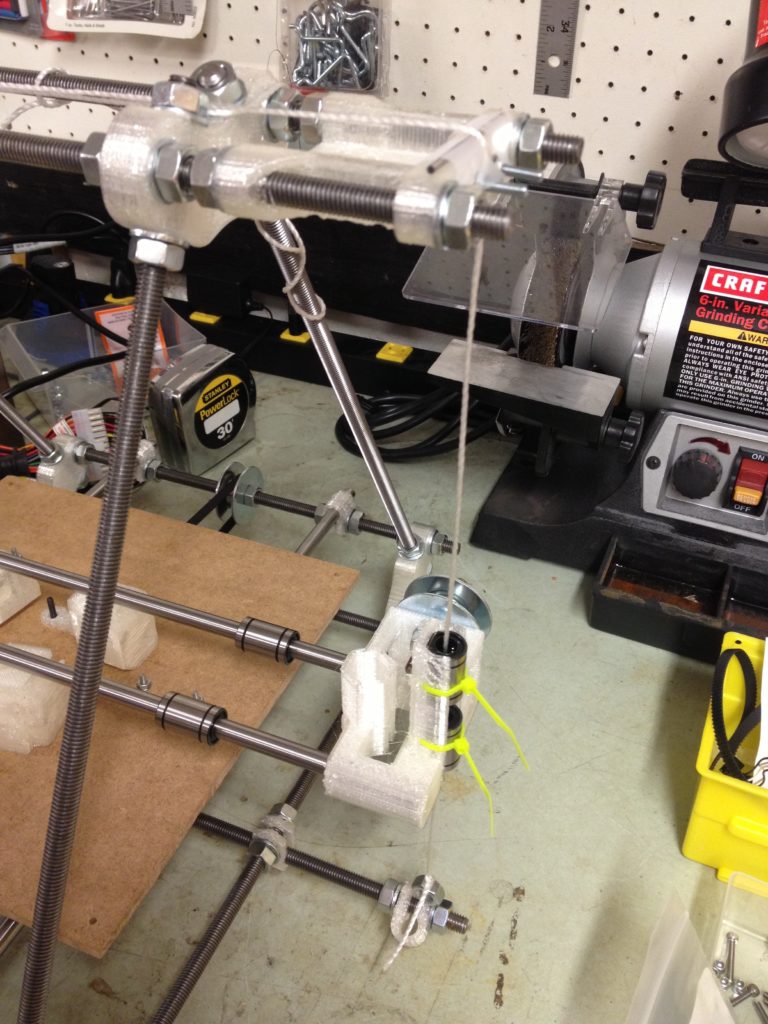
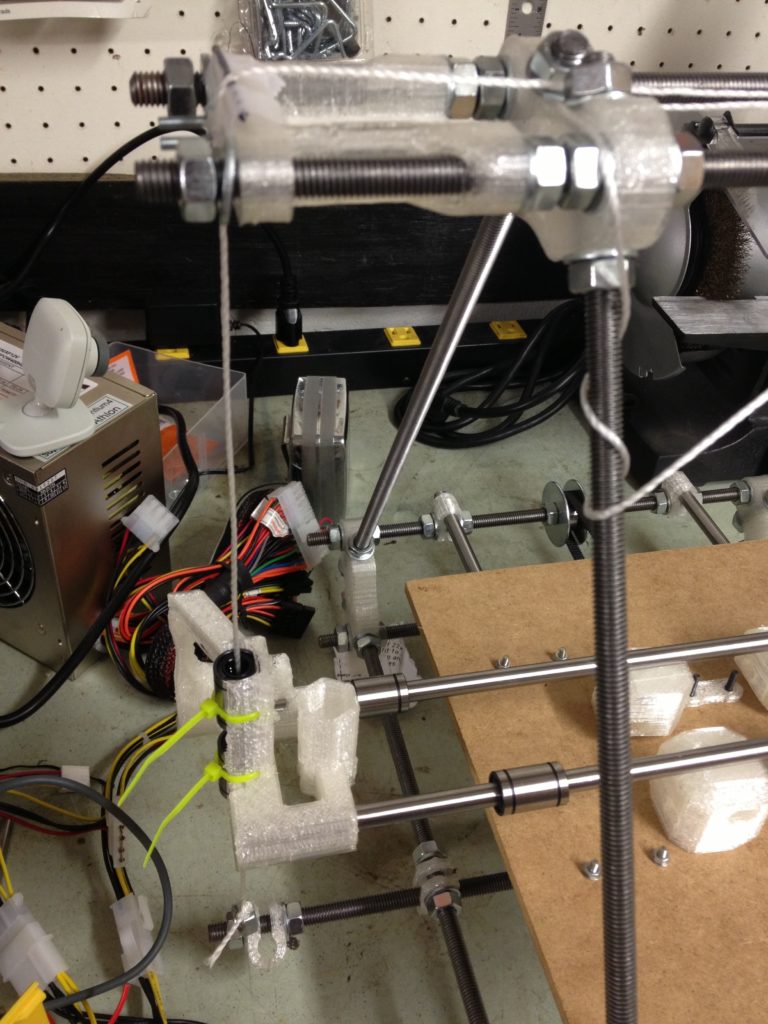
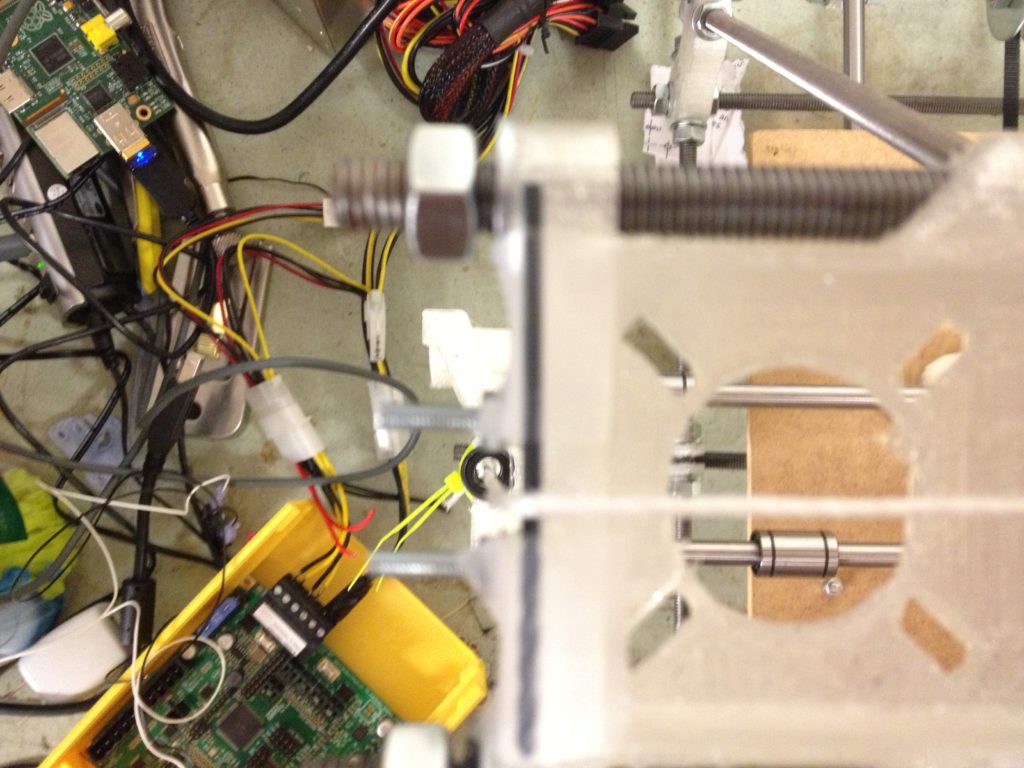
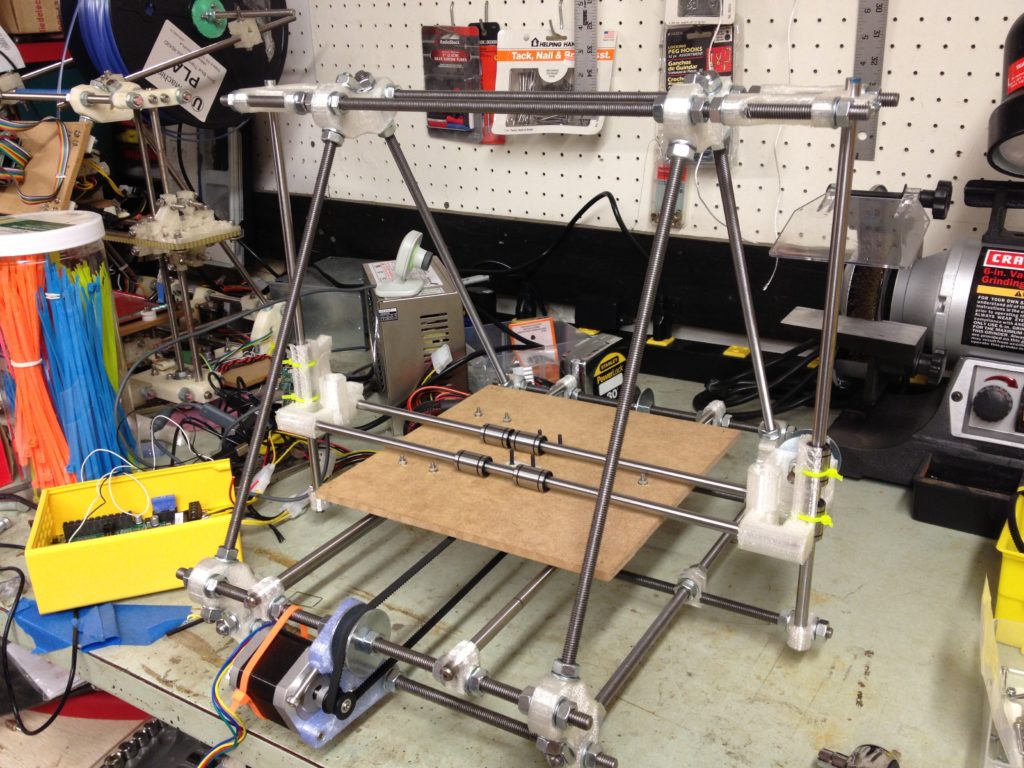
Then I installed the Z motor mounts and leadscrews. Here is the X-axis being suspended on its own by the leadscrews:
When I first tried moving in Z, I saw some z-wobble, but wasn’t convinced it would affect the x-axis in the end:
That led to this video of my phone lying on the bed shooting up as the Z axis moves up and down.
Although I hadn’t run into it with the previous Prusa IT2 I made, I was now having problems with the M8 nuts being too loose in the X-ends, I think:
After fixing the problem with the nuts (I’m not entirely sure how, it was over a year ago, but I imagine I turned off the motors, pushed down to compress the spring, rotated the nut so it fit in the shaft, then released the x-end), I finally had things working. I put on the X-carriage that I’d reluctantly decided to go with instead of the OpenX carriage (which was much better than the previous one I’d used), and made this video demonstrating X, Y, and Z motion!
Woohoo!
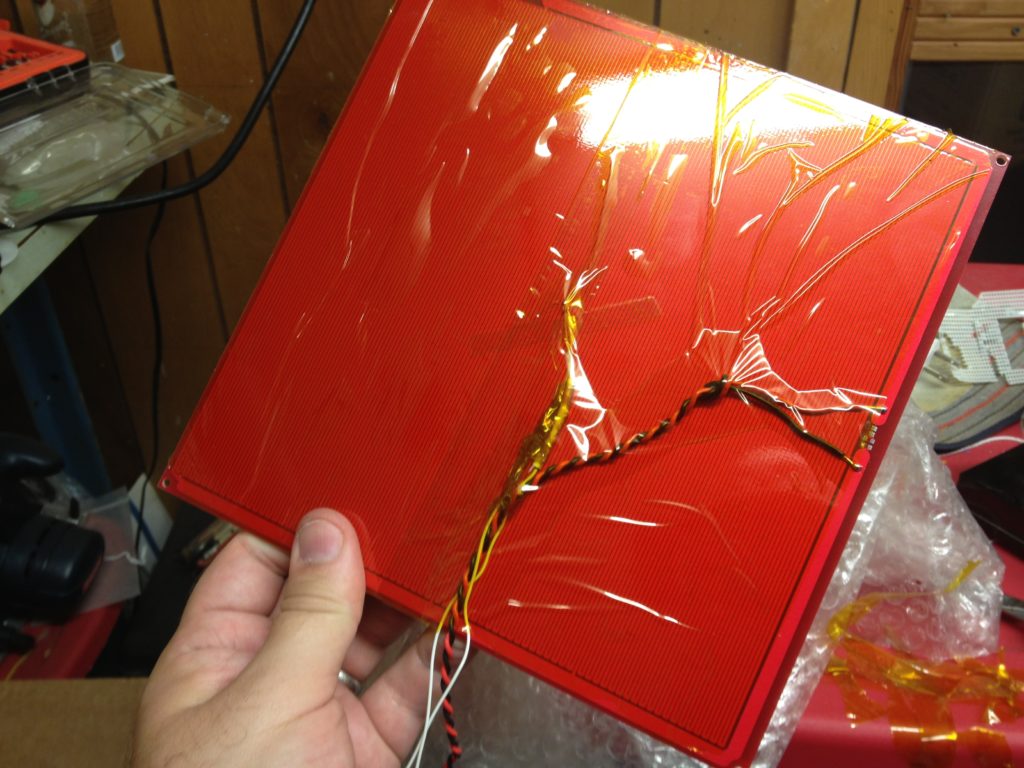
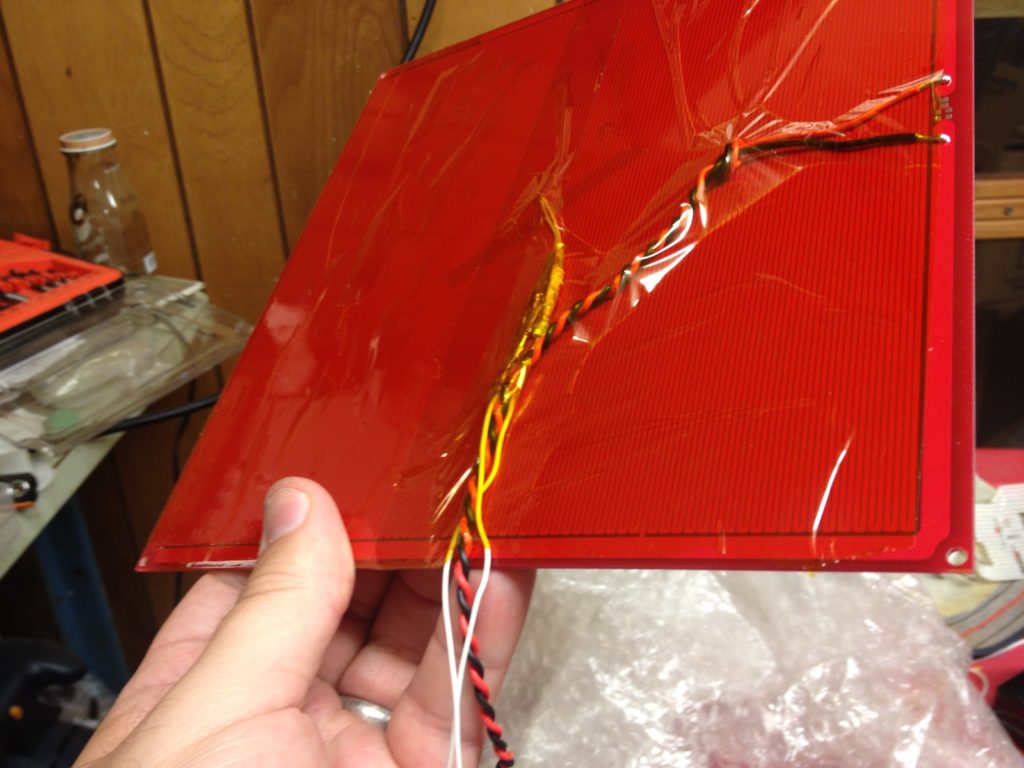
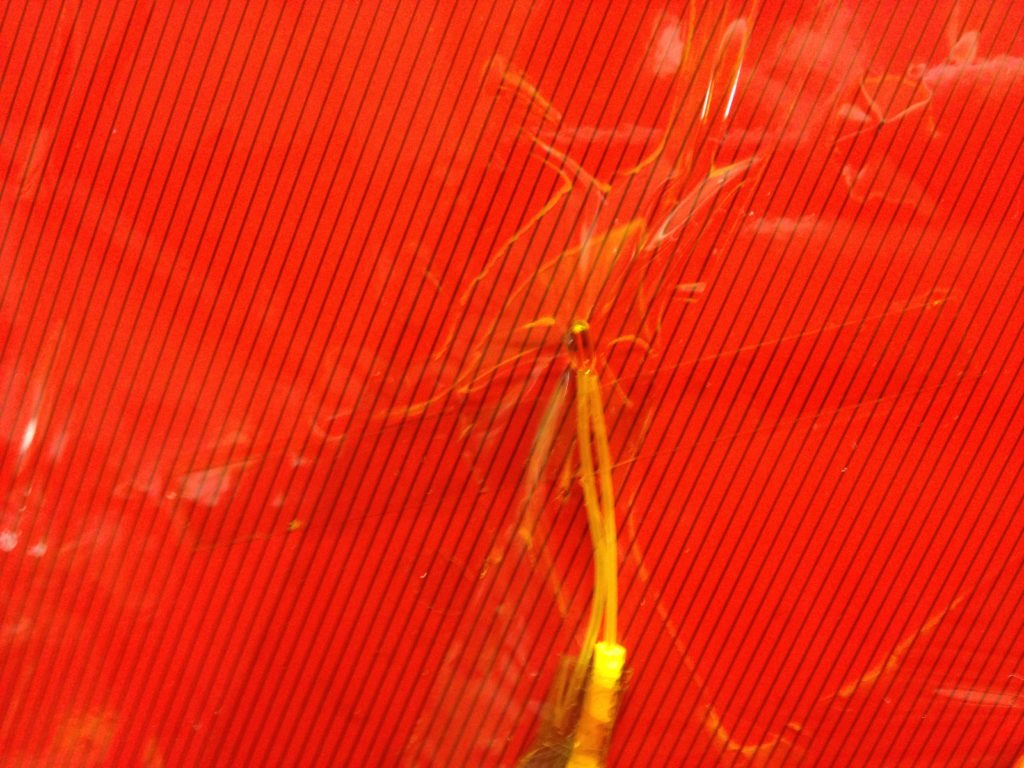
Next, I wired up the heatbed and covered the bottom with a large sheet of kapton tape.
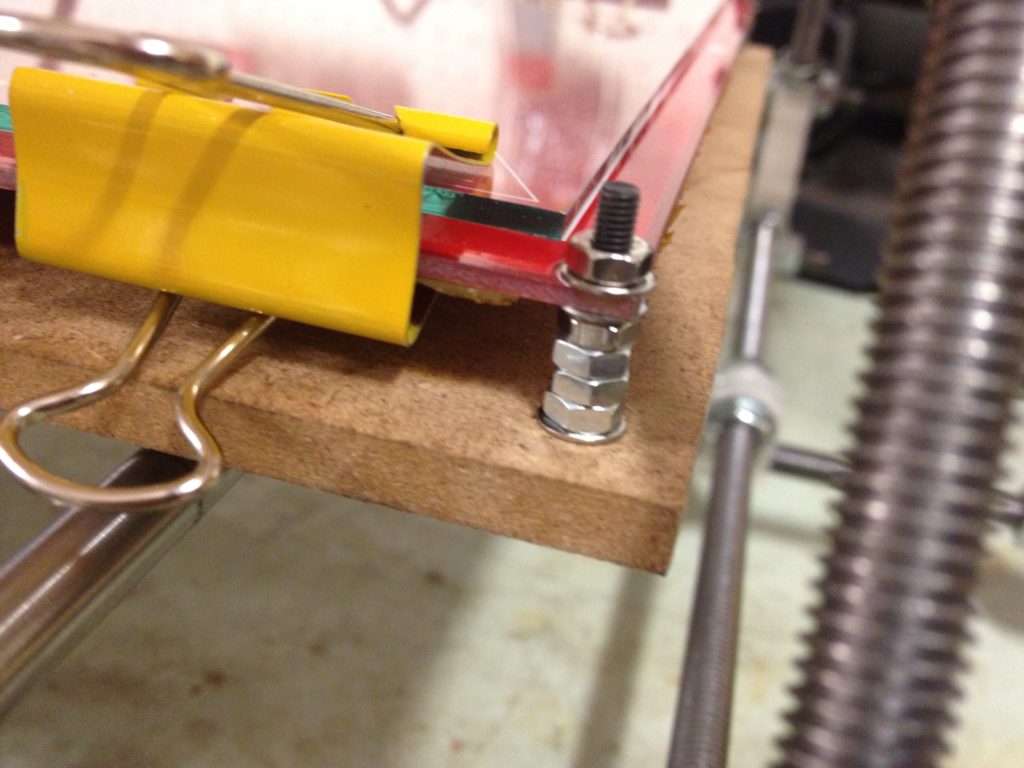
For future reference, I used four nuts for spacing:
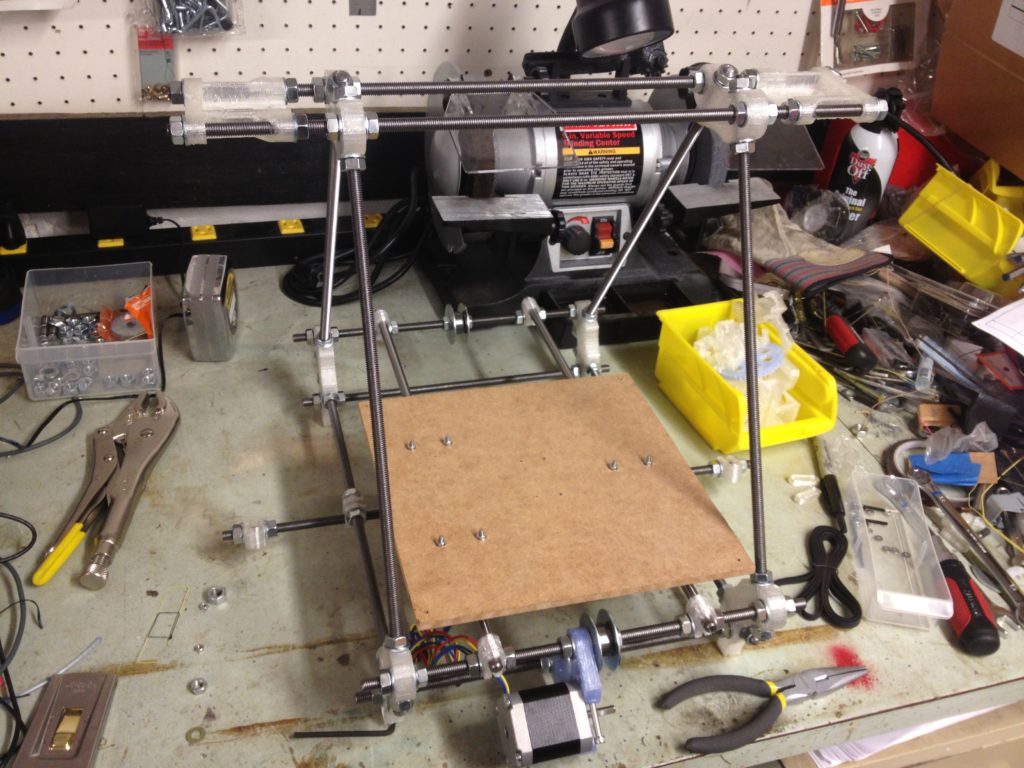
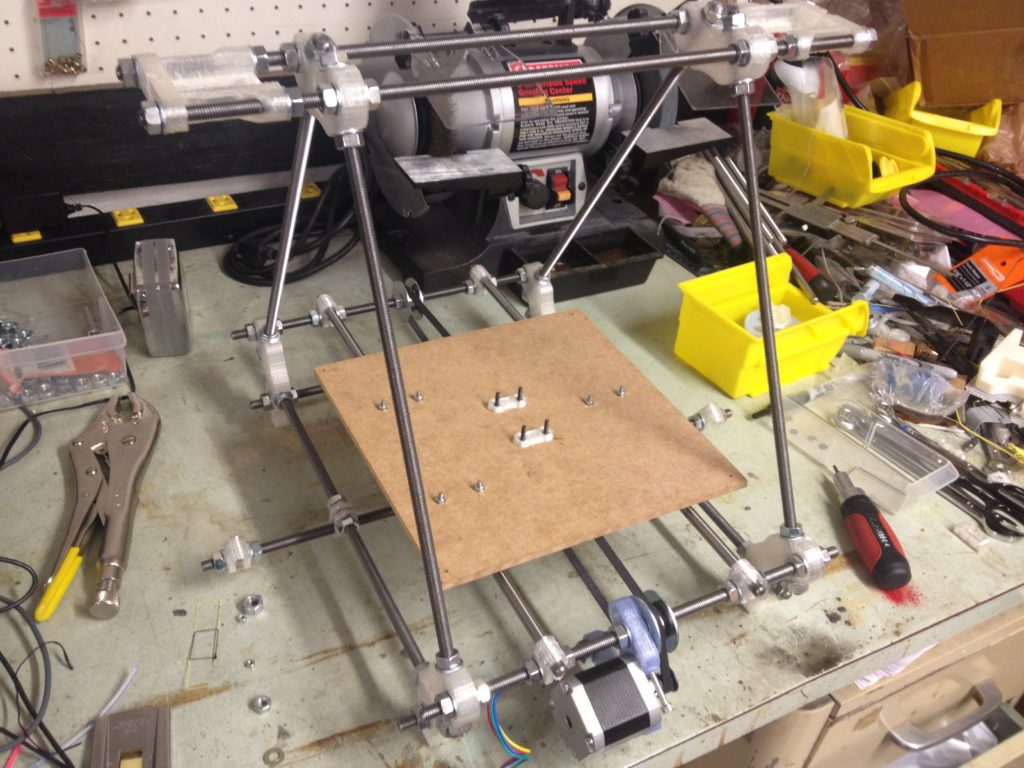
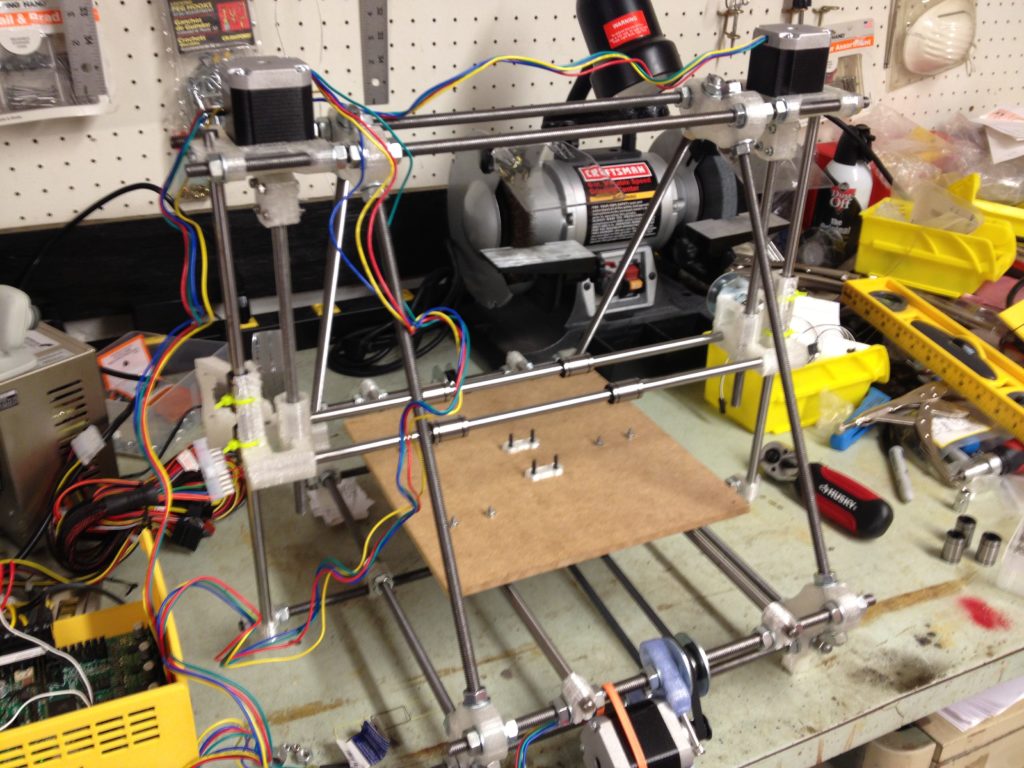
Here is what the RepRap looked like with the bed mounted:
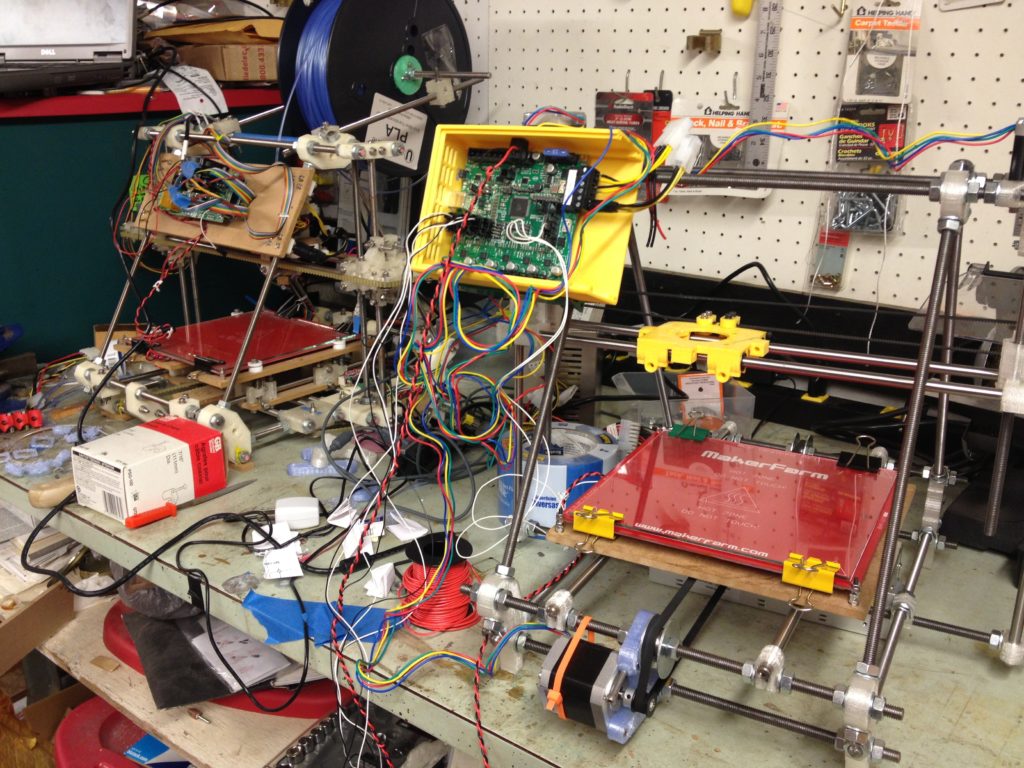
…and here it is next to its parent, my original RepRap (an original “Sells” Mendel):
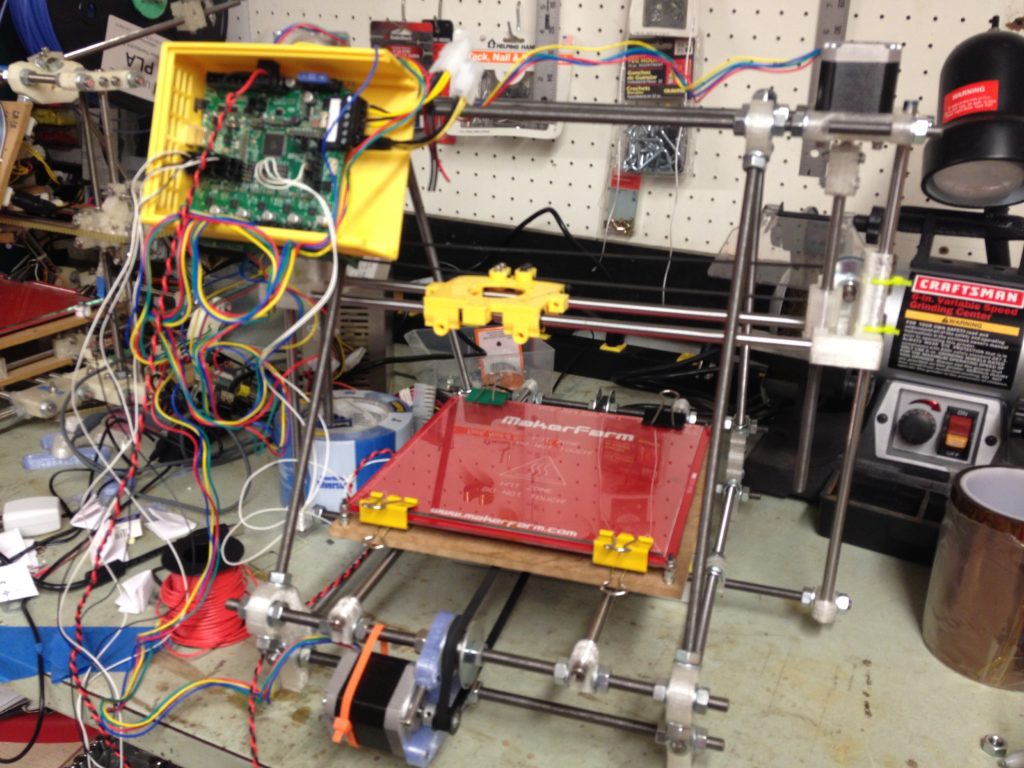
Note in that picture I also had my RAMBo box mounted. I installed it on the frame (with one of these, although note to self: I should upload the slight change I made to that to get it to fit my upper bars since I have the extra nuts up there).
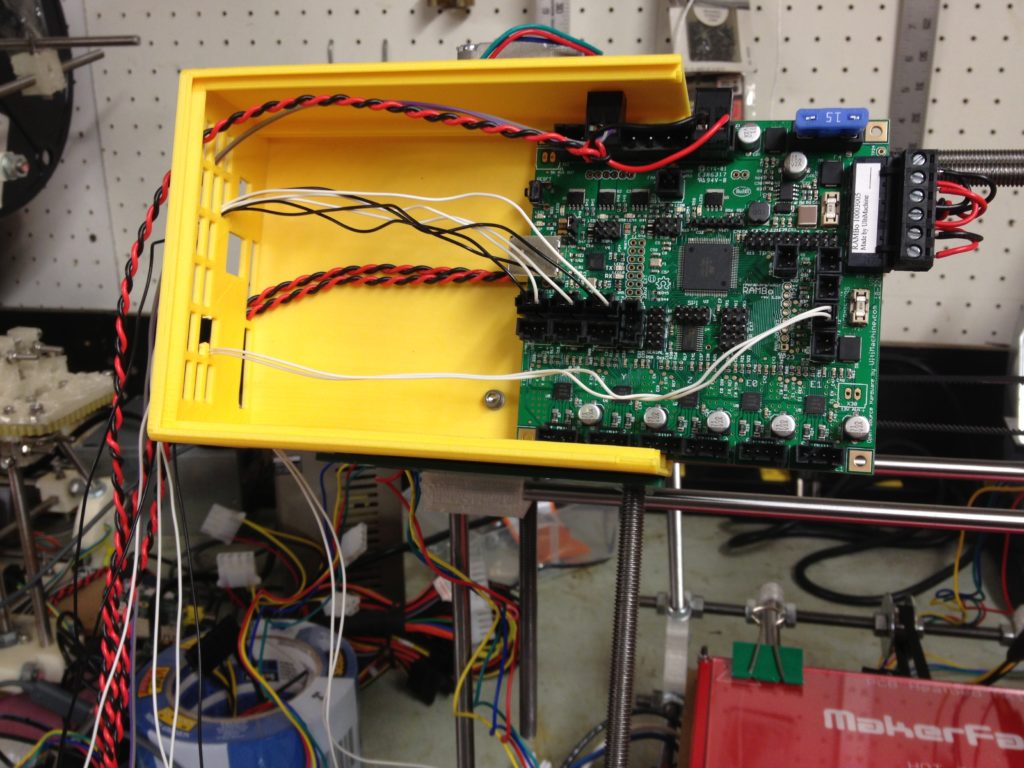
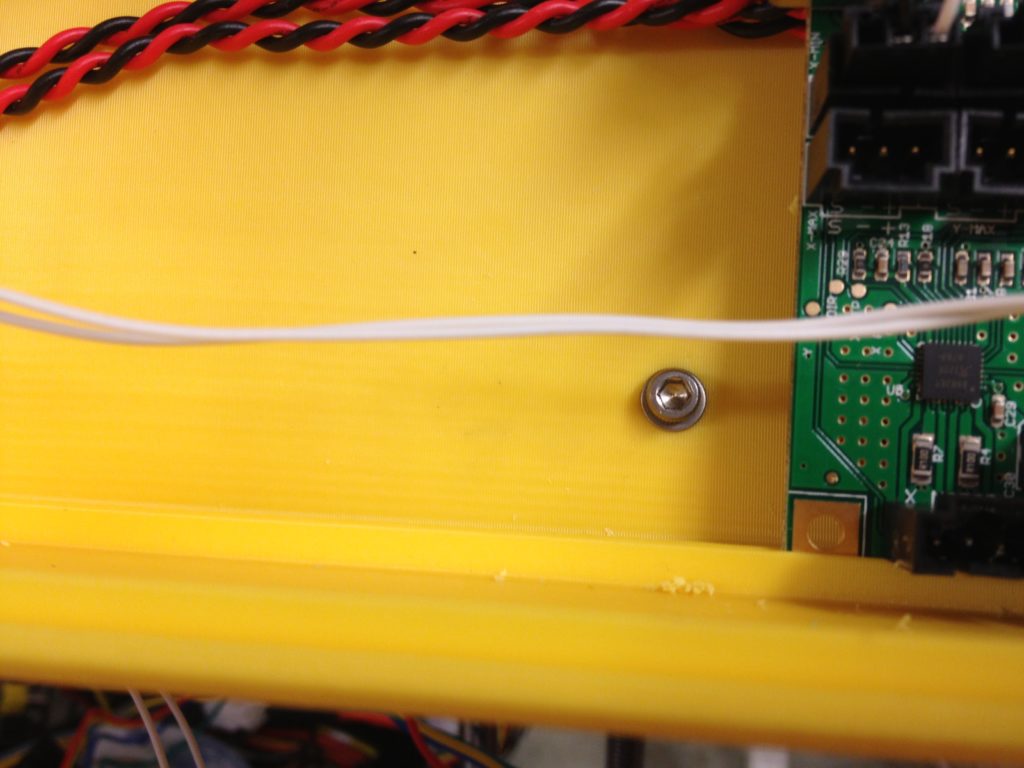
I permanently mounted my RAMBo Box on the green holder piece, as you can see by the screw in the middle behind the board in the next two pictures. I basically held it in place and drilled a hole through, then fastened it with a bolt, two washers, and a nut.
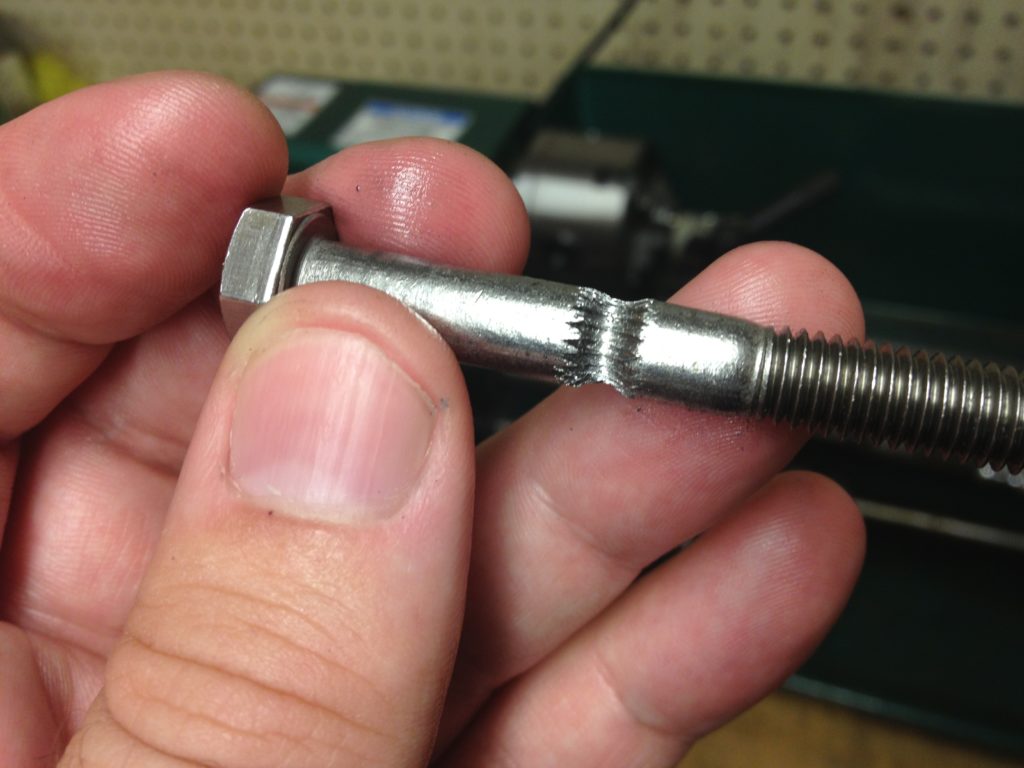
I made a nice hobbed bolt on my lathe using my bolt hobbing tool:
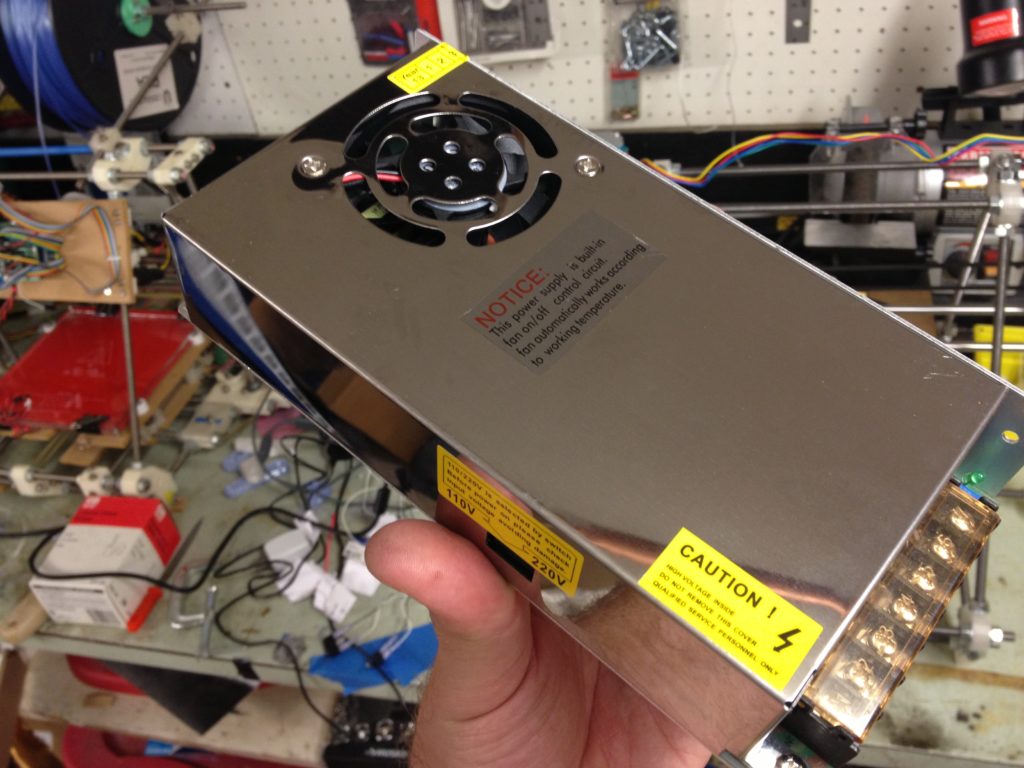
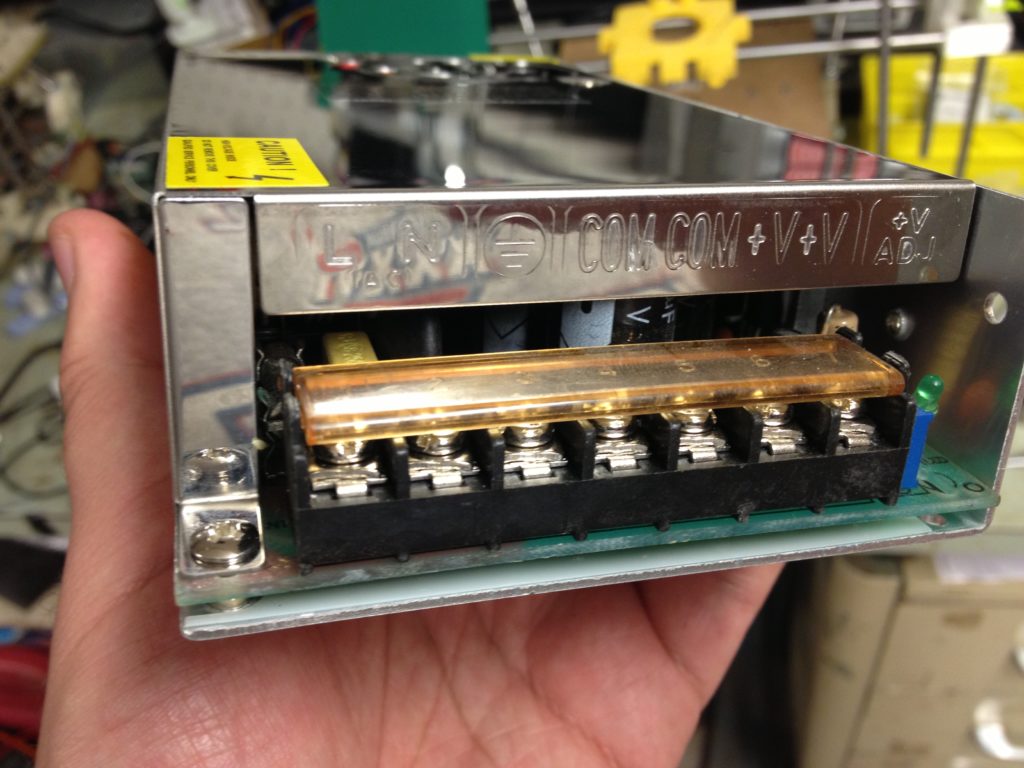
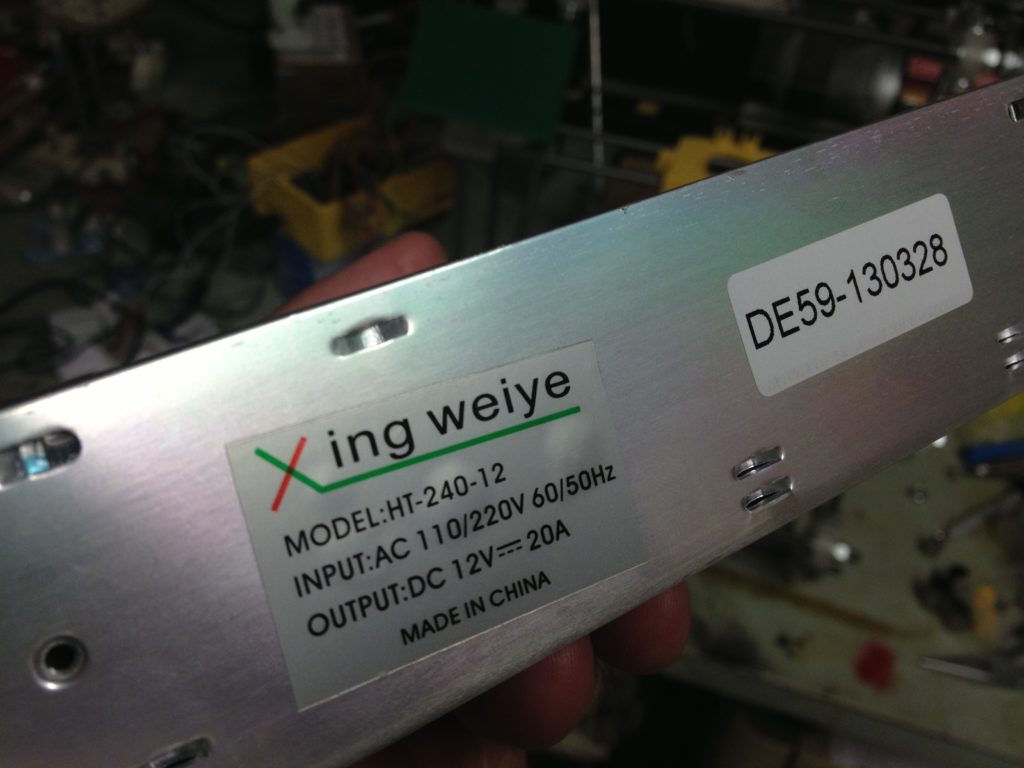
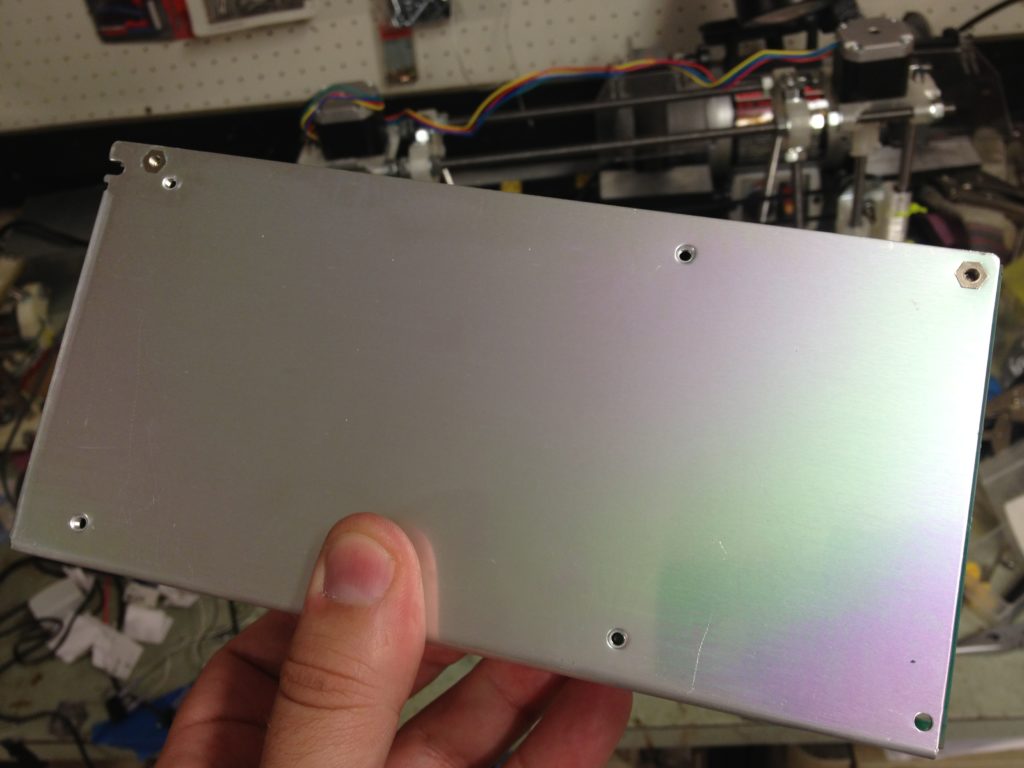
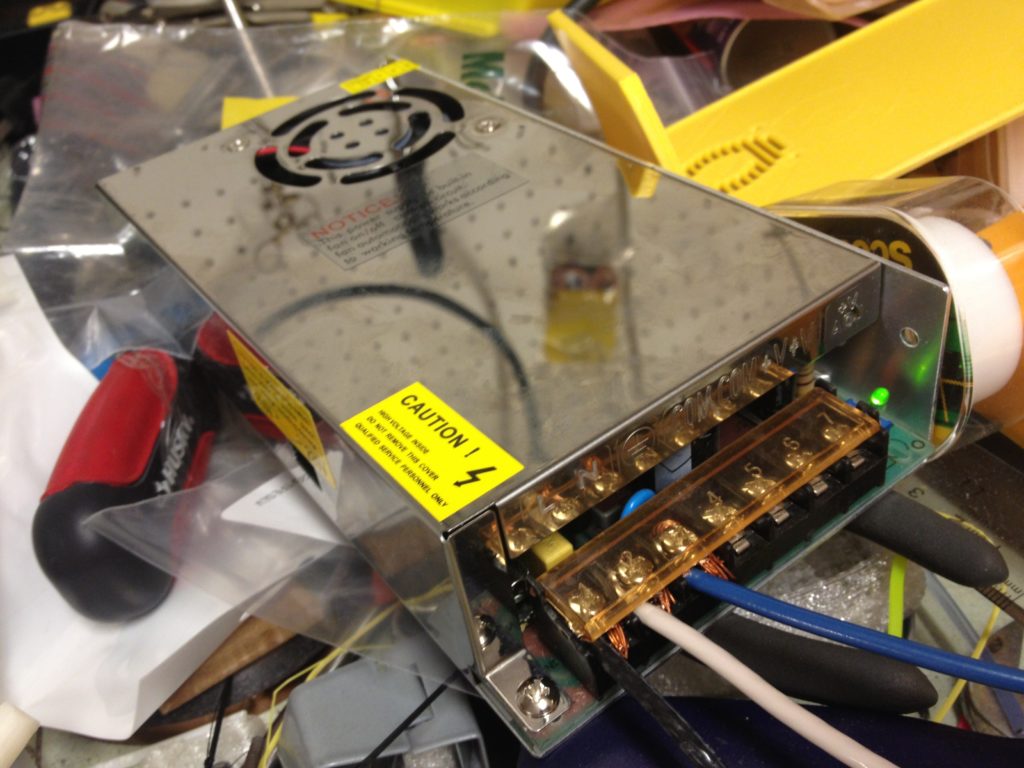
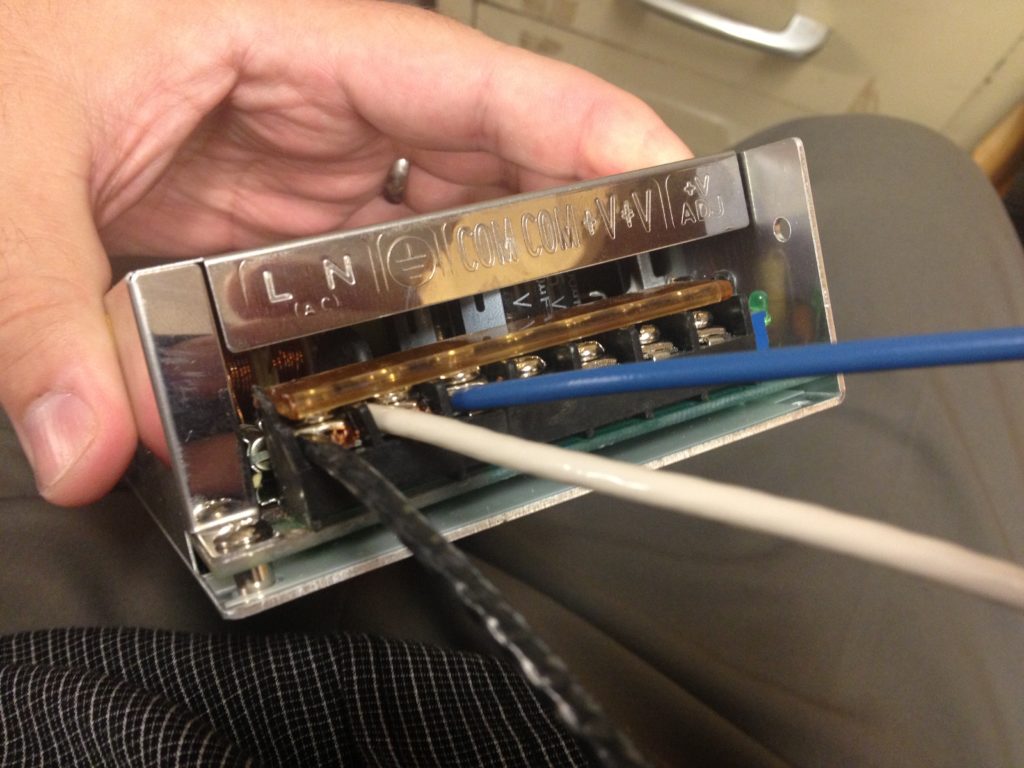
As for power, this time around I wanted a bit more of a self-contained RepRap than my first one, which has a computer power supply dangling off of it and a ton of wires. I bought this power supply, which I wanted to mount below the bed:
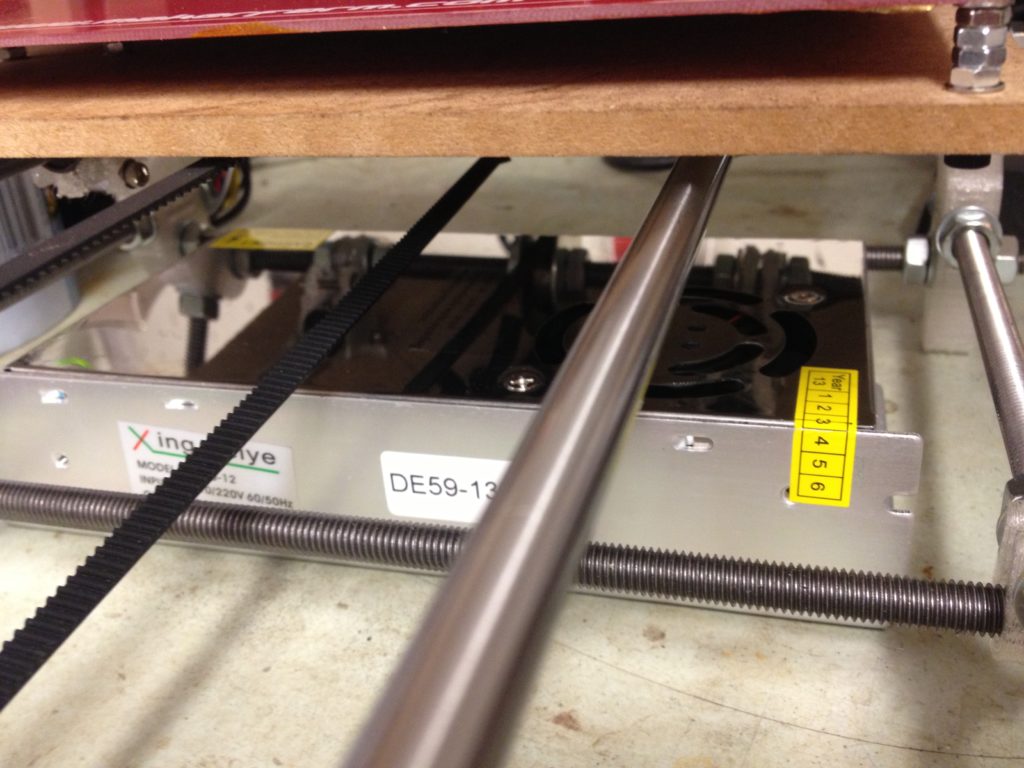
At first I just rested it beneath the RepRap until I could get something better set up:
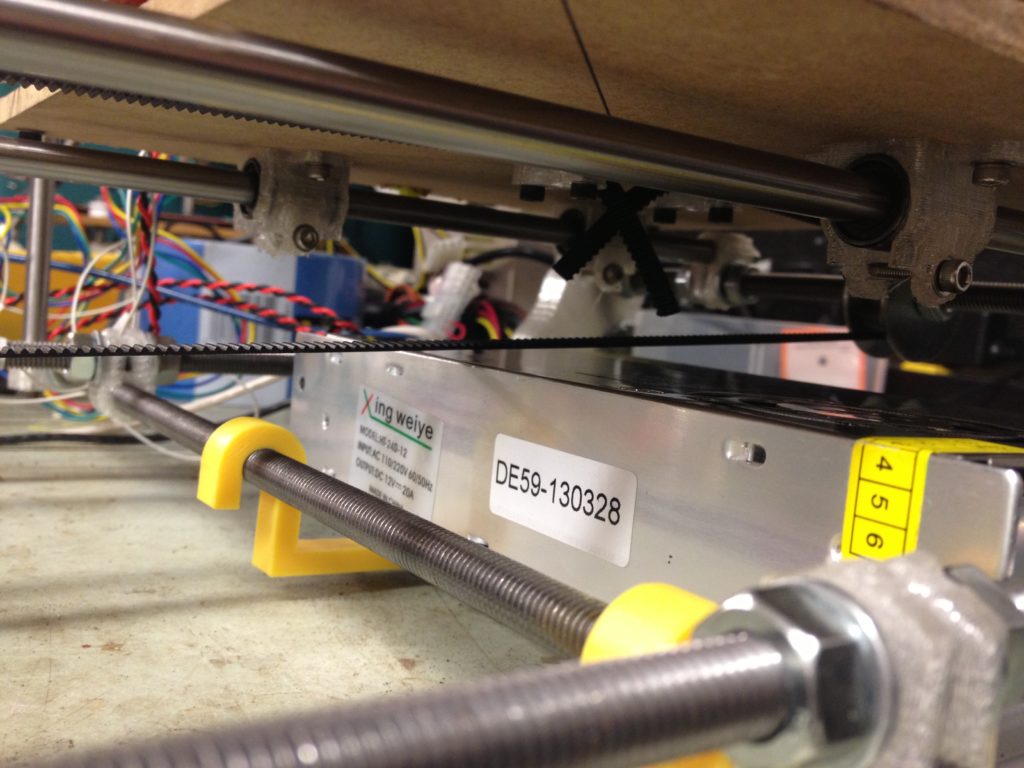
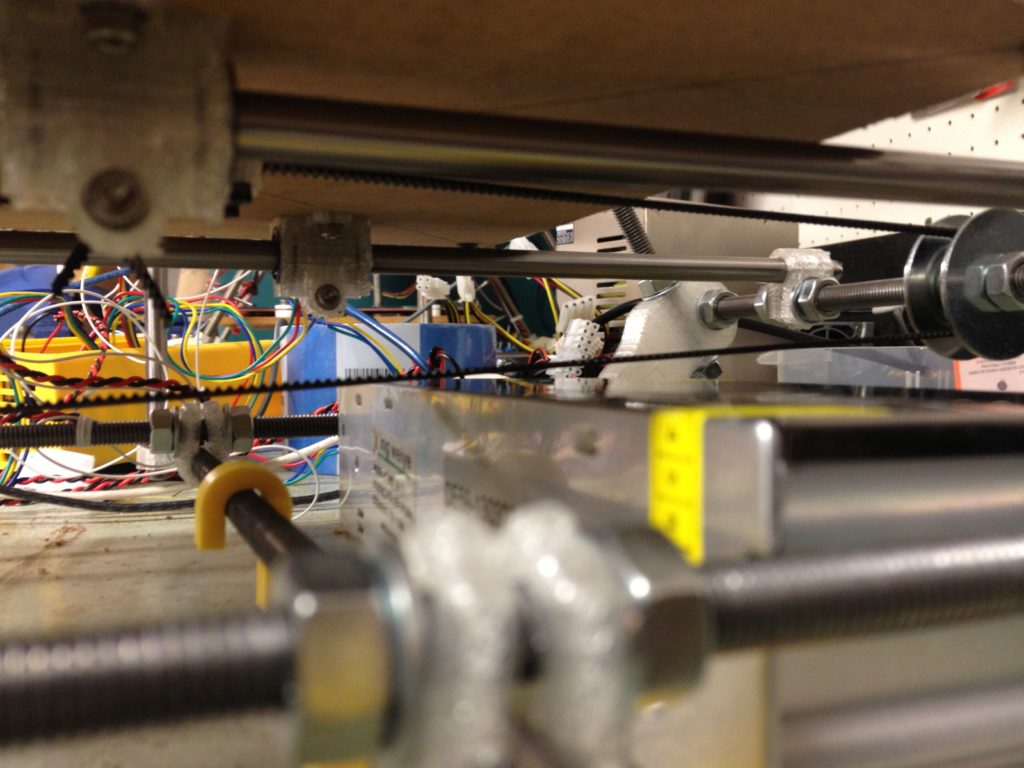
I made sure that the Y belt didn’t hit the power supply.
The first time that I wired it up to try using it for power, it looked like an electrician’s nightmare. Don’t follow my example as instructional – I was super cautious but don’t recommend testing things out this way.
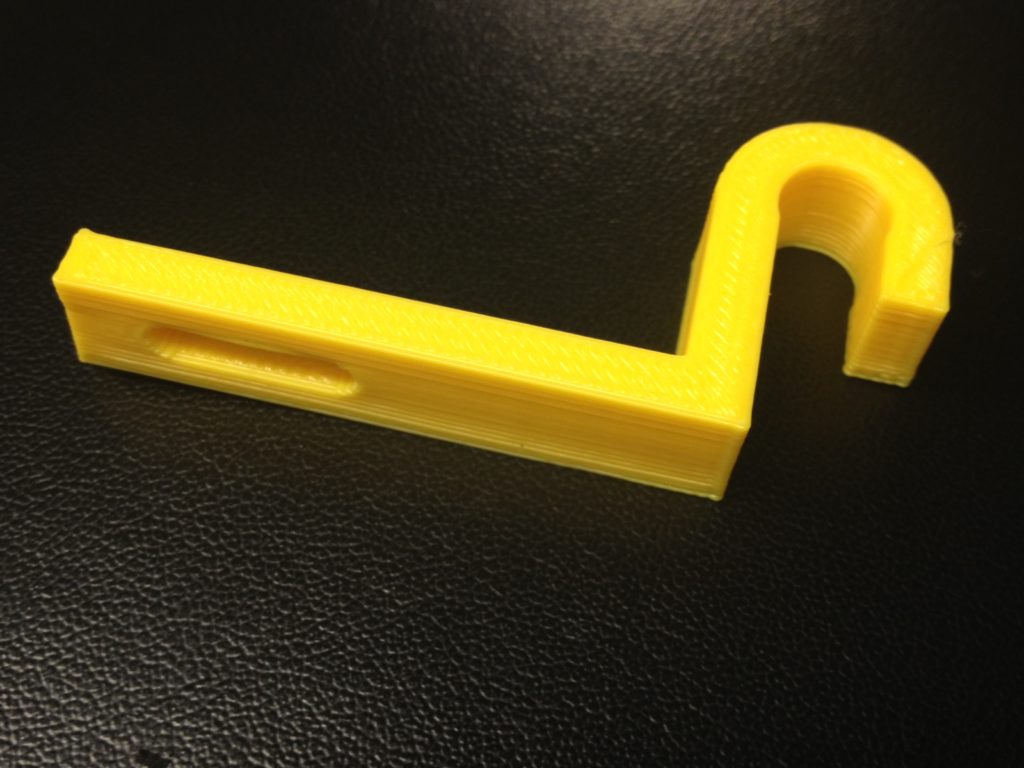
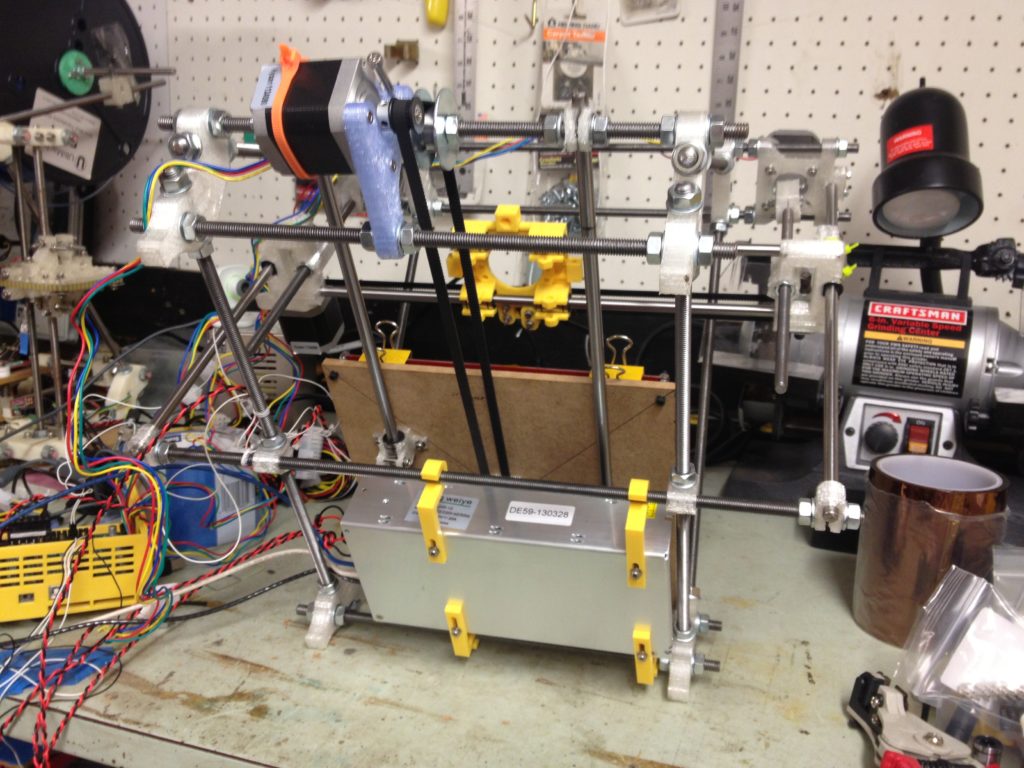
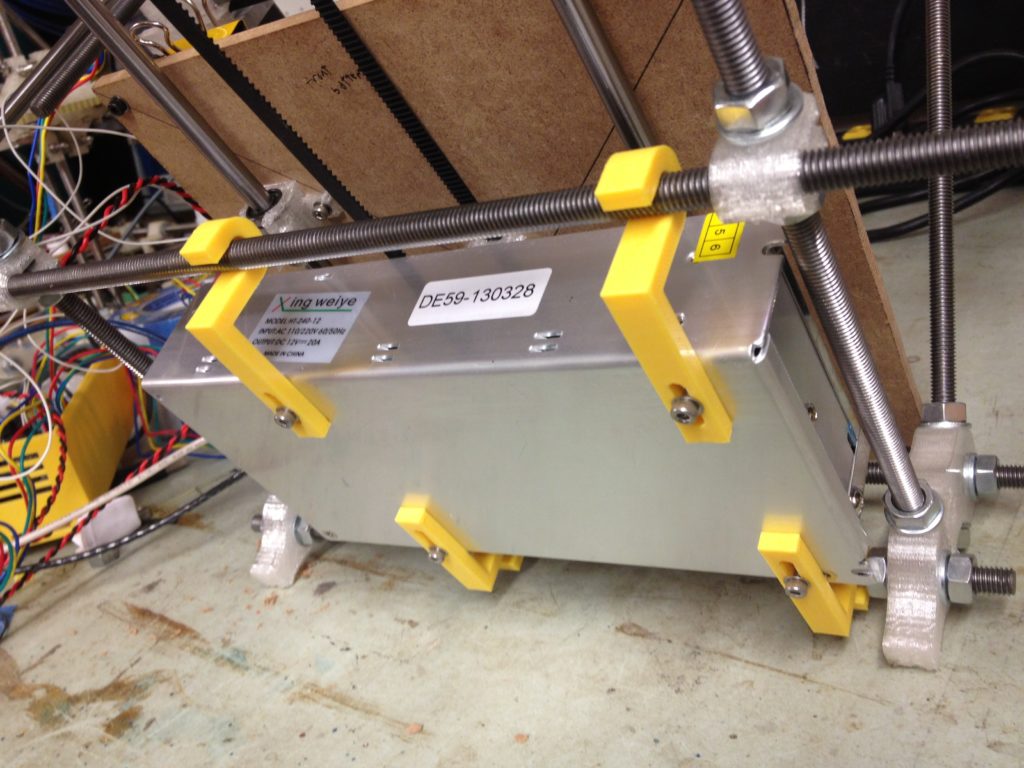
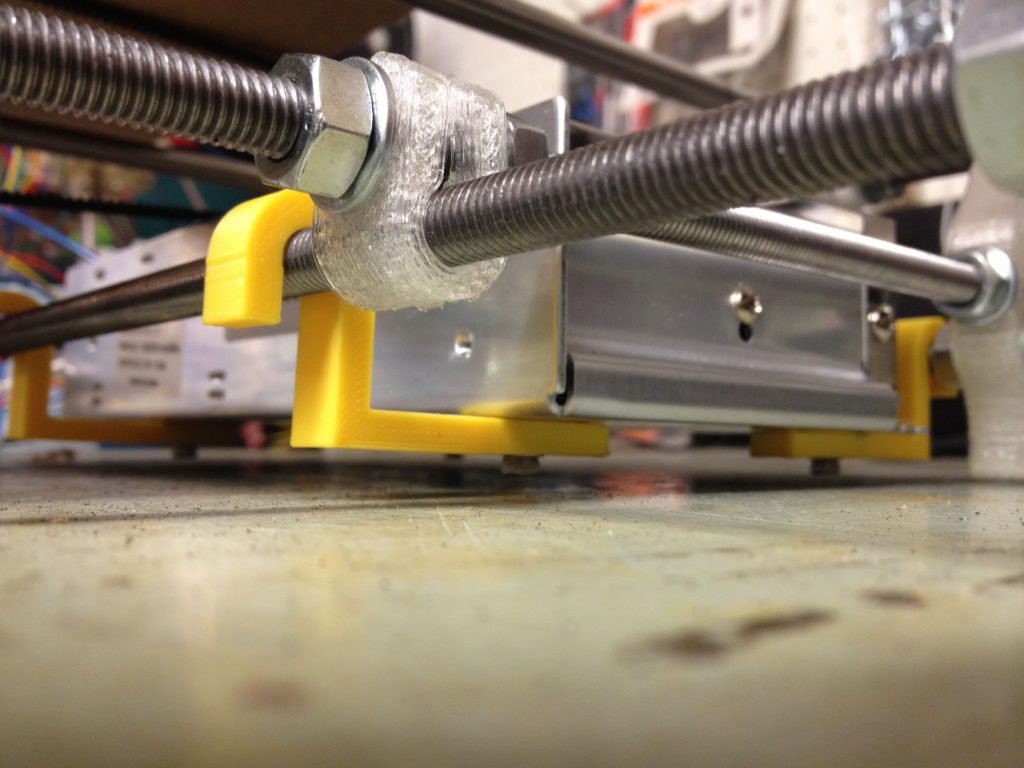
I printed a few of these holders for the power supply designed by my friend Chris, so it can hang from the bottom bars below the bed.
Here it is, mounted:
The y-belt still just barely clears it..
Here’s a tragically truncated video describing it:
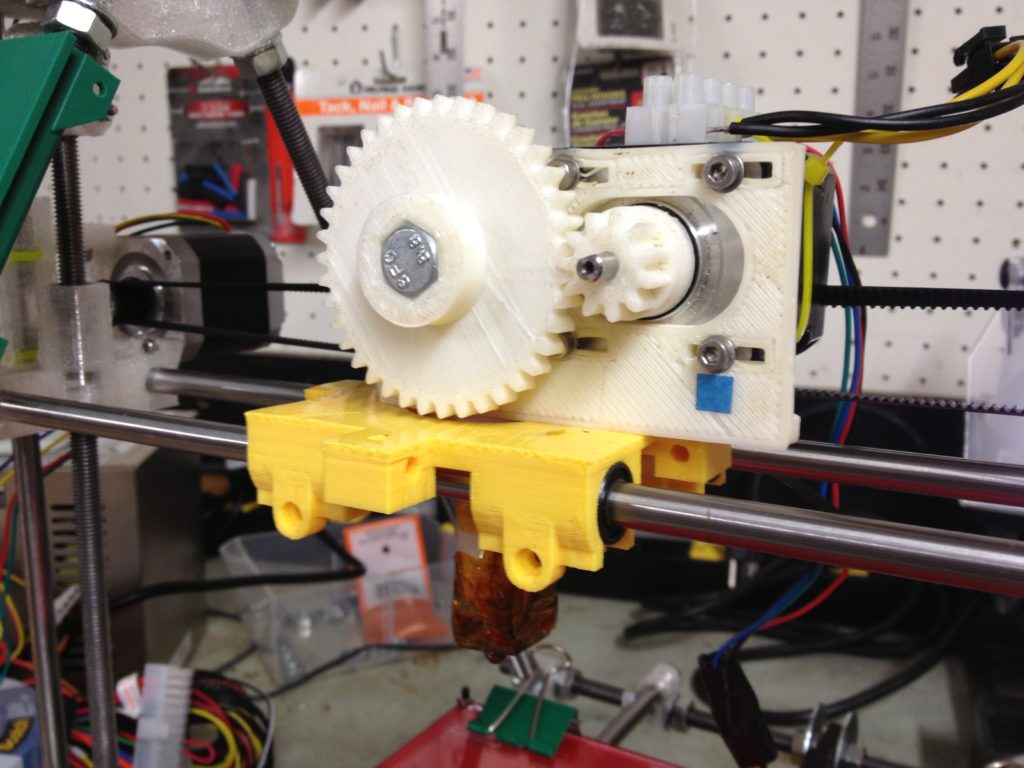
Trying to move as quickly as possible, I attached my old Wade’s extruder to the carriage, since I had it lying around.
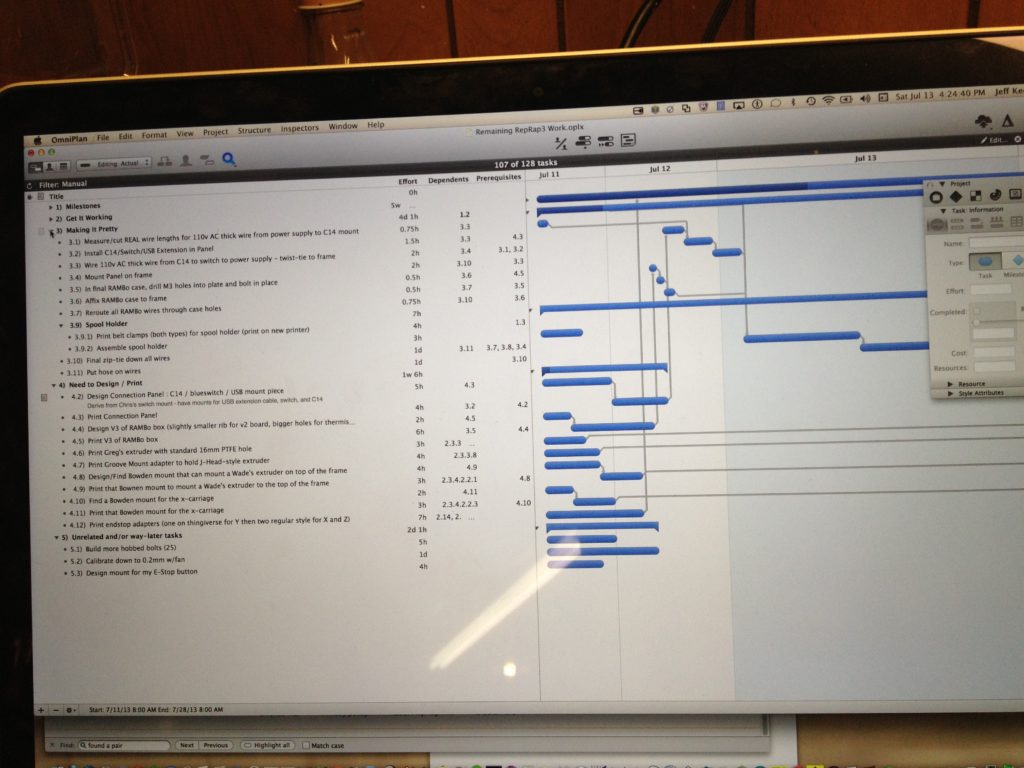
I was in such a rush to get this done (and under so much self-imposed pressure, both for an upcoming RepRap gettogether and eventually Makerfaire 2013) that I actually found myself marking off projects in a project management tool (in my case, OmniPlan). I know. And yet, it helped.
And here’s a video of me printing on my original RepRap, waiting to try printing on my new RepRap. I hadn’t yet gotten the hang of driving two RepRaps from the same laptop, which I’d later master. 🙂
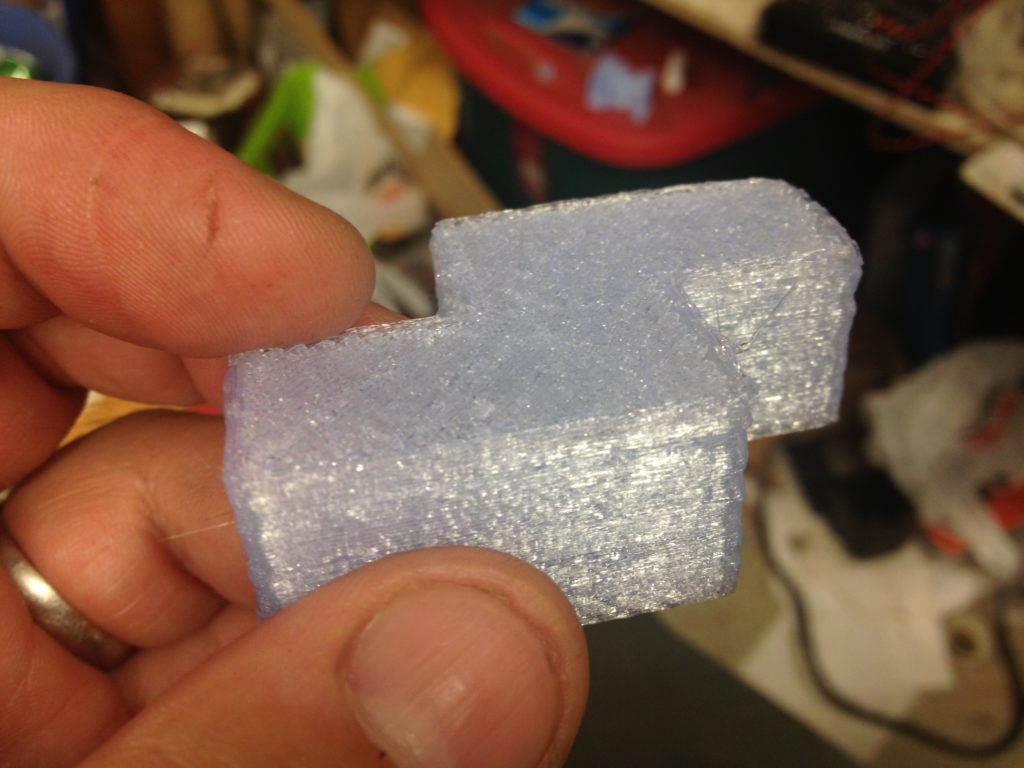
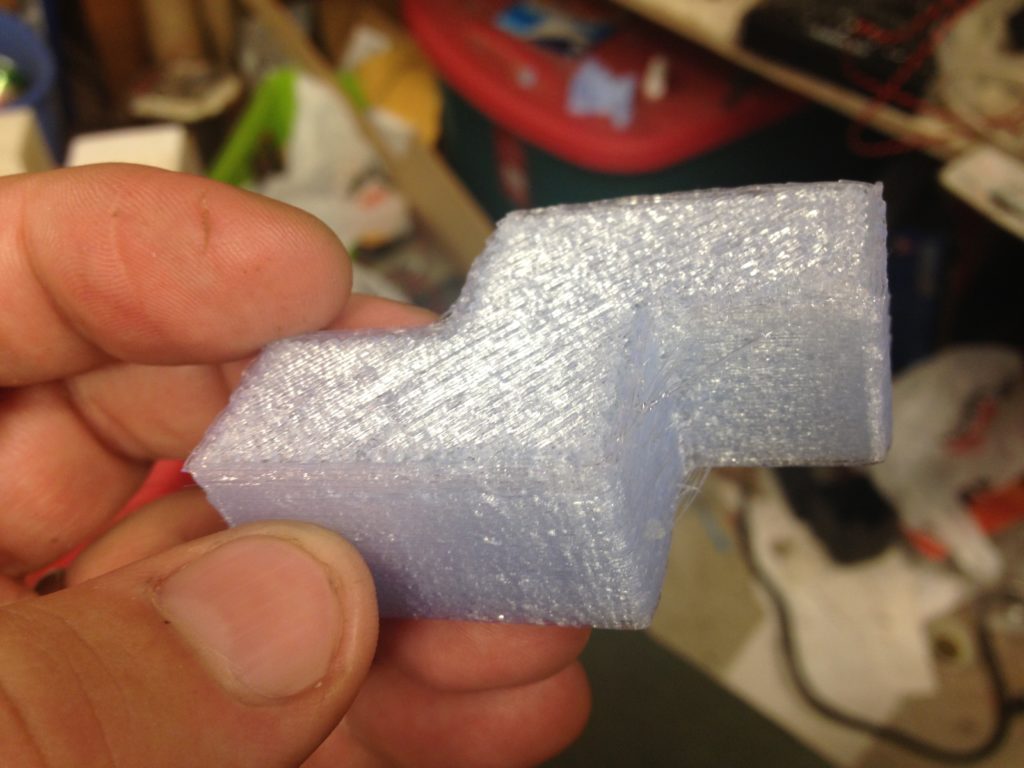
Here was the result of that print on my original RepRap, showing some new rice-crispies like failure:
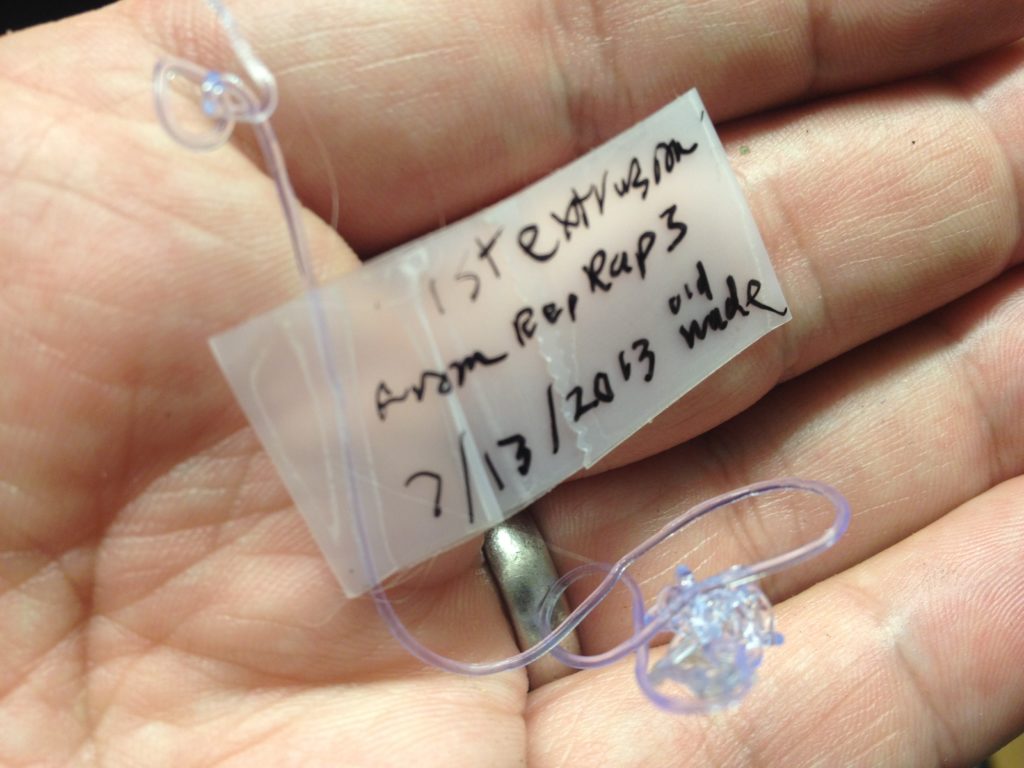
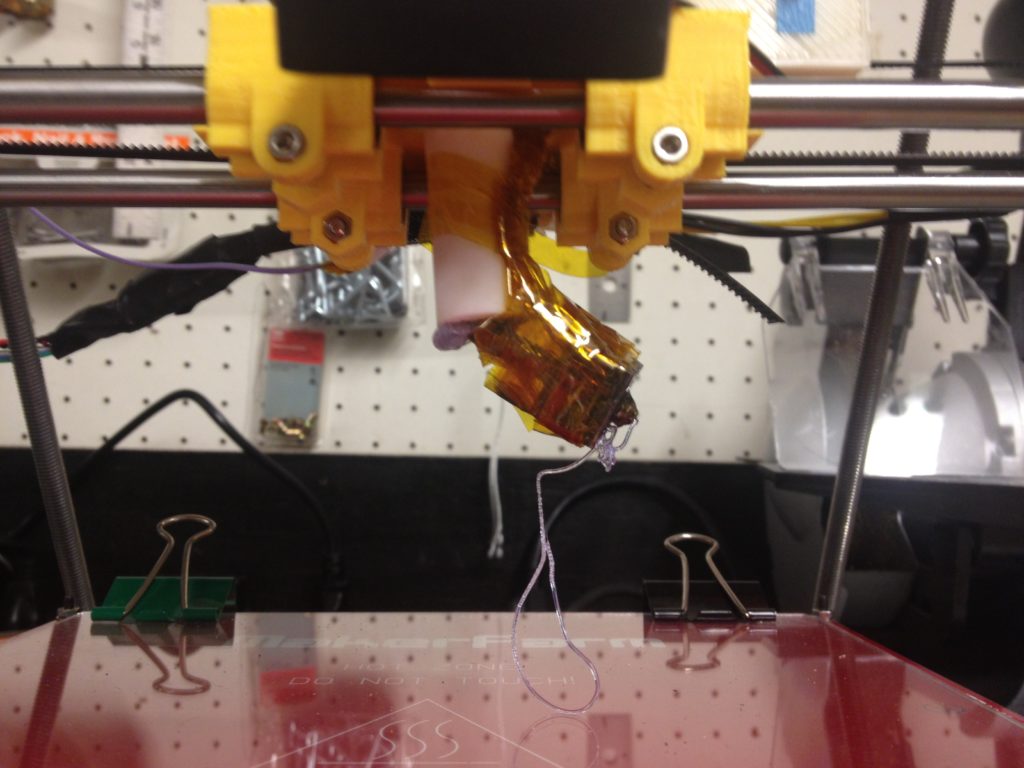
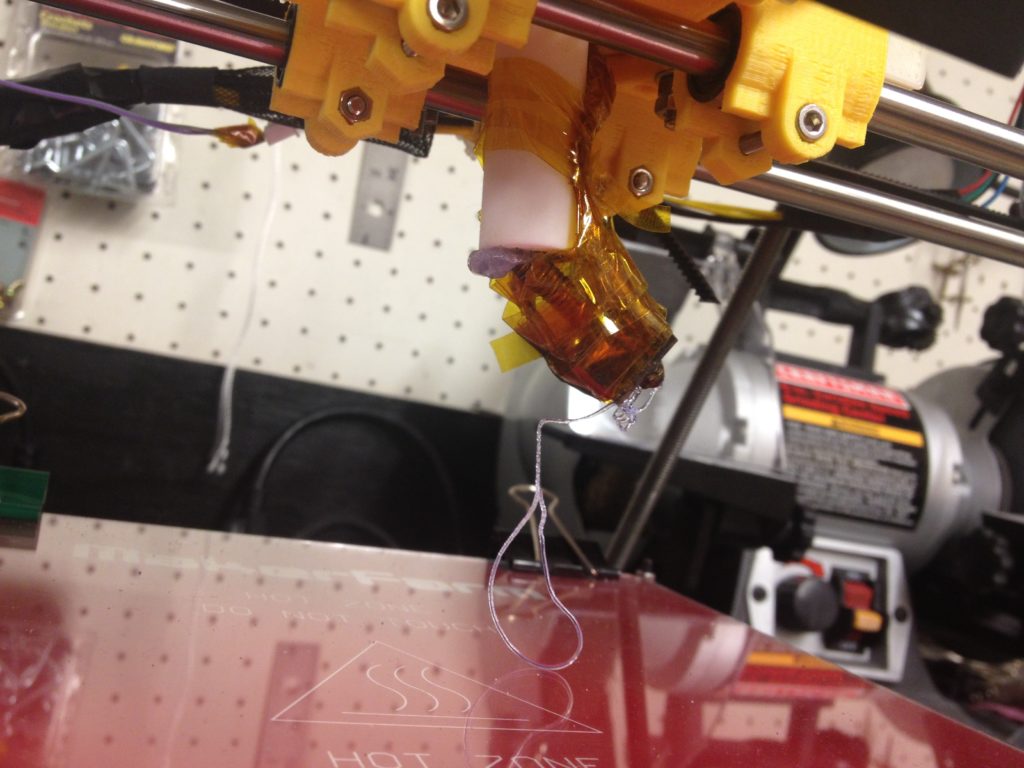
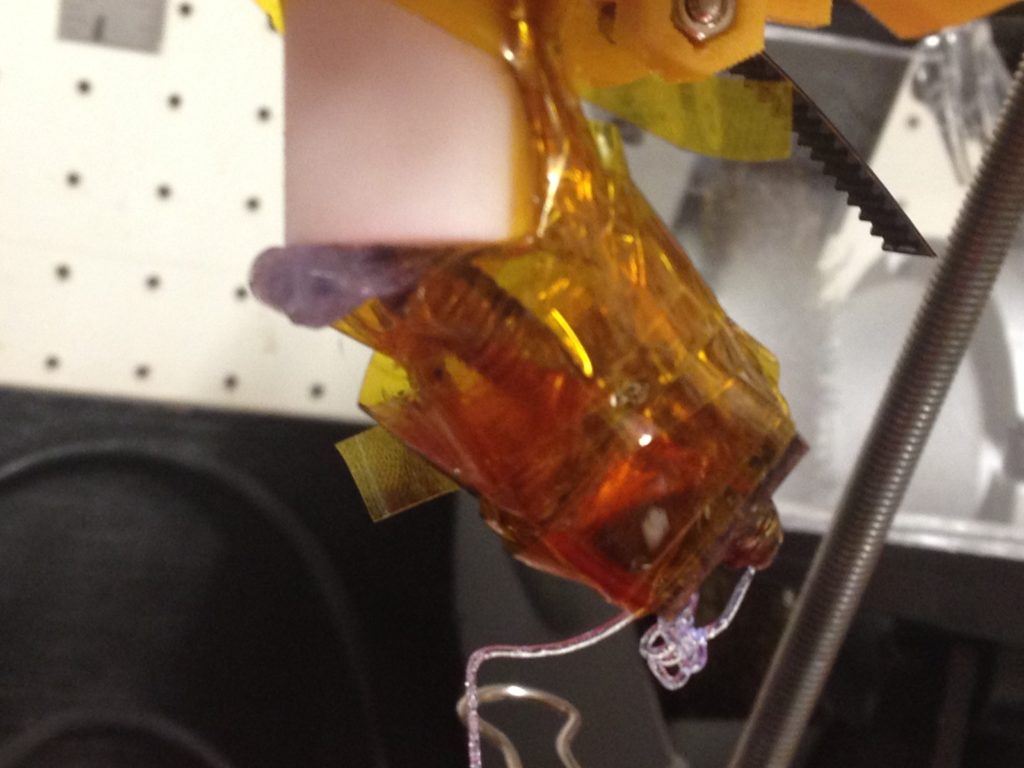
So I tried extruding plastic on my new RepRap, and here was its first extusion:
It then, however, failed.
I hate ending on a bad note like that, but I have to go to bed because tomorrow I’m driving to New York for Makerfaire 2014. I know, I still haven’t blogged about Makerfaire 2013!! I was hoping to get to it – I’m about one or two posts away from it, but it doesn’t look like I’m going to have time. We’re now caught up to July 16th 2013, while today’s actual date is early in the morning of September 18th, 2014.
Reminder: In two days I’m going to exhibit at Makerfaire NY 2014, for my third time. Buy your tickets now and come see me! If I can drag two RepRaps down in a car from the north end of Massachusetts to Queens, New York, you can drag yourself down there.. it’s a great time!



Clemencia Riggings
I found a great…
Buy Proxies Cheap
I found a great…
Buy Best Proxies
I found a great…
Xrumer Proxies
I found a great…
Good Proxy List
I found a great…
Proxies For Seo
I found a great…
Proxys Usa
I found a great…
Buy Shared Proxies
I found a great…
The Best Proxy
I found a great…
Buy Private Proxies
I found a great…
Data Center Proxies Setup
I found a great…
Jazmine Morreau
I found a great…
Therese Virga
I found a great…
Maura Kvam
I found a great…
Warren Weininger
I found a great…
Crista Waybright
I found a great…
Erasmo Sanacore
page-description
Arminda Kinde
page-description
Claudio Burner
I found a great…
Williams Schadt
I found a great…
Heath Sookoo
I found a great…
Dan Mihaila
I found a great…
Machelle Rison
I found a great…
Macy Klinich
I found a great…
Donte Bahun
I found a great…
Yadira Handelman
I found a great…
Willene Vonseggern
I found a great…
Les Hellman
I found a great…
Horace Elwood
I found a great…
Jeanne Dearborn
I found a great…
Sindy Laumbach
I found a great…
Proxy Store
I found a great…
Reva Boulay
I found a great…
Cheap Proxy Servers
I found a great…
Buy Elite Proxies
I found a great…
Buy Socks5
I found a great…